
This Dishonored: Brigmore Witches DLC walkthrough is divided into 4 total pages.
You can jump to nearby pages of the game using the links above.
Delilah's Masterwork
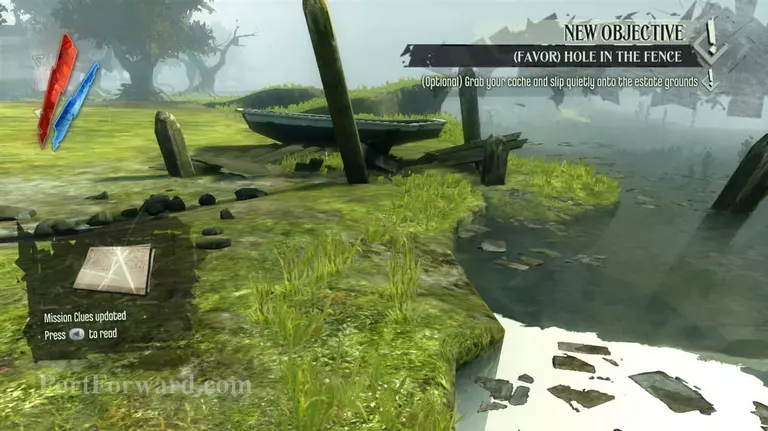
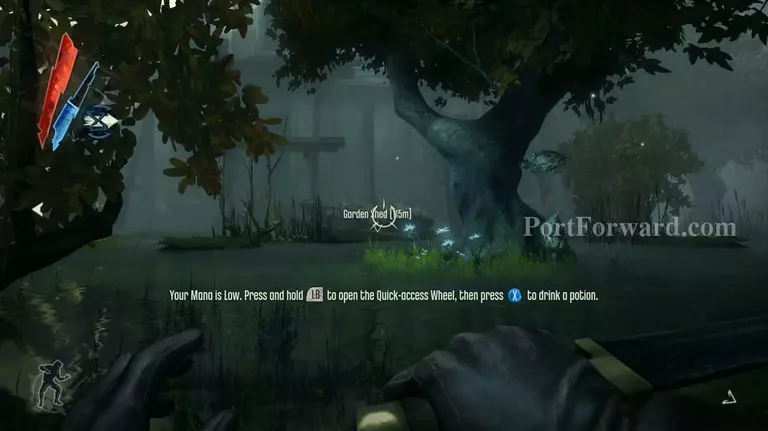
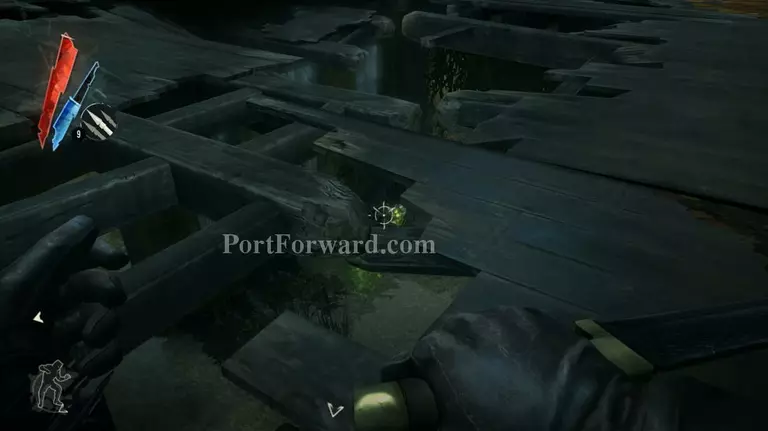
When you arrive at Brigmore Manor, you'll notice that something's glowing right in front of Daud. That's a gravehound skull. You need to shoot a bolt at its skull, I don't recommend guns cause it's noisy. A dormant gravehound will look like just a dog's skull lying on the ground, but if you get close to it, then it will spring back to life.
With that said you can either shoot a bolt at the gravehound skull or run along the right side of the area, near the river and get to the gates. Also make sure to bring as much spiritual remedy (mana) as you can and get bend time I, you don't need II. You'll also need Blink II for this.
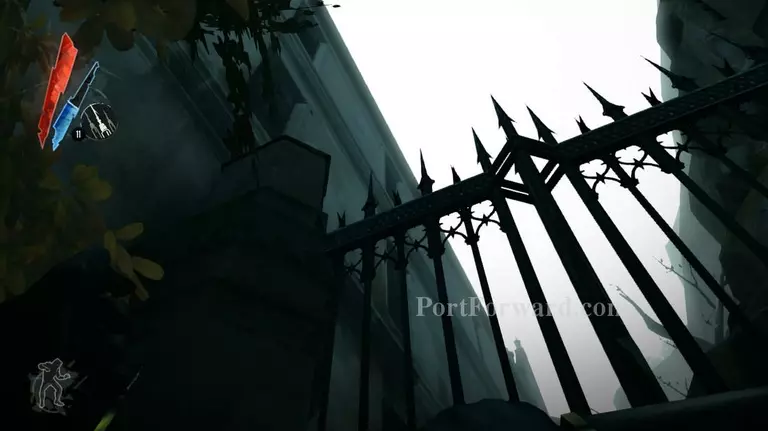
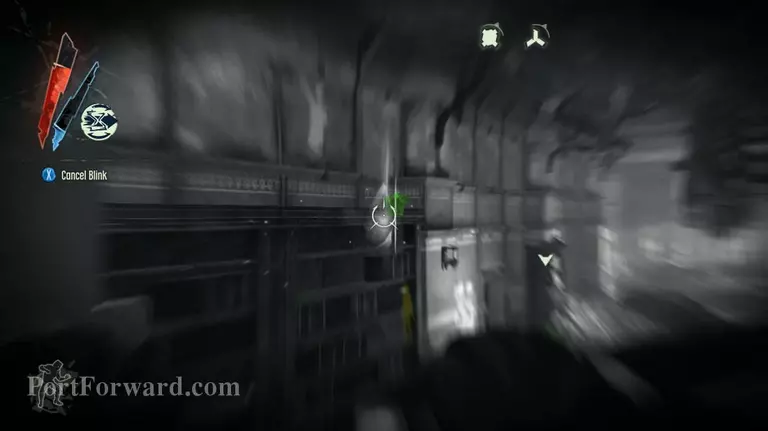
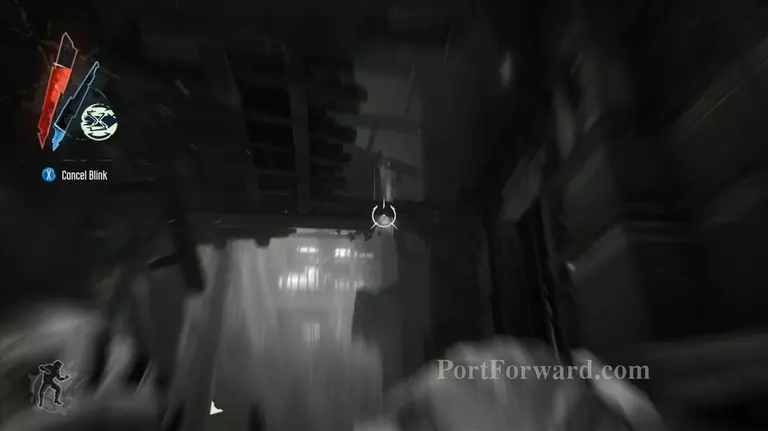
Head for the left most part of the gate and you'll see an opening that's rigged with a trap. You can avoid the trap by pointing your blink up and beyond it. Make sure to activate your Void Gaze and avoid the gravehound before blinking inside.
After getting inside, blink towards the small wall that's right beside the graves. If the gravehound saw you, then this is also a good way to get away from it.
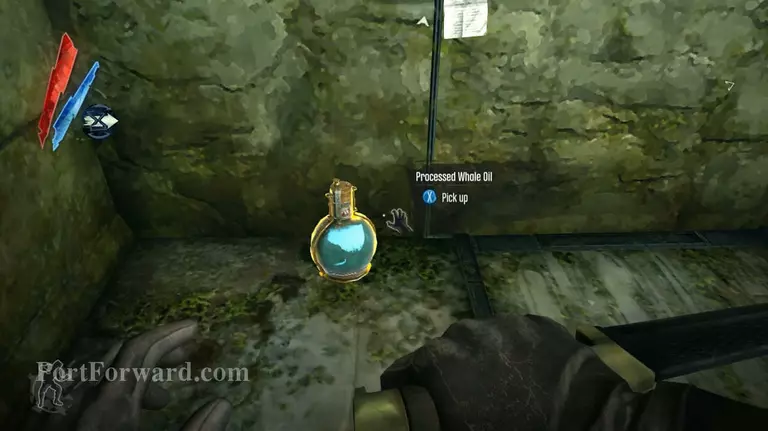
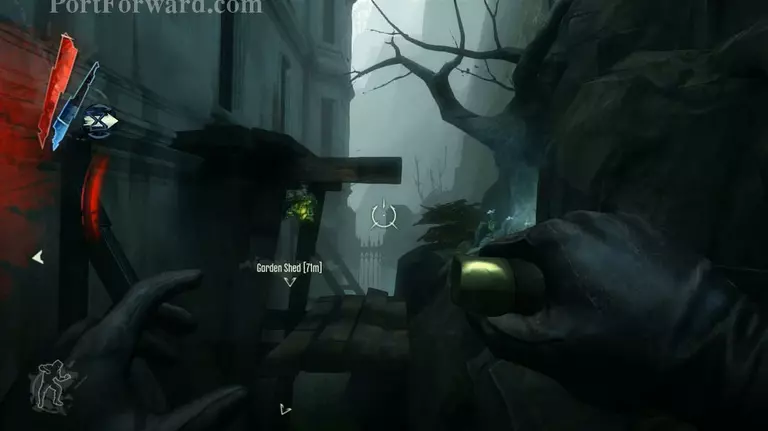
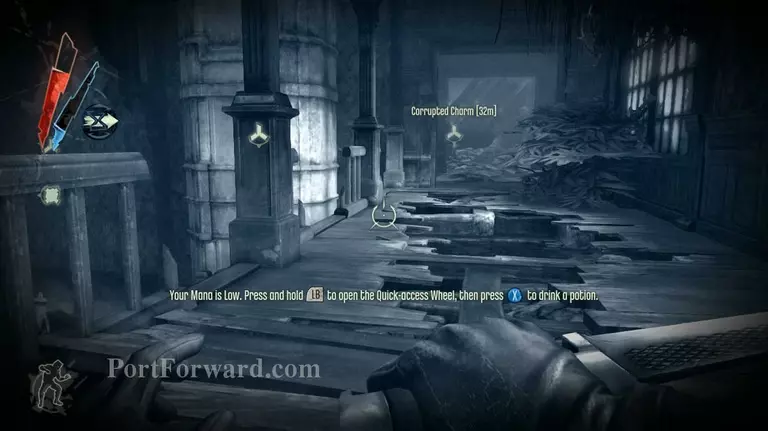
Inside you'll find find a processed whale oil, on top of it there's a mechanism and a note that says the lever is in the garden shed. Now you need to get around the area, which is harder than it sounds.

Now activate your bend time and quickly blink your way to the right side of the map. Bend time eats up a lot of mana so be careful not to waste it.
Once you get to the right side, destroy the river crusts and keep hugging the wall on the right and move towards the manor.
You'll find a fence at the right most side of the manor. Use blink to get above it.
A river crust will be lying in wait at the other side, quickly equip your bolt and shoot it once it opens up and reveals the green part to destroy it. Then climb up on the wooden platform that it was hanging from.
From there blink towards the platform on the right side and turn a bit to the left and blink on top of the garden shed.
Don't drop down yet, move a little bit forward and you'll see a river crust that's sitting inside the shed. Take out your bolt again and shoot it. Once it's gone climb back down but be careful of the witches that are patrolling outside. When you're sure that you're safe, take the lever that's sitting on the shelf inside the shed.
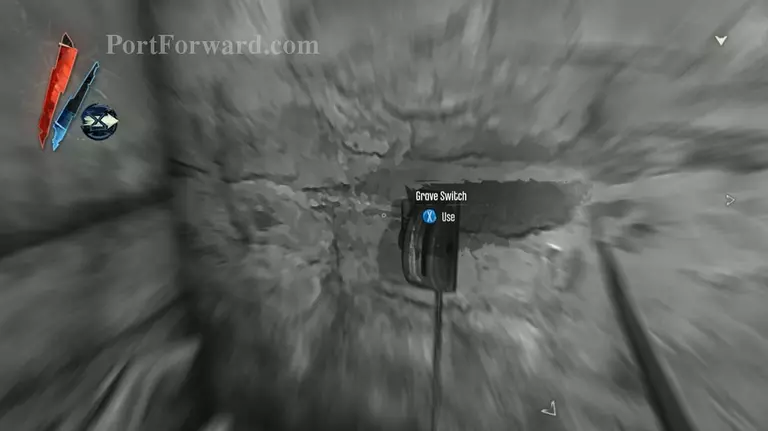
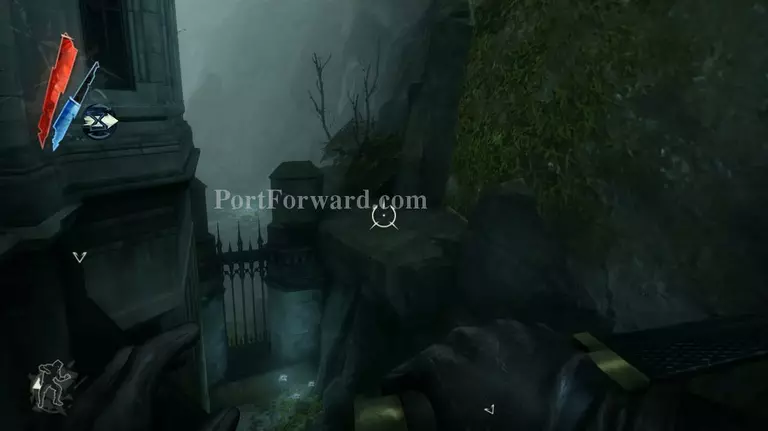
Now backtrack to the broken switch in the graveyard, use bend time if you have to. Repair the switch and flip it to open the secret passage that's hidden under the tomb near the switch.
Once you're in the crypt, flip the switch to close the secret passage, then throw a grenade at the rats near the trap. Chances are you won't kill the rats but at least the trap will get triggered.

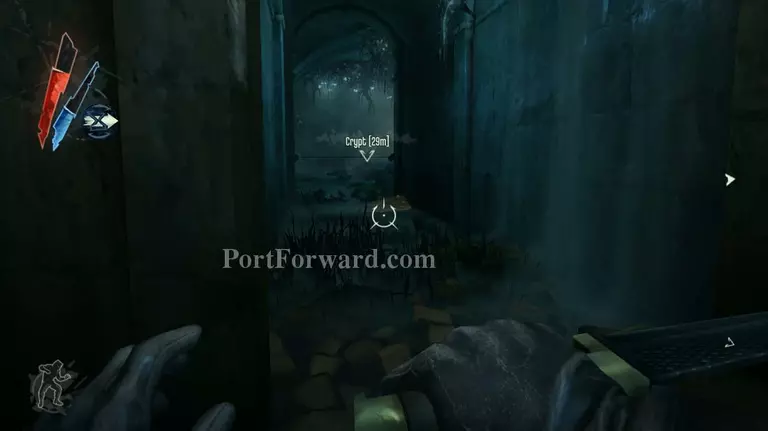
Get on top of the tomb and blink towards the next one, then drop down and haed for the door on the far right side of the crypt to get inside Brigmore Manor.
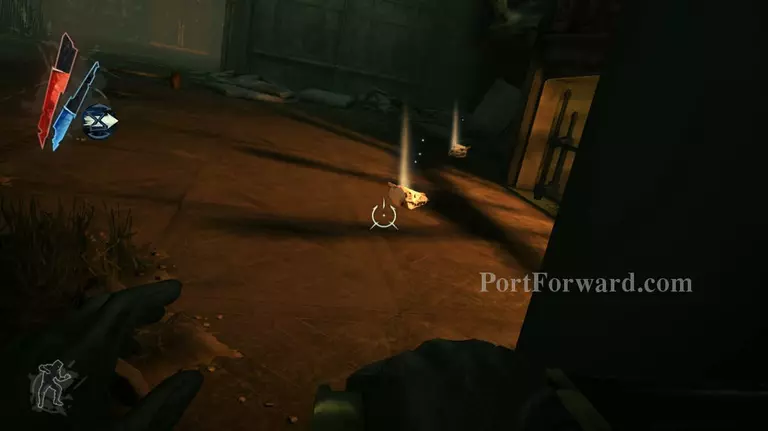
Head up the stairs and keep going until you find light coming from the last door. Lean to the left and wait for the witch to leave, then shoot the gravehound skulls that are in the room. There's 3 in total, 2 by the fireplace and one near the door in front of where you are.
Activate your Void Gaze and make it a habit to have this on whenever you're moving or unsure if you're safe. Head up the stairs in front of the fireplace and follow the path on the left side.
Make your way to the right most side of the blockage, there's a small hole there that you can use to get across. Then head for the door right beside the fallen deer head.
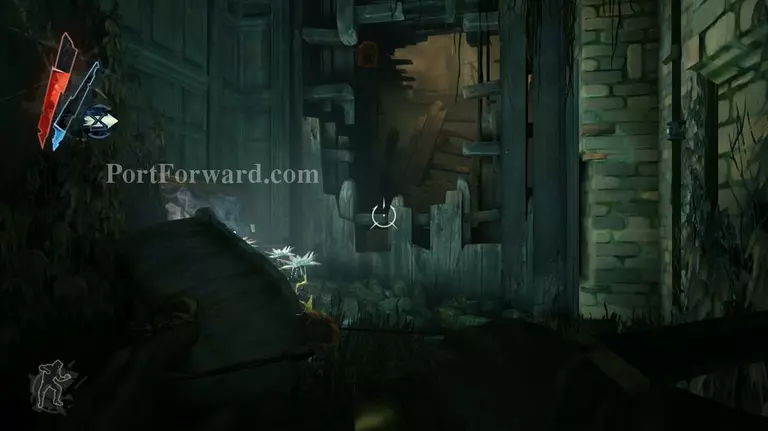
Head for the glowing flowers and you'll notice a trap is blocking the path. Blink towards the large hole in the wall and disarm the projectile of the trap then head up the hole with blink.
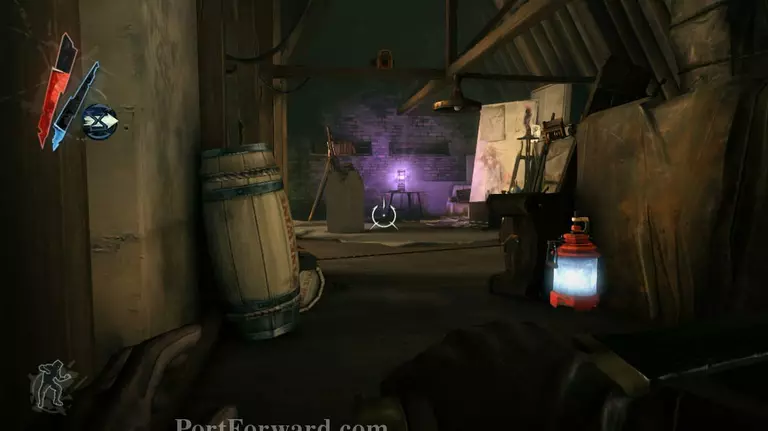
You'll find Delilah's secret studio after going through the hole and of course it's completely guarded by wire traps. Blink across the wire and take the lantern that's glowing purple. Now you need to make your way to the gallery.
Backtrack to the room with the gravehound skulls and fireplace. This time you'll head out through the large door right in front of the door you shot the gravehounds from. Go through it then turn left and climb up on the shelf right beside the trap. Then blink towarsd the projectile on the left side.
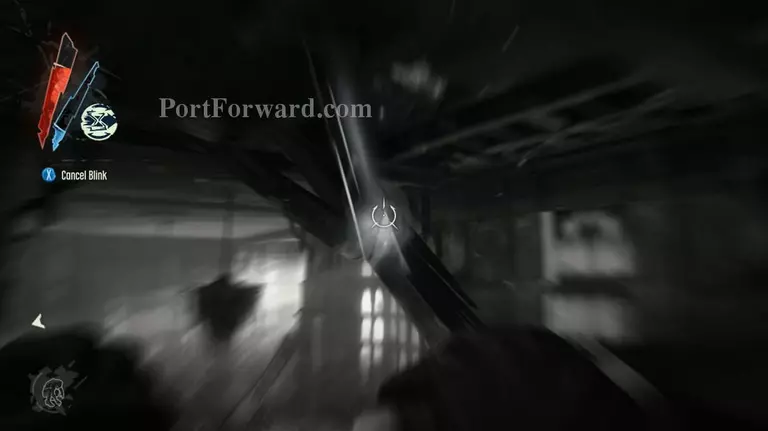
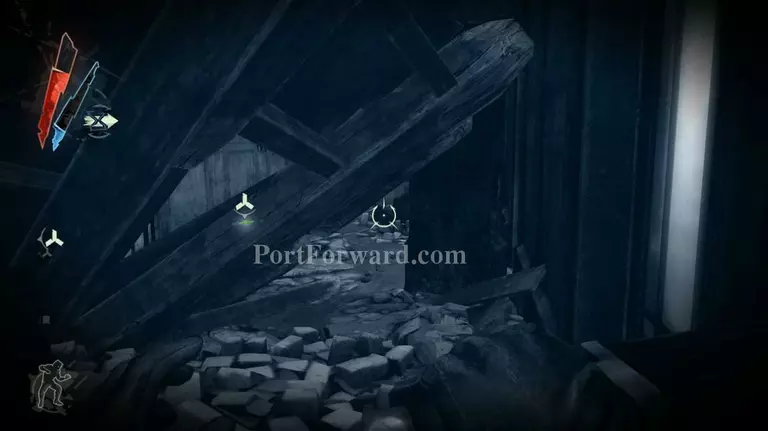
Disarm the trap, then blink towards the fallen beams near the center of the roof.
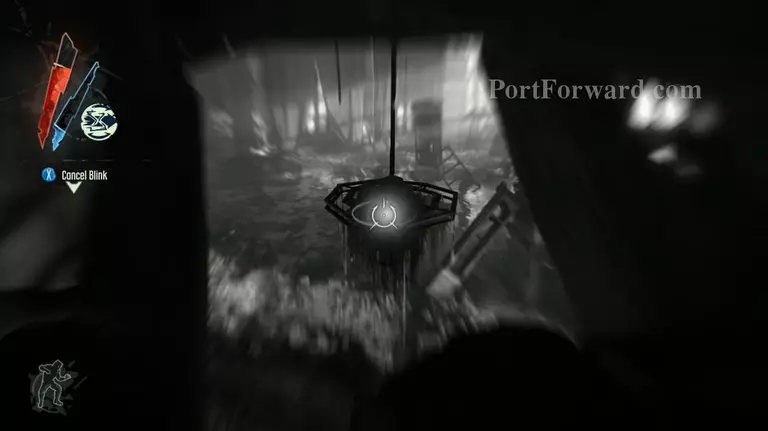
Carefully head up the beam and activate your blink, then point the marker towards the top of the chandelier right in front of the beams.
Activate your Void Gaze, then blink down near the rubble on the corner of the room. Avoid the witch inside the room at all costs. If you get spotted they'll all come at you and in great numbers too.
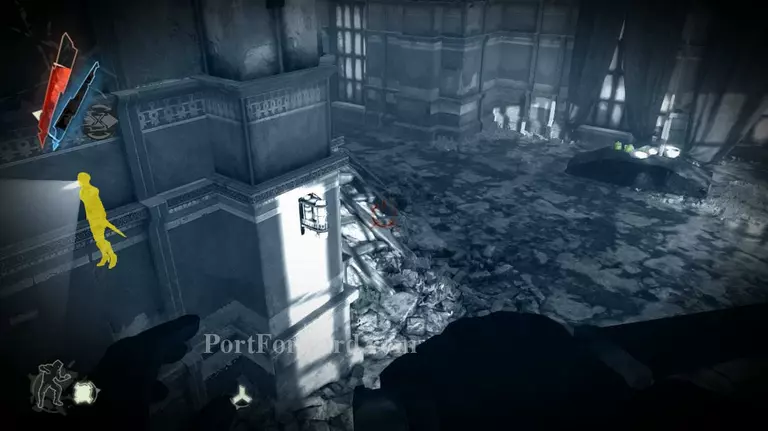
Head around the right side of the rubble while being careful not to be seen by the witches inside the room. Then point your blink towards the hole in the ceiling and get up there.

Use the remaining parts of the floor and make your way to the door on the far left wall of the second floor. It's hidden by the trees but you should be able to go through it.

Activate Void Gaze and wait for the witches to start chatting, then drop down and head further inside the corridor and up the inclined rubble. You'll find another corridor rigged with traps after going through it. Use blink to avoid setting it off. If you do accidentally set it off though, just hide under the table and wait for things to cool down.
Once you get through the next door, head for the right side of the walkway, wait for the witches to finish talking and part ways, then shoot both of them with the sleep dart.

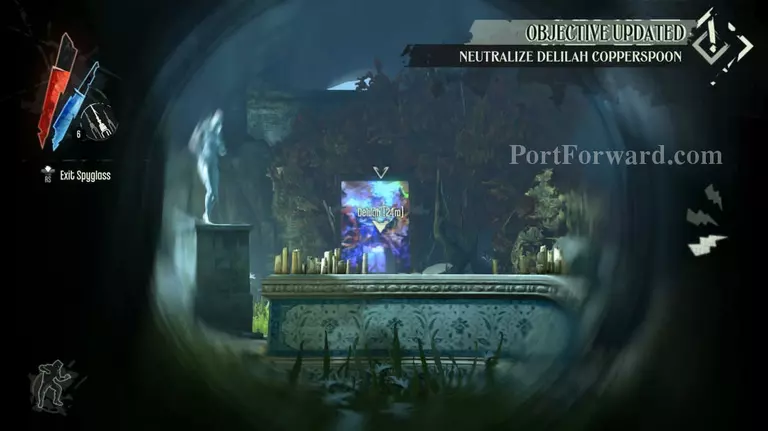
Blink down and head for the large blank canvas at the middle of the room and interact with it. Choose to place the lantern near it and a picture will be revealed. Head inside the picture once it's complete.
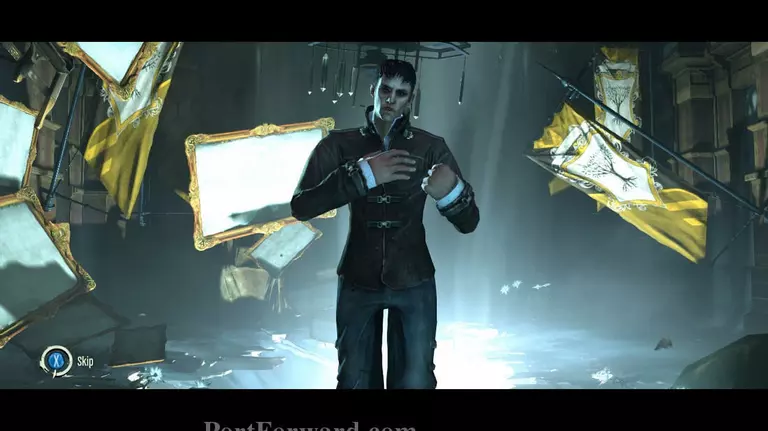
Here you'll meet the Outsider, and he'll reveal to you what Delilah plans on doing as well as her powers. After the small chatter with the Outsider, jump down the hole of light.
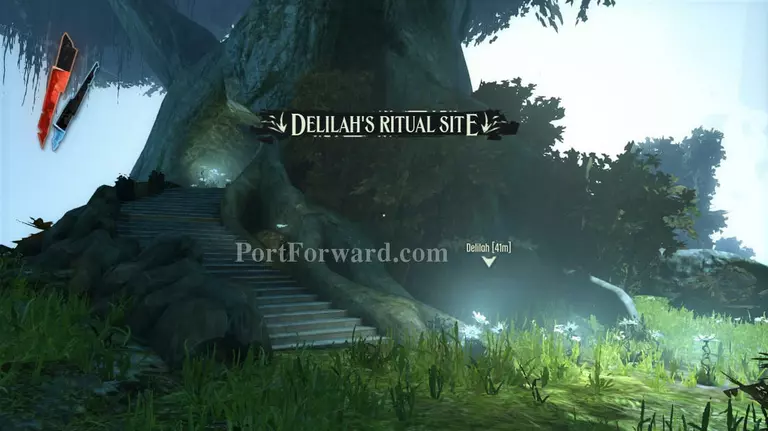
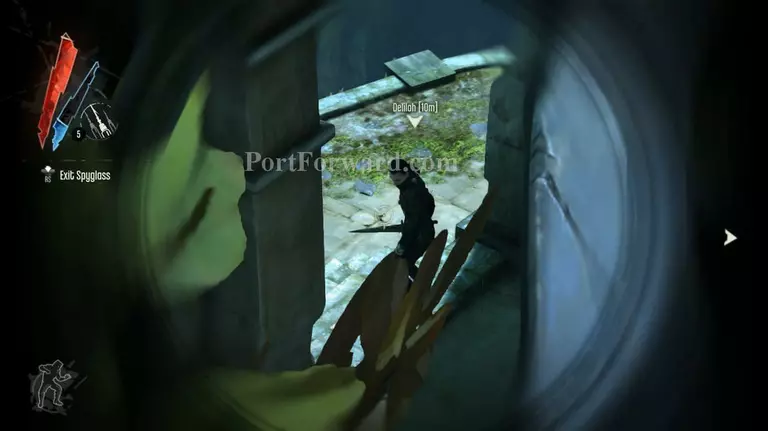
When you get to Delilah's ritual site, climb up the stairs that run around the tree on the left side.

You'll eventually find Delilah, preparing an altar. You can either kill her now or blink towards the balcony on the left side. I didn't want to kill her so I used blink to get around.

Once there, head for the back and you'll find a small extension of the altar area. Blink down and take the painting that's sitting near the easels.
Head back to Delilah and shoot her with a sleeping dart, then activate your bend time and quickly get to the painting.
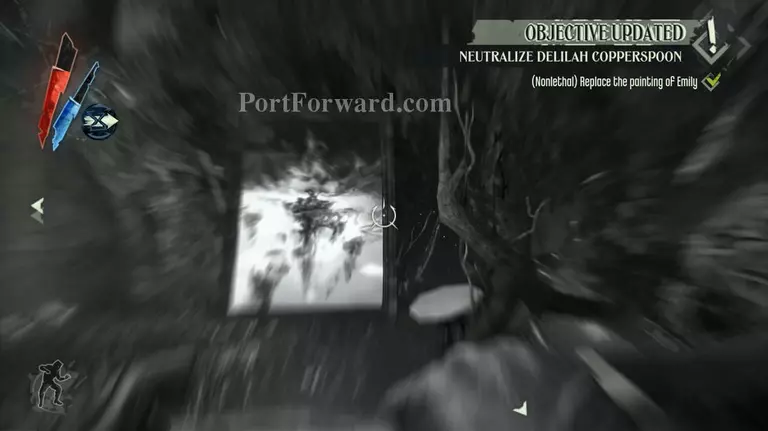
As soon as you hit Delilah with that dart, the statues will come to life. Quickly switch the painting, then turn around and blink up towards the balconies on either side of the altar.
Crouch down and wait for the Dehlilas to start prowling the area in search of you. When they get within your range, shoot a sleep dart at them.
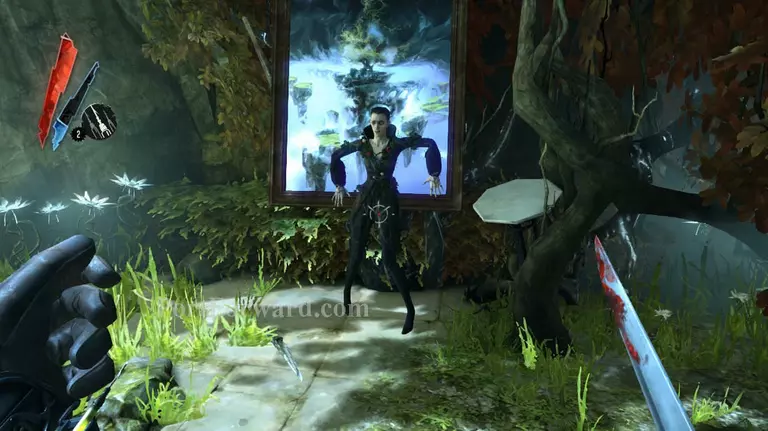
After putting all of her clones to sleep, Delilah will reappear in front of the paintint that you've replaced. Shoot her with the sleep dart and carry her body.
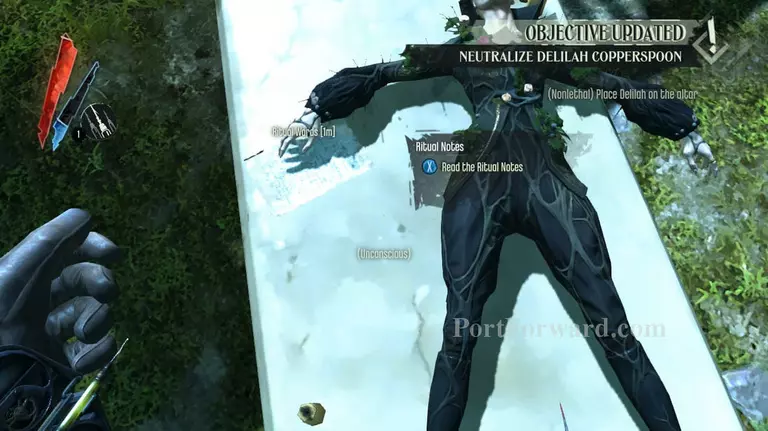
Climb on top of the altar and drop Delilah on top of it. You'll find a piece of paper on top of the altar. Examine it and Daud will read the ritual notes that Delilah prepared for her plan.
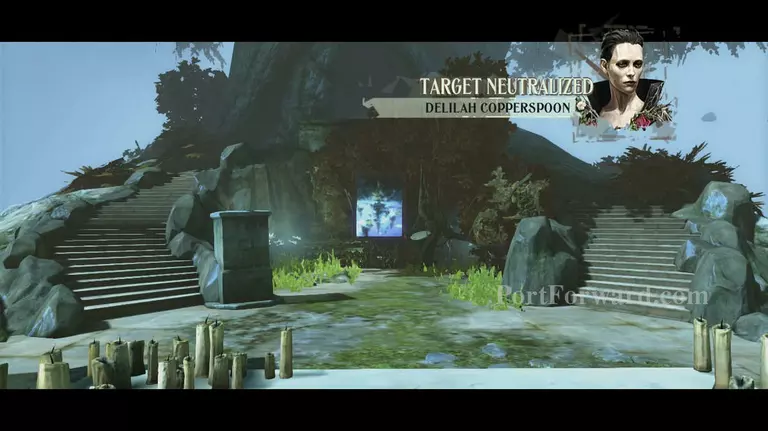
Delilah will then be sent to another realm by her own portrait, this will result in a nonlethal approach and Emily's rescue.
Now all you have to do is watch the ending and also the way that the ending will go will completely depend on how you played the DLC. Meaning high chaos and low chaos will yield different endings. This guide as well as my Knife of Dunwal guide are both low chaos, if you want a high chaos ending, then you need to kill and slaughter as much as you can.
More Dishonored: Brigmore Witches DLC Walkthroughs
This Dishonored: Brigmore Witches DLC walkthrough is divided into 4 total pages.


