
This Dishonored: Brigmore Witches DLC walkthrough is divided into 4 total pages.
You can jump to nearby pages of the game using the links above.
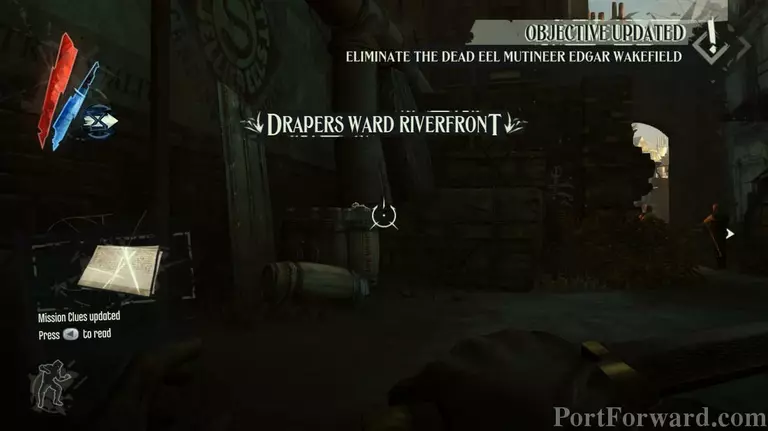
The Dead Eels
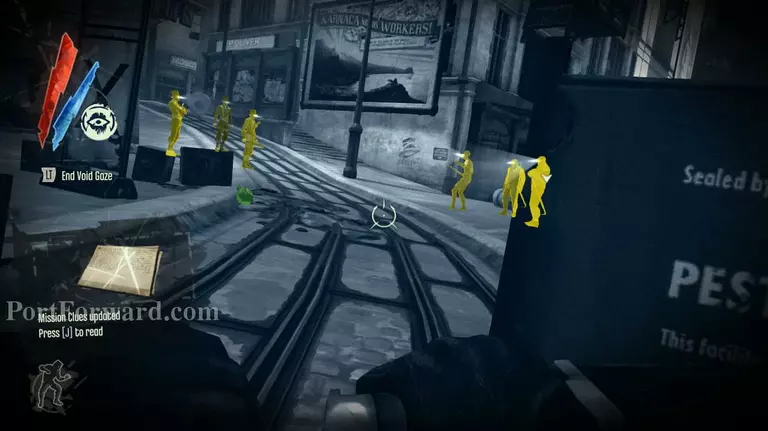
At the beginning of the level, hide behind the barricade and wait for the Dead Eels and the Hatters to kill each other.
When the fight finishes only 2 Eels will be left. Perfect for you, blink towards the back of the yellow sign, the one with an X, then take out the Eels that's right in front of the dumpster.
After taking out the first one, wait for the other one to get within your view and shoot him with a sleeping dart, then make your way towards the dried up canal.
Take out the 2 Hatters that are on the lower ledge of the canal, then head under the makeshift bridge and wait for the gangs to finish fighting again.
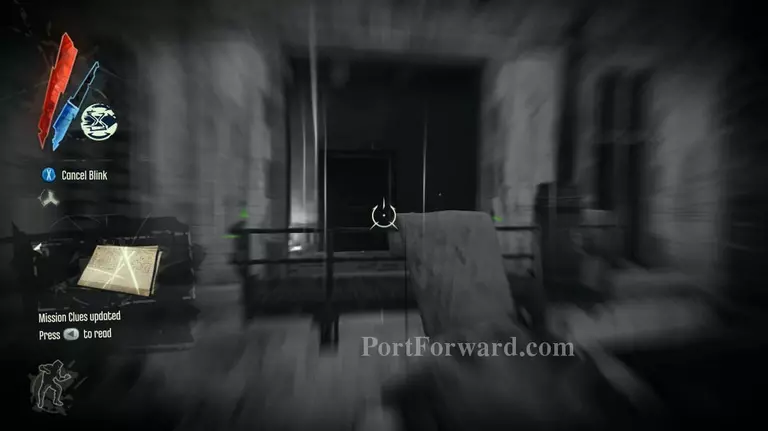
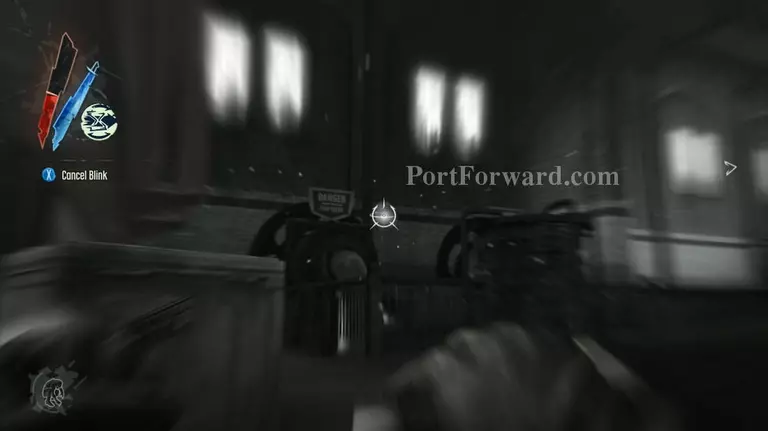
Once the fighting is over, head under the bridge and climb up on the fallen staircase right beside it. Then use blink and climb up on the walkway's stilts, then blink towards the makeshift bridge.
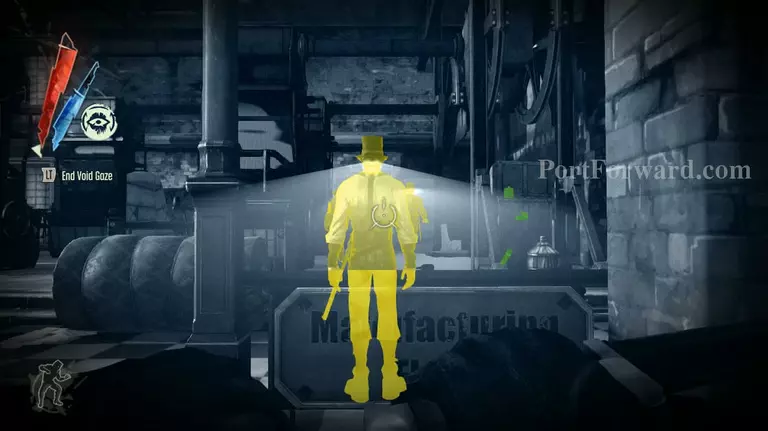
Head to the left and blink above the shabby barracks that the Eels have made. Activate your Void Gaze and wait for them to finish talking.
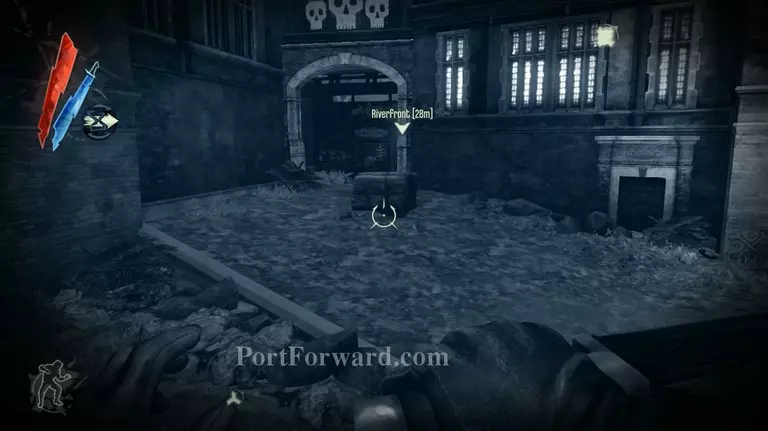
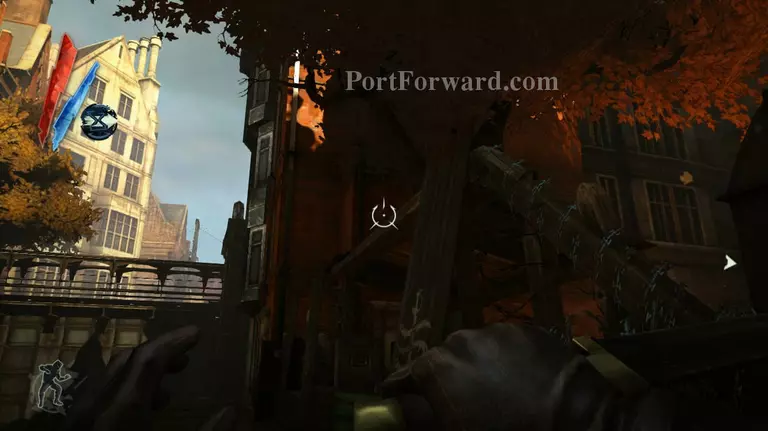
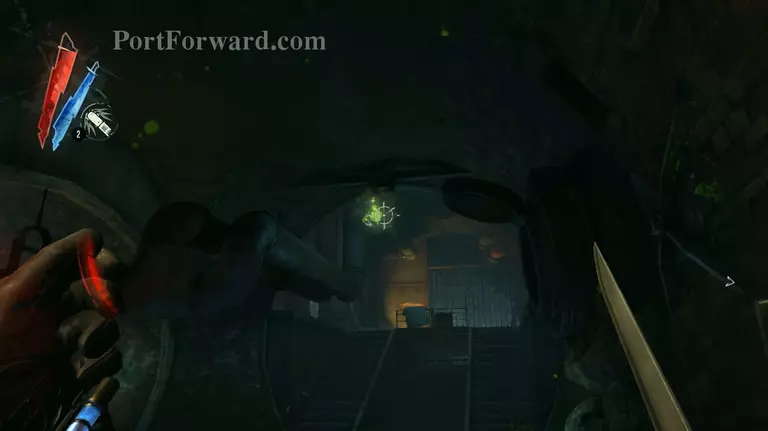
Once the Eels have gone their separate ways, look to the left and you'll see your marker towards the river front. Quickly blink towards it and get inside.
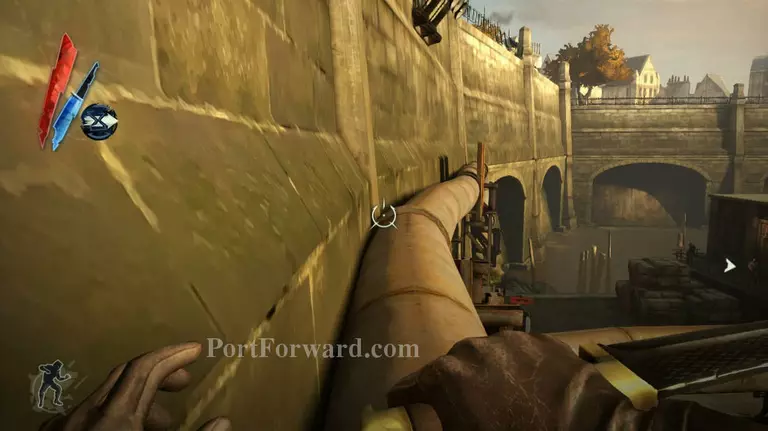
When you get to the riverfront, look to your left and you'll find some crates that are stacked up. Climb on top of it and blink towards the pipe on the opposite side.
From there, turn right and you'll see a balcony, use blink to get inside and your assassin will come and inform you more about the situation.
Head out the other balcony and blink towards the roll of cloth below, then turn left and blink towards the balcony and up the roof. Proceed through the path and your assassin will inform you of your target's location.
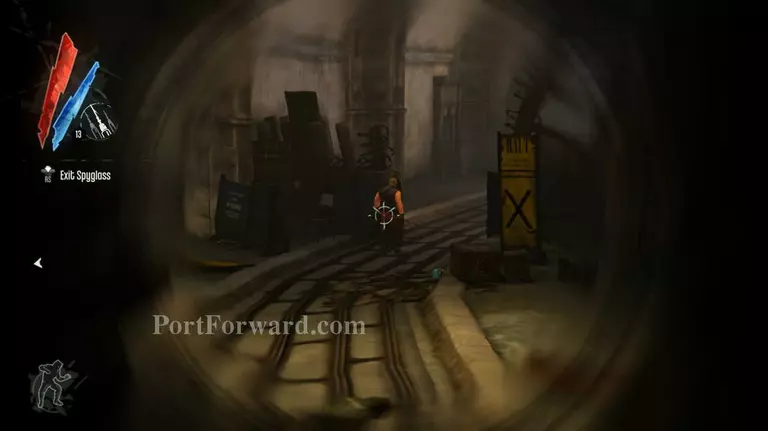
Drop down on the pipe nearby and walk on top of it until you get to the river. When you get near the water, blink towards the water and swim around the ground.
Swim towards the undine and keep yourself underneath it. At the middle of the ship you'll find a small hatch that you can open from the water. Get inside through the hatch.
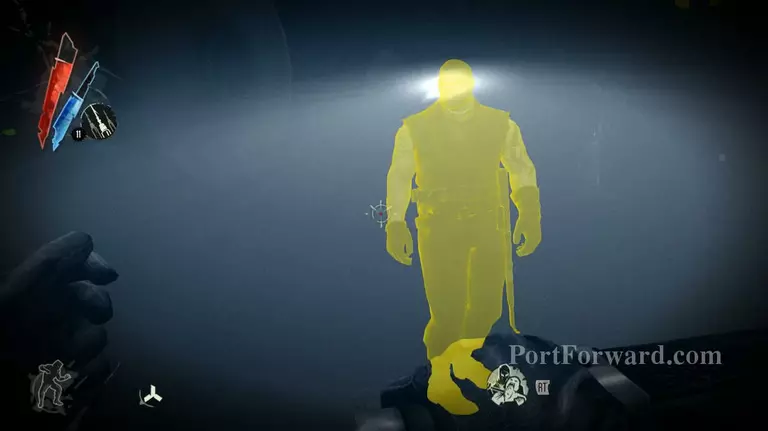
You'll immediately find your target inside the ship. You can either fire a sleeping dart at him or approach him and have a conversation with him. If you chose to approach him, then you'll have to fight the Eels.
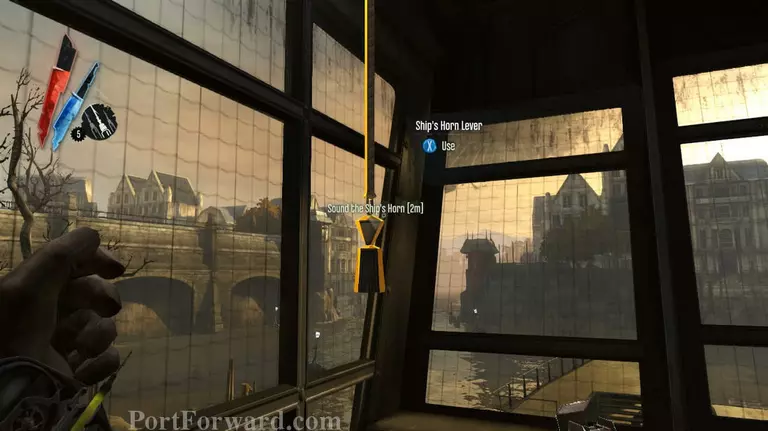
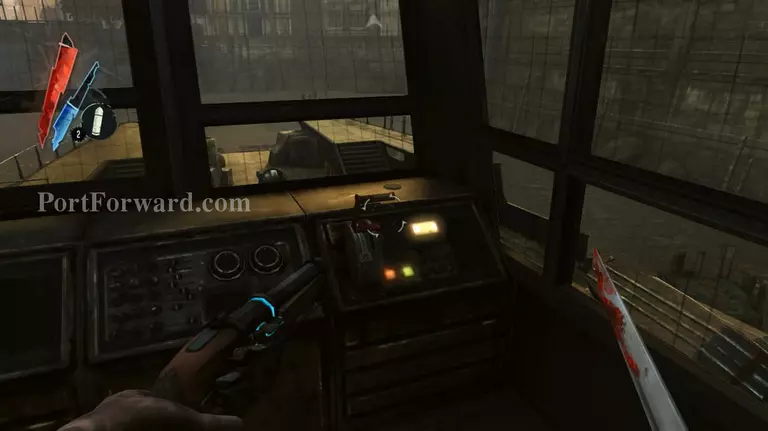
After taking care of Edgar, head up the ship and go to the control center. Pull on the string at the left side and Daud will activate the horn. Lizzy will then reclaim the ship.
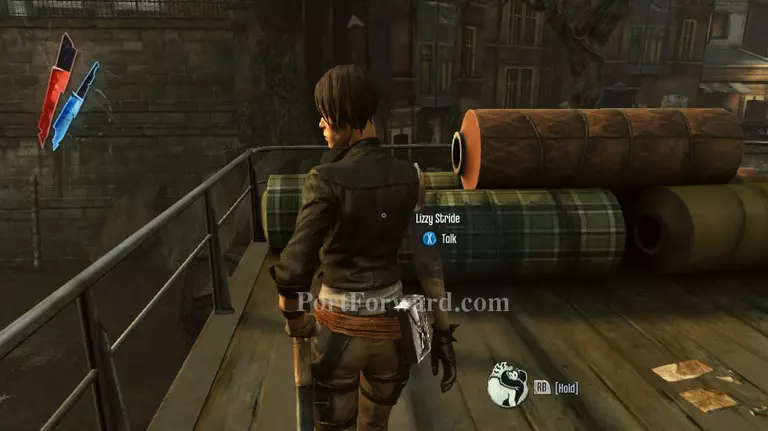
Talk to Lizzy after she reclaims the ship and she'll inform you that the Hatters have stolen a part of the ship's engine and you can't travel anywhere with it.
Now you need to venture into the Hatter's area, but the good thing is the Eels won't touch you now. You can pass by any Eel without having to worry about being attacked. Make your way back to the previous area (where the level started) after speaking to Lizzy.
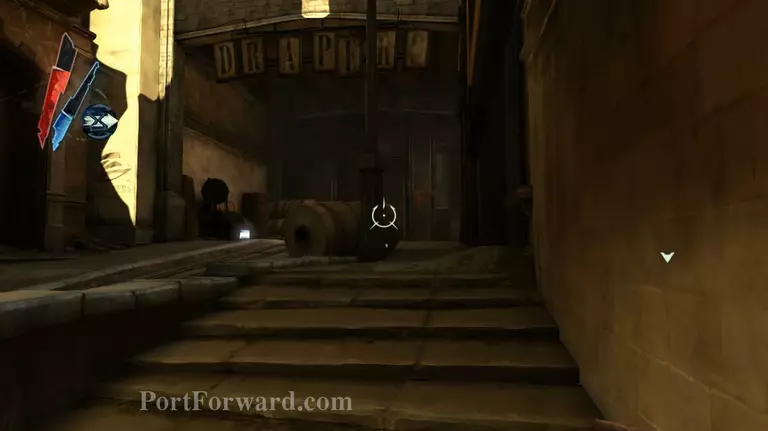
Head all the way back to where you were when you first arrived and this time take the path on the right side, the one that leads up to the building with the "Drappers" sign.
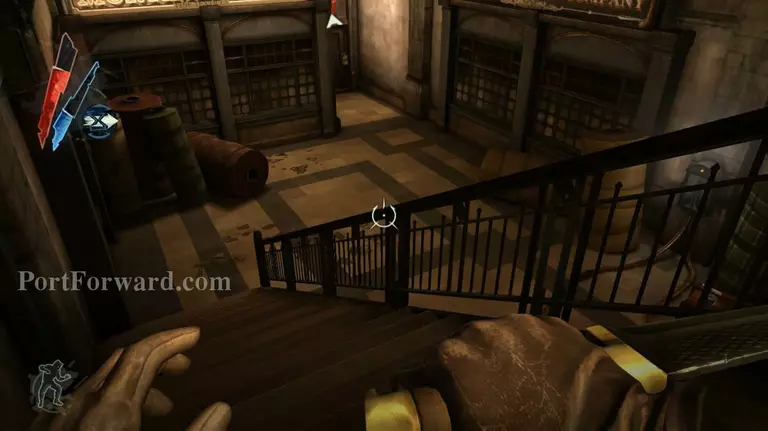
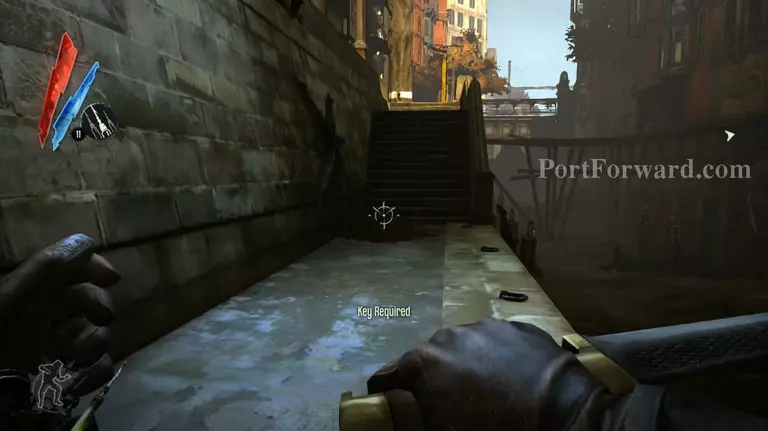
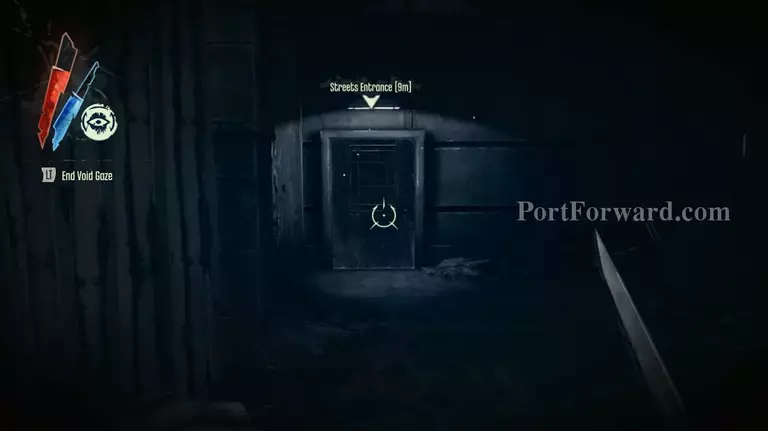
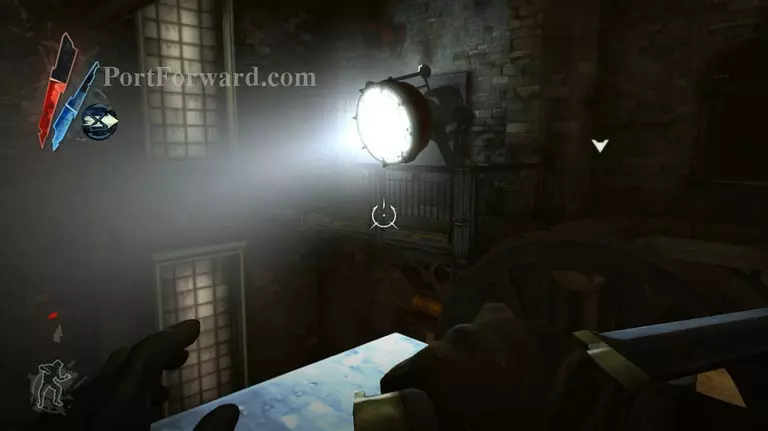
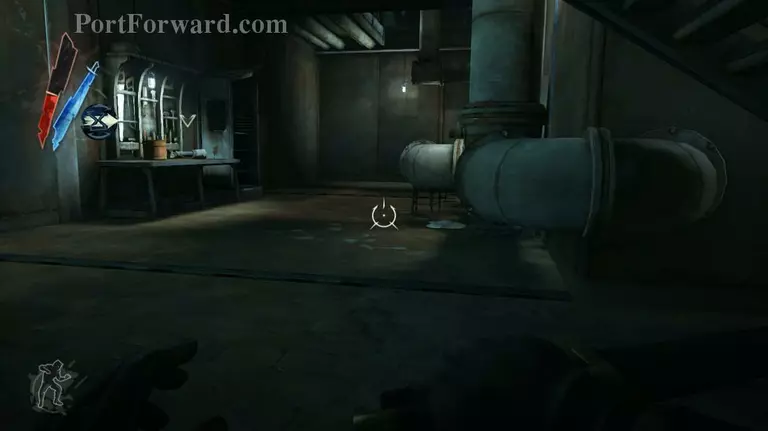
From there take the walkway on the left side and climb down the stairs, you need to be quick and don't jump down cause the ARC pylon will kill you faster than you can kill those Hatters. Just climb down the stairs and blink towards the door and interact with the intercom to get inside the text mill.

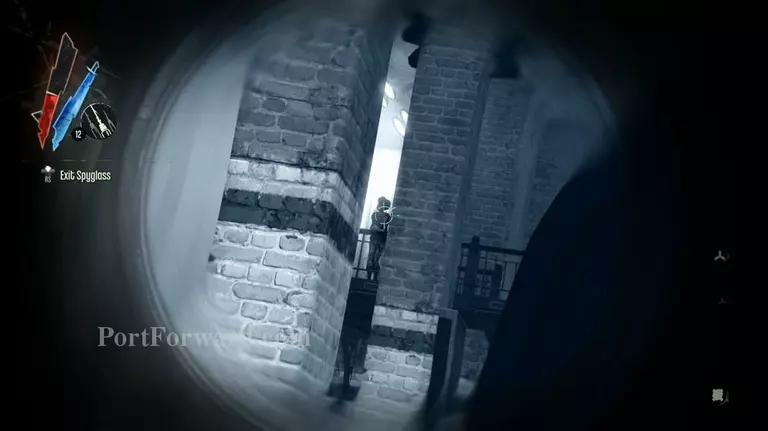
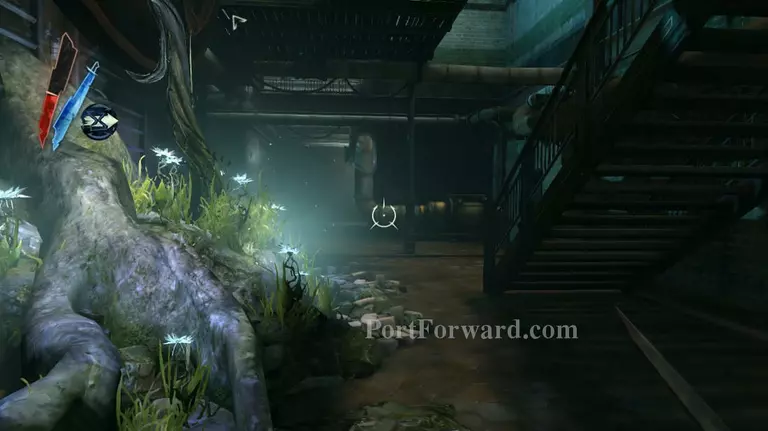
Once you're in the textile mill, hug the left wall and climb on top of the vent. Activate your Void Gaze and make your way around the side and on top of the shipping and receiving building.
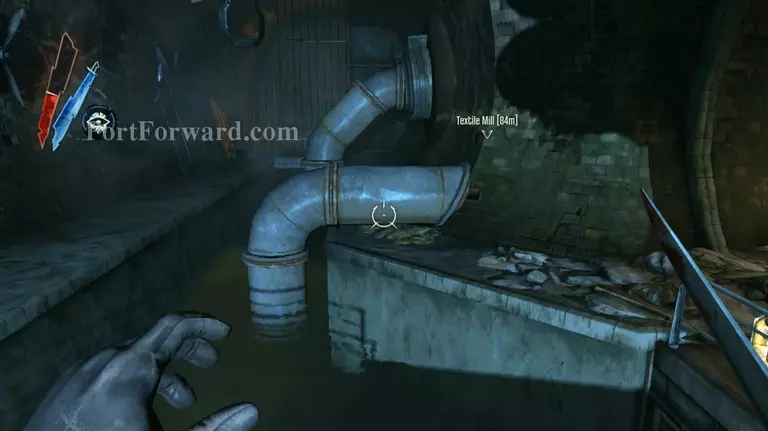
Once there, target your blink on the sewer line that runs under the bridge and towards the mill on the right side, then swim to the far right side of and use your blink to climb back on top.
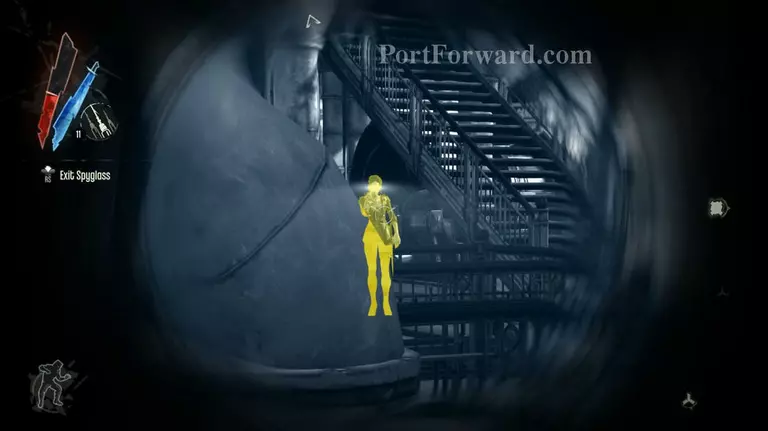
Take care of the guard that's guarding the area, then head upstairs to the manufacturing floor. Keep your Void Gaze active to avoid accidentally running into an enemy.
When you get to the manufacturing floor, ignore the Hatters and blink on top of the machines to avoid detection.
Blink towards the large spotlight at the left side of the room, then once you're on the balcony, turn right and head inside the main office.
After accepting the deal that the geezer proposed, you'll acquire the sewer key and also the Hatters will let you run around without a problem for the time being.

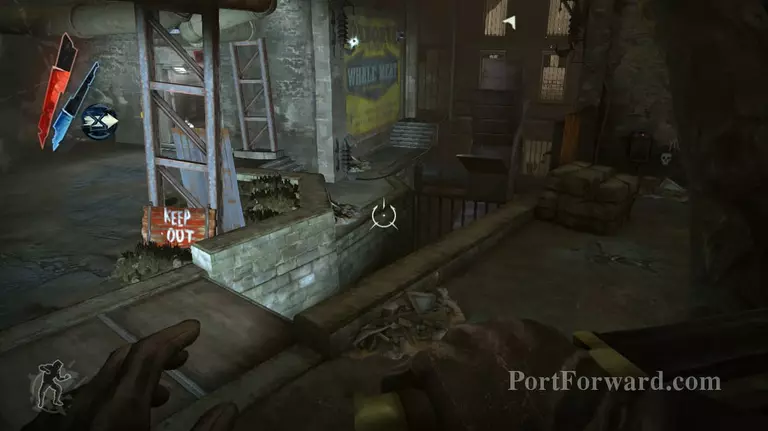
Head back out the factory and towards the yard. This time you need to head towards the far left side of the sewer line, the same one you used to cross the wall of light. Blink down towards the door on the right side and enter the sewers.
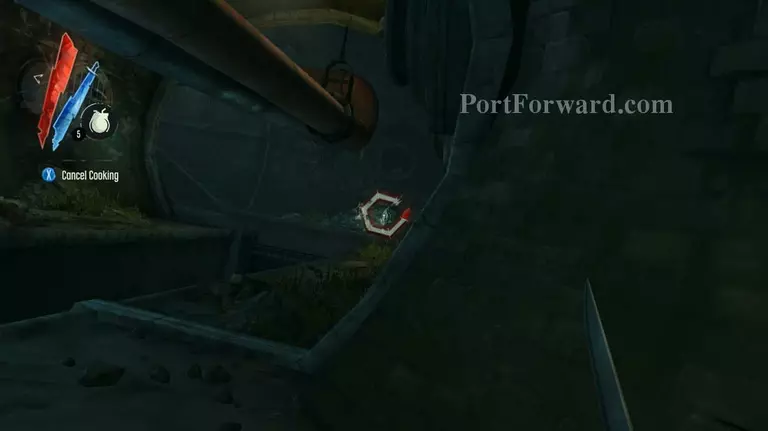
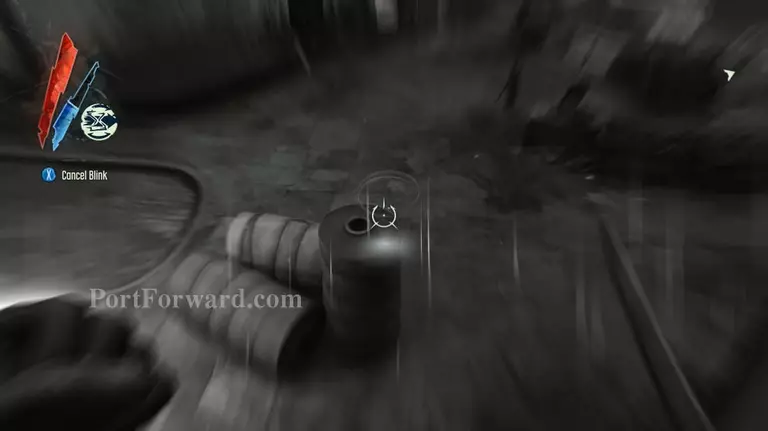
Once inside the sewers, head for the corner and lean towards the left. Then equip your bomb and throw it at the river crusts at the opposite end of the tunnel.
Go to where the river crusts were and aim towards the ceiling on the left side of the tunnel. Equip your explosive bolts and shoot the river crust that's on the ceiling and proceed up the stairs.
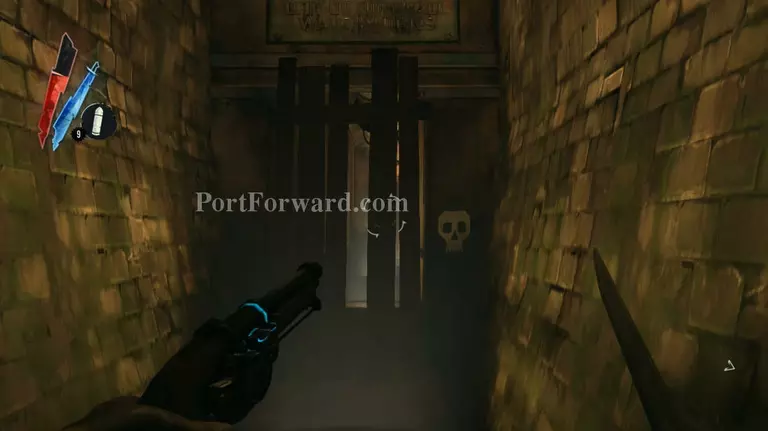
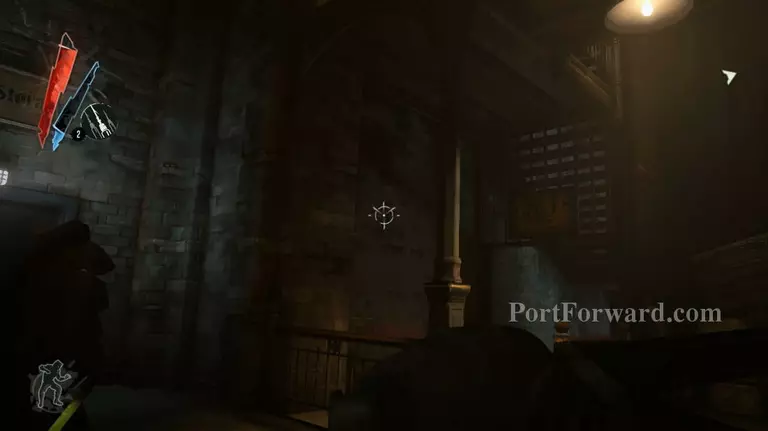
Turn left at the end of the stairs and smash the wooden planks that are blocking the tunnel. Keep going forward and you'll eventually enter a large open space.

Here you'll find a woman who's claiming to have fallen down by accident. If you've met with the tailor in the city streets, you'll immediately recognize that the woman is wearing a flowery dress. You can either shoot her or put her to sleep with the sleep dart. Be aware that she does count towards your kill count.
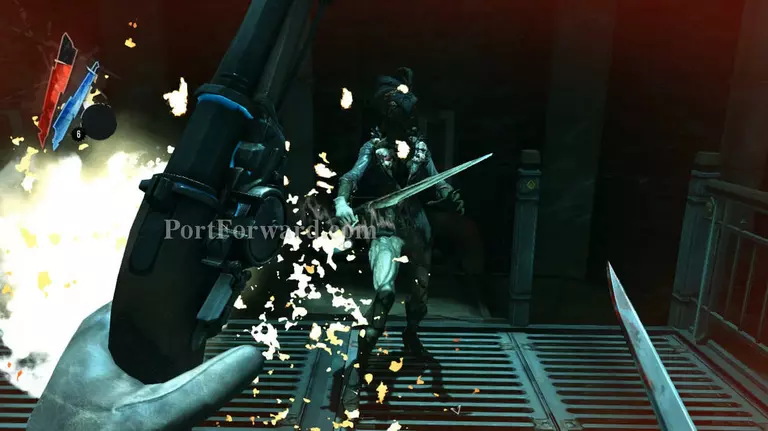
These are the Brigmore witches and they are probably one of the most dangerous enemies of the entire game, including the main game. Maybe even more dangerous than Daud's assassins. The main problem is that they have this long range ability with their voices as well as a tendency to stick together.
Kill off or put to sleep all of the witches that will come and attack you, then head down and turn the wheel right next to the metal door with the exit sign above it.
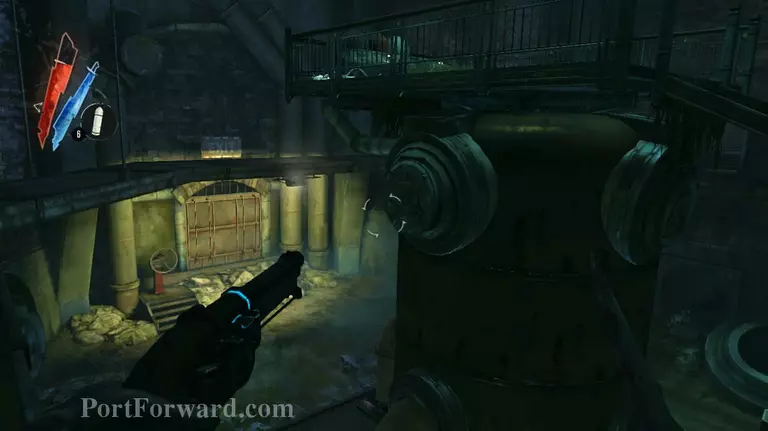
After leaving the area, head for the water control area, crouch down and enter under the small opening of the gate. Then blink towards the left side and hide behind the large gears.
Wait for them to finish talking, then activate your Void Gaze and shoot the witch that's standing on the walkway directly in front of the gear that you're hiding behind.
Now head around the right side of the gear and wait for the second witch to come within your shooting range and sedate her with the sleeping dart.
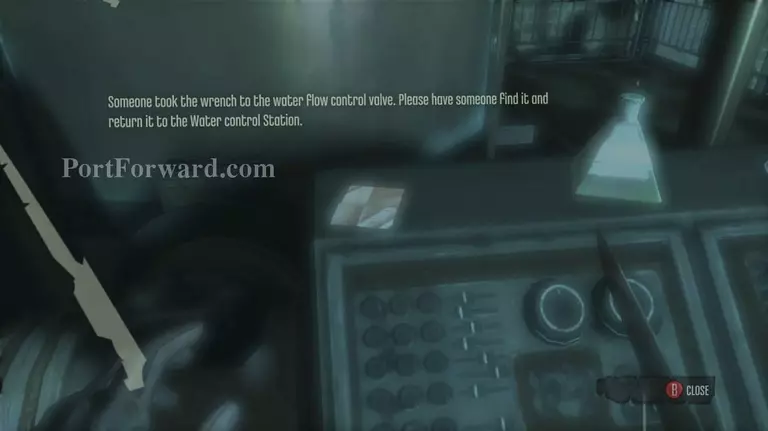
Head up the valve and examine the note that's sitting on top of the machine on the right side. You'll be informed that the switch has been moved to a different location.
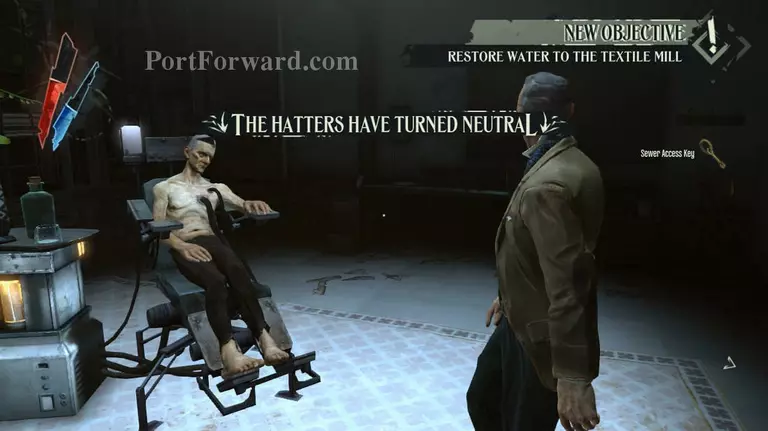
Go to the gate that you used to get to the water control station and drop down on the lower floor from there. Knock out the weeper that's nearby, then take the wrench from the table with a lot of tools.
You should knock out all the weepers in the lower floor, then head back up the control switch and place the wrench back on it. The machine will start but fail to work properly.
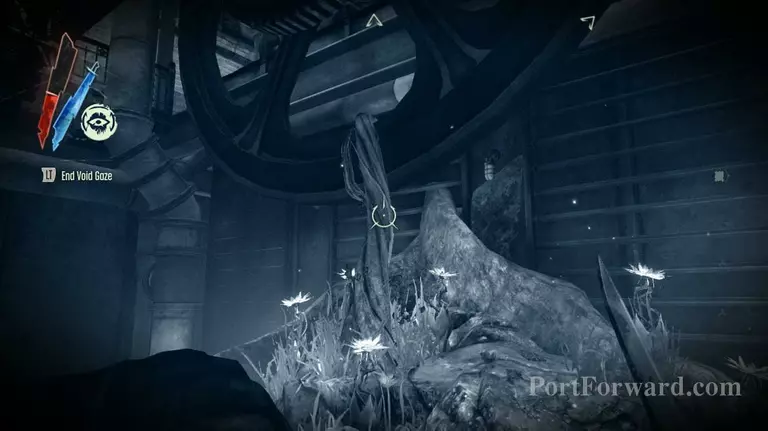
Head back down the lower floor and you'll notice that the water wheels are being held in place by some sort of vine. Approach the vine and slash it with your sword to release the wheel. Do the same on the other side and the water will start flowing again.
With the water flowing you'll be able to leave the sewers via jumping into the water and swimming across the bars that were previously blocking your way. Make your way back to the main office of the textile mill after leaving the sewers.
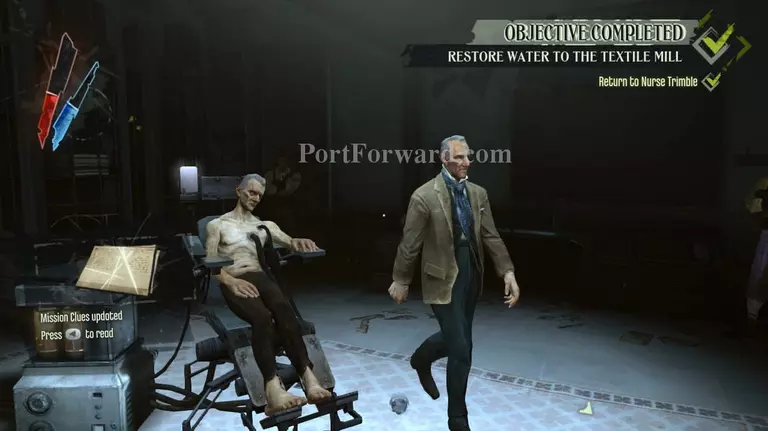
Talk to the nurse and he'll give you the code for the engine room. Go ahead and write it down so you don't forget what it is. The code also seems to be randomized, s you can't really just guess what it is.

Now that you have the code, head for the stairs and start climbing down to the lowest floor of the mill. Here you'll find the engine room. Punch in the number that the nurse gave you into the panel at the right side of the door and the door will open.
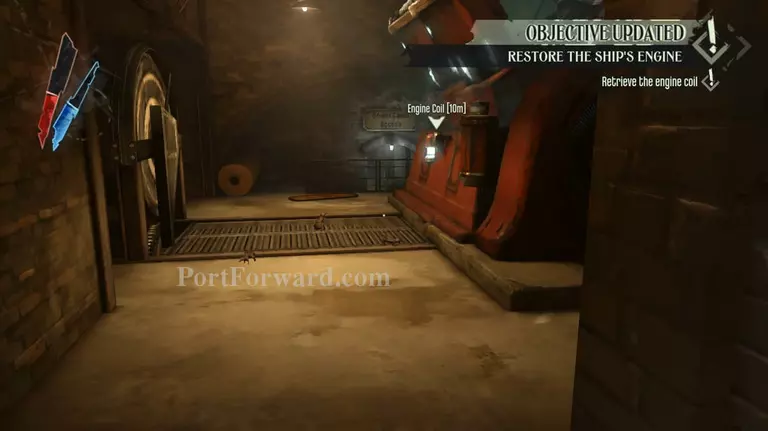
Once the door opens, take the engine coil and take it all the way back to the waterfront. You should have a smooth walk back to the Waterfront since both Eels and Hatters will leave you alone now.
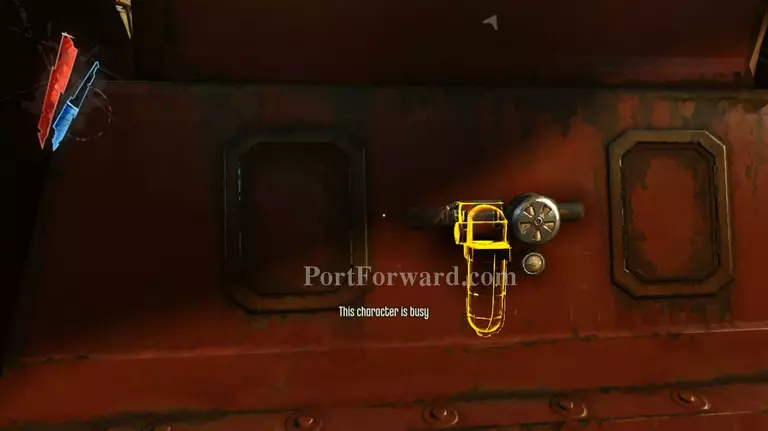
When you get back to the Undine, jump on board and place the coil in the glowing marker at the left side of the ship.
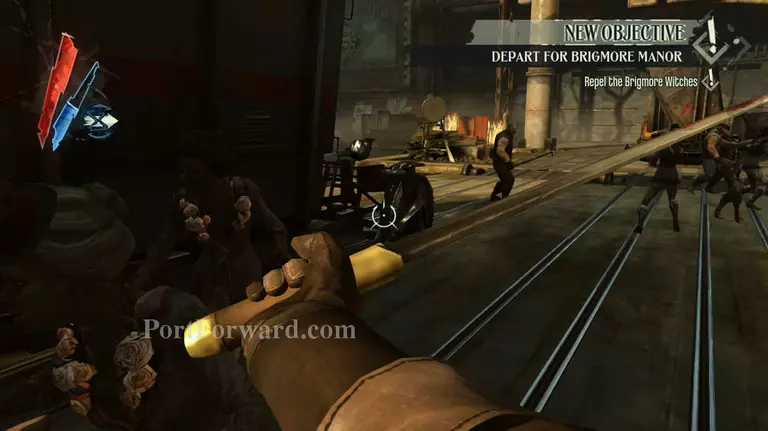
Brigmore witches will immediately attack the ship as soon as you place the coil in place. Remember that any witch you kill will count towards you kill count. Also it's impossible to save Lizzy.
Once the witches have been eliminated, head back up the bridge and flip the switch on the right side of the control panel to leave for the Brigmore Manor.
More Dishonored: Brigmore Witches DLC Walkthroughs
This Dishonored: Brigmore Witches DLC walkthrough is divided into 4 total pages.


