
This Dragon Age 2 walkthrough is divided into 24 total pages.
You can jump to nearby pages of the game using the links above.
Act 3: The Last Straw
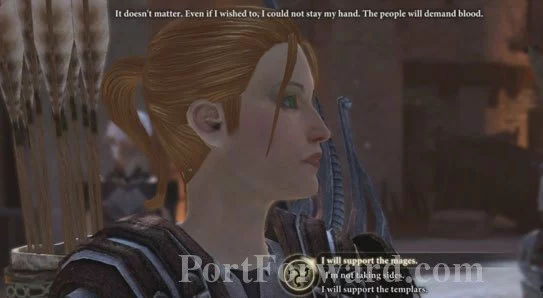
When you arrive in The Gallows you will find Meredith and Orsino having yet another long argument. Even if you try to quell their anger, you will ultimately have to choose between siding with the Templar or the Mages. Your choice will result in a brief battle between a handful of Mages or a handful of Templar. Either way, decimate them with area attacks before they're able to do any real damage.
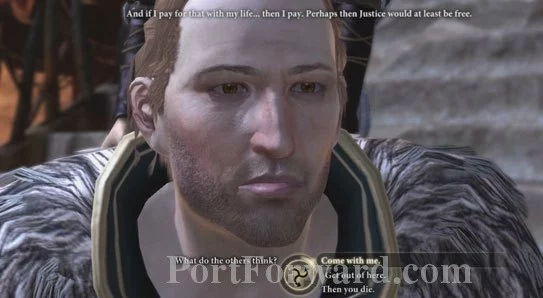
Before you go, you will need to decide what to do with Anders. How you deal with him is up to you, but his healing abilities will make him an important asset in the fight ahead.
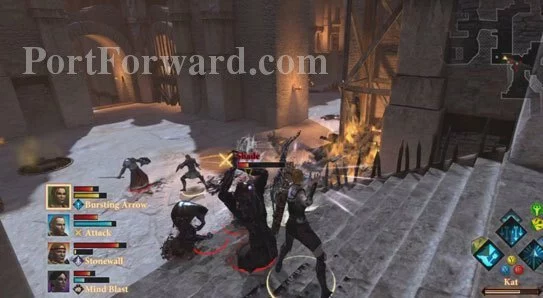
Hit the Shades with area attacks and do your best to cut the Templar Lieutenant down with moves like Assassinate. Leave the Rage Demons for last.
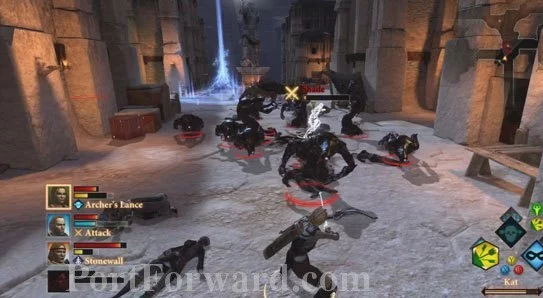
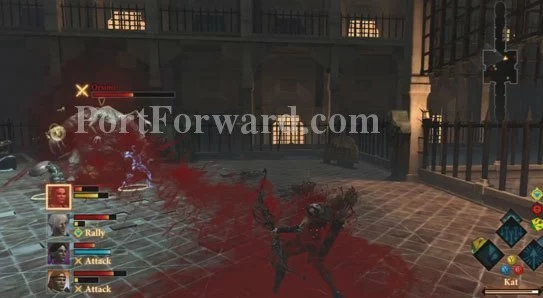
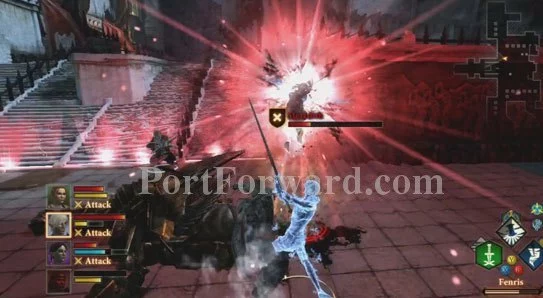
You will be met with a massive wave of Shades that charge as you come down the stairs. Hit them with your best area attacks and retreat as they approach.
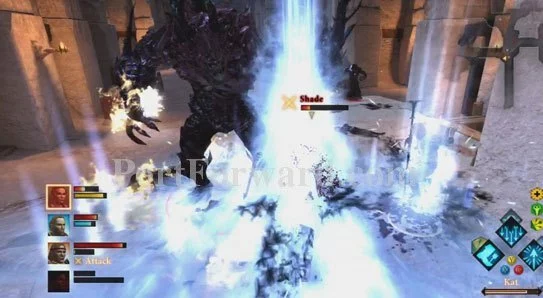
A Pride Demon will be right behind the Shades. It takes a while to wittle down his health though, and in that time you will probably lose a character or two. Anders is extremely useful here.
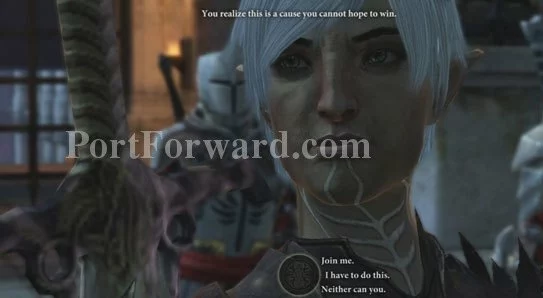
A scene will follow in which you can regain lost comrades. Fenris, Aveline and Carver can be brought back if you sided with the Mages, while Bethany, Anders and Merrill can be recruited if you went with the Templar. Now the final push begins.
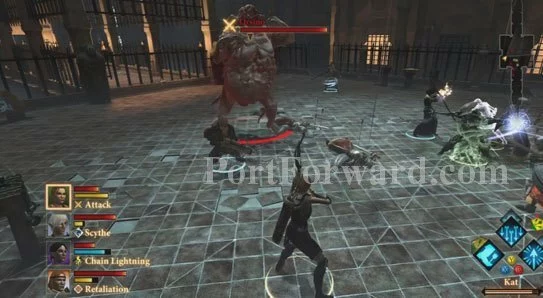
Orsino uses Blood Magic to become a monstrous abomination no matter who you side with. Orsino's first form is mainly just bulky, attacking with heavy swipes of his claws and a magical draining attack. Stay back as much as possible and hit him with ranged attacks.
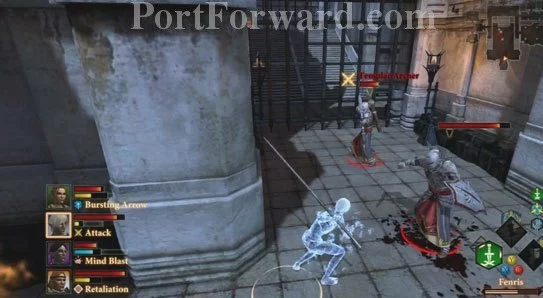
After inflicting enough punishment on the body, Orsino's head detaches and calls in corpses as reinforcements. The head doesn't do much more than hop around the screen though, so focus your strength on killing the weak Skeleton Archers. When they're gone, try and trap the head in the corner and hit it with everything you've got.
Orsino's final form uses draining attacks that can hit you across the map. Keep your health up, because they will stun you for the duration and prevent you from using health potions. As before, Orsino is mainly just bulky -- keep your health up and keep hitting him with your strongest attacks. Eventually he'll go down.
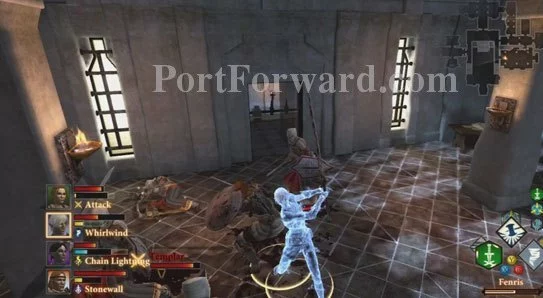
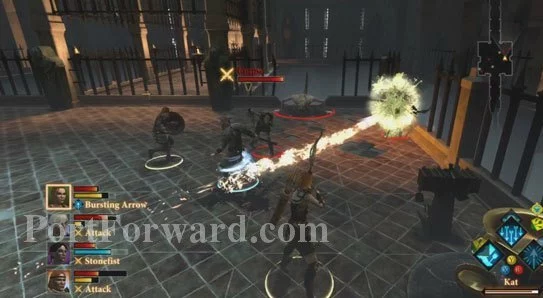
Much tougher is a room to the southeast filled with powerful Templar/Mages. You will want to use powerful area attacks as soon as possible to take them out, then guard the door while reinforcements stream in. After the fight is over, you can purchase some additional healing items from Bodahn's shop.
More powerful enemies await in the courtyard. Leave the Templar Lieutenant to his own devices and he will bolster the rest of the forces, making it easy to get overwhelmed. When fighting the Mages, sweep through them with melee and area attacks before they can bring out the heavy artillery.
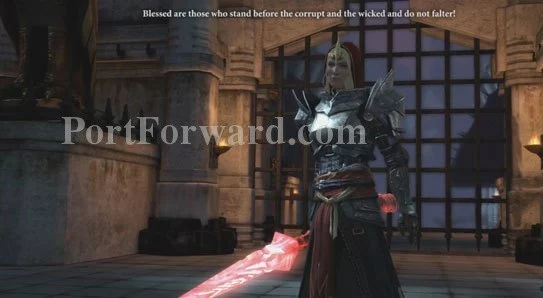
Meredith begins by battling you solo with her Lyrium Sword. Have your tank take her on while you rain damage on her. She mostly hits out with quick slash attacks and the occasional whirlwind strike, neither of which do a lot of damage. Do enough damage, and she retreats to call in a Gate Guardian statue.

The first Gate Guardian is extremely slow and has few attacks, so it's not a huge threat. As the battle continues though, Meredith will summon more and more statues to her cause. Hit them with everything you've got before they use their powerful area attacks on you.
When Meredith's life bar falls far enough, she begins using an area attack that wipes away about a quarter of the party's lifebar and stuns them for a long period of time. When the stun wears off, keep pounding away with the help of the NPCs. When she goes down, you will have successfully completed Dragon Age 2!
More Dragon Age 2 Walkthroughs
This Dragon Age 2 walkthrough is divided into 24 total pages.


