
This Grand Theft Auto V walkthrough is divided into 83 total pages.
You can jump to nearby pages of the game using the links above.
The Big Score (Obvious)
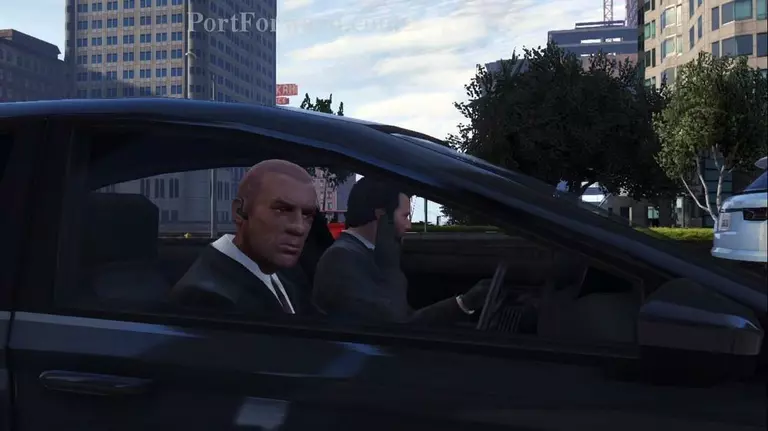
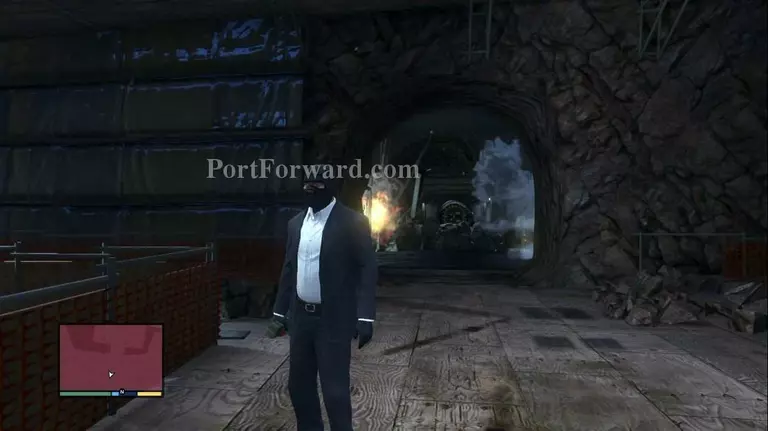
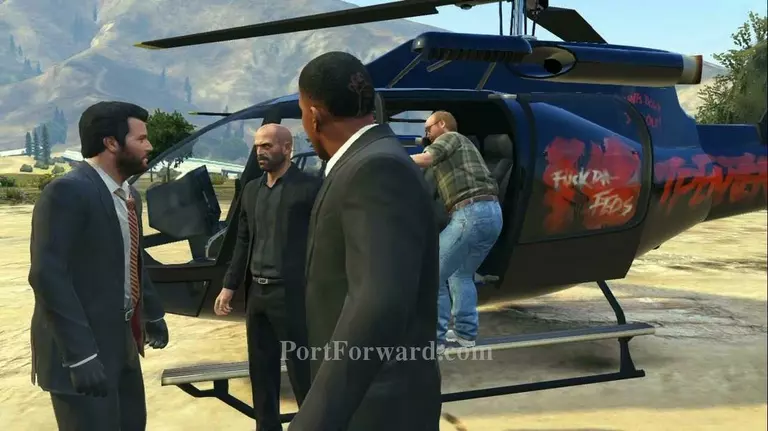
After the cutscene, get into Mike's car and meet up with your gunman at the Depository.
From there, control will switch to Franklin.
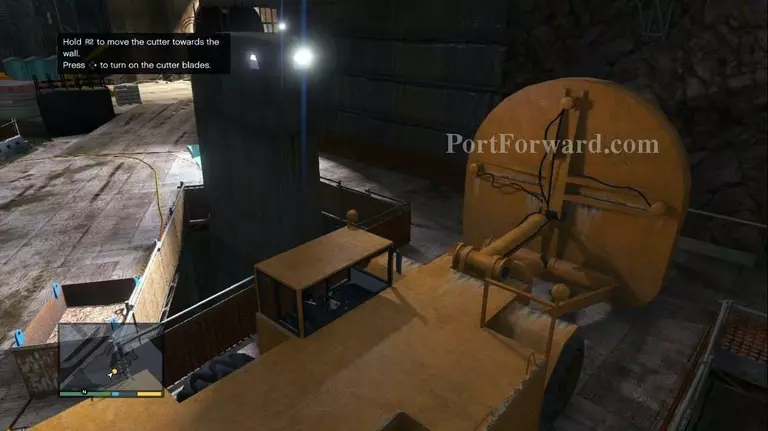
Move the Driller to the right side and then burrow through the wall using the D-Pad to activate the Driller.
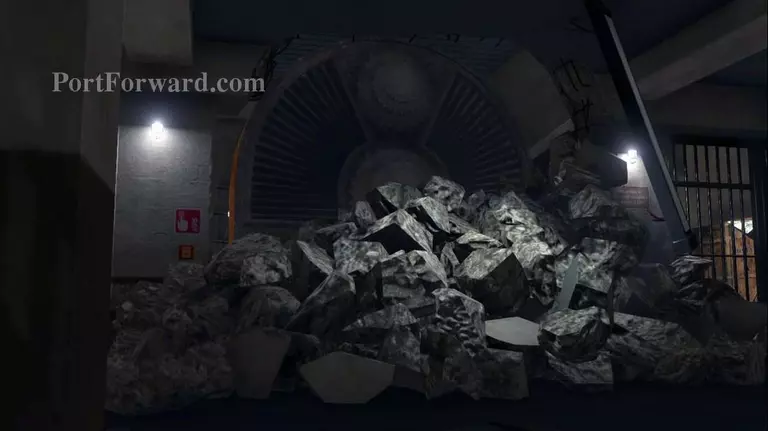
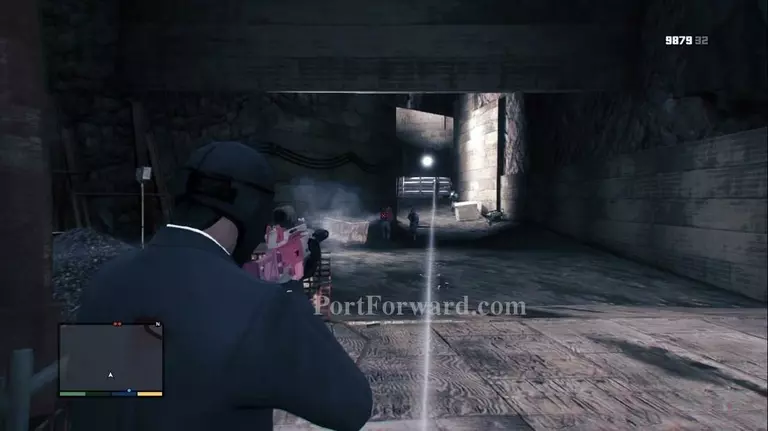
With the vault wide open, reverse the Driller and then move towards the locked caged doors. Set sticky bombs on the bars of the cages and the back out and blow the doors.
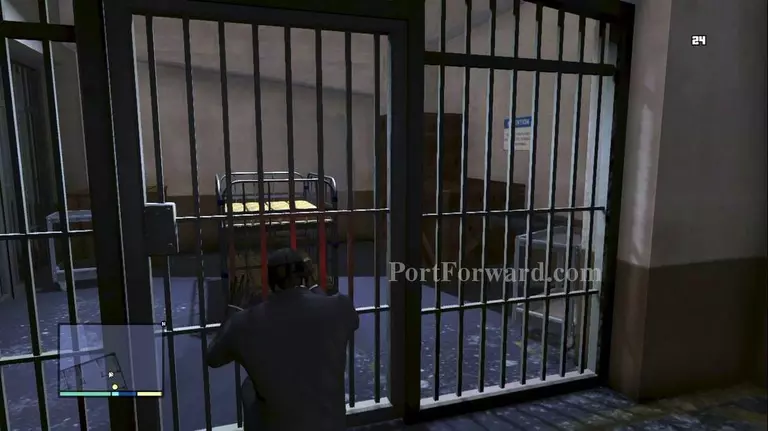
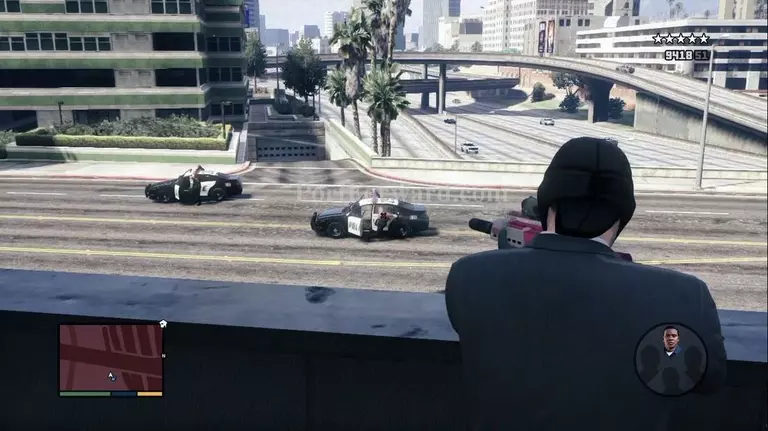
Once the doors are open, NOOSE will swarm the tunnels, so take cover!
Take up position to repel the guards coming through the tunnels behind you. The first batch will come from the south, the second from the north. You can use the construction cover near the tunnel mouth against both squads.
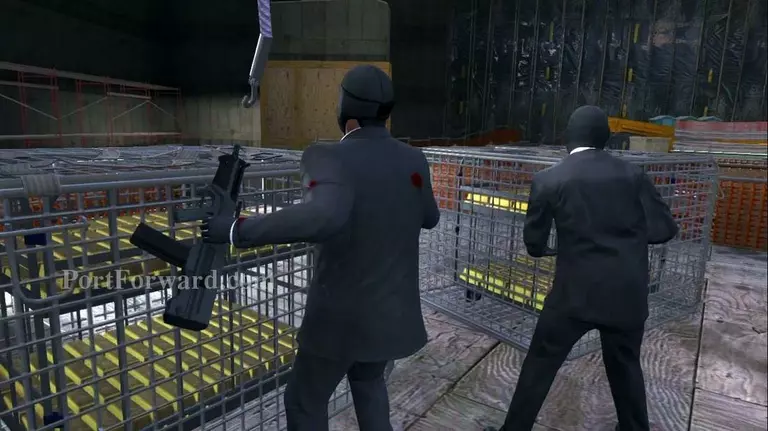
With the guards out of the way, a quick cutscene triggers with Frank and your gunman hooking the gold bars onto the latch.
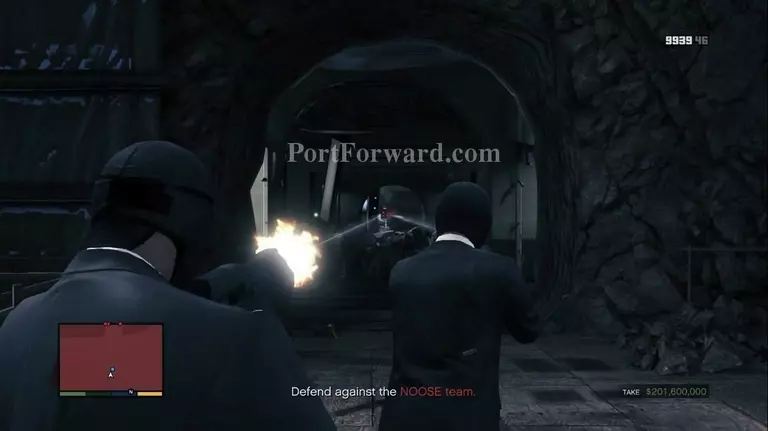
Several more NOOSE guards swarm in from the bank vault, so take cover and flush them out.
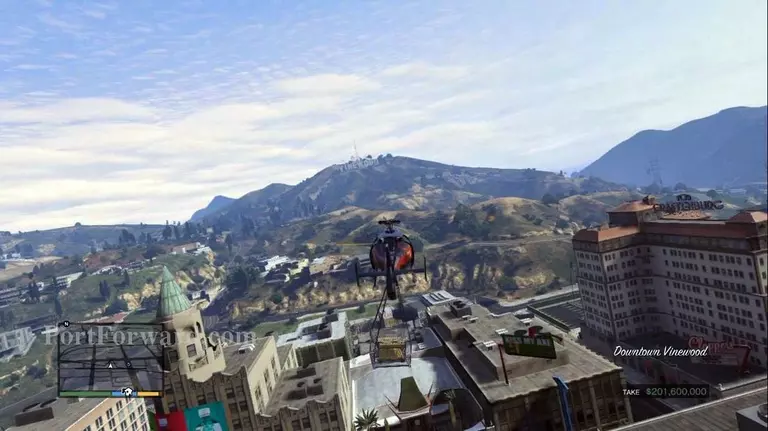
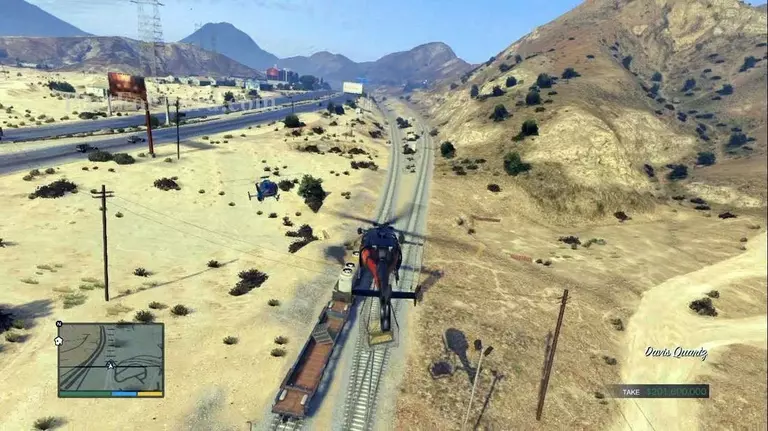
When the coast is cleared, switch to Trevor when prompted and fly the gold bars out of the city limits. Midway during the flight, switch to Michael when prompted to begin the next escape sequence.
Maneuver Michael and his fellow gunman in cover down this walkway and descend the stairs at the end. At the bottom of the stairway, use a rocket to dispatch the helicopter.
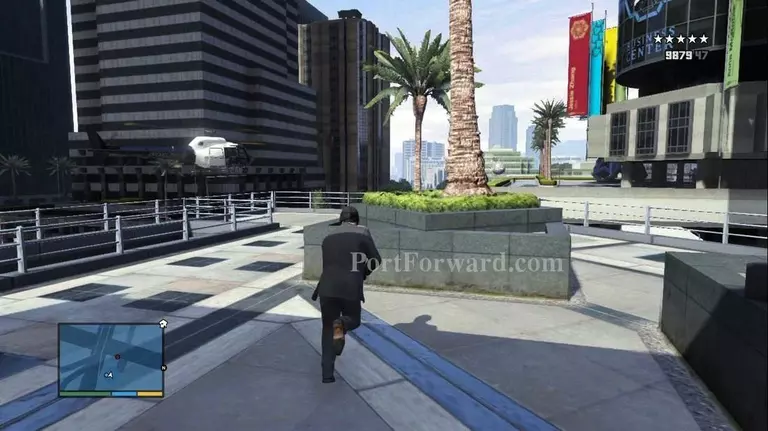
Join up with Franklin at the adjacent bridge and fight your way out towards the Arcadia Center.
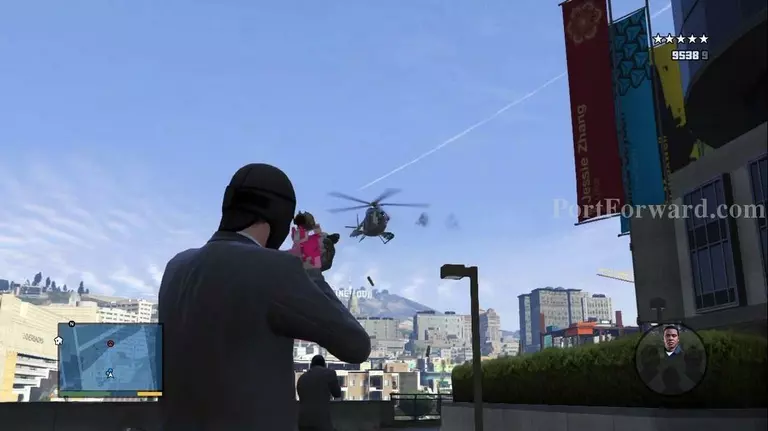
You'll encounter a second helicopter, so shoot it down! From there, advance forward and another chopper flies in, so gun it down.
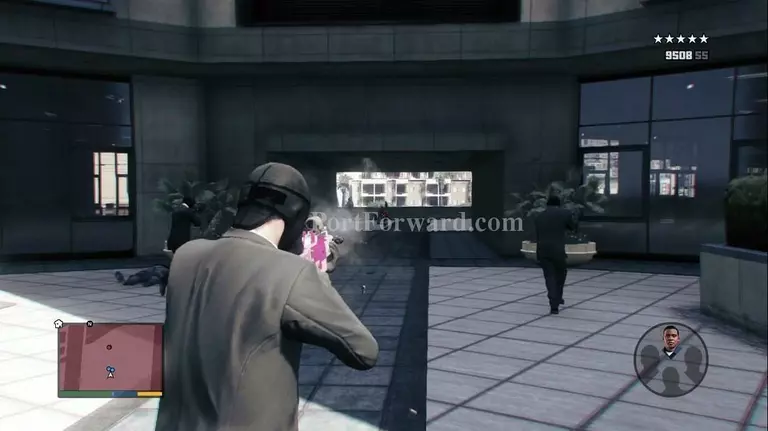
Follow the team down and around the building. As you get closer towards street level, several cop cars zoom in for some fun. Take cover and shoot all the cops as you descend the stairs towards the getaway vehicle.
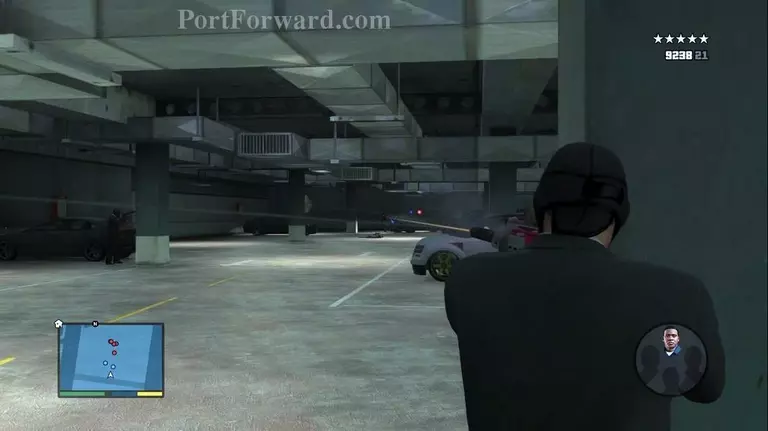
In the garage, use the posts for cover and fight off several waves of FIB cars. Use rockets against the enemy cars as they enter the melee to thin out the opposition, but be careful that you donât destroy the getaway car.
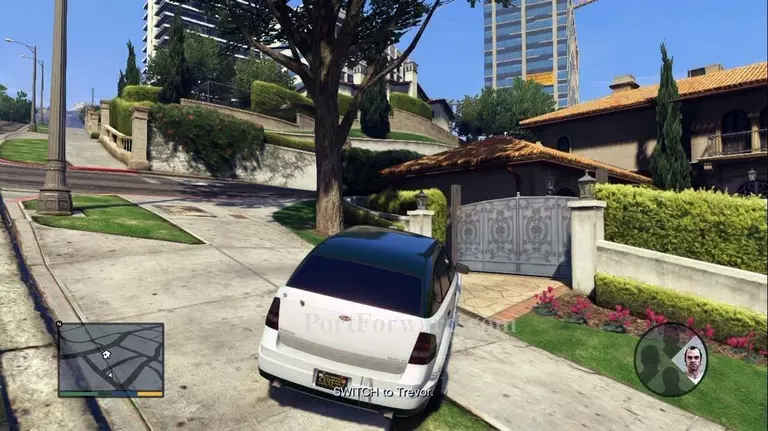
After the FIB squad is out, get in the getaway vehicle and drive out. Your next task is to escape a five-star wanted rating. The mass of cars pursuing you is almost impossible to shake on the road. Using your custom armored getaway car, head offroad down steep ravines and mountainsides to shake masses of pursuers. Embankments and walls are your friend. Get out of sight, hide, and use your radar to avoid pursuers. When the coast is cleared, switch to Trevor when prompted.
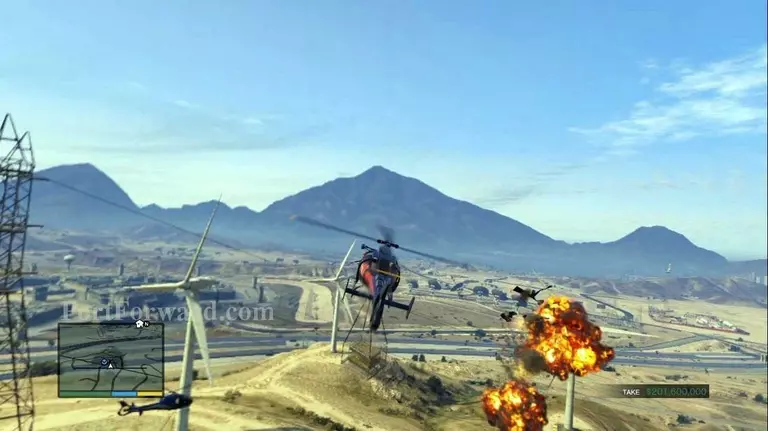
Three Merryweather choppers intercept your two copters. To kill them, simply get close to each and fly level. Donât turn tightly once you are close, just stay straight and Lester will shoot them down easily with rocket fire. Move in quickly or theyâll shoot down your companion chopper and end the mission!
GOLD MEDAL REQUIREMENTS: "CHA-CHING
With the gold bars towed away on the train, fly back to the airfield to complete the mission.
More Grand Theft Auto V Walkthroughs
This Grand Theft Auto V walkthrough is divided into 83 total pages.


