
This Grand Theft Auto V walkthrough is divided into 83 total pages.
You can jump to nearby pages of the game using the links above.
The Third Way (Deathwish)
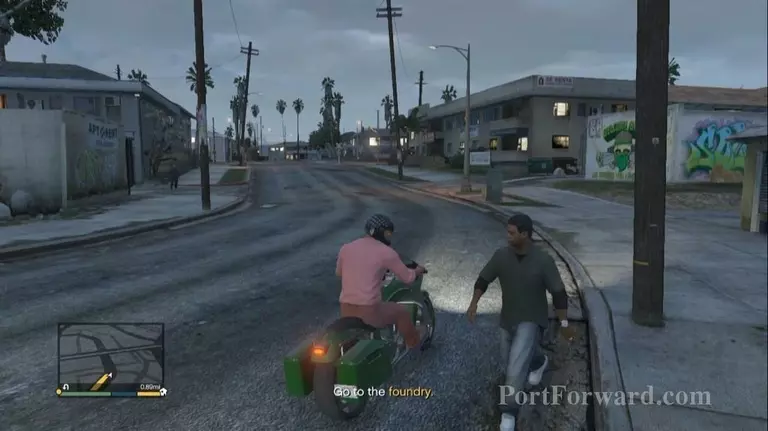
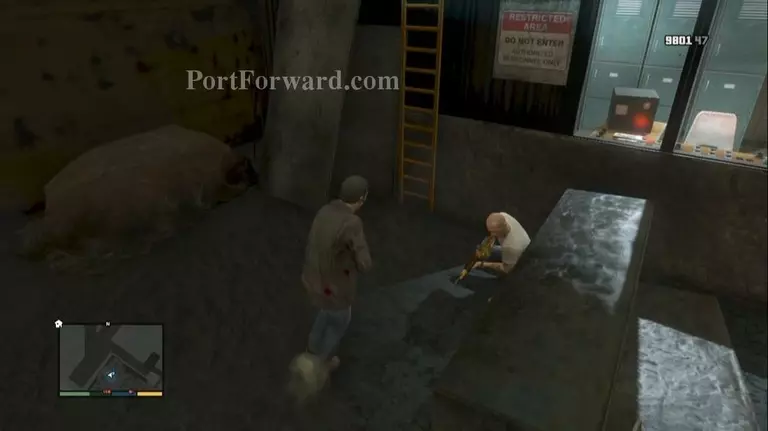
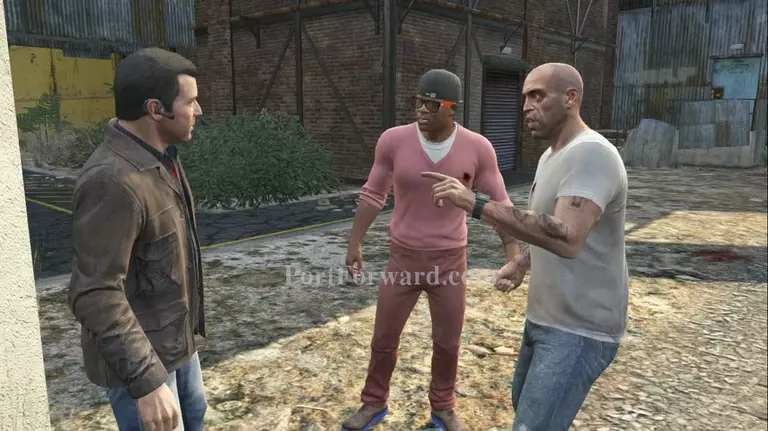
The Third Way is the final GTA 5 Mission. It is one of three choices for the gameâs resolution and the chosen path in this Walkthrough. As soon as the mission starts, get in a vehicle and drive over to Lester's house for some advice. Lester suggest coordinating an ambush at the foundry.
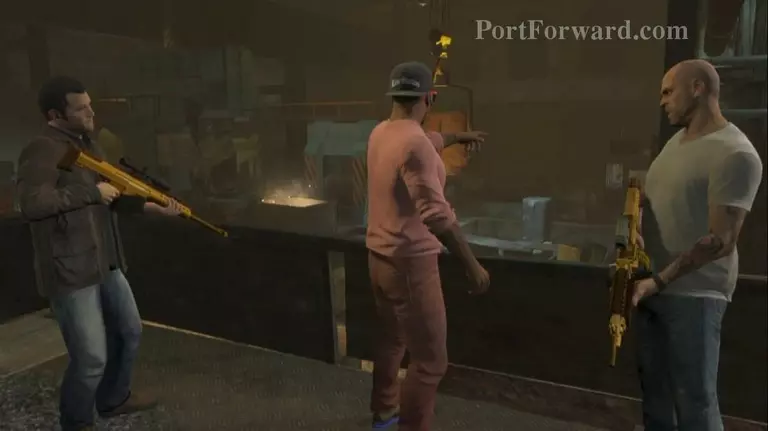
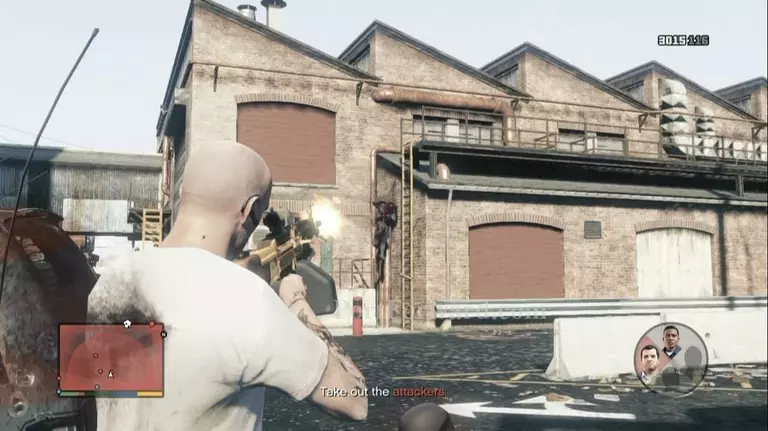
From there, get in your vehicle and pick up Lamar at his house and then hightail it to the Foundry to meet up with Michael and Trevor. Franklin will set up the attack formation. Youâll each take position in different parts of the room and await the coming of an army of assorted mooks.

There are simply too many enemies to even think about breaking cover in this encounter. Stay low unless movement is absolutely necessary, and immediately re-enter cover.
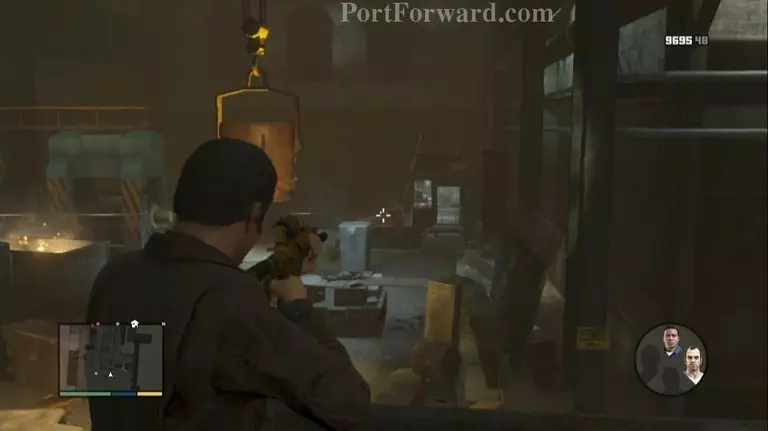
The Assault Shotgun will serve you well in these close quarters. After Franklin springs the ambush, switch to Michael when prompted and sweep the catwalk.
When Lamar calls, switch to Franklin, break cover, run along the catwalk, drop off the end, and head out the door through the control office. Use the car for cover and clear out the attackers.
When Trevor goes quiet, switch to Michael. Clear out the center of the room, cross, and take cover next to Trevor hiding next to the control room.
Fight off another wave of enemies and then switch to Trevor and clear out the enemy attack indoors.
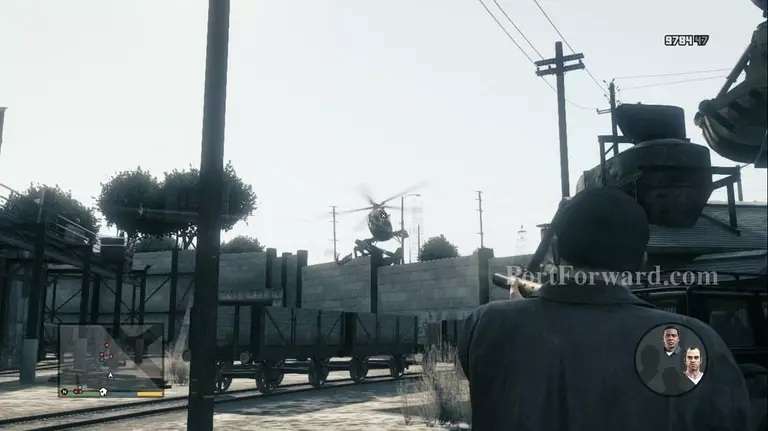
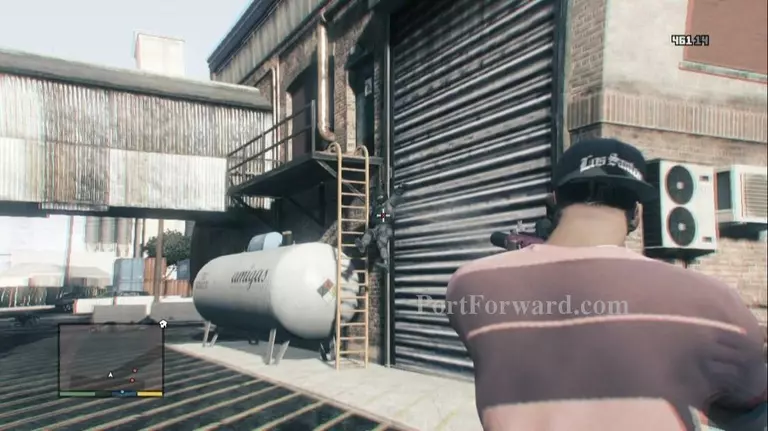
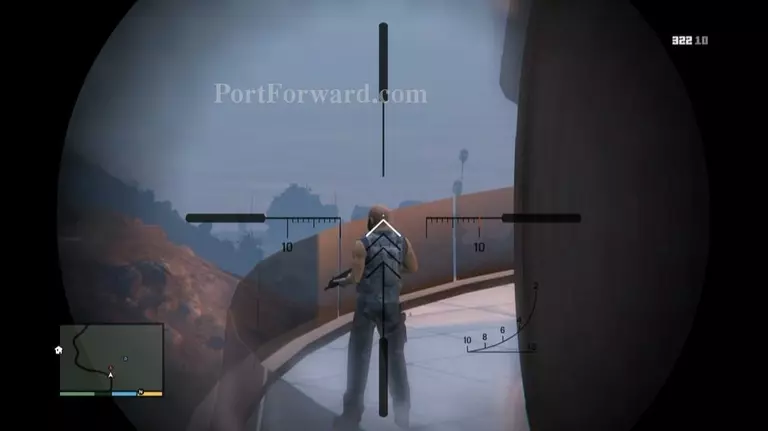
When the room is cleared, switch to Michael and fight off the hostiles that emerge at the other side of the foundry. Use headshots to kill off the hostiles that arrive in the helicopters and eliminate the rest.
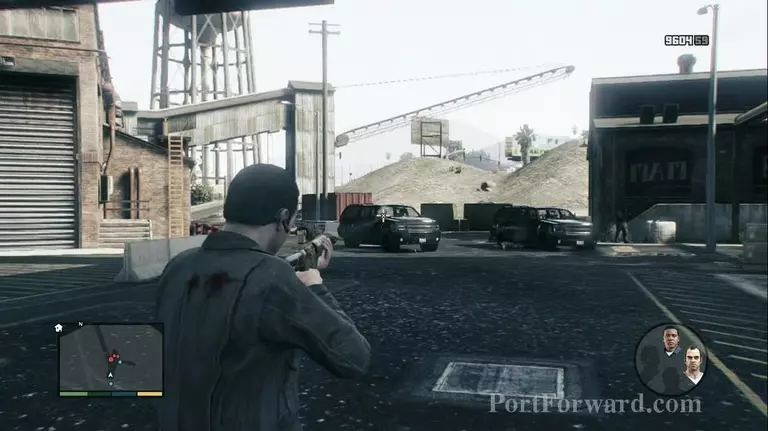
Once the side of the foundry is cleared of hostiles, make your way towards Franklin and Trevor and assist them in eliminating the rest of the FIB agents. When the area is cleared, move over to the waypoint to trigger a cutscene to end this section of the mission.
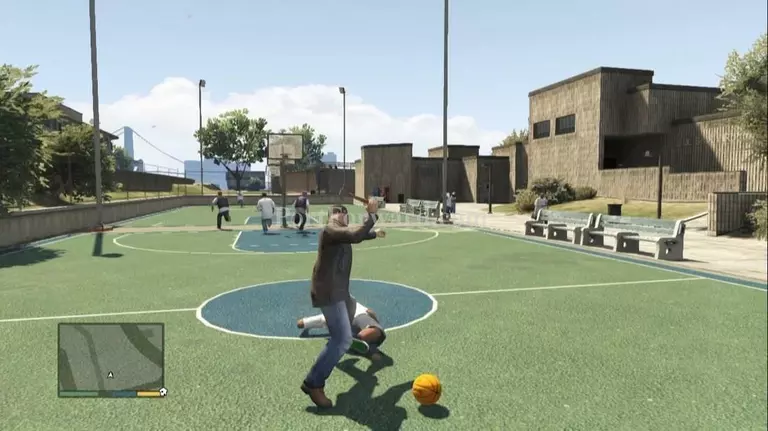
"At this point, the decision is made that Franklin will assassinate the Chinese mob boss, Michael will kill Stretch, and Trevor will take out Steve Haines AND Devin.
GOLD MEDAL REQUIREMENT: "STICK, TICK...BOOM!
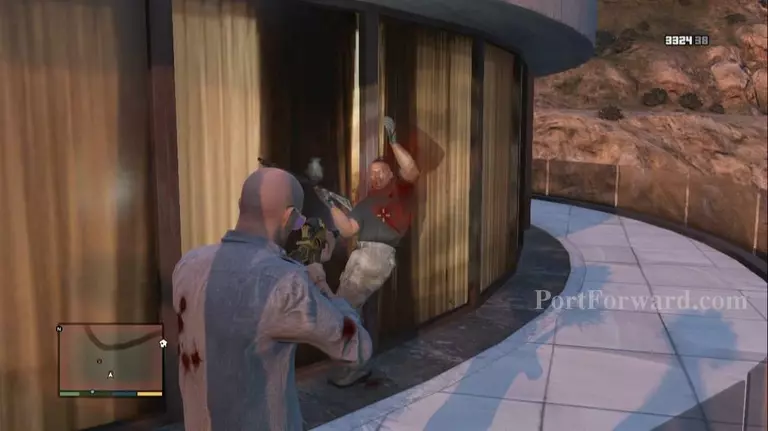
Once one of the bombs stick, detonate it to achieve the requirement! From here, switch to Michael. When Michael arrives at his destination next to the basketball courts, exit the car and equip a melee weapon (preferably the Hammer).
GOLD MEDAL REQUIREMENT: "STRETCHED OUT
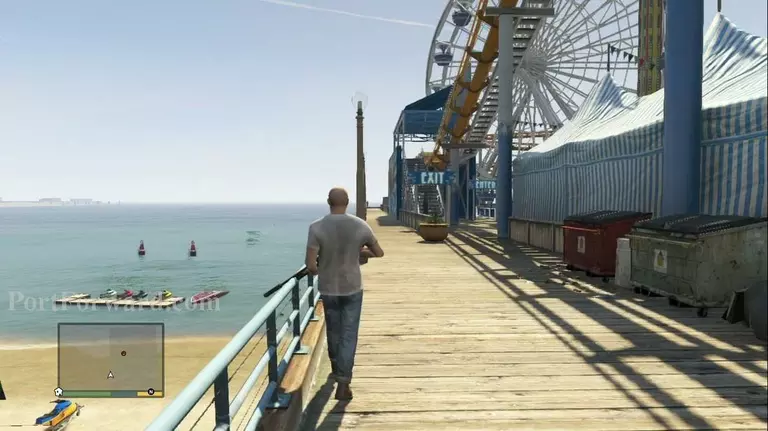
When Trevor arrives at the pier, stop halfway thru and run towards the back of the ferris wheel with a suppressed Sniper Rifle in hand.
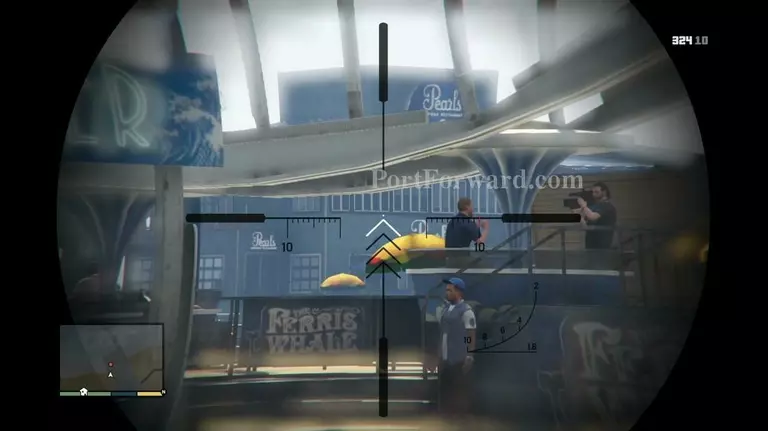
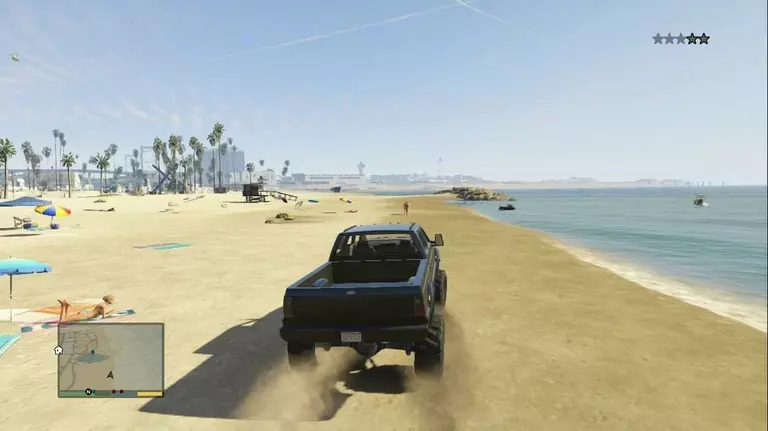
GOLD MEDAL REQUIREMENT: "LEAD LOBOTOMY
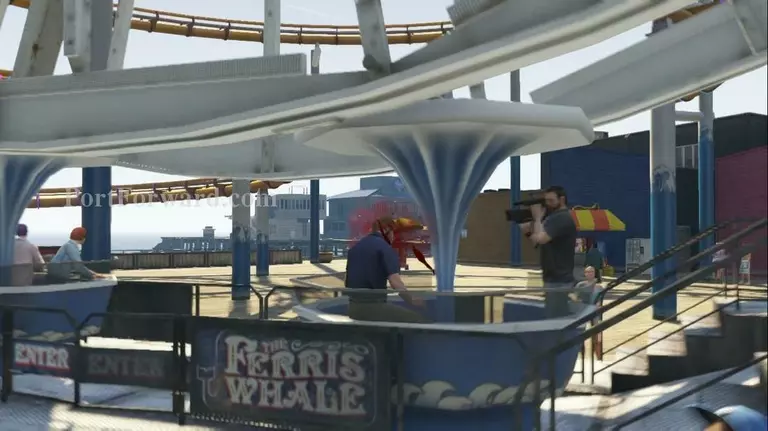
With Steve dead, jump away from the pier to the beach below and steal the nearby 4x4 pickup truck and hightail it outta there.
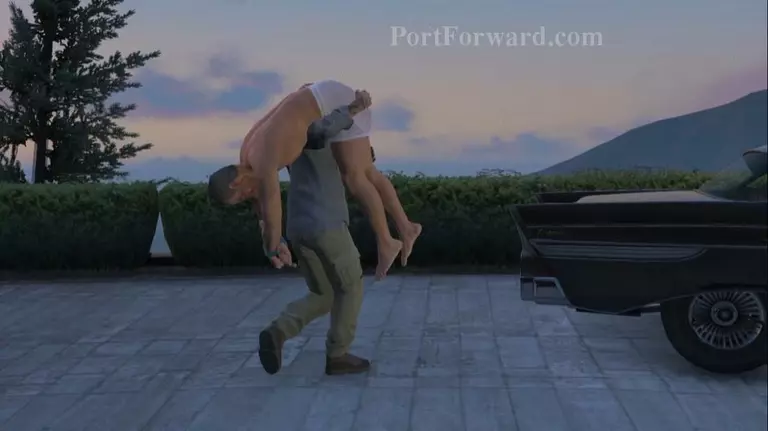
"From here, Trevor is tasked with finding Devin at his house.
Merryweather guards are all over the place so jump in and start spraying them all down.
When the coast is finally clear, approach the large basket at the lower balcony to find Devin hiding inside.
With Devin in tow in the trunk, drive to the final waypoint to trigger the ending cutscene.
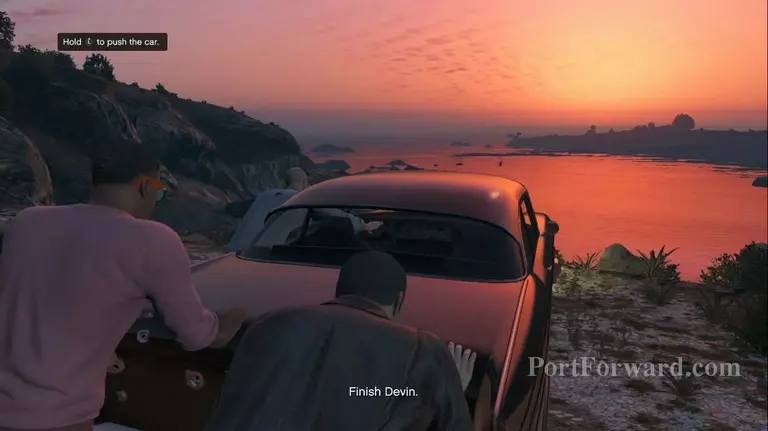
From there, help the guys push the car into the ocean to complete the game! WOO-HOO!!
More Grand Theft Auto V Walkthroughs
This Grand Theft Auto V walkthrough is divided into 83 total pages.


