This HAWKEN: War is A Machine walkthrough is divided into 5 total pages.
You can jump to nearby pages of the game using the links above.
Game Modes - Team Deathmatch
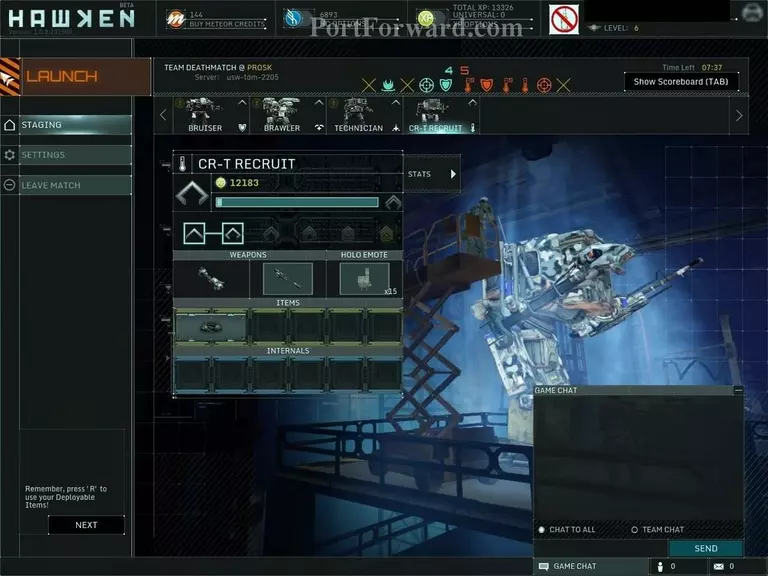
When you get in a game, you'll get to choose a mech. Choose anyone, test some, find the one you like best. Just remember; your actual mech is the recruit.
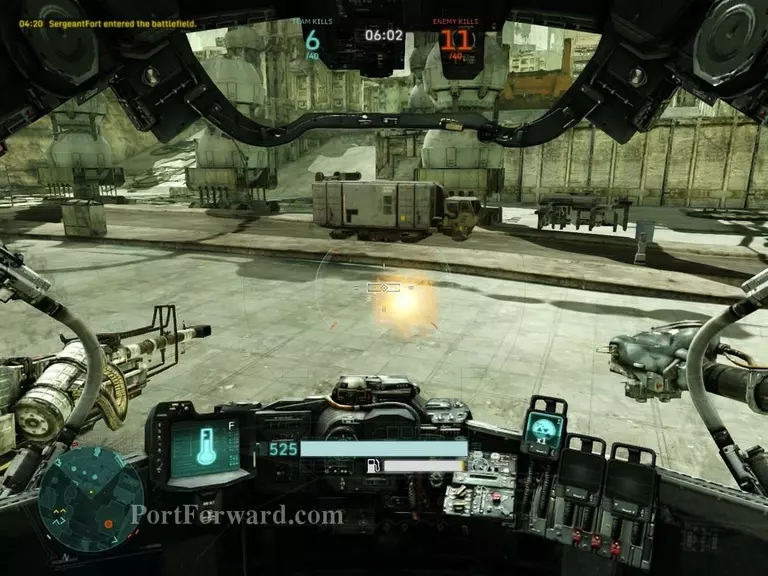
This gamemode is, obviously, a deathmatch with a team. All you do is kill other mechs. A good beginner's level.
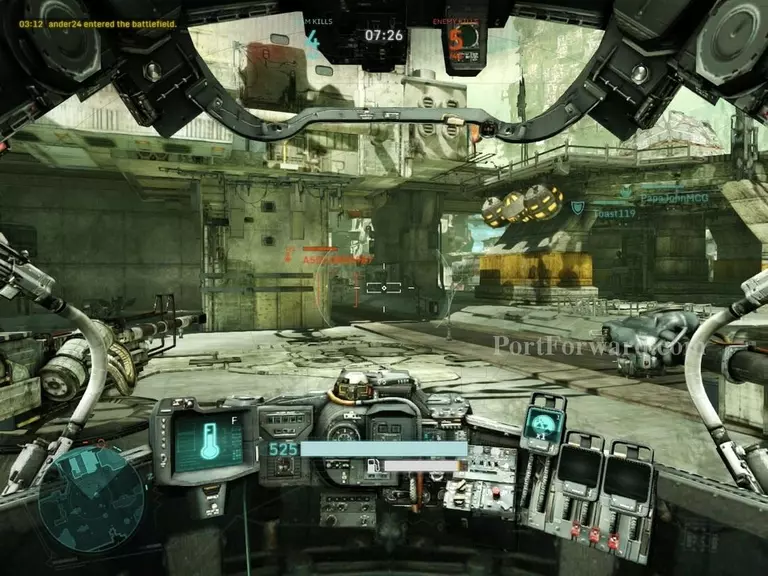
A good strat to keep your health is to hide around a cornor and peep out and shoot from the distance.
Even though I died because I suck doesn't mean it won't work.
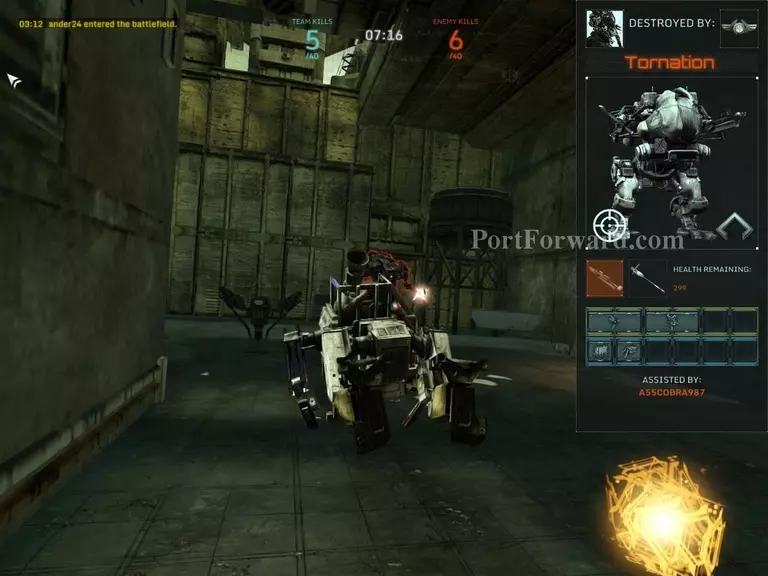
Also, these little things are health orbs. They are dropped when you destroy a mech or from any destroyed mech.
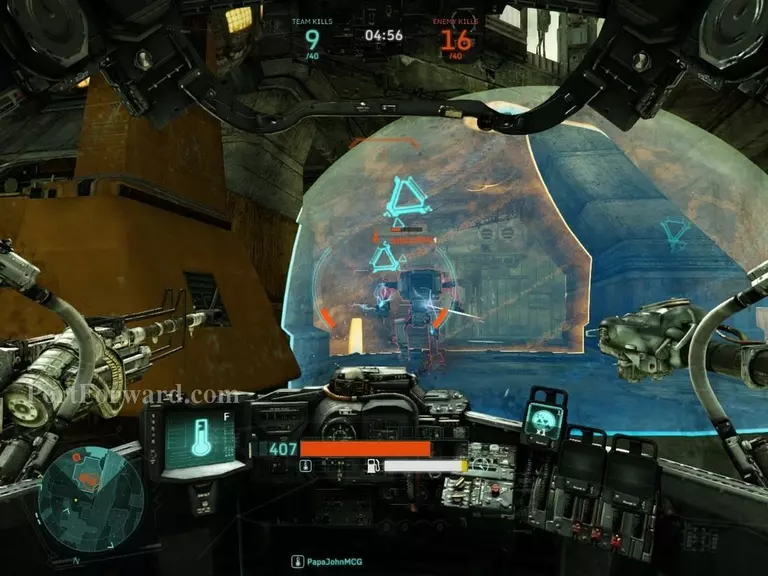
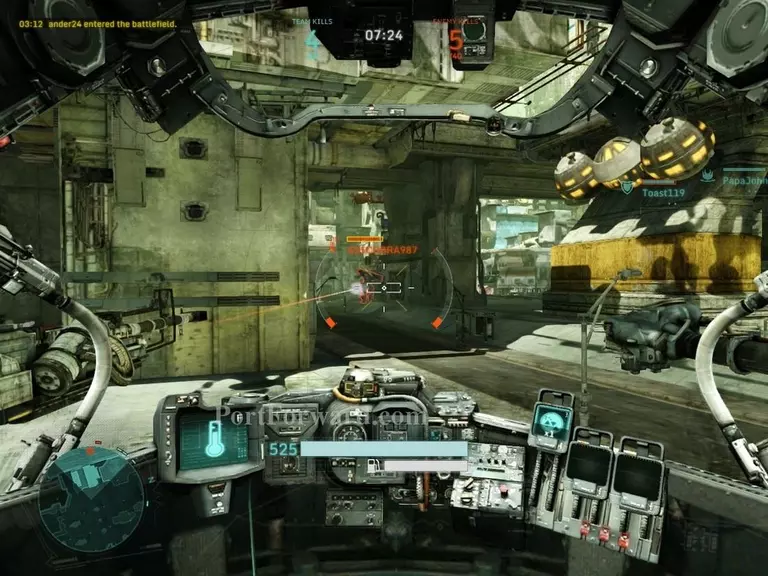
These shields are helpful. This should be your first drop item on your recruit. If you need to get some cover out in the open, use these.
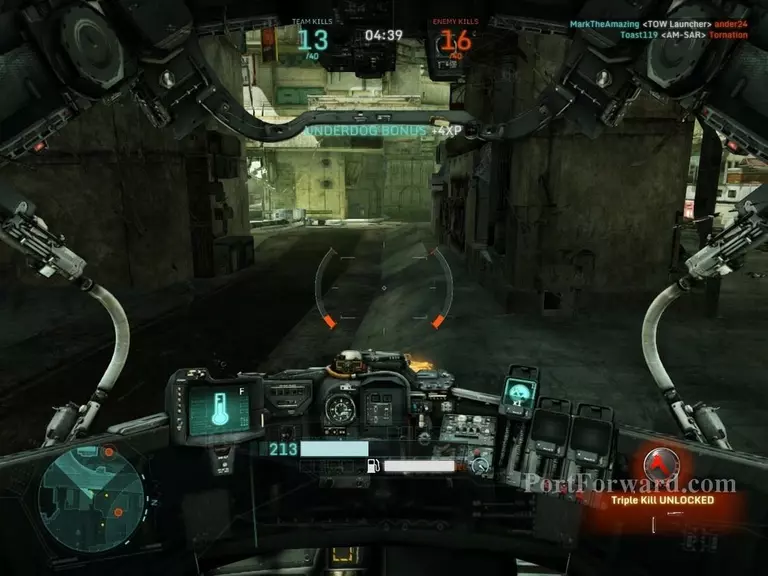
The highlight of this game for me, my triple kill. It was amazing and I think it may have been the big momentum shift in the game.
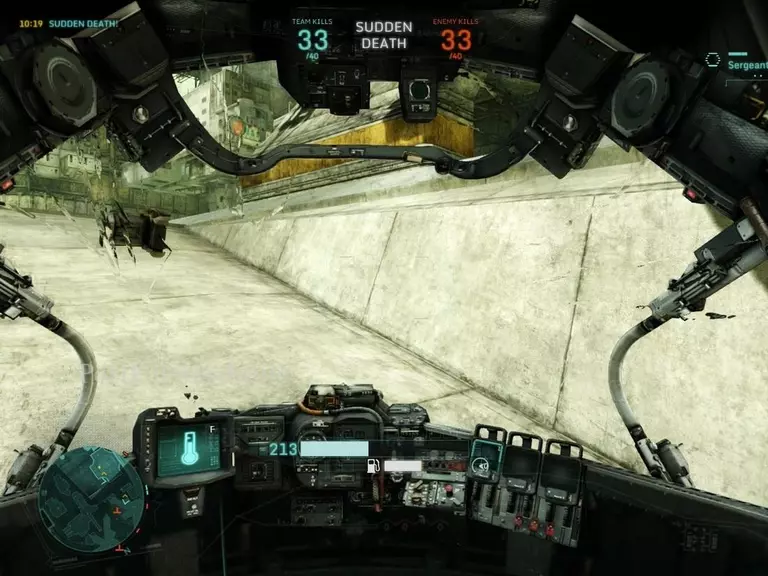
Because it was sudden death when time ran out.
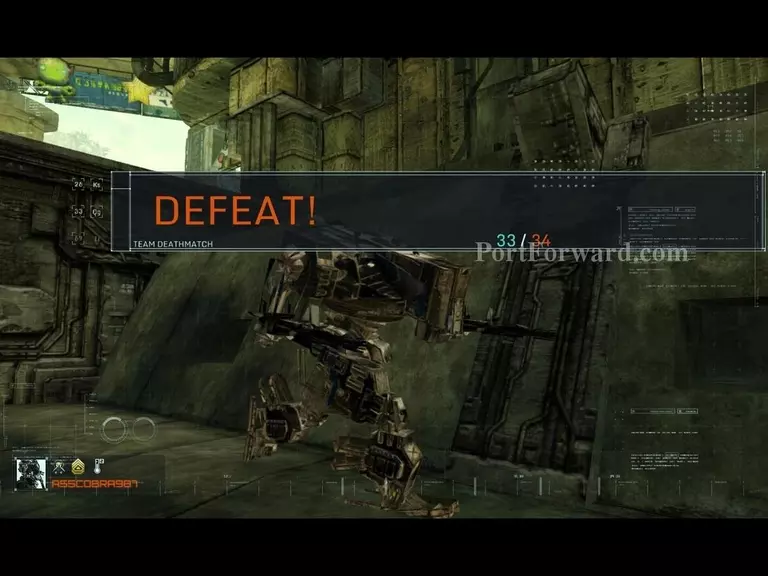
Sadly, we still lost.
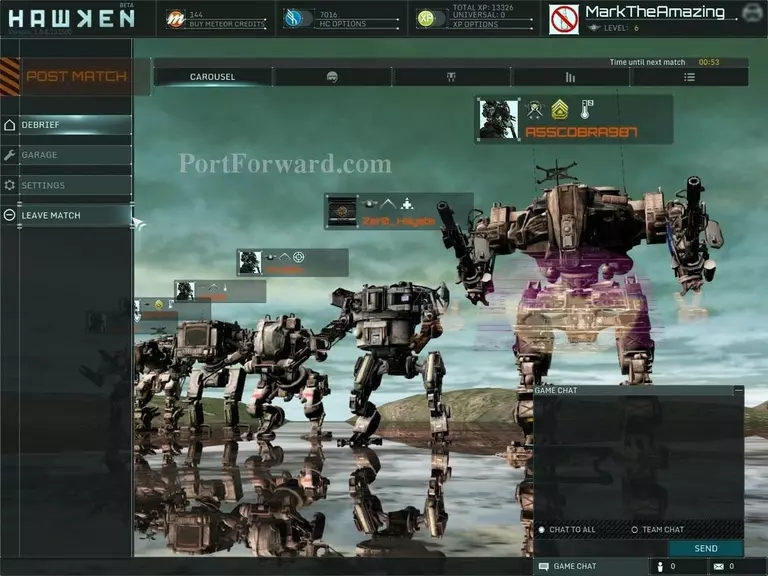
That's pretty much it for Team Deathmatch. Work as a team to get more kills faster than the other team. Easy. Now a littler harder game mode.
More HAWKEN: War is A Machine Walkthroughs
This HAWKEN: War is A Machine walkthrough is divided into 5 total pages.