
This Half Life 2: Episode One walkthrough is divided into 5 total pages.
You can jump to nearby pages of the game using the links above.
Exit 17
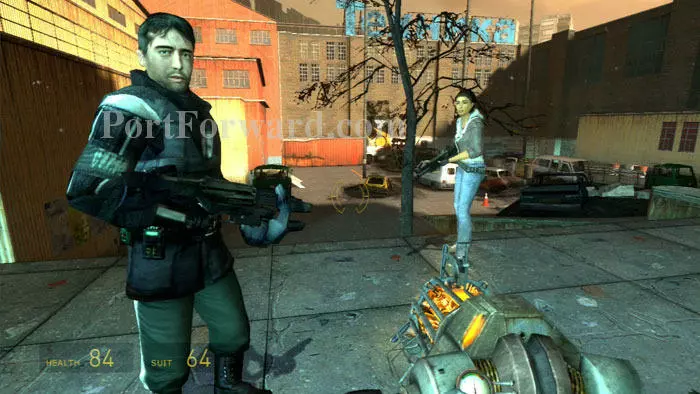
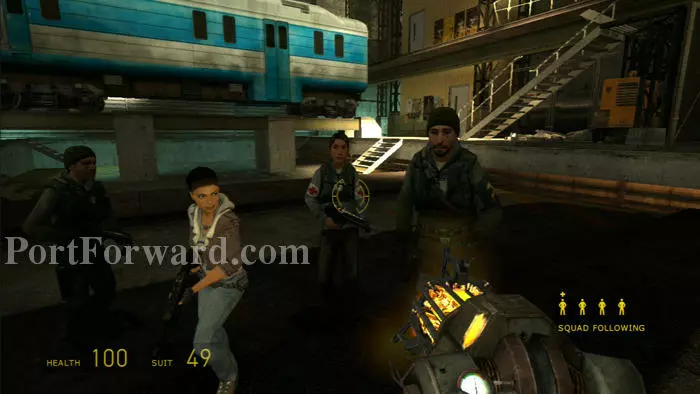
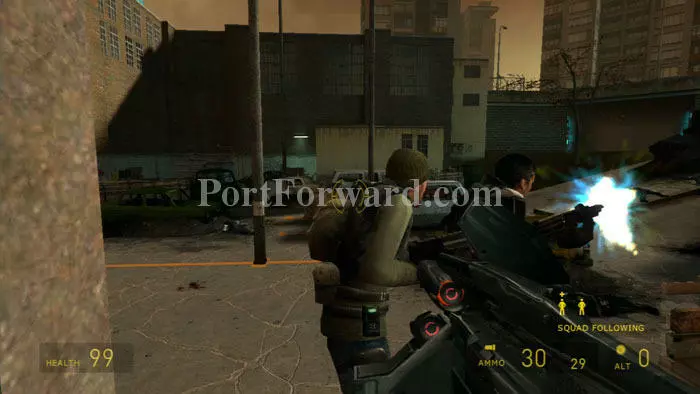
Hook-up with Barney and he'll lead you to a group of civilians ahead/left. You'll need to escort five groups of civilians to the safety of the train station, ahead/right.
Follow Barney up these stairs to the civilians - and a health station. Medkits are in the truck to the left.
Lead the first group of civilians to the train entrance seen ahead/left. Note the infinite supply of rockets -- you'll be needing that soon.
Another health station is inside, along with a milk crate full of small health packs. I recommend scattering these on the floor for easy pickup later.
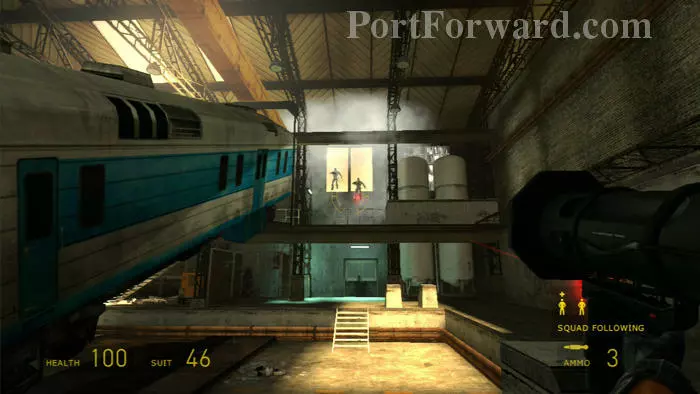
Here's the train station. Keep left and walk beneath both trains.
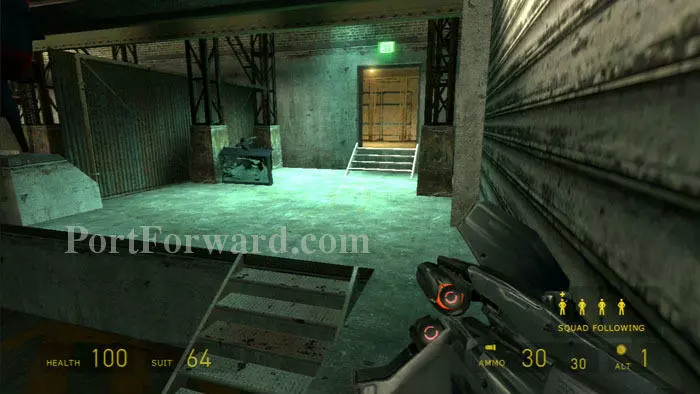
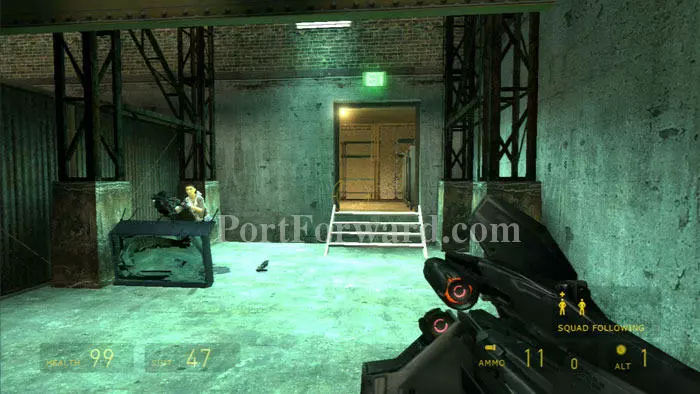
Lead the civilians through the doorway ahead where you'll find a third health station.
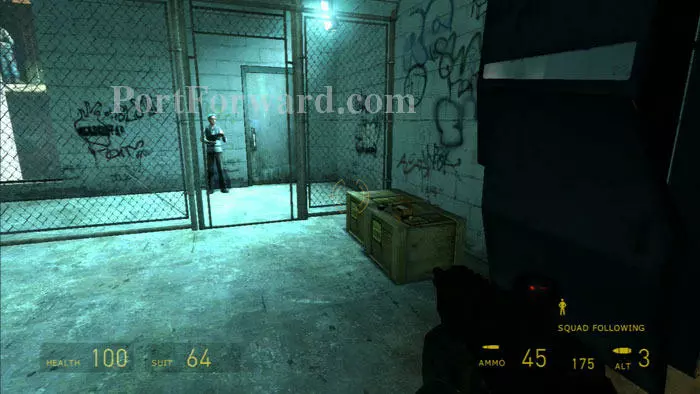
Follow the corridor to the checkpoint and supply crates. Alyx comments that you should have brought the entire group over at one time due to the lack of opposition. That's about to change.
Backtrack the way you came, battling manhacks and deactivating mines along the way.
Return to Barney for your second group of civilians.
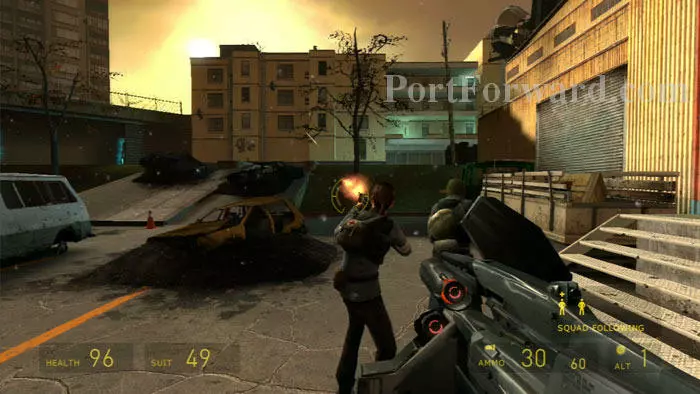
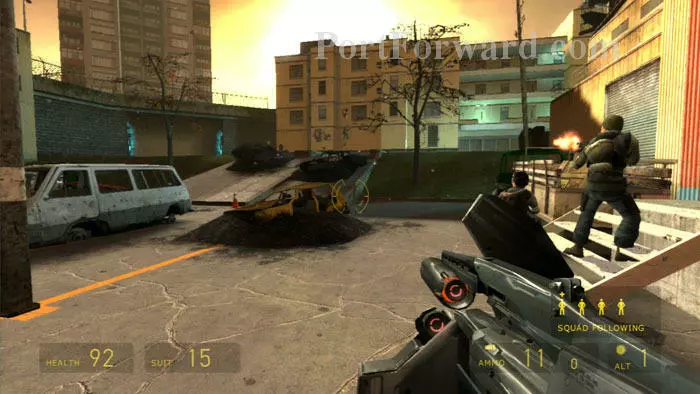
Soldiers will attack through these windows when you re-enter the train station. Infinite rockets are available outside so you might as well use them.
Lead the civilians back to Alyx.
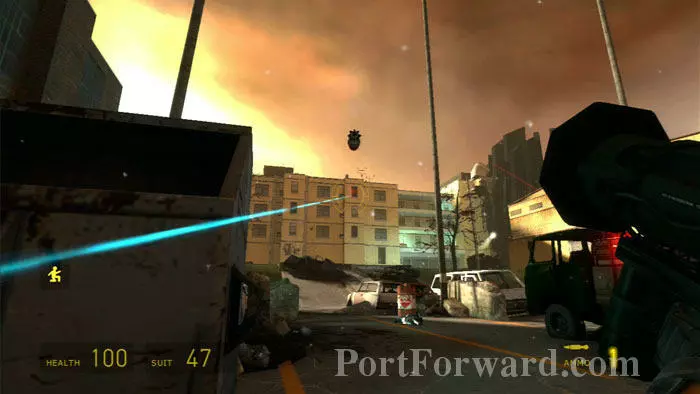
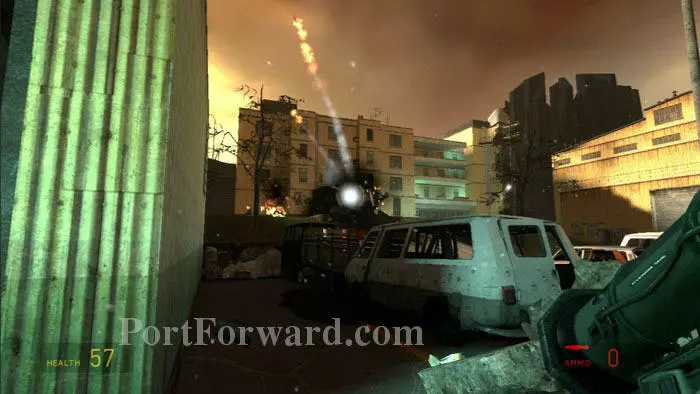
You'll have a sniper to contend with on your way back to Barney. Rockets quickly take out the sniper's nest.
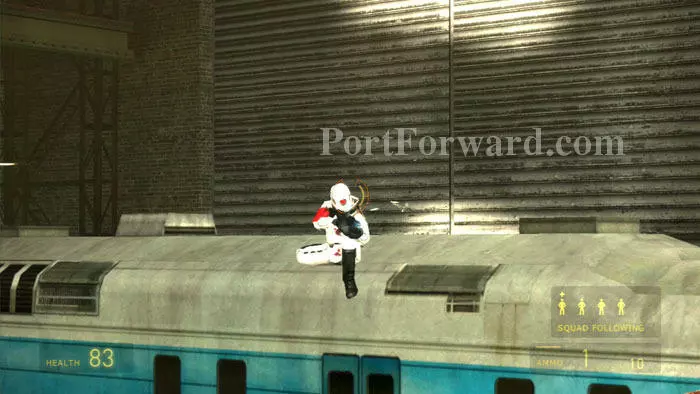
Infinitely-rappeling Combine are not worthy of your attention. Get this third group to the train station without delay.

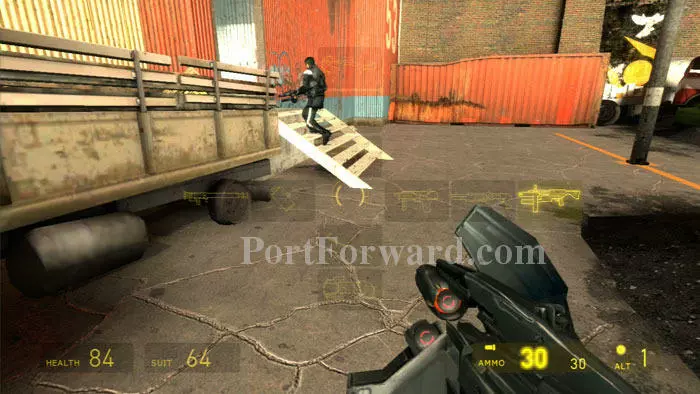
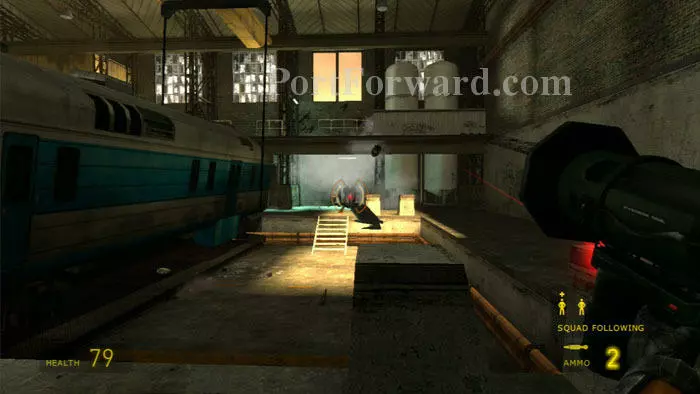
Overwatch attack. The train on the left falls, blocking your way, but the catwalk on the right has become a ramp.
This is a good time to use your crossbow.
This is a safe drop for you and the civilians as you return to Alyx.
You'll meet heavy resistance on this return trip to Barney. You'll need to use multiple rockets to destroy this Combine tank before he'll send the last group of civilians over.
Rockets will also be useful when brining your fourth group into the train station. Keep your civilians safe by not advancing too far into the station. Keep your launcher aimed at these doors so you can blast at the two waves of combine when they come through.
More Combine attack through these windows as your squad nears Alyx.
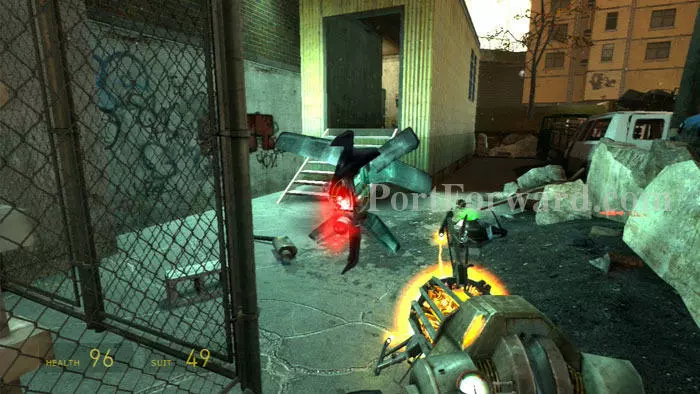
Manhacks and CPs try to prevent your final return back to Barney.
This time, Barney will come with you and the two last civilians.
More soldiers provide sniping targets in the train station.
Alyx locks this door once you're inside. Rescue all of the hostages and earn the Citizen Escort achievement.

Wave good-bye to Barney as the train departs with him and the civilians.
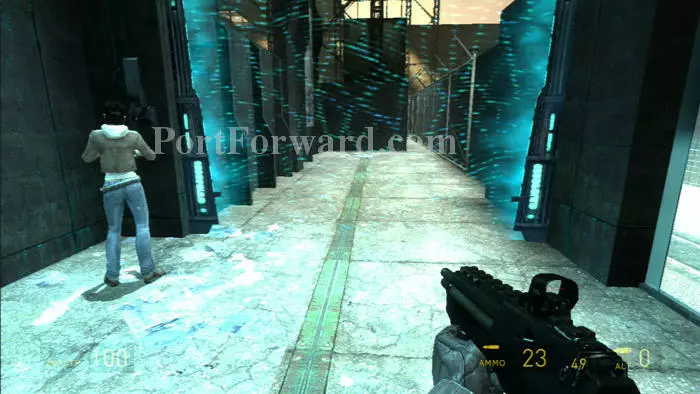
Continue through here once Alyx deactivates the force field.
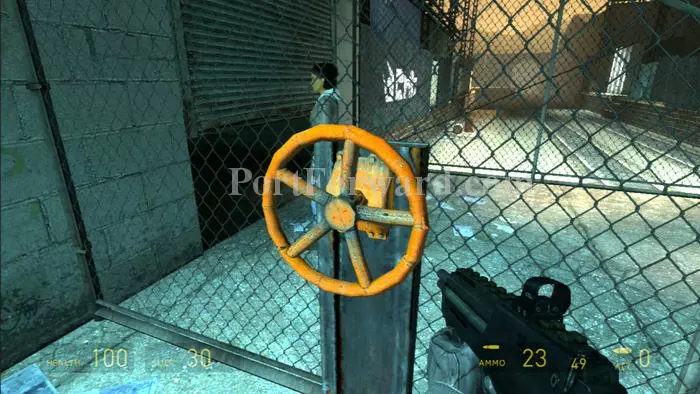
Turn this crank to open the door for Alyx to slip beneath. You won't be able to follow because the door lowers as soon as you release the crank.
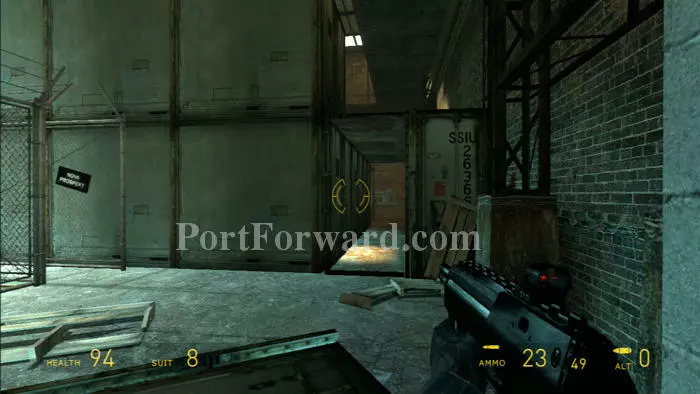
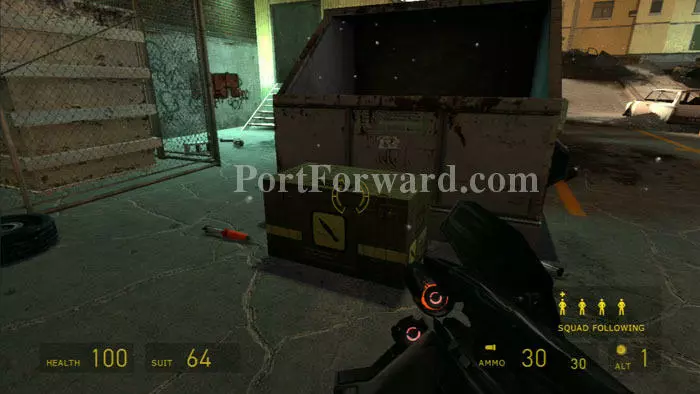
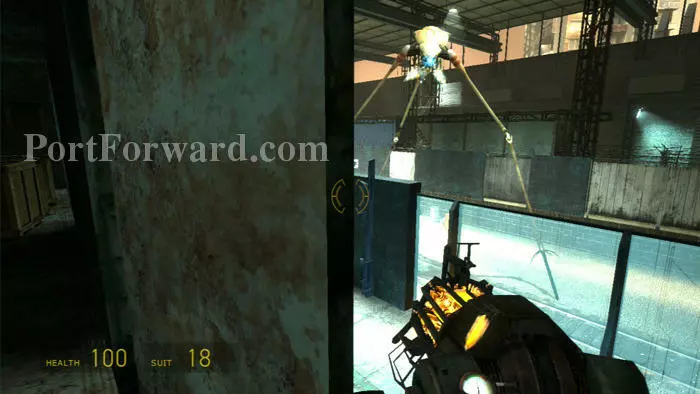
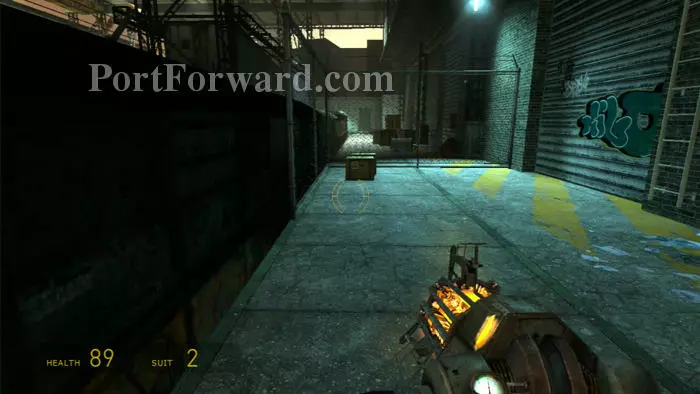
A stryder attacks, blasting open this shipping container. Head through.
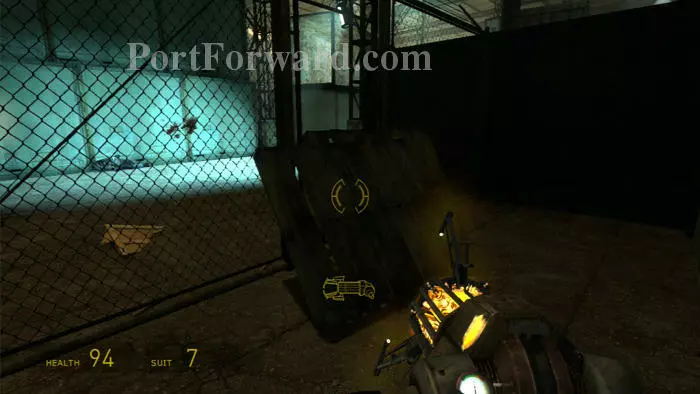
Remove these pallets to continue passed the fence.
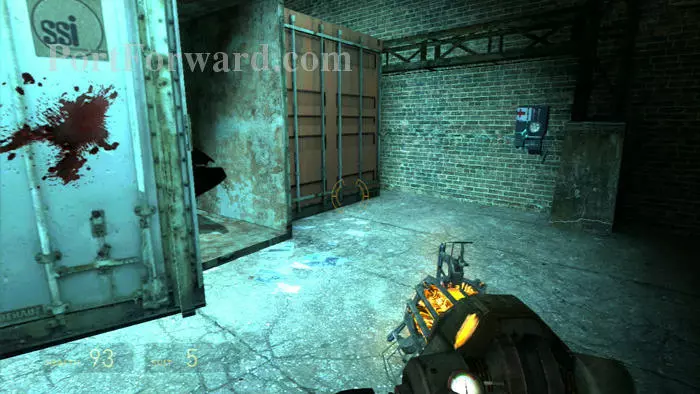
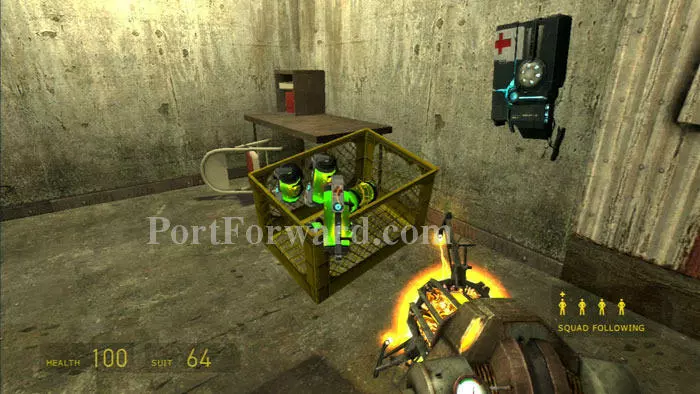
Use this health station then enter this shipping container, holding supply crates and two head crab bombs. Move quickly or else the stryder's fire will release the crabs.
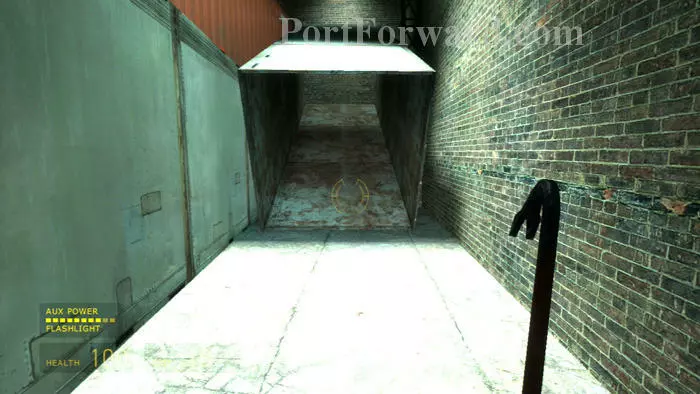
Ramp up here
Find more supply crates and head crab bombs in this next container. Don't bother shooting the stryder, you can't bring him down yet.

Around the next bend is this jump, where you can ramp up the container you used a moment ago.
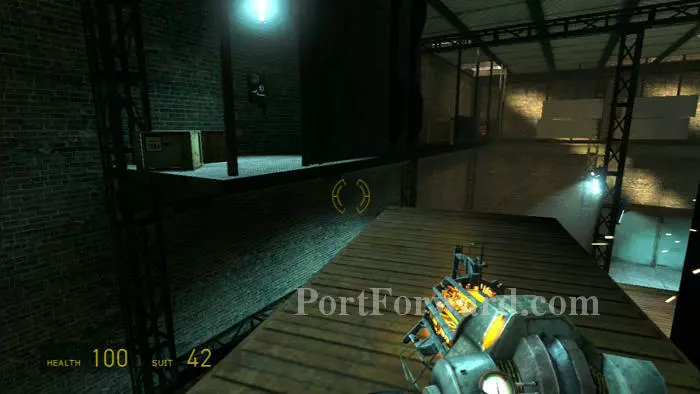
Quickly jump to the catwalk before the stryder can target you. Note the supplies and health station - all vulnerable positions.
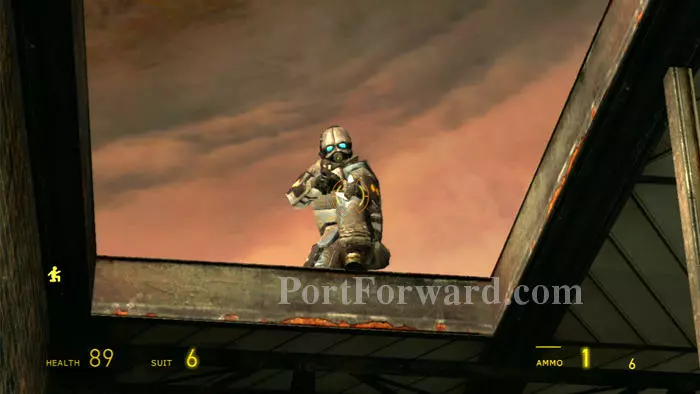
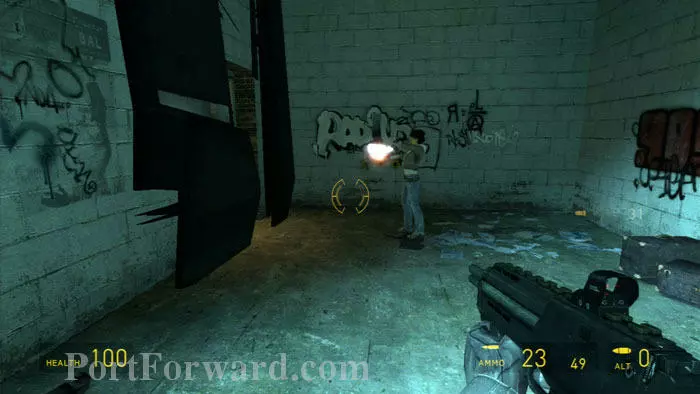
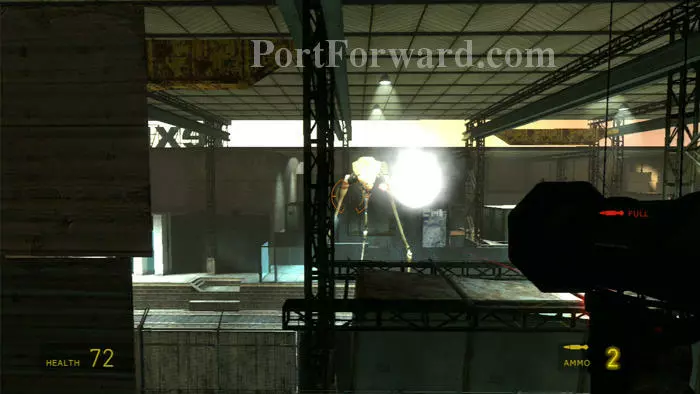
Beware the flaming barrels sent your way by this soldier. Explode the barrels with your pistol or shoot them aside with your gravity gun before sniping the soldier.

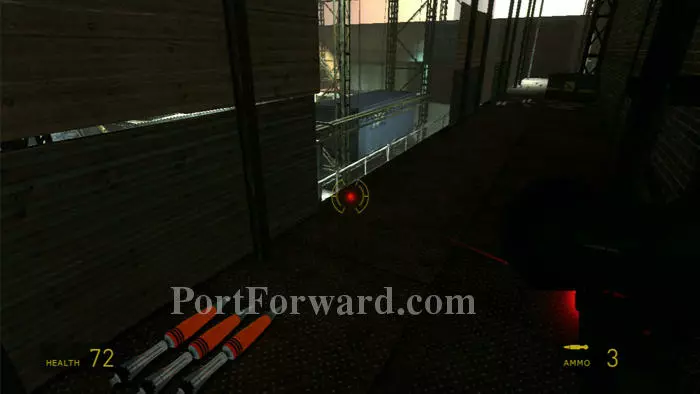
Use your gravity gun to deactivate the mines lining the catwalk, all while taking cover behind the metal sheeting lining the railing.

Leap to the ledge below and open the supply crates for health.

Drop to the ground below.
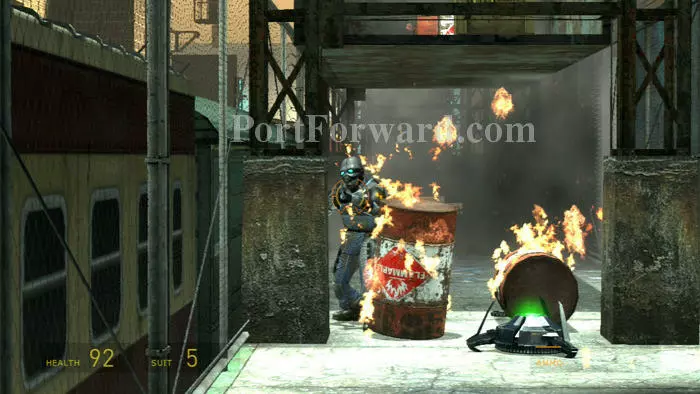
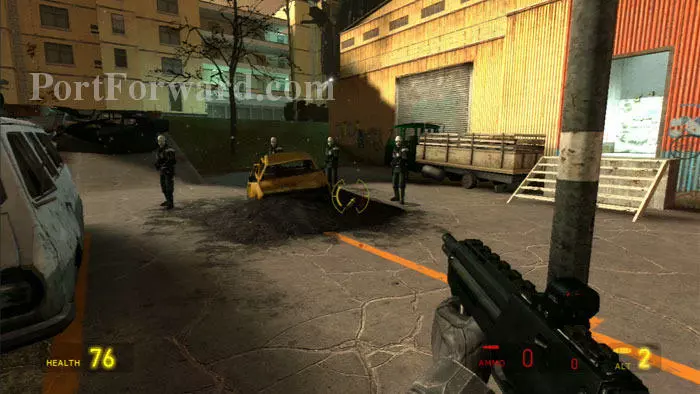
More flaming barrels, jumper mines and soldiers. Don't waste your ammo on the soldiers -- the exploding barrels will take them down. Focus on shooting the barrels before they get too close.

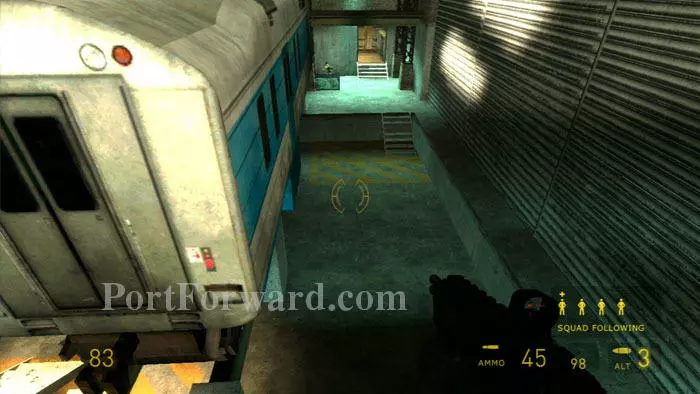
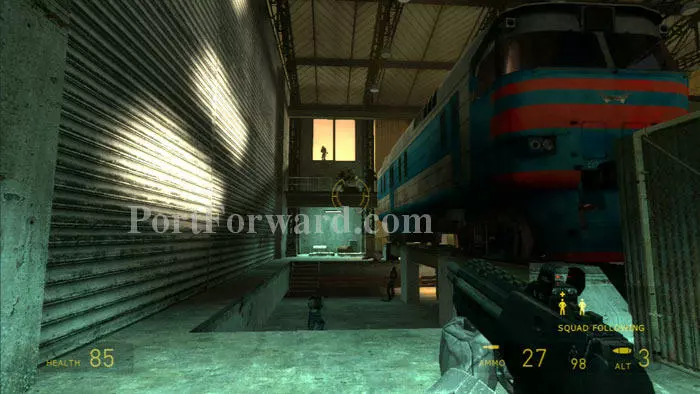
Slip between the trains here on the left.
Grab the supplies on the left then climb the ladder on the right.
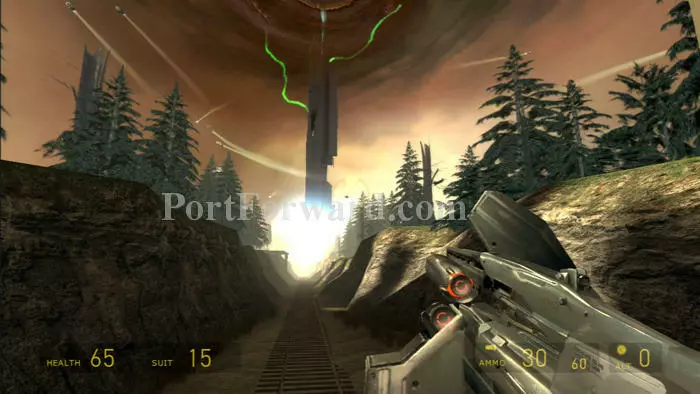
Plenty of rockets. Now that the hard part of getting here is done, it's time to kill the stryder.
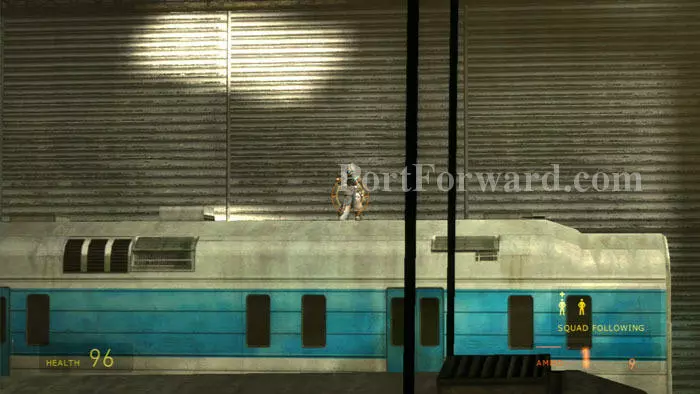
Take cover behind the metal sheeting then pop out during a lull in the stryder's shooting. Land half a dozen or so rockets to bring the stryder down.
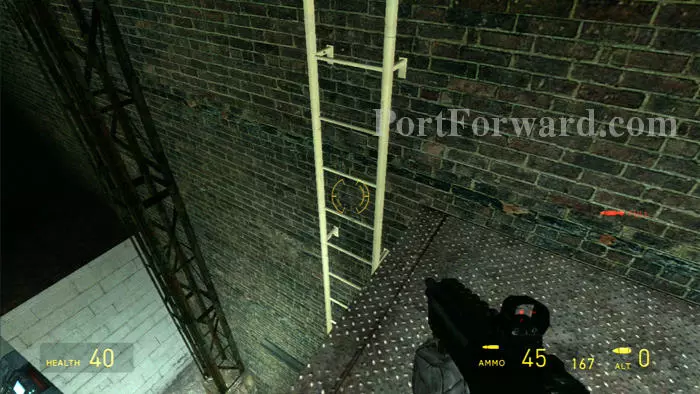
Descend this ladder at the far side of the catwalk.
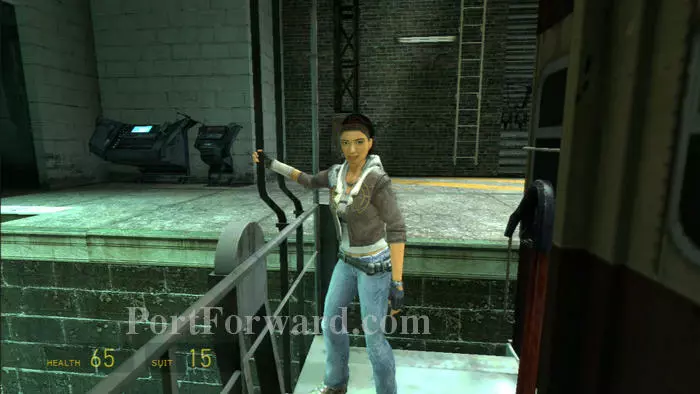
Alyx rejoins you, singing your praises as always. Step onto the train to begin your escape from City 17.
This part is actually pretty cool, and serves as a nice setup for Episode Two. Game Over. Hope you guys enjoyed this walkthrough! Game on!
More Half Life 2: Episode One Walkthroughs
This Half Life 2: Episode One walkthrough is divided into 5 total pages.


