Half Life 2: Episode One Walkthrough Lowlife

September 12, 2016 (Last Updated: ) | Reading Time: 9 minutes

This Half Life 2: Episode One walkthrough is divided into 5 total pages.

You can jump to nearby pages of the game using the links above.

Lowlife

Half Life 2: Episode One Walkthrough - Half Life-2-Episode-One 99

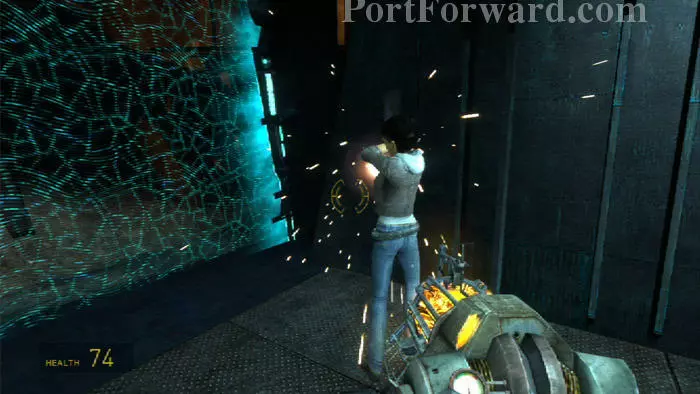
Once Alyx catches her breath she'll deactivate this force field.

Half Life 2: Episode One Walkthrough - Half Life-2-Episode-One 100

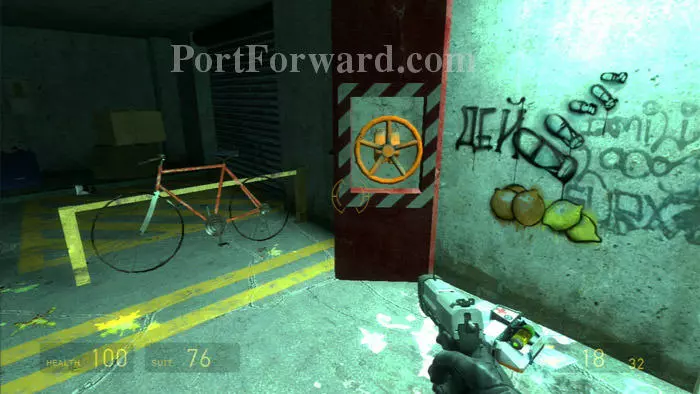
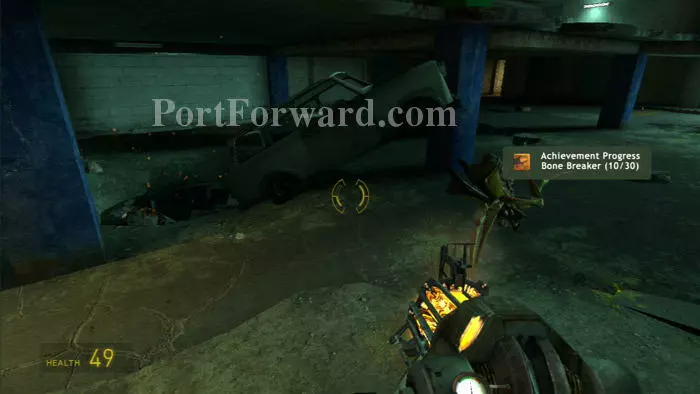
Keep right to find the roadway. Debris such as this cinderblock can help defend against the zombies and head crabs.

Half Life 2: Episode One Walkthrough - Half Life-2-Episode-One 101

Keep an eye out for mines, which can be reset by picking them up. You can then place them in the path of enemies to take them out. You can also throw the mines for instant damage.

Half Life 2: Episode One Walkthrough - Half Life-2-Episode-One 102

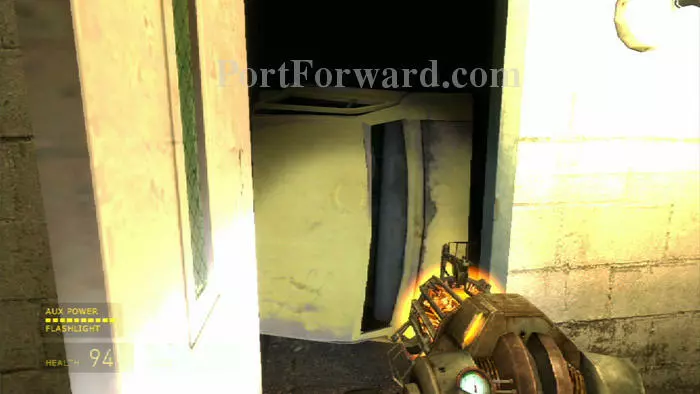
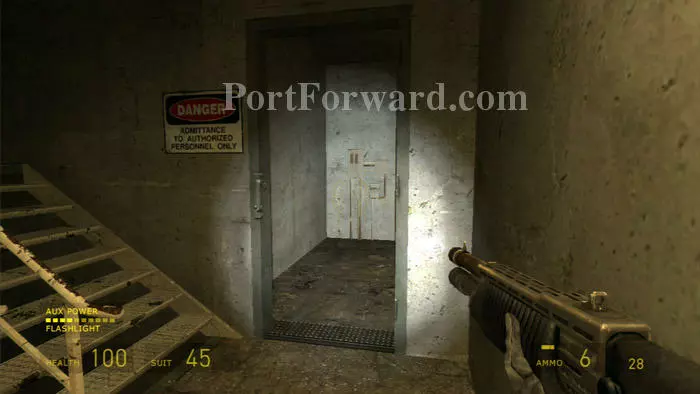
Continue through the door ahead/right.

Half Life 2: Episode One Walkthrough - Half Life-2-Episode-One 103

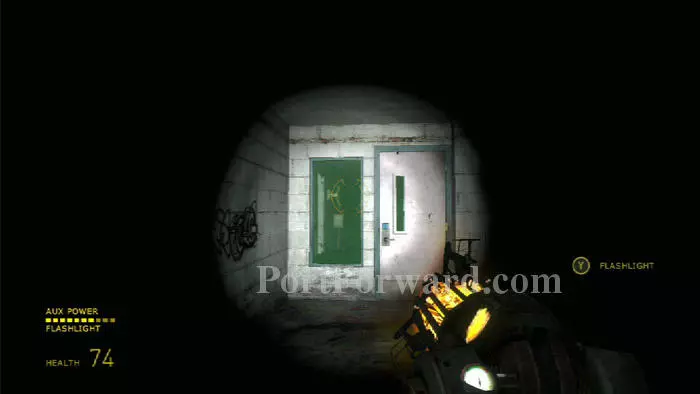
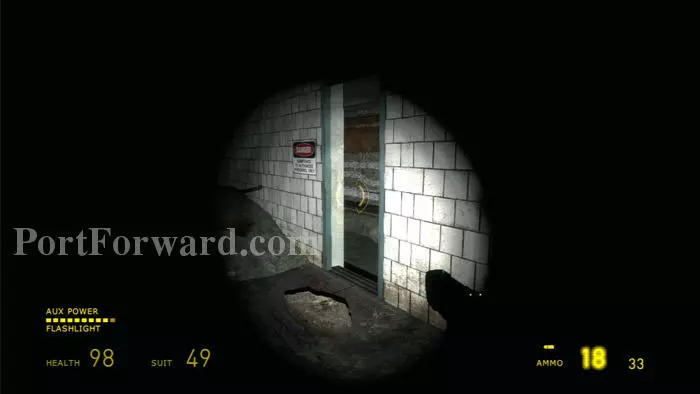
Use your flashlight to illuminate the dark hallway. Alyx suggests finding a power source to unlock the door.

Half Life 2: Episode One Walkthrough - Half Life-2-Episode-One 104

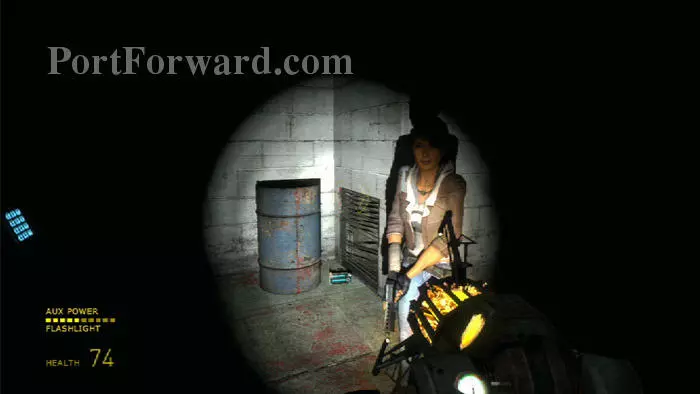
Turn right to spot some energy for your suit. Use your Gravity Gun to remove the grate and move the barrel. Climb into the vent.

Half Life 2: Episode One Walkthrough - Half Life-2-Episode-One 105

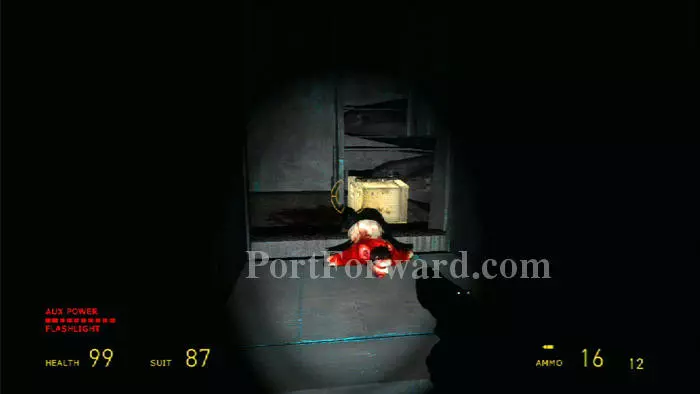
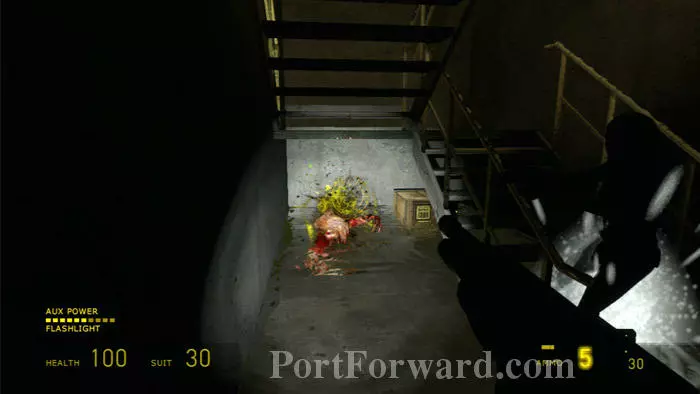
Beware the deadly drop just before these supplies. Use your Gravity Gun to retrieve a flair and health.

Half Life 2: Episode One Walkthrough - Half Life-2-Episode-One 106

Turn left to find this ladder.

Half Life 2: Episode One Walkthrough - Half Life-2-Episode-One 107

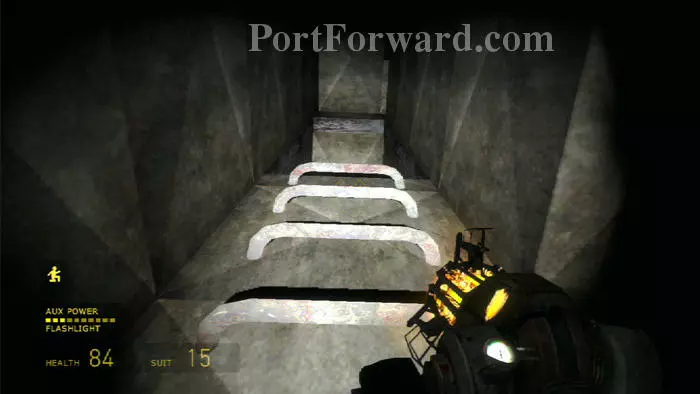
Climb the ladder then follow the vent before exiting at this grate. A head crab, suit energy and supply crate are below.

Half Life 2: Episode One Walkthrough - Half Life-2-Episode-One 108

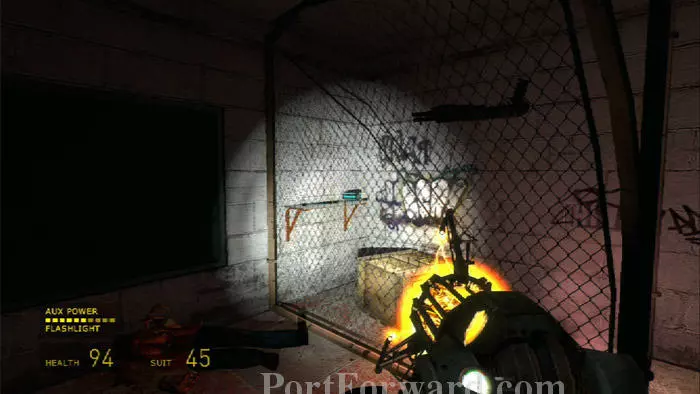
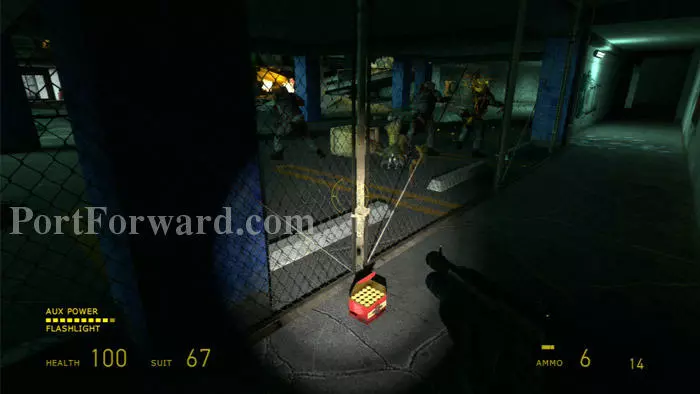
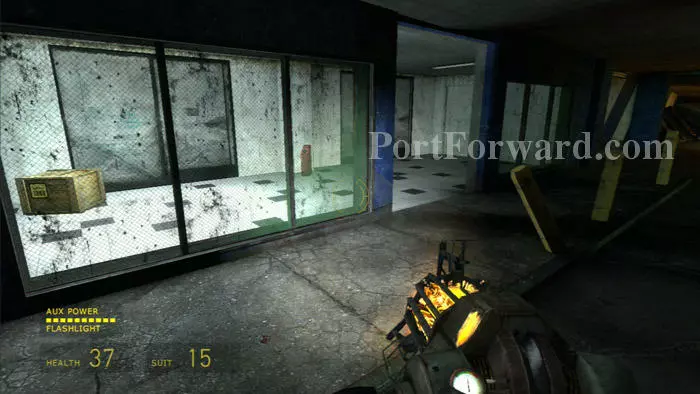
Behind this fence you'll find a flair, a Shotgun, a supply crate and suit energy. You can remove the supplies by lifting them over the opening in the fence. More health and energy are in lockers to the right.

Half Life 2: Episode One Walkthrough - Half Life-2-Episode-One 109

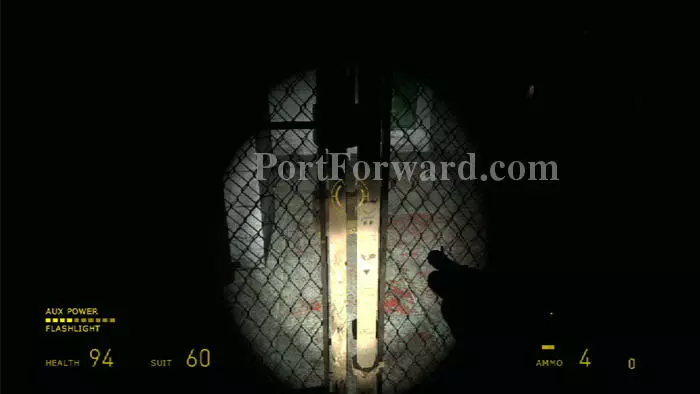
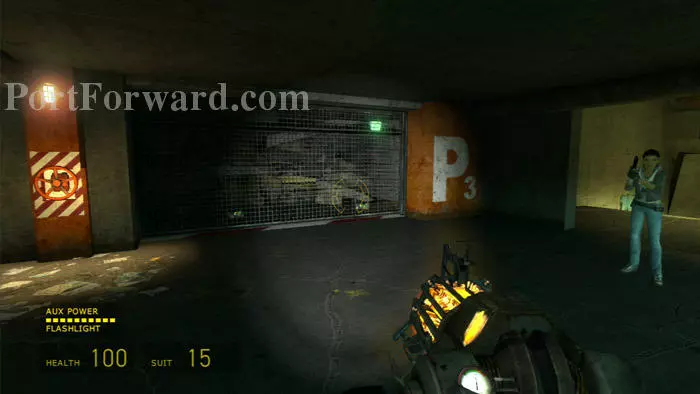
Use your newly-found shotgun to break the lock on this gate.

Half Life 2: Episode One Walkthrough - Half Life-2-Episode-One 110

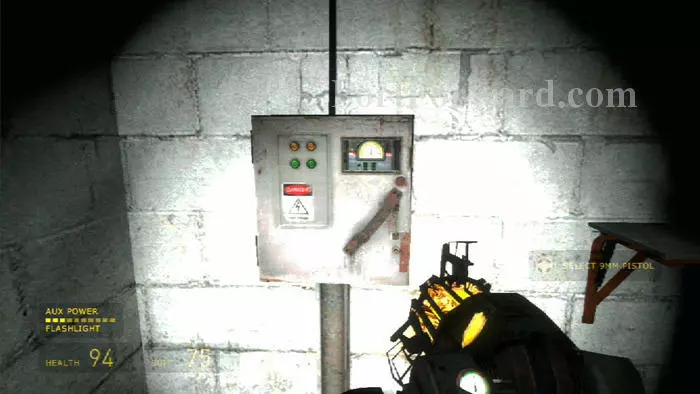
Find a pistol near this panel. Open the panel then activate the power.

Half Life 2: Episode One Walkthrough - Half Life-2-Episode-One 111

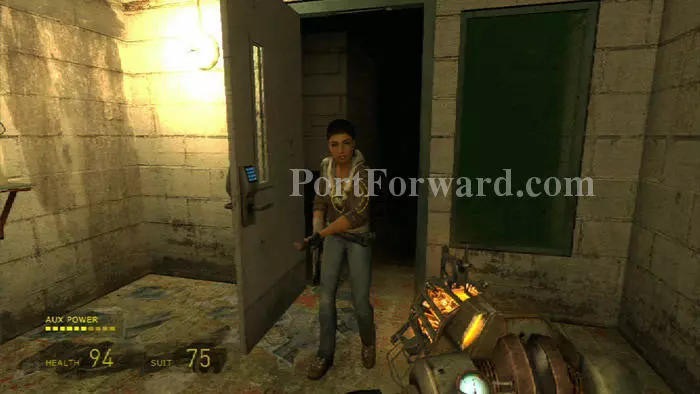
Alyx can now join you through the unlocked door.

Half Life 2: Episode One Walkthrough - Half Life-2-Episode-One 112

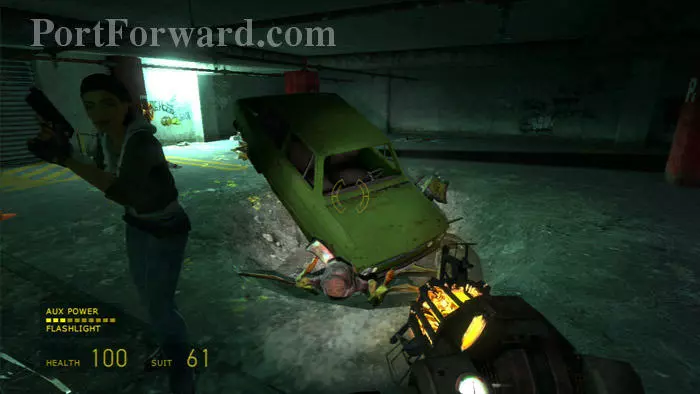
Your Gravity Gun dislodges the car blocking this doorway.

Half Life 2: Episode One Walkthrough - Half Life-2-Episode-One 113

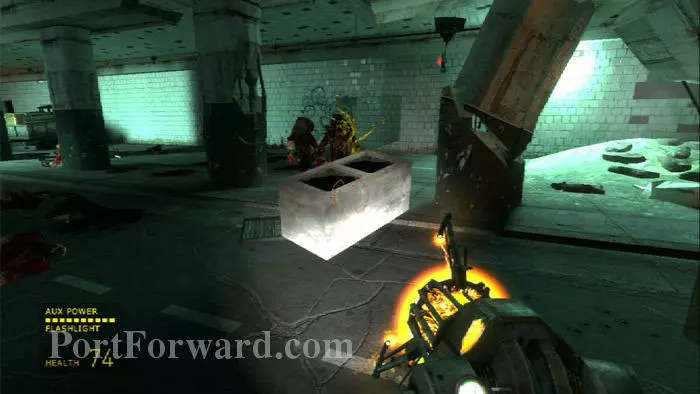
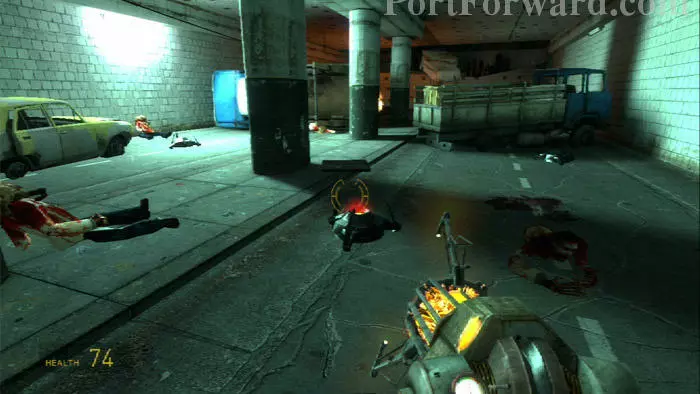
Zombies, shotgun ammo and suit energy are to the left. Health, more zombies and antlions are to the right.

Half Life 2: Episode One Walkthrough - Half Life-2-Episode-One 114

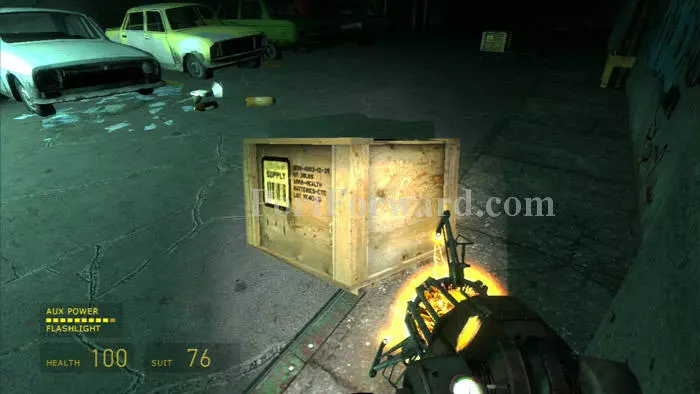
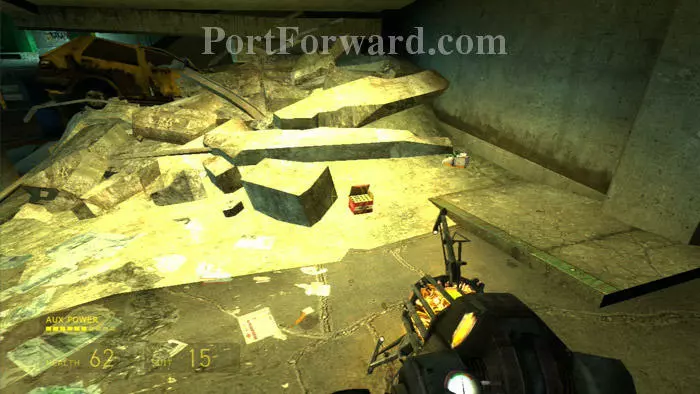
Continue farther right to find this supply crate.

Half Life 2: Episode One Walkthrough - Half Life-2-Episode-One 115

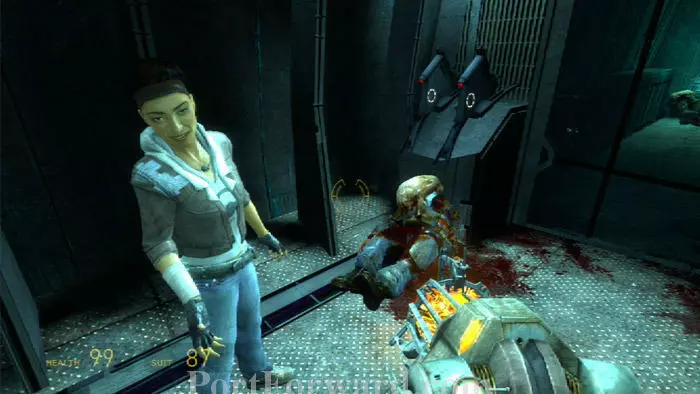
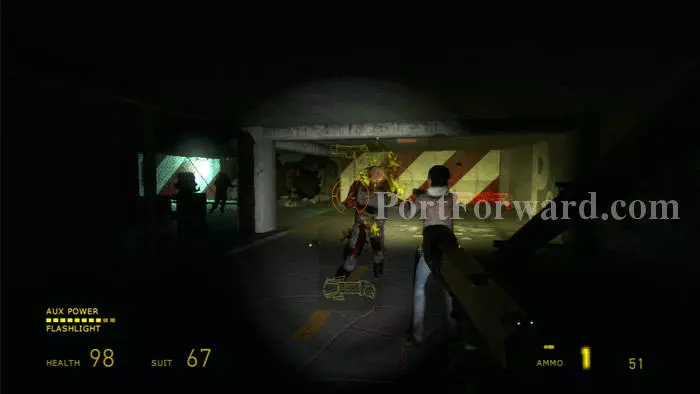
Enter the rail car to discover a new foe, the Combine zombie, or, "zombine" as Alyx quips. As zombines are apt to do, one of them blows himself up, opening the glass wall to the right.

Half Life 2: Episode One Walkthrough - Half Life-2-Episode-One 116

Find some ammo at the end of the rail car before exiting through here, where more zombines await.

Half Life 2: Episode One Walkthrough - Half Life-2-Episode-One 117

There's plenty in the environment to help you out here, including this flair found in the white van on the right.

Half Life 2: Episode One Walkthrough - Half Life-2-Episode-One 118

Tossing the flair at enemies ignites them, doing damage over time. Note the health near the locked door on the left.

Half Life 2: Episode One Walkthrough - Half Life-2-Episode-One 119

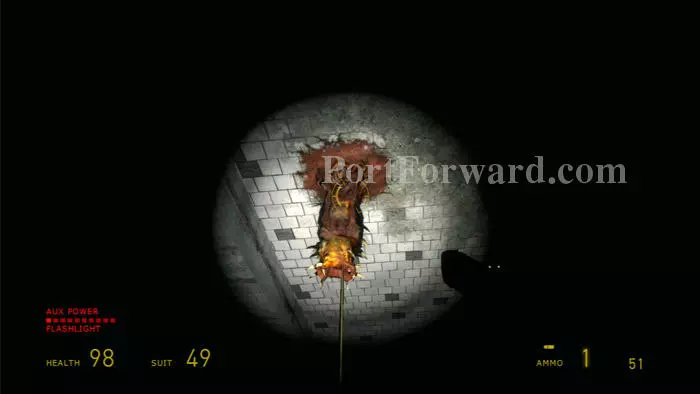
Beware these barnacles as you advance. Feed them flammable barrels for an easy kill.

Half Life 2: Episode One Walkthrough - Half Life-2-Episode-One 120

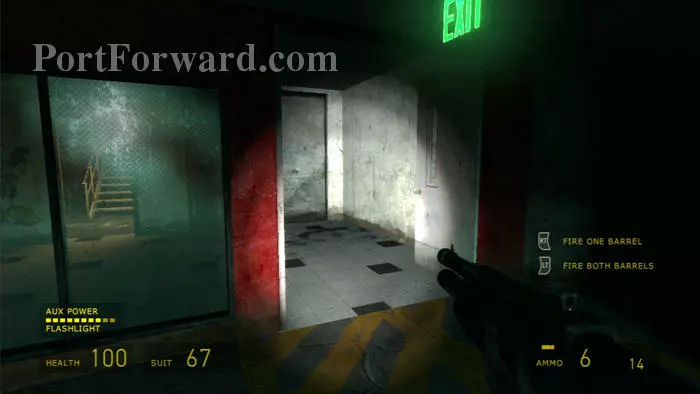
Continue into this room.

Half Life 2: Episode One Walkthrough - Half Life-2-Episode-One 121

Find a flair, two supply crates, two medkits and a power panel. Use the panel to unlock the door seen earlier.

Half Life 2: Episode One Walkthrough - Half Life-2-Episode-One 122

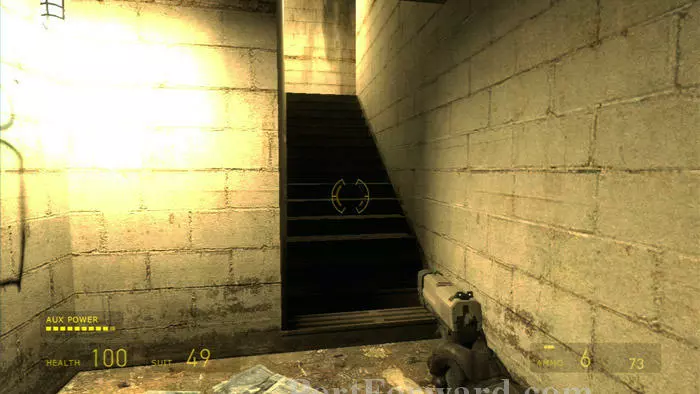
Fight passed another zombie wave then return to the now-unlocked door and ascend these stairs.

Half Life 2: Episode One Walkthrough - Half Life-2-Episode-One 123

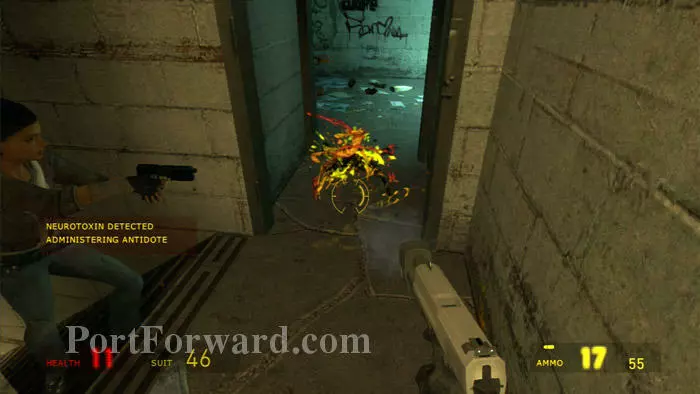
Oops. Try to let Alyx go first. Toxic head crabs are at the top of the stairs. They'll bring your health down to 1 immediately, but you'll slowly recover as your suit administers treatment. A supply crate is behind me in this shot.

Half Life 2: Episode One Walkthrough - Half Life-2-Episode-One 124

Exit the stairwell and find supply lockers to the right; suit energy is found here on the left.

Half Life 2: Episode One Walkthrough - Half Life-2-Episode-One 125

Use your Gravity Gun to stop up this antlion pit/burrow with the nearby car. Otherwise, antilions will continue to spawn indefinitely.

Half Life 2: Episode One Walkthrough - Half Life-2-Episode-One 126

Another medkit is by this crank. Turn the crank to raise the door ahead.

Half Life 2: Episode One Walkthrough - Half Life-2-Episode-One 127

More toxic headcrabs and these two supply crates are ahead. The crate on the right holds a head crab.

Half Life 2: Episode One Walkthrough - Half Life-2-Episode-One 128

Many barnacles are through this next gate. Clear out the ones nearby but leave the more distant barnacles intact.

Half Life 2: Episode One Walkthrough - Half Life-2-Episode-One 129

A zombie wave is headed your way and the barnacles do a great job of thinning out the herd. Shotgun ammo and a medkit are found in the hole in the wall ahead/left.

Half Life 2: Episode One Walkthrough - Half Life-2-Episode-One 130

Exit to this stairwell and ascend the stairs.

Half Life 2: Episode One Walkthrough - Half Life-2-Episode-One 131

Emerge to witness a zombine/antlion battle. Note the shotgun ammo on the ground. More is on the other side of the fence, left of the supply crate seen ahead. Continue through the doorway ahead/left.

Half Life 2: Episode One Walkthrough - Half Life-2-Episode-One 132

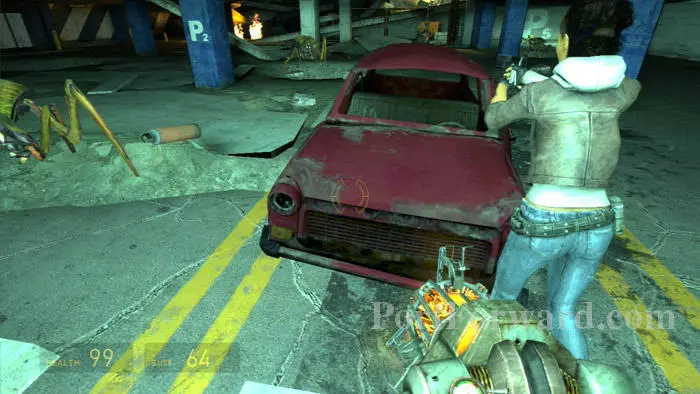
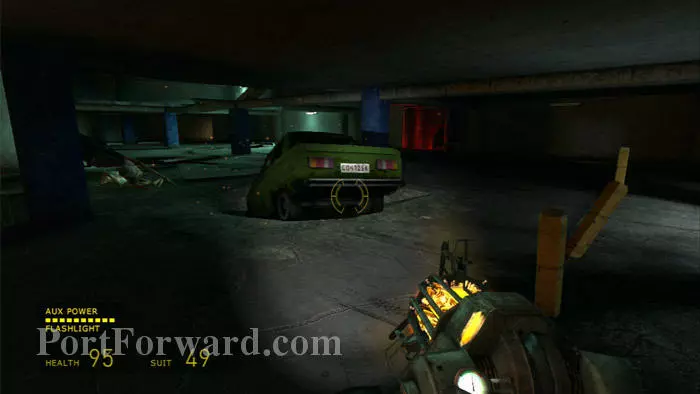
Three antlion pits need to be stopped up - fast. Start by using your gravity gun's right trigger to push this red car into the pit directly ahead.

Half Life 2: Episode One Walkthrough - Half Life-2-Episode-One 133

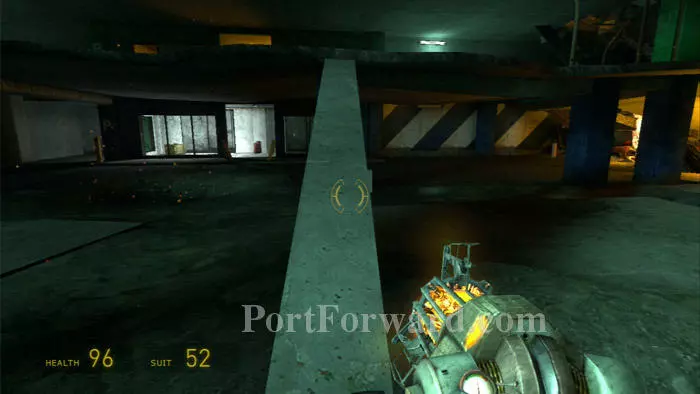
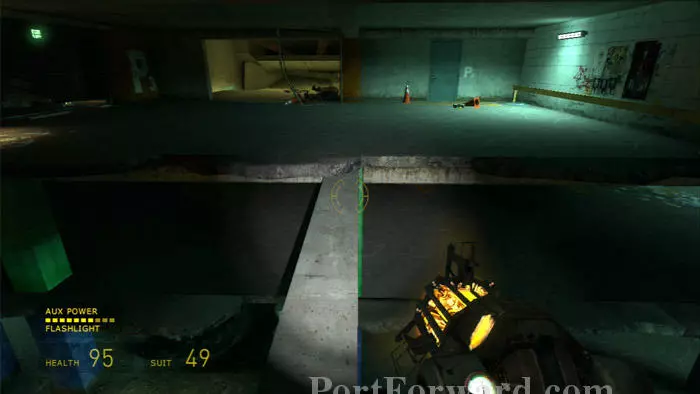
Ascend this ramp to the next level.

Half Life 2: Episode One Walkthrough - Half Life-2-Episode-One 134

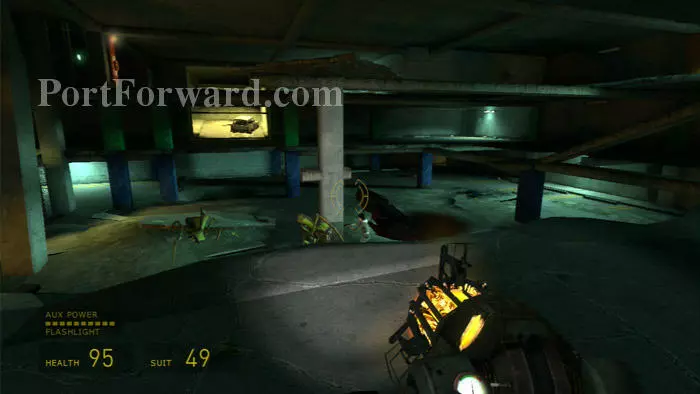
Smash the crate blocking the doorway to get behind the green car. Push it over the ledge to the lower level.

Half Life 2: Episode One Walkthrough - Half Life-2-Episode-One 135

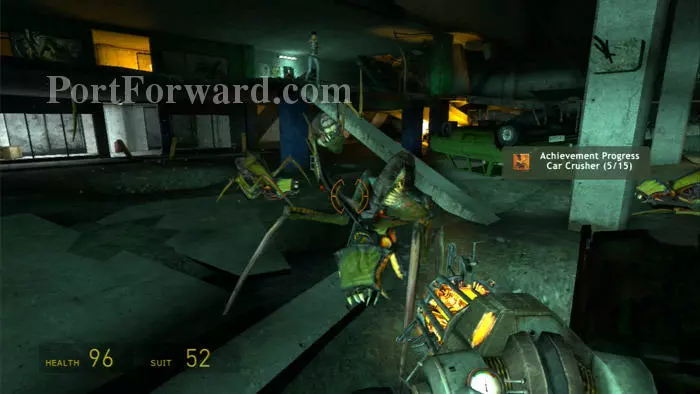
Note that Alyx is vulnerable during all this. She'll tell you to knock the antlions over with your Gravity Gun so she can get a better shot. Try to keep her safe while you work at moving the cars around.

Half Life 2: Episode One Walkthrough - Half Life-2-Episode-One 136

Here's the green car stopping up the second burrow.

Half Life 2: Episode One Walkthrough - Half Life-2-Episode-One 137

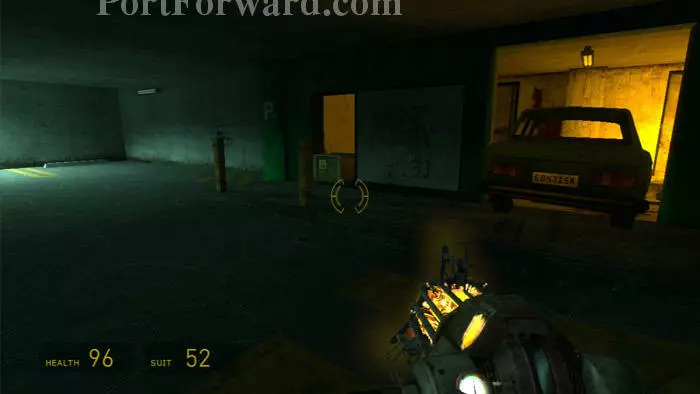
The third car is that white car behind the locked gate on the middle level. To reach it you'll need to ascend the ramp on the right to the third level.

Half Life 2: Episode One Walkthrough - Half Life-2-Episode-One 138

Walk the plank to reach the broken gate ahead.

Half Life 2: Episode One Walkthrough - Half Life-2-Episode-One 139

Drop over the ledge to reach the white car. Turn the crank to open the gate then push the car downstairs with your Gravity Gun. Beware the possum-playing zombie guarding the car.

Half Life 2: Episode One Walkthrough - Half Life-2-Episode-One 140

The third antlion burrow is conveniently located beneath the ledge where the white car was parked. A supply crate and medkit are also nearby.

Half Life 2: Episode One Walkthrough - Half Life-2-Episode-One 141

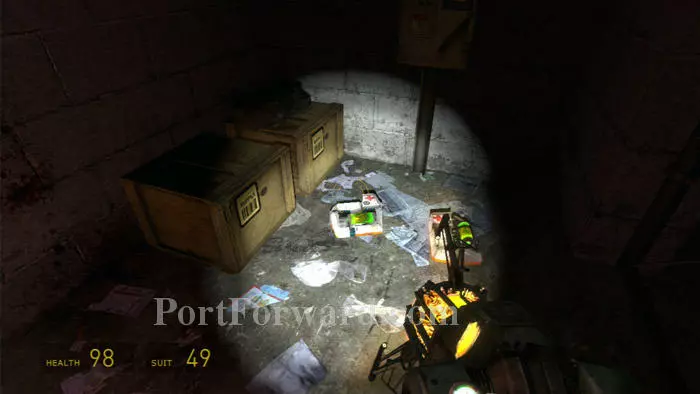
Another supply crate is found inside this room.

Half Life 2: Episode One Walkthrough - Half Life-2-Episode-One 142

Shotgun ammo and another medkit are here on the second level.

Half Life 2: Episode One Walkthrough - Half Life-2-Episode-One 143

Alyx will be waiting for you on the top level. Turn the crank on the left to open the gate. Note the two medkits and suit energy on the floor behind the gate.

Half Life 2: Episode One Walkthrough - Half Life-2-Episode-One 144

Descend the stairs all the way to the bottom to find this zombie-guarded supply crate.

Half Life 2: Episode One Walkthrough - Half Life-2-Episode-One 145

Backtrack up the stairs a bit to this exit.

Half Life 2: Episode One Walkthrough - Half Life-2-Episode-One 146

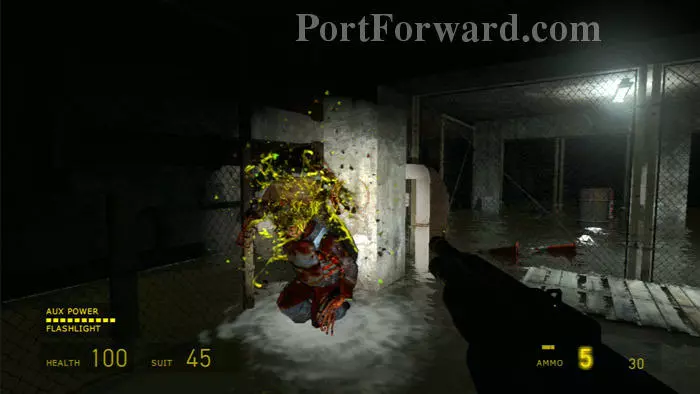
Emerge in this flooded sub basement, packed with zombines. Grab some shotgun ammo then continue through the gap in the fence behind this ill-fated foe.

Half Life 2: Episode One Walkthrough - Half Life-2-Episode-One 147

Battle a large zombie/zombine contingent to this stairway and the doorway beyond.

Half Life 2: Episode One Walkthrough - Half Life-2-Episode-One 148

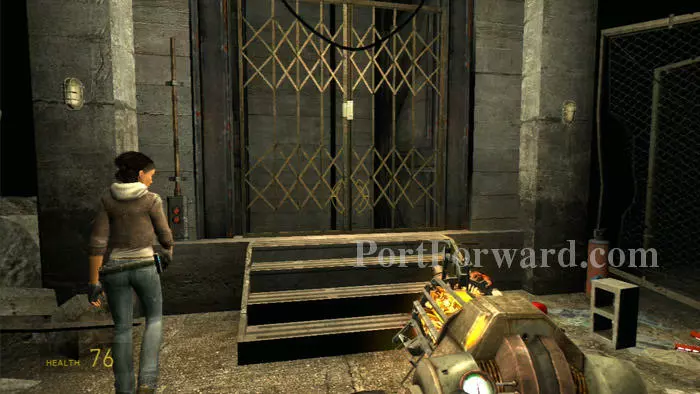
Turn left to find a malfunctioning elevator. This is your way out -- if you can fend of the zombie horde once you get the power working.

Half Life 2: Episode One Walkthrough - Half Life-2-Episode-One 149

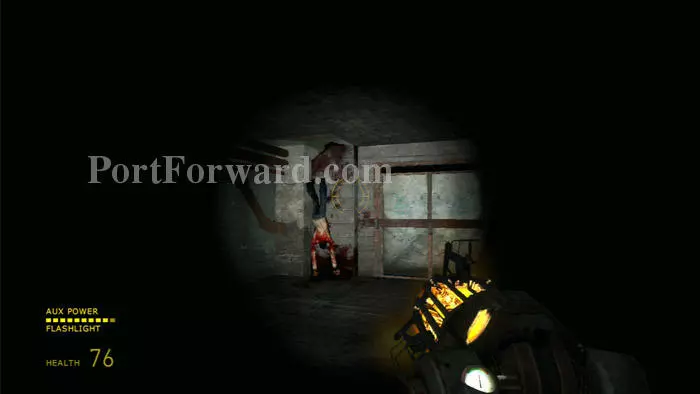
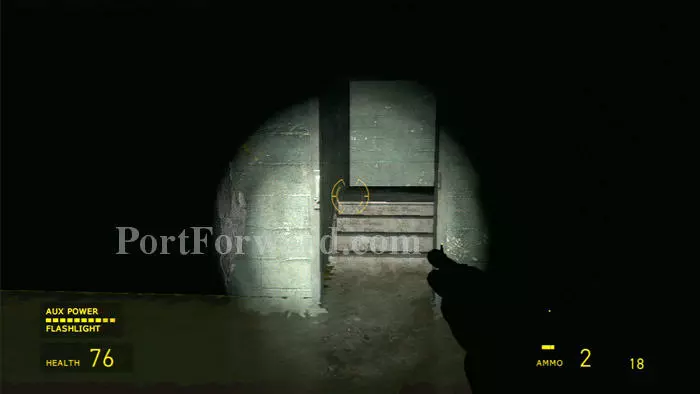
Turn right from the lift then follow the power line along the left wall to this corner door. A body drops from the ceiling. Use your Gravity Gun to pull the plank off the door then ready your shotgun before opening it.

Half Life 2: Episode One Walkthrough - Half Life-2-Episode-One 150

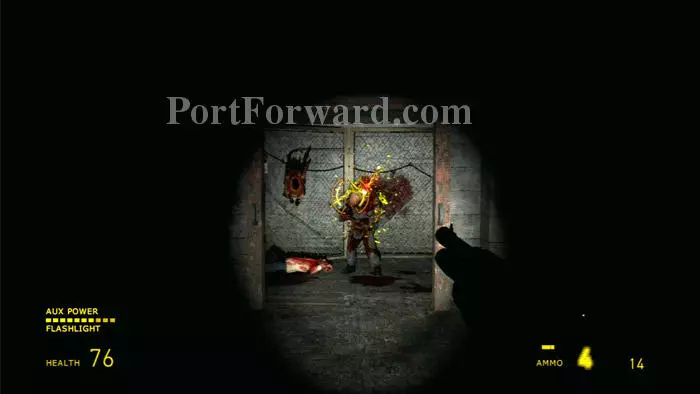
Inside is a solitary zombine, a flair, a supply crate, and...

Half Life 2: Episode One Walkthrough - Half Life-2-Episode-One 151

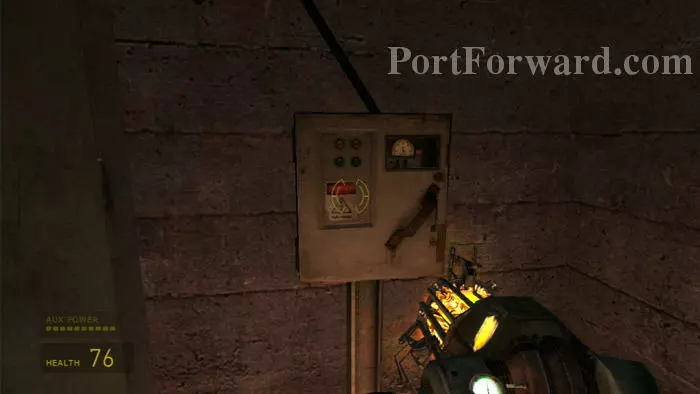
...the power box for the elevator. Don't activate the panel yet, though. Doing so not only calls the elevator, but also triggers a massive zombie attack.

Half Life 2: Episode One Walkthrough - Half Life-2-Episode-One 152

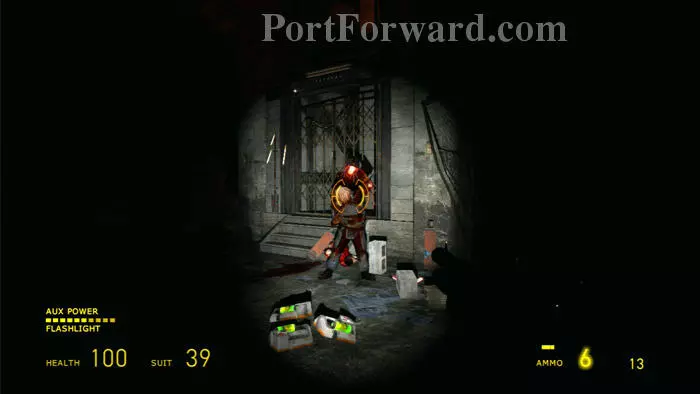
Instead, start gathering supplies and stockpiling them near the elevator. Don't worry about being too neat -- a single explosion will scatter your supplies about. Everything is about to go kablooey in this shot.

Half Life 2: Episode One Walkthrough - Half Life-2-Episode-One 153

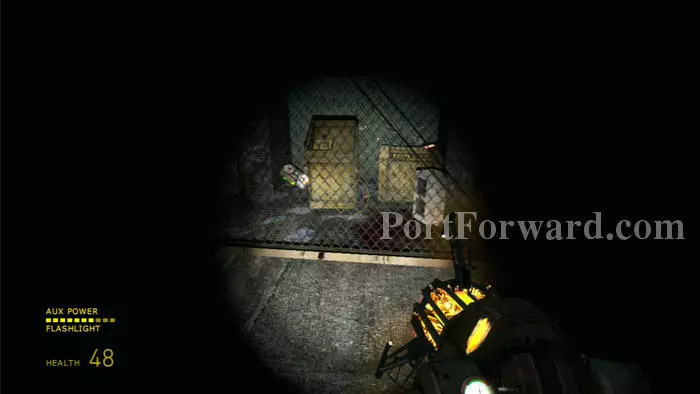
Don't miss the supplies in this cage. You can remove items by lifting them over the gap in the fence near the ceiling.

Half Life 2: Episode One Walkthrough - Half Life-2-Episode-One 154

Work fast, because each time your flashlight goes out a zombie or two will sneak up on you and Alyx.

Half Life 2: Episode One Walkthrough - Half Life-2-Episode-One 155

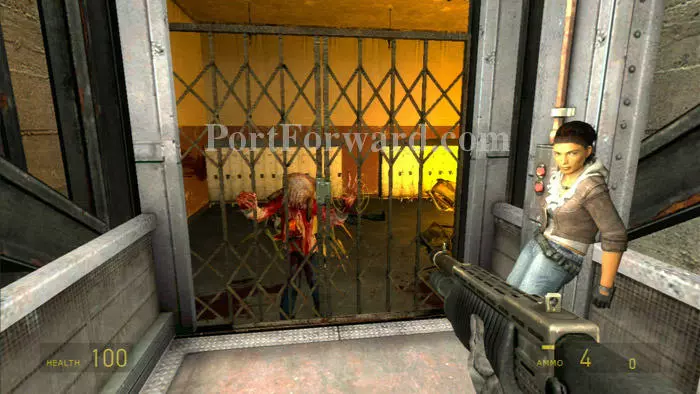
When you're ready, return to the panel and throw the switch to send the elevator on its way. A massive zombie attack is triggered, including zombines and these fast zombies.

Half Life 2: Episode One Walkthrough - Half Life-2-Episode-One 156

Stay near your cache of supplies then jump into the lift as soon as it arrives. Another medkit is waiting for you inside.

Half Life 2: Episode One Walkthrough - Half Life-2-Episode-One 157

Witness a floor-by-floor freakshow as the lift rises to the next level.

More Half Life 2: Episode One Walkthroughs

This Half Life 2: Episode One walkthrough is divided into 5 total pages.

More From Portforward