Half Life 2: Episode One Walkthrough Urban Flight

September 12, 2016 (Last Updated: ) | Reading Time: 16 minutes

This Half Life 2: Episode One walkthrough is divided into 5 total pages.

You can jump to nearby pages of the game using the links above.

Urban Flight

Half Life 2: Episode One Walkthrough - Half Life-2-Episode-One 158

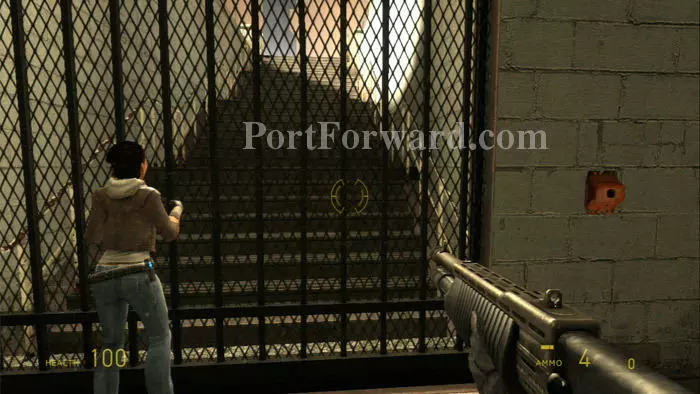
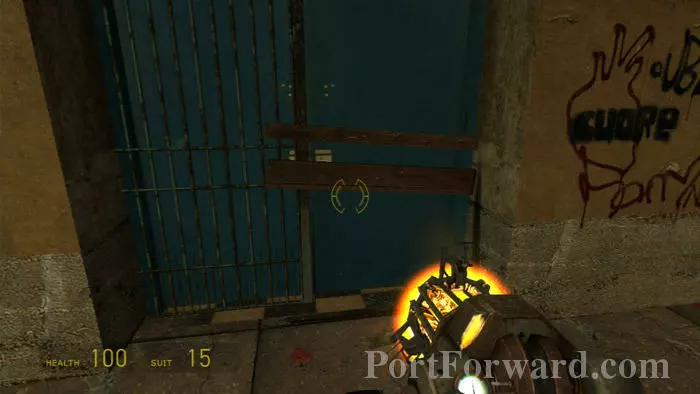
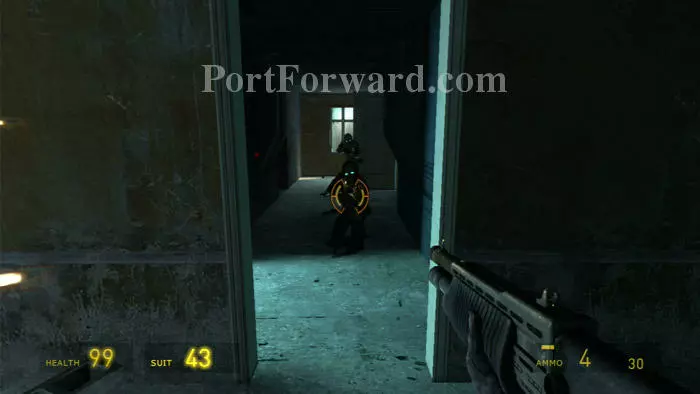
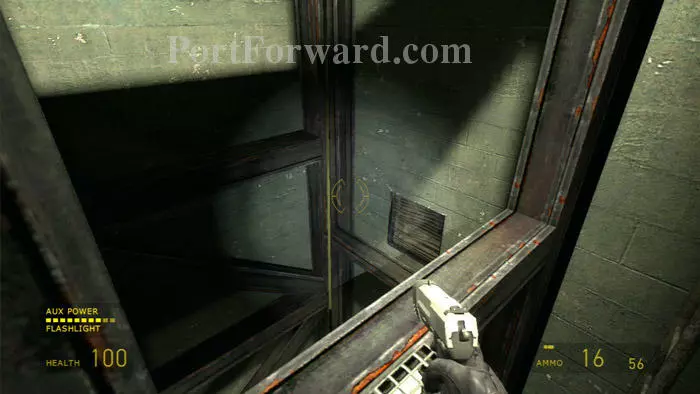
Find this locked gate. Note the orange socket to the right.

Half Life 2: Episode One Walkthrough - Half Life-2-Episode-One 159

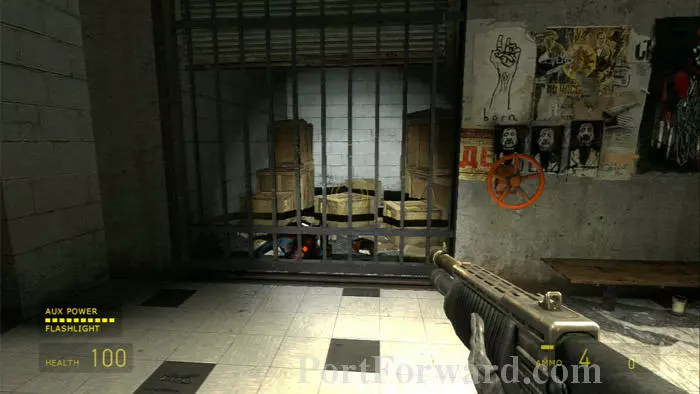
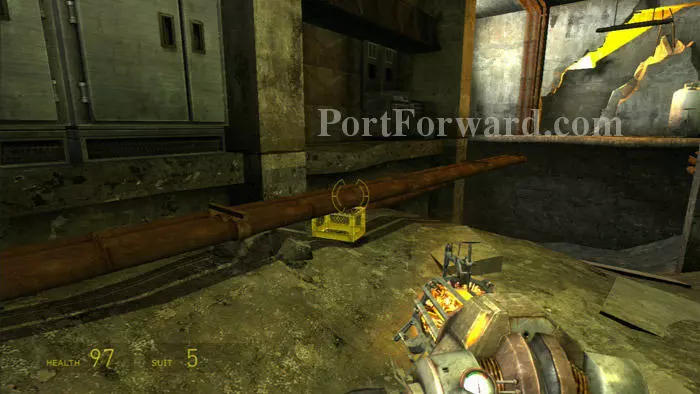
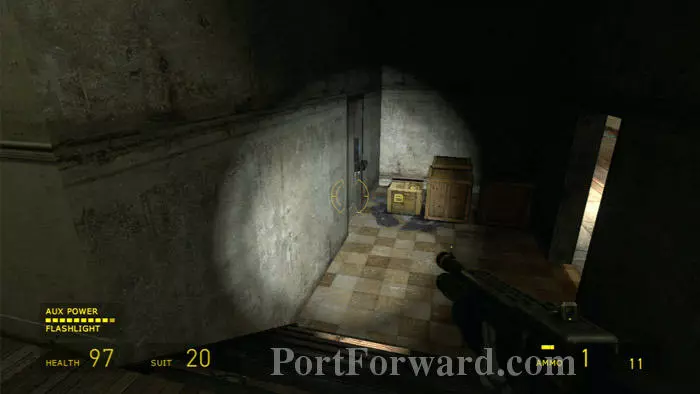
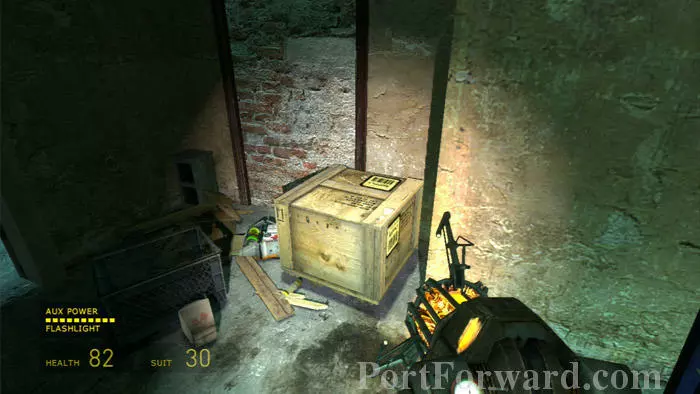
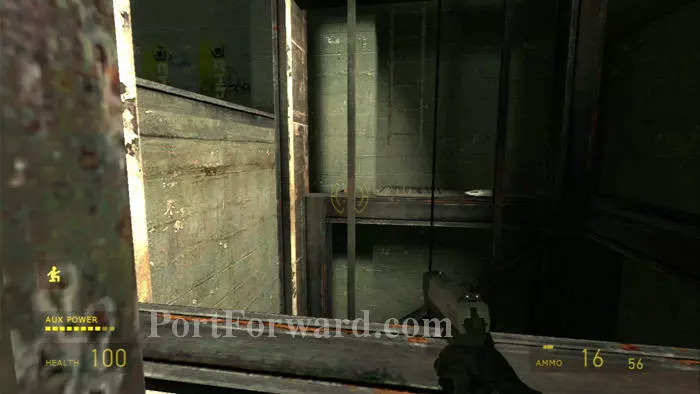
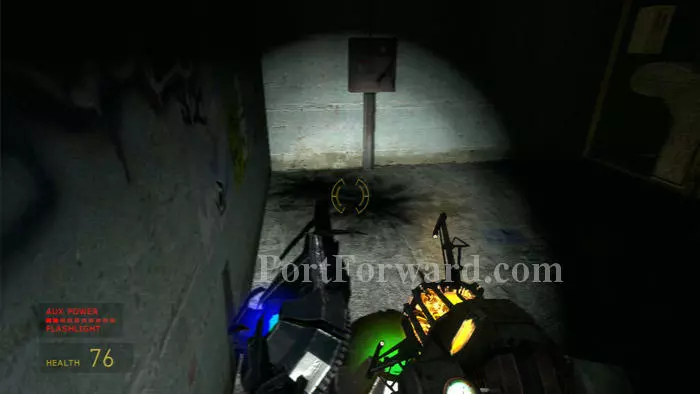
Backtrack past the elevator to this gate. Turn the crank to access the supplies inside.

Half Life 2: Episode One Walkthrough - Half Life-2-Episode-One 160

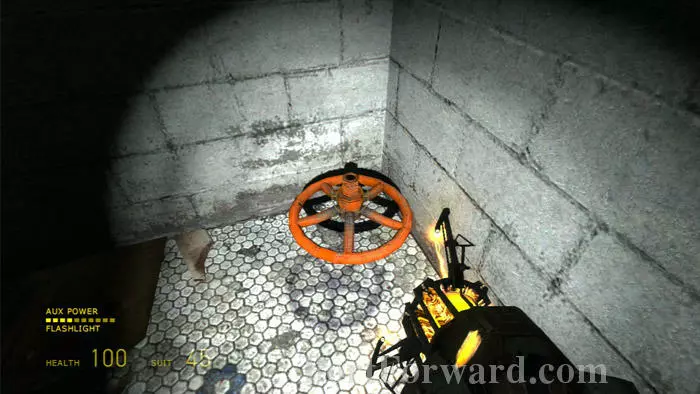
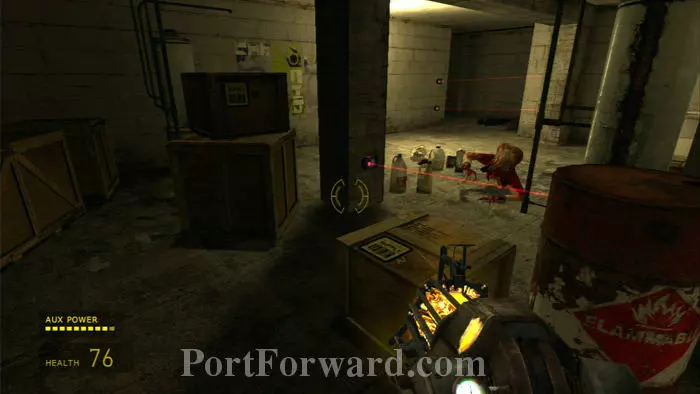
Buried beneath the boxes in the far/right corner is the hand crank Alyx is hoping to find.

Half Life 2: Episode One Walkthrough - Half Life-2-Episode-One 161

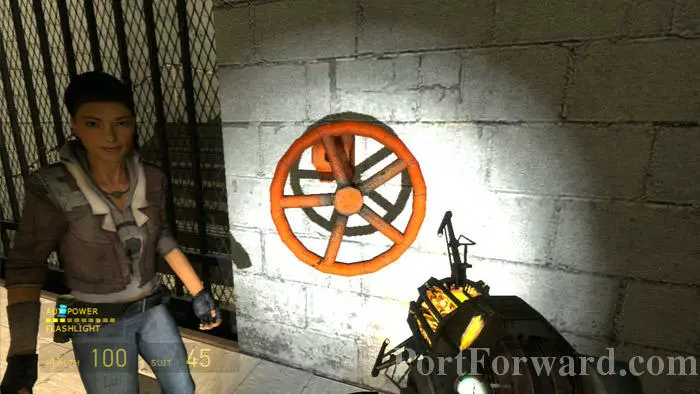
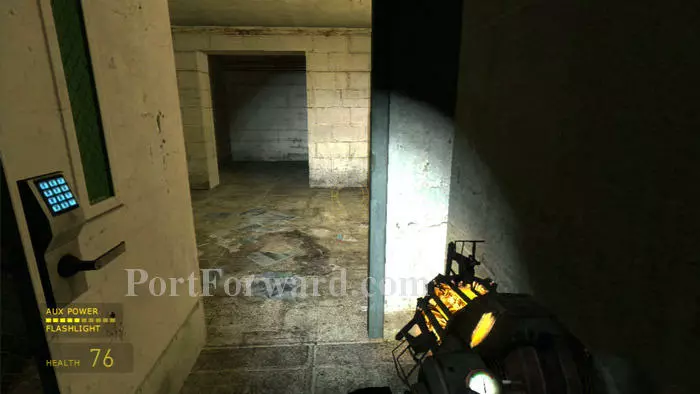
Return the crank to the socket and open the gate.

Half Life 2: Episode One Walkthrough - Half Life-2-Episode-One 162

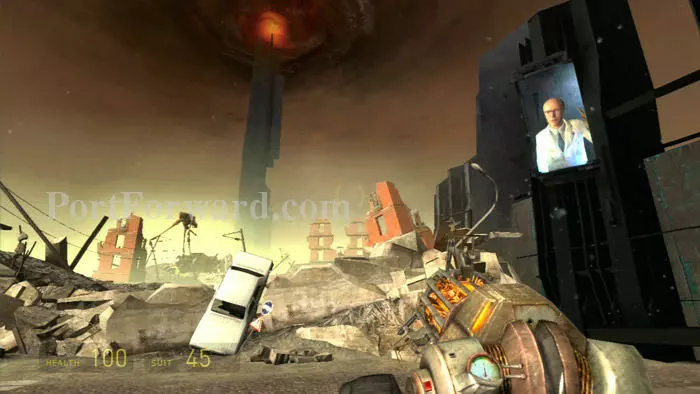
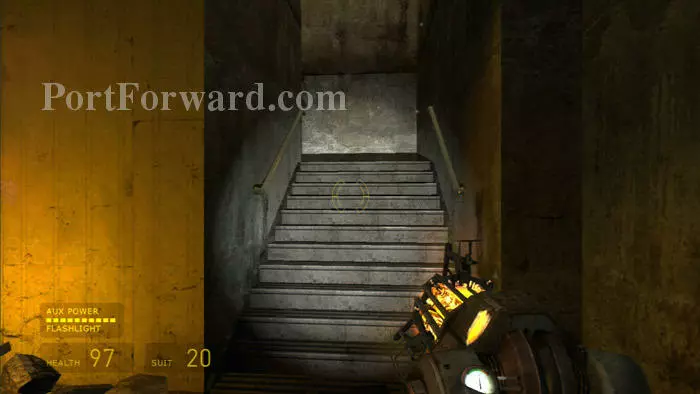
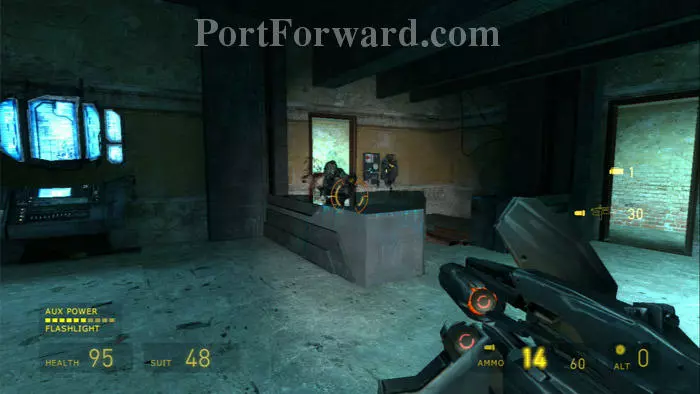
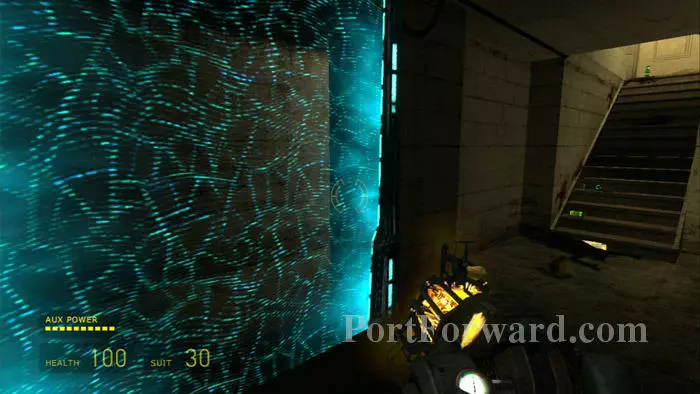
Ascend the stairs to finally reach the surface. Listen to Dr. Kleiner on the big screen.

Half Life 2: Episode One Walkthrough - Half Life-2-Episode-One 163

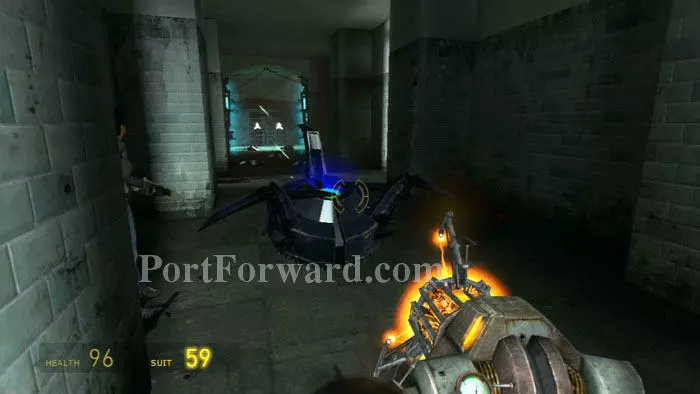
Pull the metal sheeting away from this barricade.

Half Life 2: Episode One Walkthrough - Half Life-2-Episode-One 164

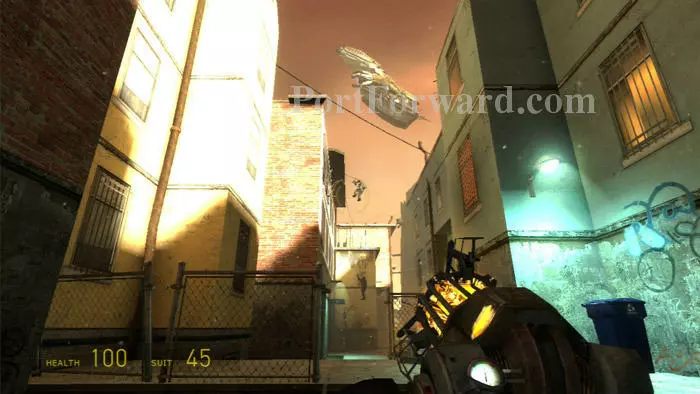
A supply crate - and surveillance drones - are on the other side.

Half Life 2: Episode One Walkthrough - Half Life-2-Episode-One 165

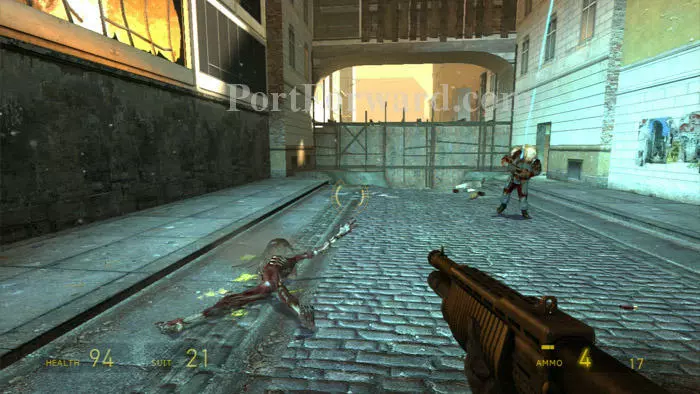
Clear another barricade then battle these troops, apparently alerted to your presence by the drones. Be sure to grab an SMG from the troops.

Half Life 2: Episode One Walkthrough - Half Life-2-Episode-One 166

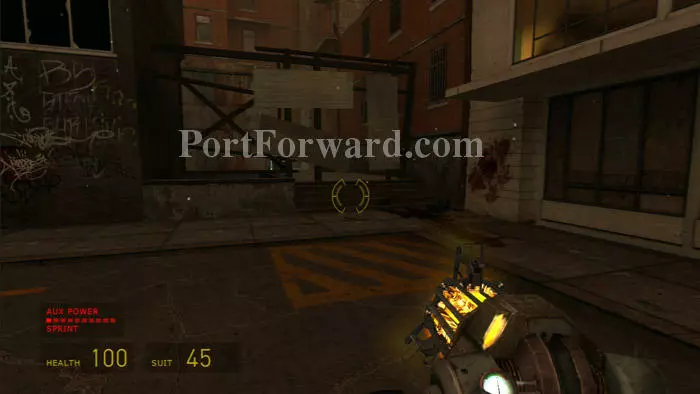
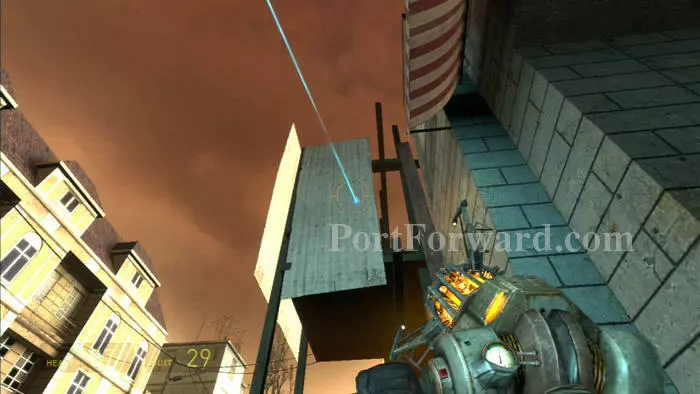
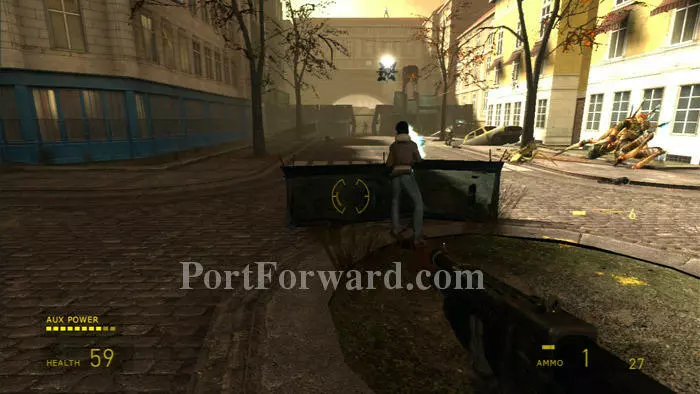
Slip passed this citadel barrier once it moves out of place.

Half Life 2: Episode One Walkthrough - Half Life-2-Episode-One 167

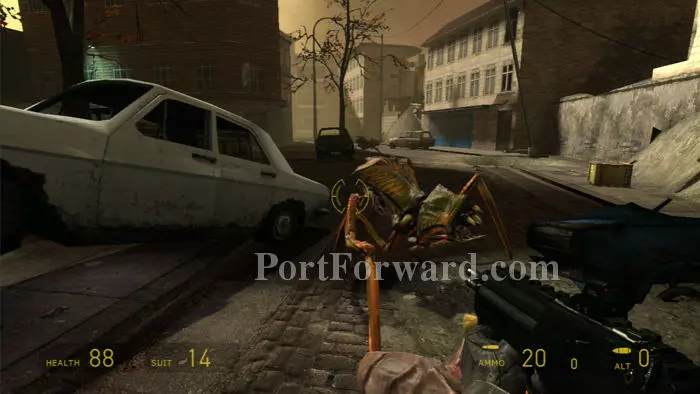
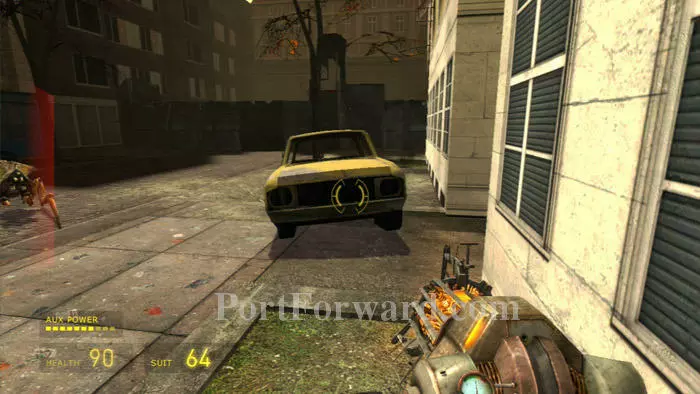
Three antlion pits are accompanied by, once again, three cars.

Half Life 2: Episode One Walkthrough - Half Life-2-Episode-One 168

Plug the antlion pits with the cars (or just run passed them) then follow the road ahead/left to this door. Pull the planks off to enter the building.

Half Life 2: Episode One Walkthrough - Half Life-2-Episode-One 169

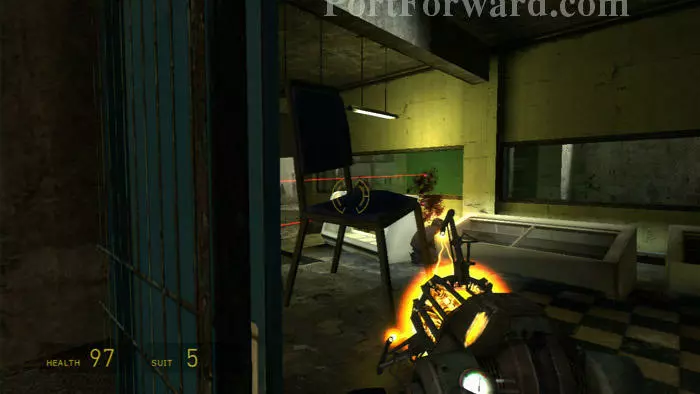
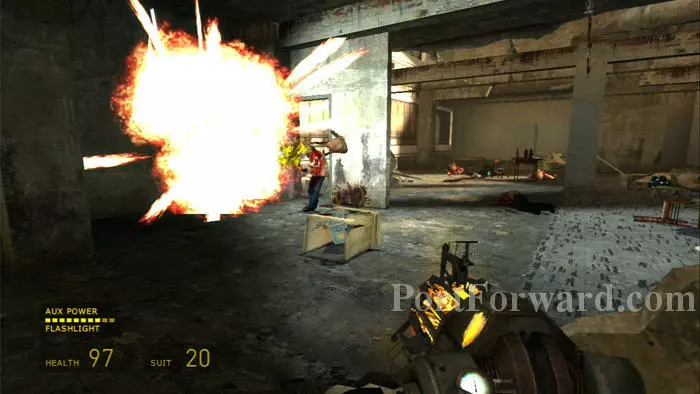
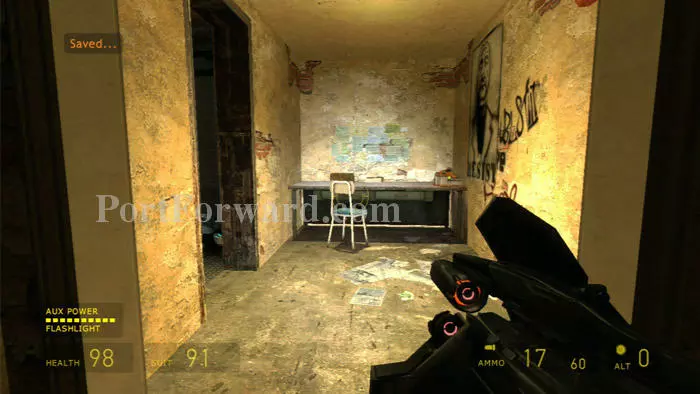
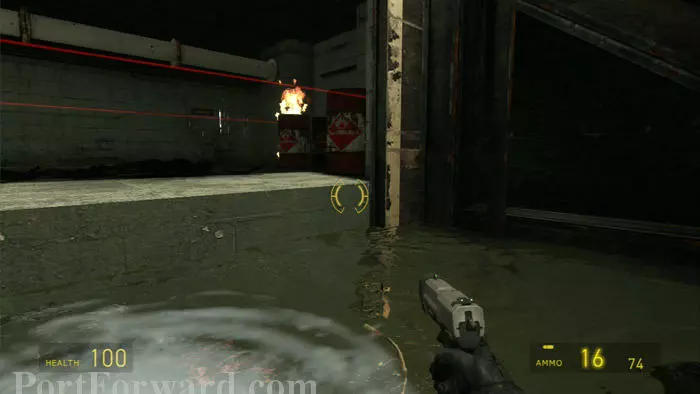
Combine are setting up mines. Toss chairs into the laser beams to trigger the mines and dispatch the soldiers.

Half Life 2: Episode One Walkthrough - Half Life-2-Episode-One 170

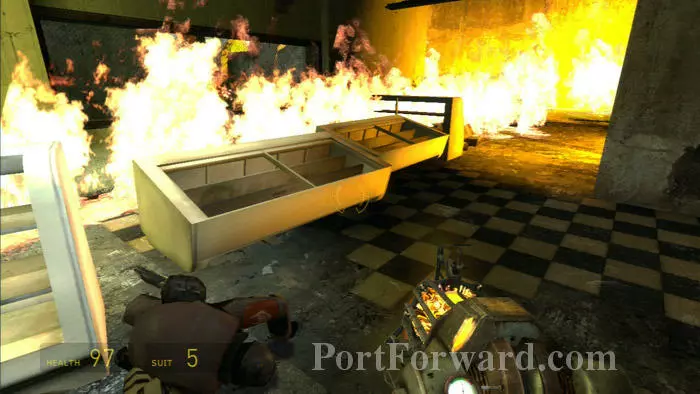
An inferno ensues, fueled by a propane tank in the room to the left.

Half Life 2: Episode One Walkthrough - Half Life-2-Episode-One 171

Position one of the milk crates so that it supports these pipes. You can then cross the pipes to the ledge and turn off the gas.

Half Life 2: Episode One Walkthrough - Half Life-2-Episode-One 172

Collect the area's supplies then ascend these stairs.

Half Life 2: Episode One Walkthrough - Half Life-2-Episode-One 173

More mines are on the second floor. Watch this zombie trip them and blow himself to smithereens.

Half Life 2: Episode One Walkthrough - Half Life-2-Episode-One 174

More zombies are in the next room. Don't destroy the roller mines you'll find; they'll take out the zombies and will make your advance easier in the upcoming area.

Half Life 2: Episode One Walkthrough - Half Life-2-Episode-One 175

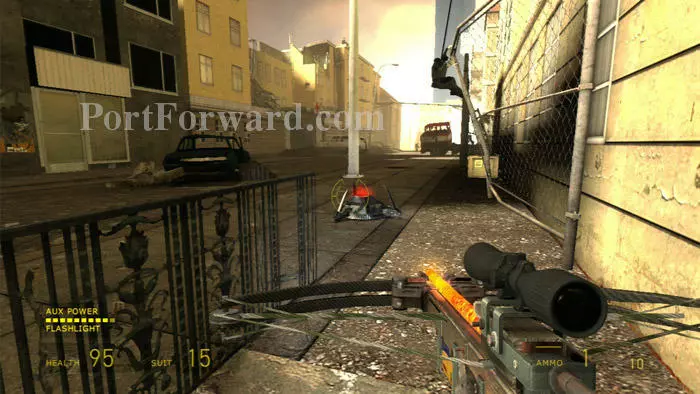
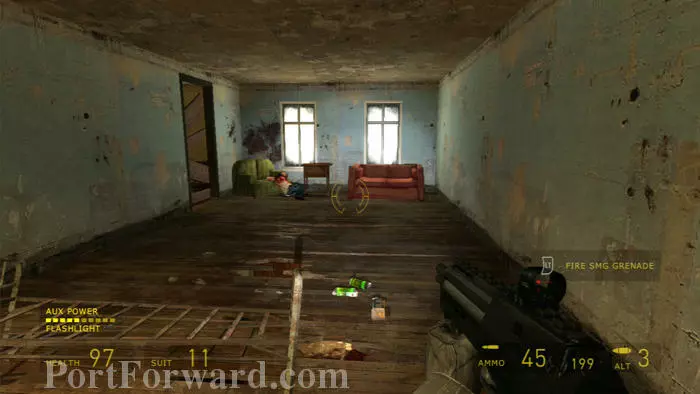
Grab supplies from the floor then take a peek out the window -- a sniper has taken up position at the end of the road.

Half Life 2: Episode One Walkthrough - Half Life-2-Episode-One 176

Descend these stairs and encounter another zombie and more roller mines. Take the roller mines to Alyx for reprogramming -- they'll be excellent escorts.

Half Life 2: Episode One Walkthrough - Half Life-2-Episode-One 177

Duck outside then sprint behind the building on the right where you'll find a pair of supply crates.

Half Life 2: Episode One Walkthrough - Half Life-2-Episode-One 178

Crouch then seek cover behind this red car. Stand, sprint, then crouch again behind the blue car to advance farther down the road. Note the suit energy in front of the blue car.

Half Life 2: Episode One Walkthrough - Half Life-2-Episode-One 179

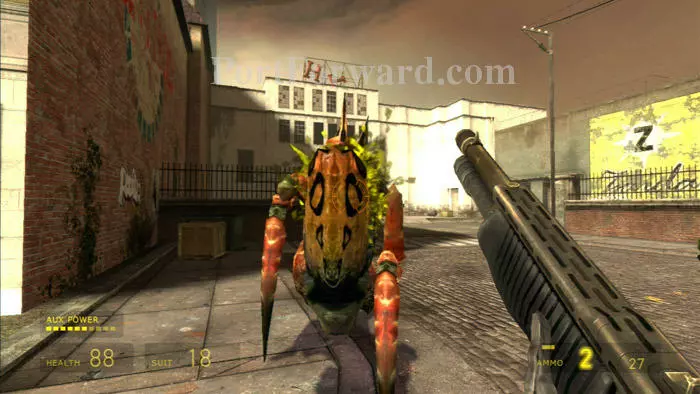
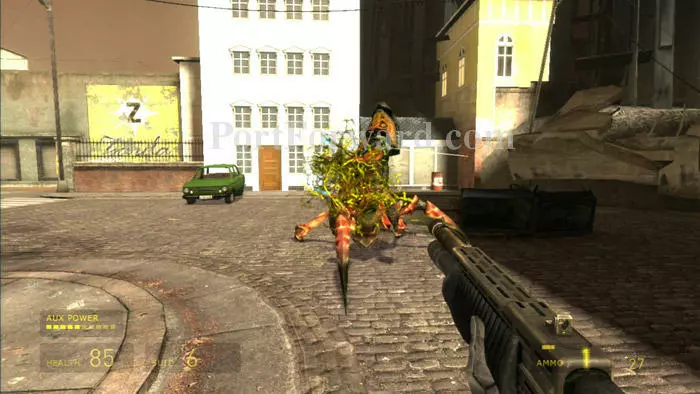
Antlions! If you have your roller mine escorts with you they'll clean up your ant problem nicely.

Half Life 2: Episode One Walkthrough - Half Life-2-Episode-One 180

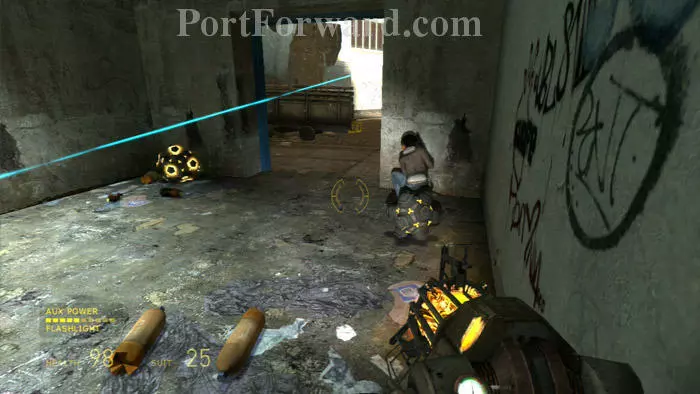
Once you are in front of the blue car the sniper won't be able to target you. Toss one of your reprogrammed roller mines into his nest to flush him out - dead. Alternately, use a grenade found in the supply crates ahead to blast him out.

Half Life 2: Episode One Walkthrough - Half Life-2-Episode-One 181

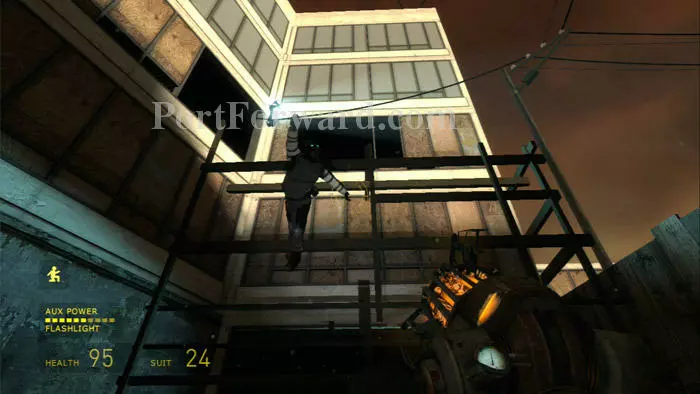
Alyx will take up position in the sniper's nest and shoot this ladder free. Climb the ladder to advance farther down the street.

Half Life 2: Episode One Walkthrough - Half Life-2-Episode-One 182

Zombies attack, but they're no match for Alyx's sniping skills. Enter the building through the door on the right.

Half Life 2: Episode One Walkthrough - Half Life-2-Episode-One 183

A supply crate - and a toxic head crab - are here on the right.

Half Life 2: Episode One Walkthrough - Half Life-2-Episode-One 184

Head upstairs then remove the planks covering these windows on the left. Alyx then has a clear shot at the line of zombies marching your way.

Half Life 2: Episode One Walkthrough - Half Life-2-Episode-One 185

Descend the stairs at the other end of the hall then find this supply crate before returning to the street through the door on the right.

Half Life 2: Episode One Walkthrough - Half Life-2-Episode-One 186

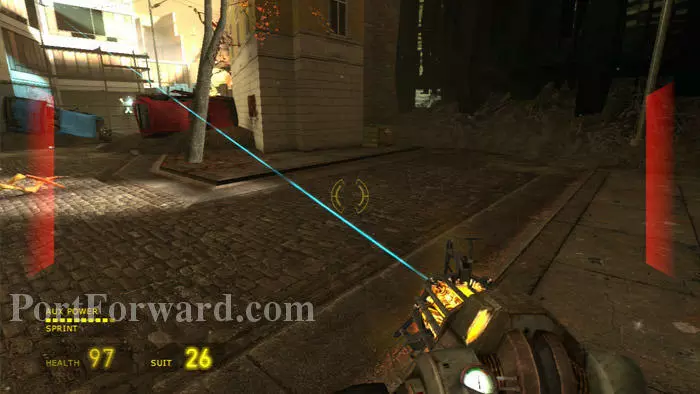
Remove this metal sheeting so Alyx can snipe the gunman on the other side.

Half Life 2: Episode One Walkthrough - Half Life-2-Episode-One 187

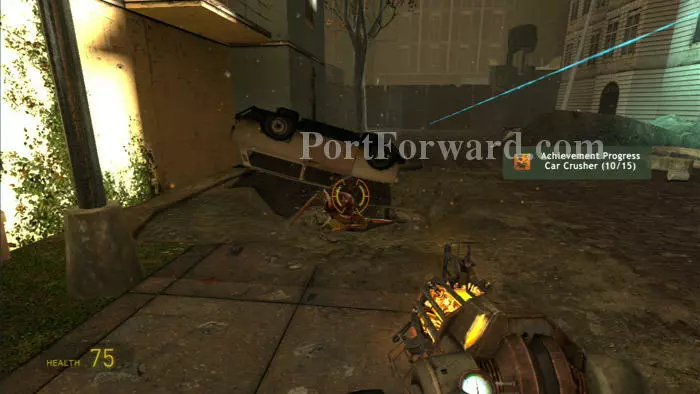
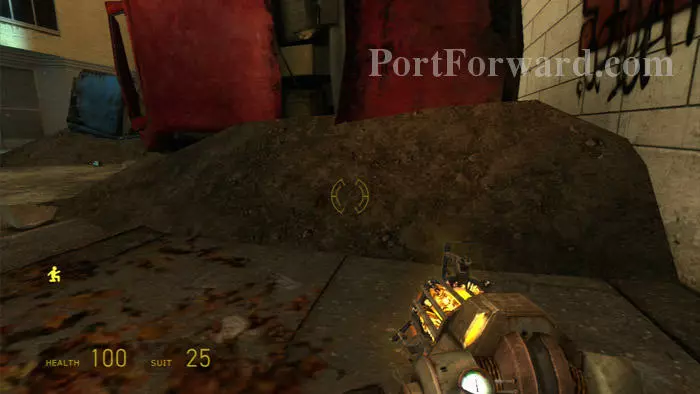
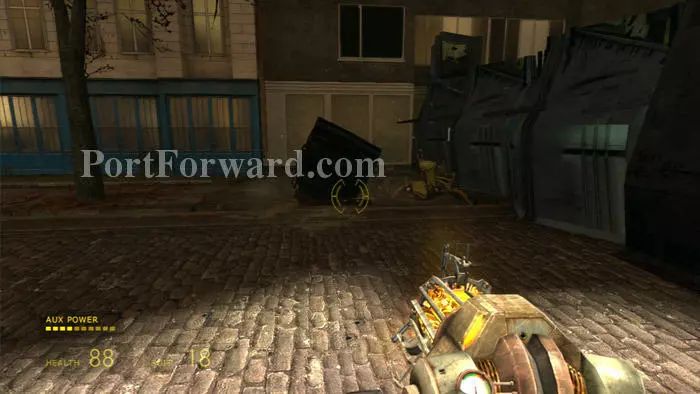
Push the white car into this antlion burrow.

Half Life 2: Episode One Walkthrough - Half Life-2-Episode-One 188

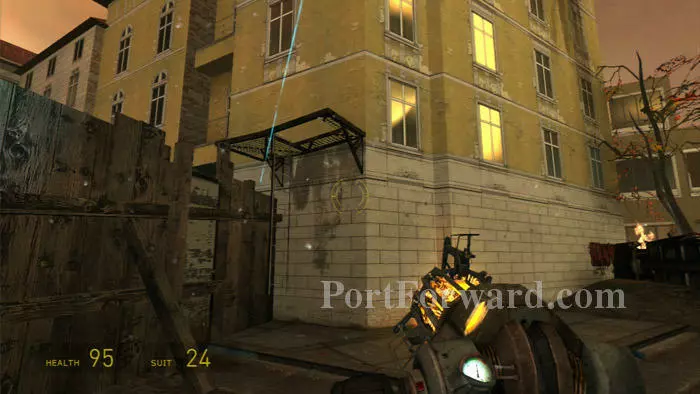
Slip behind this barricade once it opens up. Soldiers keep spawning until you do.

Half Life 2: Episode One Walkthrough - Half Life-2-Episode-One 189

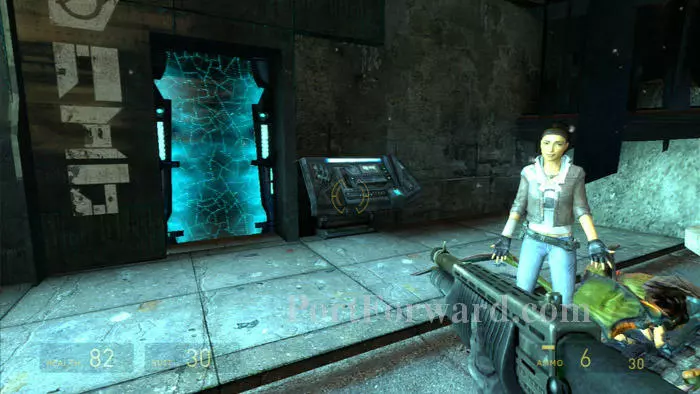
Bust open the supply crates while Alyx catches up. Advance into the building after she deactivates the force field.

Half Life 2: Episode One Walkthrough - Half Life-2-Episode-One 190

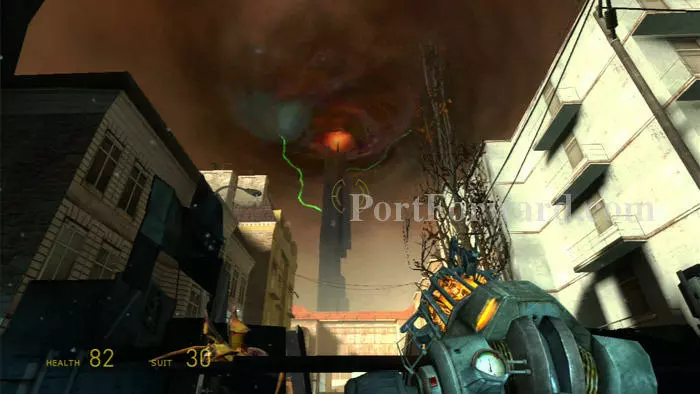
More trouble -- it looks like the core is going critical again.

Half Life 2: Episode One Walkthrough - Half Life-2-Episode-One 191

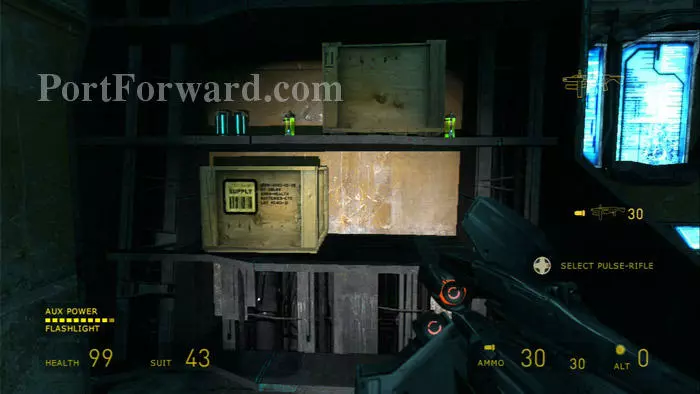
Bust open these crates once inside.

Half Life 2: Episode One Walkthrough - Half Life-2-Episode-One 192

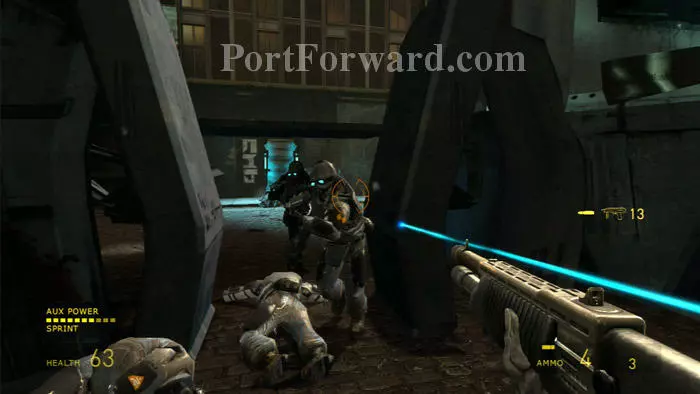
Head left to this battle with several combine troops -- they'll drop the highly-coveted pulse rifle.

Half Life 2: Episode One Walkthrough - Half Life-2-Episode-One 193

Find plenty of supplies here on the left.

Half Life 2: Episode One Walkthrough - Half Life-2-Episode-One 194

More soldiers soon attack from the door to the right, where you'll find health and suit energy stations. Both exits here lead to the same hallway.

Half Life 2: Episode One Walkthrough - Half Life-2-Episode-One 195

Fight passed anther soldier then ascend the stairs to your next auto-save checkpoint and more supplies.

Half Life 2: Episode One Walkthrough - Half Life-2-Episode-One 196

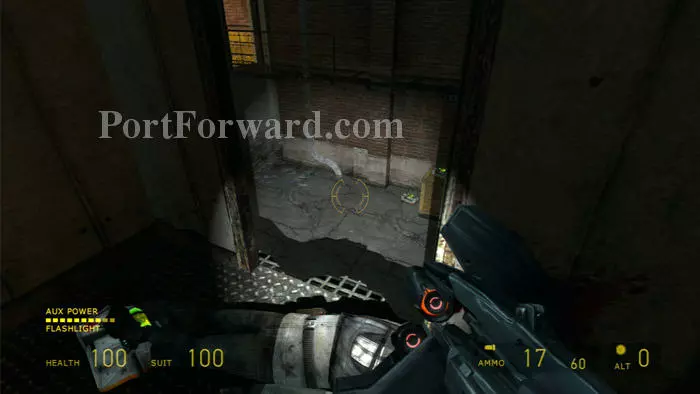
Toss any unused supplies to the pavement below before dropping through.

Half Life 2: Episode One Walkthrough - Half Life-2-Episode-One 197

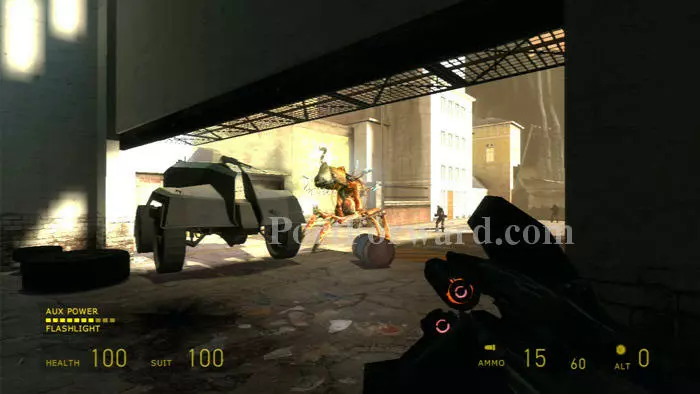
Combine troops are battling an antlion bull outside. It's tempting to hang back until the bull finishes them off, but I found it best to begin work immediately -- just keep out of everyone's way.

Half Life 2: Episode One Walkthrough - Half Life-2-Episode-One 198

Your first task is to plug up the two antlion pits.

Half Life 2: Episode One Walkthrough - Half Life-2-Episode-One 199

Here's the second pit. Now at least you won't be bothered by additional antlion spawns. The troops should be history by now.

Half Life 2: Episode One Walkthrough - Half Life-2-Episode-One 200

As befits the name, "bull," this large antlion attacks by charging head-on. Keep moving to avoid his charges and get in as many shots as you can.

Half Life 2: Episode One Walkthrough - Half Life-2-Episode-One 201

The machine gun emplacement seen on the right can be a good place to circle around. Unfortunately the bull is too fast to make the machine gun itself much use.

Half Life 2: Episode One Walkthrough - Half Life-2-Episode-One 202

Before long he'll succumb to your fire, and Alyx will take up position at the machine gun. Rush through the opening in the barricade and find a health station to the right.

Half Life 2: Episode One Walkthrough - Half Life-2-Episode-One 203

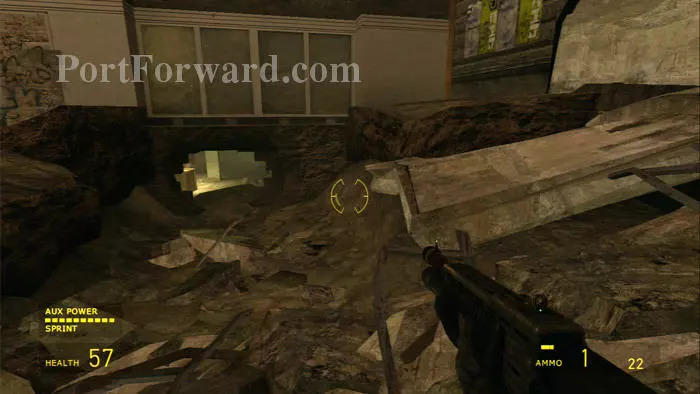
Enter the building through this hole to the left.

Half Life 2: Episode One Walkthrough - Half Life-2-Episode-One 204

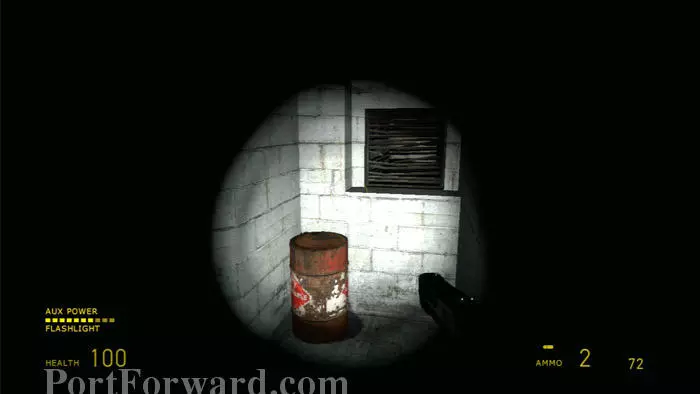
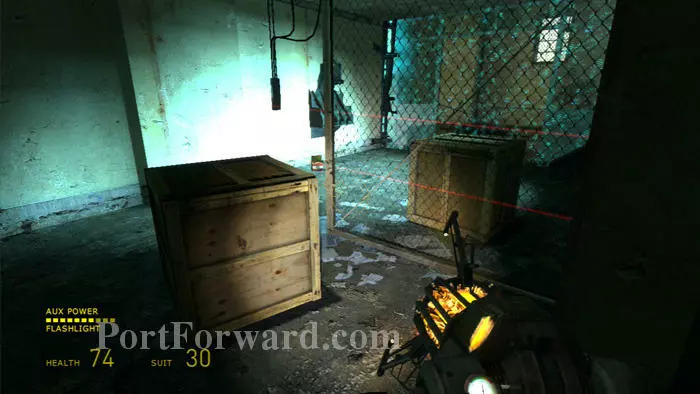
The door on the right is locked. Blow up the barrels in this corner then deactivate the mine before crawling into the vent on the left.

Half Life 2: Episode One Walkthrough - Half Life-2-Episode-One 205

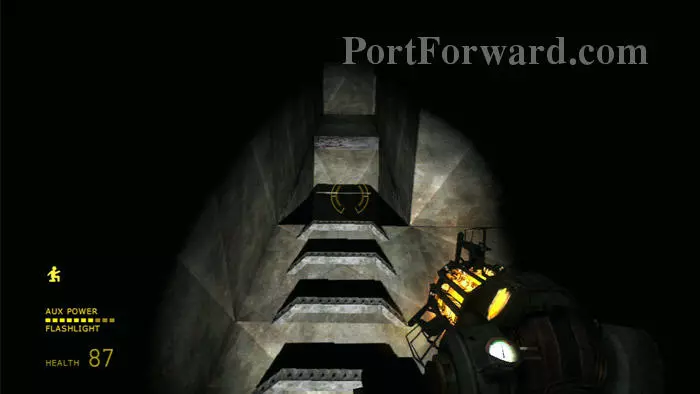
Keep right at the first junction then climb this ladder.

Half Life 2: Episode One Walkthrough - Half Life-2-Episode-One 206

Don't get any closer to these supplies than I am here, or else you'll crash through the ceiling to an amused Alyx. Instead, grab them with your Gravity Gun then return down the ladder.

Half Life 2: Episode One Walkthrough - Half Life-2-Episode-One 207

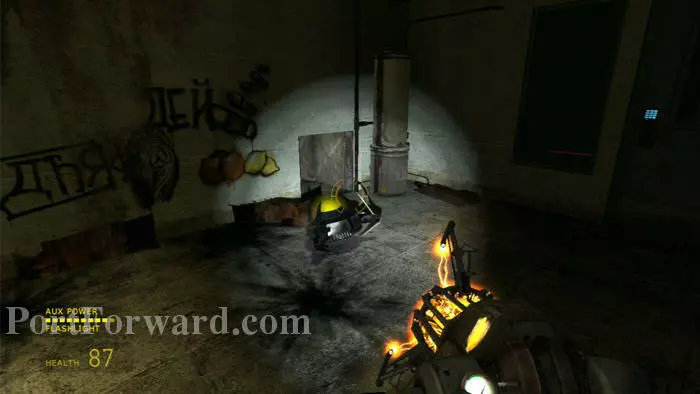
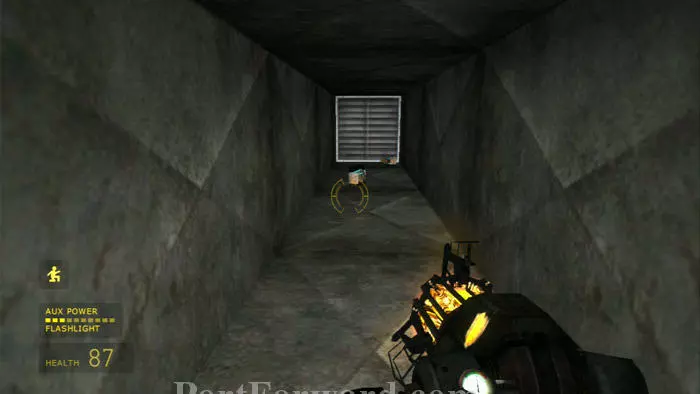
Keep right at the junction again and follow the shaft until it collapses in front of this mine. Don't disturb the mine; instead, pop open the grate above and step up.

Half Life 2: Episode One Walkthrough - Half Life-2-Episode-One 208

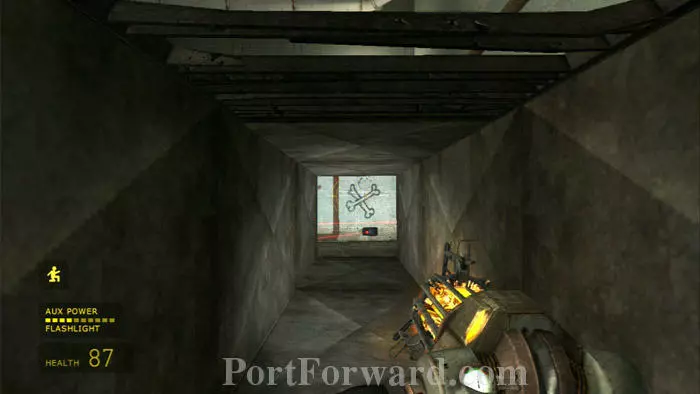
Find the entire room booby-trapped. Escape to the elevator straight-ahead by hopping along the barrels and bench.

Half Life 2: Episode One Walkthrough - Half Life-2-Episode-One 209

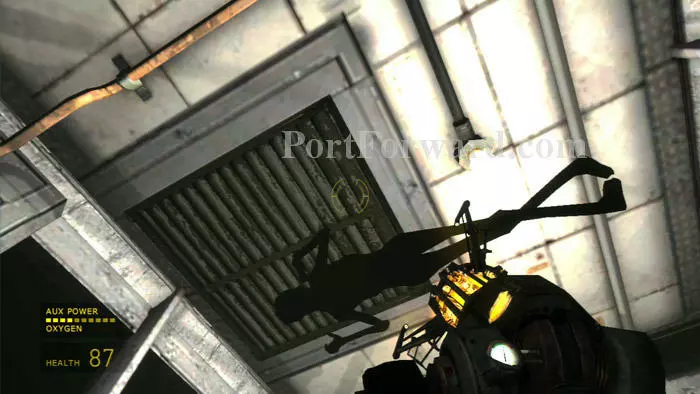
The lift drops into the water below. Use your Gravity Gun to punch open the ceiling grate, then swim to the surface. Beware the barnacle tongues dangling above.

Half Life 2: Episode One Walkthrough - Half Life-2-Episode-One 210

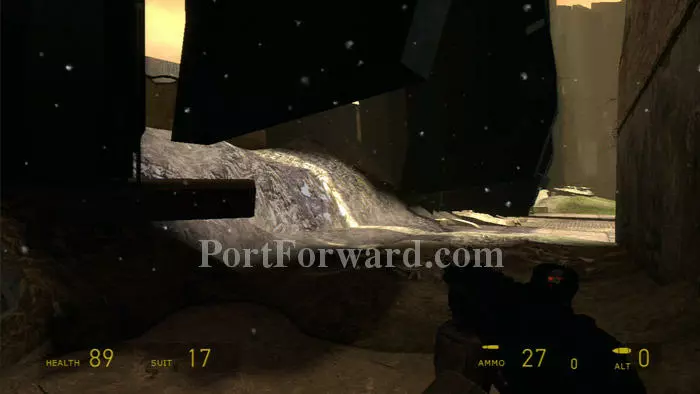
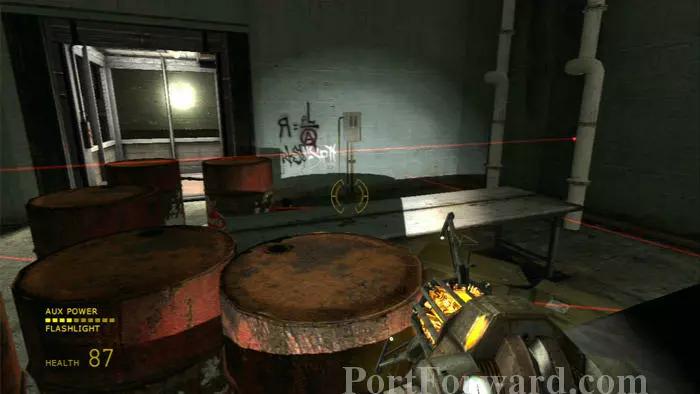
The neighboring room is likewise booby-trapped. Shoot one of the barrels to set it ablaze, then quickly dive into the water to survive the resulting explosions.

Half Life 2: Episode One Walkthrough - Half Life-2-Episode-One 211

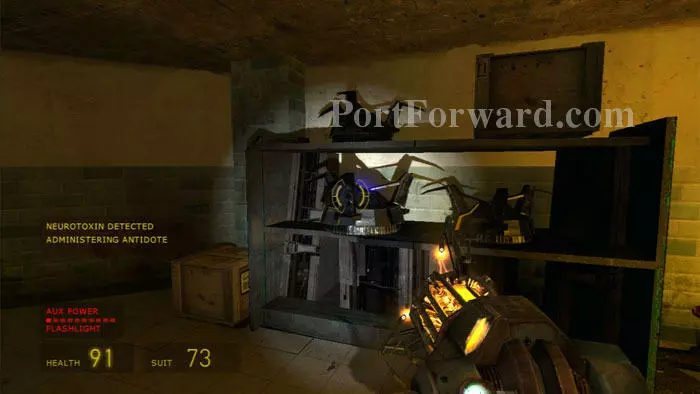
Find supplies and a toxic head crab inside.

Half Life 2: Episode One Walkthrough - Half Life-2-Episode-One 212

Use your Gravity Gun to uncover this vent then climb in with the aid of the neighboring barrel.

Half Life 2: Episode One Walkthrough - Half Life-2-Episode-One 213

The vent leads to this ledge which you can follow to reach the ladder ahead.

Half Life 2: Episode One Walkthrough - Half Life-2-Episode-One 214

Jump to the ledge in front of this grate seen below, then pop it open with your Gravity Gun and enter the vent. Be careful to avoid the barnacles.

Half Life 2: Episode One Walkthrough - Half Life-2-Episode-One 215

Follow the vent to this opening. The falling grate triggers another set of explosions, so be sure to wait before jumping in.

Half Life 2: Episode One Walkthrough - Half Life-2-Episode-One 216

Deactivate any remaining mines then use the panel ahead to turn on the power and unlock the door for Alyx.

Half Life 2: Episode One Walkthrough - Half Life-2-Episode-One 217

Exit through this door, opposite.

Half Life 2: Episode One Walkthrough - Half Life-2-Episode-One 218

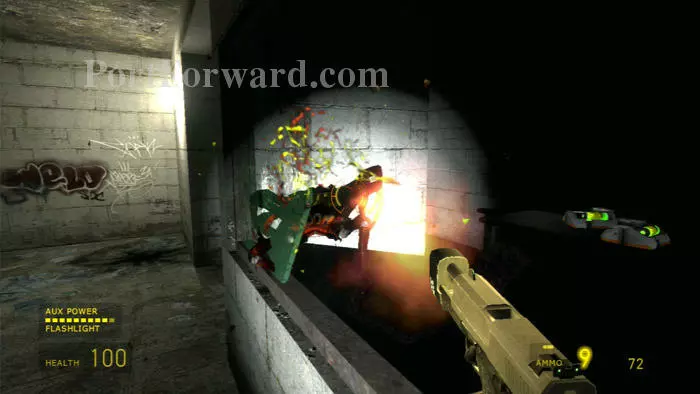
Follow the hallway to this next booby-trapped room, complete with crawling zombie. Best to just shoot the flaming barrels from the hallway so it's relatively safe before you even enter. Be sure to deactivate the mine in the far left corner.

Half Life 2: Episode One Walkthrough - Half Life-2-Episode-One 219

Note this force field on the left. Beware the stairs on the right -- Combine are about to blast through the door.

Half Life 2: Episode One Walkthrough - Half Life-2-Episode-One 220

Fight your way up the stairs to this room. Grab the crossbow on the shelf behind this soldier before pulling the green plug seen upper-left to deactivate the force field at the bottom of the stairs.

Half Life 2: Episode One Walkthrough - Half Life-2-Episode-One 221

Once outside, your new crossbow does a great job sniping the rappelling troops. Hold the left trigger to activate your crossbow scope. Supplies can be lifted over the fence on the right.

Half Life 2: Episode One Walkthrough - Half Life-2-Episode-One 222

After a brief street fight, the underground lead you through this door to a safe house.

Half Life 2: Episode One Walkthrough - Half Life-2-Episode-One 223

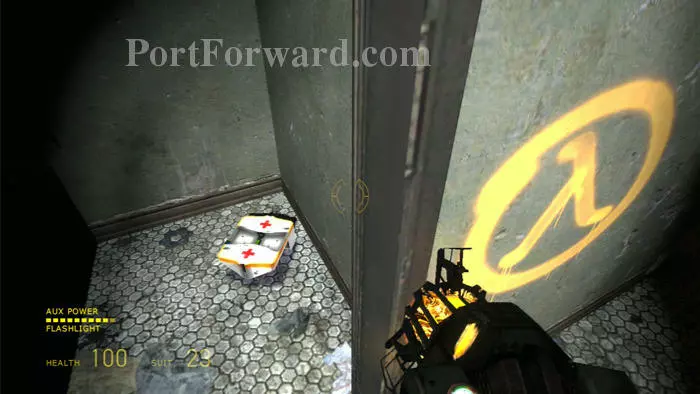
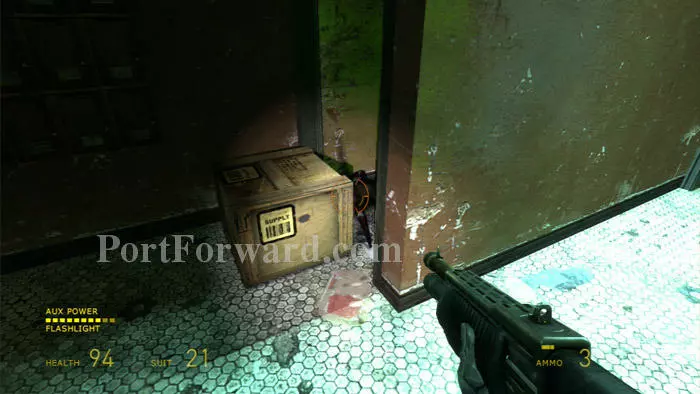
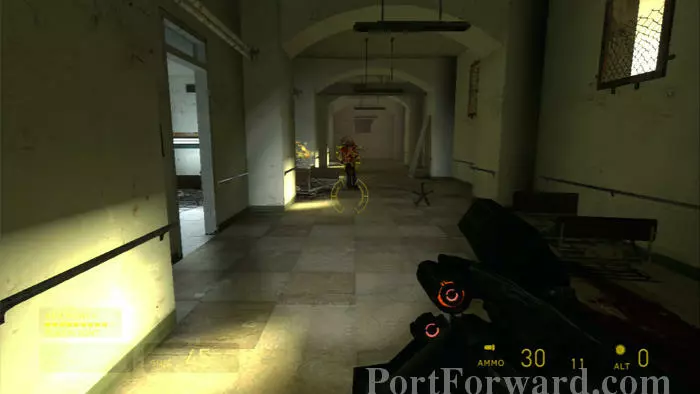
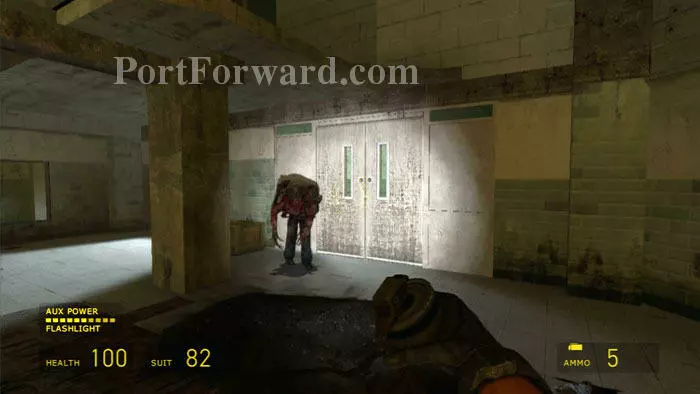
Plenty of supplies are found along the way. Be sure to find this medkit after listening to Dr. Kleiner on the nearby TV.

Half Life 2: Episode One Walkthrough - Half Life-2-Episode-One 224

Ascend the stairs then pull the planks off this door to bypass the stairs blocked by a head crab bomb. Zombines are on the other side.

Half Life 2: Episode One Walkthrough - Half Life-2-Episode-One 225

Enter this room on the right, careful to avoid the rotted floor boards. Otherwise you'll fall into a zombie pit below.

Half Life 2: Episode One Walkthrough - Half Life-2-Episode-One 226

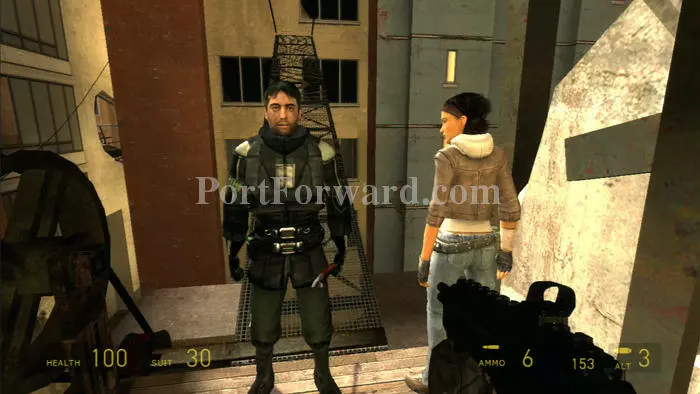
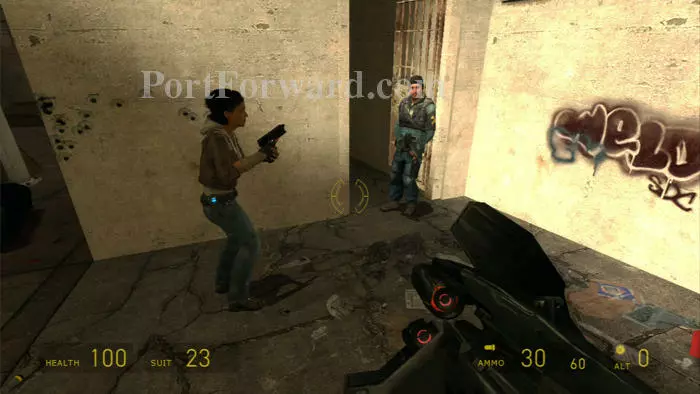
Meet up with Barney on the top floor of the safe house. He'll lower this bridge for you and Alyx, leading to a diversionary second route to the evacuation trains. He'll also hand you an item you have probably been missing - a crowbar.

Half Life 2: Episode One Walkthrough - Half Life-2-Episode-One 227

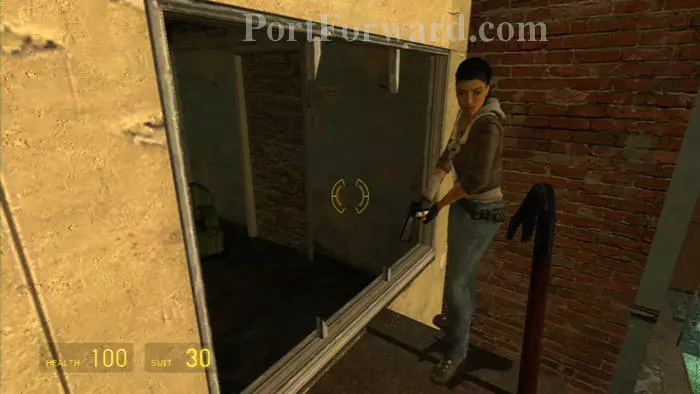
Cross the bridge then enter the building through this window on the right. Break through a plank to another short bridge beyond.

Half Life 2: Episode One Walkthrough - Half Life-2-Episode-One 228

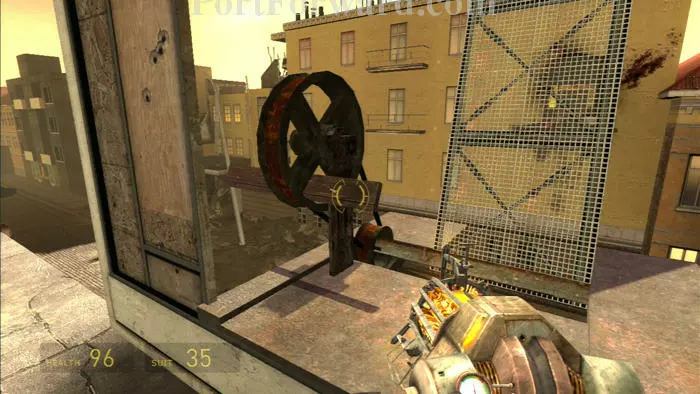
Ascend a flight of toxic-head-crab-infested stairs to yet another bridge. Pull the plank away from the crank to lower the bridge.

Half Life 2: Episode One Walkthrough - Half Life-2-Episode-One 229

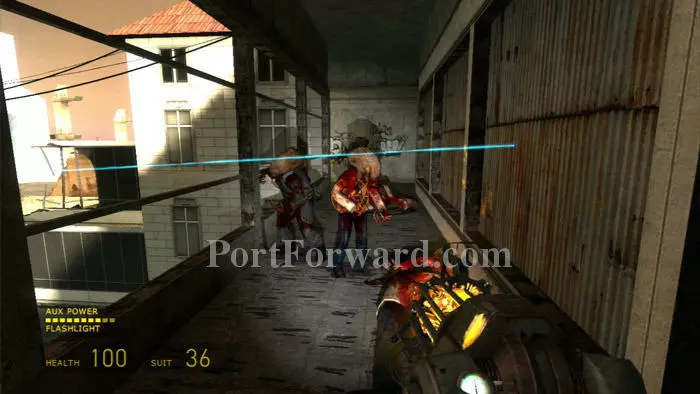
Cross the bridge to this hospital. Find more crossbow ammo next to a washer/dryer then battle these zombies. Toss the bench with your Gravity Gun to trip the mines ahead for safe passage.

Half Life 2: Episode One Walkthrough - Half Life-2-Episode-One 230

Ascend another flight of stairs to this attic. Retrieve the grenade launder once the comrade is killed then take up position at this crate for infinite ammunition.

Half Life 2: Episode One Walkthrough - Half Life-2-Episode-One 231

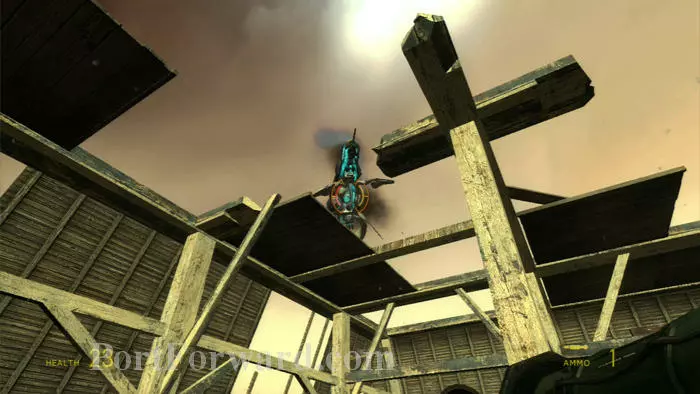
Your task is to bring down this gunship. As before, try swirling your site to help the rockets dodge the gunship's fire.

Half Life 2: Episode One Walkthrough - Half Life-2-Episode-One 232

Once the airship crashes into the attic, drop to the floor below and collect any remaining supplies. The way out is through this door, after these troops blast through.

Half Life 2: Episode One Walkthrough - Half Life-2-Episode-One 233

Toss the box through the lasers to trigger the mines. Alyx will then lower the force field. Beware of the mine on the other side.

Half Life 2: Episode One Walkthrough - Half Life-2-Episode-One 234

Time for an extended run-and-gun, complete with soundtrack. A supply crate and a zombie are in the first room to the left. The second room on the left is empty.

Half Life 2: Episode One Walkthrough - Half Life-2-Episode-One 235

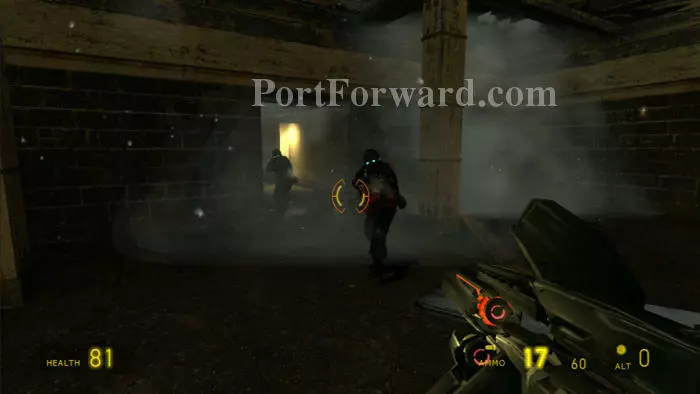
Someone's throwing a major party around the next bend and they forgot to invite you. Your pulse rifle does a good job correcting their manners.

Half Life 2: Episode One Walkthrough - Half Life-2-Episode-One 236

These fools ask Alyx to dance once you reach the end of the corridor. Her shotgun tells them she's a one-man kinda gal. Grab a supply crate from the room on the left before continuing through the door on the right.

Half Life 2: Episode One Walkthrough - Half Life-2-Episode-One 237

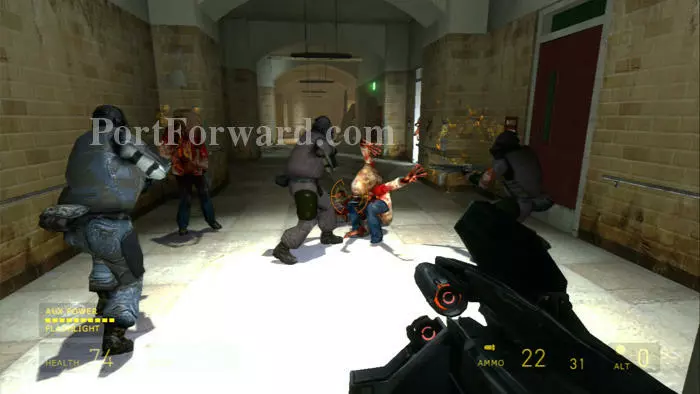
Overwatch, zombines, zombies and Combine troops are getting it on in the next corridor. Try to stay out of their way until the diehards are all that's left. Collect supplies once the corridor is quiet -- just be prepared for toxic head crabs to drop through the ceiling when you enter the room on the far right.

Half Life 2: Episode One Walkthrough - Half Life-2-Episode-One 238

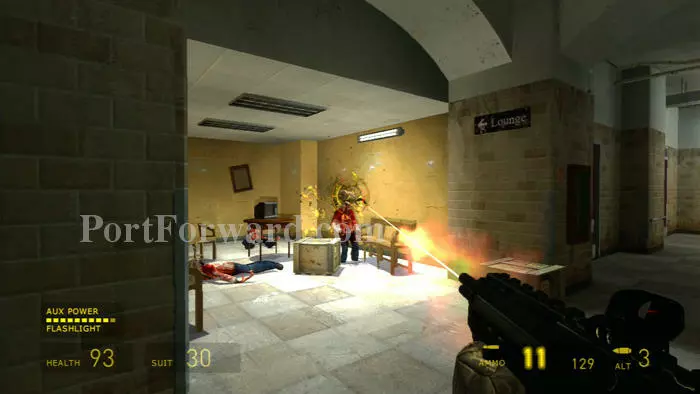
A trio of zombies are chilling in the lounge, up the next corridor.

Half Life 2: Episode One Walkthrough - Half Life-2-Episode-One 239

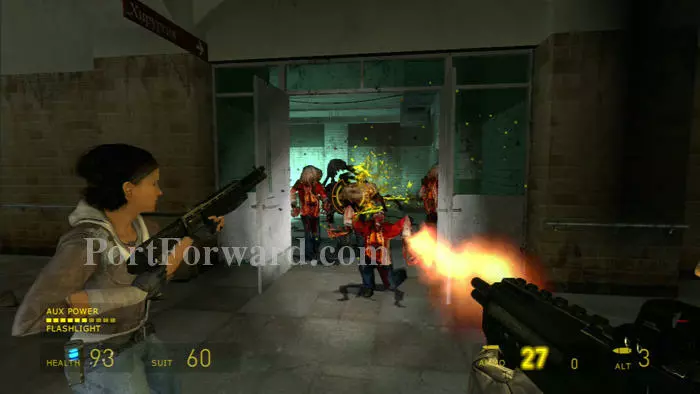
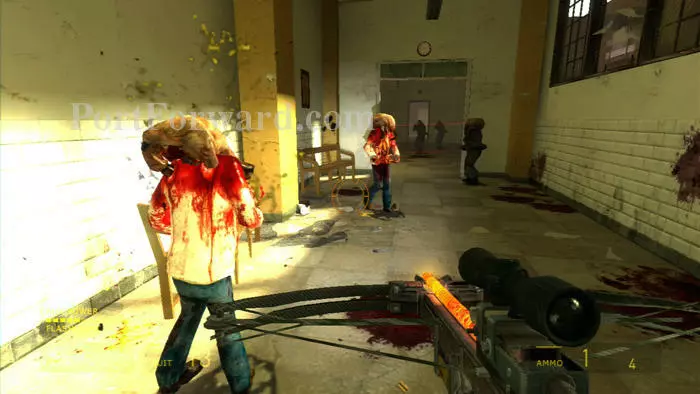
Gate crashers are across from the lounge -- tell them the keg is kicked.

Half Life 2: Episode One Walkthrough - Half Life-2-Episode-One 240

Uh-oh, someone called the cops. Take out the Overwatch in the last room on the right then grab any chips and dip left lying around. The party's over.

Half Life 2: Episode One Walkthrough - Half Life-2-Episode-One 241

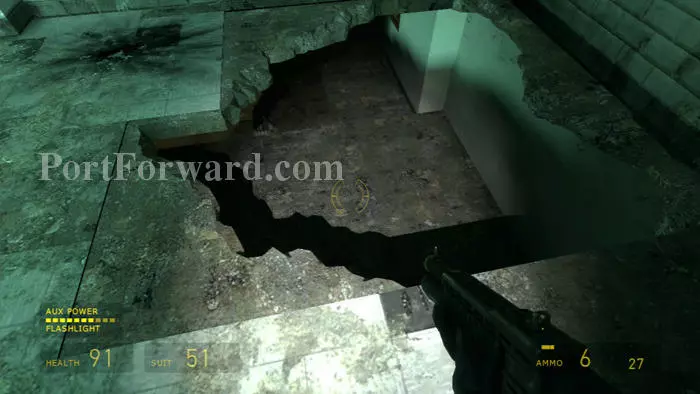
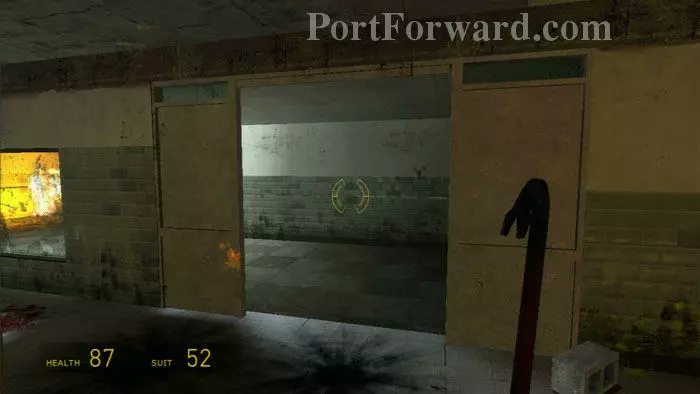
The path forward is through this hole in the operating room floor.

Half Life 2: Episode One Walkthrough - Half Life-2-Episode-One 242

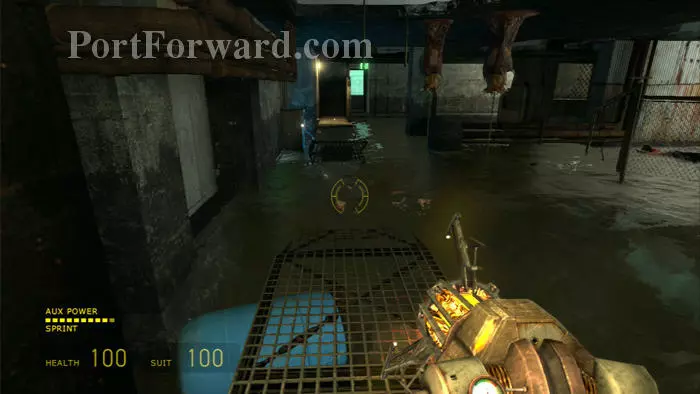
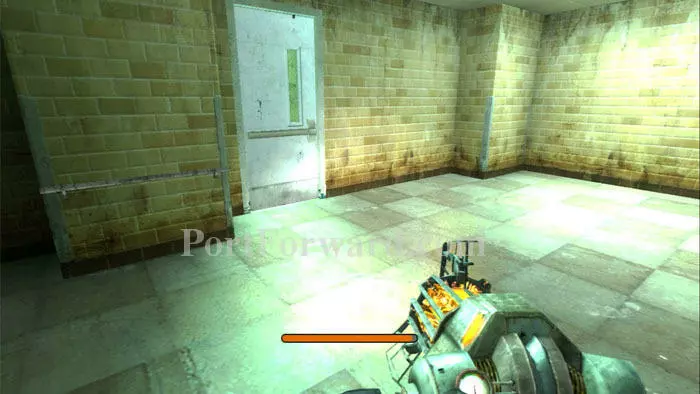
Crash through the lower floor all the way to this flooded basement. Swim to the surface and battle toxic head crabs. A supply crate is in the room to the left. The way out is through the blue door ahead/right, but it's locked - for now.

Half Life 2: Episode One Walkthrough - Half Life-2-Episode-One 243

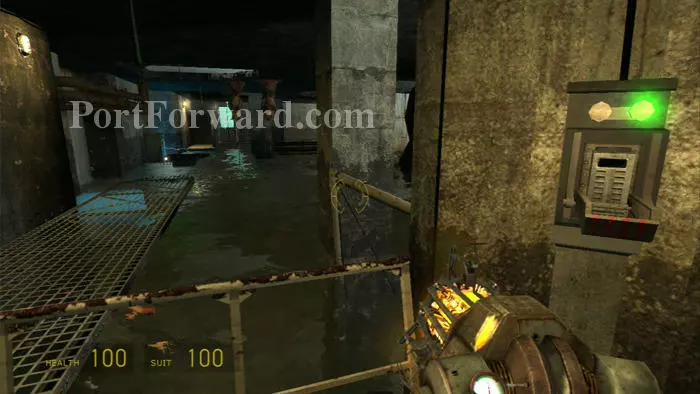
Kill all the barnacles in the room, and position the blue barrel so that it supports the unstable bridge segment seen on the left. Activate this panel to unlock the blue door across the room far/left.

Half Life 2: Episode One Walkthrough - Half Life-2-Episode-One 244

The water is now electrified and should be avoided. Sprint across the bridge then jump to the platform in front of the sparking panel.

Half Life 2: Episode One Walkthrough - Half Life-2-Episode-One 245

Turn right. Jump to the pillar ahead, then follow the railing right. You can then jump to the platform adjacent to the room where you found the crate.

Half Life 2: Episode One Walkthrough - Half Life-2-Episode-One 246

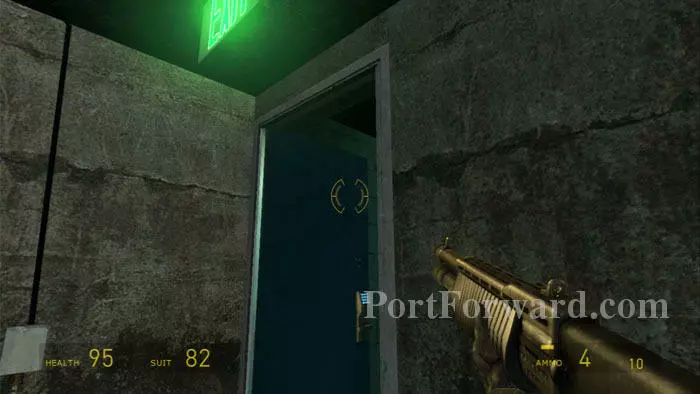
Climb through the window to the platform and exit through the now-unlocked door.

Half Life 2: Episode One Walkthrough - Half Life-2-Episode-One 247

Ascend the stairs to this room where you'll be joined by Alyx. Open the supply crates and avoid the barnacles. Continue through the door ahead.

Half Life 2: Episode One Walkthrough - Half Life-2-Episode-One 248

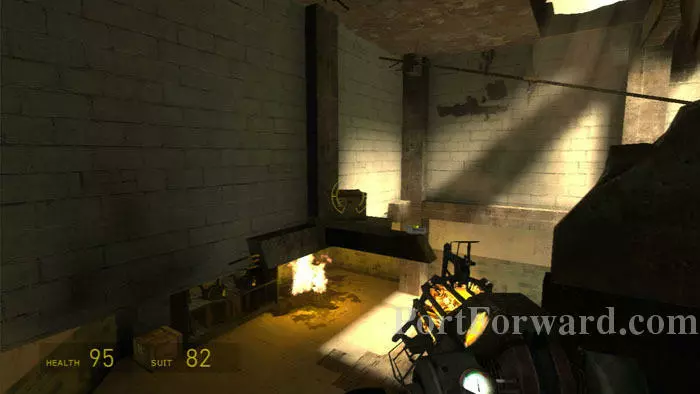
More supplies are found, guarded by toxic head crabs below. Use your gravity gun to snatch the crate and medkit seen here before dropping down.

Half Life 2: Episode One Walkthrough - Half Life-2-Episode-One 249

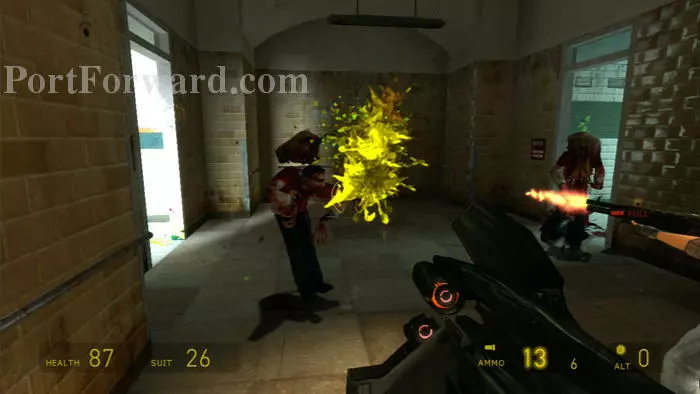
This toxic zombie is the source of the head crabs. Take him out quickly -- he's called in lots of backup.

Half Life 2: Episode One Walkthrough - Half Life-2-Episode-One 250

If you're really quick, you can mine the doors with these mines before more zombies arrive.

Half Life 2: Episode One Walkthrough - Half Life-2-Episode-One 251

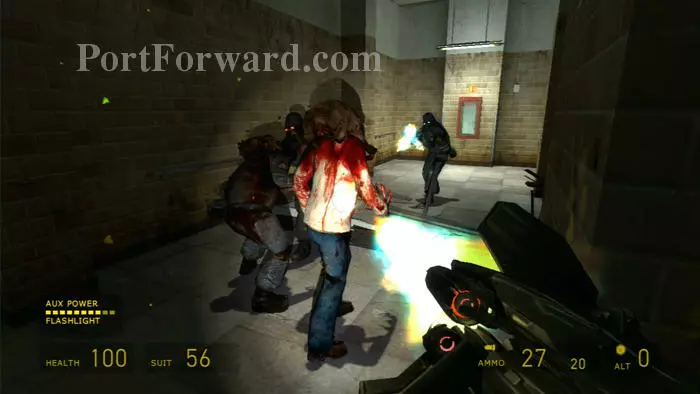
Once your preferred weapon (mine is the shotgun) quells the mayhem, grab supplies then exit through here. Turn left then keep right.

Half Life 2: Episode One Walkthrough - Half Life-2-Episode-One 252

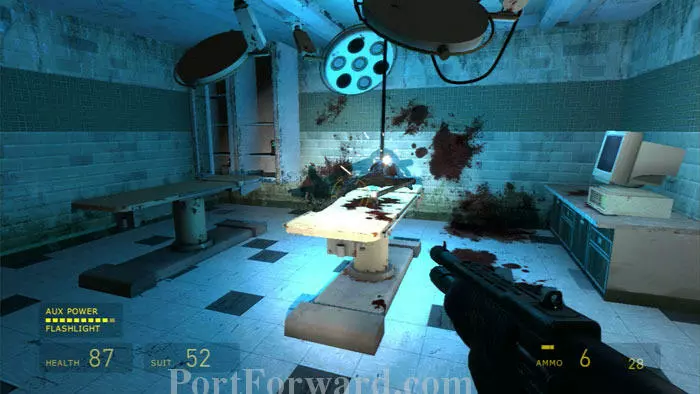
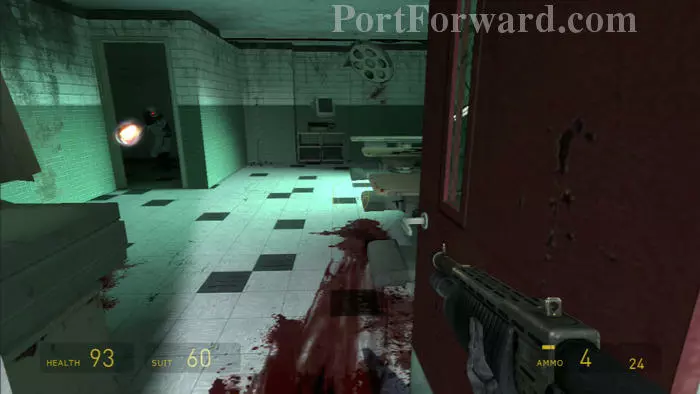
Find more supplies in this operating room then continue through the door on the right, just off-camera.

Half Life 2: Episode One Walkthrough - Half Life-2-Episode-One 253

This next corridor is mined, and automatic turrets attack from the far end. Advance by rushing to the side pillars, careful to deactivate the mines as you go.

Half Life 2: Episode One Walkthrough - Half Life-2-Episode-One 254

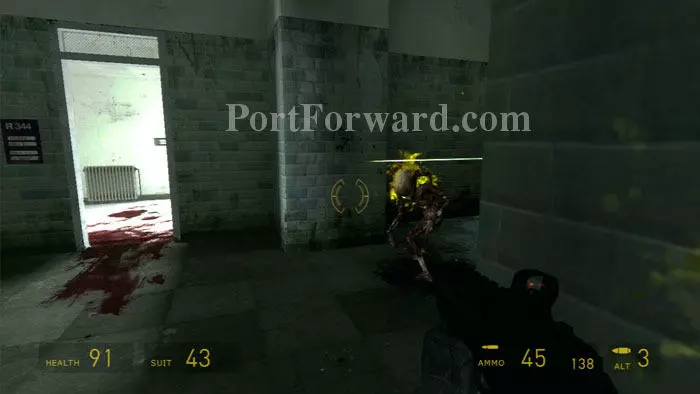
Be cautious of that room marked "R 344." You'll find supplies there, but zombies like to wait in ambush.

Half Life 2: Episode One Walkthrough - Half Life-2-Episode-One 255

Once you, Alyx and the turrets have decimated the zombie assault, use your Gravity Gun to simultaneously pull the plug on the force field and on the turrets.

Half Life 2: Episode One Walkthrough - Half Life-2-Episode-One 256

Advance down the hallway to this door and the next checkpoint.

More Half Life 2: Episode One Walkthroughs

This Half Life 2: Episode One walkthrough is divided into 5 total pages.

More From Portforward