Half Life 2: Episode One Walkthrough Undue Alarm

September 12, 2016 (Last Updated: ) | Reading Time: 8 minutes

This Half Life 2: Episode One walkthrough is divided into 5 total pages.

You can jump to nearby pages of the game using the links above.

Undue Alarm

Half Life 2: Episode One Walkthrough - Half Life-2-Episode-One 0

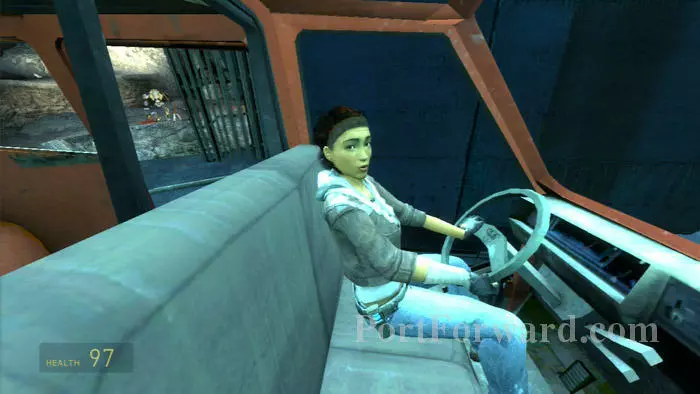
After being rescued by Dog, you are brought to a very relieved Alyx. Receive the Gravity Gun from Dog.

Half Life 2: Episode One Walkthrough - Half Life-2-Episode-One 1

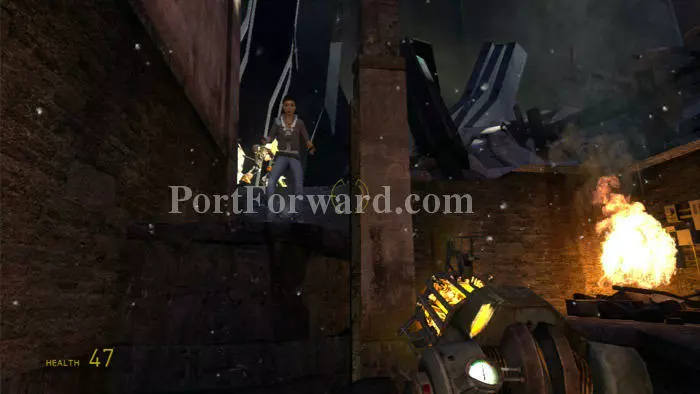
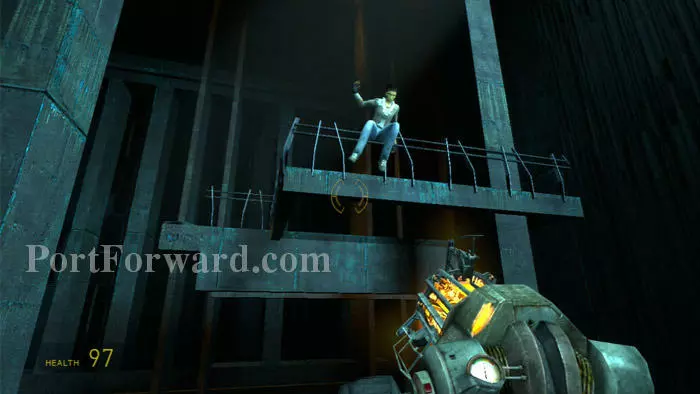
Alyx climbs onto this ledge, displaying an athleticism that apparently you lack. You'll need to solve your first puzzle to get up there and rejoin Alyx and Dog.

Half Life 2: Episode One Walkthrough - Half Life-2-Episode-One 2

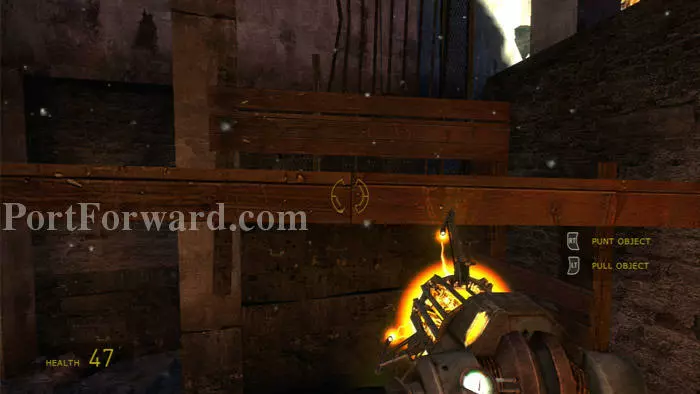
This should be pretty obvious to Half Life 2 veterans -- use the left trigger to grab these boards with the Gravity Gun.

Half Life 2: Episode One Walkthrough - Half Life-2-Episode-One 3

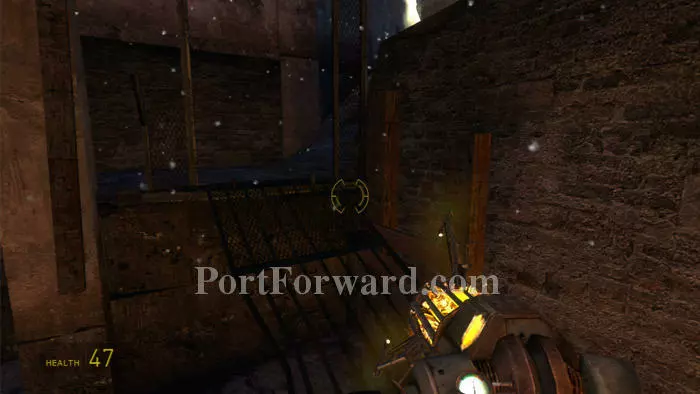
This metal ramp will then drop down, allowing you to cross to the area above.

Half Life 2: Episode One Walkthrough - Half Life-2-Episode-One 4

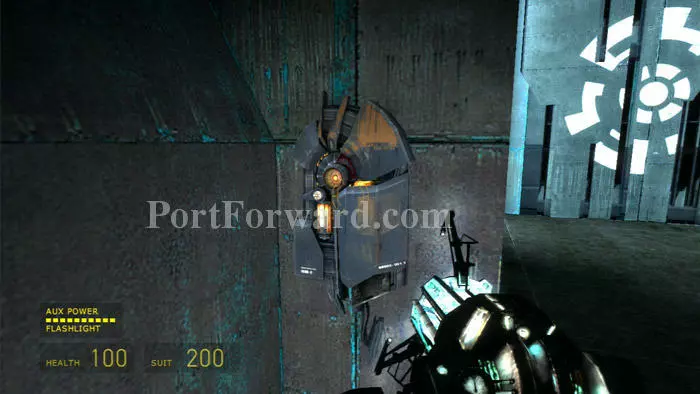
Grab the two medkits on this table then learn from Drs. Vance and Kleiner that you'll need to re-enter the Citadel and shut down the core.

Half Life 2: Episode One Walkthrough - Half Life-2-Episode-One 5

Crouch to slip beneath the debris that Dog lifts for you.

Half Life 2: Episode One Walkthrough - Half Life-2-Episode-One 6

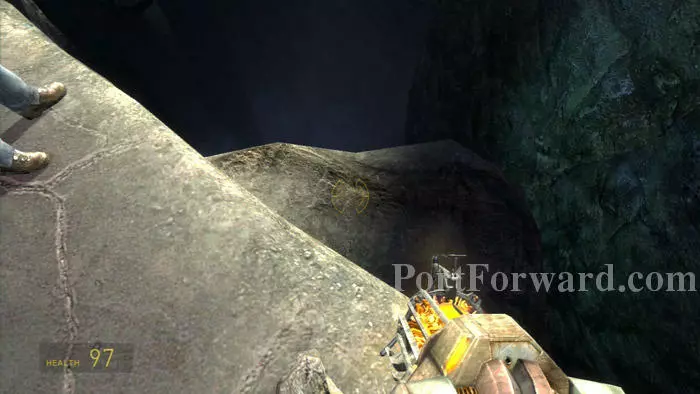
Drop off the ledge to begin another of Half Life's infamous jumping puzzles.

Half Life 2: Episode One Walkthrough - Half Life-2-Episode-One 7

Crouch to slip beneath this debris, then press A to jump across the short gap in the ledge beyond.

Half Life 2: Episode One Walkthrough - Half Life-2-Episode-One 8

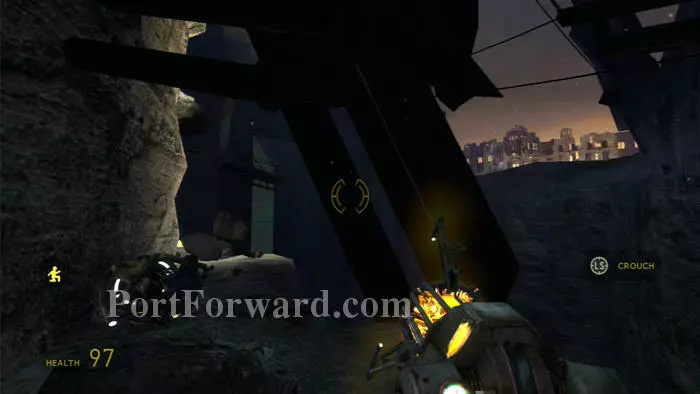
Your Gravity Gun removes this wrecked car blocking the path.

Half Life 2: Episode One Walkthrough - Half Life-2-Episode-One 9

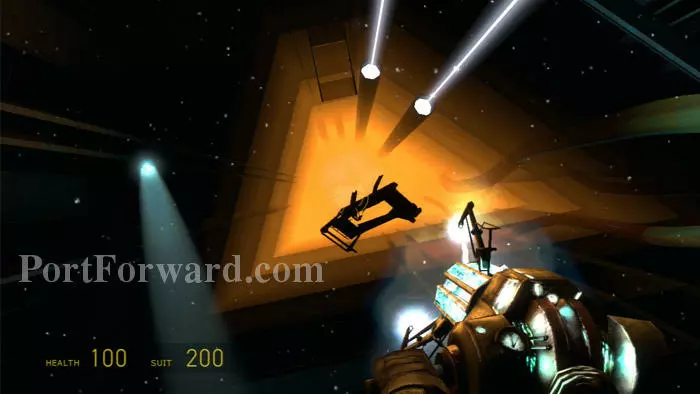
Next, you need to enter the Citadel through that opening ahead. But how to get across the chasm?

Half Life 2: Episode One Walkthrough - Half Life-2-Episode-One 10

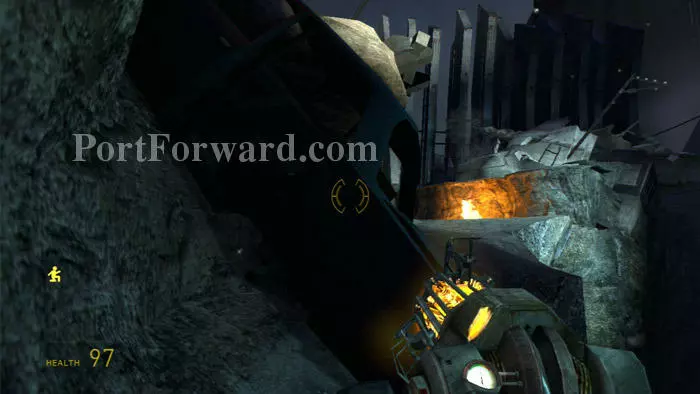
Dog comes up with an idea. (Apparently he's smart as well as adorable.) He fetches this vehicle which he wants throw into the Citadel - with you and Alyx inside.

Half Life 2: Episode One Walkthrough - Half Life-2-Episode-One 11

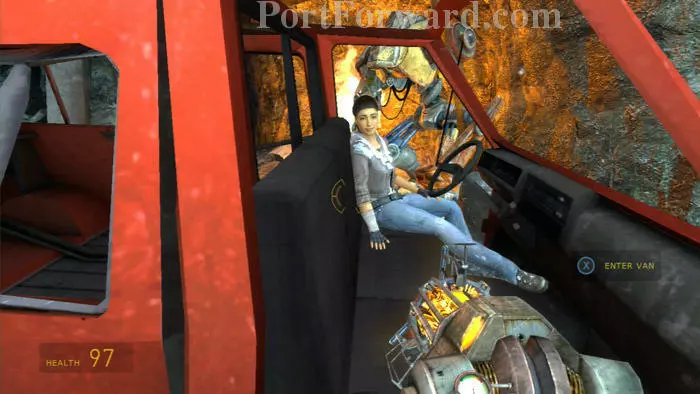
Press X to enter the van on the passenger side then sit back as Dog successfully throws you clear of the chasm and into the Citadel.

Half Life 2: Episode One Walkthrough - Half Life-2-Episode-One 12

Once across, stay put for another brief thrill ride as the van slips farther into the Citadel. Press X to exit the van once it finally comes to a stop.

Half Life 2: Episode One Walkthrough - Half Life-2-Episode-One 13

Watch the van tumble over the ledge then continue down the corridor to Alyx's right.

Half Life 2: Episode One Walkthrough - Half Life-2-Episode-One 14

Jump over this railing to the floor below; Alyx follows.

Half Life 2: Episode One Walkthrough - Half Life-2-Episode-One 15

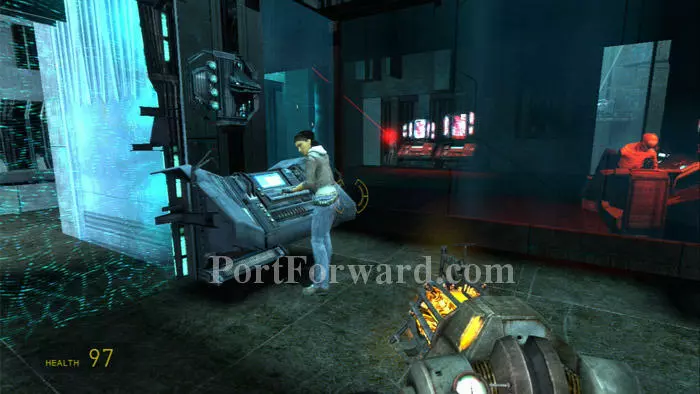
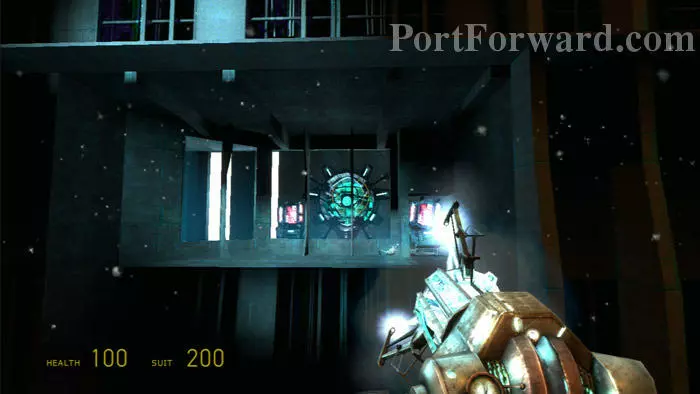
Through a short corridor you'll come to this area. Stalkers prevent Alyx from lowering the force field.

Half Life 2: Episode One Walkthrough - Half Life-2-Episode-One 16

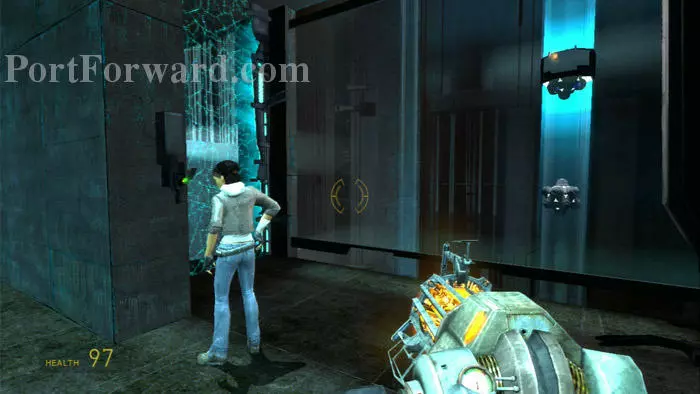
She is, however, able to disable this nearby force field. Note the Roller Mines ahead; Alyx has a plan.

Half Life 2: Episode One Walkthrough - Half Life-2-Episode-One 17

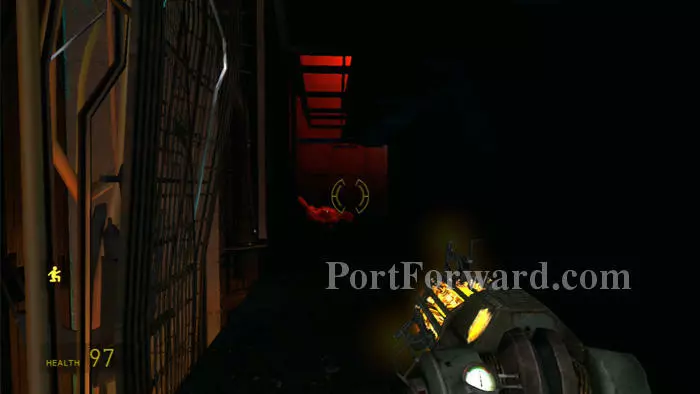
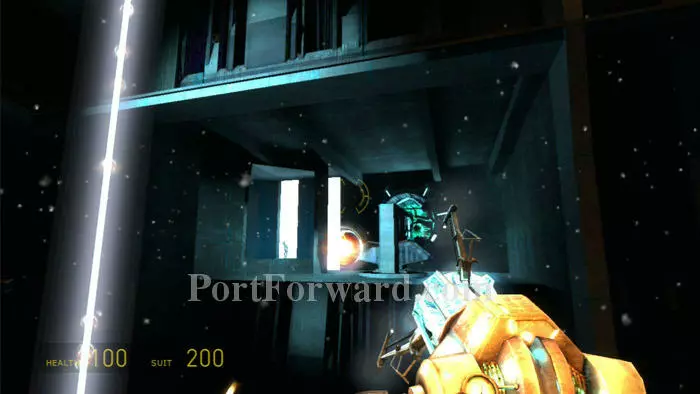
Crouch to pass through this crawlspace beyond the deactivated force field.

Half Life 2: Episode One Walkthrough - Half Life-2-Episode-One 18

Drop to this ledge then take a big leap to the indicated lift. You'll take damage but don't worry -- there's a health/suit energy combo station just ahead.

Half Life 2: Episode One Walkthrough - Half Life-2-Episode-One 19

The lift begins moving up and down. Exit when it's in the down position then heal at this combo station. Approach the red button ahead/left -- pressing the button will release the roller mines in the tube above.

Half Life 2: Episode One Walkthrough - Half Life-2-Episode-One 20

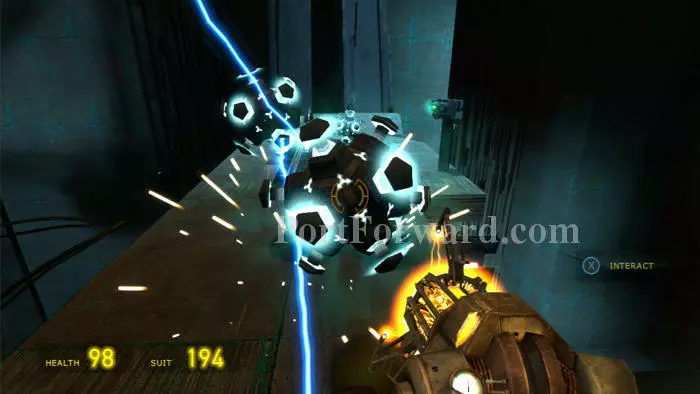
Use your Gravity Gun to deflect all the mines but one.

Half Life 2: Episode One Walkthrough - Half Life-2-Episode-One 21

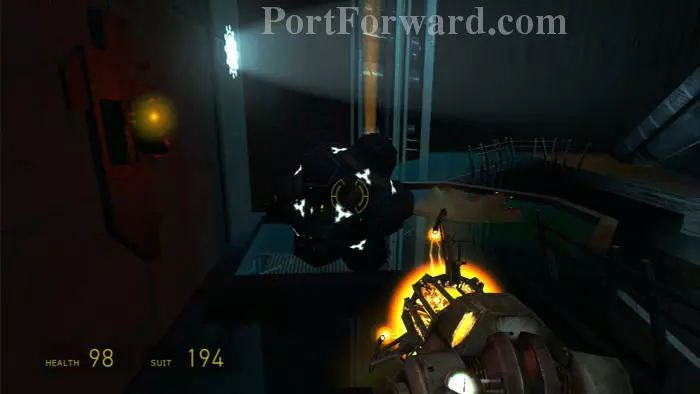
Return to the lift, carrying one of the roller mines.

Half Life 2: Episode One Walkthrough - Half Life-2-Episode-One 22

Ride the lift back up to Alyx. Hold the mine still while she reprograms it.

Half Life 2: Episode One Walkthrough - Half Life-2-Episode-One 23

Drop the mine; it will slip behind the force field and kill the two Stalkers, allowing Alyx to disable the force field.

Half Life 2: Episode One Walkthrough - Half Life-2-Episode-One 24

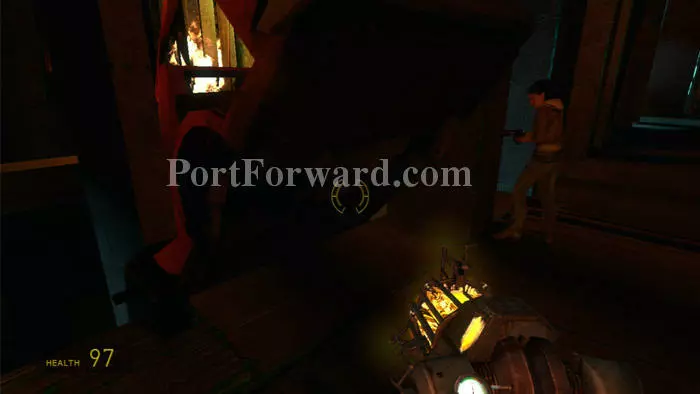
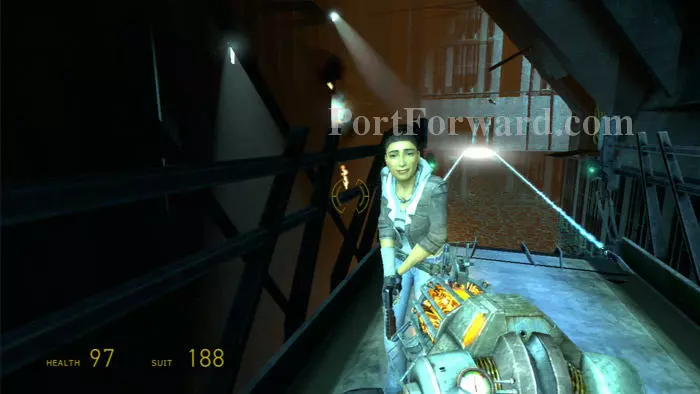
Pass through the previously-inaccessible room then continue to this ledge where you'll see several soldiers meet a firey end. Continue left and crouch under some debris.

Half Life 2: Episode One Walkthrough - Half Life-2-Episode-One 25

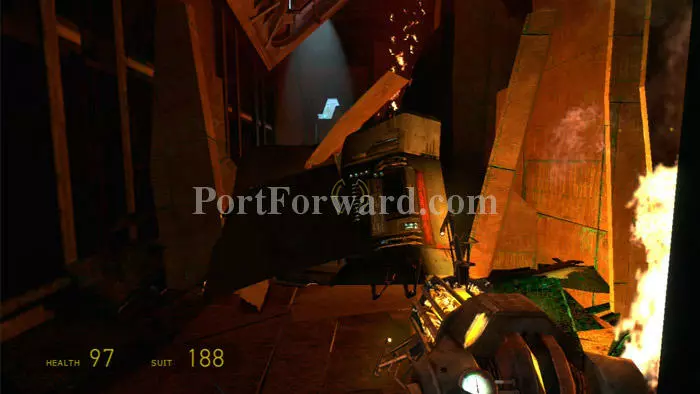
Ascend the stairs and cross a bridge before using your Gravity Gun to clear the path of this debris.

Half Life 2: Episode One Walkthrough - Half Life-2-Episode-One 26

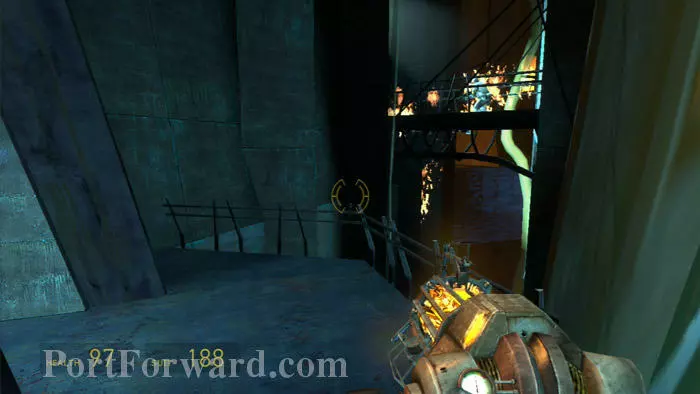
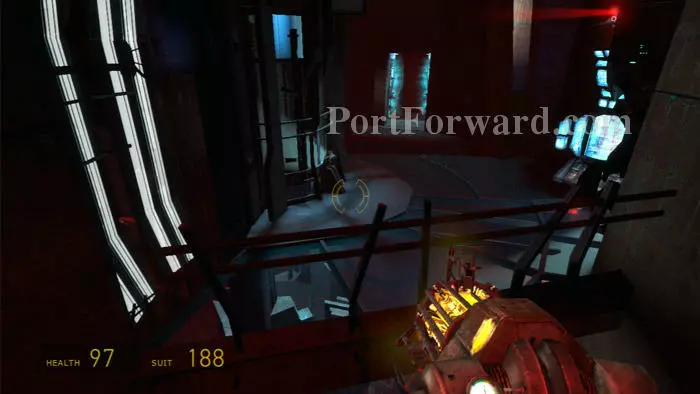
Up a short flight of stairs is this railing. Hop over to the ledge below.

Half Life 2: Episode One Walkthrough - Half Life-2-Episode-One 27

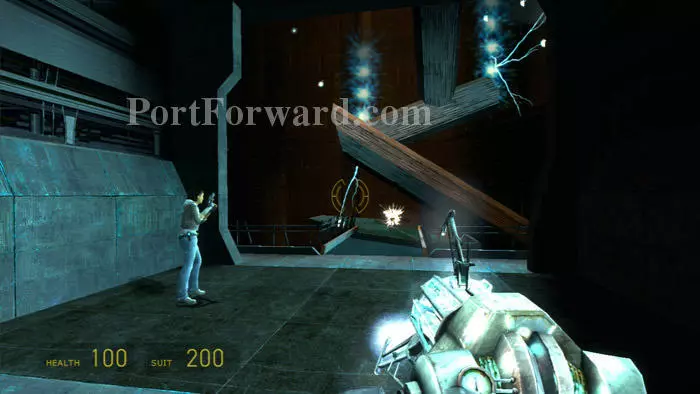
Follow the ledge to this energy bridge. Soldiers try to cross but are swept away by a vortex.

Half Life 2: Episode One Walkthrough - Half Life-2-Episode-One 28

To cross the bridge safely, wait for the vortex to subside then sprint across by pressing the left bumper as you run.

Half Life 2: Episode One Walkthrough - Half Life-2-Episode-One 29

Alyx crosses the bridge after you. Is that the look of love or what?

Half Life 2: Episode One Walkthrough - Half Life-2-Episode-One 30

Follow the corridor then hop over another railing to this room with a glass floor.

Half Life 2: Episode One Walkthrough - Half Life-2-Episode-One 31

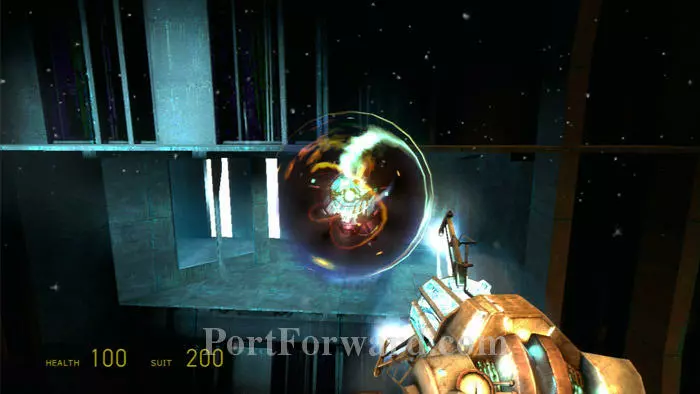
Watch as the console switches from a recording of Dr. Breen to an image of an even creepier insect. The giant bug slides underneath the floor then emerges upright across the room.

Half Life 2: Episode One Walkthrough - Half Life-2-Episode-One 32

The bug vanishes in a pulsating flash. Follow Alyx to the nearby exit and she'll deactivate the force field.

Half Life 2: Episode One Walkthrough - Half Life-2-Episode-One 33

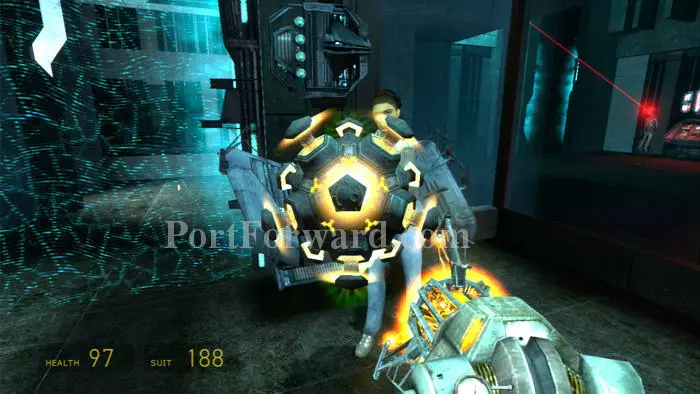
Traverse the corridor a short distance then become temporarily trapped in this room. Your Gravity Gun is stripped from you, then is supercharged into a more powerful version, able to pick up heavier objects and even living persons.

Half Life 2: Episode One Walkthrough - Half Life-2-Episode-One 34

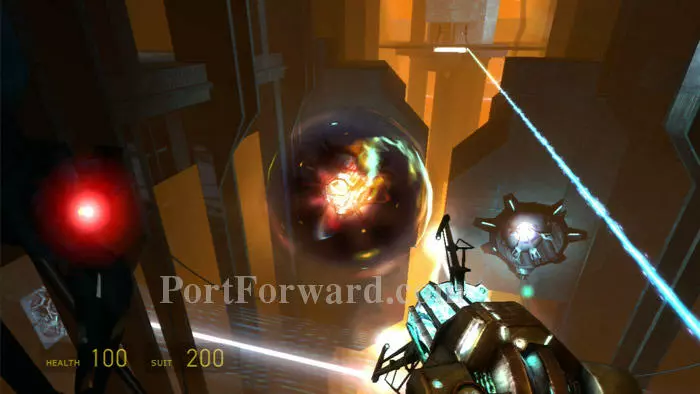
Follow along to this half-charged energy bridge. Note that the half that is charged coincides with a lighted socket, lower/right. The unlit socket lower/left can be charged by tossing one of these energy balls into it, thus activating the bridge.

Half Life 2: Episode One Walkthrough - Half Life-2-Episode-One 35

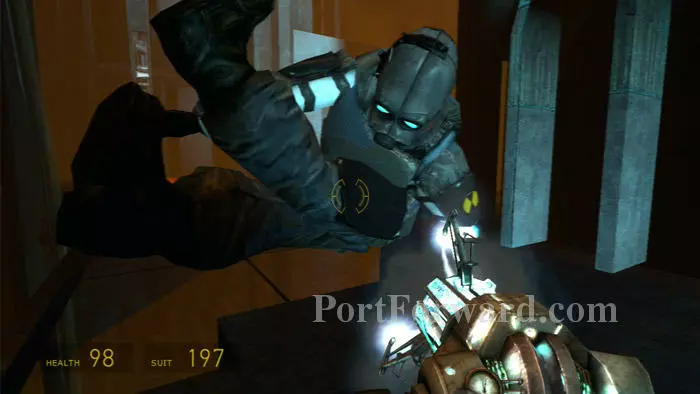
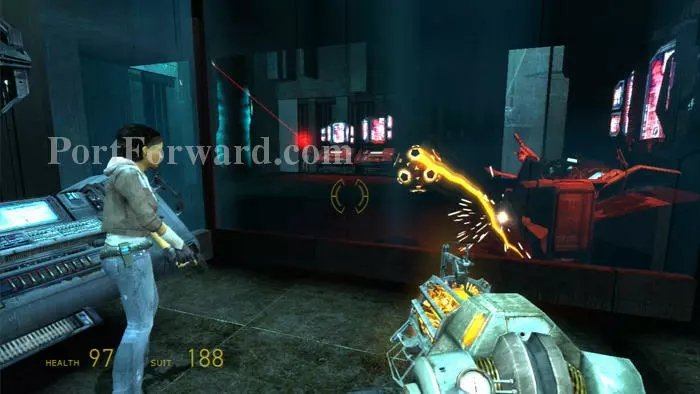
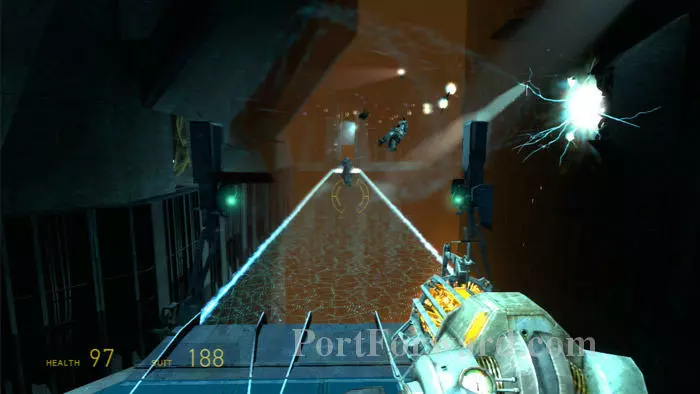
Cross the bridge and be met by soldiers -- time to show them that newly-supercharged Gravity Gun. Grabbing them with the left trigger is preferred at distance, while a close-up solider is easily dispatched with a jolt from your right-trigger fire.

Half Life 2: Episode One Walkthrough - Half Life-2-Episode-One 36

Next up is this completely-unpowered bridge. Shoot energy balls into both sockets to activate the bridge, then cross to battle more soldiers and Overwatch.

Half Life 2: Episode One Walkthrough - Half Life-2-Episode-One 37

This next bridge is a bit tricky; you'll need to bank an energy ball off the wall to get it past the clear shield blocking the left socket.

Half Life 2: Episode One Walkthrough - Half Life-2-Episode-One 38

Cross the bridge then duck under this debris. Battle Overwatch on the other side.

Half Life 2: Episode One Walkthrough - Half Life-2-Episode-One 39

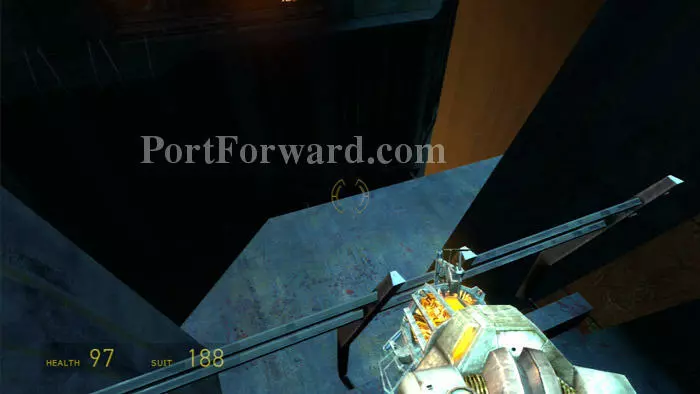
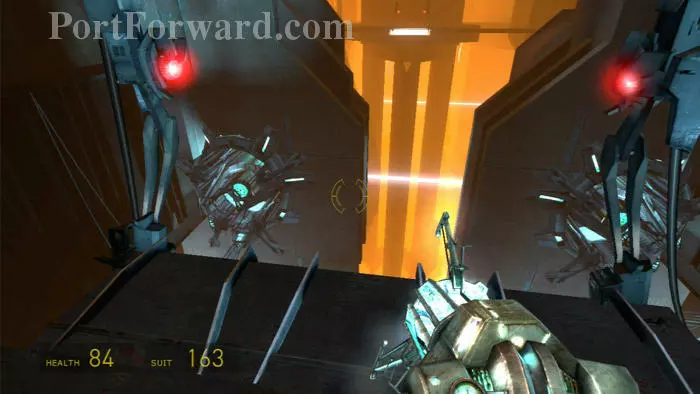
Follow the corridor to this ledge and hop over the gap to continue.

Half Life 2: Episode One Walkthrough - Half Life-2-Episode-One 40

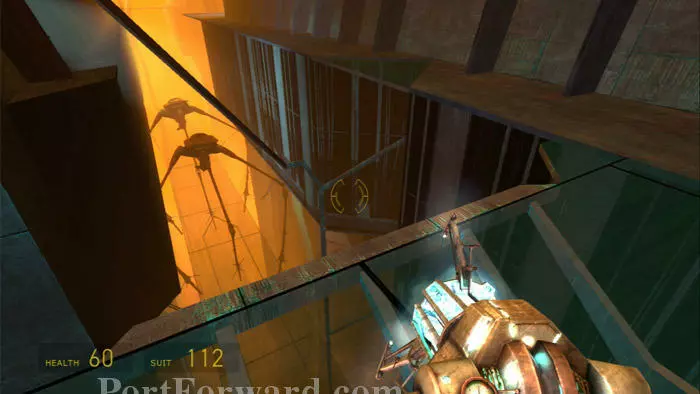
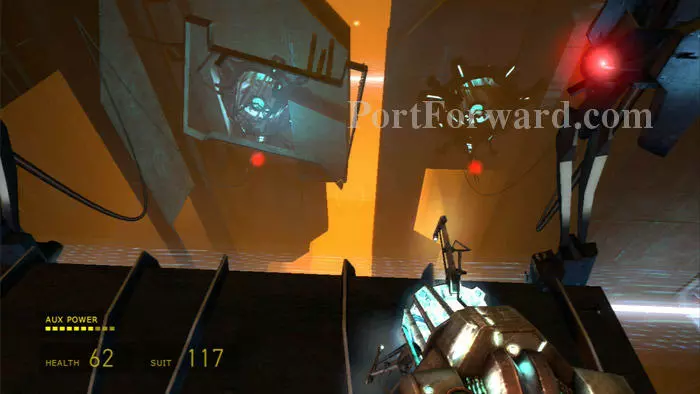
Witness these styders as you cross the glass bridge. A gunship follows, then crashes.

Half Life 2: Episode One Walkthrough - Half Life-2-Episode-One 41

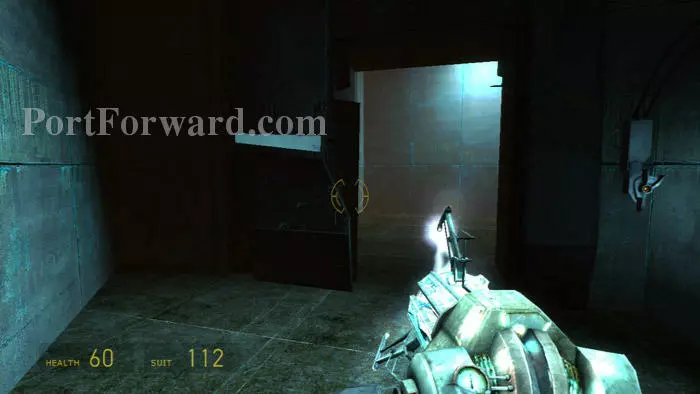
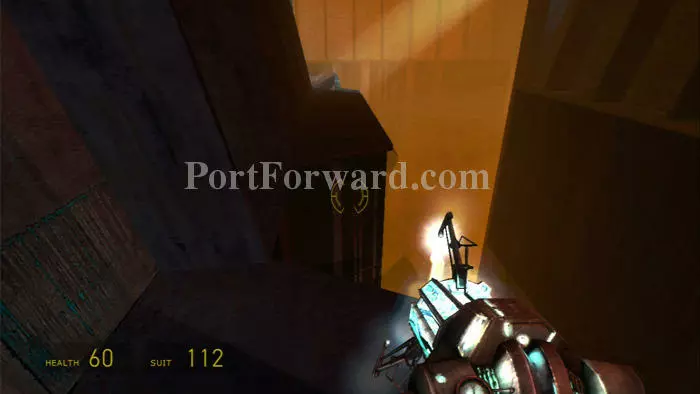
Follow the ledge to this door then pass through after Alyx opens it.

Half Life 2: Episode One Walkthrough - Half Life-2-Episode-One 42

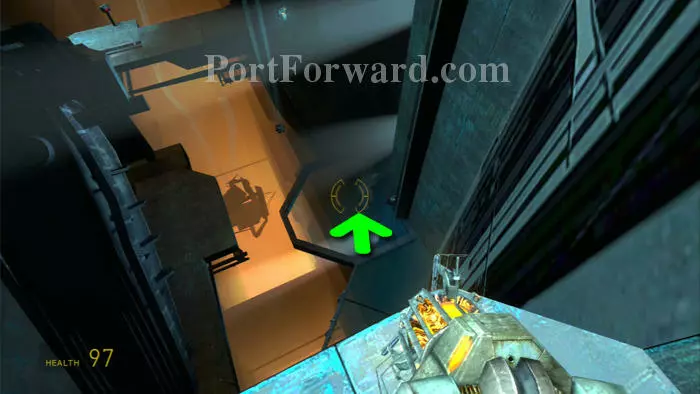
The corridor leads to this combo station. Grab an energy ball from the beam off-screen to the left.

Half Life 2: Episode One Walkthrough - Half Life-2-Episode-One 43

Walk to the end of the ledge and throw the energy ball into this socket. The lift descends.

Half Life 2: Episode One Walkthrough - Half Life-2-Episode-One 44

Look up. Debris falls periodically. You can either step aside, grab it with your Gravity Gun's left trigger, or shoot it with the right trigger.

Half Life 2: Episode One Walkthrough - Half Life-2-Episode-One 45

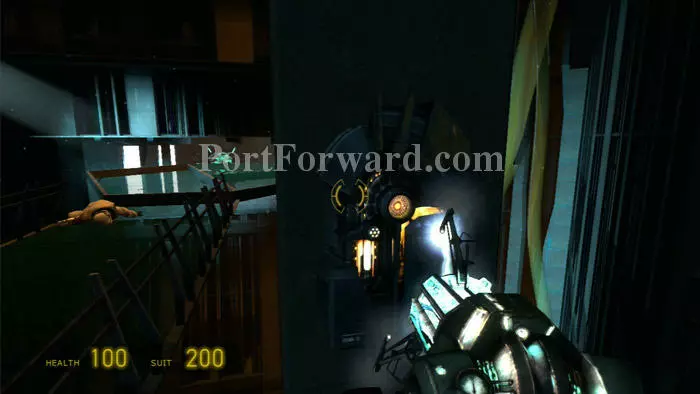
The lift stops. Use your Gravity Gun to pull the pink console off the wall. You can then shoot an energy ball through the opening; it will bounce off the wall and into the socket if you aim just right.

Half Life 2: Episode One Walkthrough - Half Life-2-Episode-One 46

The lift resumes and so does the debris, including this large piece of something. I found it best to grab it with the Gravity Gun's left trigger, then toss it aside.

Half Life 2: Episode One Walkthrough - Half Life-2-Episode-One 47

Activating this socket only works briefly as a Stalker reverses the lift. Take him out with a well-placed energy ball then re-energize the socket to send the lift on its way for good.

Half Life 2: Episode One Walkthrough - Half Life-2-Episode-One 48

Quickly exit the lift once it arrives to avoid this final chunk of debris.

Half Life 2: Episode One Walkthrough - Half Life-2-Episode-One 49

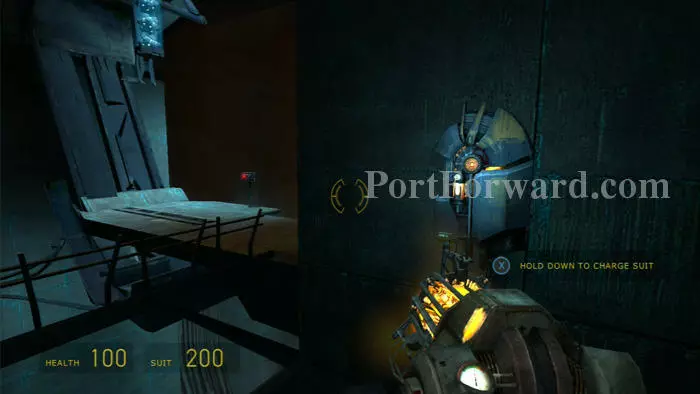
Fill up on health and energy at this combo station then continue ahead to load the next level.

More Half Life 2: Episode One Walkthroughs

This Half Life 2: Episode One walkthrough is divided into 5 total pages.

More From Portforward