
This Half Life 2: Episode Two walkthrough is divided into 7 total pages.
You can jump to nearby pages of the game using the links above.
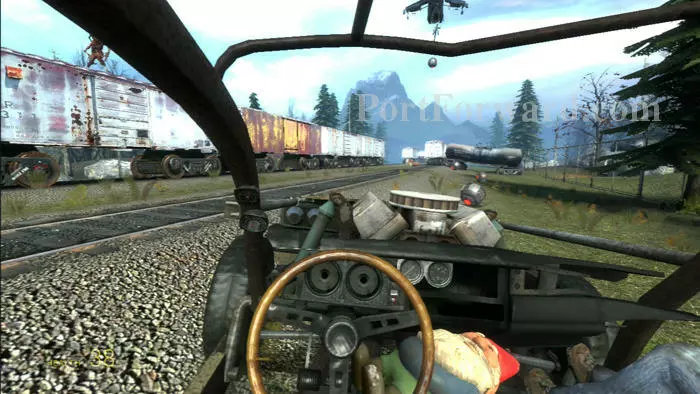
Riding Shotgun
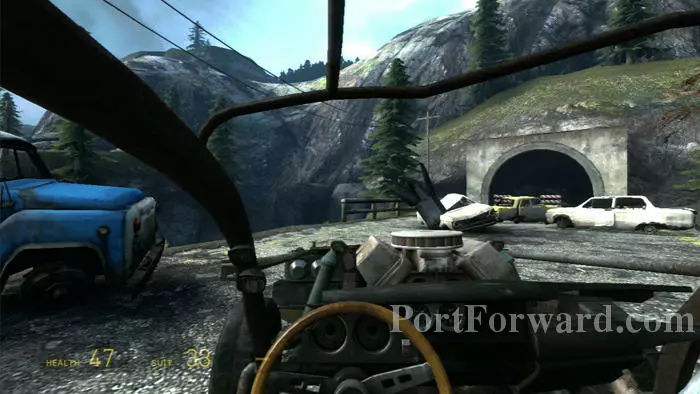
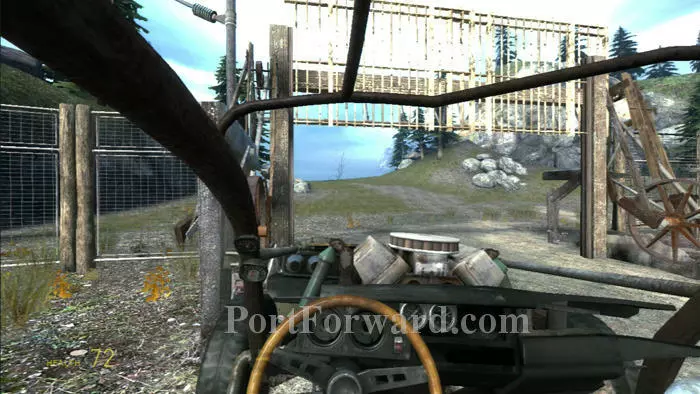
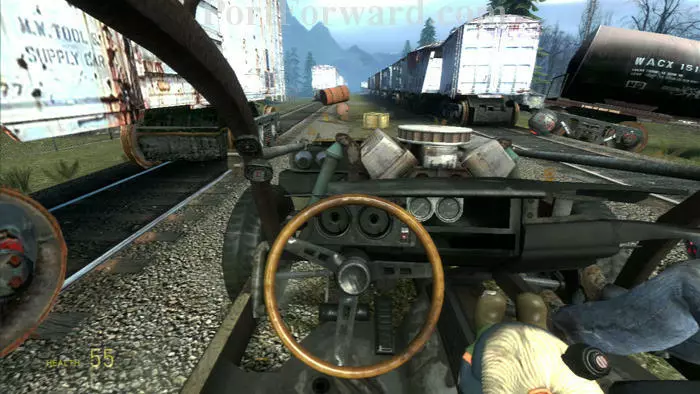
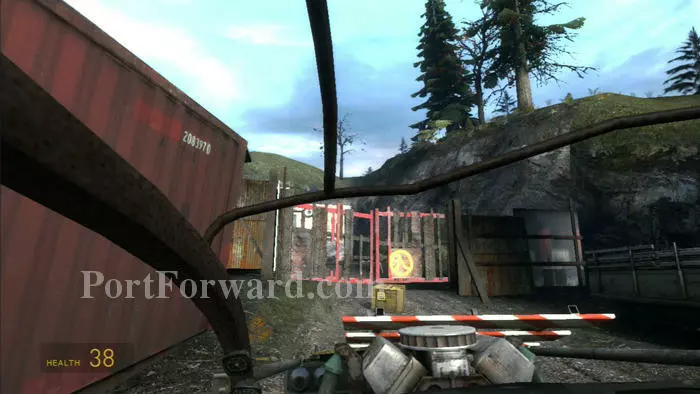
Once you reach this blocked tunnel you'll need to go off-road here, where the fence is open just beside the blue truck. NOTE: Drive slowly and carefully for the gnome to stay inside the car.
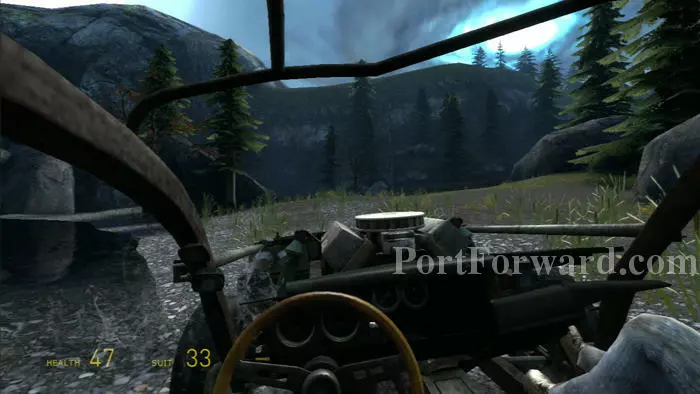
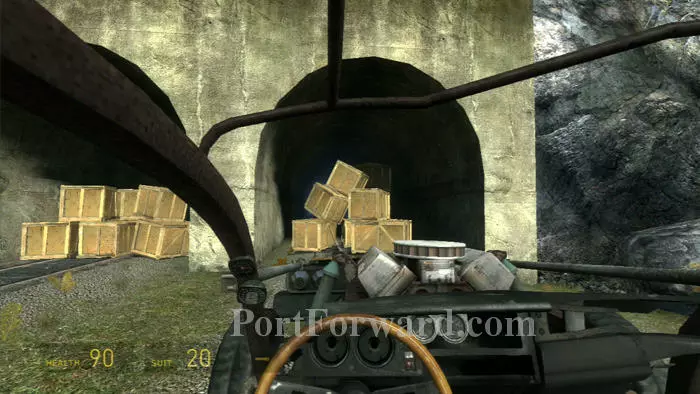
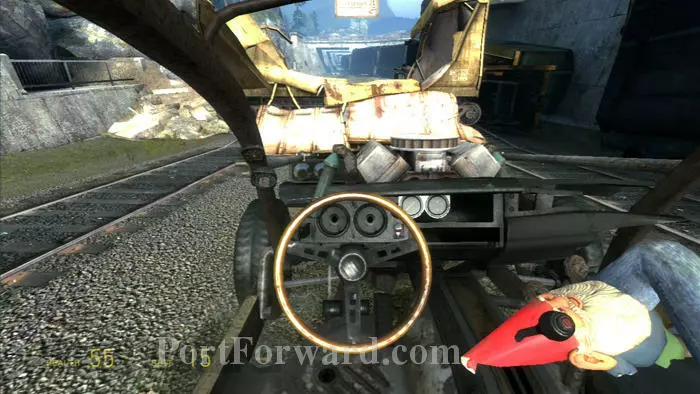
Follow the river then turn right up this hill before you get to the next tunnel
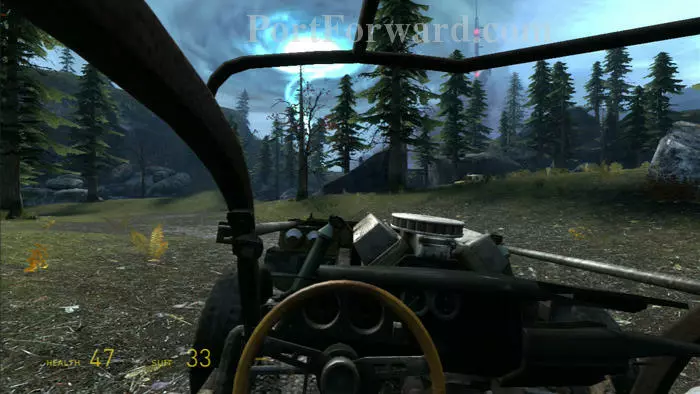
The dirt road leads to that radio tower ahead. A supply crate is near the car on the right.
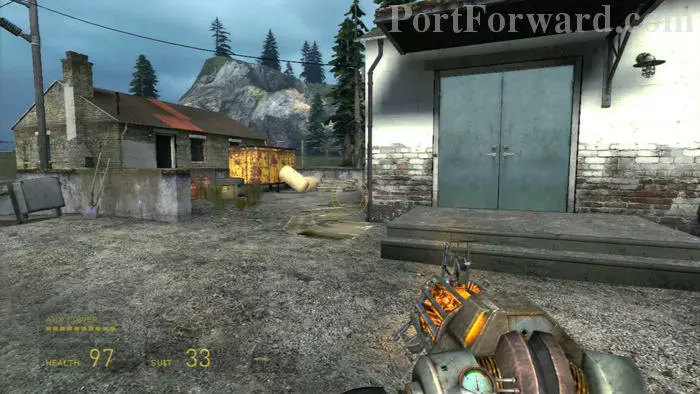
The transmitter room Alyx wants is in this white building, along with supplies and a pair of zombines. More supplies are in the building ahead/left.
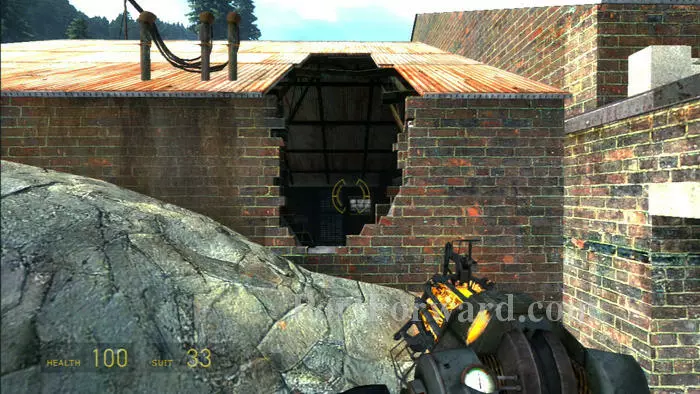
You need to find a way to get power to the transmitter. Enter the nearby brick building through this opening after raiding the supplies in the adjacent rooms.
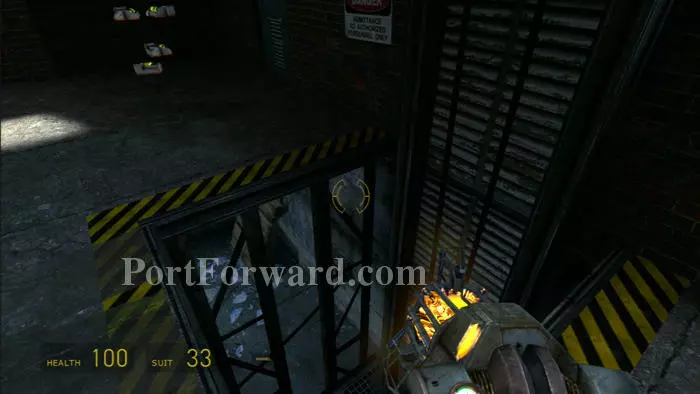
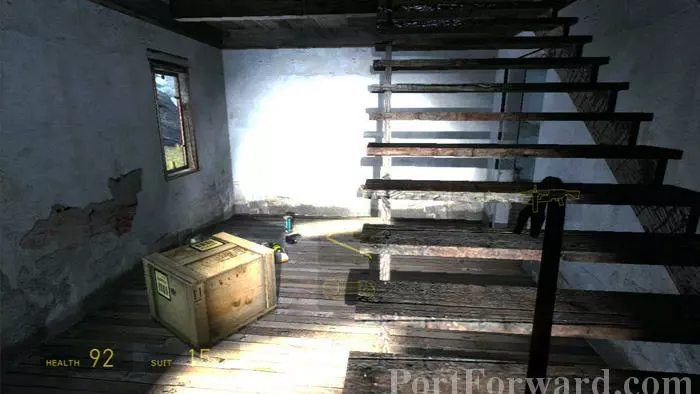
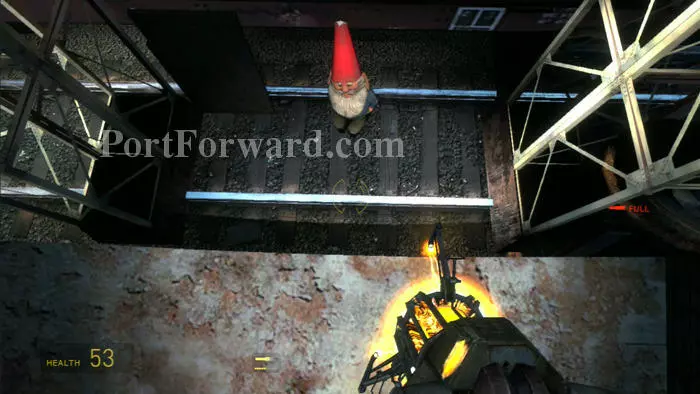
Drop through this malfunctioning elevator shaft. Note the medkits to the left.

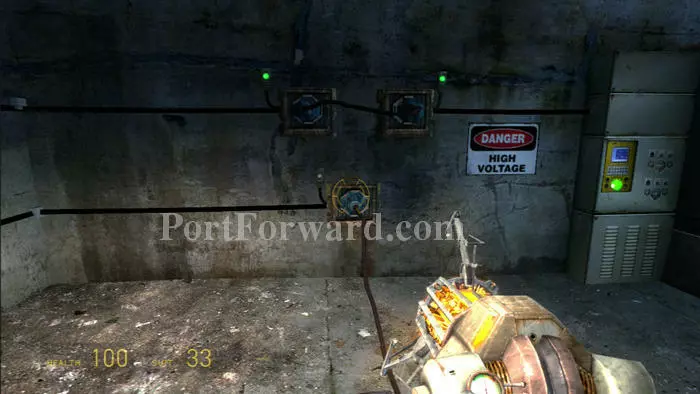
This plug on the floor next to the lift (previously hidden by a pallet) is too short to reach both outlets.
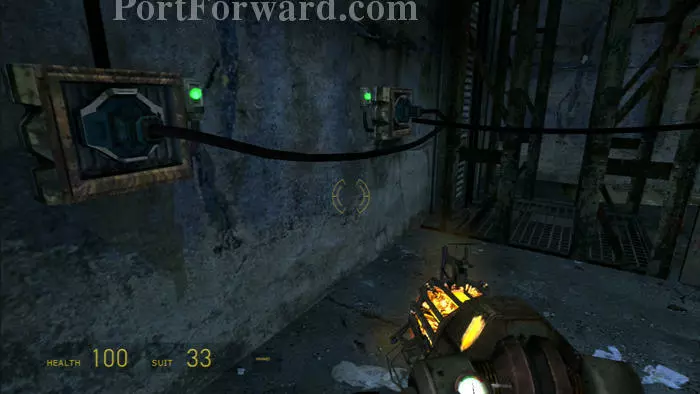
It fits fine, though on these two outlets across the room. Alyx tells you the power is on. Grab the longer plug just below.
The plug is long enough to power the lift. Ride it back up.
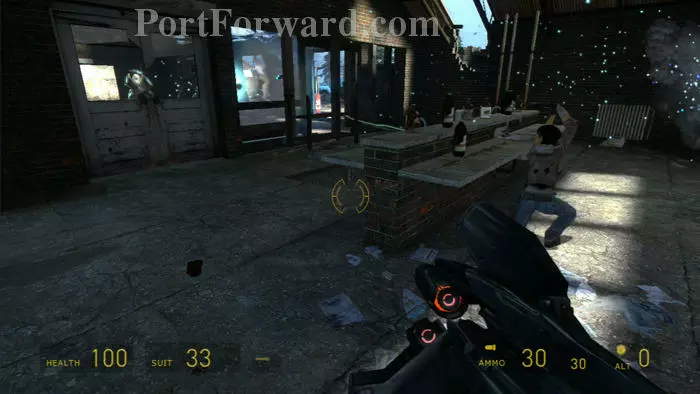
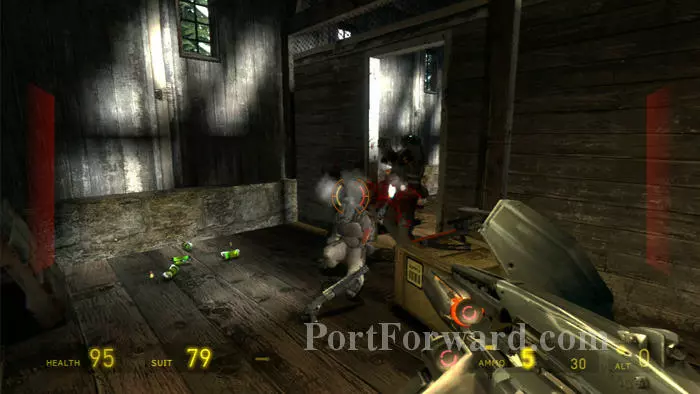
A pair of hunters attacks, followed by two more.
The roof provides a decent vantage point from which to engage the hunters. Try to keep them at range, but they are vulnerable to your closer-range weapons such as your revolver and shotgun as well.
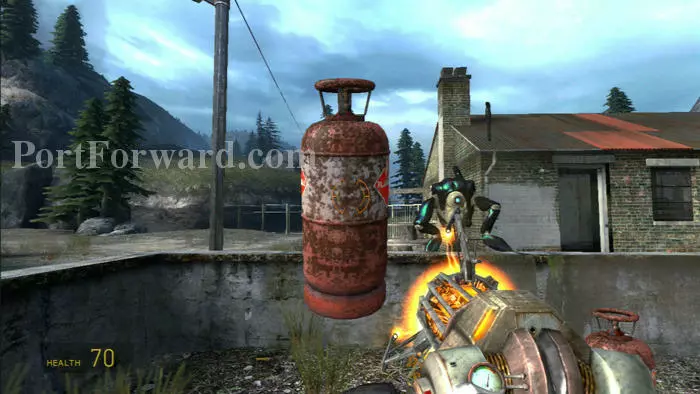
These explosive canisters make fine weapons, too.
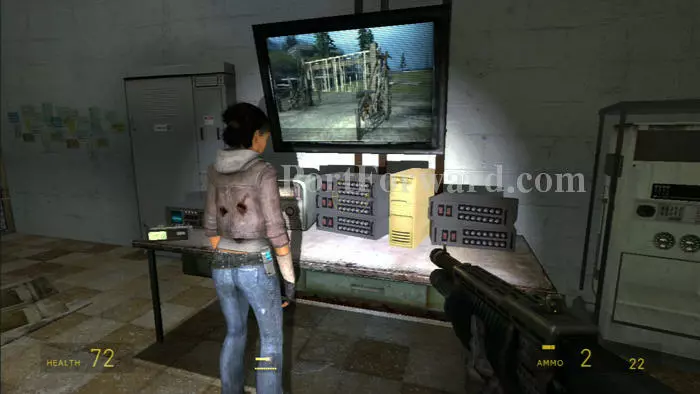
Once the hunters are defeated, return to the transmitter. Alyx will contact White Forest then raise the gate outside.
Get back in your car (with your gnome) and ride through the gate.

Follow the road. When Alyx tells you that she recognizes that mountain peak you'll know you are getting close to your next destination.
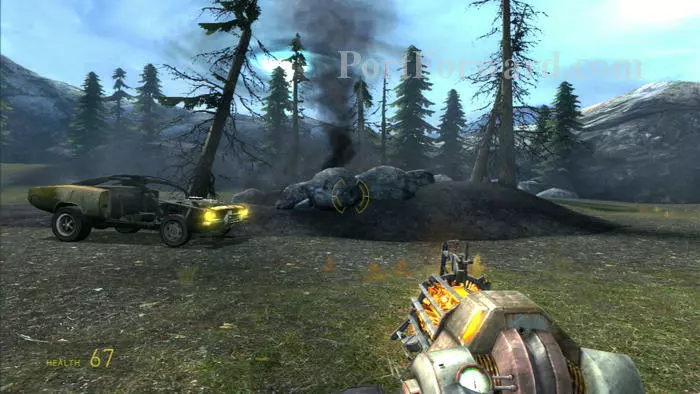
The rising smoke leads you to a crashed Adviser pod. Don't make the mistake I did of parking your car here.
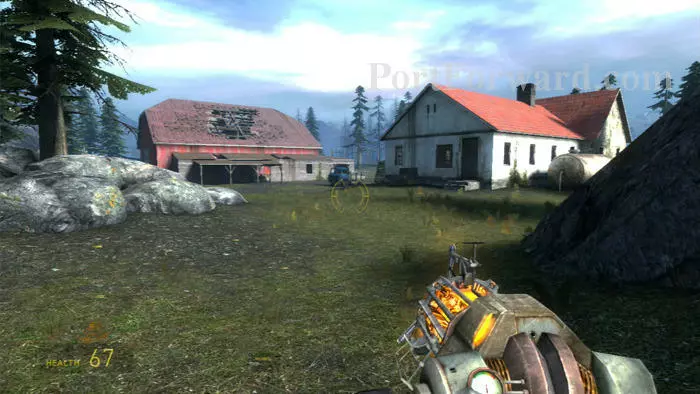
Instead, park closer to these buildings. I'll explain why a bit later.
As you approach, you and Alyx experience a strange distortion effect. Find supplies in the white building.
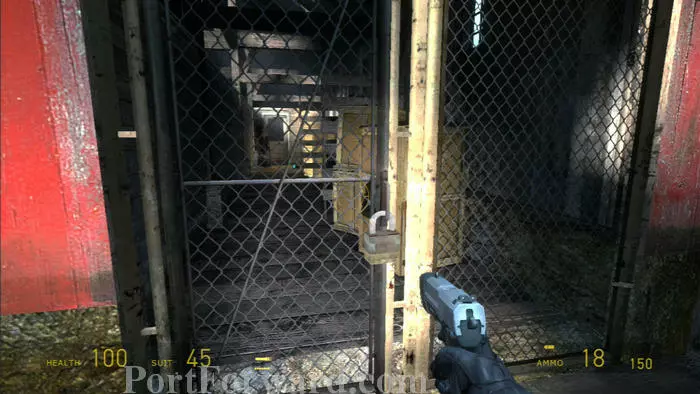
Shoot this lock then drop through the hole in the floor ahead to enter the red building.
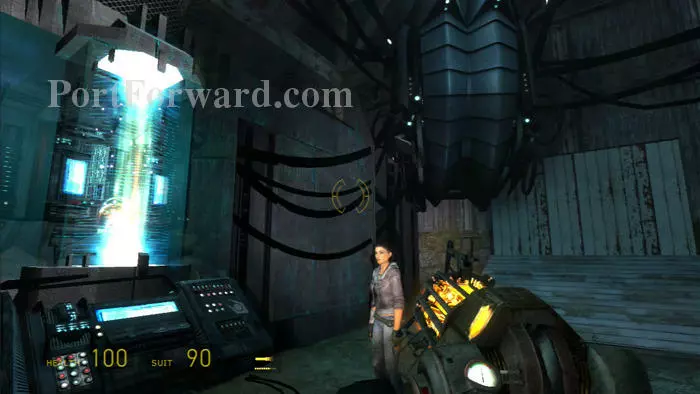
Find more supplies in a crawlspace then emerge here. An Advisor is in that corner encasement. Shoot the power stream with your Gravity Gun's primary fire to kill its life support.
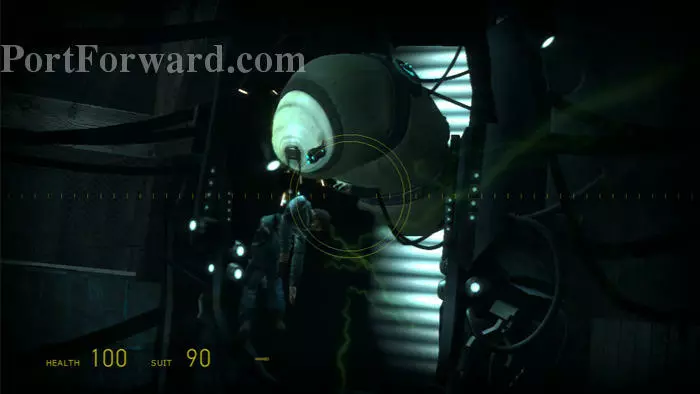
Uh-oh you've made it mad. Fortunately it only messes with this dead body before expiring. These things remind of the brain bugs in Starship Troopers.
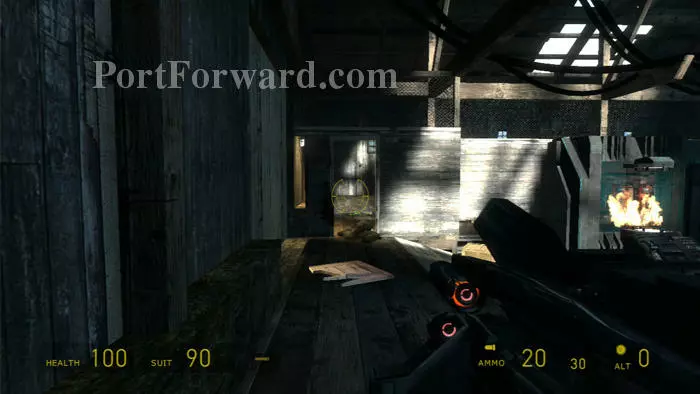
Combine blast through this previously-locked door. Defeat them then find supplies on the other side.
Most important is the crossbow, seen on the supply crate to the right.
Always a fun time, the crossbow helps you clear out Combine forces which have responded to the Adviser's alert.

Battle another Hunter before your really big challenge arrives...

...Surviving the onslaught of this helicopter. If you parked too far away, you'll find your car has magically moved to a handicapped spot close to the red building. Your gnome will be back where you had parked, but this fallen tree trunk makes retrieval difficult, but possible.
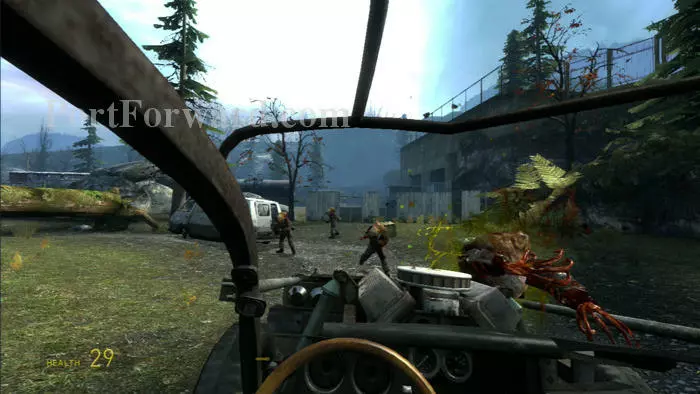
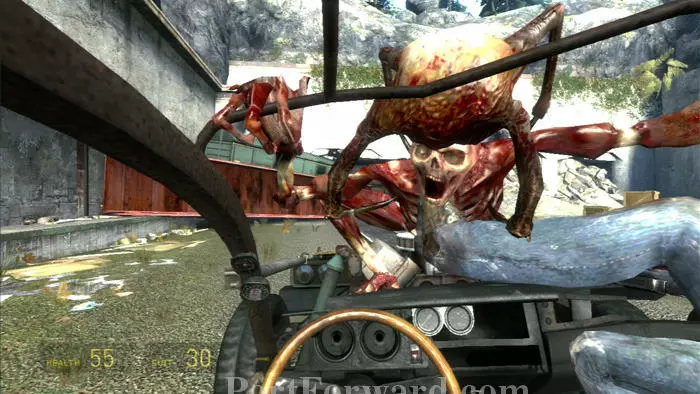
Throw your gnome in the car, retrieve remaining supplies you're in need of (like medkits) then drive away. The problem here is that if you drive like the bat out of hades that facilitates a safe escape, your gnome will likely fall out of the car, especially when colliding with Combine zombies like I am here. Note the supply crate ahead -- crashing into these hard enough to bust them open will replenish your health even while inside the car.
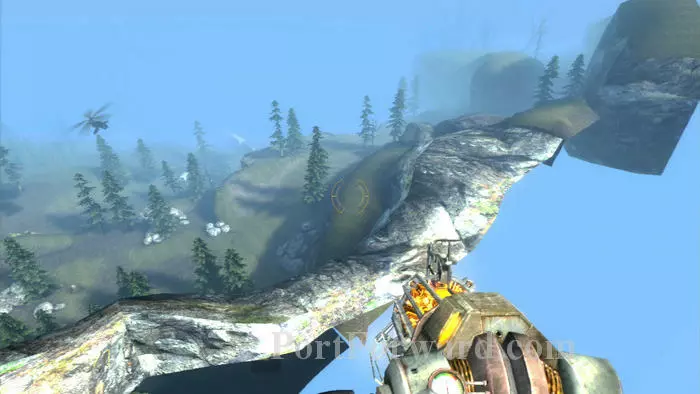
Some have reported success by repeatedly exiting the car, throwing the gnome, then driving to retrieve it and repeat. I, however, found exiting the car to be a virtual death sentence. Sometimes the chopper's gunfire was strong enough to send me flying off the game map as seen here.
To add to your difficulties, the chopper will be dropping mines. You'll need to avoid the mines or else they'll explode, causing significant damage.
There's another supply crate ahead. These are good spots to save your progress.
With a little luck and a lot of patience you and your gnome will make it to the temporary safety of this tunnel. Those not burdened with the gnome can just turbo all the way here without much difficulty.
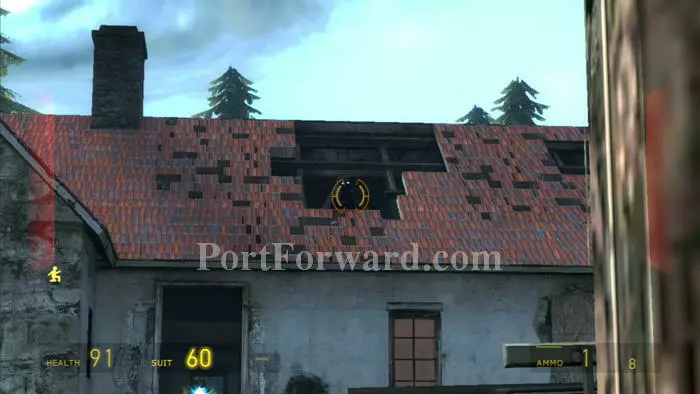
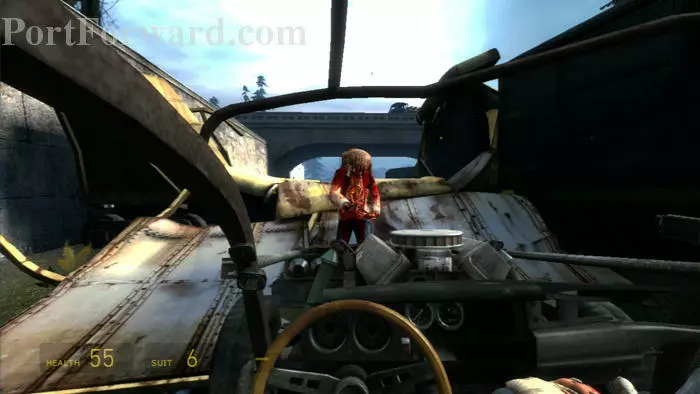
Once through the tunnel, your next hurdle (literally) is to jump over this barricade. You're safe retrieving your gnome here, and it will in all likelihood fall out as you make the jump.
Alyx gives this fast zombie the boot before you reach a dead-end. Make a U-Turn and proceed up the opposite half of the roadway.
You'll then reach another ramp and auto-save. Make sure you bring your gnome across the jump.
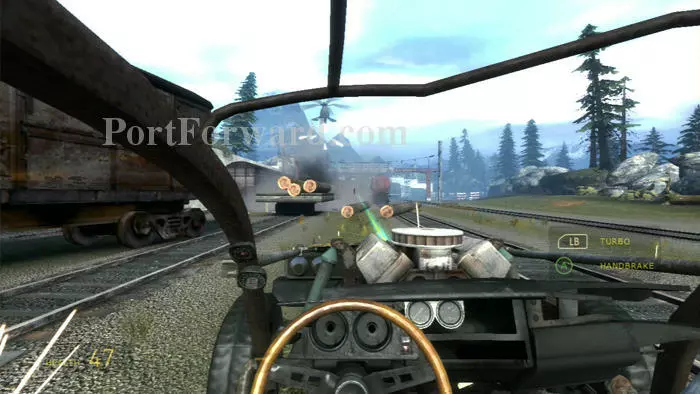
You'll be doing a lot of weaving, but I still found this segment of the drive to be easier than the beginning. Slow and deliberate driving will allow you to keep the gnome and still avoid the chopper's mines as well as these rolling logs.
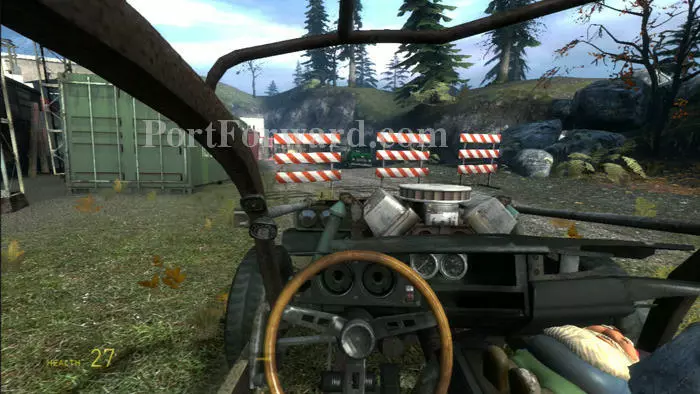
Keep right then exit the road through these barriers.
Pick up speed. You'll need to be going pretty fast to break the chain locking this gate.
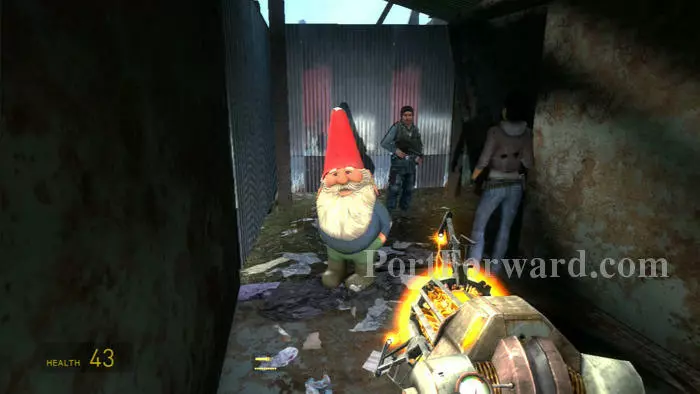
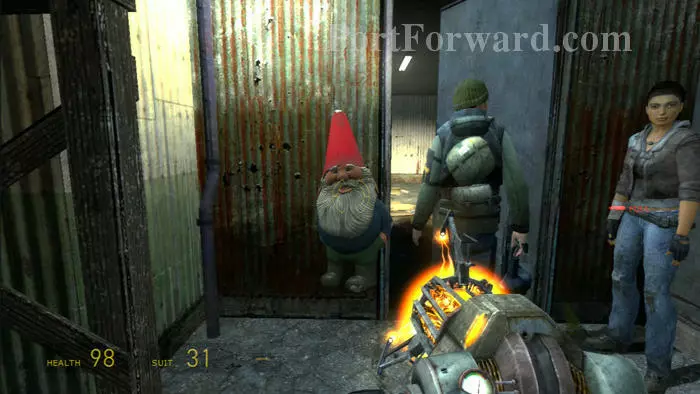
Time to abandon your vehicle. Follow Alyx and the resistance member, gnome in tow.
Drop off this ledge, again with your gnome.
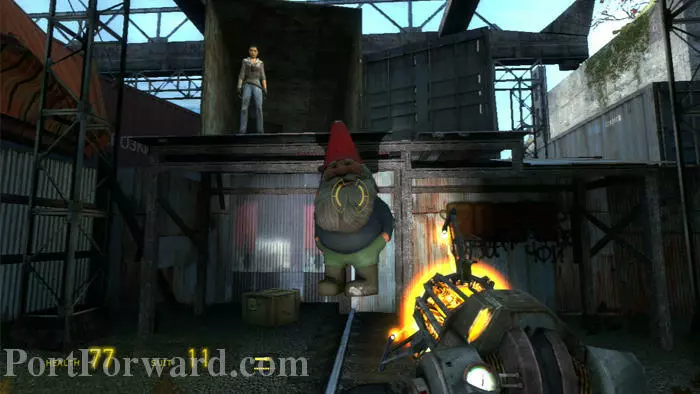
Use your gravity gun to move a crate to the left then crawl to Alyx in the clearing. You can leave your gnome with her as she tosses you a medkit.
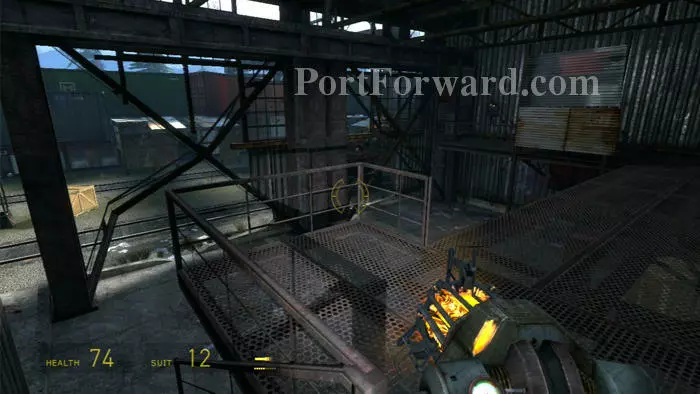
Enter this nearby building. You can just make out a suit recharge station at the end of the catwalk.
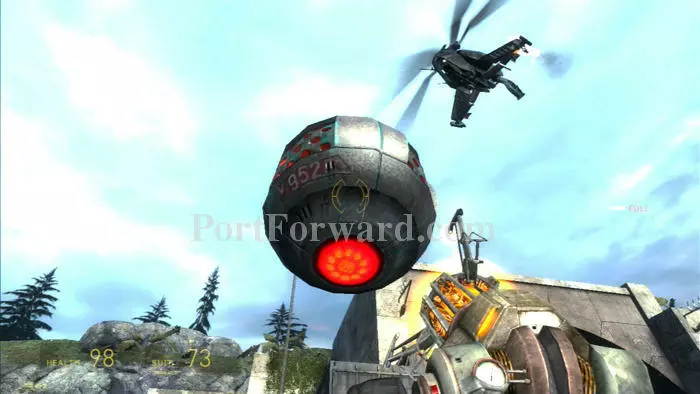
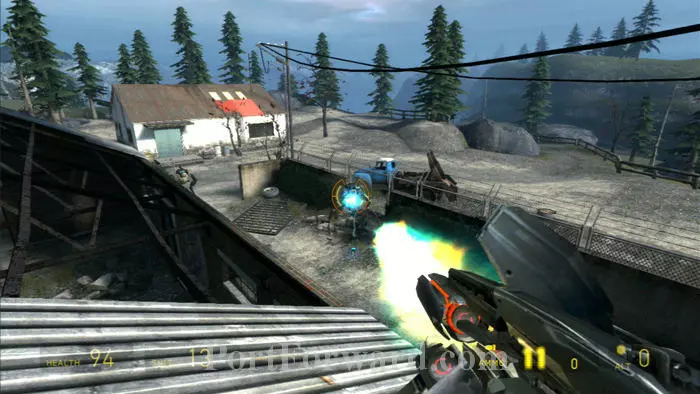
Time to finally engage this incredibly annoying helicopter. Use your Gravity Gun to pick up the chopper's mines and throw them back.
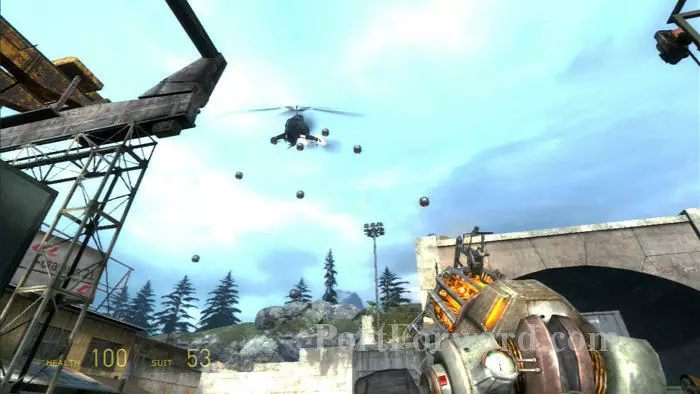
It only takes a few hits to bring the chopper down. You'll know you're getting close when it launches a wide spread of mines that looks like this.
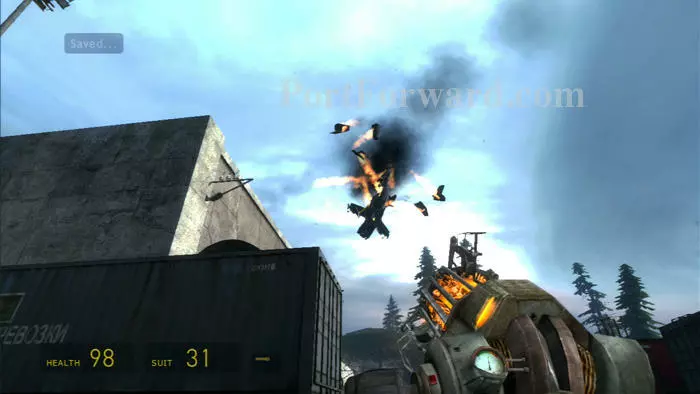
Congratulations on making it this far, especially if you've got your gnome with you!
Follow Alyx and the resistance through this door to load the next level.
More Half Life 2: Episode Two Walkthroughs
This Half Life 2: Episode Two walkthrough is divided into 7 total pages.


