Half Life 2: Episode Two Walkthrough Freeman Pontifex

September 12, 2016 (Last Updated: ) | Reading Time: 9 minutes

This Half Life 2: Episode Two walkthrough is divided into 7 total pages.

You can jump to nearby pages of the game using the links above.

Freeman Pontifex

Half Life 2: Episode Two Walkthrough - Half Life-2-Episode-Two 111

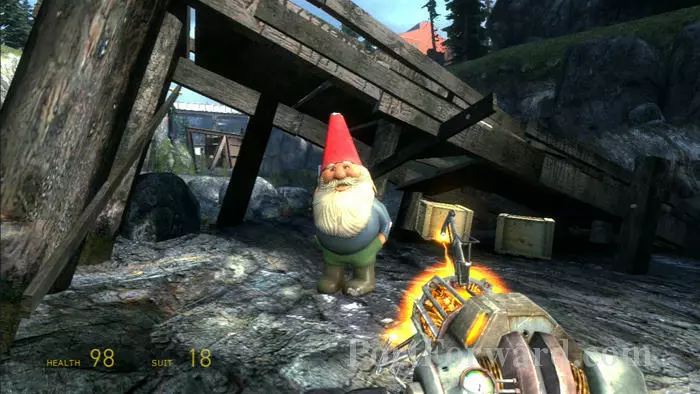
Continue past some barrels on the left to an antlion attack in the valley. Grab supplies, all while rushing to the final thumper seen ahead.

Half Life 2: Episode Two Walkthrough - Half Life-2-Episode-Two 112

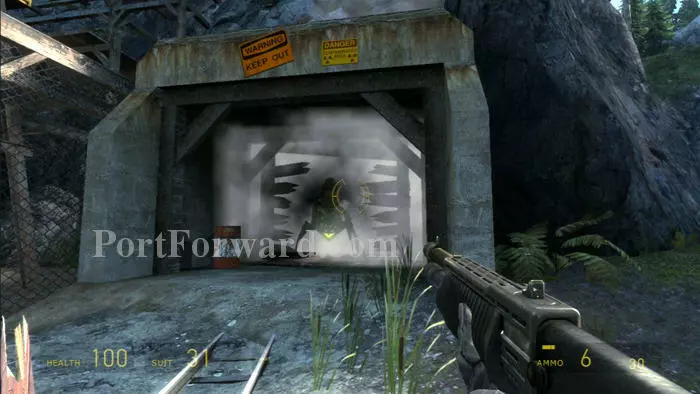
Leave your gnome at the thumper then approach one of two rail tunnels. Two antlion guardians attack.

Half Life 2: Episode Two Walkthrough - Half Life-2-Episode-Two 113

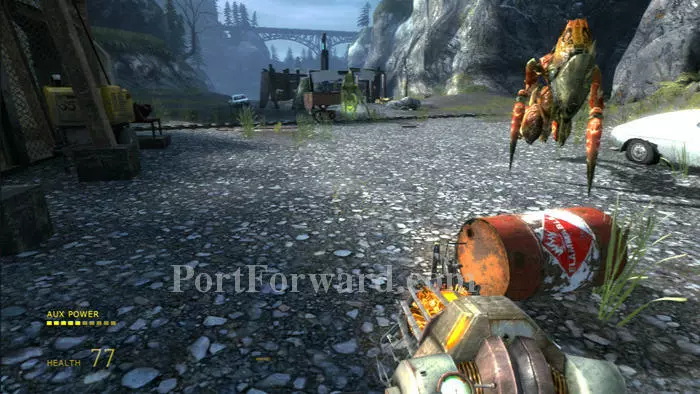
This is a tough fight. Try to stay within the moderate safety of the barricaded thumper seen ahead. Plenty of flammable barrels are here but I found it terribly dangerous to carry them around with two head-butting guardians about.

Half Life 2: Episode Two Walkthrough - Half Life-2-Episode-Two 114

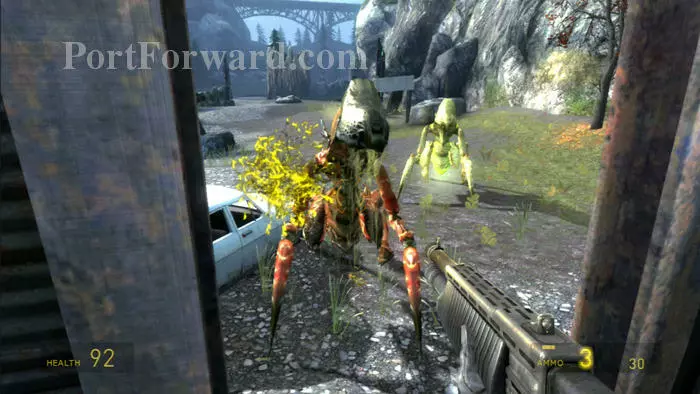
Shotgun alt-fire worked better for me. Fire quickly and accurately and both guardians will fall.

Half Life 2: Episode Two Walkthrough - Half Life-2-Episode-Two 115

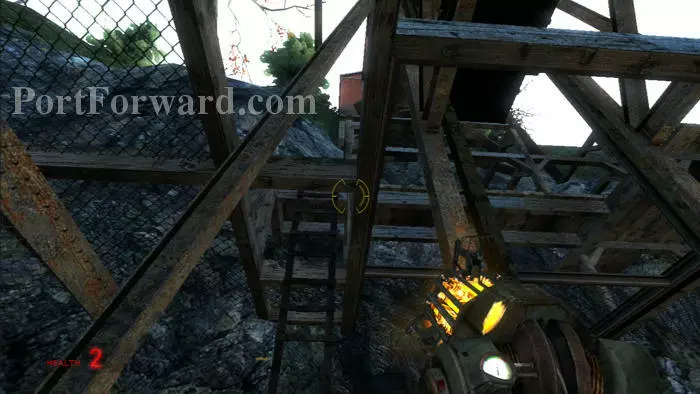
The Vort will lift the gate blocking this malfunctioning lift. To get it working, climb this ladder.

Half Life 2: Episode Two Walkthrough - Half Life-2-Episode-Two 116

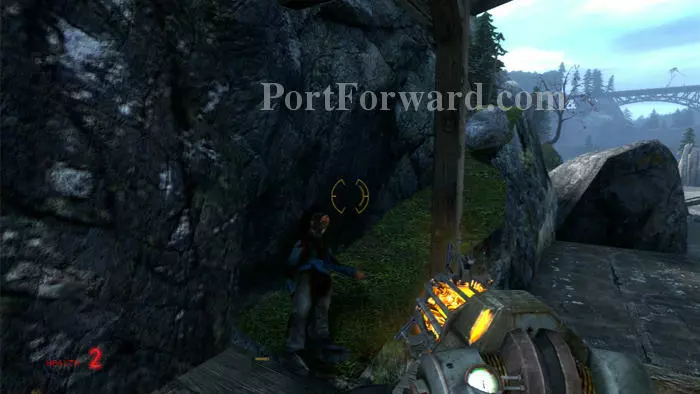
Follow this grassy path, careful to avoid the toxic headcrabs nearby.

Half Life 2: Episode Two Walkthrough - Half Life-2-Episode-Two 117

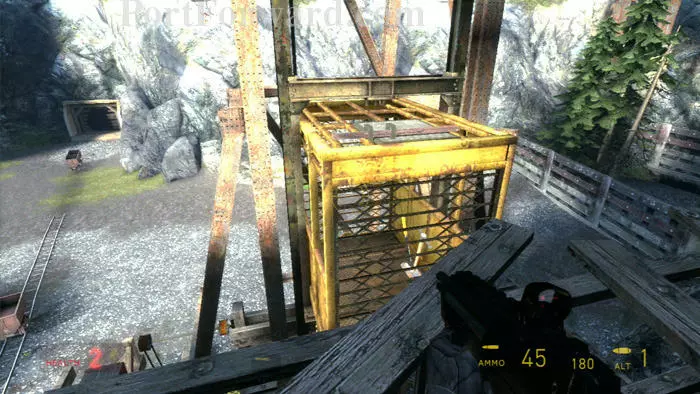
Gain access to the lift by removing the plank blocking the ceiling trap.

Half Life 2: Episode Two Walkthrough - Half Life-2-Episode-Two 118

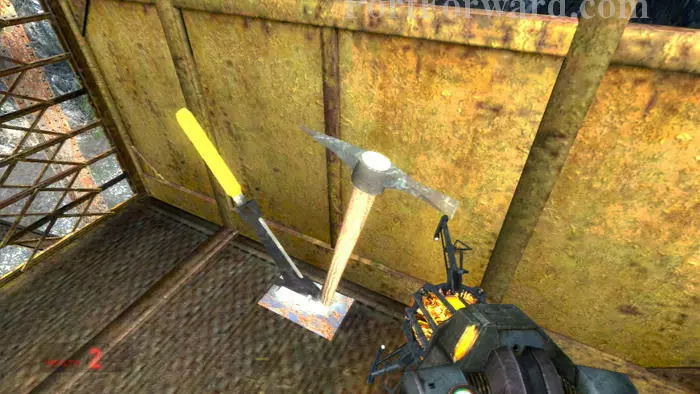
Dislodge this axe and free the mechanism.

Half Life 2: Episode Two Walkthrough - Half Life-2-Episode-Two 119

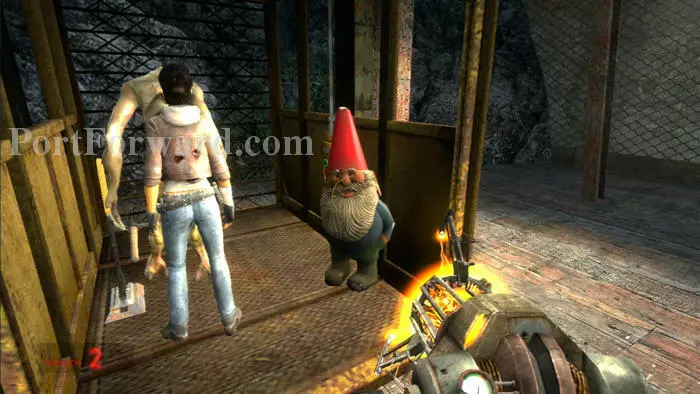
Grab your gnome then join the Vort and Alyx on the lift.

Half Life 2: Episode Two Walkthrough - Half Life-2-Episode-Two 120

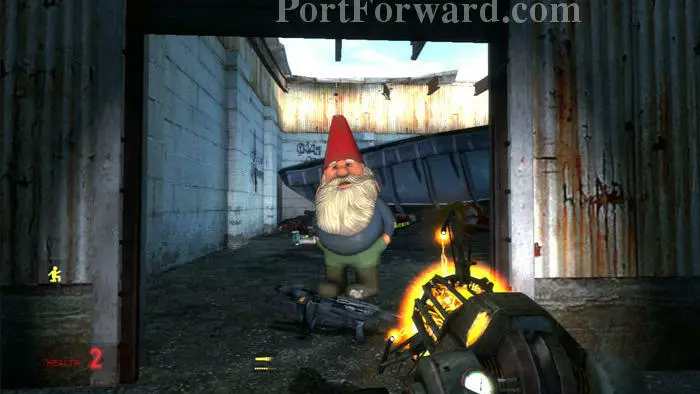
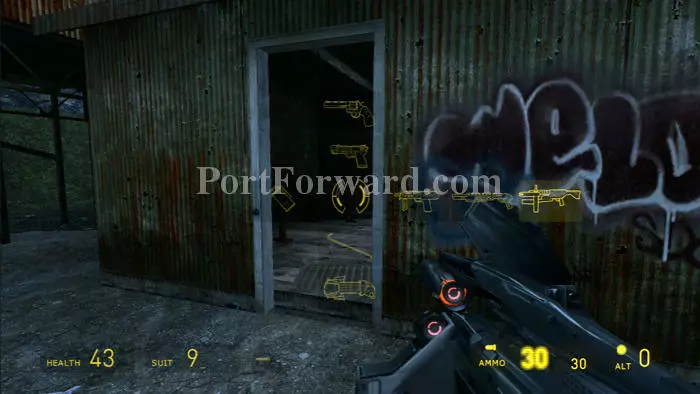
Follow the corridor to this clearing where you'll finally obtain the pulse rifle.

Half Life 2: Episode Two Walkthrough - Half Life-2-Episode-Two 121

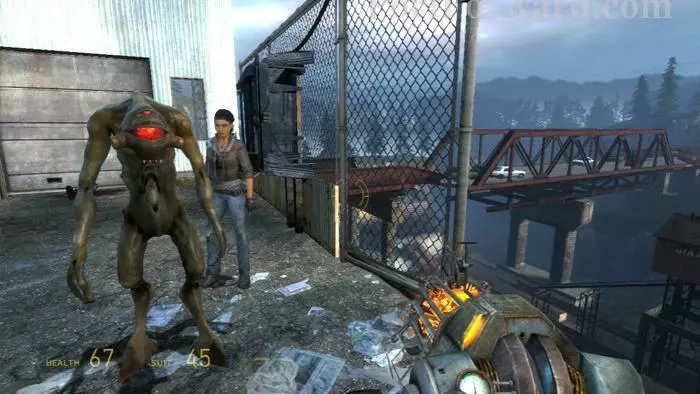
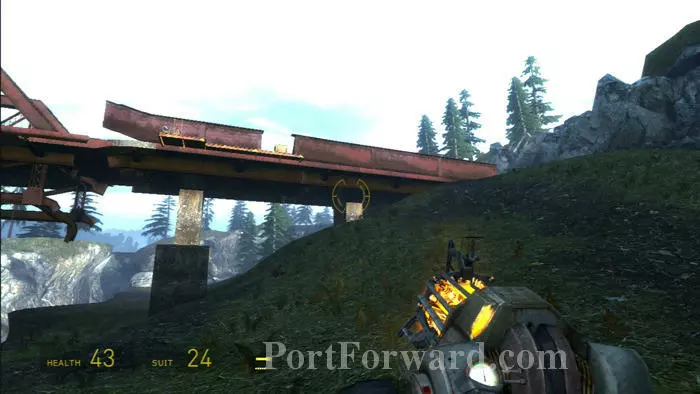
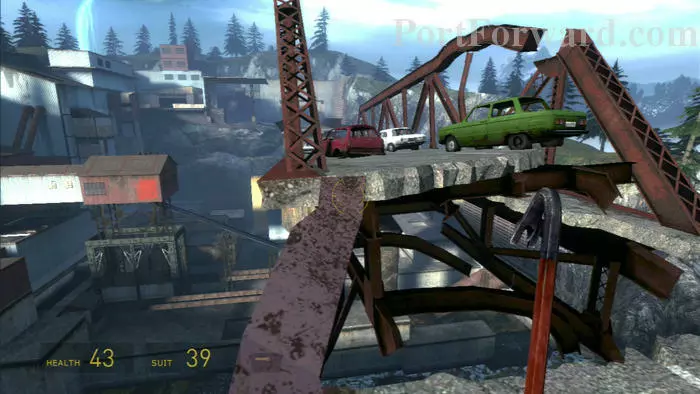
The vehicle you're after is on that bridge. Vort wants you to retrieve it, which means you'll need to jump it across the gap.

Half Life 2: Episode Two Walkthrough - Half Life-2-Episode-Two 122

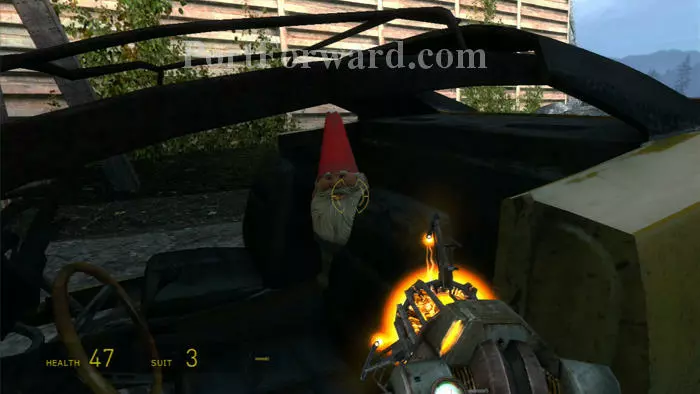
If you quickly zoom in you can get a fleeting glimpse of G-Man. To avoid a lot of gnome babysitting, toss your gnome so that he lands on the bridge near where G-Man was walking. Save your game before you throw the gnome just in case you miss.

Half Life 2: Episode Two Walkthrough - Half Life-2-Episode-Two 123

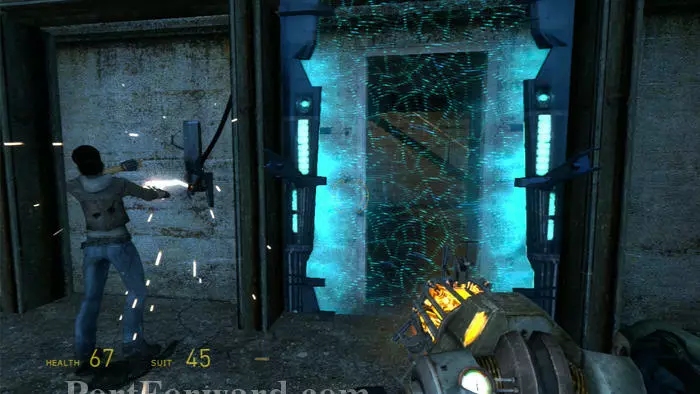
Pass through this door after Alyx deactivates the force field.

Half Life 2: Episode Two Walkthrough - Half Life-2-Episode-Two 124

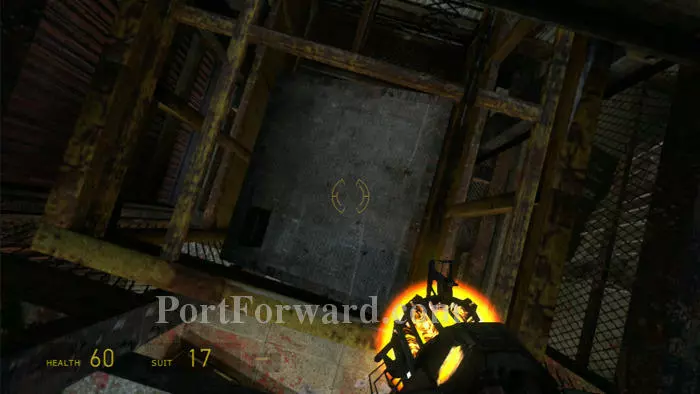
Climb the stairs then use your Gravity Gun to reveal this shaft. Drop down.

Half Life 2: Episode Two Walkthrough - Half Life-2-Episode-Two 125

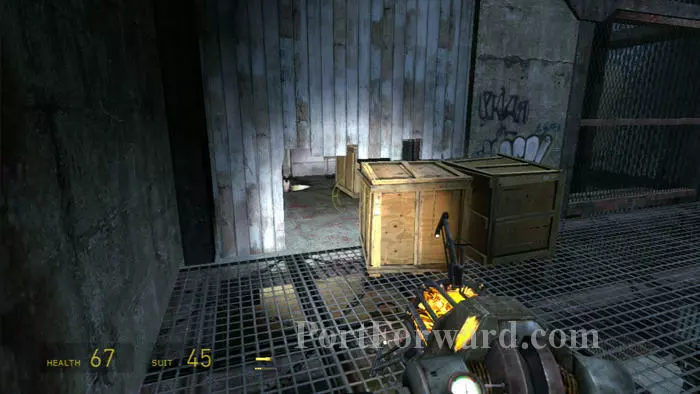
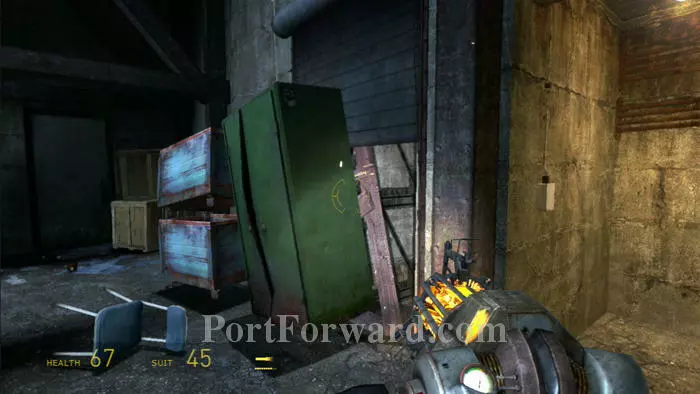
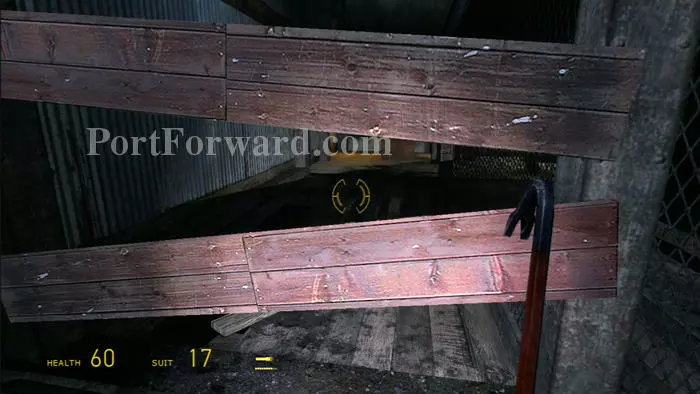
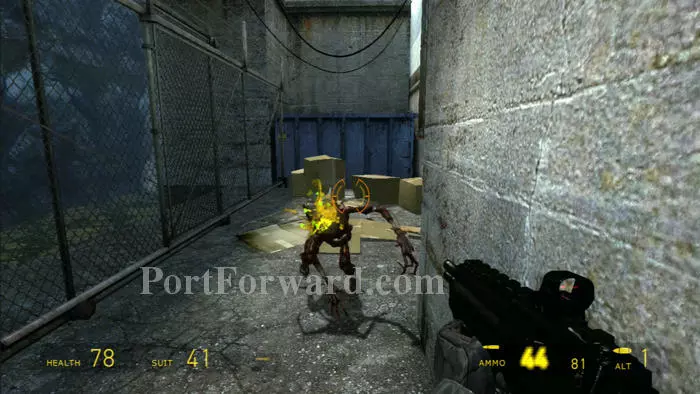
Keep your Gravity Gun equipped to clear away some planks, drop to this area then clear away the boxes blocking this hole in the fence. More boxes block the exit door, behind which are many toxic head crabs and a toxic zombie.

Half Life 2: Episode Two Walkthrough - Half Life-2-Episode-Two 126

Remove more planks then drop through the floor to this lift. Blast the trap door then drop through. More toxic head crabs are below.

Half Life 2: Episode Two Walkthrough - Half Life-2-Episode-Two 127

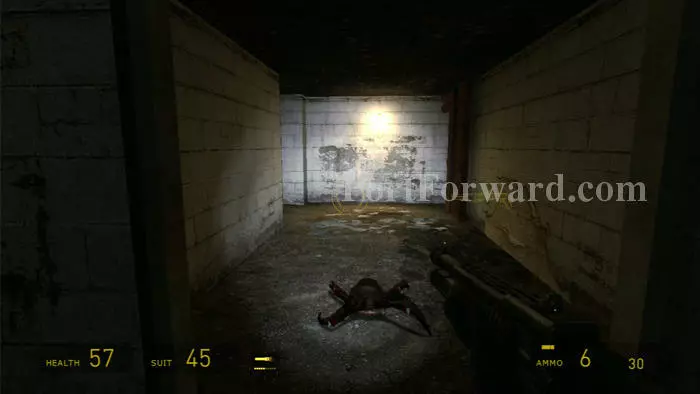
Enter this stairwell and allow Alyx to snipe this zombie.

Half Life 2: Episode Two Walkthrough - Half Life-2-Episode-Two 128

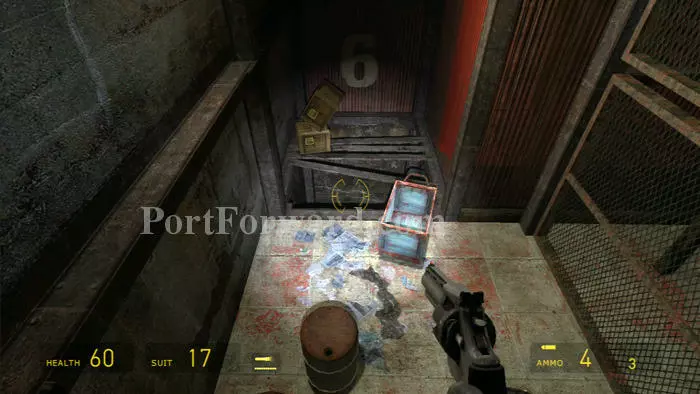
Exit the stairwell then drop below and approach those supply crates. Try to grab them with your gravity gun, but avoid the barnacles and the precipitous drop.

Half Life 2: Episode Two Walkthrough - Half Life-2-Episode-Two 129

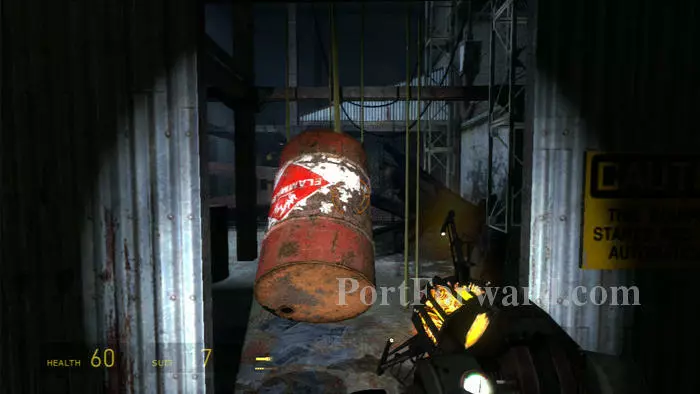
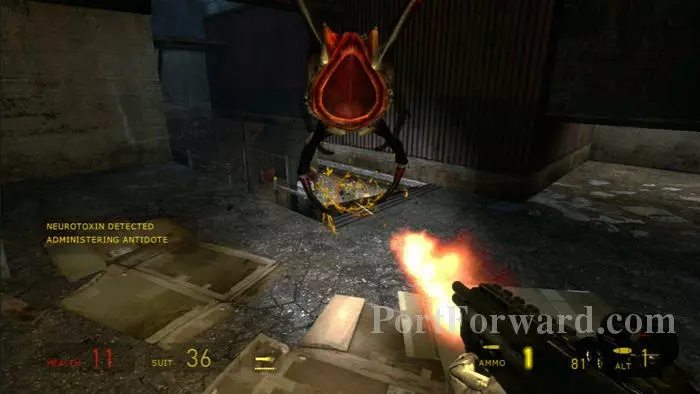
More barnacles are through here. Feed them explosive barrels then blast them with your pistol.

Half Life 2: Episode Two Walkthrough - Half Life-2-Episode-Two 130

Remove these boards, then carefully walk the lone floorboard which remains after the barnacles remove the others.

Half Life 2: Episode Two Walkthrough - Half Life-2-Episode-Two 131

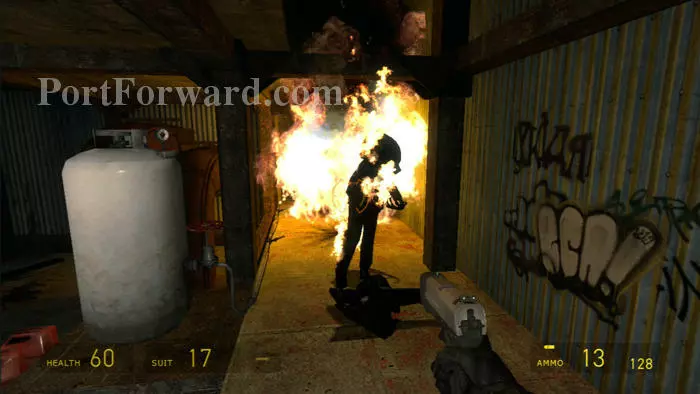
A pair of flaming zombies make it through the fire. Turn the gas off with the crank to the left and the flames will subside.

Half Life 2: Episode Two Walkthrough - Half Life-2-Episode-Two 132

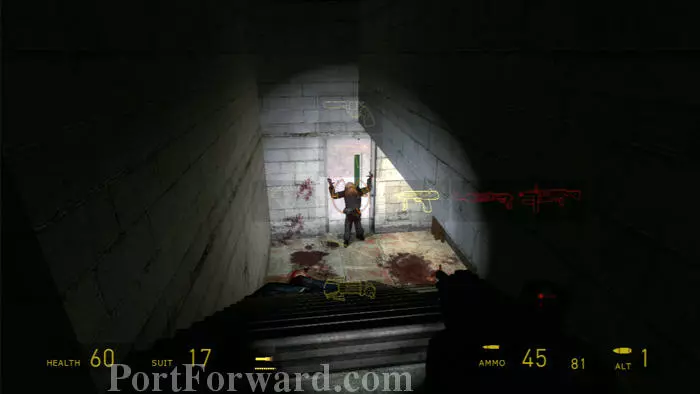
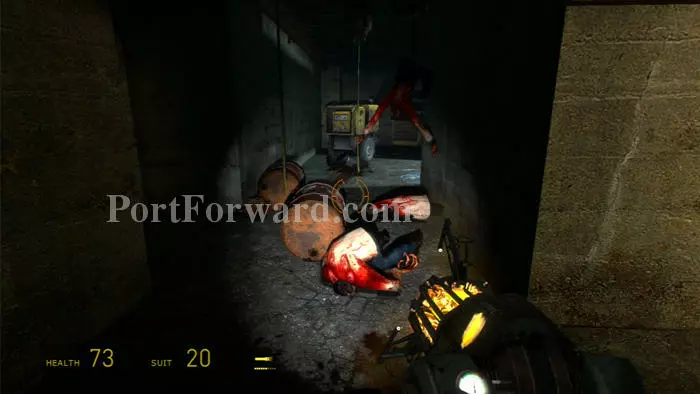
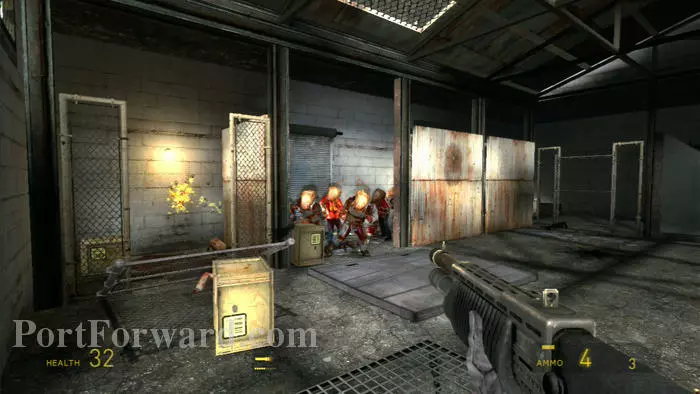
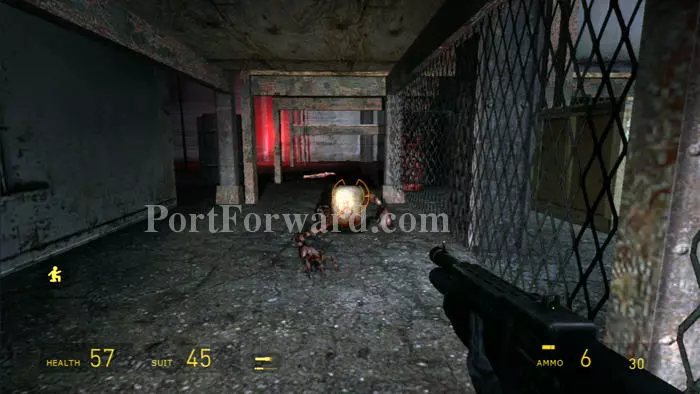
Eliminate this zombie at the bottom of the stairs then open the door and wipe out a nest of sleeping zombies with a grenade. Grab the supplies before descending the stairs further.

Half Life 2: Episode Two Walkthrough - Half Life-2-Episode-Two 133

Find a supply crate then get ready for this fast zombie hiding in the blue dumpster. I tossed in a grenade but he threw it back!

Half Life 2: Episode Two Walkthrough - Half Life-2-Episode-Two 134

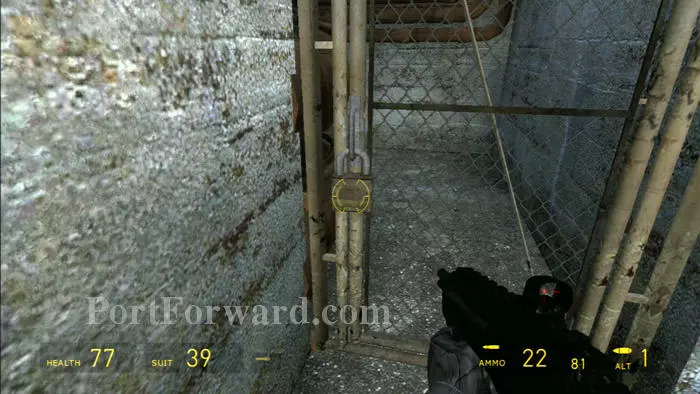
Shoot this padlock then proceed through the gate.

Half Life 2: Episode Two Walkthrough - Half Life-2-Episode-Two 135

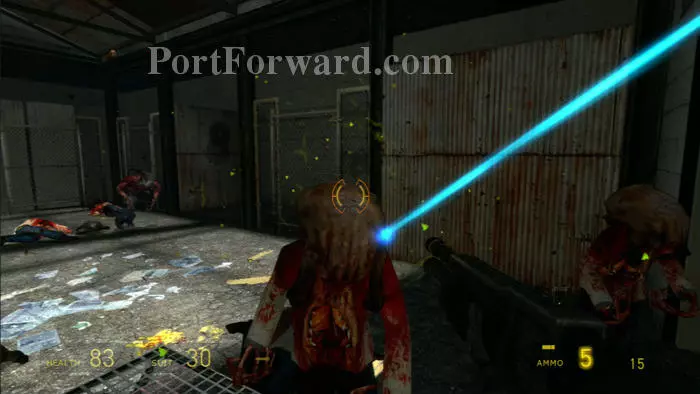
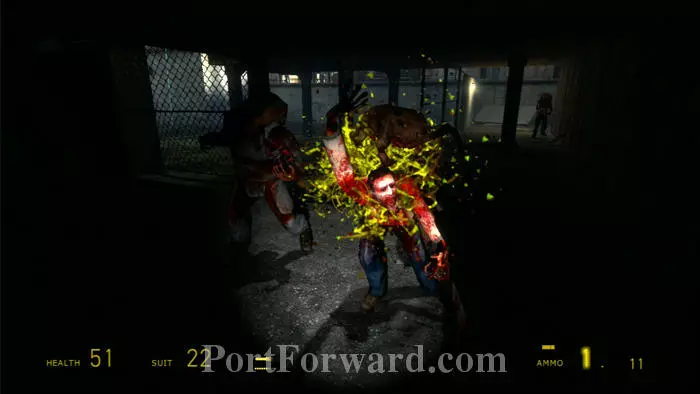
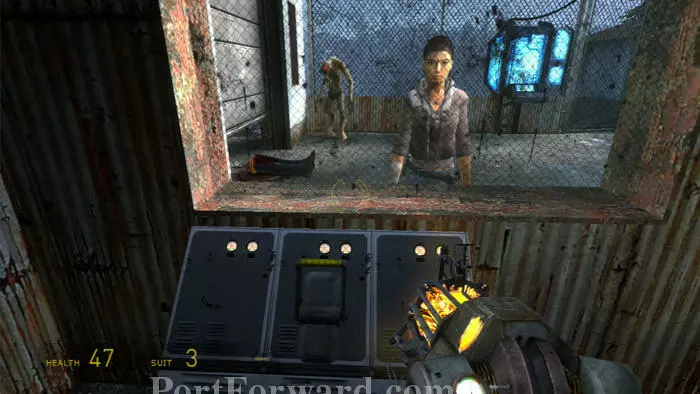
More zombies are on the other side, but Alyx has you covered.

Half Life 2: Episode Two Walkthrough - Half Life-2-Episode-Two 136

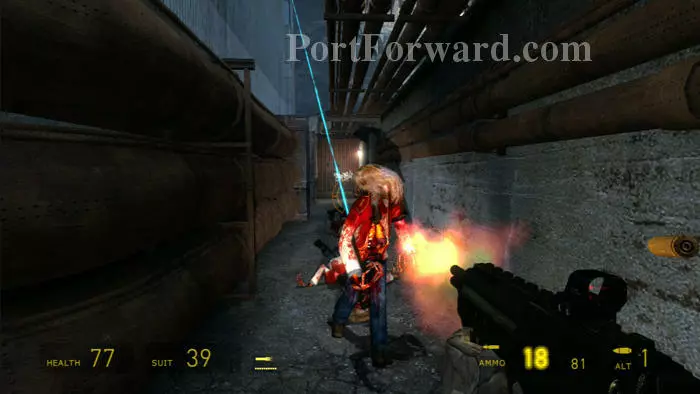
Slip through the crawlspace seen on the right then battle more zombies, with Alyx's assistance. I found the toxic head crabs to be most troublesome. I'm using the SMG in this shot but I recommend the revolver for a one-shot-kill.

Half Life 2: Episode Two Walkthrough - Half Life-2-Episode-Two 137

Descend these stairs once the zombies are cleared out. Ammunition can be found on the landing to the right.

Half Life 2: Episode Two Walkthrough - Half Life-2-Episode-Two 138

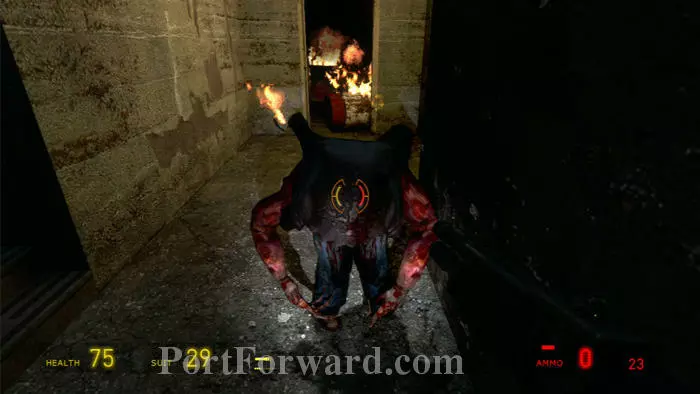
Stay clear of this locked door. Zombies will alight the explosive barrels then come charging through.

Half Life 2: Episode Two Walkthrough - Half Life-2-Episode-Two 139

Watch the barnacles munch on zombie-chow then beware a toxic zombie that bursts through the boarded-up doorway at the rear. A supply crate is between a pair of pipes on the right.

Half Life 2: Episode Two Walkthrough - Half Life-2-Episode-Two 140

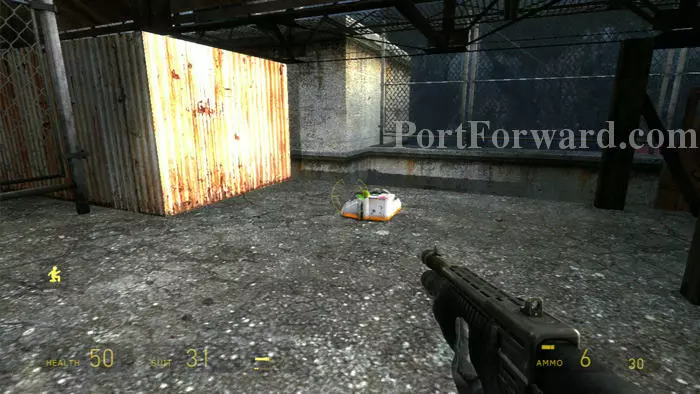
Ascend the stairs then find supplies (including grenades) in the red shipping container on the right before continuing up a ladder to the left of the impaled body seen ahead.

Half Life 2: Episode Two Walkthrough - Half Life-2-Episode-Two 141

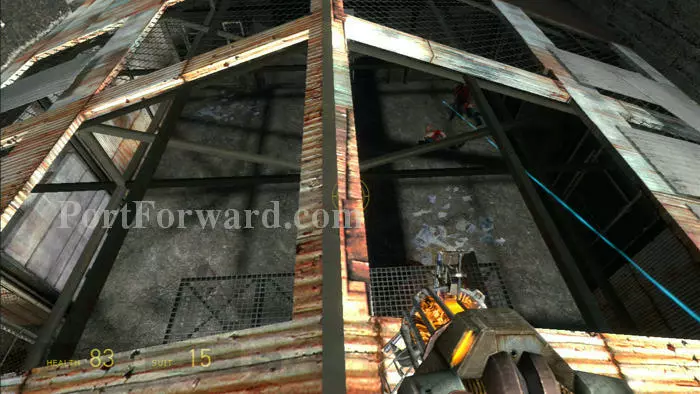
Find medkits at the top of the ladder then use your Gravity Gun to remove the metal sheeting blocking Alyx's shot of the zombies below.

Half Life 2: Episode Two Walkthrough - Half Life-2-Episode-Two 142

Avoid dropping below until you and Alyx have taken out as many zombies as possible. More will emerge once you are on the ground.

Half Life 2: Episode Two Walkthrough - Half Life-2-Episode-Two 143

Lots of zombies are behind this fence. I recommend tossing a grenade or two before they get too close.

Half Life 2: Episode Two Walkthrough - Half Life-2-Episode-Two 144

Clear the area of supplies then exit through here.

Half Life 2: Episode Two Walkthrough - Half Life-2-Episode-Two 145

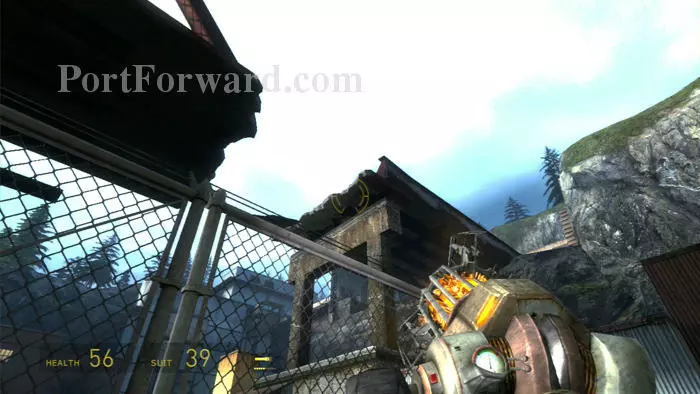
Advance through this crawlspace and defeat this fast zombie. Shotgun ammo, a supply crate and a pair of barnacles are ahead.

Half Life 2: Episode Two Walkthrough - Half Life-2-Episode-Two 146

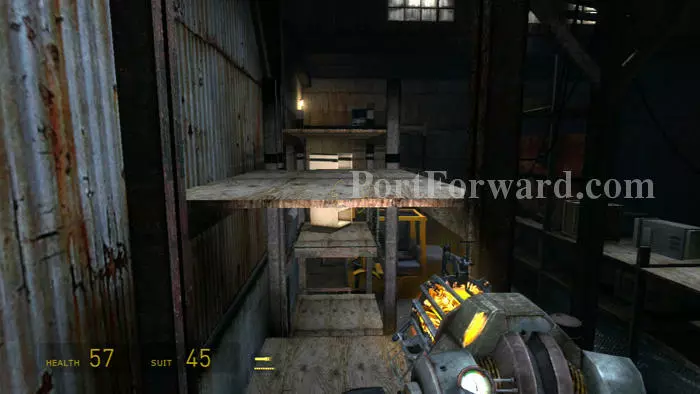
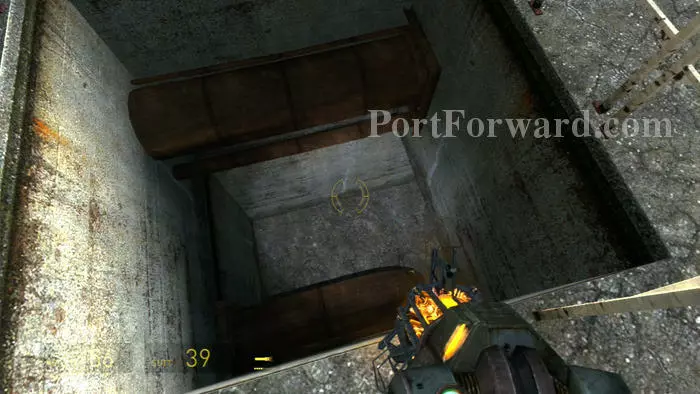
Notice how you can ascend these shelves like stairs. The exit is that air vent at the far end of the room, but the final jump is just too far.

Half Life 2: Episode Two Walkthrough - Half Life-2-Episode-Two 147

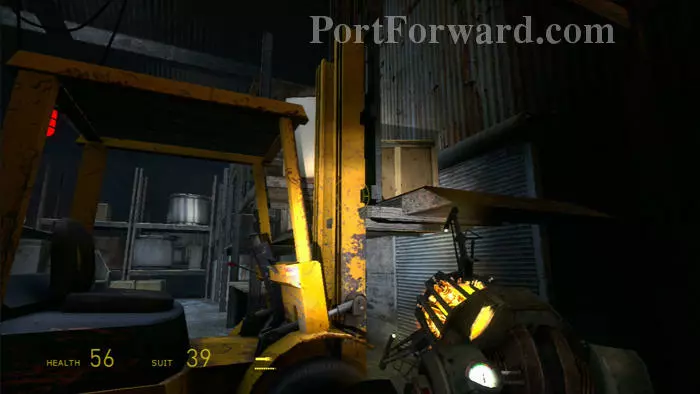
If you place a crate on the forklift, then raise it by using the red lever, you'll create a platform on which you can reach the air vent.

Half Life 2: Episode Two Walkthrough - Half Life-2-Episode-Two 148

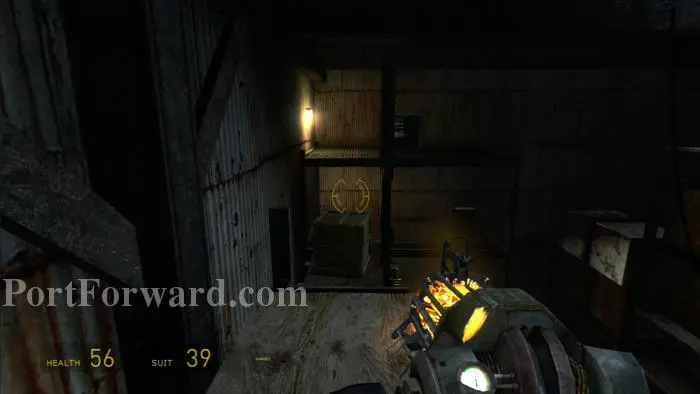
Here's how it looks once in place. Beware the toxic head crabs up here.

Half Life 2: Episode Two Walkthrough - Half Life-2-Episode-Two 149

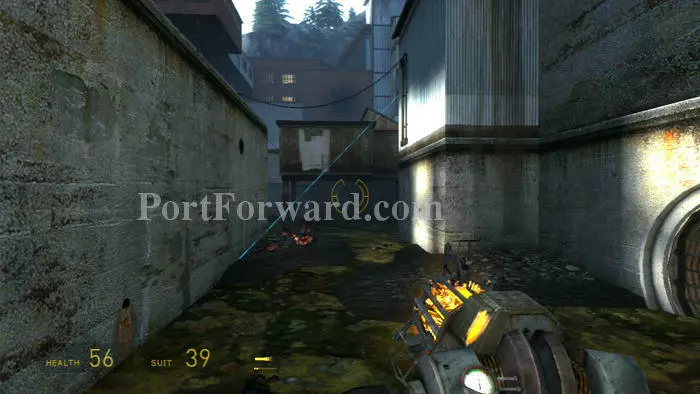
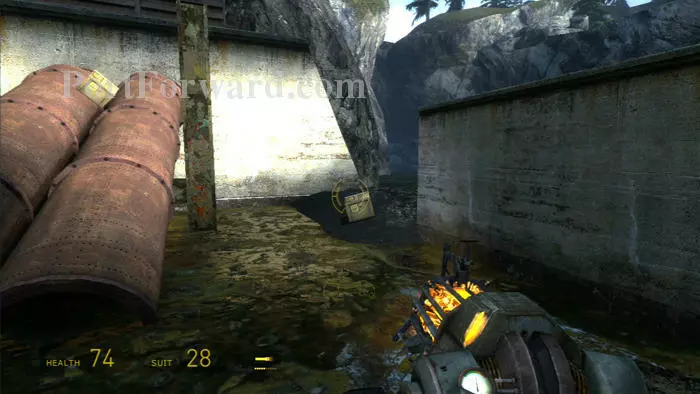
Follow the vent to a supply crate in this clearing. Take a look at the gap in the bridge you'll need to clear.

Half Life 2: Episode Two Walkthrough - Half Life-2-Episode-Two 150

Carefully drop onto these pipes in succession to avoid damage.

Half Life 2: Episode Two Walkthrough - Half Life-2-Episode-Two 151

Toxic sludge and zombies. Alyx's sniping skills are much appreciated. Hop across the islands of safety within the sludge to advance.

Half Life 2: Episode Two Walkthrough - Half Life-2-Episode-Two 152

Yikes. Arrive on this ledge then climb the ladder ahead/right.

Half Life 2: Episode Two Walkthrough - Half Life-2-Episode-Two 153

Find SMG grenades, shotgun ammo, a supply crate and this medkit. Drop over the ledge ahead.

Half Life 2: Episode Two Walkthrough - Half Life-2-Episode-Two 154

More sludge. Climb the pipes on the left to jump across the sludge to the supply crate on the right.

Half Life 2: Episode Two Walkthrough - Half Life-2-Episode-Two 155

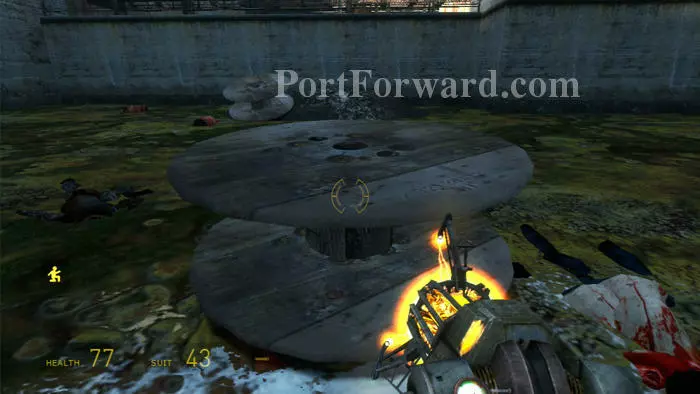
Hop across the cars then maneuver these wooden wheels to act as stepping stones.

Half Life 2: Episode Two Walkthrough - Half Life-2-Episode-Two 156

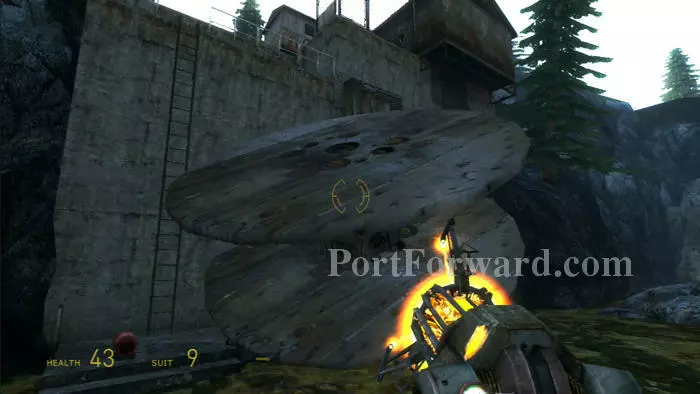
You can repeatedly move them to advance all the way across the sludge to the ladder seen here.

Half Life 2: Episode Two Walkthrough - Half Life-2-Episode-Two 157

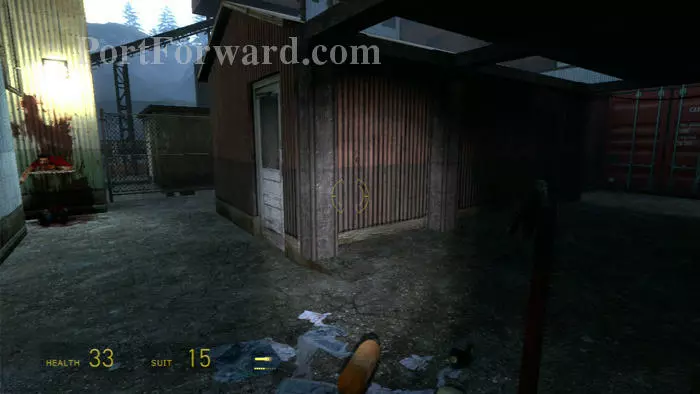
Plenty of supplies and plenty of danger are in this shack. A head crab, fast zombie and suicide zombie attack.

Half Life 2: Episode Two Walkthrough - Half Life-2-Episode-Two 158

Climb the hill to the bridge. You're almost there.

Half Life 2: Episode Two Walkthrough - Half Life-2-Episode-Two 159

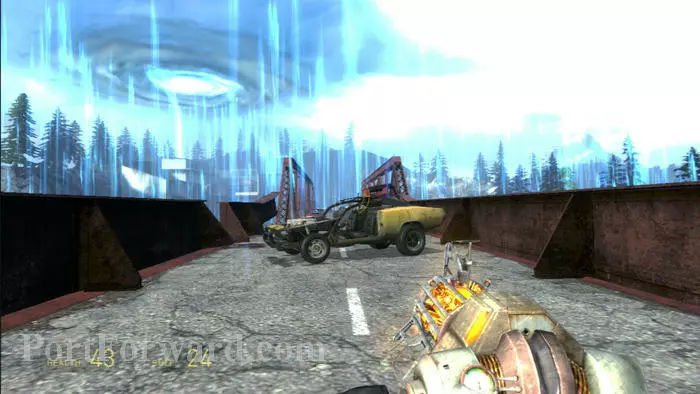
Here's your car. A portal storm damages the bridge further, severing it just beyond the car.

Half Life 2: Episode Two Walkthrough - Half Life-2-Episode-Two 160

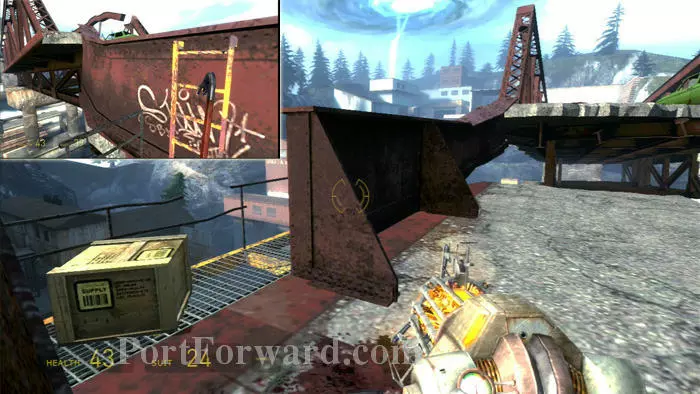
Unbox the supply crate, then use the ladder to climb onto the railing (inset).

Half Life 2: Episode Two Walkthrough - Half Life-2-Episode-Two 161

Walk along the railing to reach the raised section of bridge.

Half Life 2: Episode Two Walkthrough - Half Life-2-Episode-Two 162

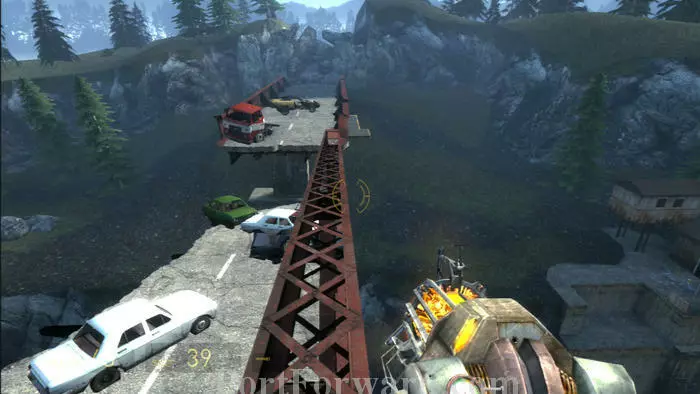
Use your Gravity Gun to push the cars at the lower end of the bridge to the higher end. The shifted weight on the bridge will cause it to teeter in the opposite direction.

Half Life 2: Episode Two Walkthrough - Half Life-2-Episode-Two 163

Climb the railing from the opposite end and sprint-jump across to the original bridge segment.

Half Life 2: Episode Two Walkthrough - Half Life-2-Episode-Two 164

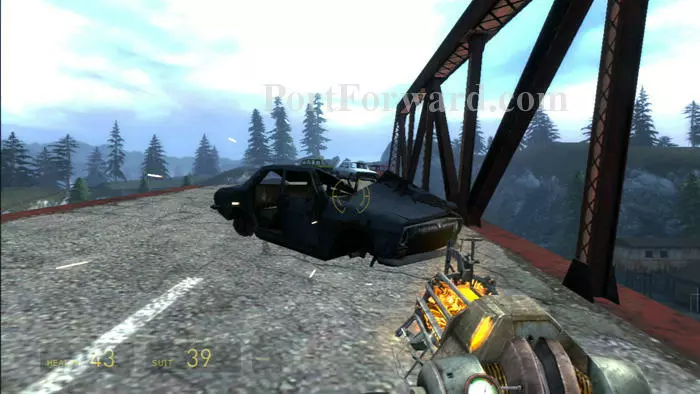
Get in the car and give it all your gas and turbo to jump across the two gaps in the bridge.

Half Life 2: Episode Two Walkthrough - Half Life-2-Episode-Two 165

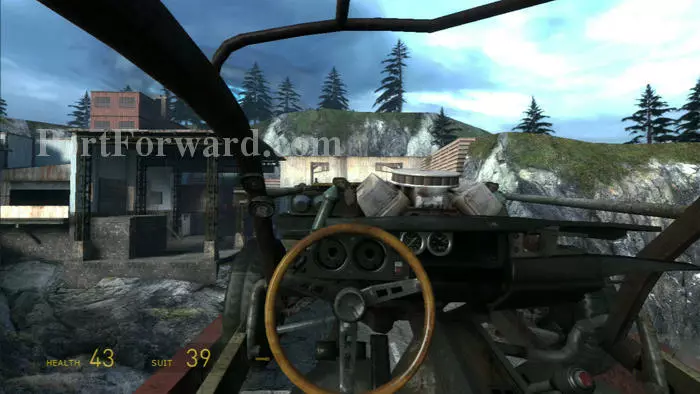
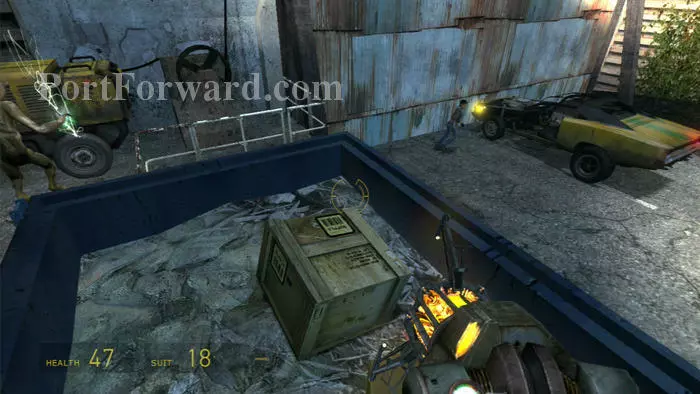
If you threw your gnome onto the bridge earlier, he'll be waiting for you right where he landed. Go ahead and put him in the car.

Half Life 2: Episode Two Walkthrough - Half Life-2-Episode-Two 166

Alyx and the Vort are up the stairs on the left, but you'll need to climb the ladder on the right to open the door blocking their path.

Half Life 2: Episode Two Walkthrough - Half Life-2-Episode-Two 167

Use this switch to open the door, which closes very quickly. That's why it was necessary to throw the gnome onto the bridge.

Half Life 2: Episode Two Walkthrough - Half Life-2-Episode-Two 168

Crack open this supply crate while the Vort opens the tunnel gate. Drive through to load the next level.

More Half Life 2: Episode Two Walkthroughs

This Half Life 2: Episode Two walkthrough is divided into 7 total pages.

More From Portforward