
This Half Life 2: Episode Two walkthrough is divided into 7 total pages.
You can jump to nearby pages of the game using the links above.
Under The Radar
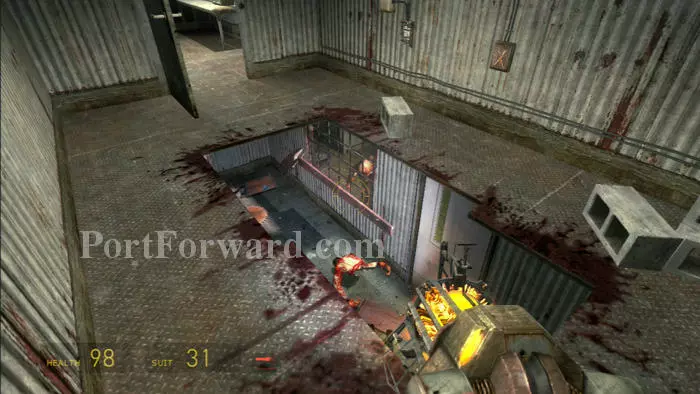
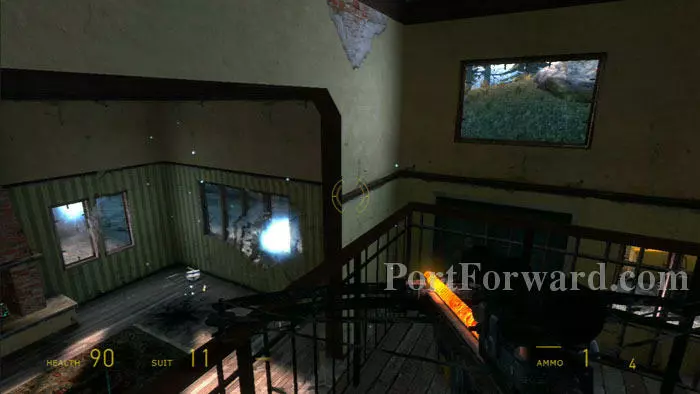
Follow the resistance member up the stairs. Smash open the window seen here before dropping below. You can then take out some of the many zombies while still safe up here. I got lucky and had a suicide zombie clear the area for me.
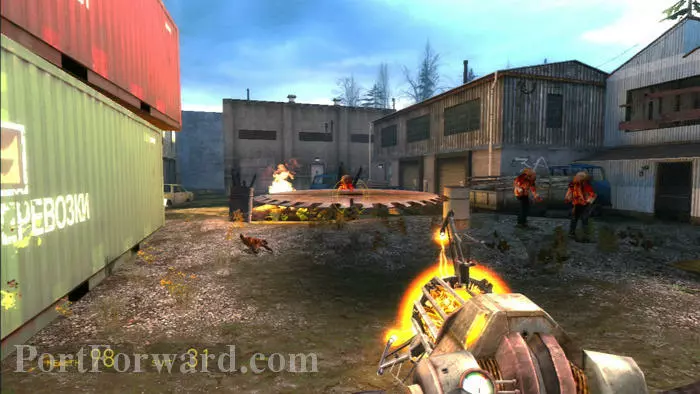
Saw blades and pressurized canisters help you take out more zombies before exiting through the window.
I let a suicide zombie get too close. Fortunately there's health in that supply crate ahead. Smash the window above and climb in.
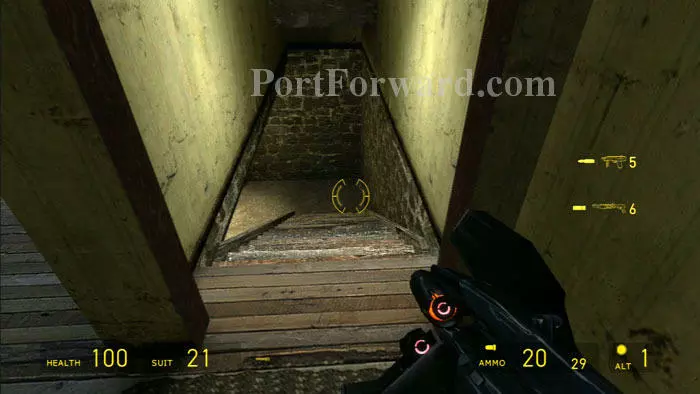
Exit through this door then drop off to the right, careful to avoid the toxic sludge directly beneath the stairs.
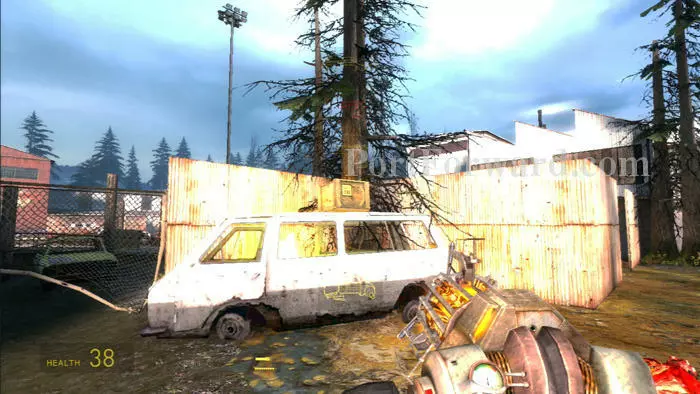
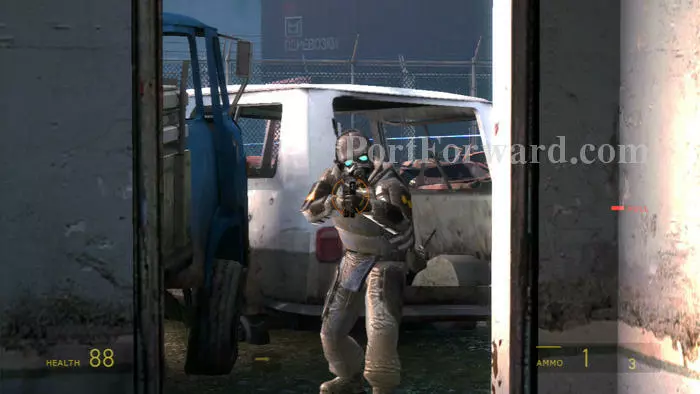
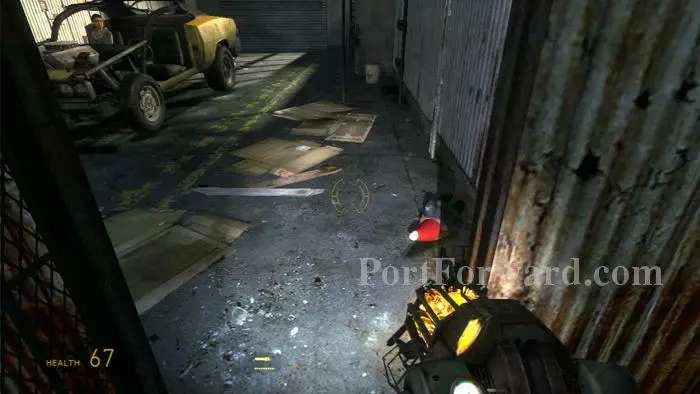
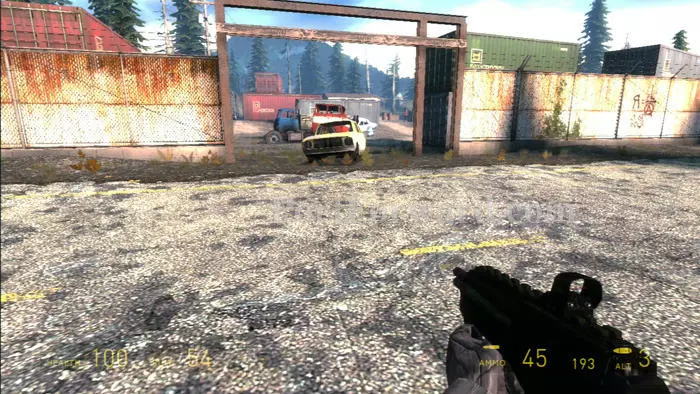
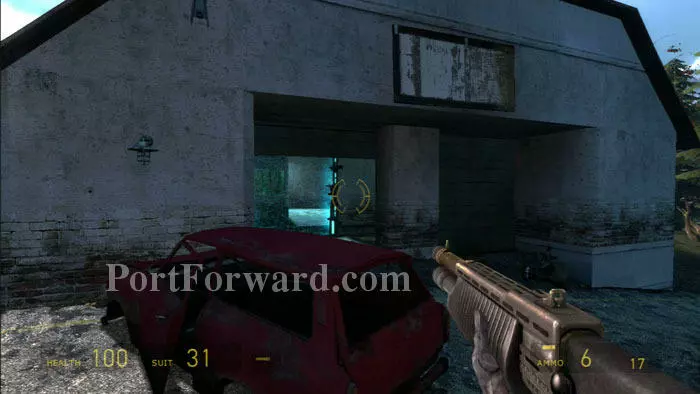
Grab the supply crate atop this van before crawling beneath the fence opening to the left.

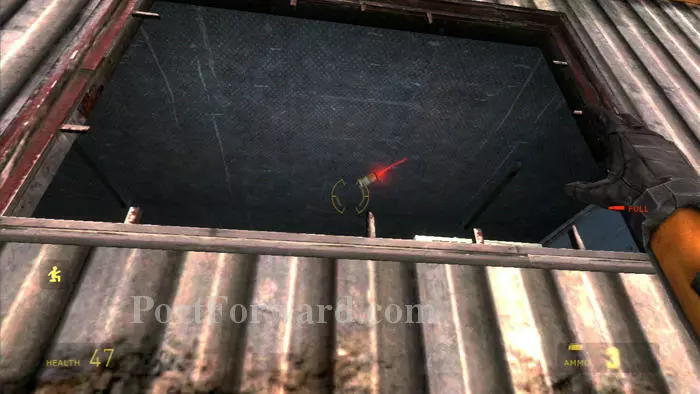
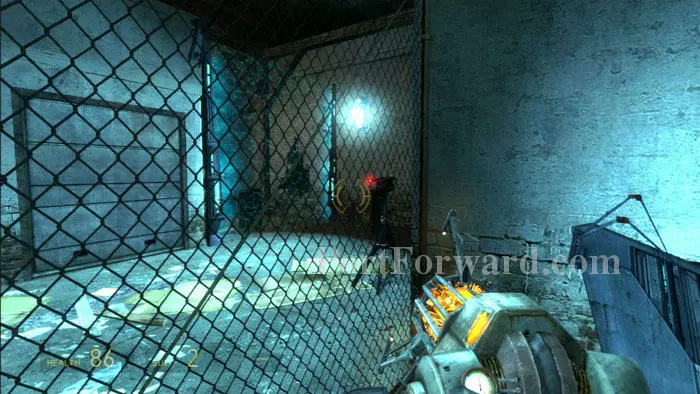
Remain crouched to avoid being targeted by the autogun's blue laser. Crawl through the tunnel ahead.
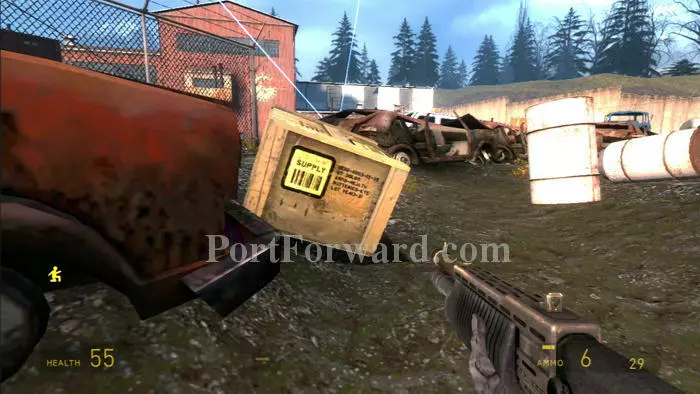
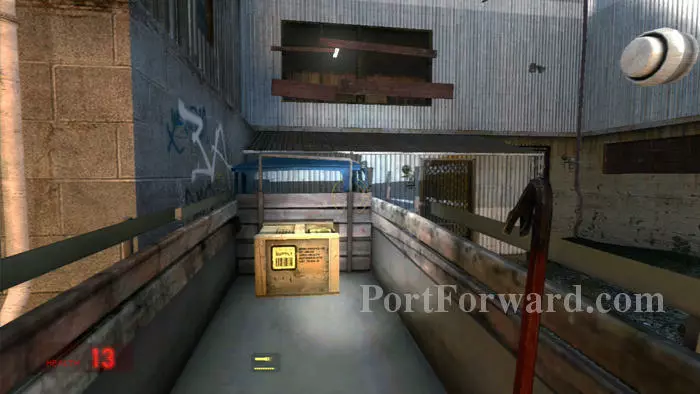
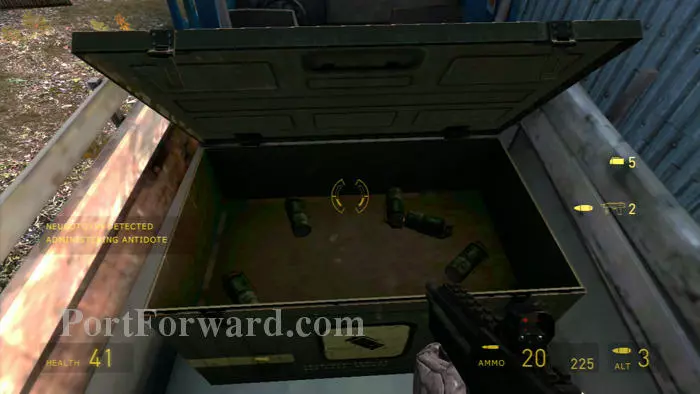
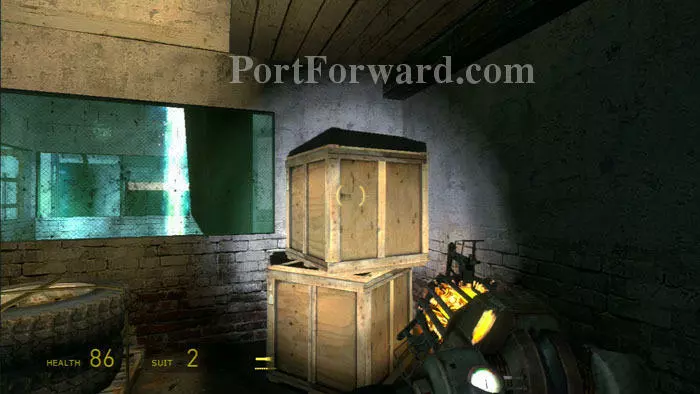
Retrieve the grenades inside this supply crate.
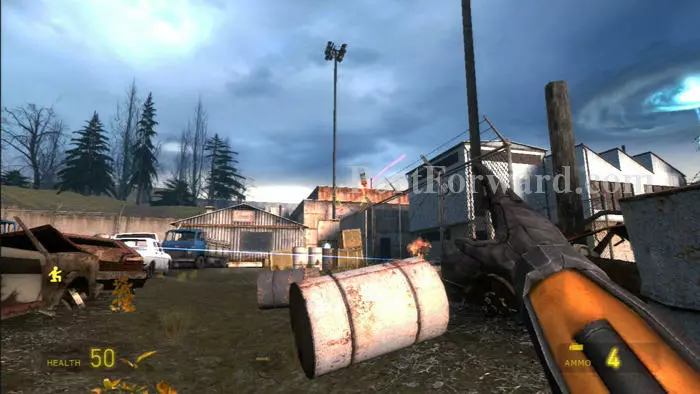
An auto turret is to the right. Toss one of the grenades to topple the turret. Approach the white building ahead. Remain crouched.
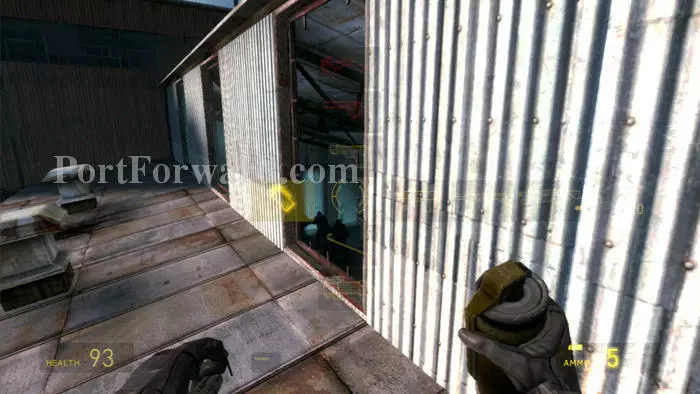
Smash the window and toss in more grenades. Combine soldiers are inside.
Climb through the window and grab supplies. Your crossbow helps to eliminate the Combine attacking from outside. Continue through this door and enter the white van.
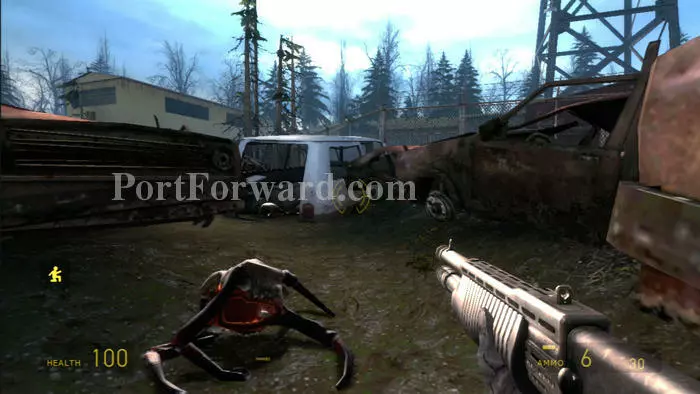
Pick up the health packs inside the van then crawl past more head crabs and zombies to another white van, seen ahead.
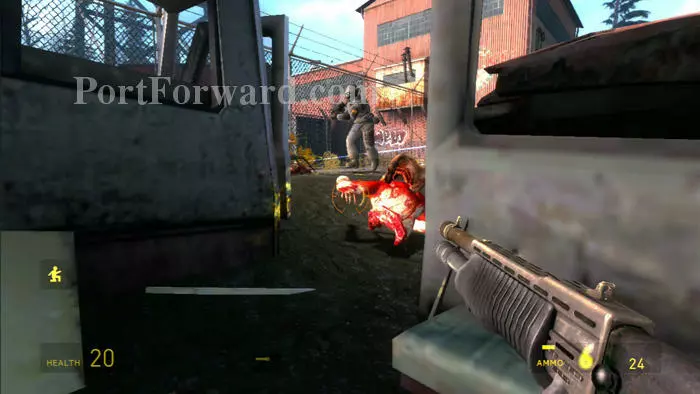
Stay in the van, using your shotgun and crossbow to take out the combine forces ahead. As you exit the van you'll need to check your six for zombies creeping up from behind.
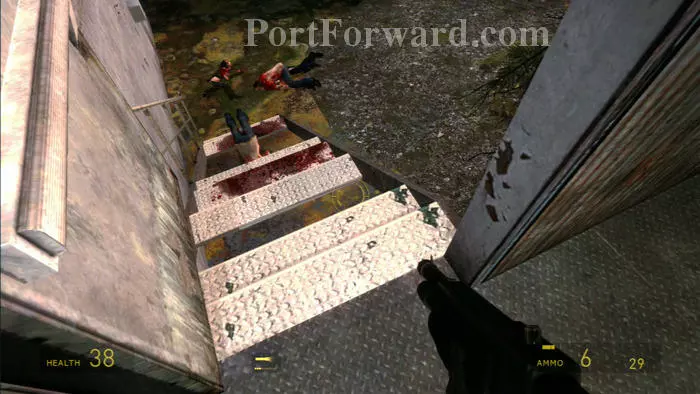
Keep right past a fast zombie then flank the autogun. Climb the blue truck on the right.
Supply crates, toxic head crabs, and this trunk of infinite hand grenades are found. Climb onto the roof to the right.
Equip your grenades and deliver them to the Combine forces below.
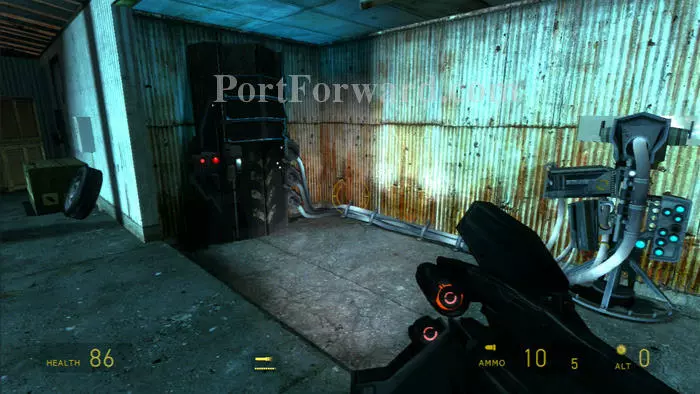
Drop through and defeat any remaining Combine. The autogun is seen here on the right. Press the red button on the left to open the gun's control panel. Spy another trunk of grenades farther left -- toss a grenade into the open control panel to destroy the autogun.
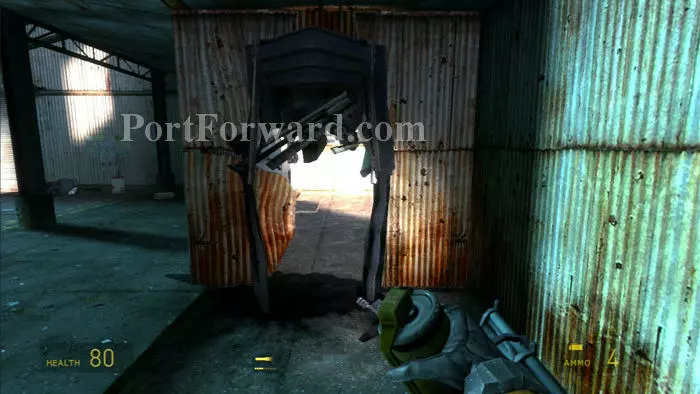
Exit through the newly-created hole.
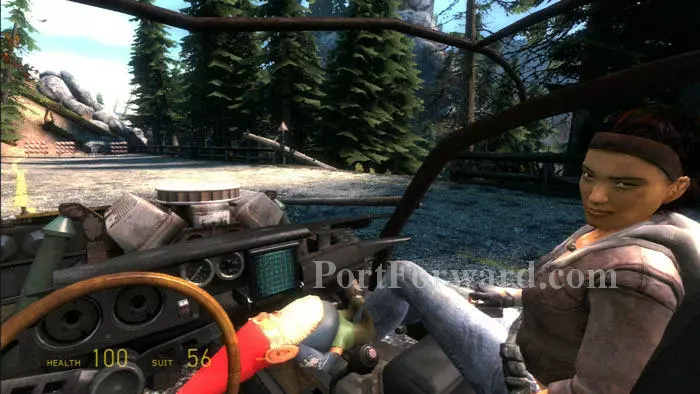
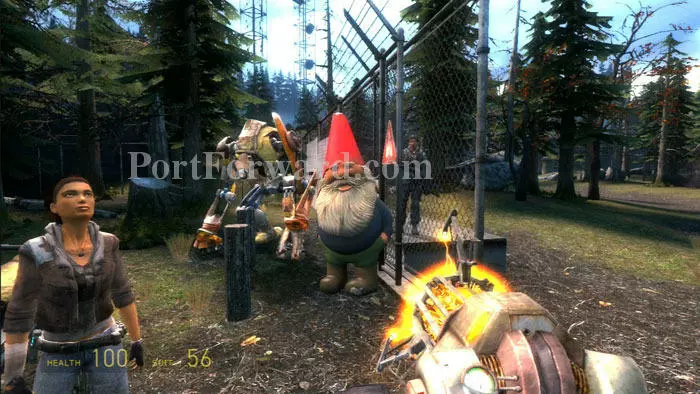
Fight your way past a large zombie spawn then follow Alyx back to your car - and your gnome.
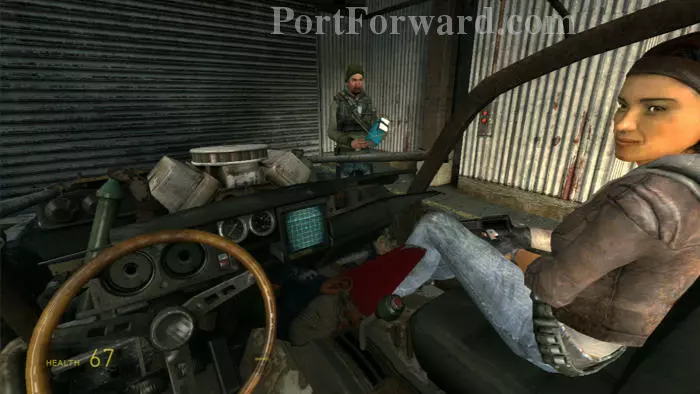
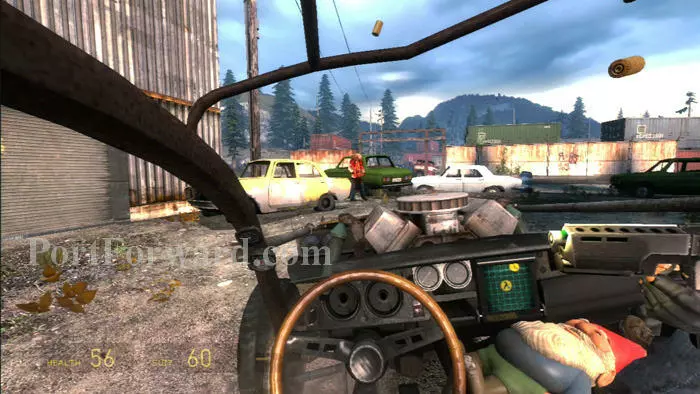
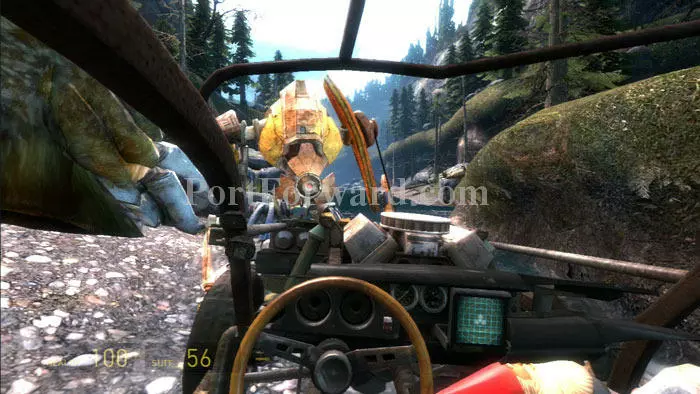
Toss your gnome in the car then jump in. Listen to the resistance member explain the locator beacon before driving off.
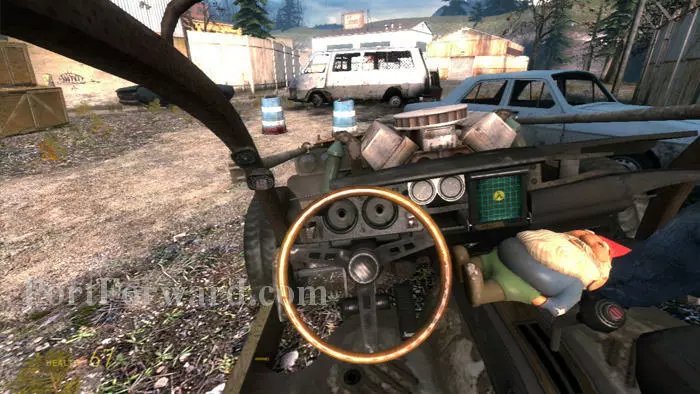
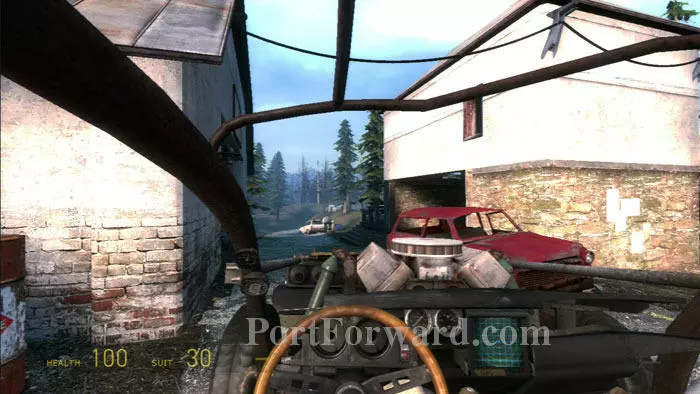
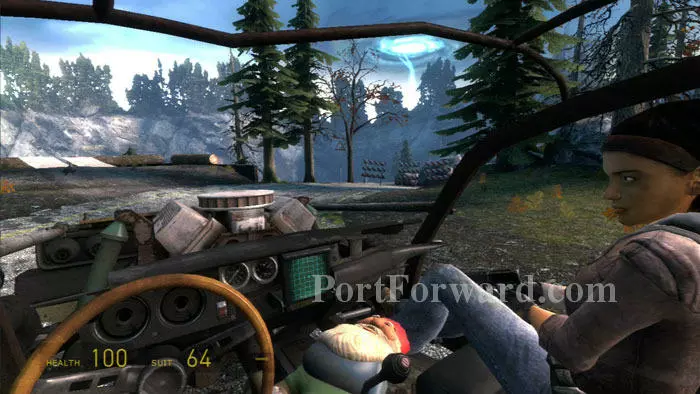
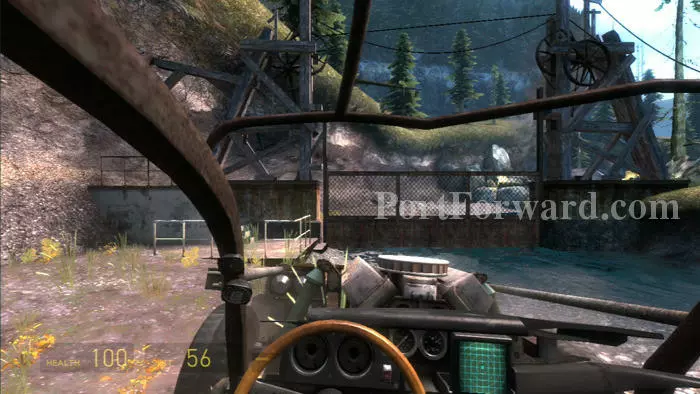
Drive until your display lights up with a locator beacon ping. Approach the van ahead.
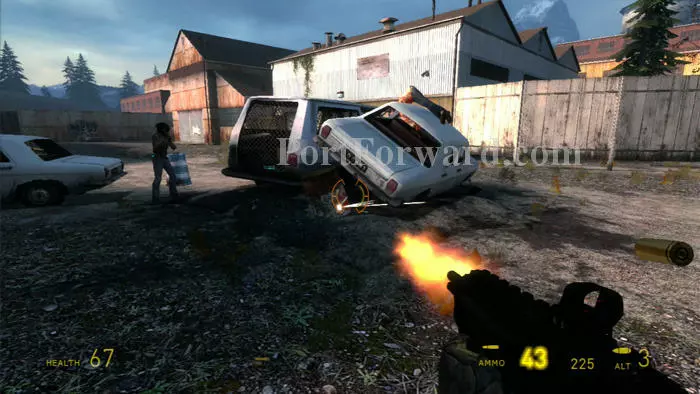
Shoot the explosive barrels to dislodge the car blocking access to the supplies inside the van.
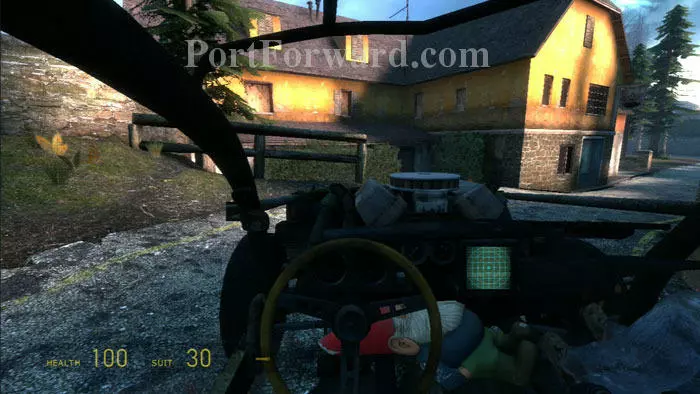
Get back in the car and drive until you reach another ping at this building.

Enter this van and pick up the health packs. Crawl through the van and into the building.
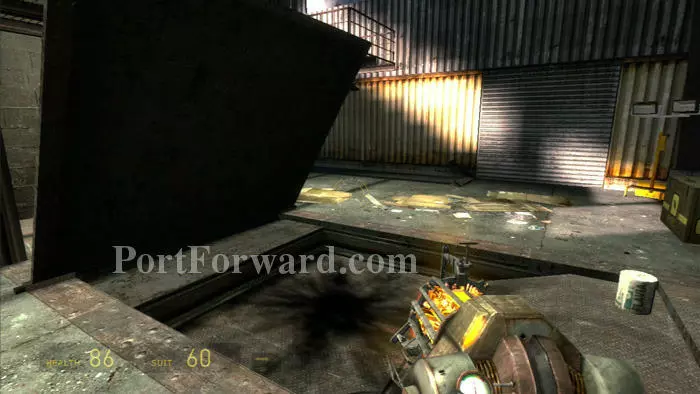
This is a clever puzzle that took me a while to figure out. You want to take some grenades from the trunk on the right. Lower the metal panel on the left so that it is flat on the floor. Drop a grenade under the panel, then step on.
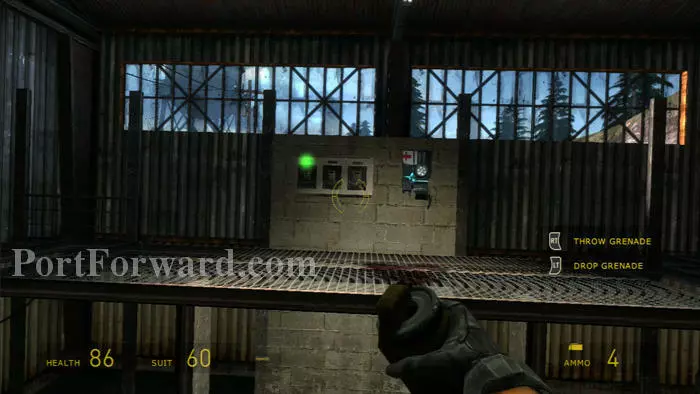
Weeee! You'll be launched onto the catwalk above. Grab health then throw the switch by the green light. This will open the fence door below.
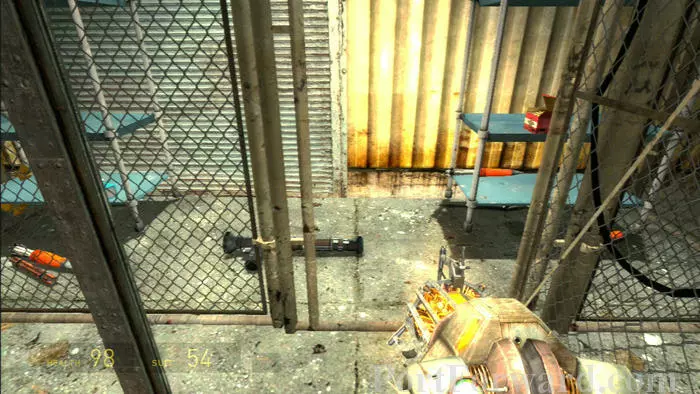
You can now retrieve these supplies, including the rocket launcher.
Exit the building the way you came then continue through that opening ahead.
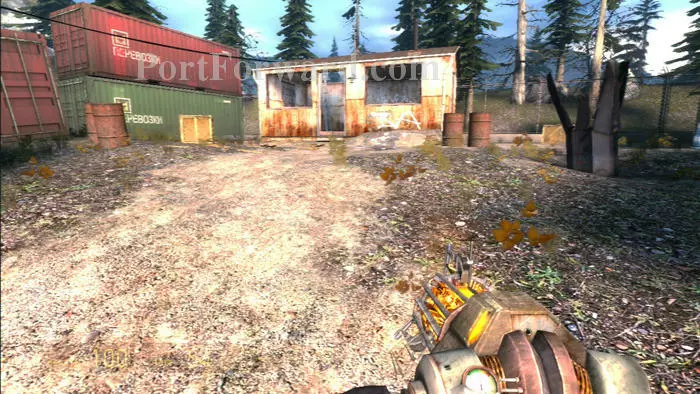
Another supply cache is in that white building ahead.
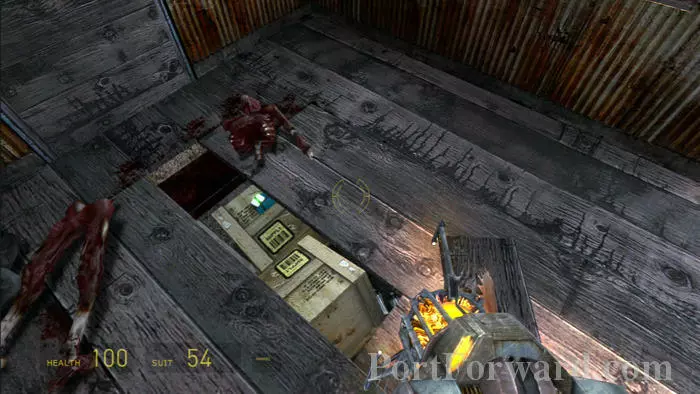
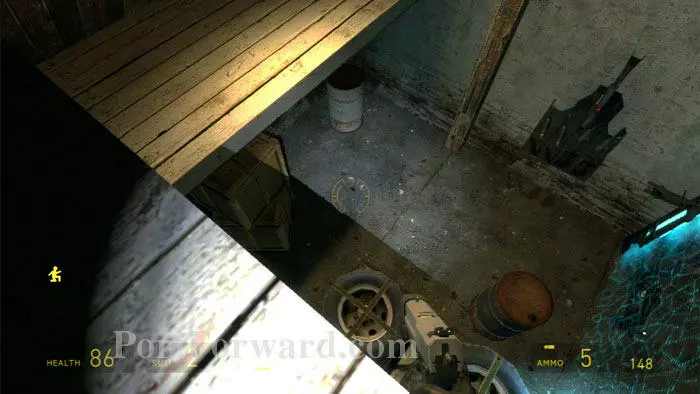
Pick up the floorboards to find many supplies. A large wave of zombies attacks.
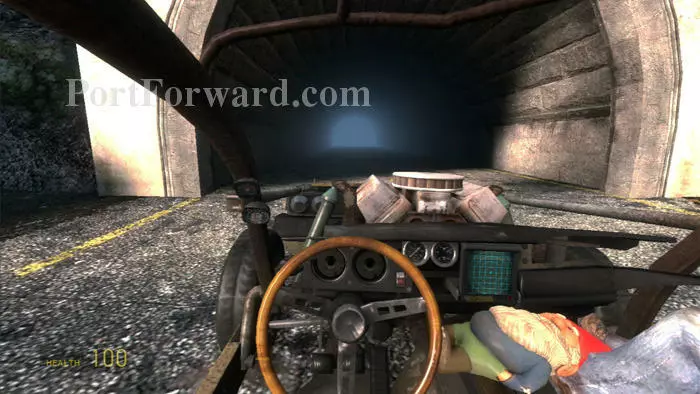
Return to your car then drive through this tunnel to load the next area.
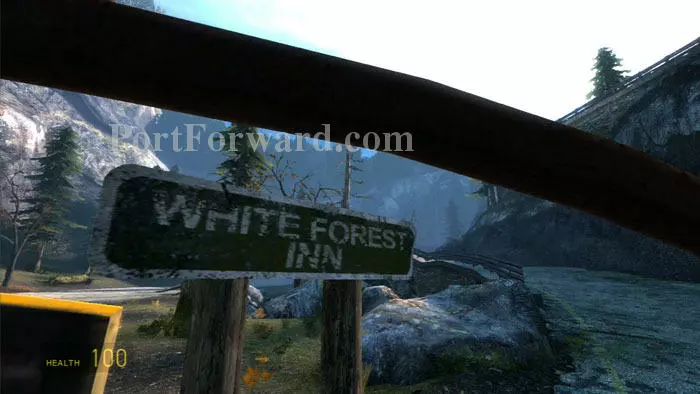
Alyx notes another bleep on the radar. Turn left at this sign to White Forest Inn.

Exit your car at this fallen tree on the left. Your radar indicates a cache is nearby.
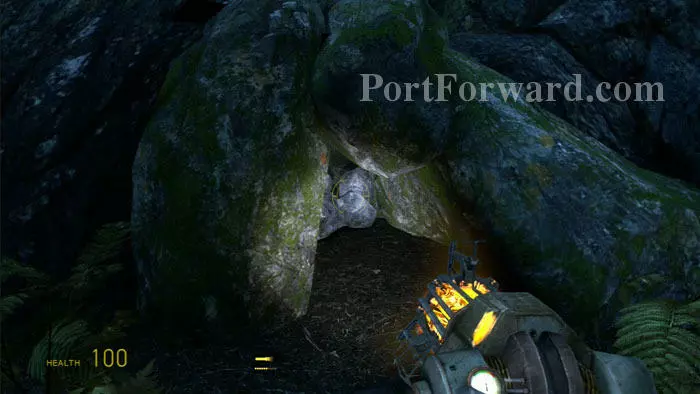
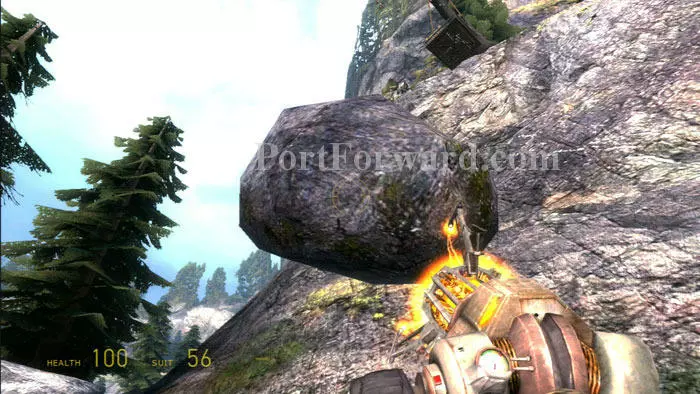
Slip behind the tree and find this mini-cave. Use your Gravity Gun to remove the rocks blocking the entrance.
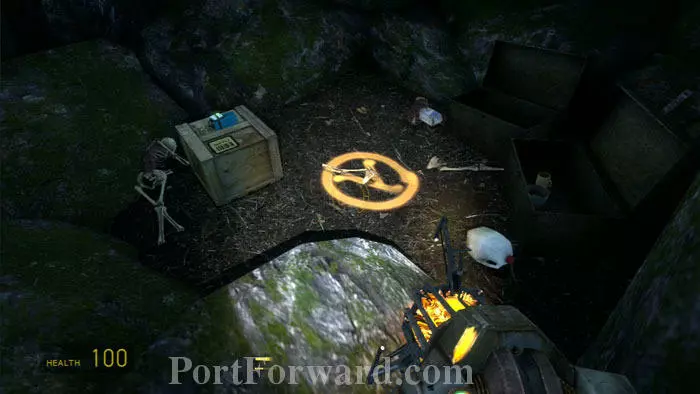
Here ya go. Clear out the supplies then return to your car.
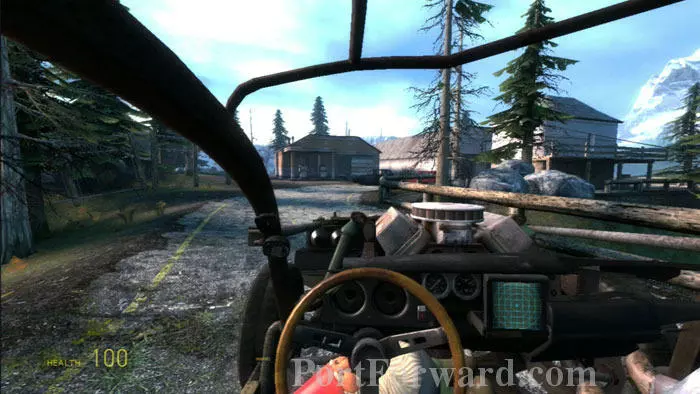
Drive to the top of the hill. Exit your car and find a dead body in the gas station. Supplies are in and around the other buildings. No enemies are here.
Clear away the vehicles blocking the road then get back in your car and drive on.
Stop here at the White Forest Inn.

A force field activates as you approach the other side of the building, blocking the road. It's a trap! Health and suit energy stations are in the building behind me in this shot.
Find a defensible position and take out the advancing Combine. The game will auto-save as your tally increases.
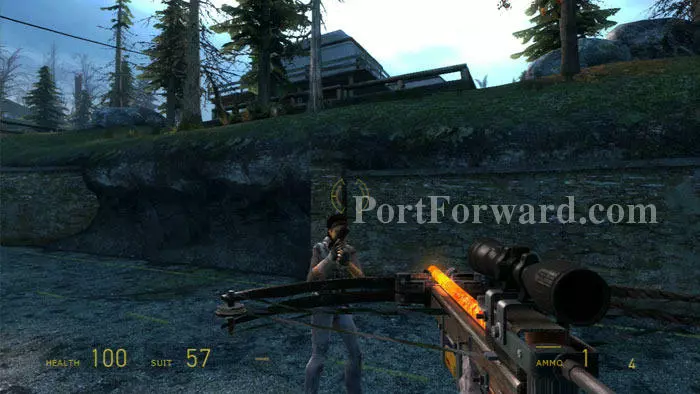
This is a great shooter sequence, especially for snipers.
More crossbow ammunition can be found down these stairs in the basement.
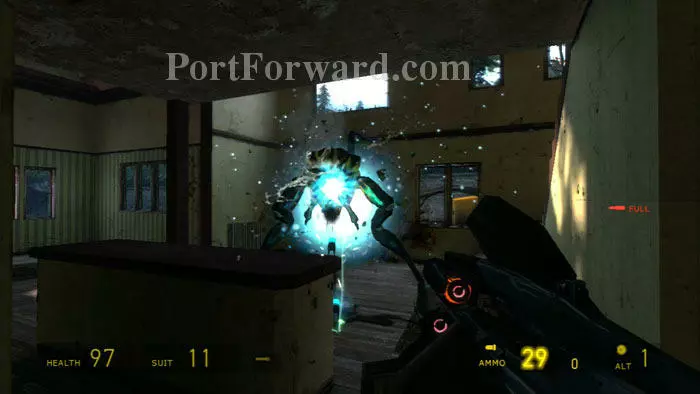
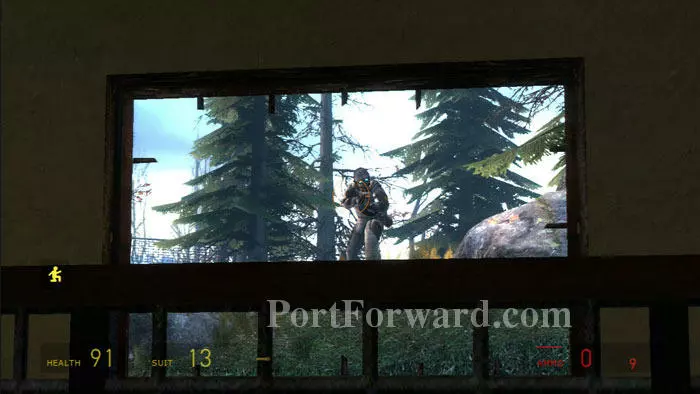
Eventually the Combine will enter the building, including Overwatch and Hunters. The pulse rifle's alt-fire works great against the Hunters.
After defeating the Hunters, Alyx suggests finding the force field's power source. She notes that the power line leads to those white buildings at the top of the hill.
Backtrack up the hill and meet more resistance, including another Hunter.
The Combine are defending this building. Note that a force field has been erected inside.
Find a trunk with grenades then use your Gravity Gun to topple this turret. Alyx will then disable the force field, but just long enough for you to enter.
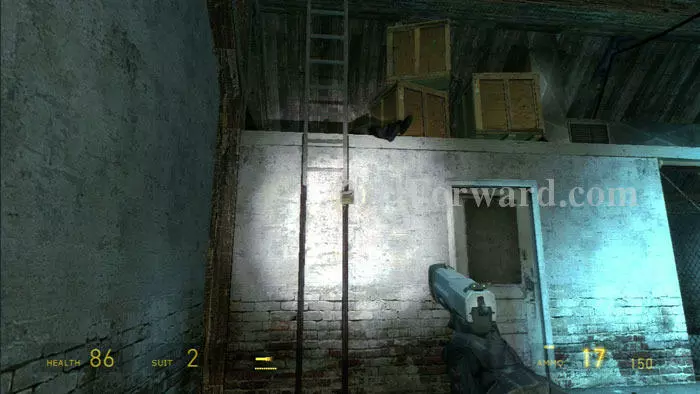
Shoot the lock to release this ladder.
Climb the ladder then follow the ceiling ledge to drop behind the force field here. Note the ammunition on the wall below.
Move these boxes and a pallet to expose an air vent. Climb through.
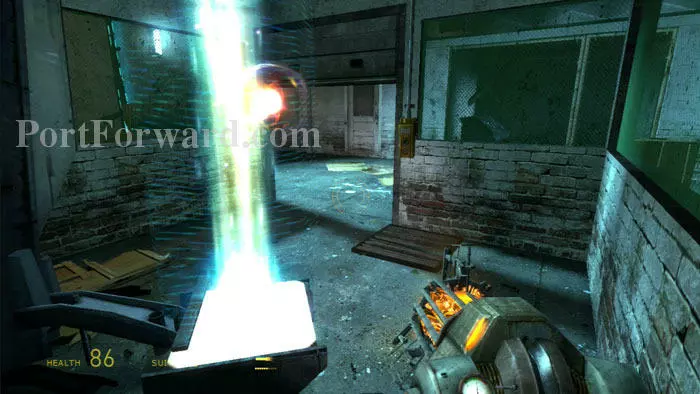
Push the button to open the door, then use your Gravity Gun's primary fire to knock the energy ball out of the power stream. It will shoot out of the room and then the door will close shut. After some brief fireworks the power is cut off.
Return to your car and drive past the now-deactivated force field. You'll need to jump over that makeshift ramp on the left when you reach the roadblock on the right.
You can either throw your gnome to the road below before making the jump or hope for the best with him in your car. Both methods worked for me.
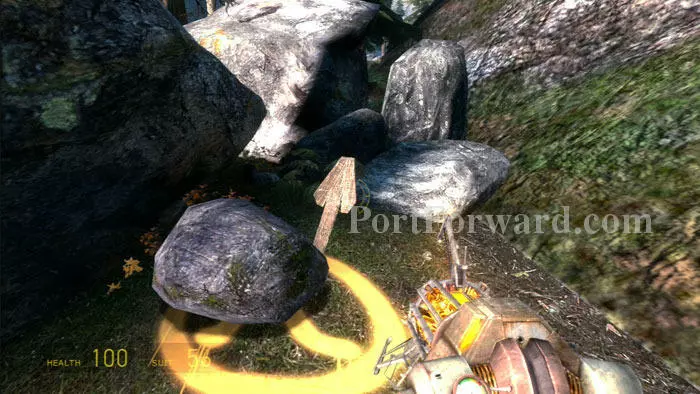
Drive to the next radar blip then find this curious wooden arrow. Look up.
This time the cache is in a hanging basket. Throw rocks and logs to dislodge the two supply crates inside.
Pass through another tunnel then exit the road here on the right. Alyx comments on a strange sound.
Drive left along the river then park here. You can leave your gnome behind.
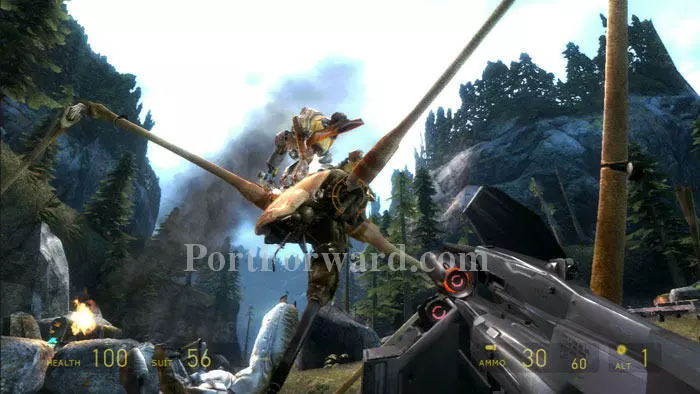
Climb the stairs to get around the gate then watch as Dog battles a stryder.

Victorious, Dog raises the gate for you.
Return to your car and Dog clears away the wrecked dropship. Beat him in the race to the top of the mountain and earn the Pedal to the Metal achievement.
Time to say goodbye to your car. Grab the gnome and follow Alyx into White Forest base to load the next level.
More Half Life 2: Episode Two Walkthroughs
This Half Life 2: Episode Two walkthrough is divided into 7 total pages.


