This Half Life 2: Episode Two walkthrough is divided into 7 total pages.
You can jump to nearby pages of the game using the links above.
Our Mutual Friend
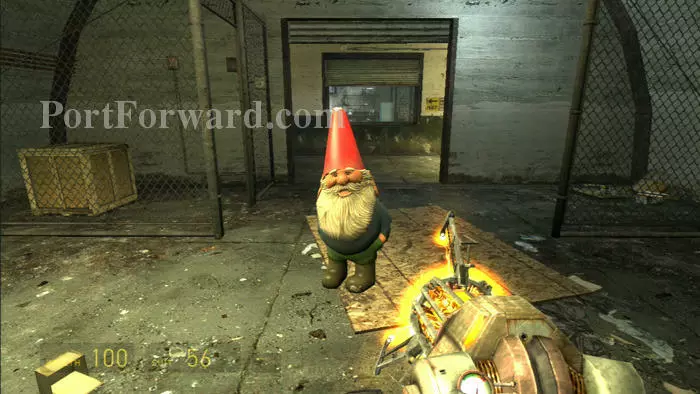
Keep your gnome with you for now. Grab the supplies to the right of this door then pass through once it opens.
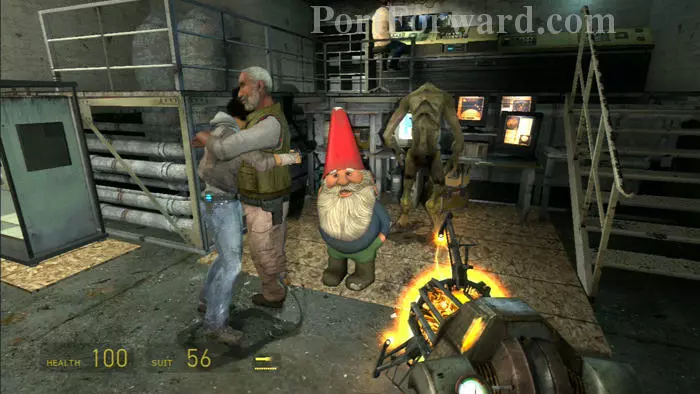
Alyx follows and is reunited with her father, Dr. Eli Vance.
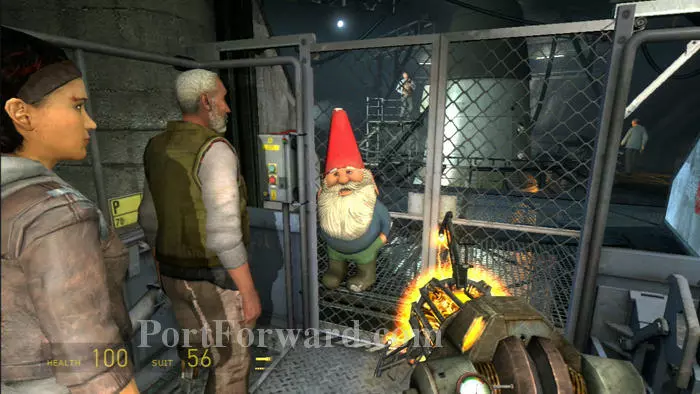
Ride this lift down to Silo 1 where Drs. Kleiner and Magnusson are working on the rocket.
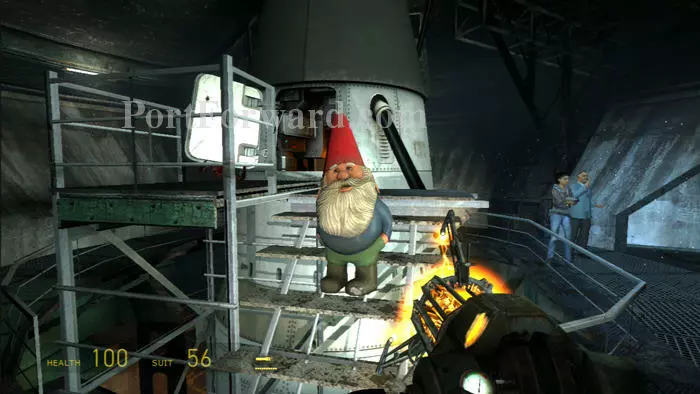
Time to finally say goodbye to your gnome. Place him in the rocket hatch alongside Dr. Kleiner's pet head crab, Lamarr. Closing the hatch grants you the Little Rocket Man achievement, and 30 hard-earned Xbox Live! gamer points. Congratulations!
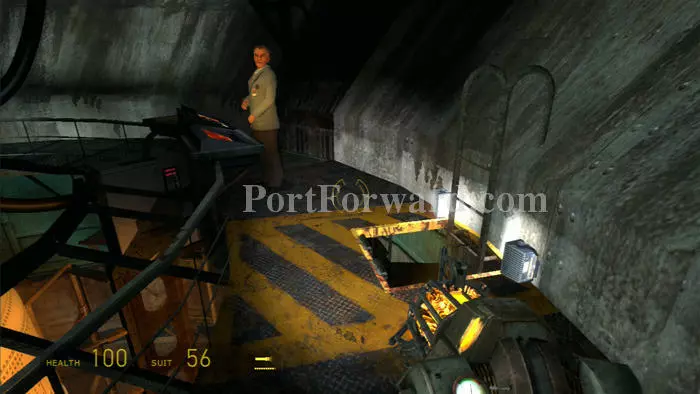
The Vances return above, while you remain below to investigate the cause of a pair of false alarms. Descend this ladder once Dr. Magnusson opens the hatch.
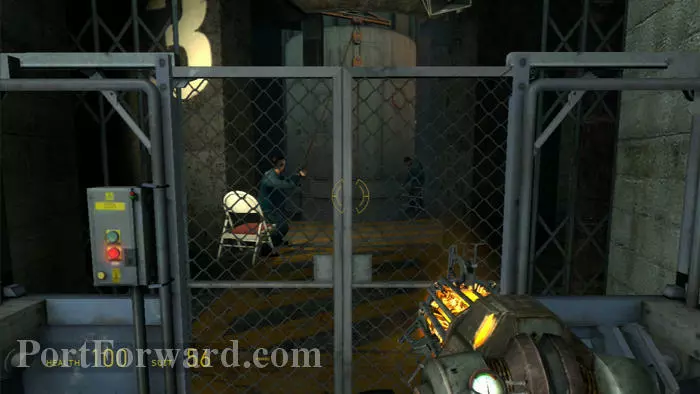
Descend this lift.
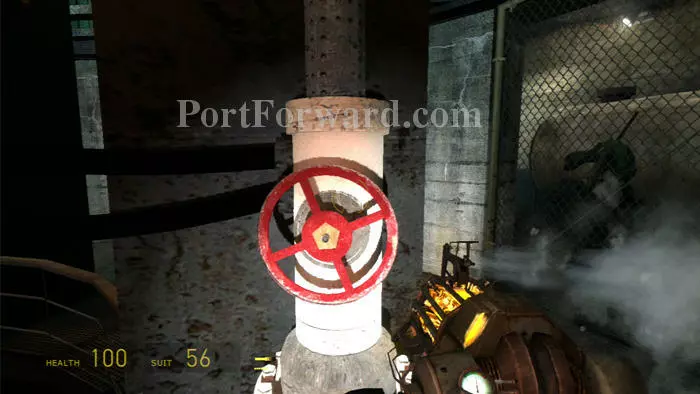
Exit the lift then turn this valve to stop the steam blocking your path.
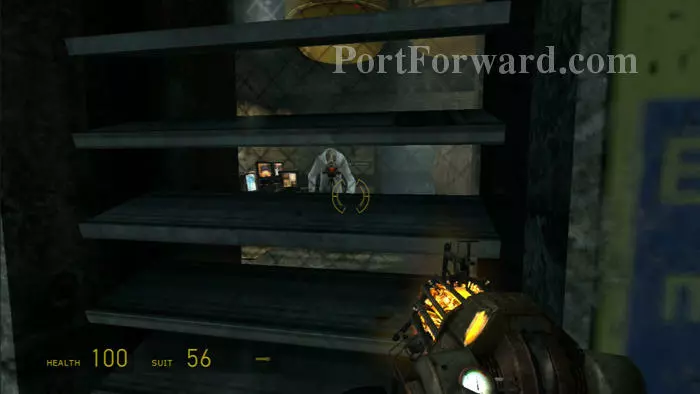
Stand by this window and wait for the Vortigaunt to notice you. He'll then open the door. Breaking the glass on the right speeds things up but is messy. Ammo is in the locker to the left of the door.
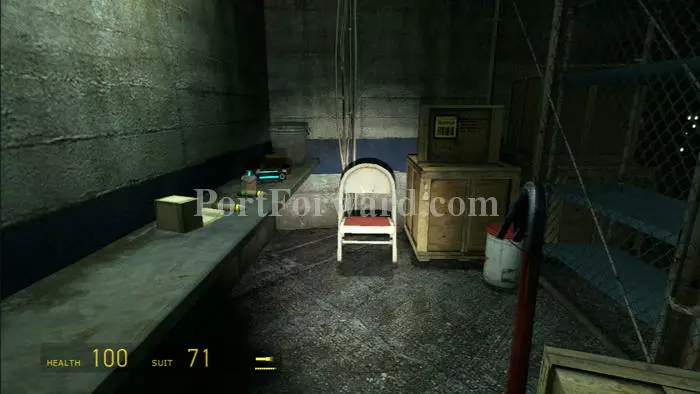
Grab all the supplies you can as you advance through the corridors.
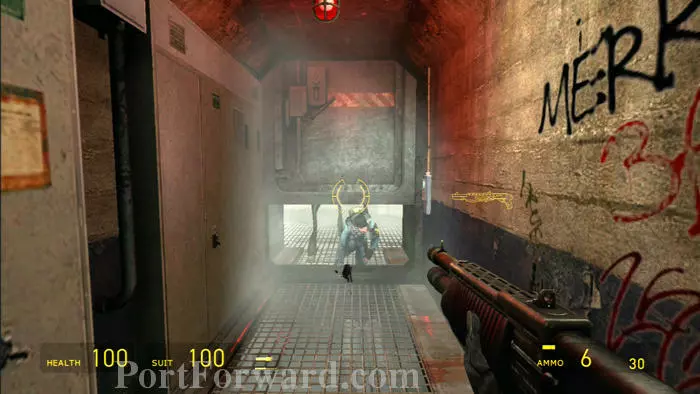
Meet up with this resistance member who is promptly dragged away by a Hunter.
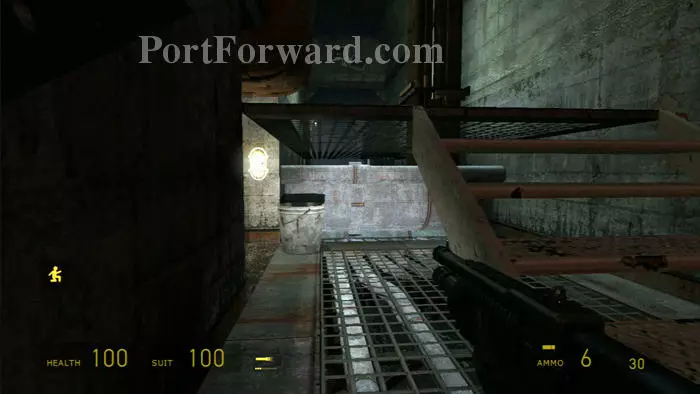
Turn around then crouch under the crawlspace beneath these stairs.
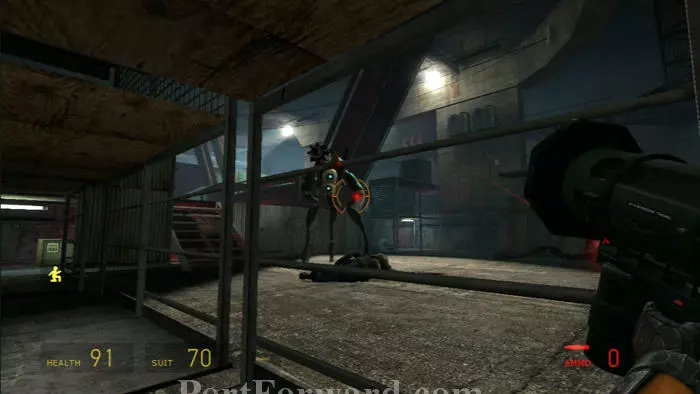
Three Hunters are attacking. If you still have rockets leftover from the previous chapter, this would be a good time to use them. I recommend staying put until the first two Hunters are down.
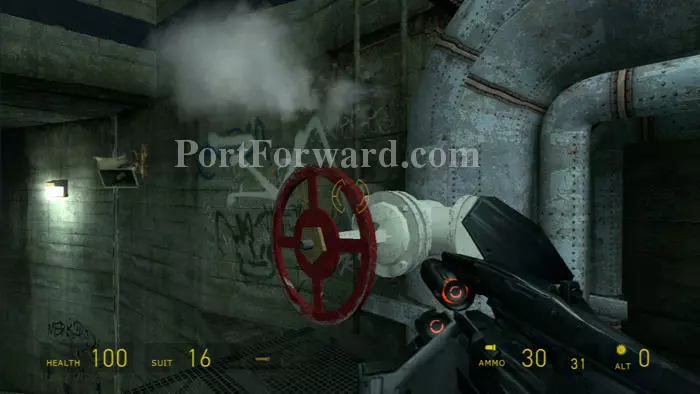
After all Hunters are defeated follow this catwalk to another steam valve. Once the steam is off, climb the ladder.
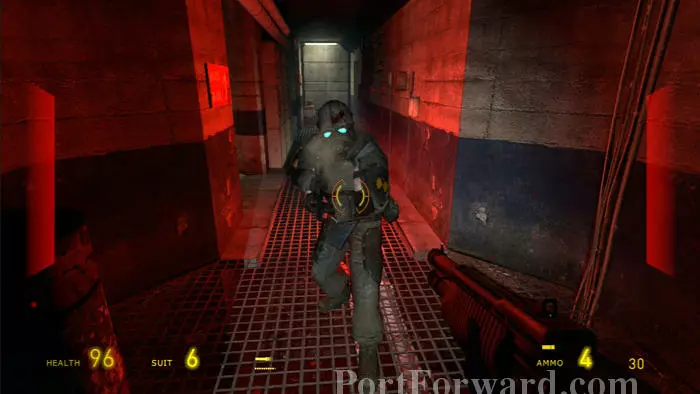
Combine! An auto turret is down the left corridor. Topple it with a grenade. Hold position and lure as many Combine to their demise as you can before proceeding.
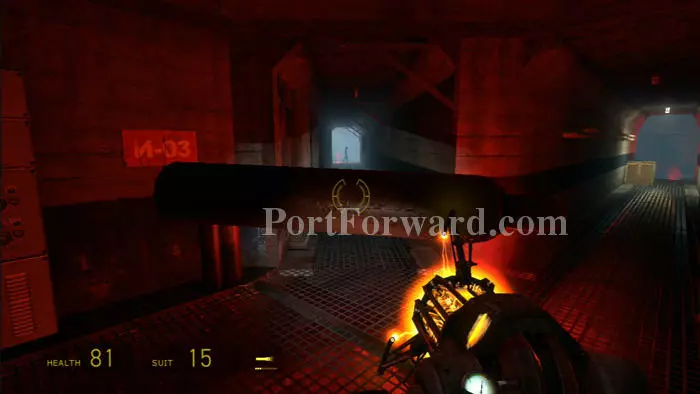
Another auto turret is down this corridor on the left. Work fast and knock it over with a compressed canister before it can target you.
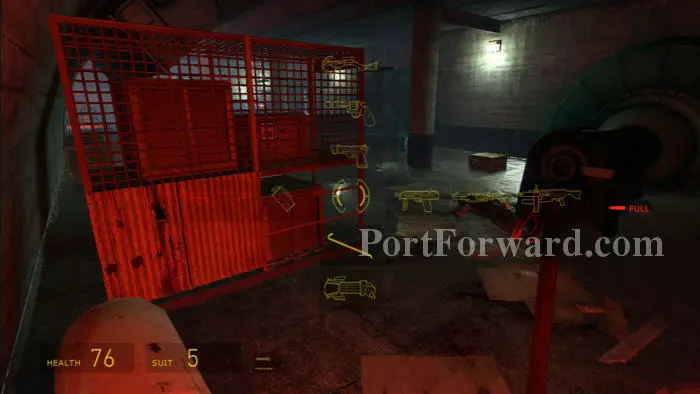
Both corridors lead to this flooded room with more Combine and supplies.

Fight your way up this ramp. Beware the flammable barrels the Combine roll down the ramp as well as this Hunter waiting at the top.
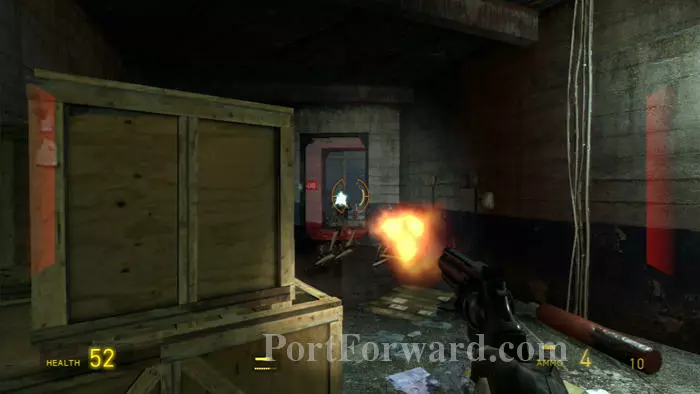
Find a supply crate to the right then battle a few more Combine.
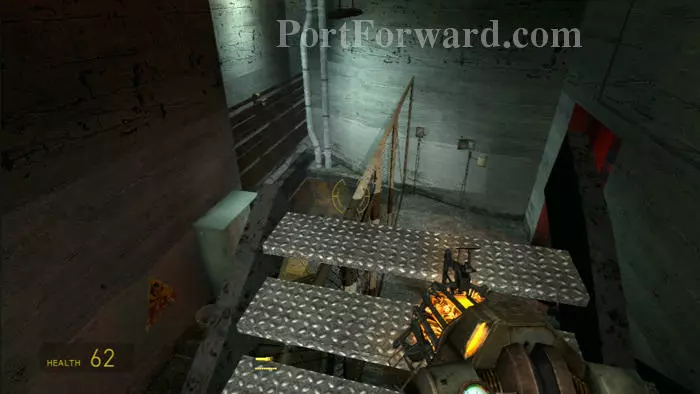
Climb these broken stairs then drop down on the other side of the fence. Smash open the supply crate then dive into the water.
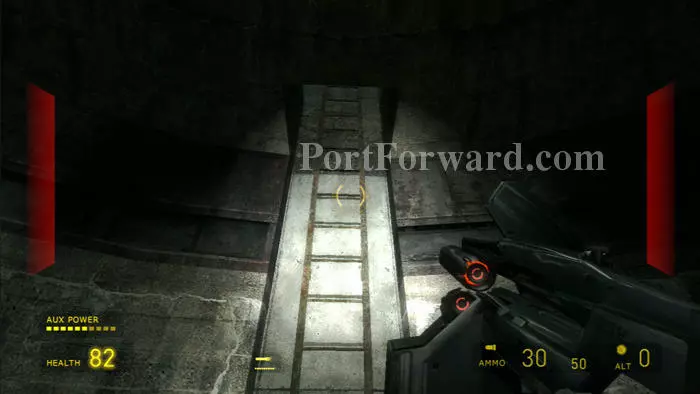
Surface to the sounds of gunfire and Dr. Magnusson's berating commands. Climb this ladder.
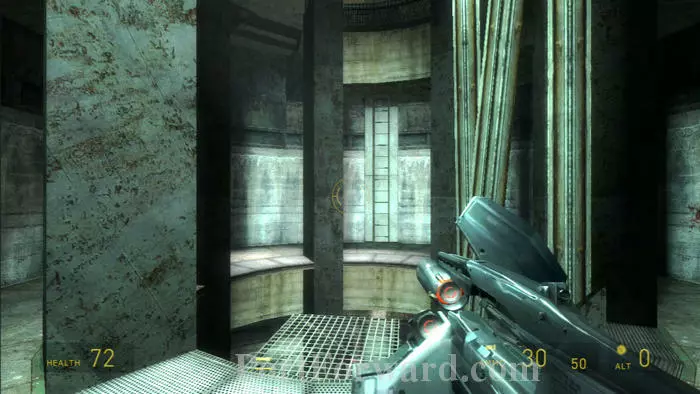
You're ascending the empty secondary missile silo. Climb that ladder.
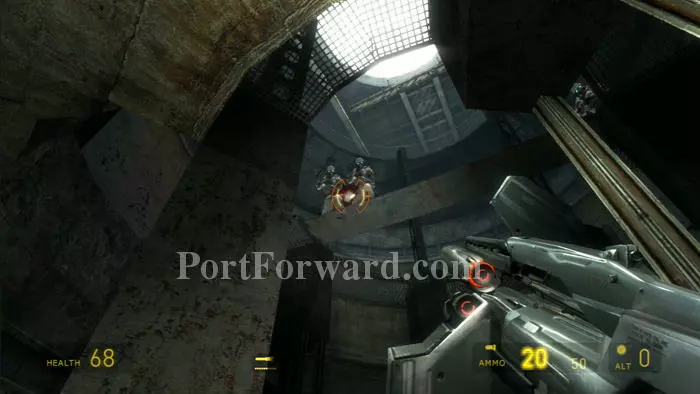
Defeating these soldiers will temporarily help you advance up the next ladder, but more soldiers will spawn.
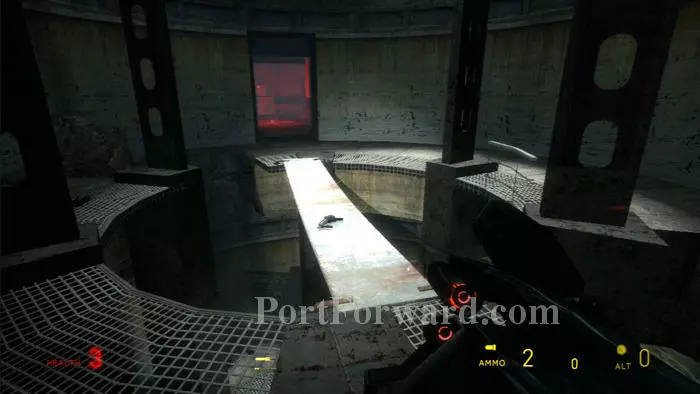
Follow this makeshift bridge to the red-lit room beyond.
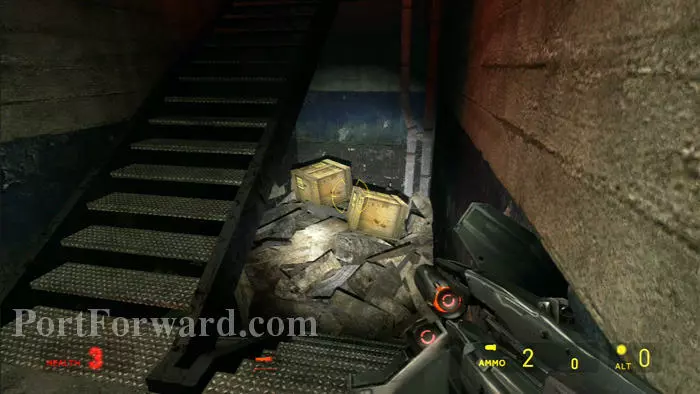
Grab these supplies then climb more stairs.
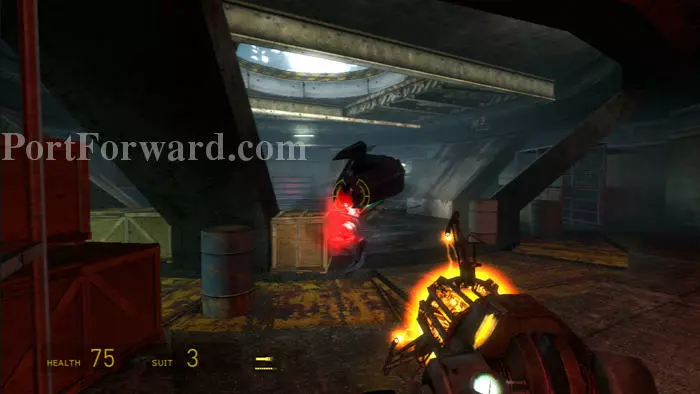
Manhacks attack at the top of the stairs. A medkit is to the left, but your best path forward is to the right.
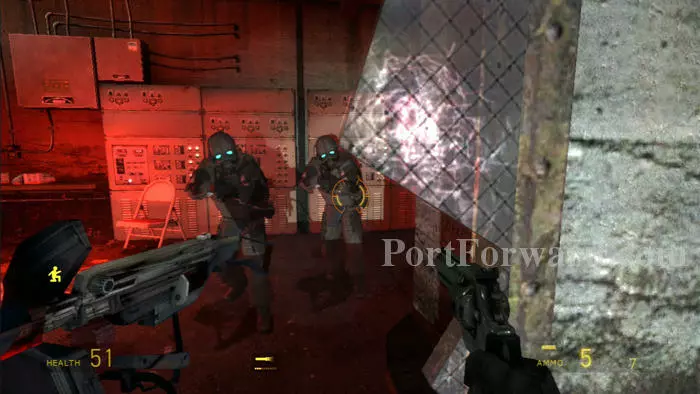
Crawl beneath the scaffolding to outflank these turret-gunning Combine. A grenade would be recommended here but I'm out, and the revolver works quite well at close range.
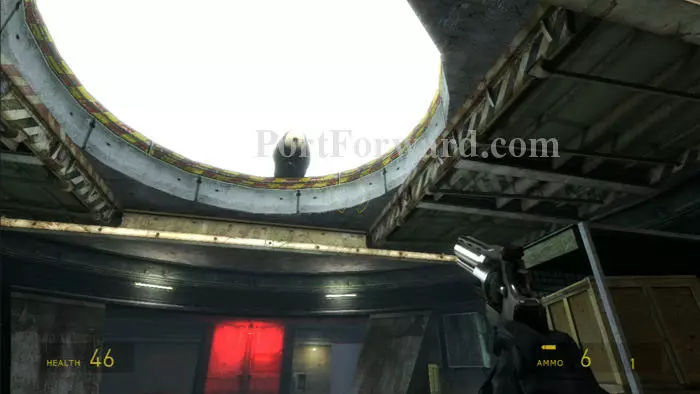
If you look up you can spy an advisor supervising the operation before it flies off.
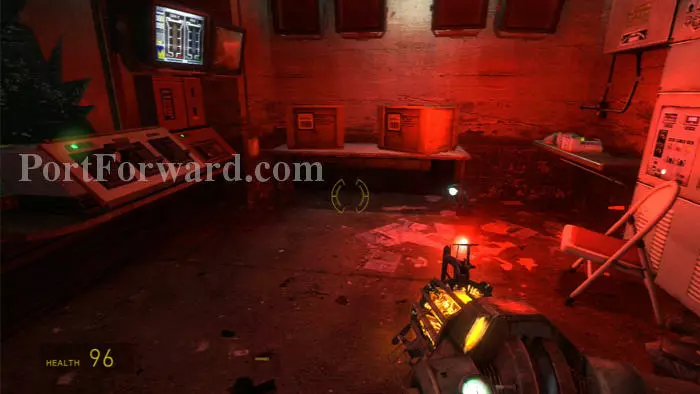
Fill up on supplies and throw the green switch to secure the silo (and temporarily silence Magnusson.)
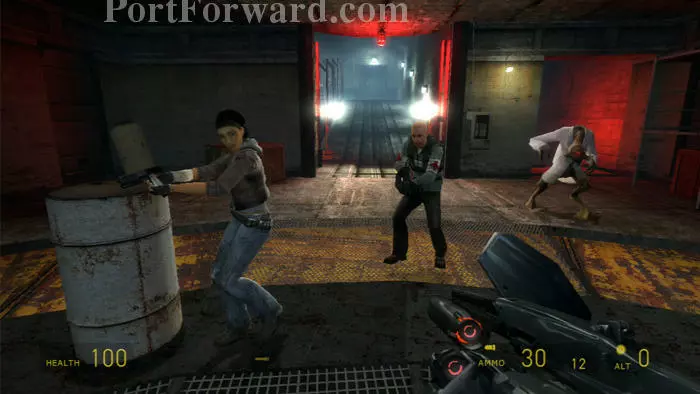
Rejoin Alyx and follow her to a lengthy scripted sequence.
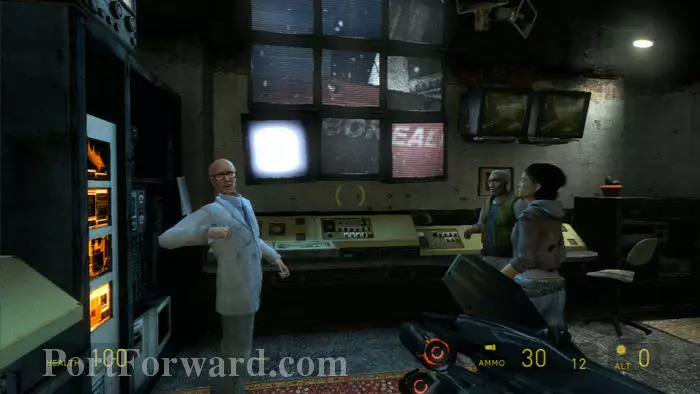
Judith Mossman conceals information about the mysterious ship Borealis in her communications' carrier wave.
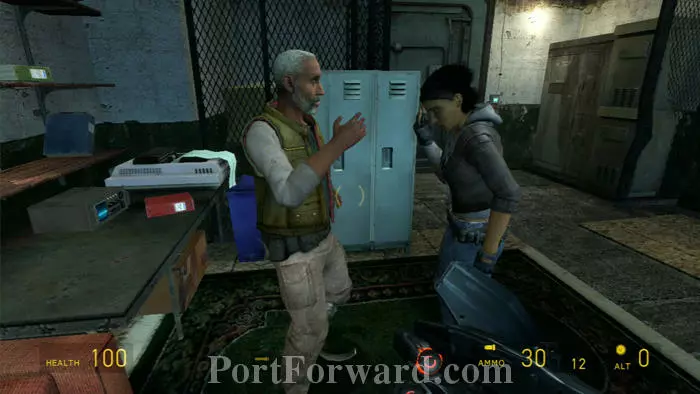
Alyx robotically delivers the message given to her by G-Man earlier, "Prepare for unforseen consequences."
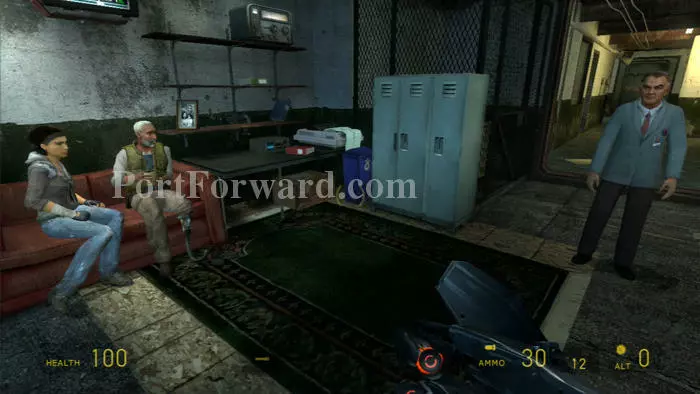
Eli begins to tell you something but is interrupted when Alyx returns with refreshment for her father. Now it's time to follow Dr. Magnusson.
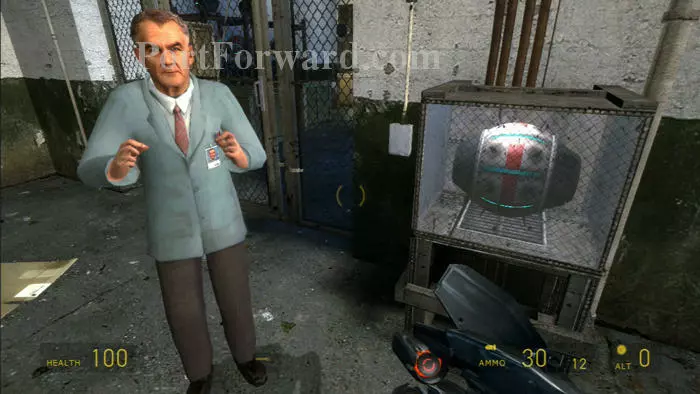
Listen as Magnusson describes the modestly-named Magnusson device. This sticky bomb will adhere to a Stryder's carapace, exploding and destroying the Stryder when shot.
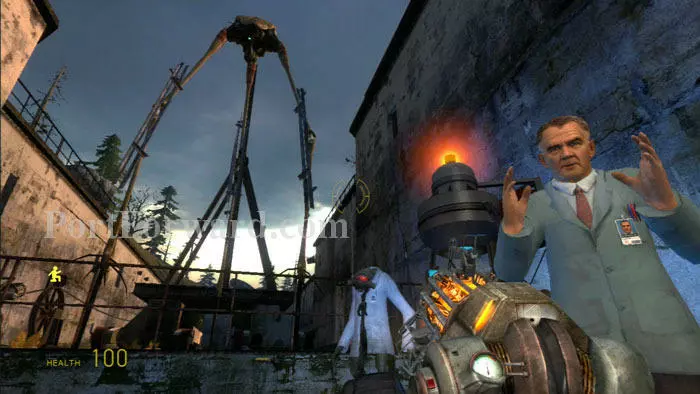
Follow Magnusson to this test range and practice using the device against this disabled Stryder. Use your Gravity Gun's left trigger to grab a device, then launch it with the right trigger. Lastly, shoot the device with the weapon of your choice and watch it explode.
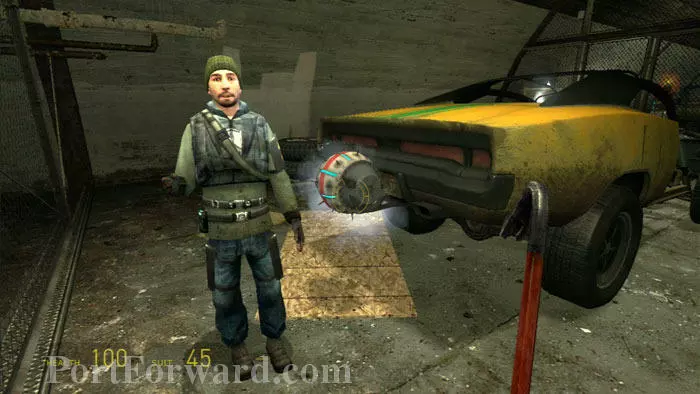
Find a rocket launcher, supply crates, and your car after Magnusson opens the door. Modifications to your car include a Magnusson device rack on your rear bumper and an upgraded radar that shows the position of Combine forces and Magnusson devices.
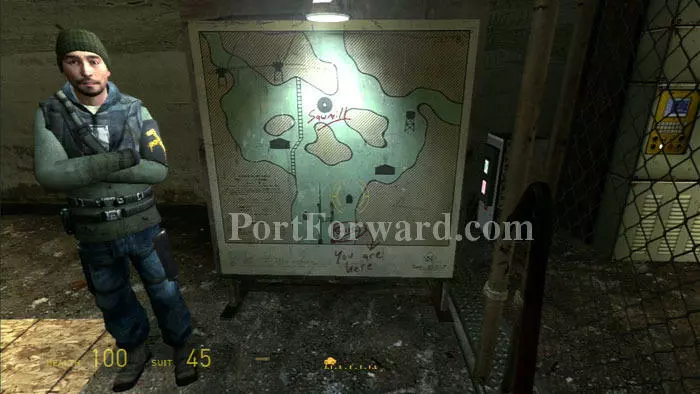
This crude map provides an overview of the large open-area battlefield you are about to enter. The base where you are currently located, and which must be defended from Stryders, is at the south end of the map. The sawmill, water tower, and cranes are spawn points for the Stryders. The other icons show supply huts.
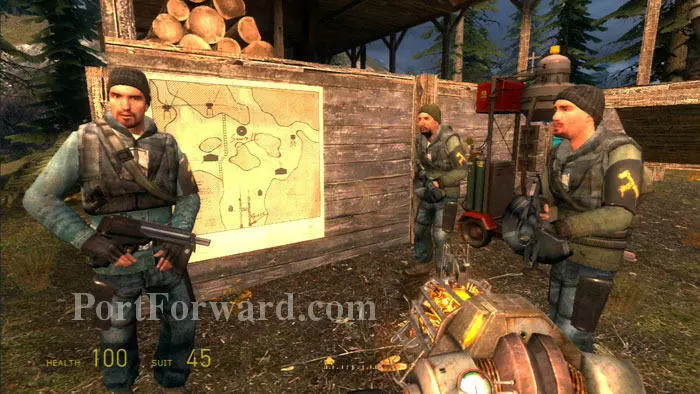
Get in your car and drive to the sawmill, where a meeting is taking place.
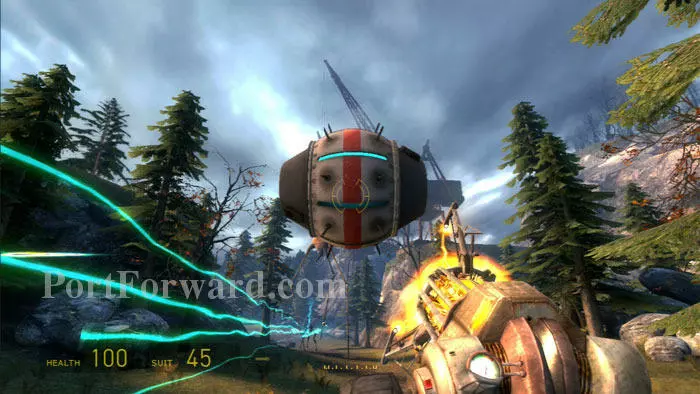
The meeting is interrupted by an alarm. Grab a Magnusson device (you already have a spare on your car) and adhere it to your first Stryder, which will attack from the location of the cranes.
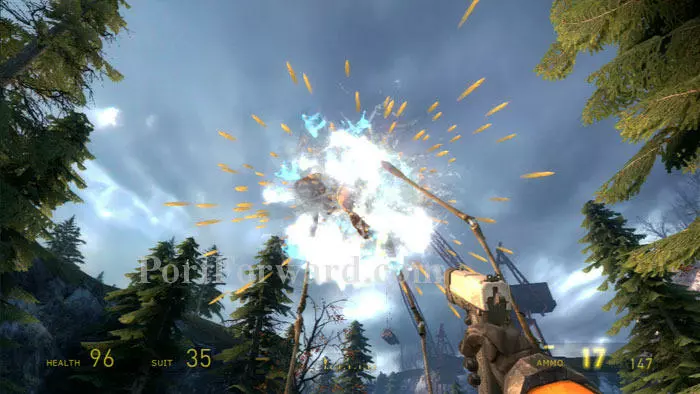
Shoot the device and destroy the Stryder. You would think that the crossbow's sniper scope would make it the weapon of choice for detonating the Magnusson devices, but I found the pistol to have superior accuracy.
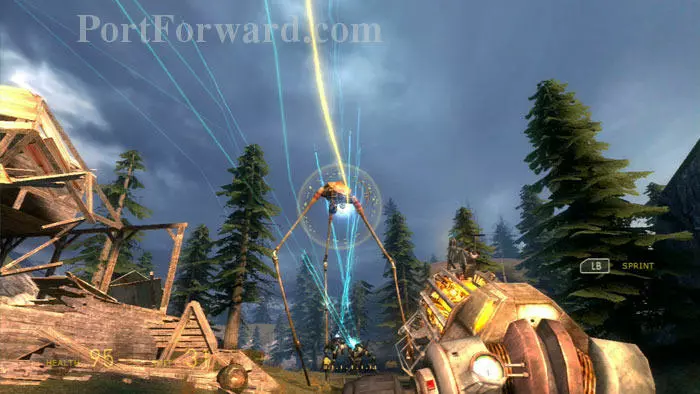
The sawmill is destroyed as a second Stryder attacks from the opposite direction.
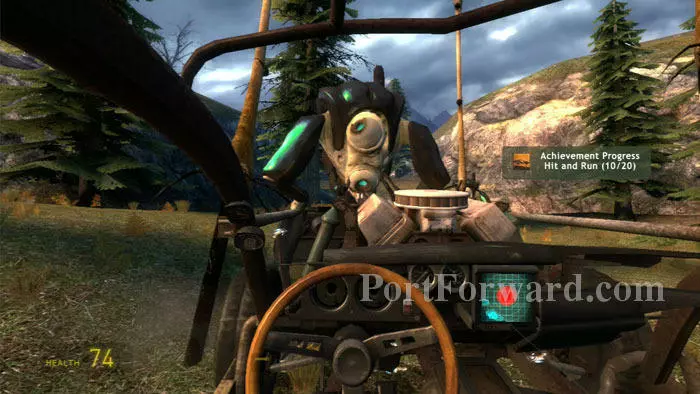
Hunters accompany each Stryder. Ramming them with your indestructible car is an excellent tactic for reducing their numbers quickly and safely.
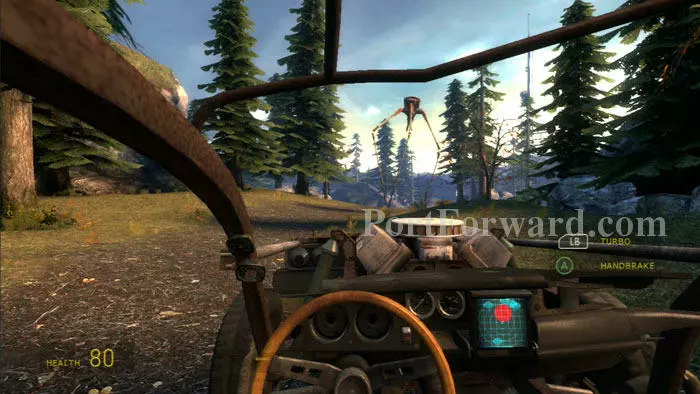
Use your car's upgraded radar to locate spawning Stryders and their Hunter escorts, both shown in red. Blue icons show the location of Magnusson device generators, often with supplies that will re-spawn if you leave and come back.
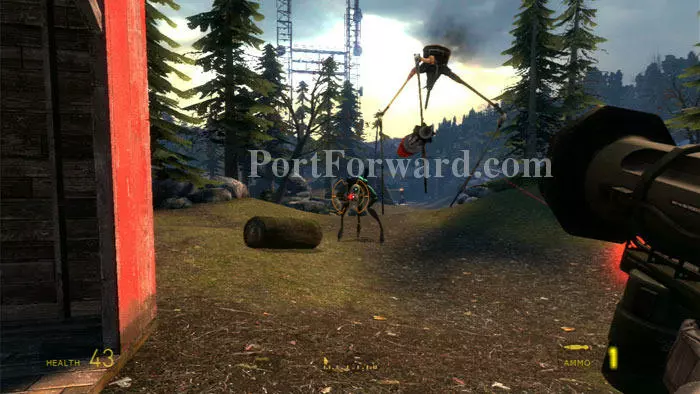
The rocket launcher is another fine choice for engaging Hunters. As a general rule-of-thumb it is best to take out Hunters before targeting the Stryders.
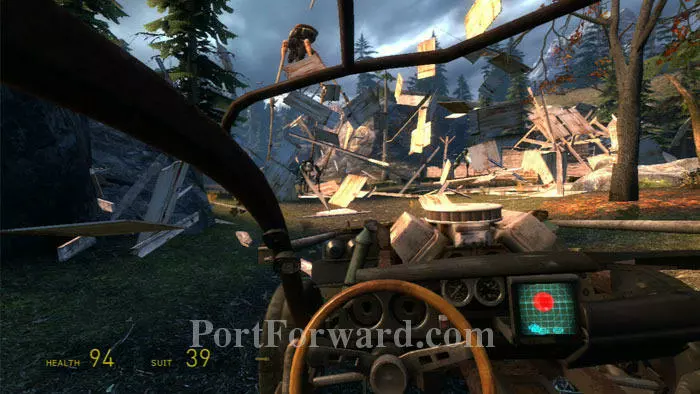
You'll need to defend the supply locations, as the Stryders will be trying to destroy them.
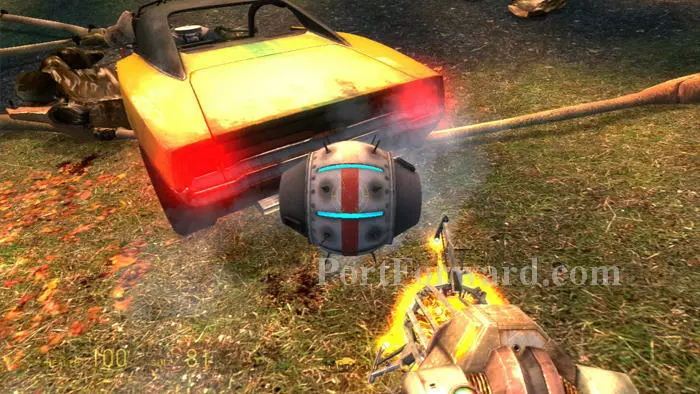
Try to keep a spare Magnusson device on your car at all times. If a Stryder appears vulnerable while you are away from a supply hut you will at least have one shot available.
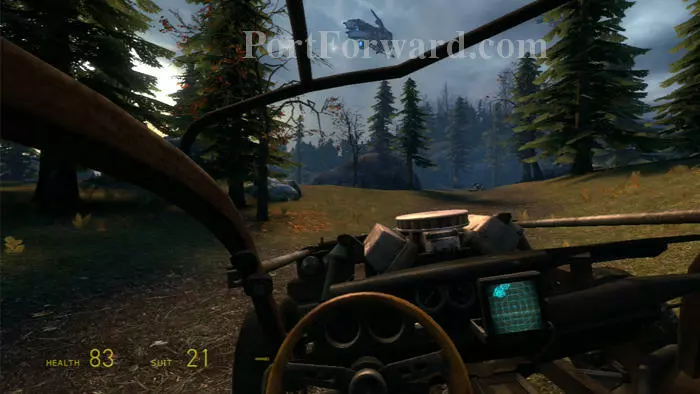
There will be many waves of Stryders with simultaneous spawns. This is a long and difficult battle, but is also one of the most enjoyable encounters of the Half Life series. Try not to get too overwhelmed, and remember to save your place after every few Stryder deaths. You'll know you are making progress when you see this dropship and the Combine begin airlifting in even more Stryders.
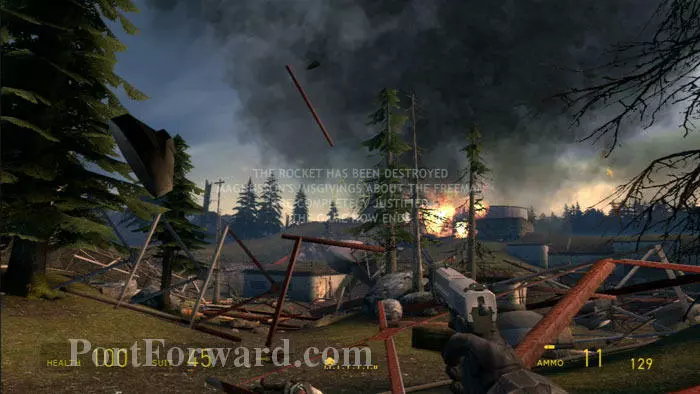
Fail to protect the base and the game ends.
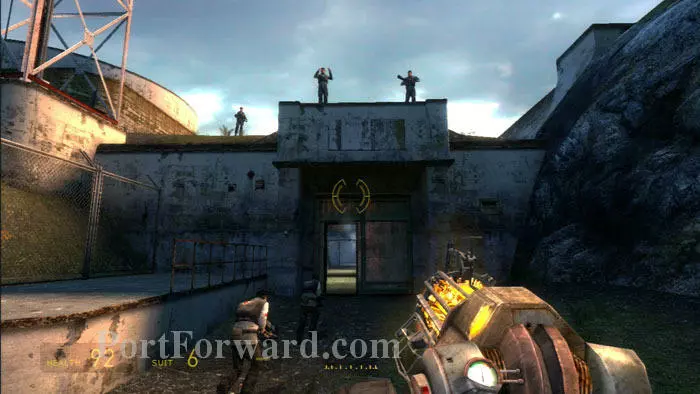
Destroy the last Stryder and return inside the base to the cheers of your comrades. Follow Alyx to load the final level.
More Half Life 2: Episode Two Walkthroughs
This Half Life 2: Episode Two walkthrough is divided into 7 total pages.


