
This Half Life 2: Episode Two walkthrough is divided into 7 total pages.
You can jump to nearby pages of the game using the links above.
This Vortal Coil
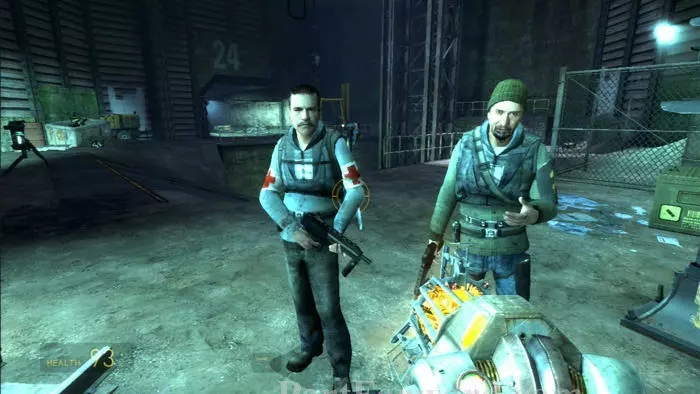
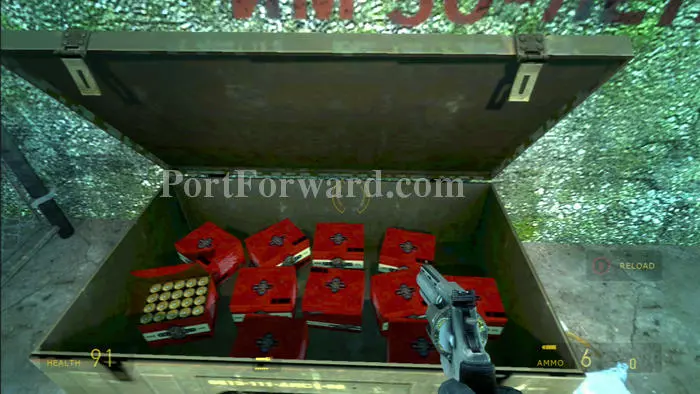
After going down the hole with your gnome, meet-up with this resistance party. Note the infinite shotgun ammo on the right. Infinite SMG ammo is opposite on the left.
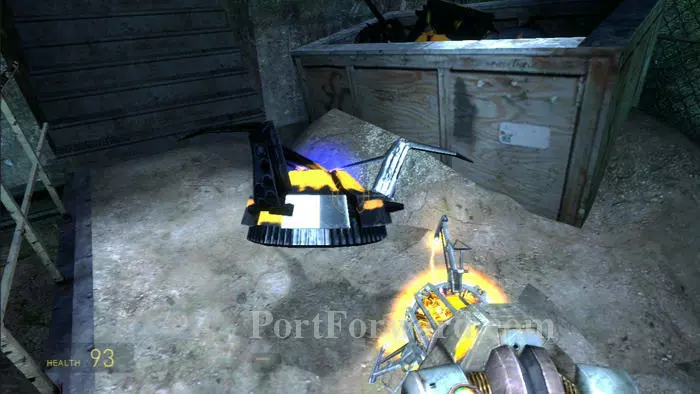
Also about are two bins of jump mines.
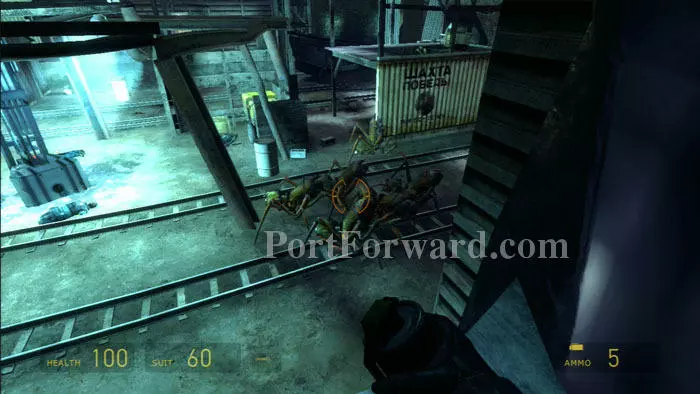
Before descending the ramp to speak to the Vortigaunt, mine the approaches with the jump mines. This approach is call the breach.
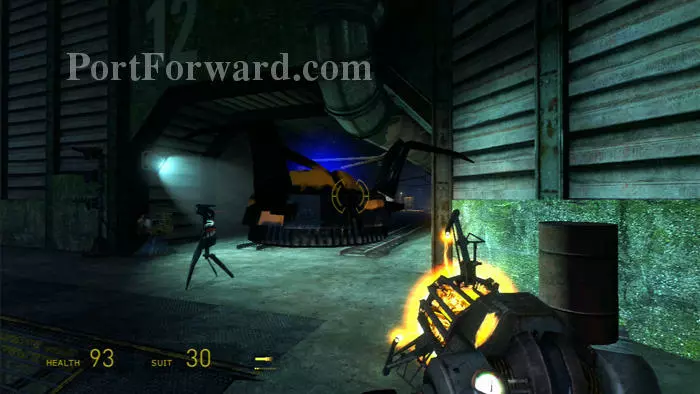
The other approaches are numbered, such as number 12, seen here. Harvest the supply crates as well. A significant battle is coming up.
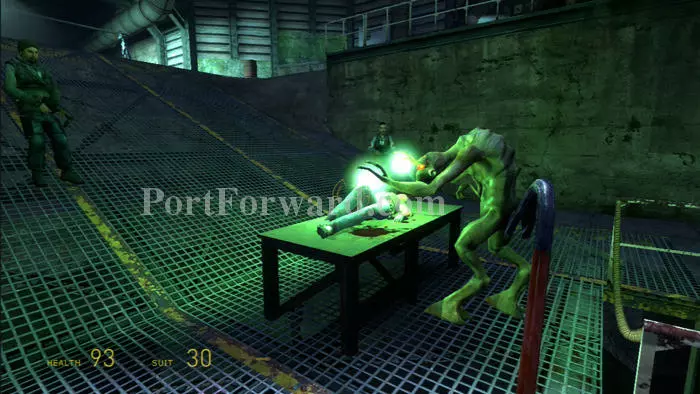
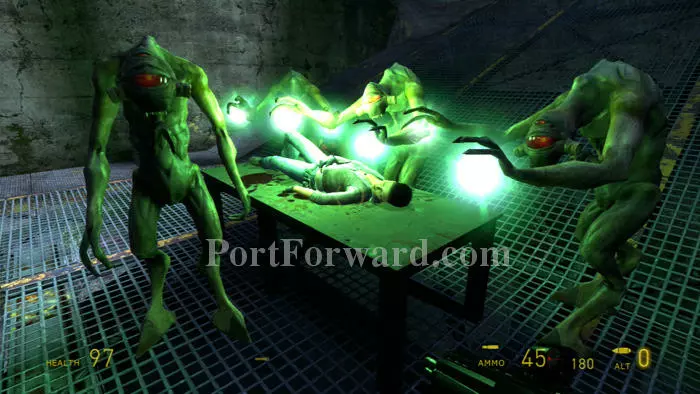
Now you can approach the Vort, busy healing Alyx. He says he needs time to keep Alyx alive before his friends arrive. Don't miss the submachine gun (SMG) and shotgun in the corners down here.
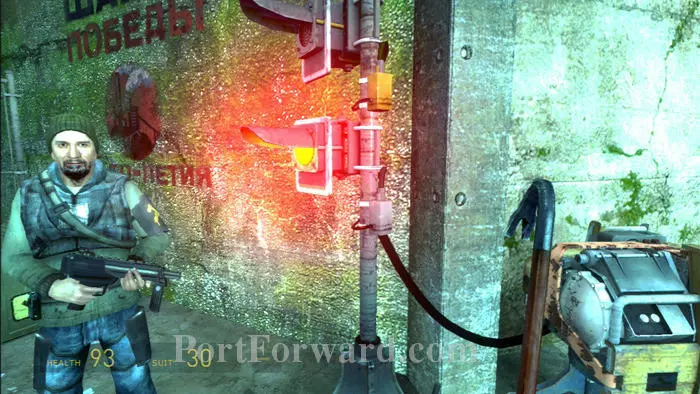
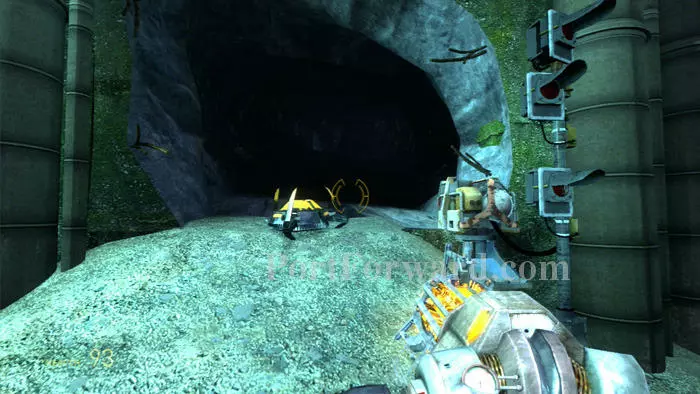
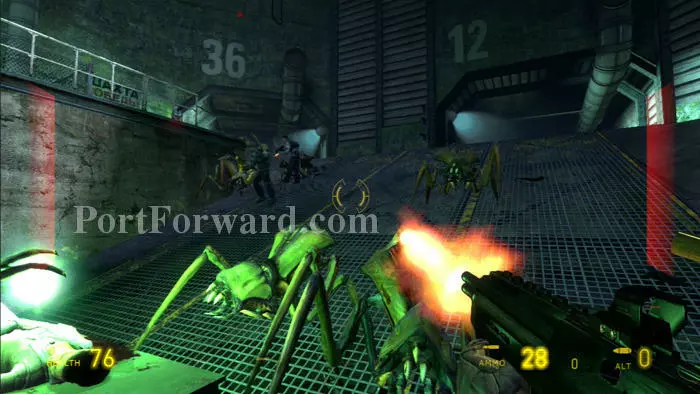
Follow and learn the antlion alert system. More lights means more antlions. Each tunnel has its own set of lights.
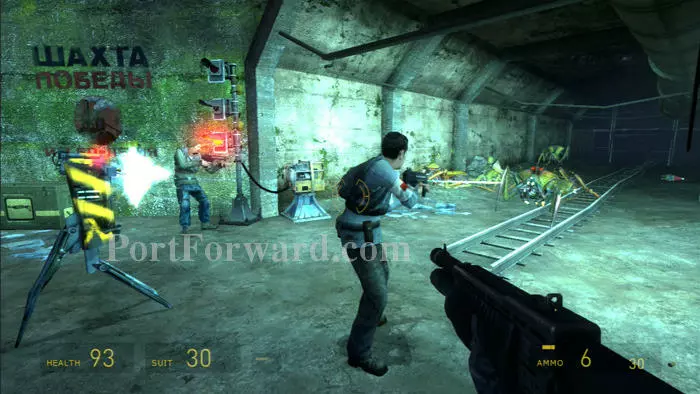
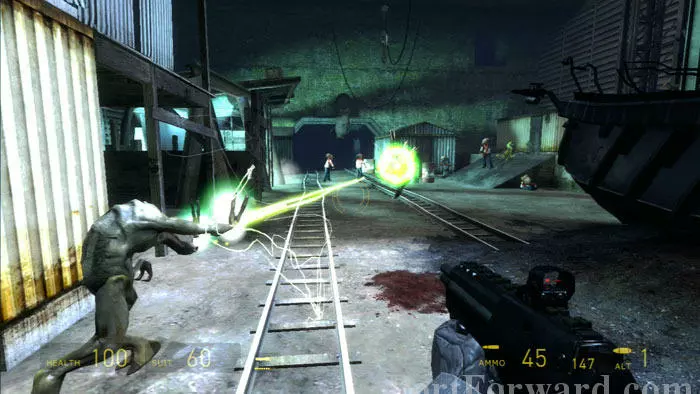
The first attack is pretty mild, and is easily handled by the other men.
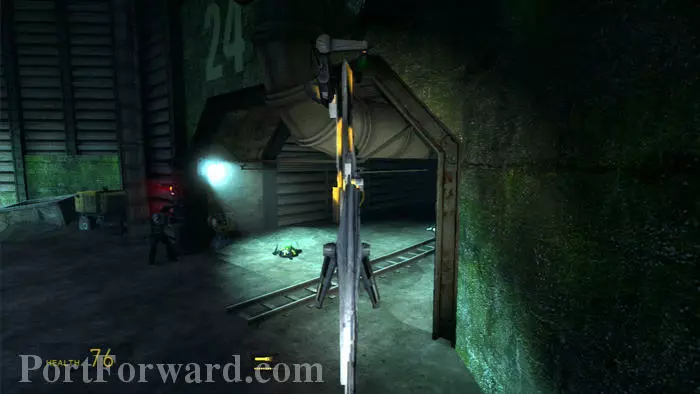
Subsequent attacks grow more fierce. You'll need to carry the turrets to the tunnels with alert lights shining. Place the turrets far enough back that they are not vulnerable, but close enough that they can easily target the approaching antlions. The men will shout out which tunnel you should defend -- "Doc you've got 24!"
Fill up on health and ammo during the brief lulls between antlion waves.
When the antlions attack from all tunnels simultaneously, it's time to fall back and defend Alyx. Make sure she and the Vortigaunt are protected or else the mission ends in failure.
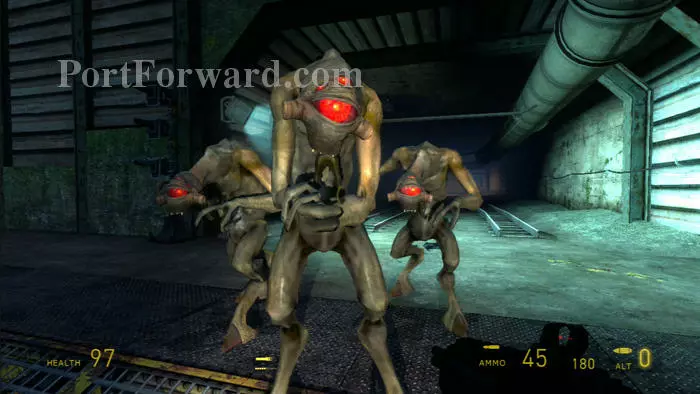
Finally, the Vorts you've been waiting for arrive.
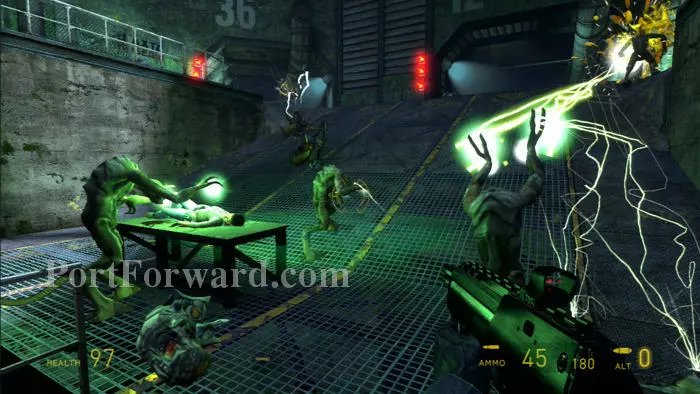
Now you can just stand back and watch the Vortigaunts do their very-impressive thing.
Next, they try to revive Alyx, but are in need of a special ingredient - larval extract. You'll need to accompany your Vortigaunt friend to obtain the extract.
Follow the Vort and he'll open this door. You'll be coming back so there's no need to bring your gnome.
Enter this tunnel on the right.
Blast the webs to advance through the tunnel. Several hold supplies like this shotgun ammunition.

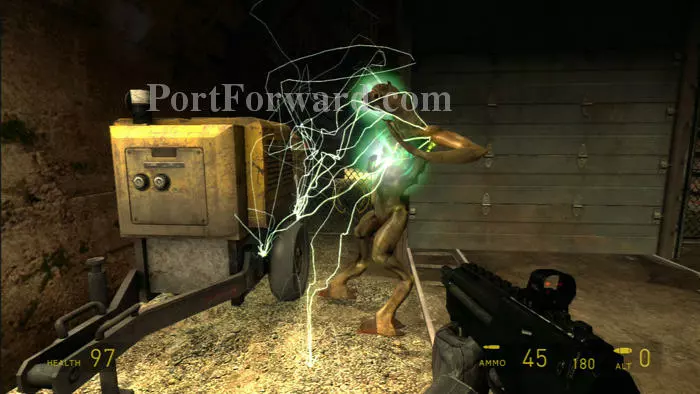
When you arrive at this chamber, the Vort will paralyze this large group of antlions, making them easy pickings for you.
The way forward is through a tunnel up this ramp on the right to a checkpoint autosave - and more antlions.
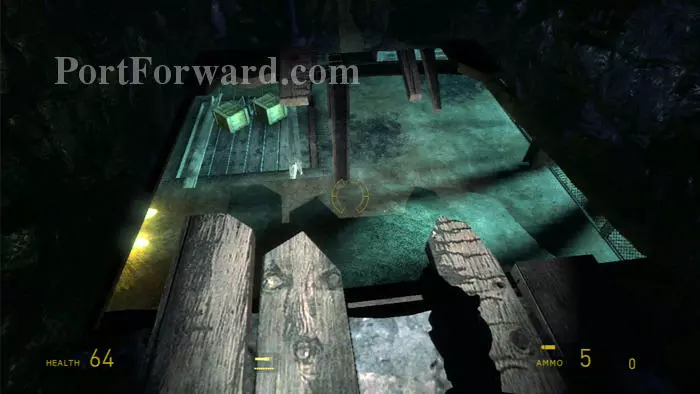
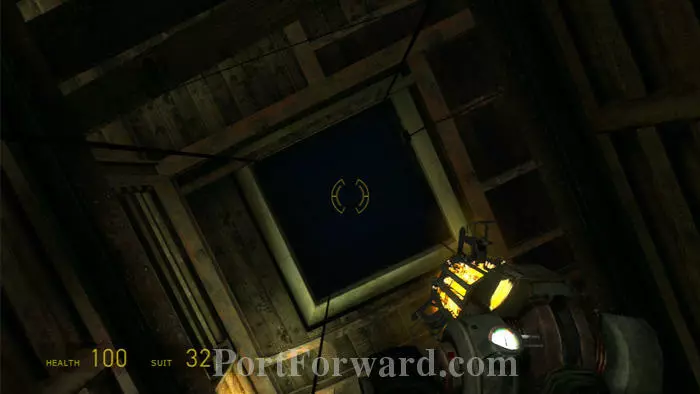
Drop through this opening. Note the supply crates - you'll fall through if you step on the rotted boards and into a small pit. A ladder allows you to climb back out.
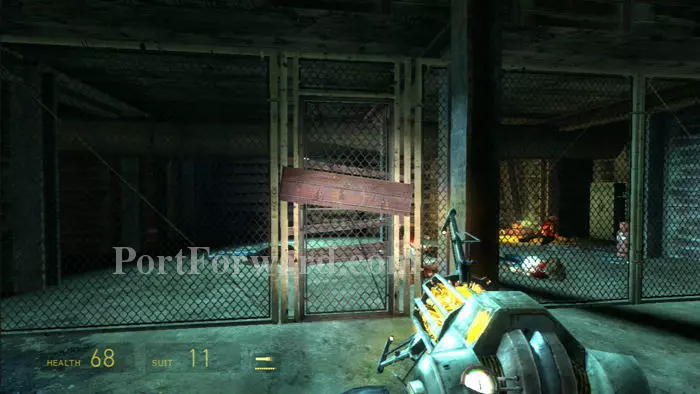
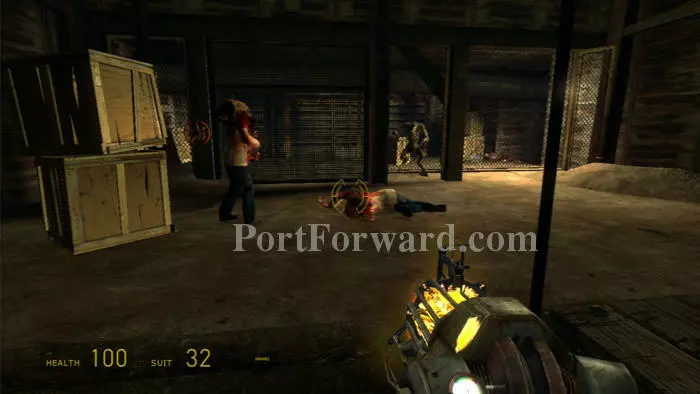
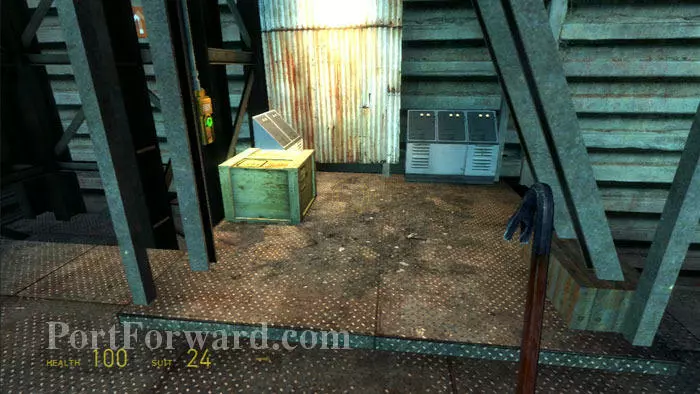
Use your Gravity Gun to remove the planks blocking this door. The zombies will become active, but your Vort friend will take care of them. Find suit energy in the locker to the right.
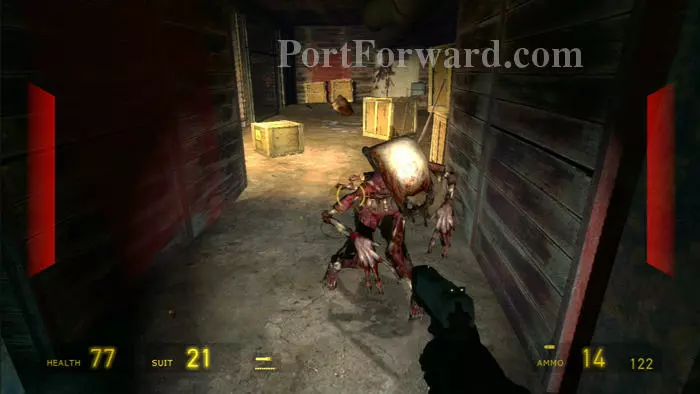
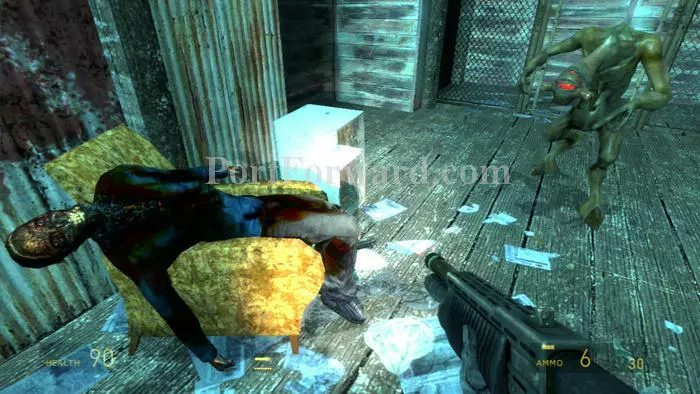
Beware a pair of possum-playing fast zombies on the left.
There's also a supply crate here, and this gate with the turn crank on the other side. Time for a physics puzzle.

Weigh down this lift with the nearby metal beams and two barrels. The lift will then take you down to the lower level.
More zombies are down here, along with more storage crates and suit energy.
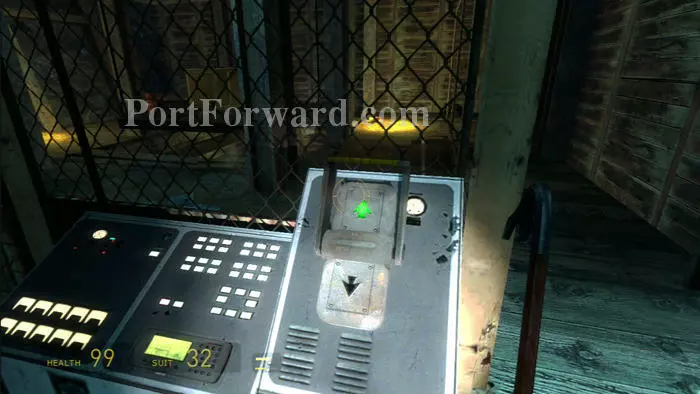
Make your way to another lift and this corner control panel. The lift ascends as soon as you throw the switch. How to ride it up?
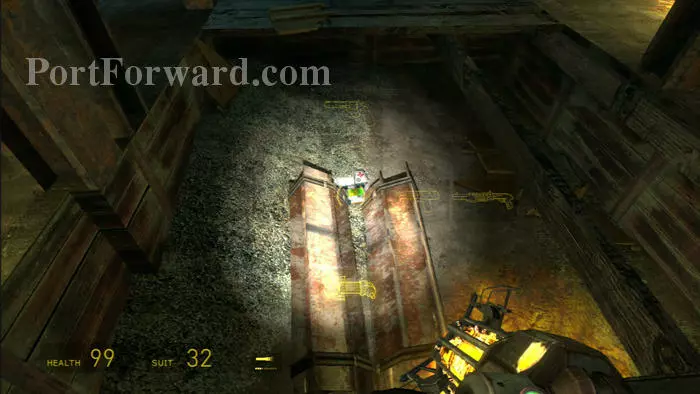
Raise the lift to expose a medkit and two bundles of metal beams. Remove the beams and set them aside.
Bring the lift back down and place the two beam bundles on it, along with a third in the nearby corner.
Now when you through the switch, the lift is too heavy to move. Climb on, toss the beams off the lift then rise to the upper level.
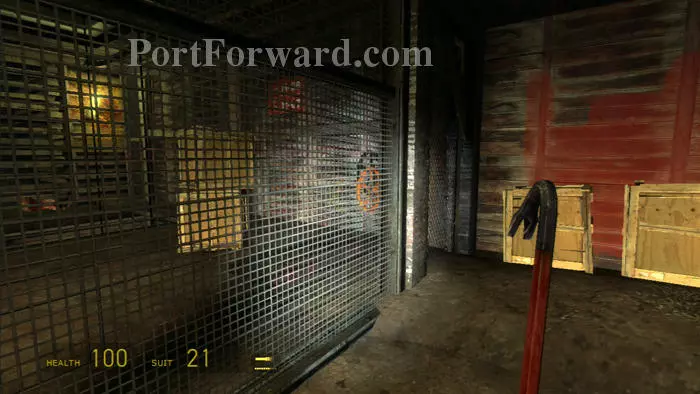
You're now on the opposite side of the fence. Kill the zombies and turn the crank to open the gate for your Vort friend.
He'll open this next gate -- follow through.
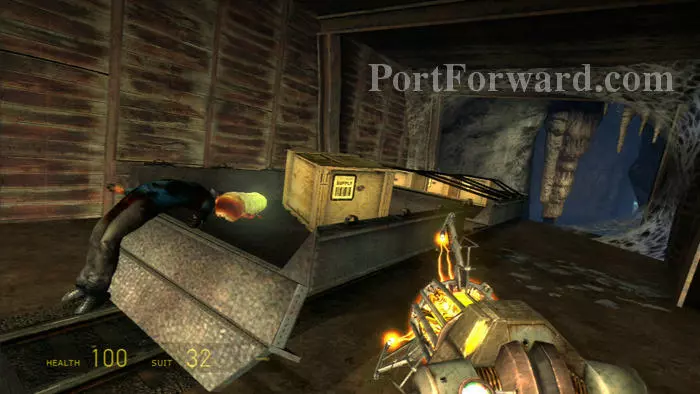
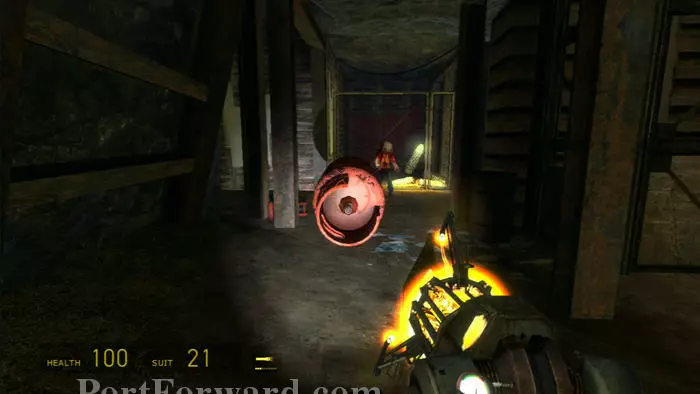
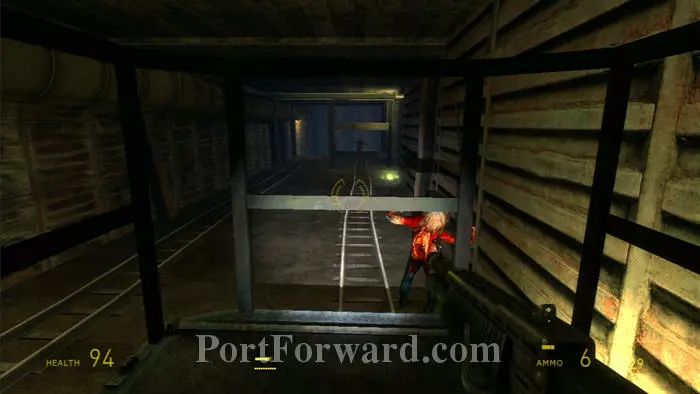
Don't get on this rail car -- it will plummet over the ledge once the supply crates in the front car are moved. Instead, use your Gravity Gun to grab the crates before it slides out of reach.
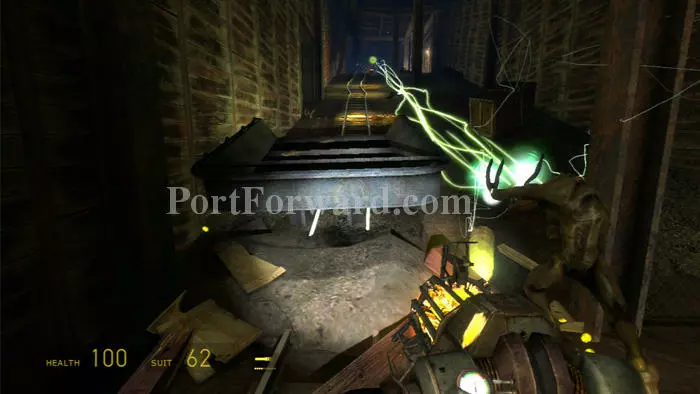
Farther along the tunnel is another boarded-up section of rail. Remove the boards and this sledge crashes through. Stand back in safety as the Vort cleans up the zombies that follow. Beware several acid-spitters on the ledge above as you advance.
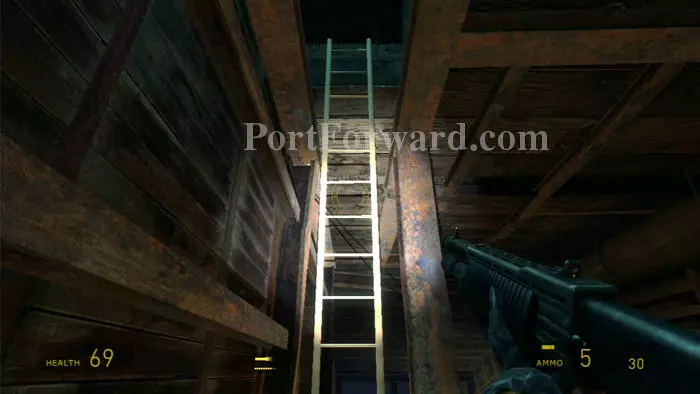
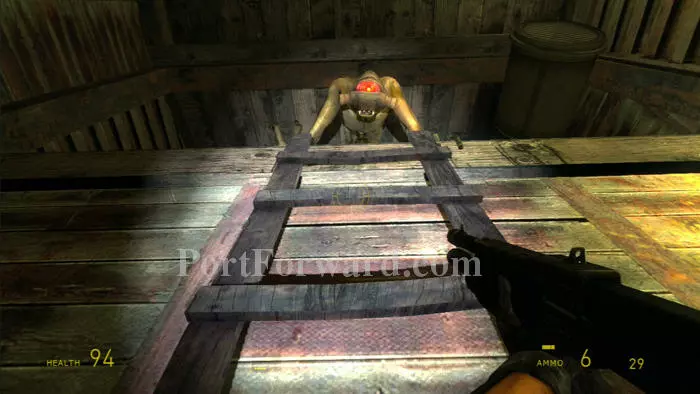
Climb this ladder on the right.
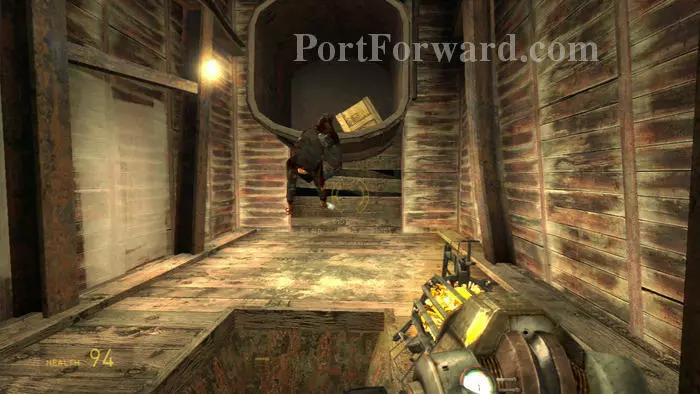
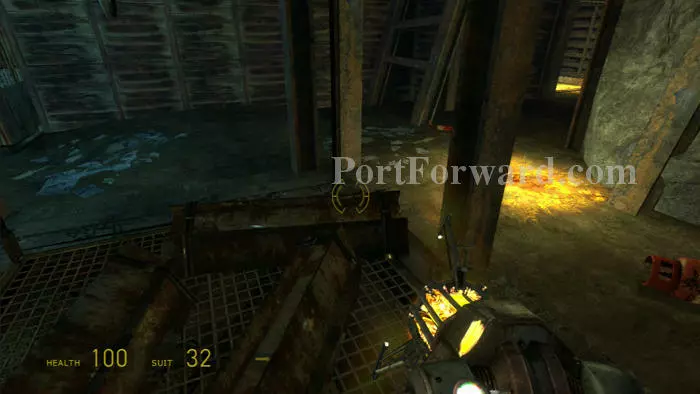
Follow the hallway to this room with a supply crate and a giant metal bucket. Use your Gravity Gun to blast it aside, allowing you to drop through the opening in the ground. If you tip the bucket far enough you can grab another supply crate inside.
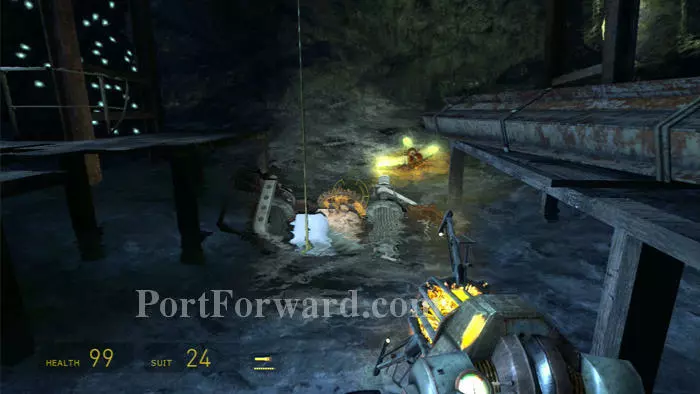
You'll land on another rail car that sends you plummeting into a flooded ventilation shaft.
Fortunately, a ladder is available for you to climb up and return to your Vort friend.
Enter this tunnel on the left after collecting supplies.
Follow this ledge.
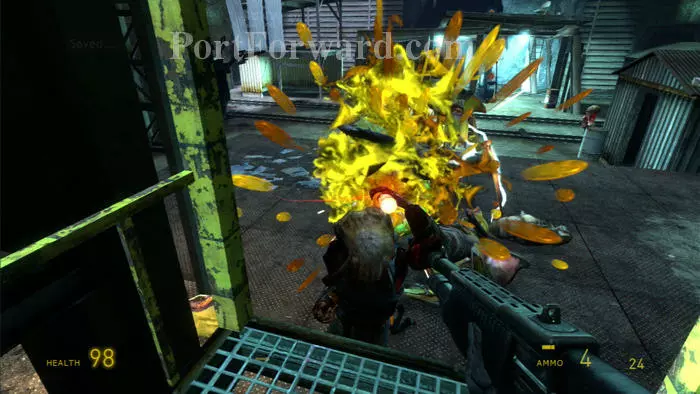
The ledge leads to this clearing with a thumper and plenty of antlions, taken out with a well-placed grenade. There are plenty of supply crates in this area; a ladder leads to the supplies on top of the shack seen to the right
More antlions and zombies attack, but they're no match for the Vortigaunt.
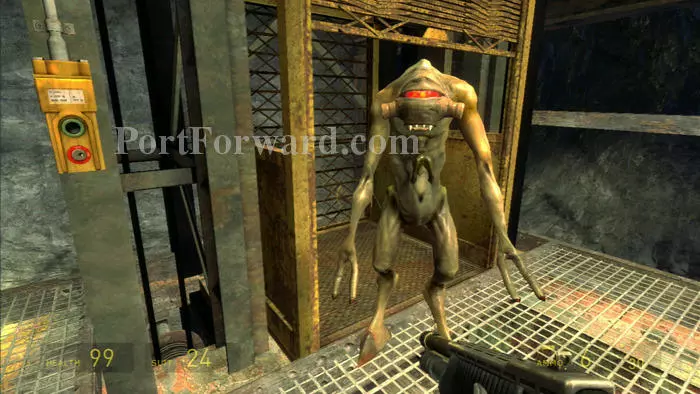
Press this green button to call the lift.
Sure enough, you'll need to fend off a large attack while you wait for the lift. Step on once it arrives. The Vort will ascend on the neighboring lift after a few more moments of battle.
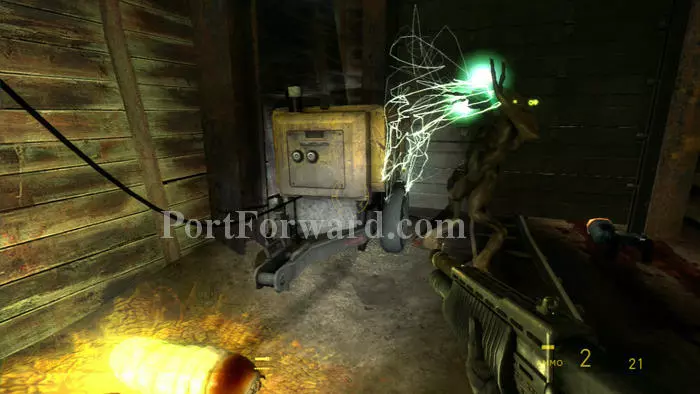
He'll then juice this generator to open the adjacent door.
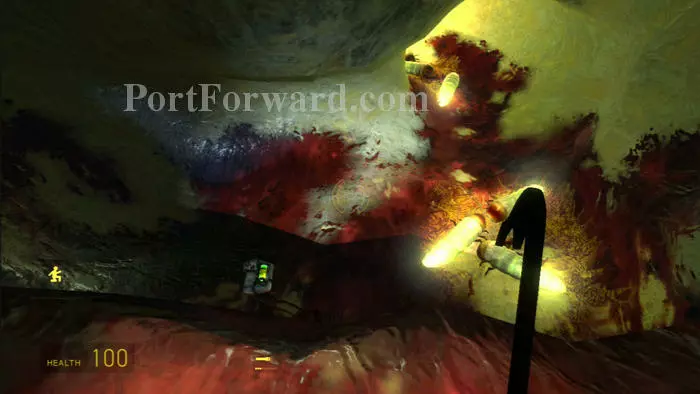
"An eternity's repose..it brings peaceful thoughs, does it not?"

Clear debris blocking the nearby door, then catch a brief glimpse of an antlion guardian. Ascend the ramp on the left then drop through an opening in the floor.
Planks are on the other side of this fence, propping it up. Knock them away using your gravity gun to clear the path.

Do the same to this plank after finding a supply crate down the end of a long corridor to the left.
Arrive at this malfunctioning elevator shaft. The Vort explains that the extract is below, and Alyx is above. Jump across to the red-lit area on the left.
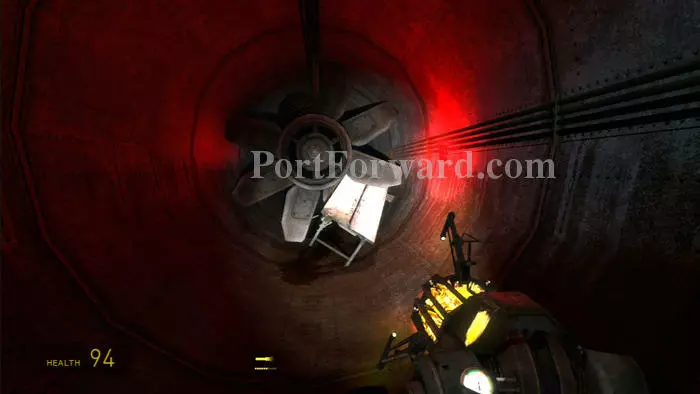
Remove the bench blocking the fan, then press forward to keep from being blown back. Once the fan stops moving, use your gravity gun to rotate the blades so that you can crouch through.
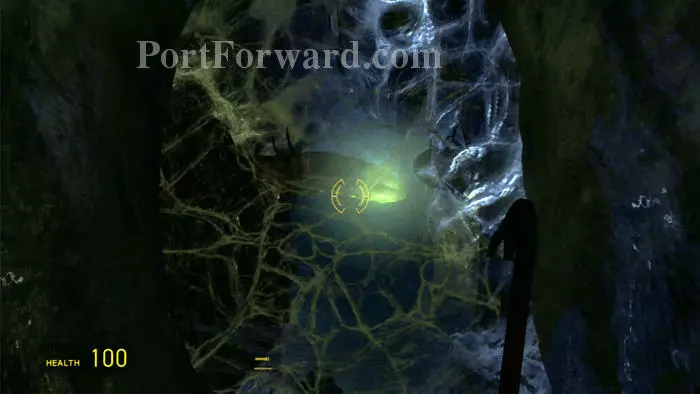
Follow the tunnel before falling into another. Use your crowbar to clear the webs.
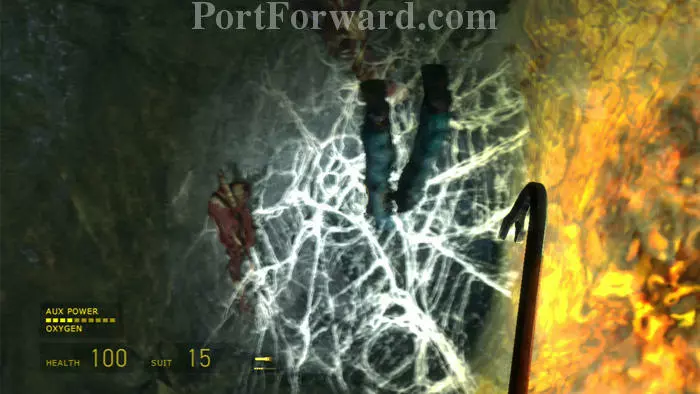
Fall into the water and use your crowbar again to get through these underwater webs. Be careful to avoid the barnacle tongues.
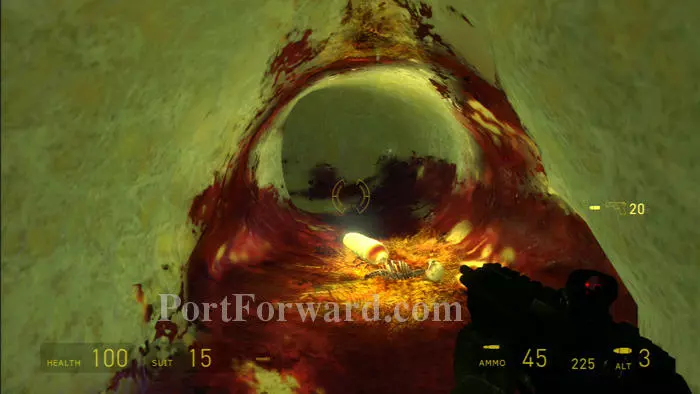
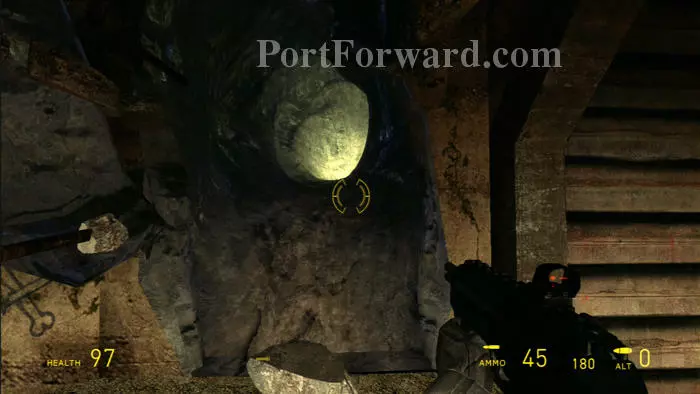
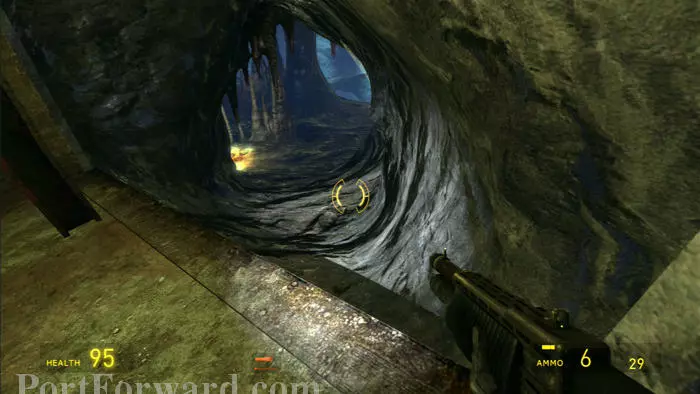
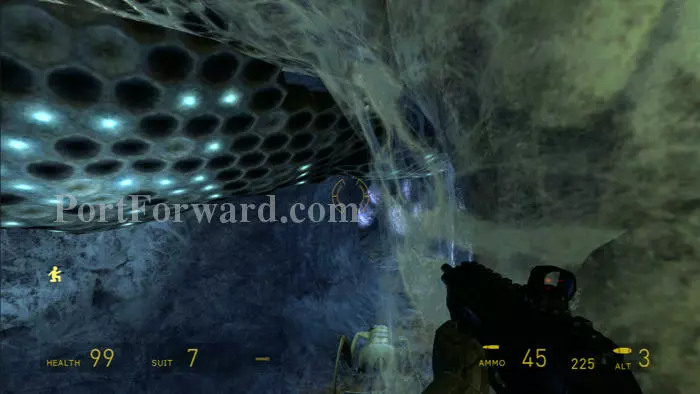
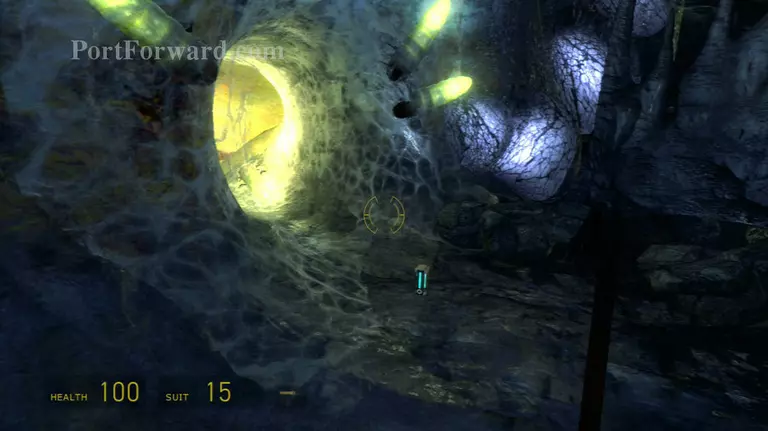
Advance through this brightly-lit glow worm tunnel.
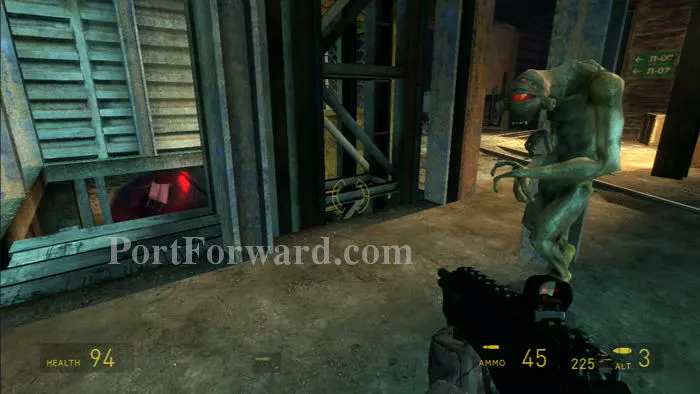
Beware this acid-spitter when you get to this dropoff. You can continue left or right, it doesn't matter.
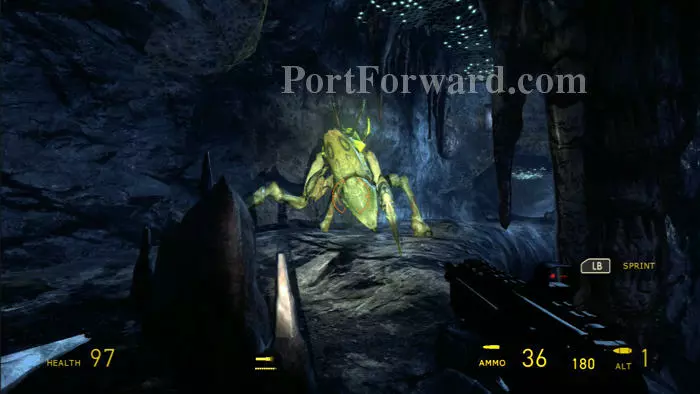
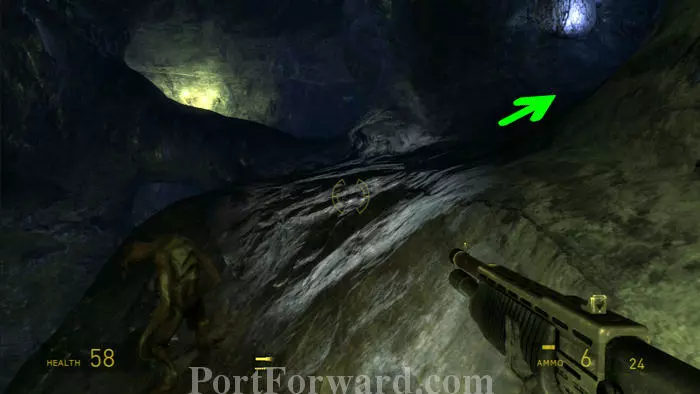
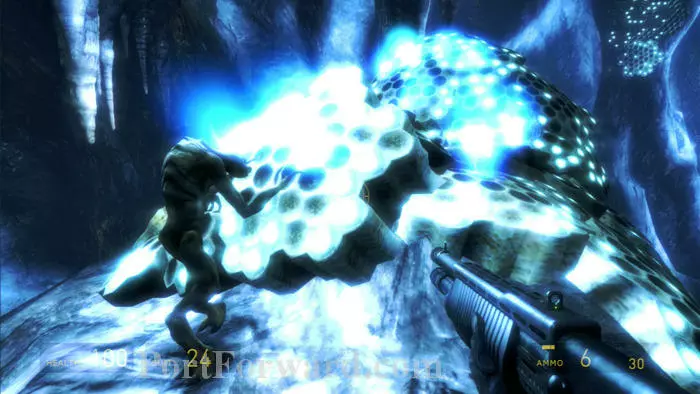
Follow the cave to another dropoff and then be confronted by the antlion guardian. Don't engage him in battle. Instead, keep right (he'll charge left) then sprint ahead to escape his pursuit.
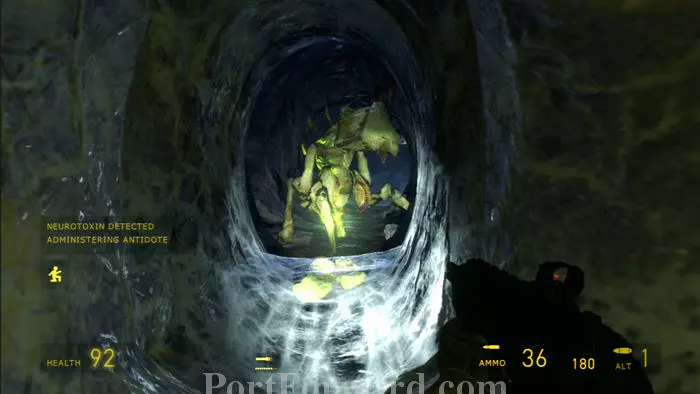
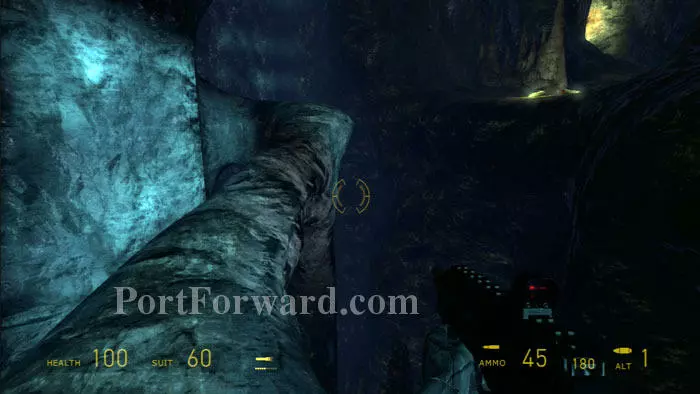
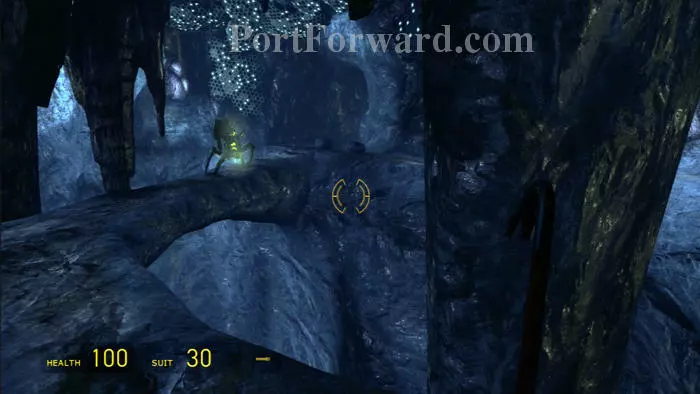
You'll find safety in this glow worm tunnel. The guardian will not follow you in here.
Keep left past another web and dropoff to the glow worm tunnel seen here. The guardian will charge from the tunnel on the right if you advance.
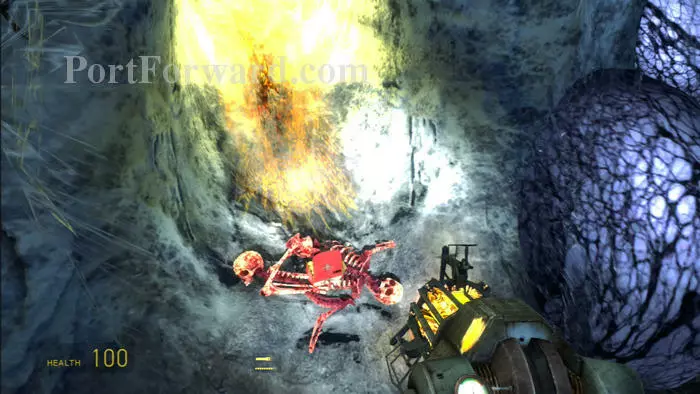
Plenty of health is available in this tunnel.
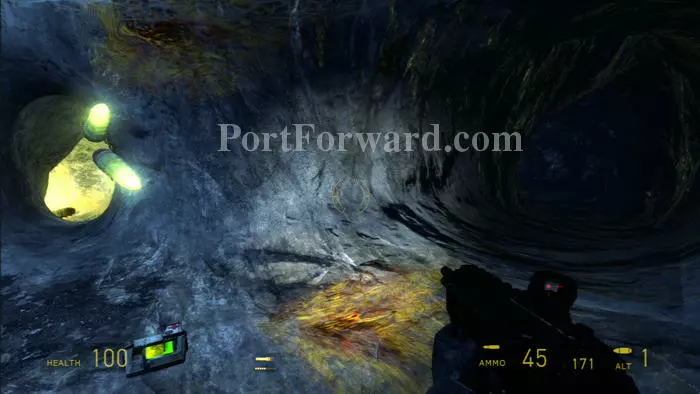
Through another web then keep right to find two energy charges and another glow worm tunnel with more health. Had you gone left you would have been charged by the guardian. The trick to this part is to avoid the guardian, not to defeat him.
Break through another web then lure the guardian to one side of this circular walkway before escaping along the opposite side.
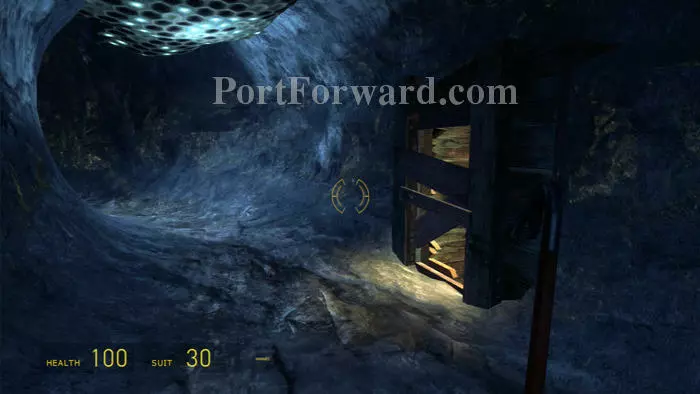
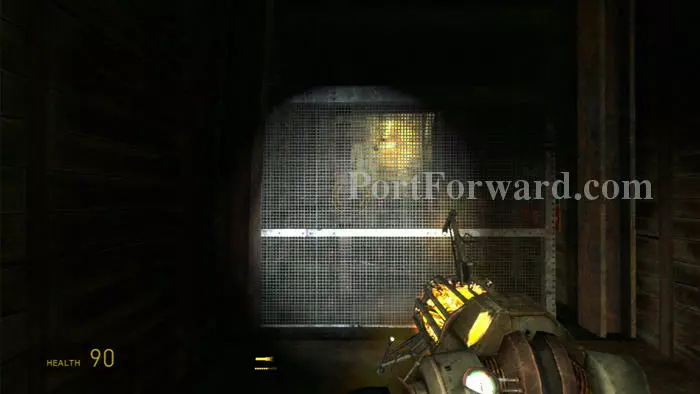
With the guardian hot on your tail, duck into glow worm tunnels for health and safety, then clear away these boards to enter the shaft beyond.
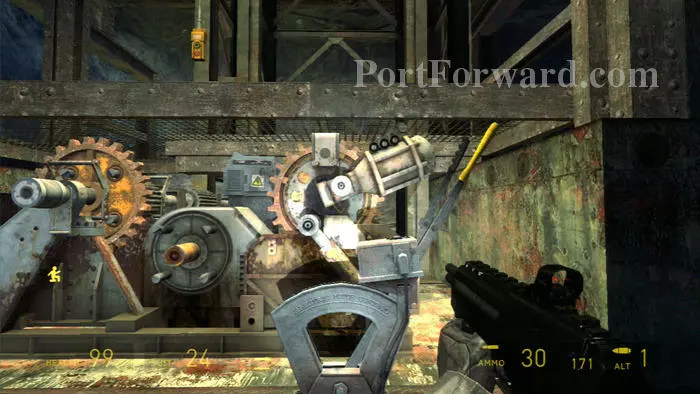
Fall through the floor to another tunnel that leads to a clearing with this control for the malfunctioning lift. Note that a gear is missing.
Turn around and find the missing gear here. Be careful to avoid the barnacles.
Replace the gear then call the lift to rejoin your Vortigaunt friend.
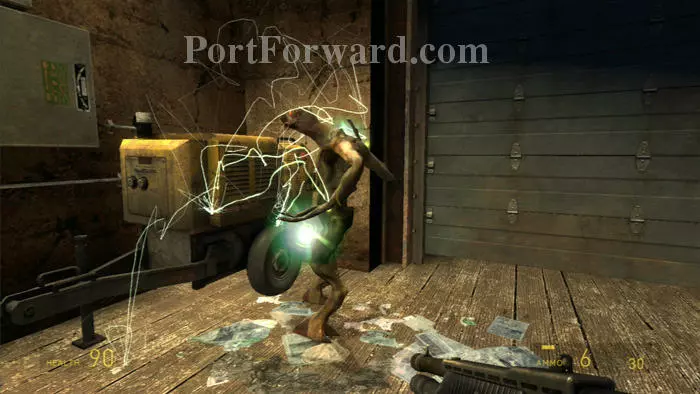
Follow the Vort and watch as he obtains the larval extract.
Return to Alyx and assist in her resurrection, complete with a cryptic update from G-Man, including a message for Alyx to be delivered later.
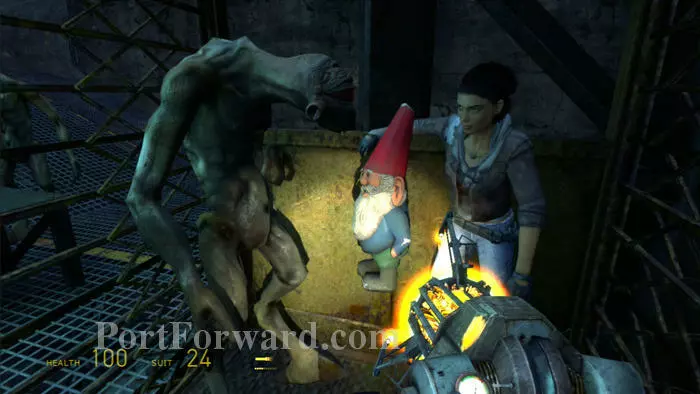
Fill up on supplies then grab your gnome before joining Alyx and the Vort on the lift.

Remove these boards blocking your path then drop through the opening in the floor beyond to load the next level. Don't forget to bring your gnome.
More Half Life 2: Episode Two Walkthroughs
This Half Life 2: Episode Two walkthrough is divided into 7 total pages.


