Half-Life: Opposing Force Walkthrough Welcome to Black Mesa

September 12, 2016 (Last Updated: ) | Reading Time: 7 minutes

This Half-Life: Opposing Force walkthrough is divided into 12 total pages.

You can jump to nearby pages of the game using the links above.

Welcome to Black Mesa

Half-Life: Opposing Force Walkthrough - Half Life-Opposing-Force 3

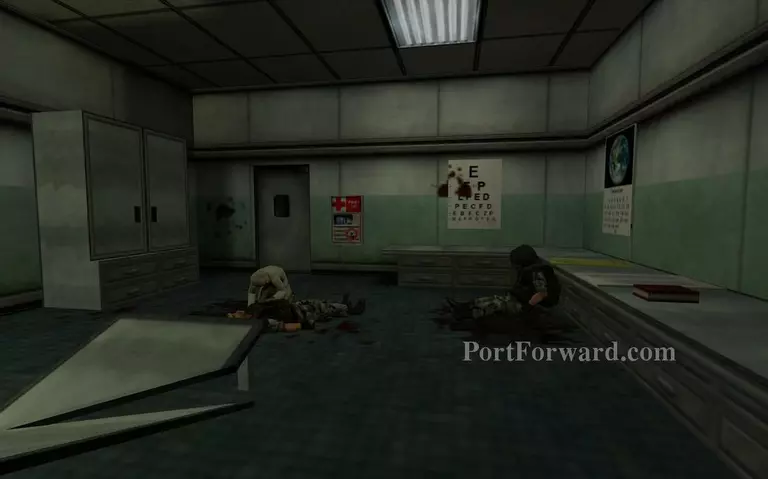
Shephard wakes up in a lab. Some other soldiers were not as lucky as him.

Half-Life: Opposing Force Walkthrough - Half Life-Opposing-Force 4

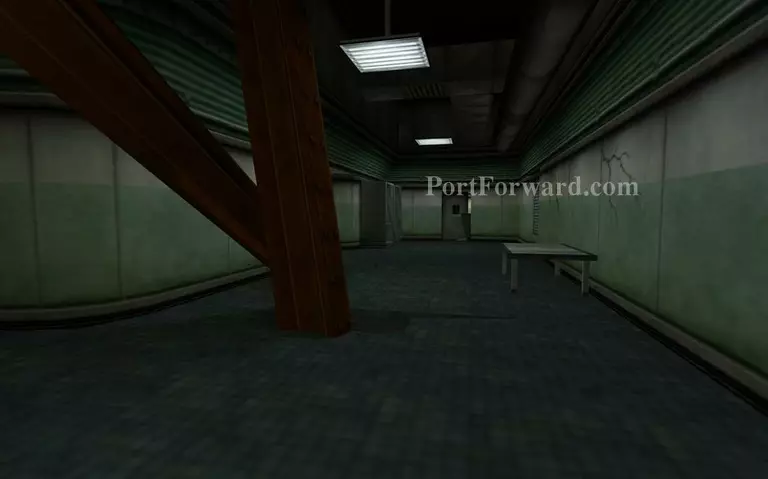
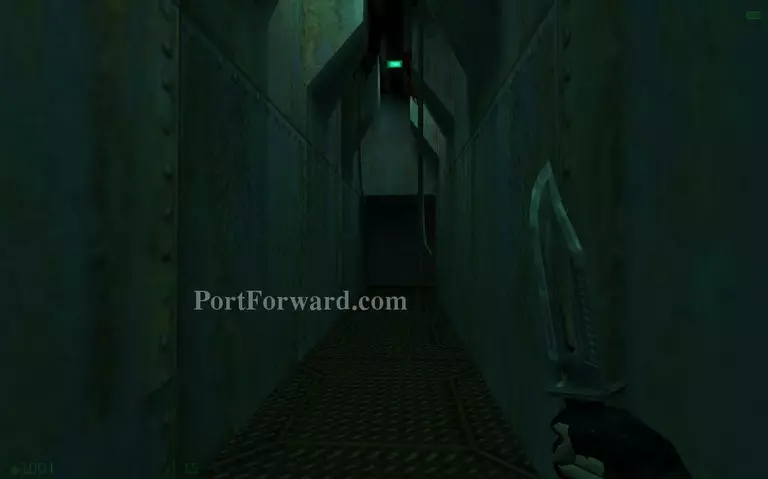
Continue down the corridor.

Half-Life: Opposing Force Walkthrough - Half Life-Opposing-Force 5

You will see a soldier being carried on a stretcher.

Half-Life: Opposing Force Walkthrough - Half Life-Opposing-Force 6

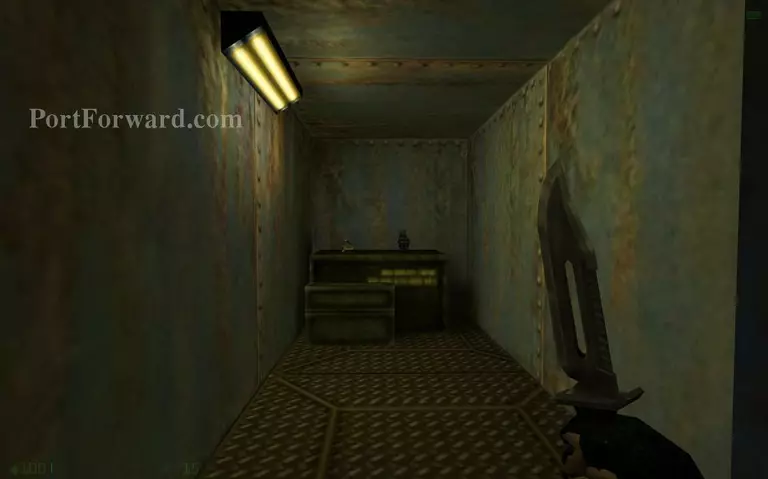
Walk towards the end of this room to find your armor.

Half-Life: Opposing Force Walkthrough - Half Life-Opposing-Force 7

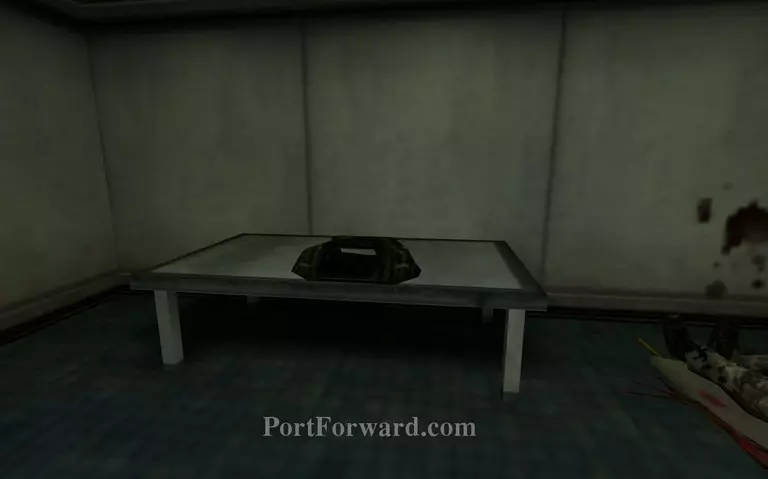
Pick up the armor from the table. It will give you an indicator for health and energy. You can use night-vision by pressing F as well.

Half-Life: Opposing Force Walkthrough - Half Life-Opposing-Force 8

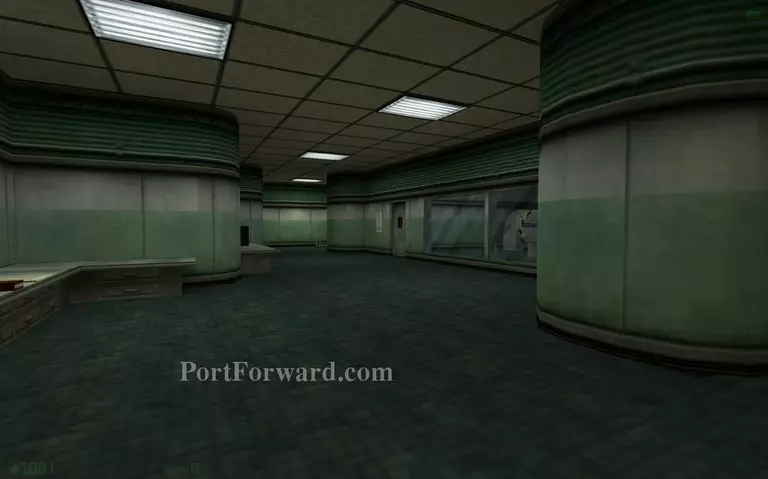
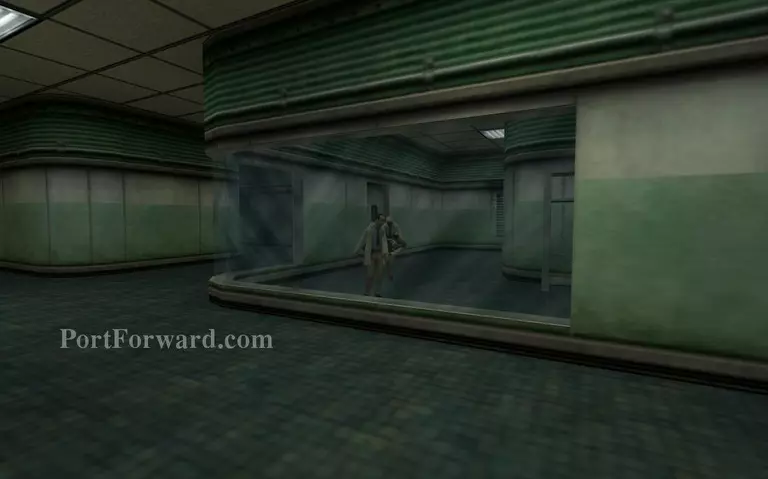
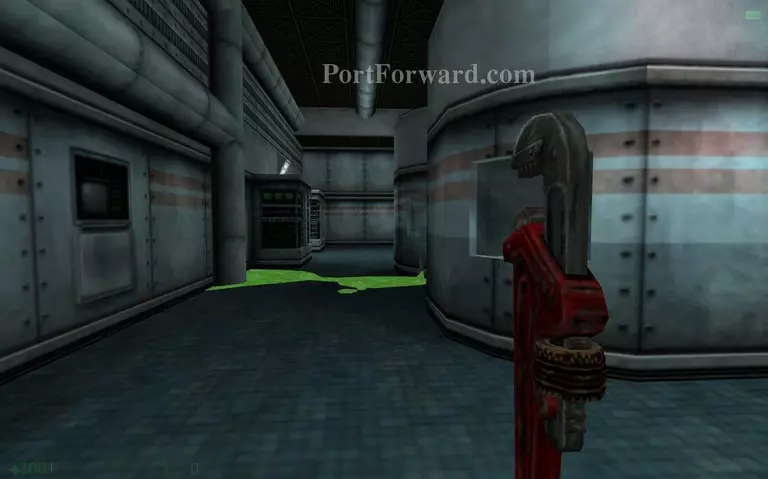
Move past the MRI scanner room.

Half-Life: Opposing Force Walkthrough - Half Life-Opposing-Force 9

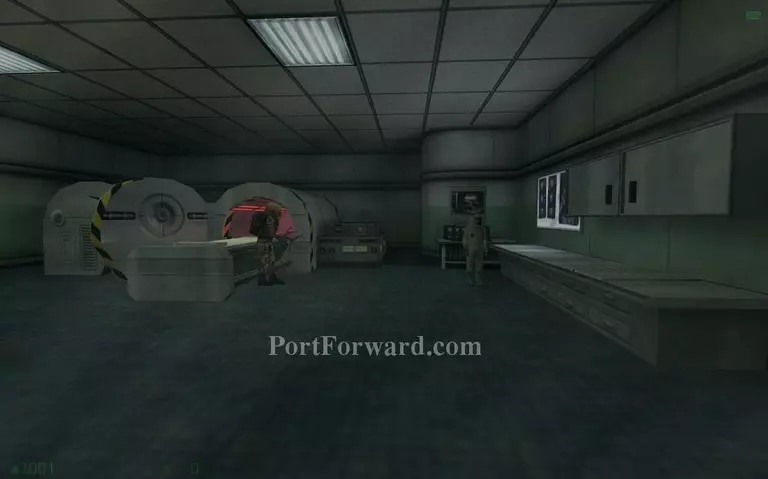
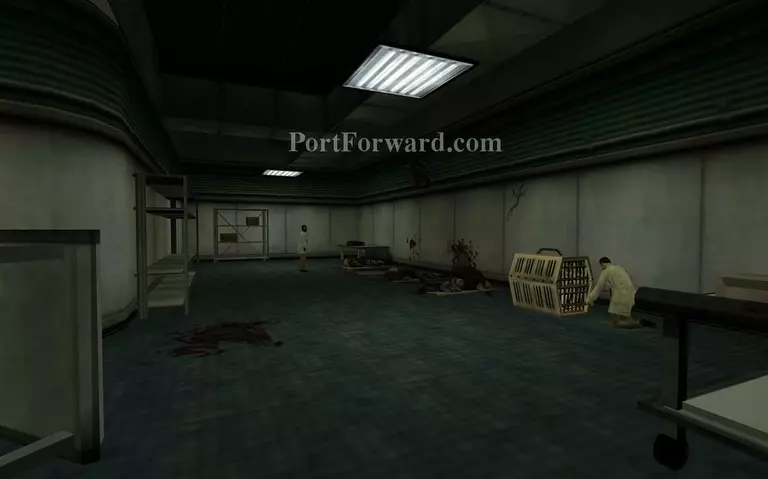
You will see a zombie attacking a scientist. You can't do anything to help.

Half-Life: Opposing Force Walkthrough - Half Life-Opposing-Force 10

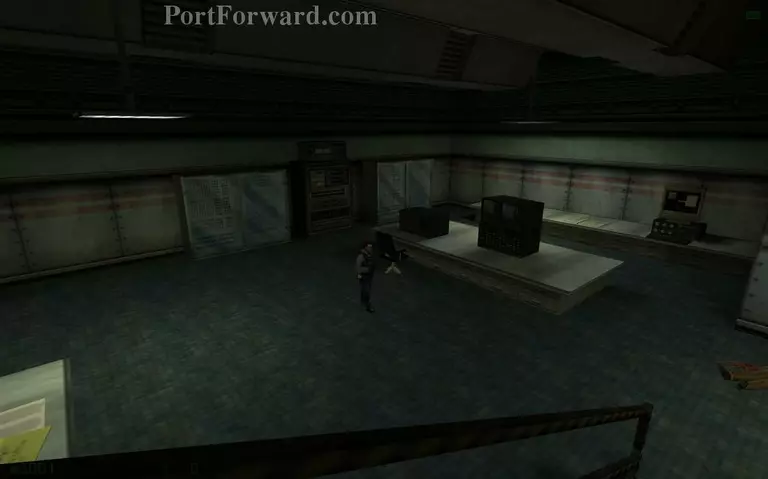
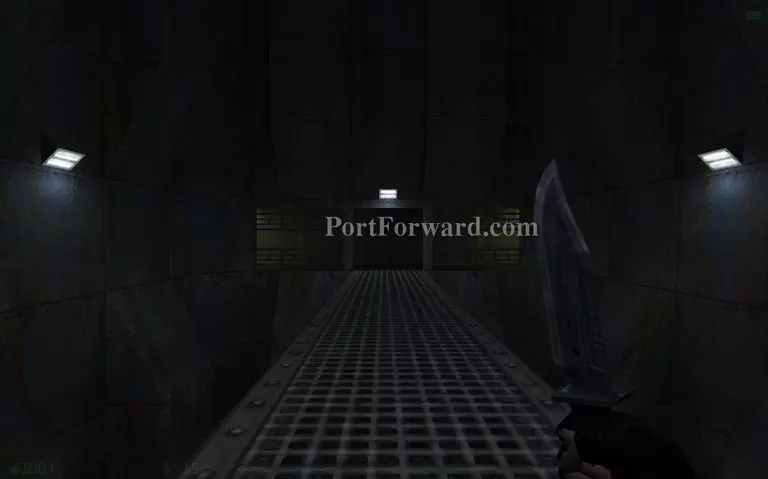
Go past the busted door.

Half-Life: Opposing Force Walkthrough - Half Life-Opposing-Force 11

Go down the stairs and talk to the guard by pressing E.

Half-Life: Opposing Force Walkthrough - Half Life-Opposing-Force 12

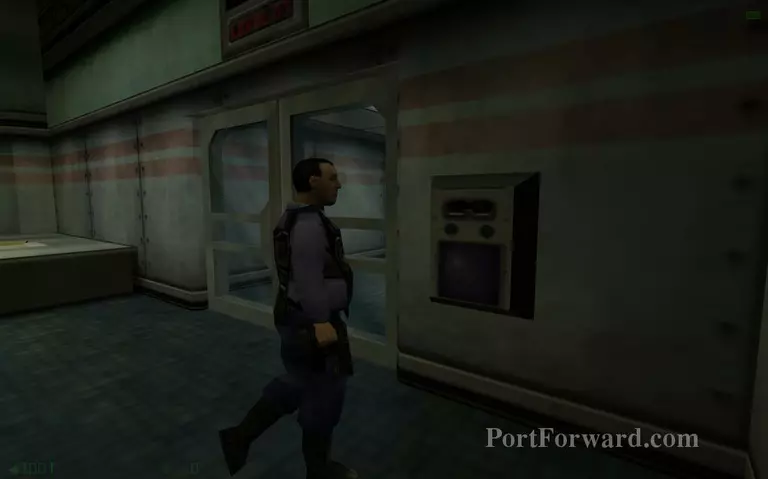
Once he stops talking go near the retinal scanner near the door while he is following you. He will open the door for you.

Half-Life: Opposing Force Walkthrough - Half Life-Opposing-Force 13

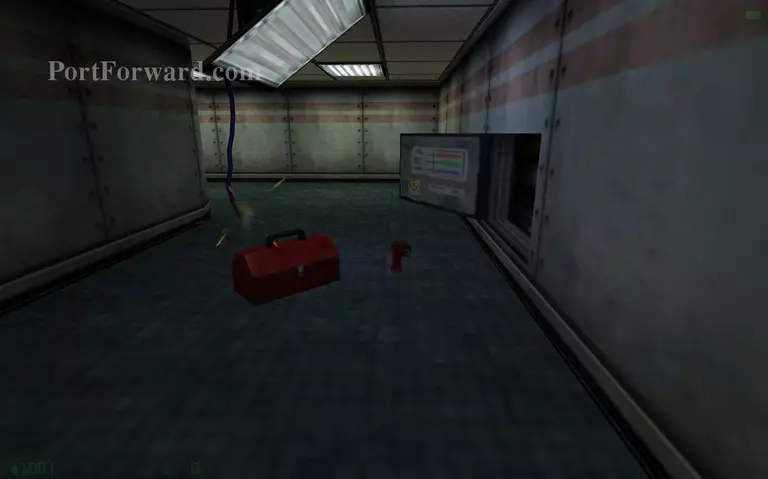
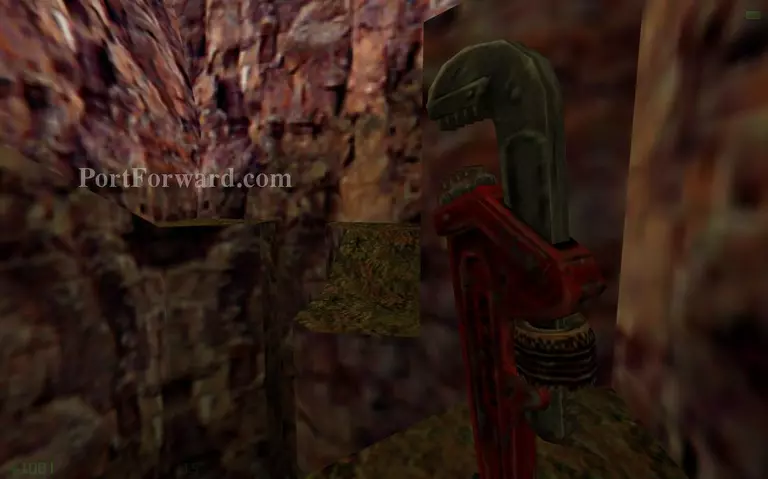
Walk over the pipe wrench to pick it up. Holding right mouse button will swing the wrench much harder.

Half-Life: Opposing Force Walkthrough - Half Life-Opposing-Force 14

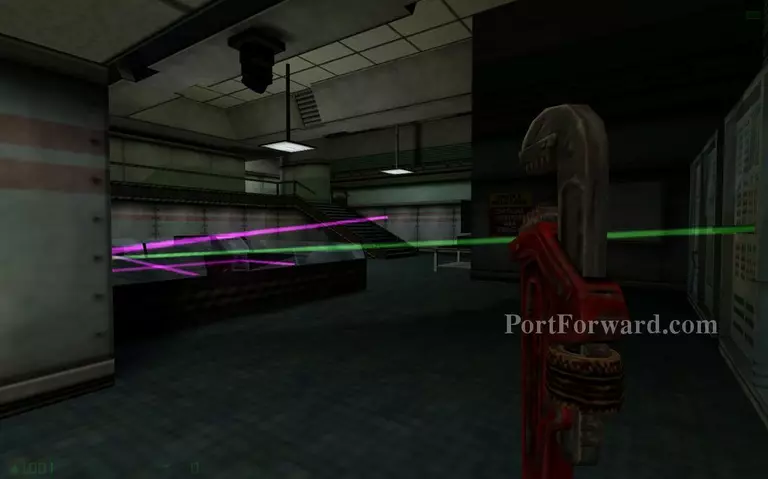
Avoid the lasers by ducking under them.

Half-Life: Opposing Force Walkthrough - Half Life-Opposing-Force 15

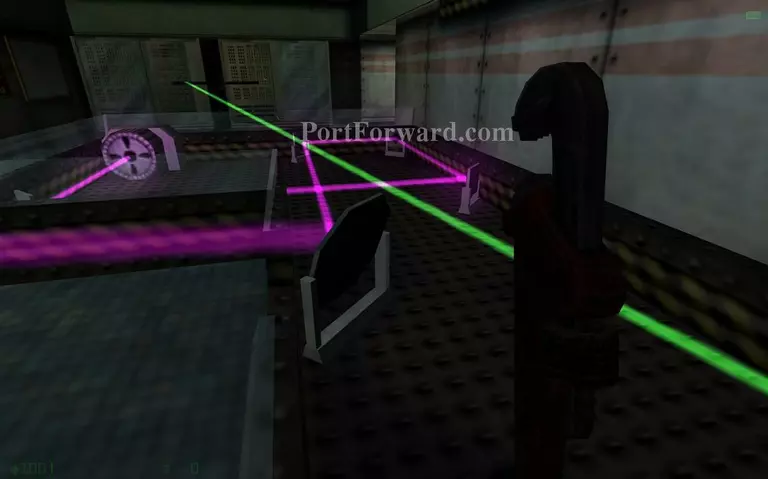
Go near this mirror and bash it with the wrench to stop all lasers.

Half-Life: Opposing Force Walkthrough - Half Life-Opposing-Force 16

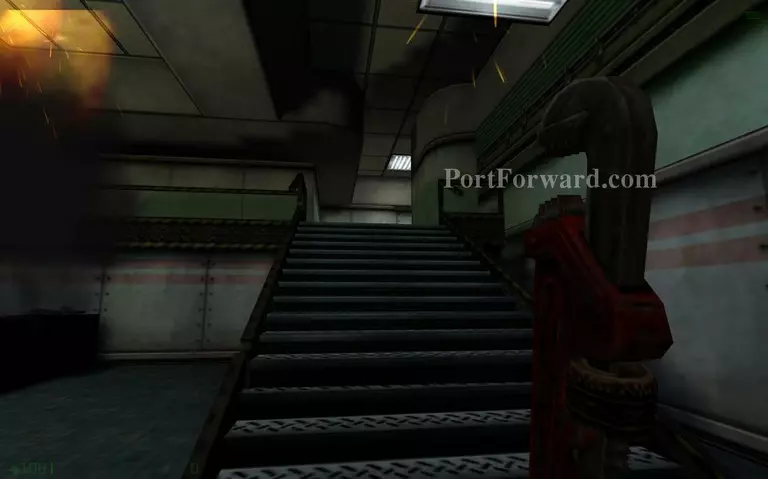
Continue up the stairs.

Half-Life: Opposing Force Walkthrough - Half Life-Opposing-Force 17

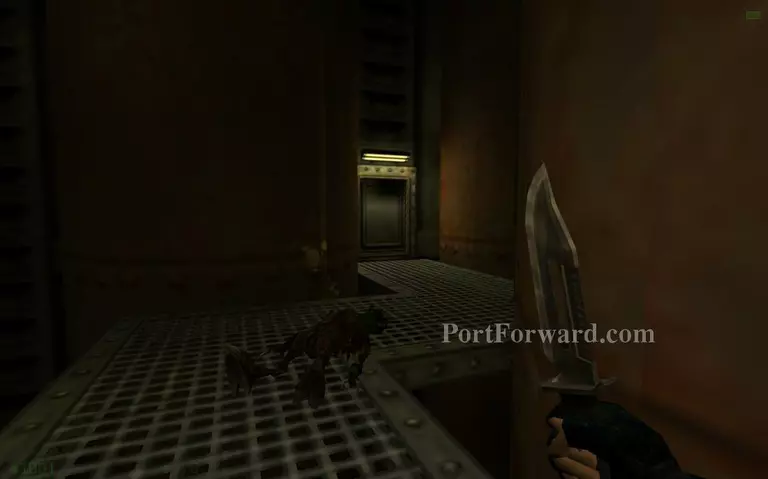
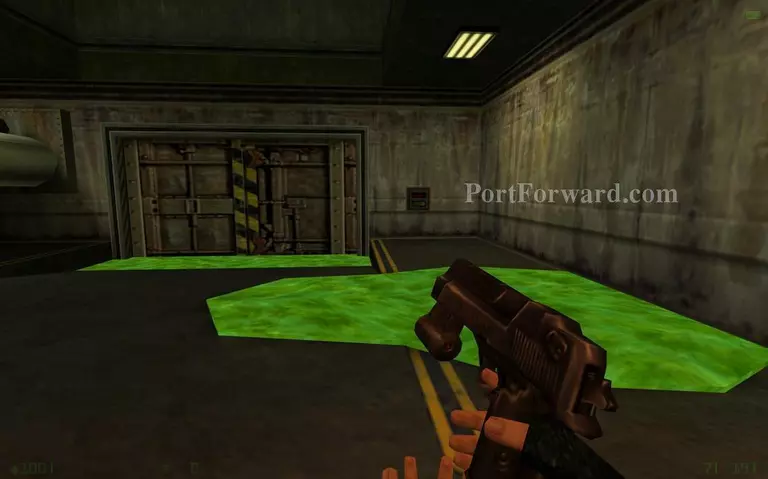
Some headcrabs will drop from the ceiling. You can just run past them if you wish.

Half-Life: Opposing Force Walkthrough - Half Life-Opposing-Force 18

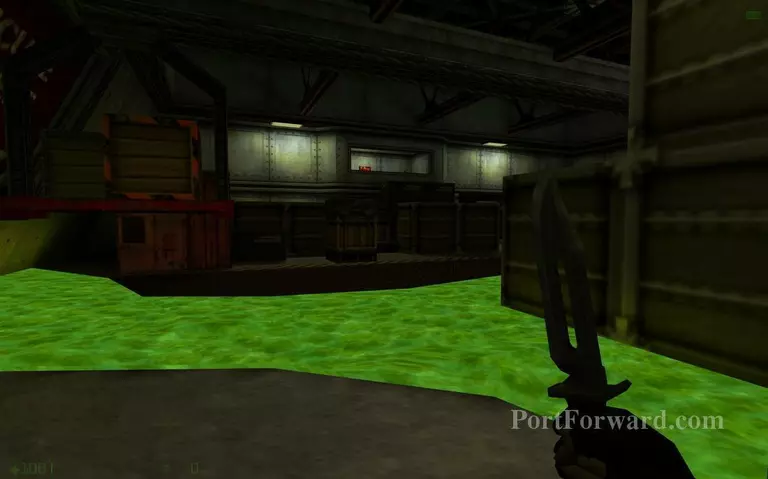
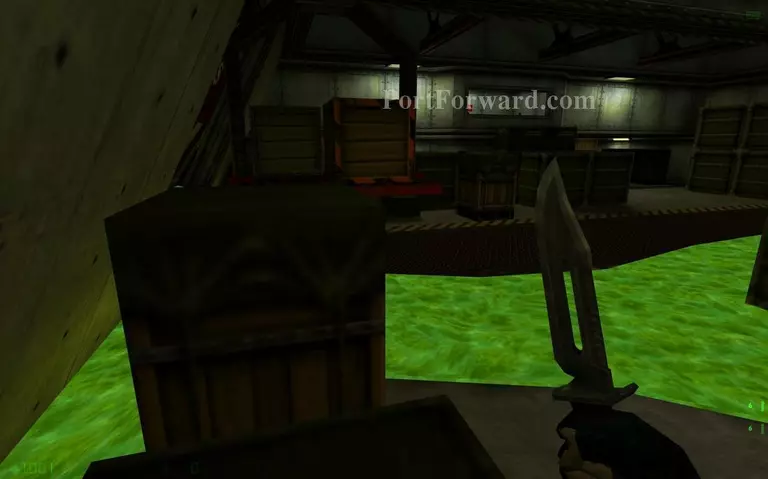
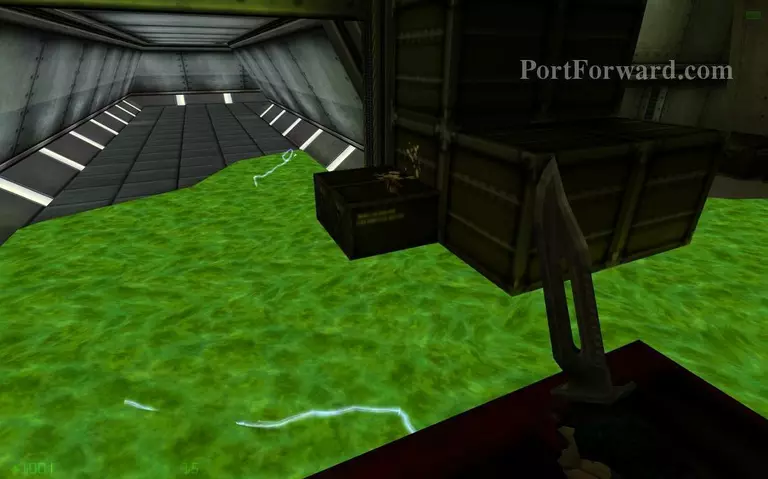
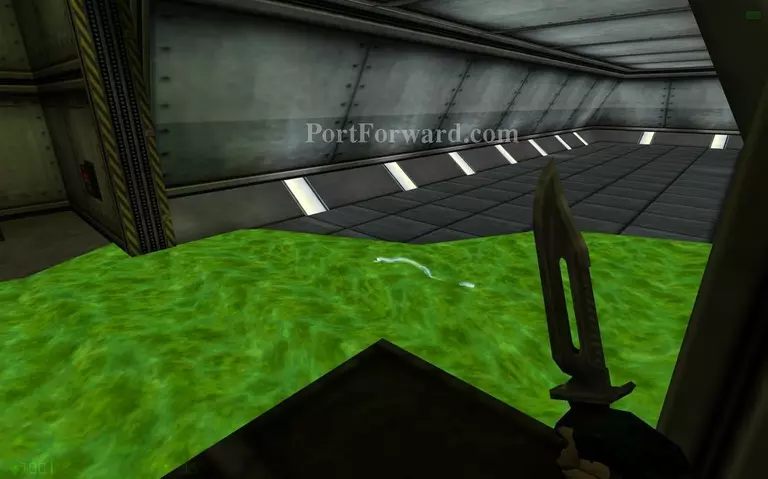
Jump over the green goo to avoid damage.
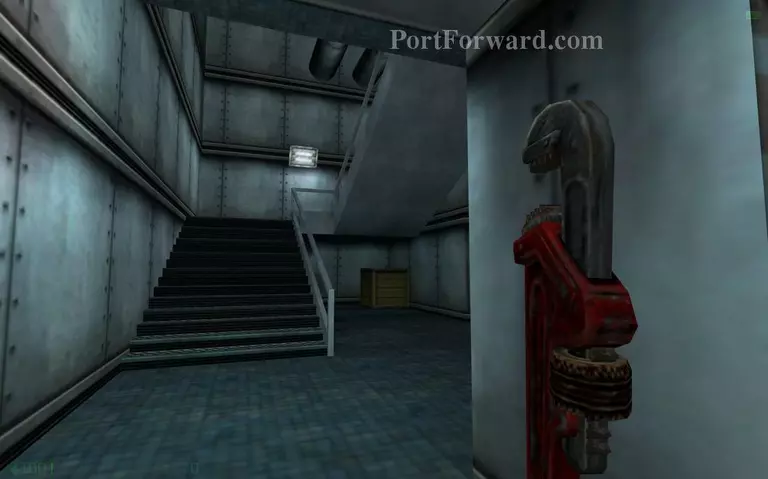
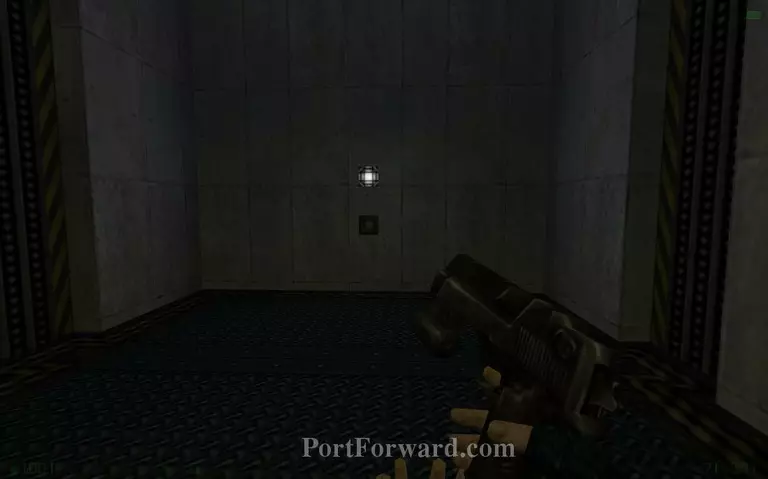
Half-Life: Opposing Force Walkthrough - Half Life-Opposing-Force 19

Go up the stairs.

Half-Life: Opposing Force Walkthrough - Half Life-Opposing-Force 20

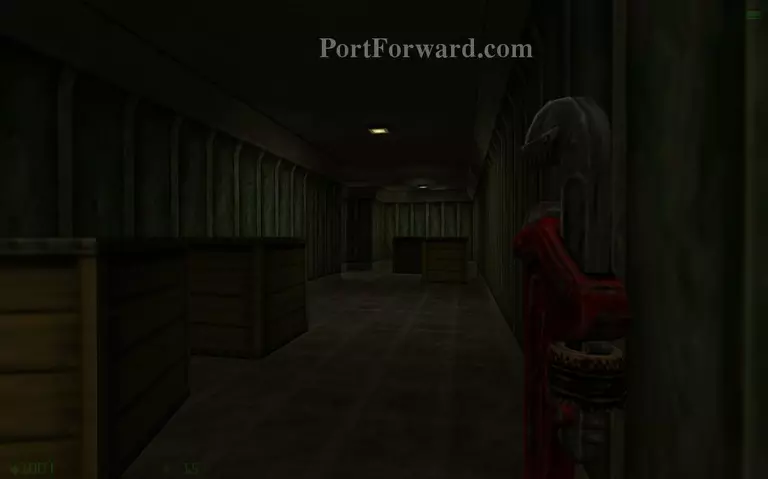
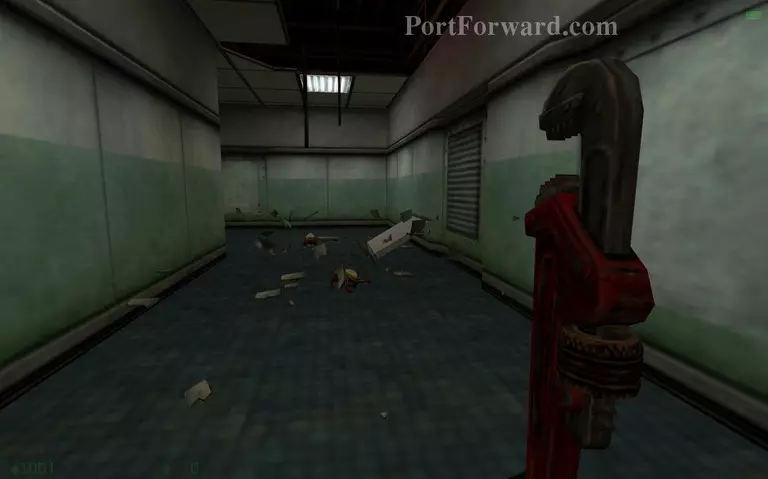
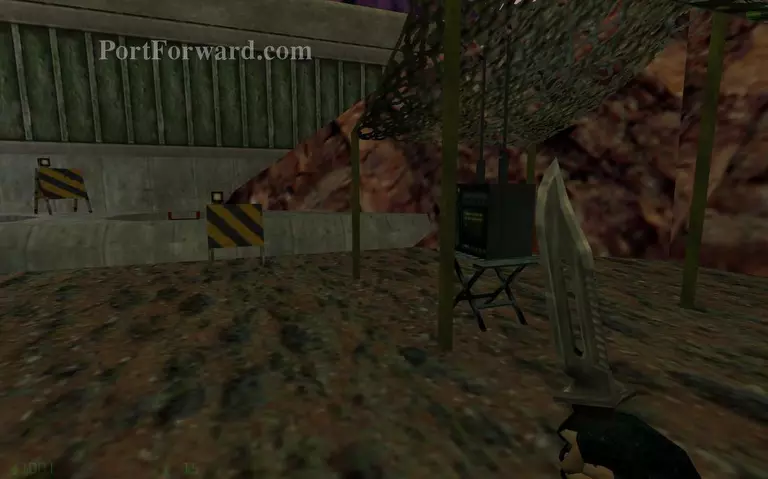
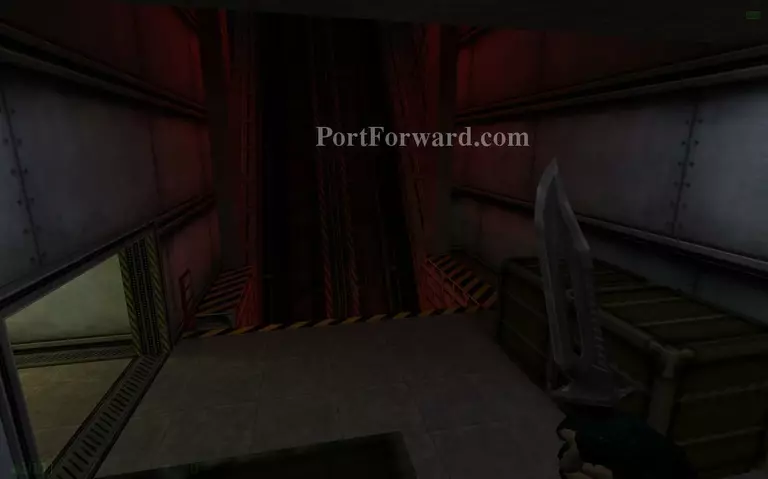
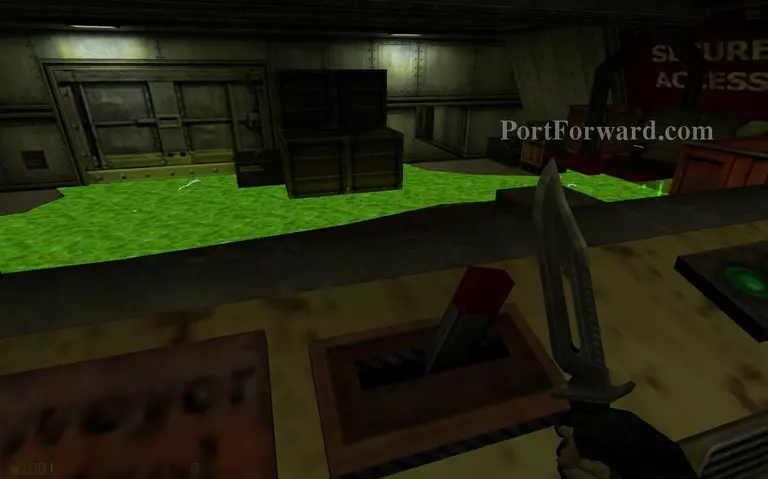
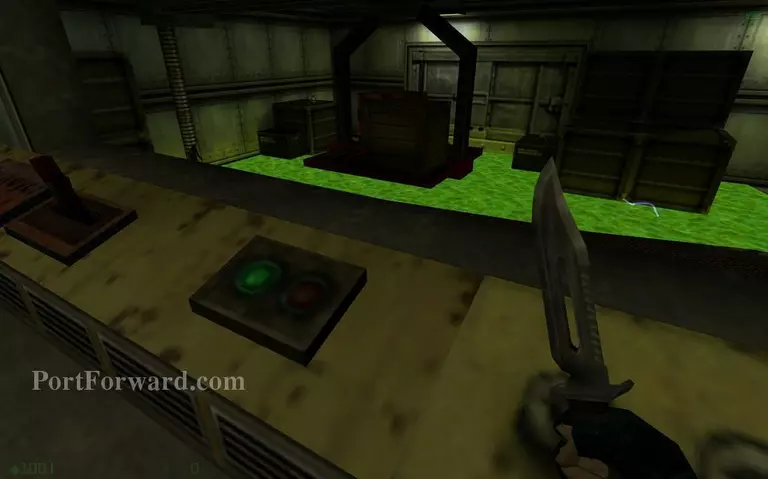
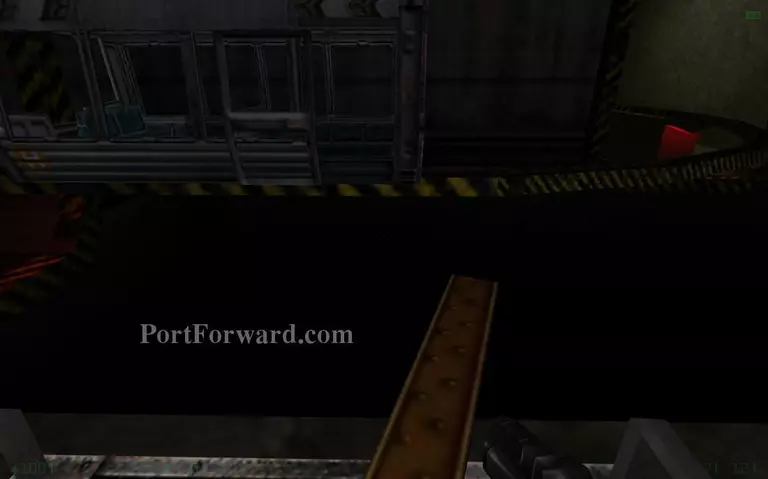
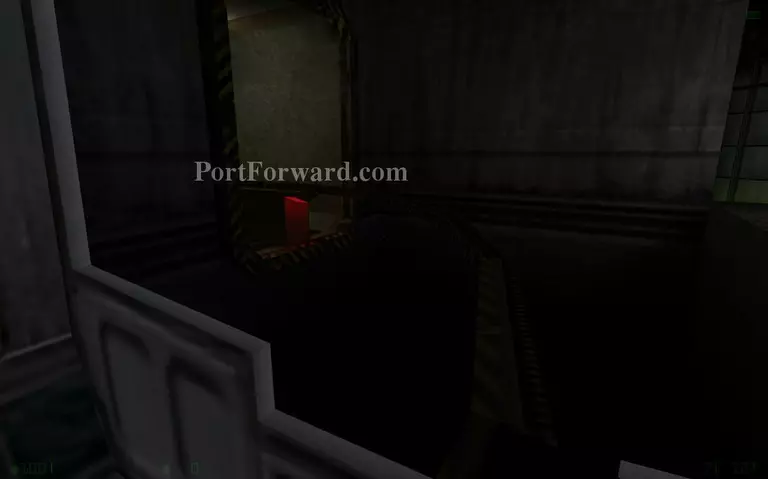
Go through the corridor with boxes. If you destroy the boxes you might find some useful items inside.

Half-Life: Opposing Force Walkthrough - Half Life-Opposing-Force 21

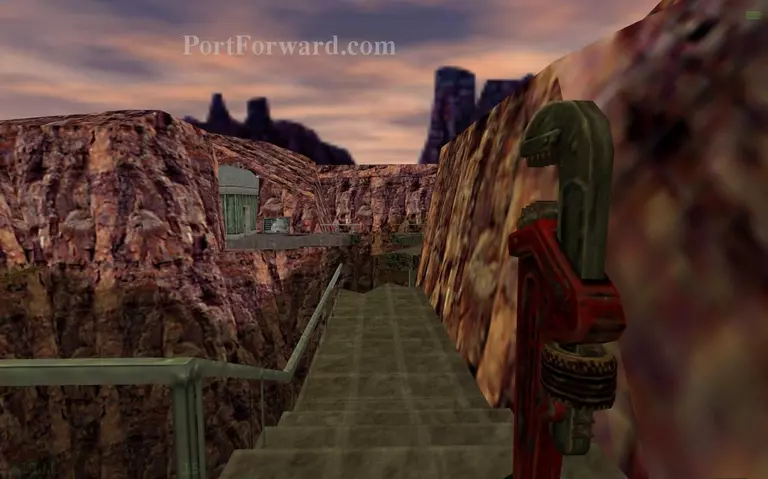
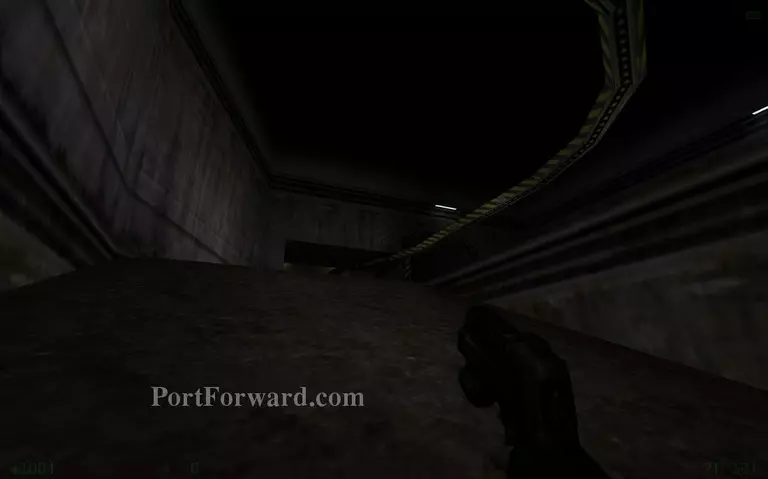
Approach the end of the destroyed path.

Half-Life: Opposing Force Walkthrough - Half Life-Opposing-Force 22

Jump to the other side of the chasm.

Half-Life: Opposing Force Walkthrough - Half Life-Opposing-Force 23

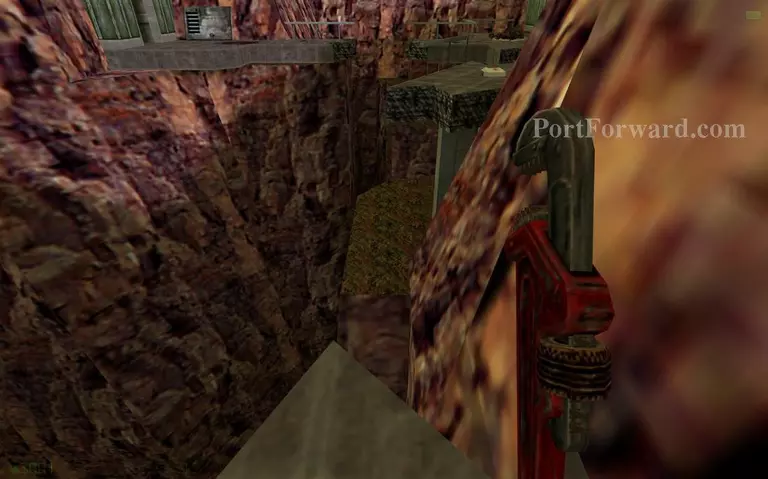
Jump to the other side here.

Half-Life: Opposing Force Walkthrough - Half Life-Opposing-Force 24

Keep jumping up the small path.

Half-Life: Opposing Force Walkthrough - Half Life-Opposing-Force 25

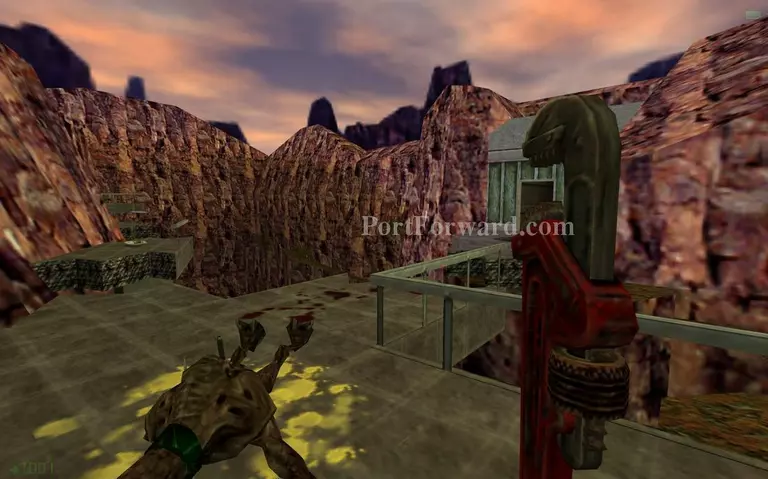
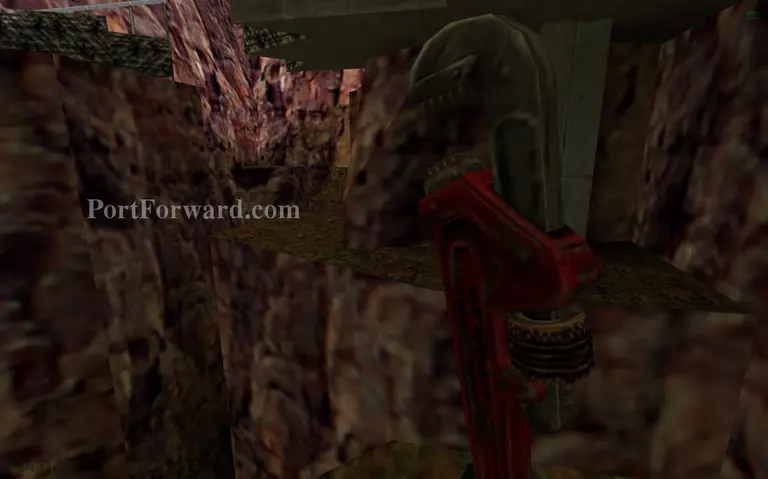
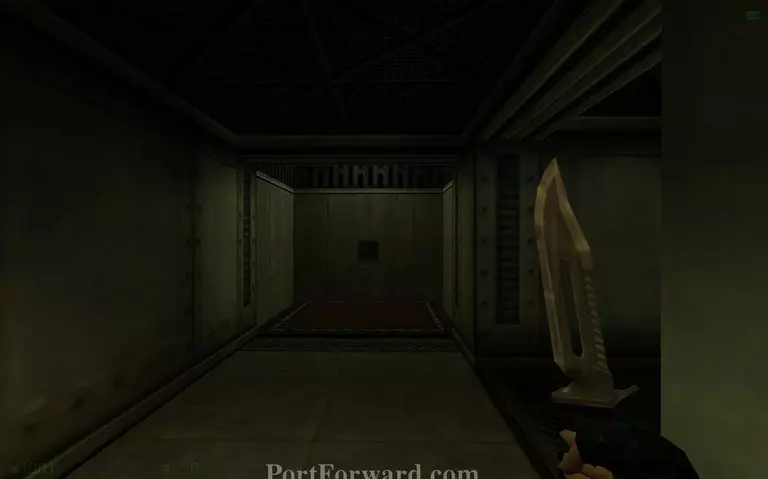
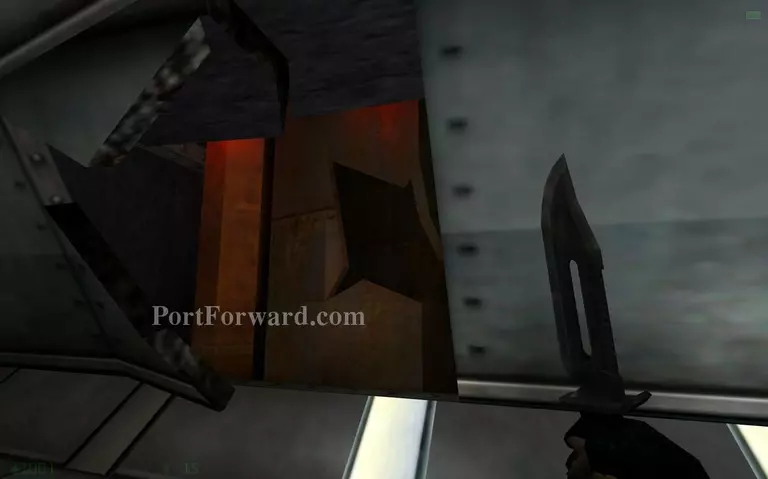
Once you are up here, jump to the right side and enter the building on the right. You will get a knife by walking over the corpse of the vortigaunt.

Half-Life: Opposing Force Walkthrough - Half Life-Opposing-Force 26

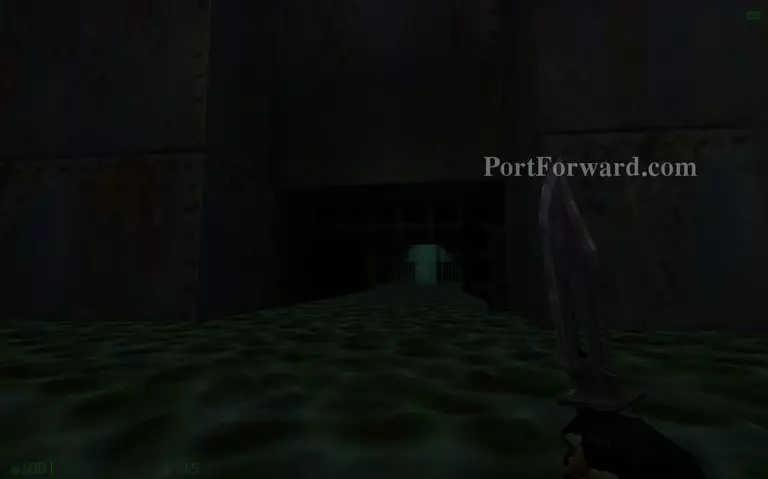
Enter a small hole in the wall.

Half-Life: Opposing Force Walkthrough - Half Life-Opposing-Force 27

Go down the pipes.

Half-Life: Opposing Force Walkthrough - Half Life-Opposing-Force 28

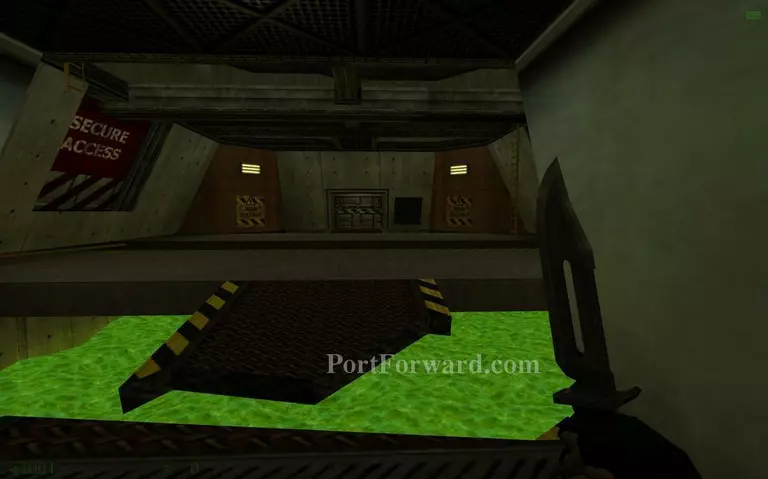
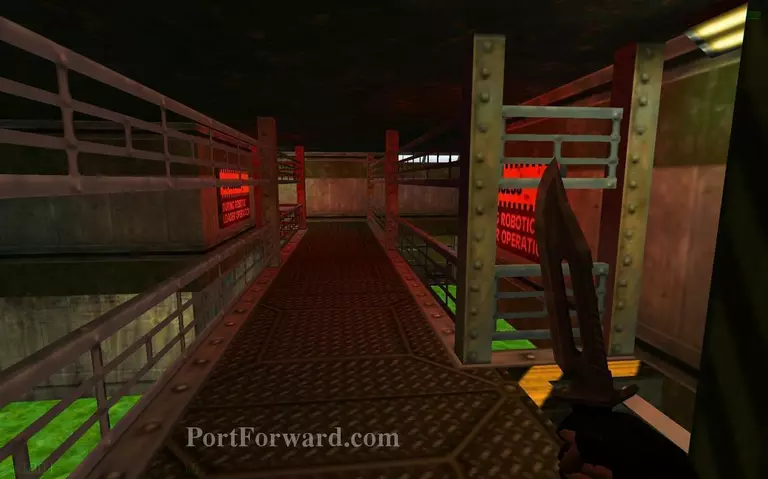
Enter the big gates.

Half-Life: Opposing Force Walkthrough - Half Life-Opposing-Force 29

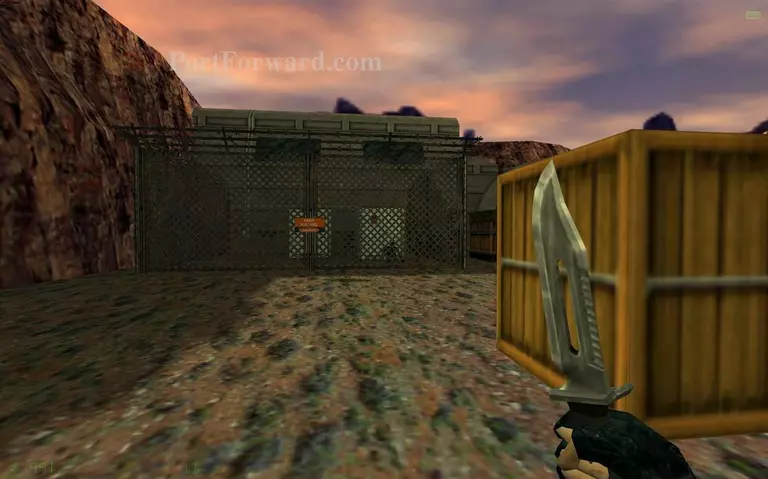
You will see an electrified fence.

Half-Life: Opposing Force Walkthrough - Half Life-Opposing-Force 30

A guard will try to escape but he will be electrocuted. Do not get near the fence at this moment.

Half-Life: Opposing Force Walkthrough - Half Life-Opposing-Force 31

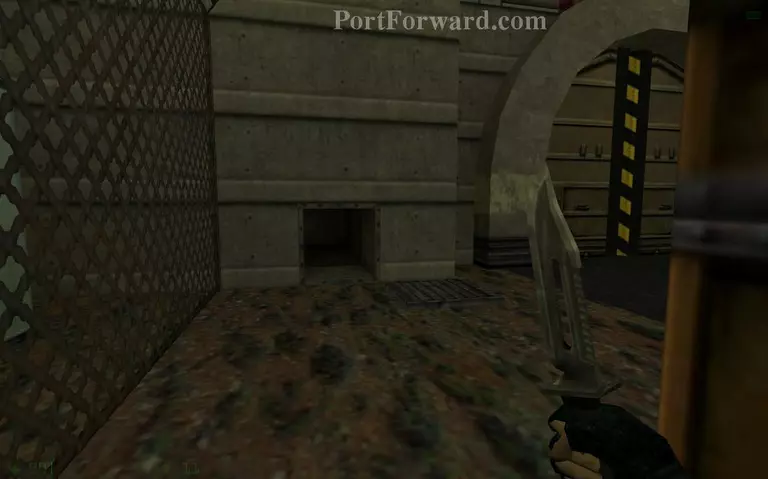
To the right of the fenced area is a vent. Get through there.

Half-Life: Opposing Force Walkthrough - Half Life-Opposing-Force 32

The power generator will fire bolts around. You will have to time your run towards the left vent.

Half-Life: Opposing Force Walkthrough - Half Life-Opposing-Force 33

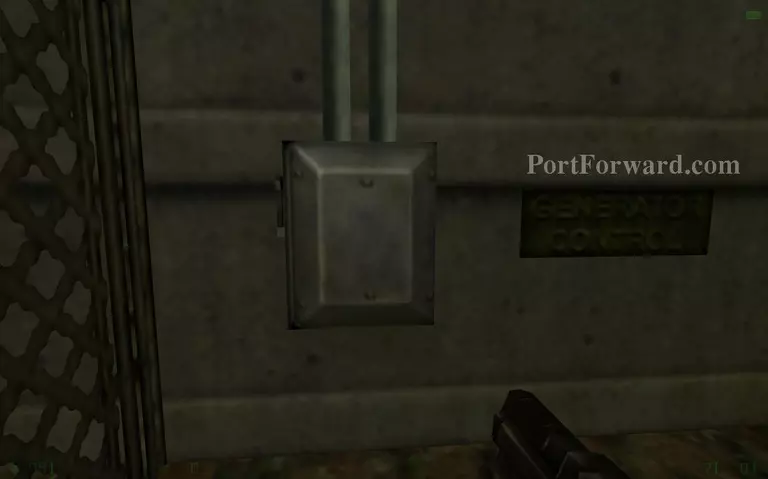
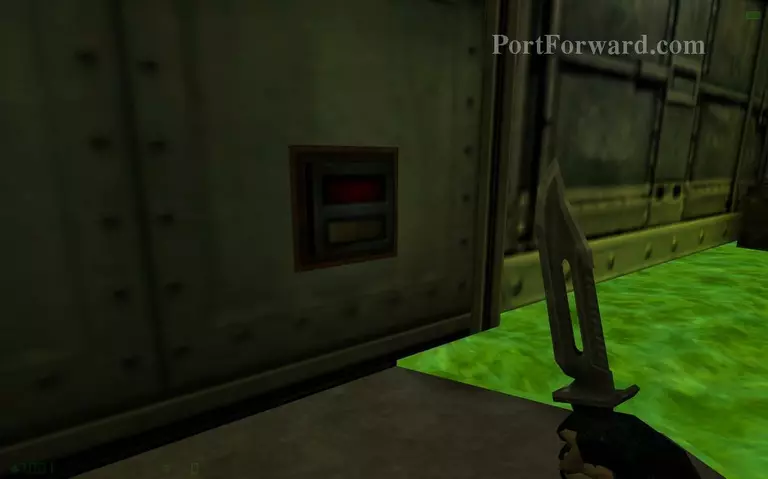
When you enter the fenced area you will find the generator control on the right. Flip the switch to turn off the power.

Half-Life: Opposing Force Walkthrough - Half Life-Opposing-Force 34

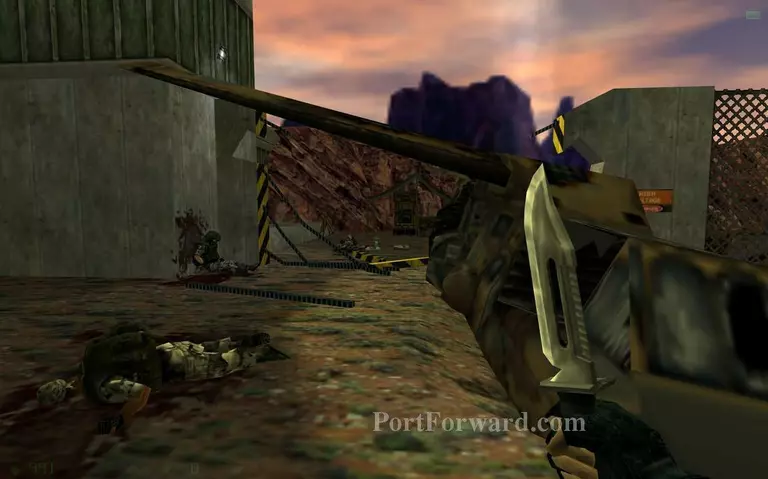
Get back through the tunnel with big gates and pass under the wing of the aircraft now that the power is turned off.

Half-Life: Opposing Force Walkthrough - Half Life-Opposing-Force 35

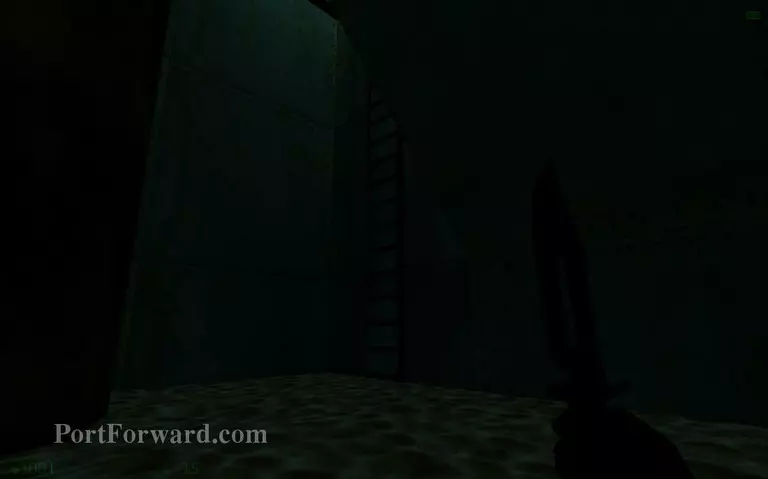
Using a radio such as this one can give you information. Go down the ladder on the left afterwards.

Half-Life: Opposing Force Walkthrough - Half Life-Opposing-Force 36

When you go down the ladder find a door nearby.

Half-Life: Opposing Force Walkthrough - Half Life-Opposing-Force 37

Watch out for some vortigaunts. Try to avoid the white steam.

Half-Life: Opposing Force Walkthrough - Half Life-Opposing-Force 38

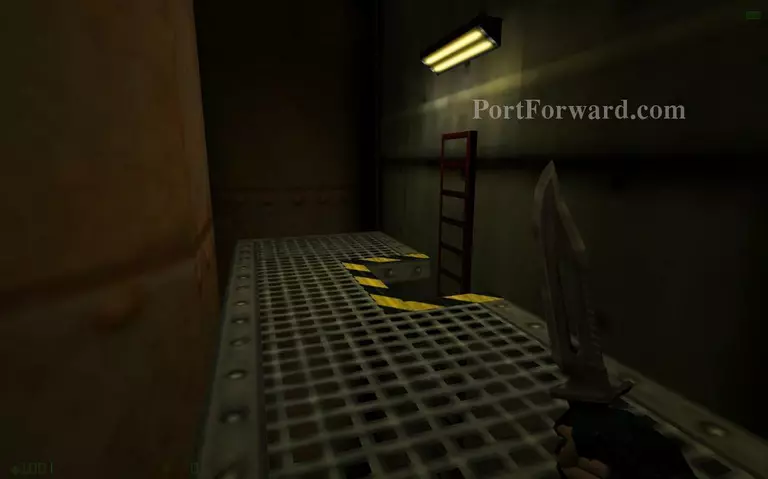
Go down another ladder.

Half-Life: Opposing Force Walkthrough - Half Life-Opposing-Force 39

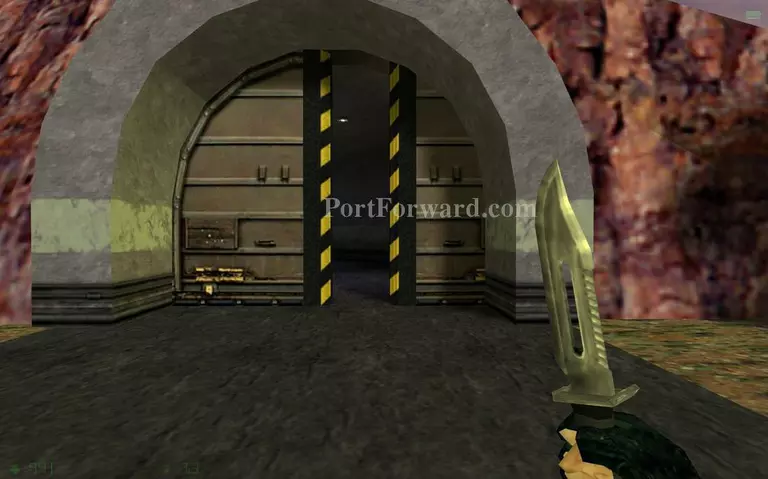
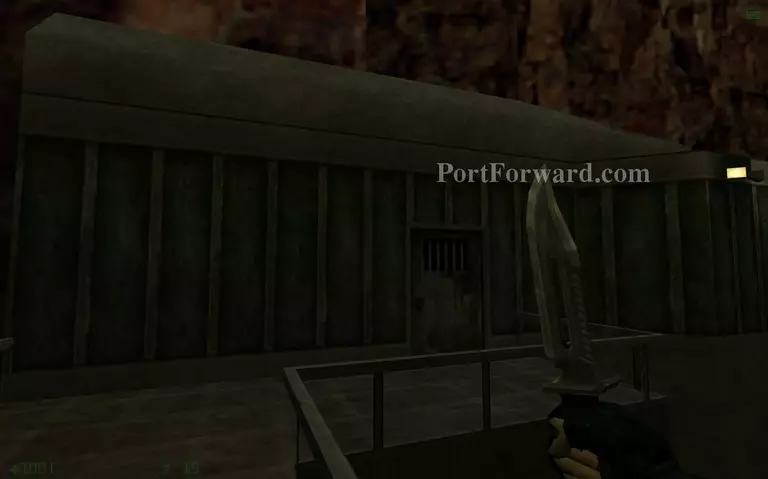
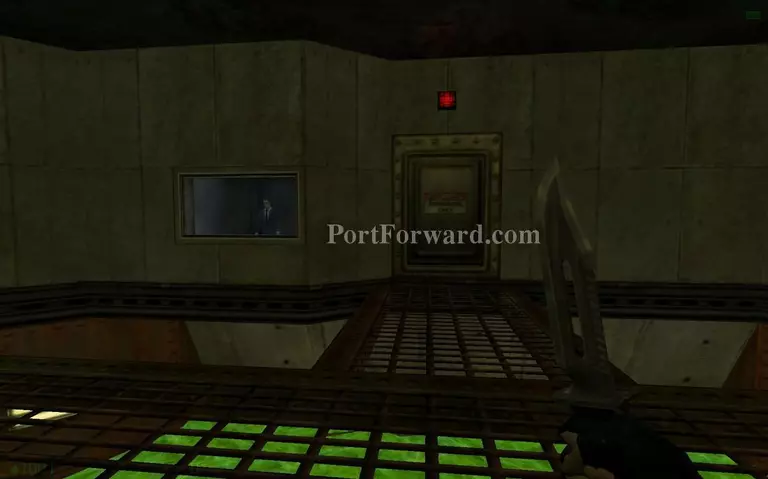
Enter this gray door.

Half-Life: Opposing Force Walkthrough - Half Life-Opposing-Force 40

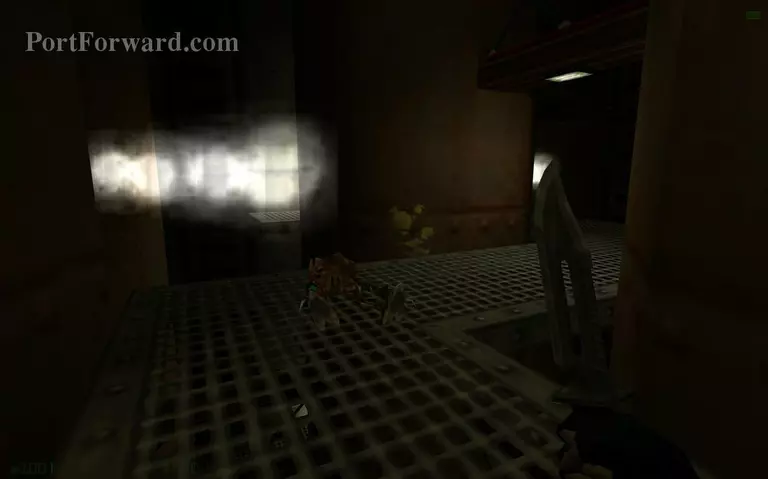
Two vortigaunts will come down from the lift here.

Half-Life: Opposing Force Walkthrough - Half Life-Opposing-Force 41

You might want to save before you jump forward here. The whole place will start crashing down and it will get flooded by radiation eventually. Don't even try to get to the ladder. You will have to wait for a part of the upper platform to crash down so you can climb up higher.

Half-Life: Opposing Force Walkthrough - Half Life-Opposing-Force 42

Once you are up, you will have to wait for the G-man to open the door for you.

Half-Life: Opposing Force Walkthrough - Half Life-Opposing-Force 43

Go up the lift.

Half-Life: Opposing Force Walkthrough - Half Life-Opposing-Force 44

When you arrive in this place, look to your left.

Half-Life: Opposing Force Walkthrough - Half Life-Opposing-Force 45

Jump up the crates and go to the moving platform.

Half-Life: Opposing Force Walkthrough - Half Life-Opposing-Force 46

You will reach the controls for the platform.

Half-Life: Opposing Force Walkthrough - Half Life-Opposing-Force 47

When you position the platform somewhere in front of the gate on your left press the button.

Half-Life: Opposing Force Walkthrough - Half Life-Opposing-Force 48

Reach the buttons near the gate on the left to open it.

Half-Life: Opposing Force Walkthrough - Half Life-Opposing-Force 49

Use the platform you moved to jump over the goo and reach the crates on the other side.

Half-Life: Opposing Force Walkthrough - Half Life-Opposing-Force 50

You can jump safely to the dry spot in front.

Half-Life: Opposing Force Walkthrough - Half Life-Opposing-Force 51

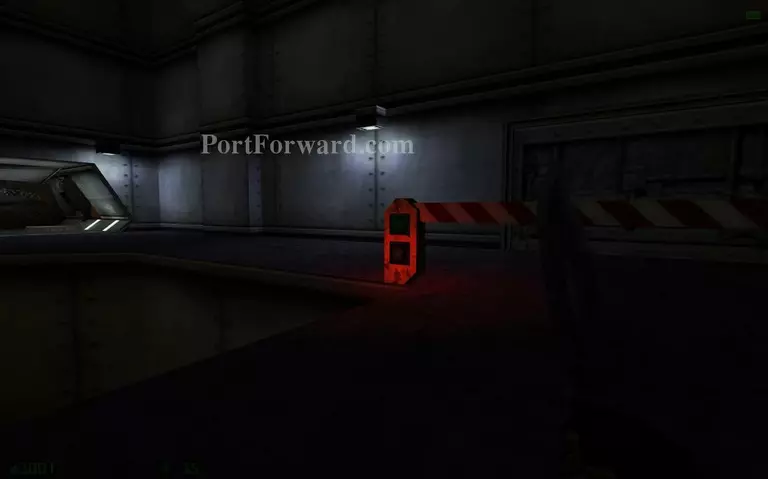
Crouch under the barrier to proceed.

Half-Life: Opposing Force Walkthrough - Half Life-Opposing-Force 52

Enter the cracked pipe.

Half-Life: Opposing Force Walkthrough - Half Life-Opposing-Force 53

Proceed down the flooded area.

Half-Life: Opposing Force Walkthrough - Half Life-Opposing-Force 54

Somewhere to the left you will find a ladder going up.

Half-Life: Opposing Force Walkthrough - Half Life-Opposing-Force 55

Try to avoid the barnacles' tongues.

Half-Life: Opposing Force Walkthrough - Half Life-Opposing-Force 56

Pass over this path.

Half-Life: Opposing Force Walkthrough - Half Life-Opposing-Force 57

There's some ammo for your pistol and a grenade in a container nearby.

Half-Life: Opposing Force Walkthrough - Half Life-Opposing-Force 58

When you reach this place look to your left.

Half-Life: Opposing Force Walkthrough - Half Life-Opposing-Force 59

The robot is stuck behind the crates. Shoot the crates with explosives sign to unstuck the robot.

Half-Life: Opposing Force Walkthrough - Half Life-Opposing-Force 60

Wait for the robot to pass through this area.

Half-Life: Opposing Force Walkthrough - Half Life-Opposing-Force 61

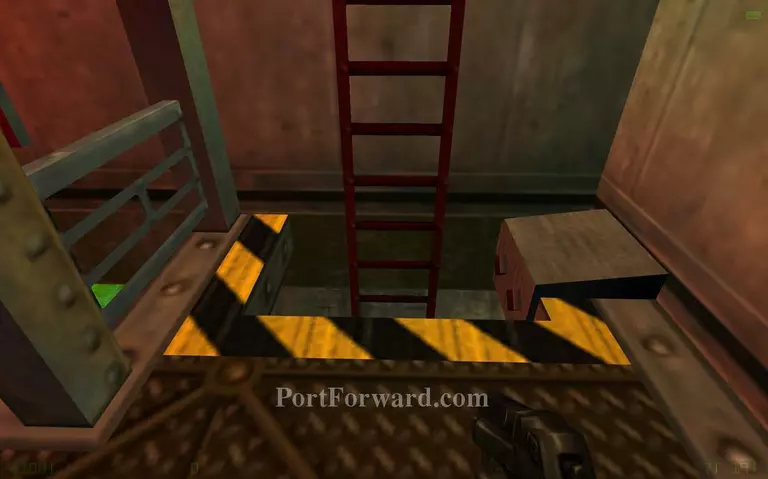
Afterwards go down the ladder.

Half-Life: Opposing Force Walkthrough - Half Life-Opposing-Force 62

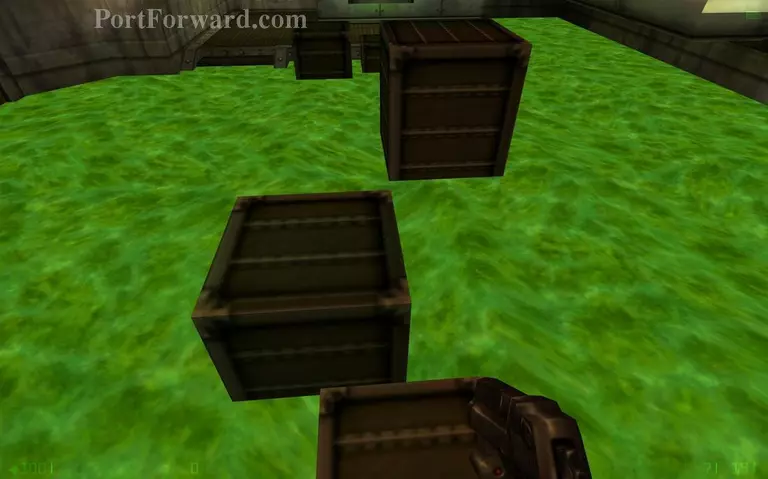
Use the crates to jump to the other side.

Half-Life: Opposing Force Walkthrough - Half Life-Opposing-Force 63

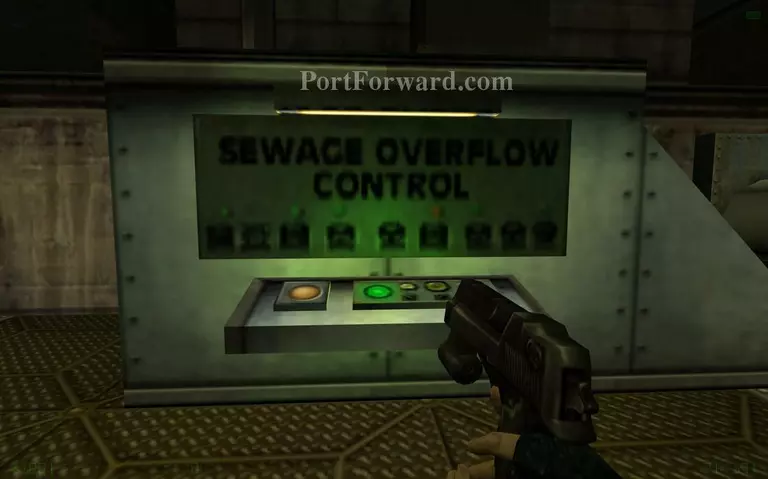
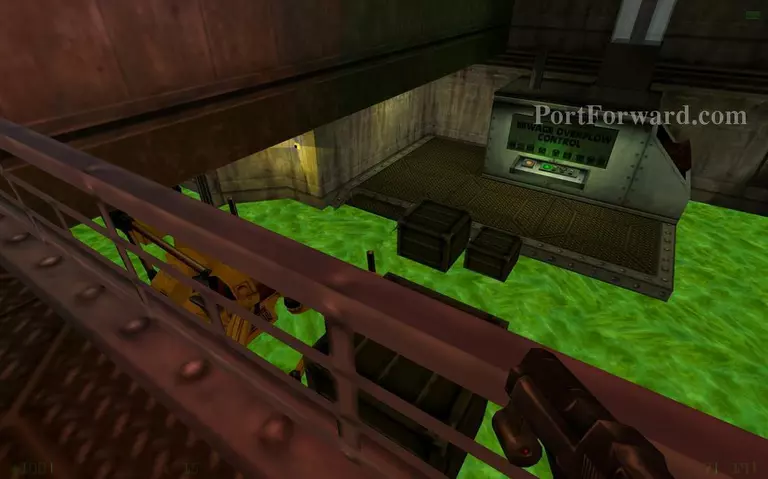
Use the controls to drain the goo.

Half-Life: Opposing Force Walkthrough - Half Life-Opposing-Force 64

Open the gates from the buttons on the right.

Half-Life: Opposing Force Walkthrough - Half Life-Opposing-Force 65

Use a lift.

Half-Life: Opposing Force Walkthrough - Half Life-Opposing-Force 66

Go up the path.

Half-Life: Opposing Force Walkthrough - Half Life-Opposing-Force 67

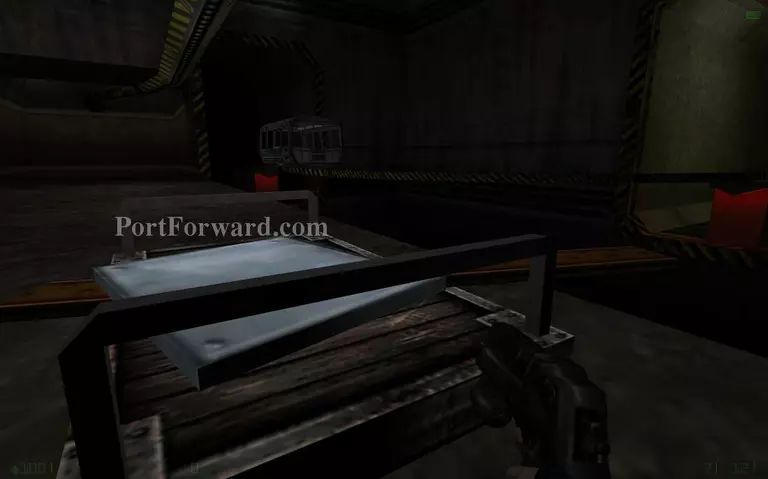
Push this cart near the tram car.

Half-Life: Opposing Force Walkthrough - Half Life-Opposing-Force 68

When the cart is near the tram, jump from the bar to the tram.

Half-Life: Opposing Force Walkthrough - Half Life-Opposing-Force 69

Go on a relaxing tram ride for a while.

More Half-Life: Opposing Force Walkthroughs

This Half-Life: Opposing Force walkthrough is divided into 12 total pages.

More From Portforward