This Half-Life: Opposing Force walkthrough is divided into 12 total pages.
You can jump to nearby pages of the game using the links above.
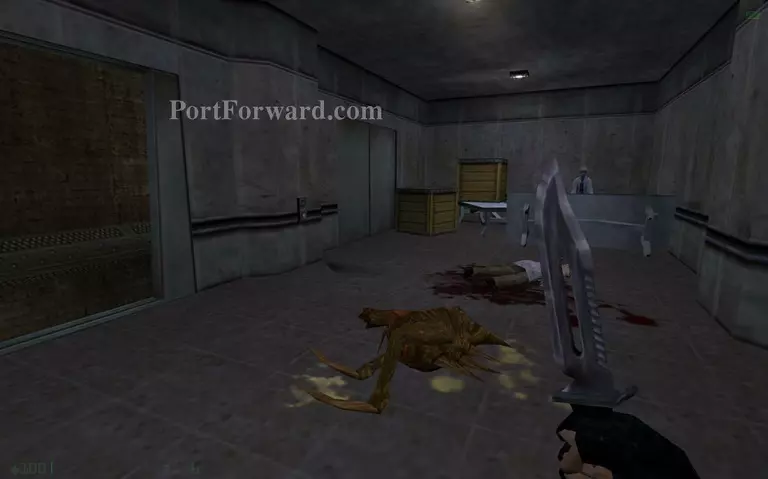
Missing in Action
 Half-Life: Opposing Force Walkthrough - Half Life-Opposing-Force 85
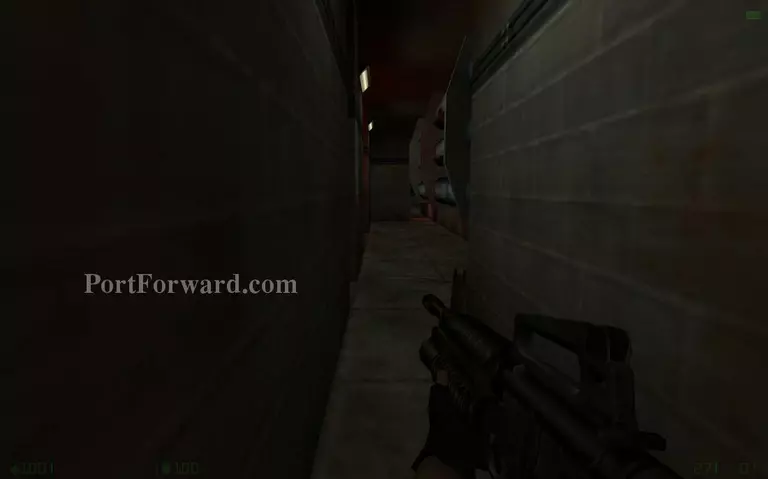
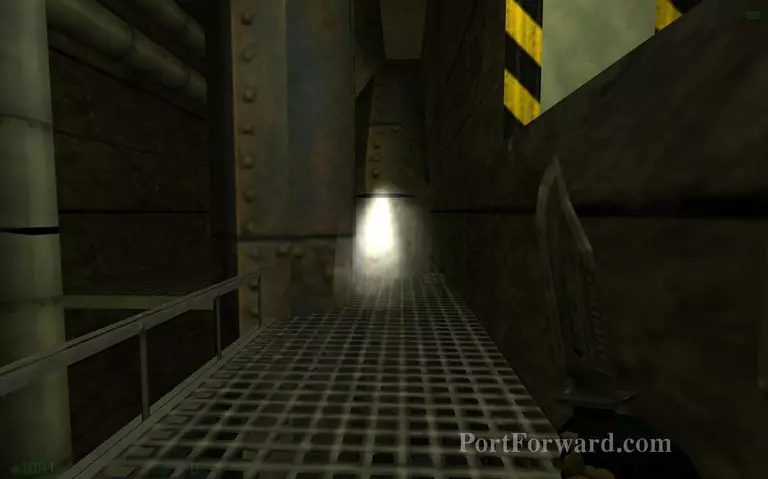
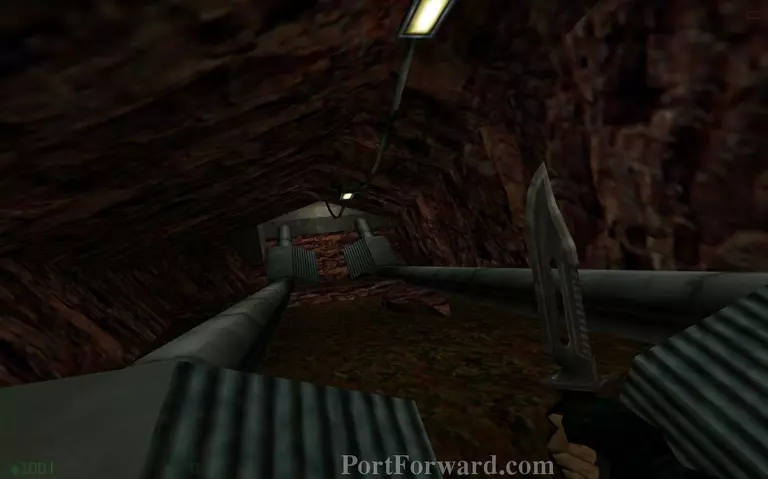
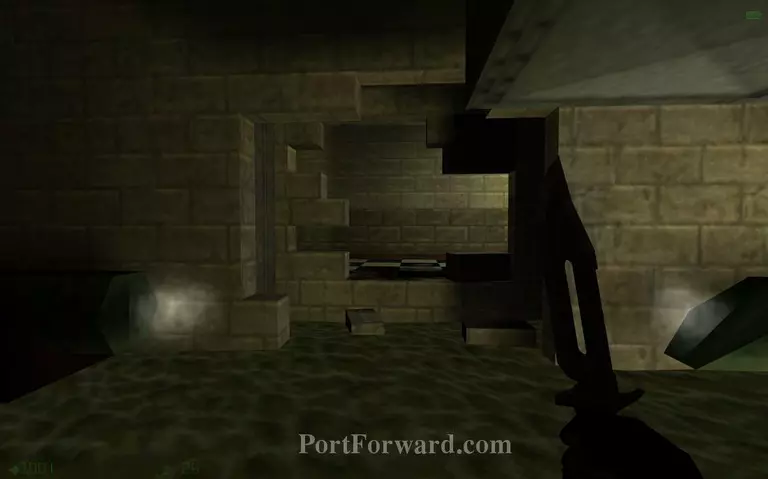
Go towards the end of the narrow path.
 Half-Life: Opposing Force Walkthrough - Half Life-Opposing-Force 86
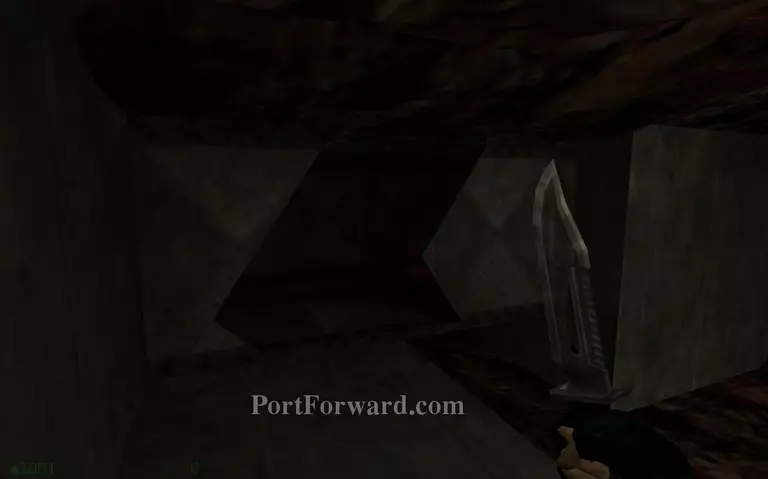
Crouch under here to get in.
 Half-Life: Opposing Force Walkthrough - Half Life-Opposing-Force 87
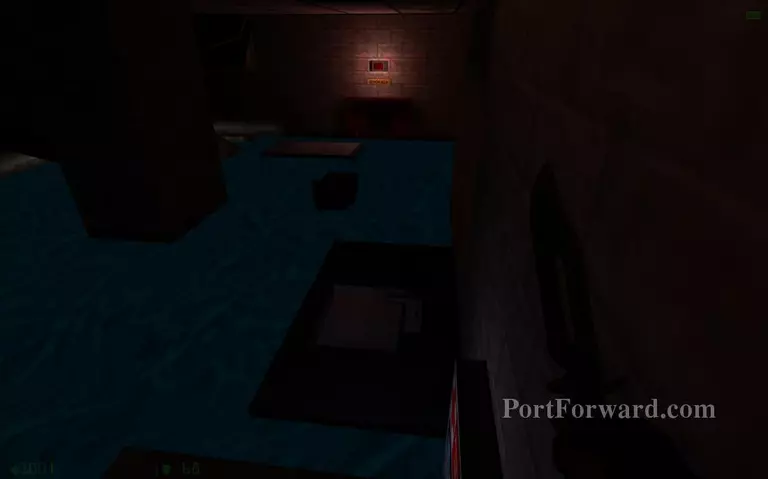
Get through the vents but beware that some of the tiles can break and you will drop down a place with electrified water.
 Half-Life: Opposing Force Walkthrough - Half Life-Opposing-Force 88
If you drop down here you will have to get back up to the vents again.
 Half-Life: Opposing Force Walkthrough - Half Life-Opposing-Force 89
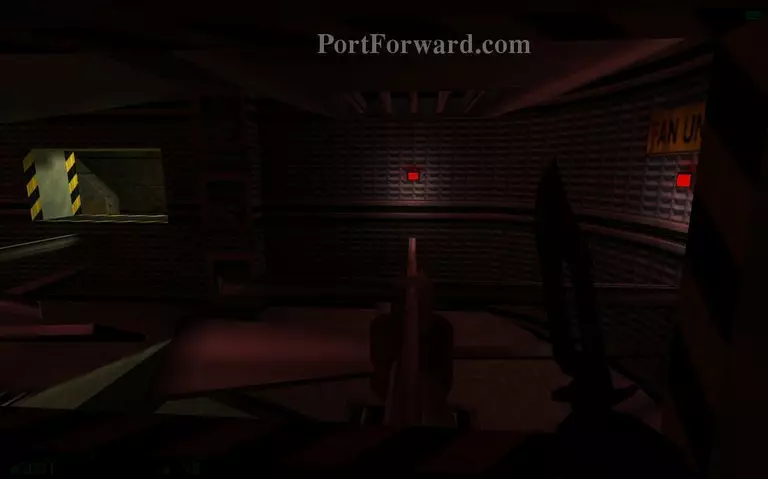
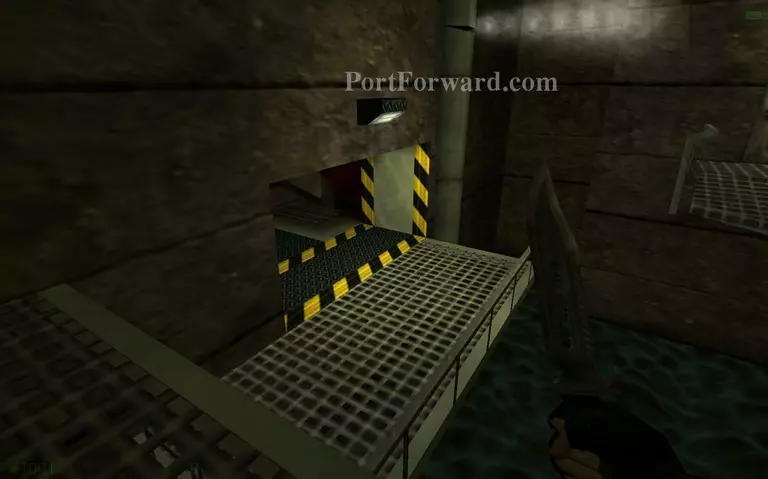
At the end of the small vents you will reach two big fans. Walk over the small paths to reach the other side.
 Half-Life: Opposing Force Walkthrough - Half Life-Opposing-Force 90
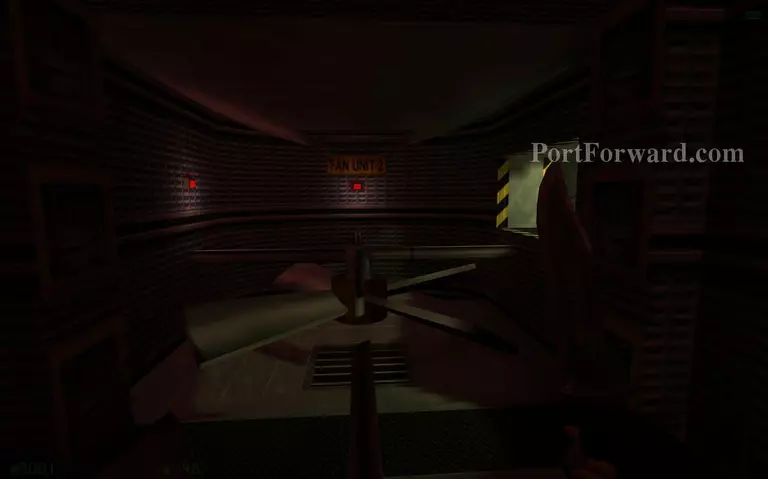
Jump to the other fan from here.
 Half-Life: Opposing Force Walkthrough - Half Life-Opposing-Force 91
You might have to take some damage when you pass through the steam.
 Half-Life: Opposing Force Walkthrough - Half Life-Opposing-Force 92
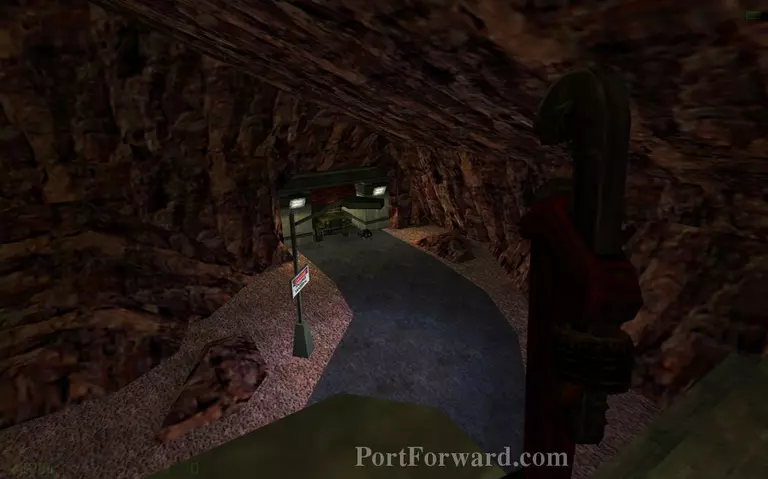
Go down here.
 Half-Life: Opposing Force Walkthrough - Half Life-Opposing-Force 93
Jump down the hole that is under the broken fan. You will have to do it fast because even with one propeller the fan is still deadly.
 Half-Life: Opposing Force Walkthrough - Half Life-Opposing-Force 94
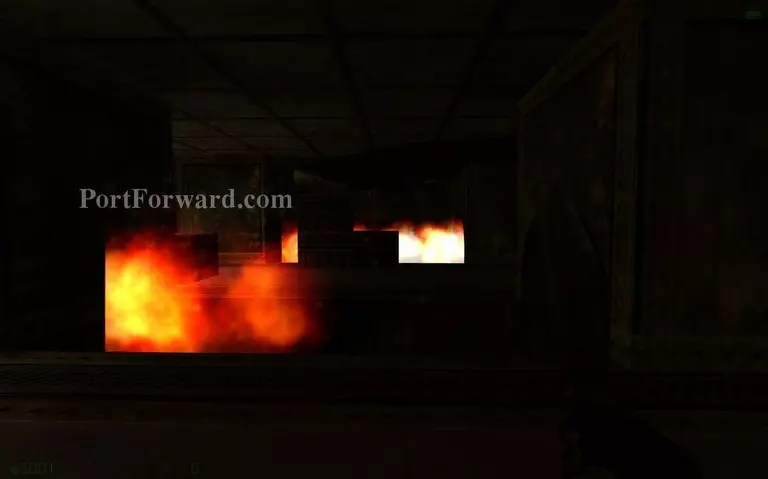
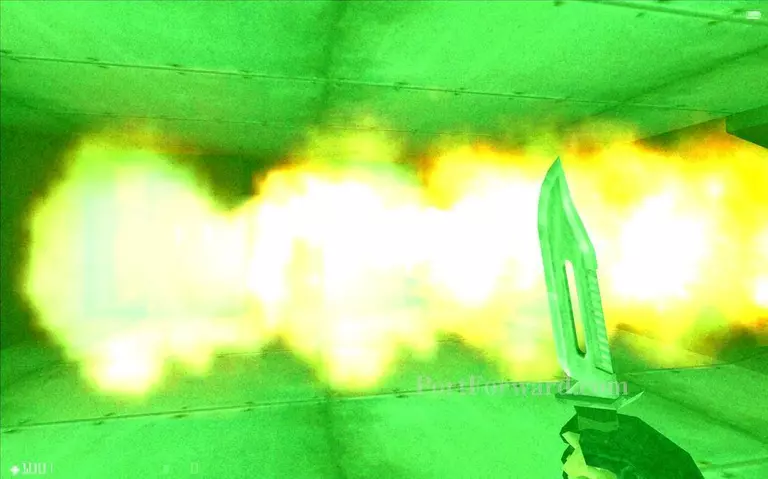
Cross this section when you wait for the flames to pass.
 Half-Life: Opposing Force Walkthrough - Half Life-Opposing-Force 95
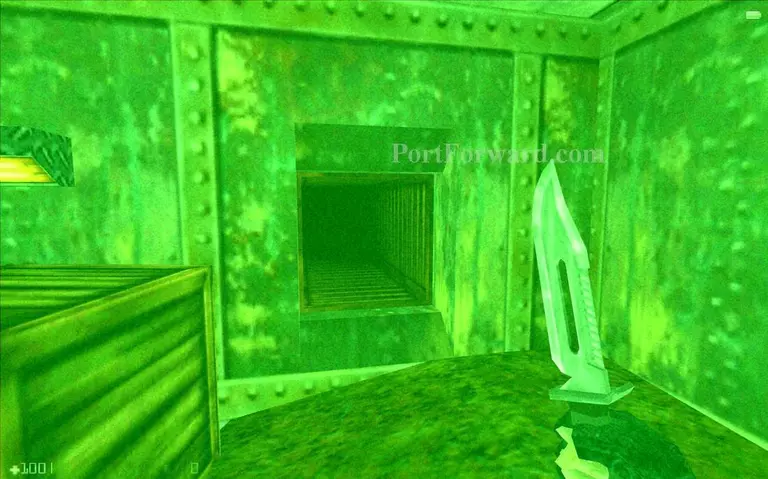
Enter a vent.
 Half-Life: Opposing Force Walkthrough - Half Life-Opposing-Force 96
Another set of flames to cross.
 Half-Life: Opposing Force Walkthrough - Half Life-Opposing-Force 97
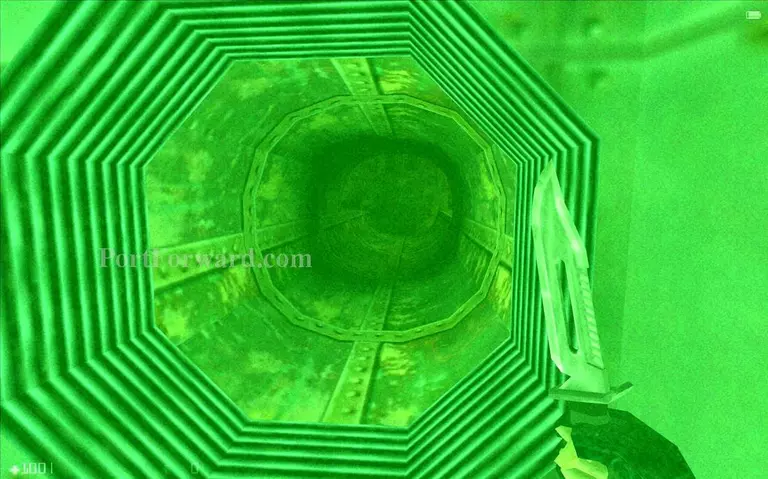
Proceed through the pipe.
 Half-Life: Opposing Force Walkthrough - Half Life-Opposing-Force 98
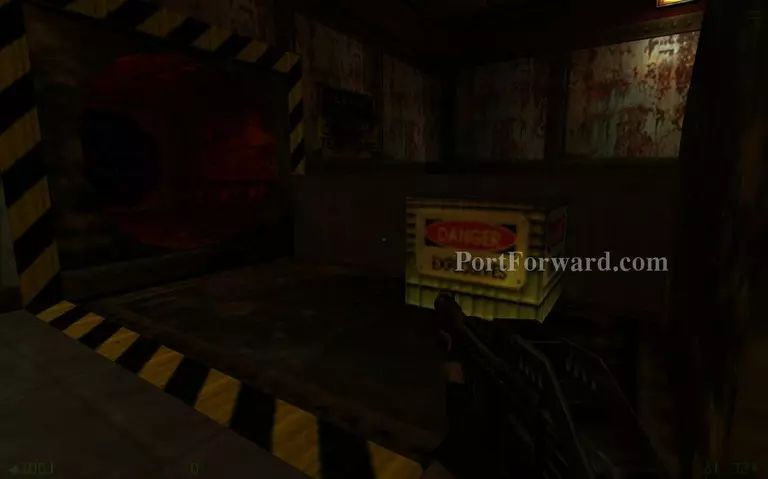
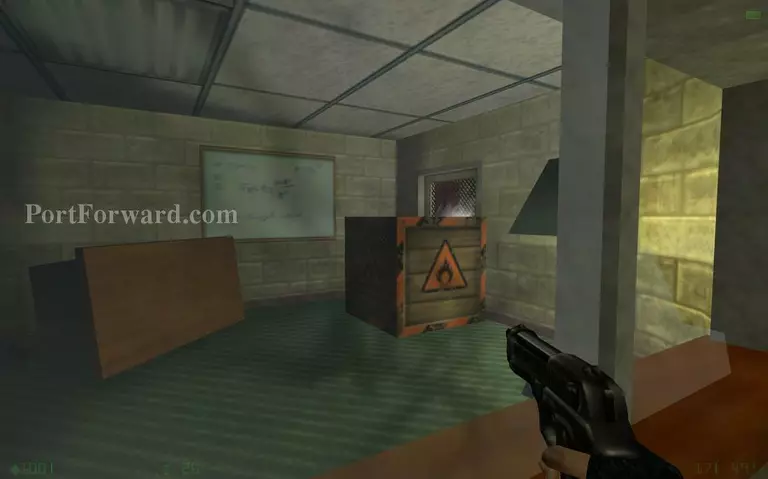
Go towards the box with red sign.
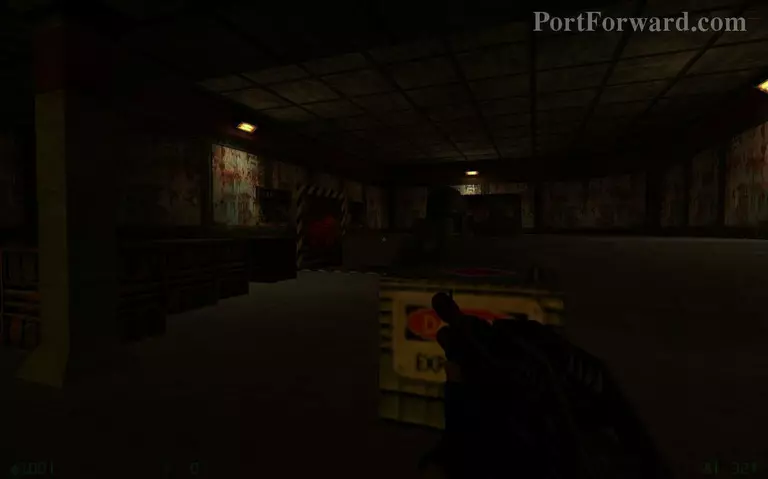 Half-Life: Opposing Force Walkthrough - Half Life-Opposing-Force 99
Push the box with the danger sign forward.
 Half-Life: Opposing Force Walkthrough - Half Life-Opposing-Force 100
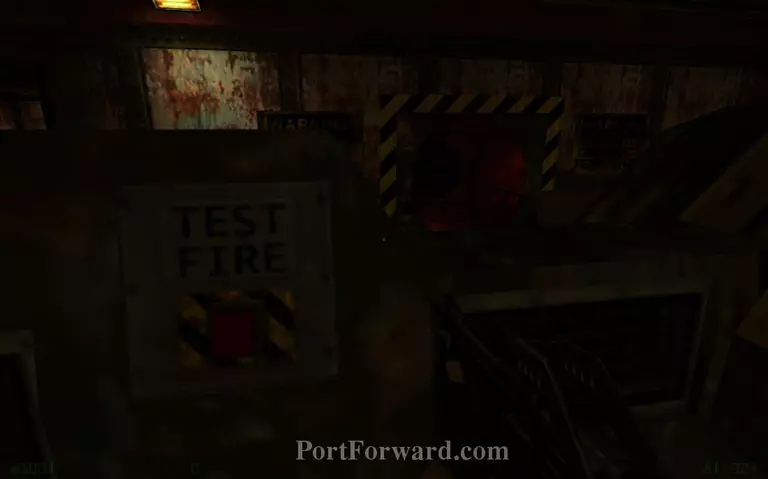
You need to push the explosives box in the place beyound the striped line.
 Half-Life: Opposing Force Walkthrough - Half Life-Opposing-Force 101
Press the test fire button that is near you to set off a chain explosion.
 Half-Life: Opposing Force Walkthrough - Half Life-Opposing-Force 102
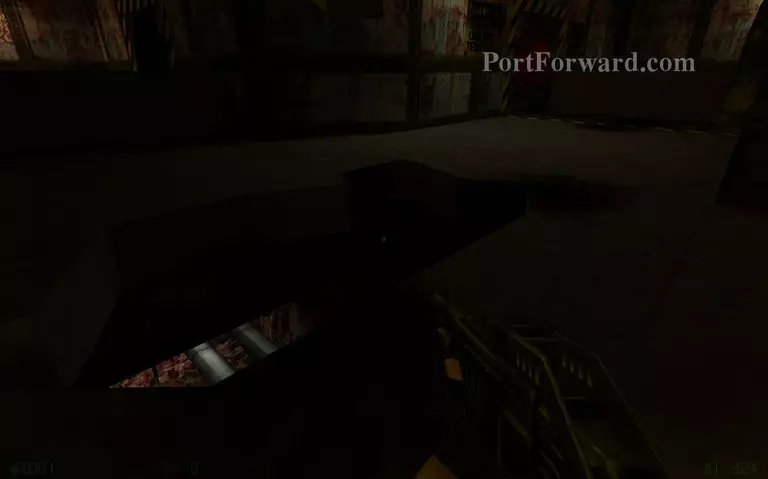
Go down the hole that was created by the explosion.
 Half-Life: Opposing Force Walkthrough - Half Life-Opposing-Force 103
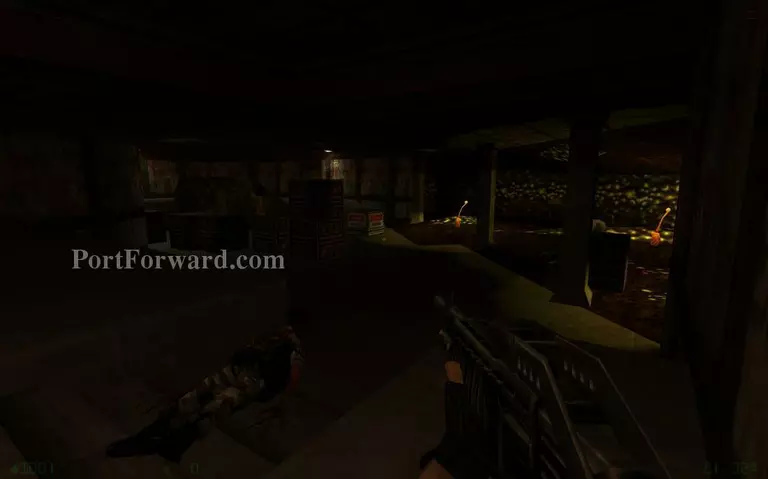
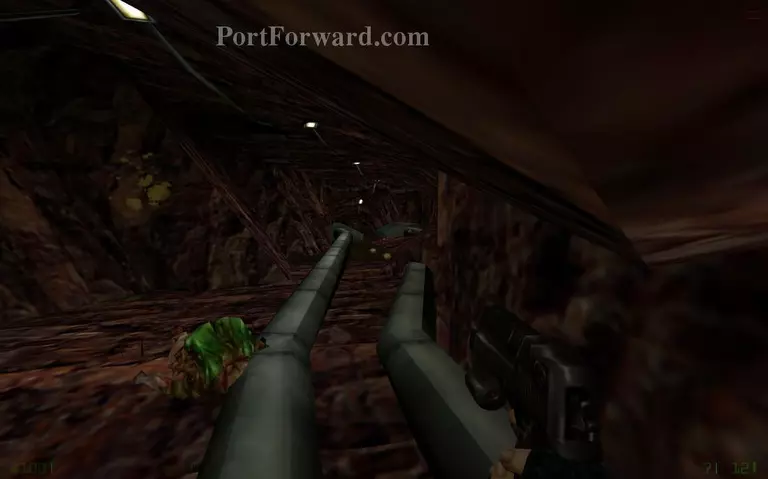
Fight off some aliens as you go down the cave.
 Half-Life: Opposing Force Walkthrough - Half Life-Opposing-Force 104
Follow the pipes that go down.
 Half-Life: Opposing Force Walkthrough - Half Life-Opposing-Force 105
Enter the vent.
 Half-Life: Opposing Force Walkthrough - Half Life-Opposing-Force 106
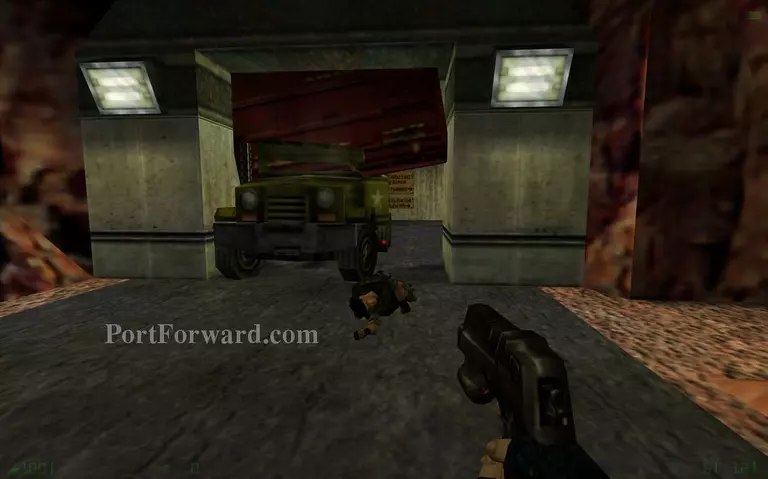
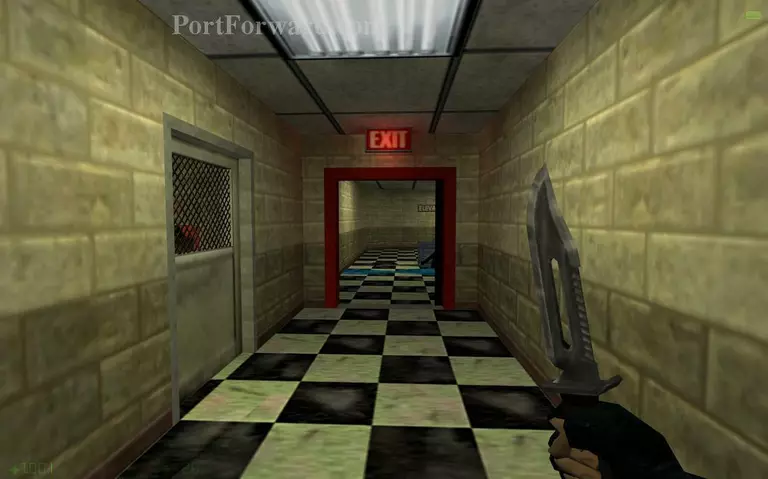
Get down on the road.
 Half-Life: Opposing Force Walkthrough - Half Life-Opposing-Force 107
The dying soldier will give you some info.
 Half-Life: Opposing Force Walkthrough - Half Life-Opposing-Force 108
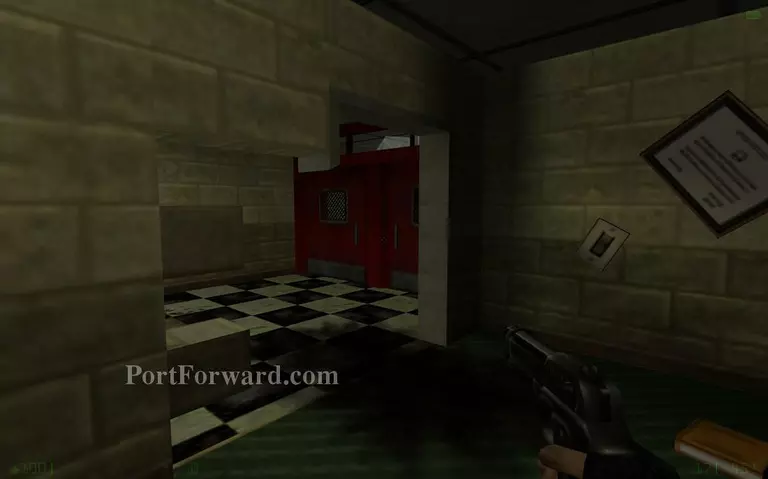
Go to your left from here.
 Half-Life: Opposing Force Walkthrough - Half Life-Opposing-Force 109
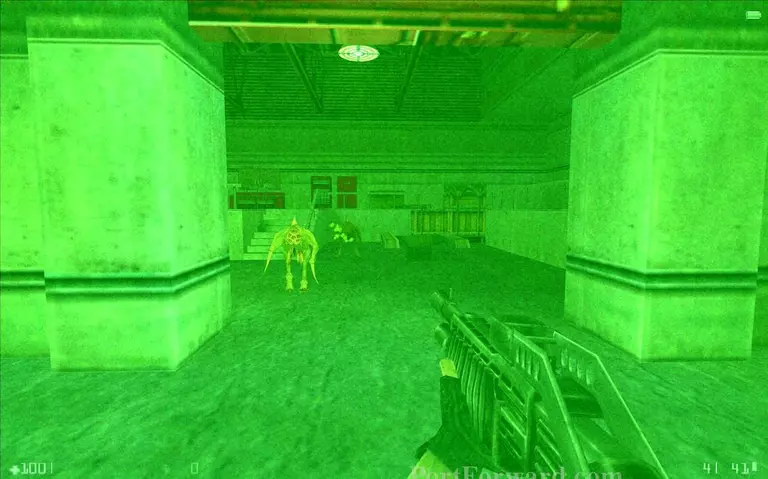
Go past the crates and prepare to fight a new type of alien.
 Half-Life: Opposing Force Walkthrough - Half Life-Opposing-Force 110
This alien is fast and will rush you down but you can avoid it by going back as it tries to attack. It can shoot spikes as a ranged attack as well.
 Half-Life: Opposing Force Walkthrough - Half Life-Opposing-Force 111
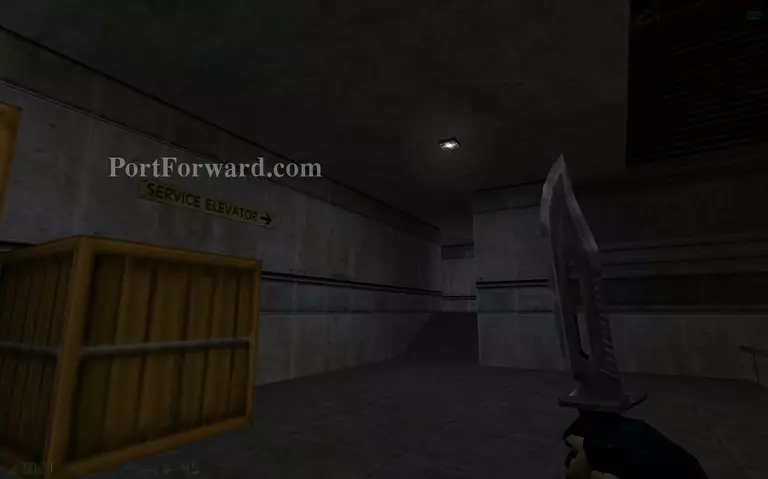
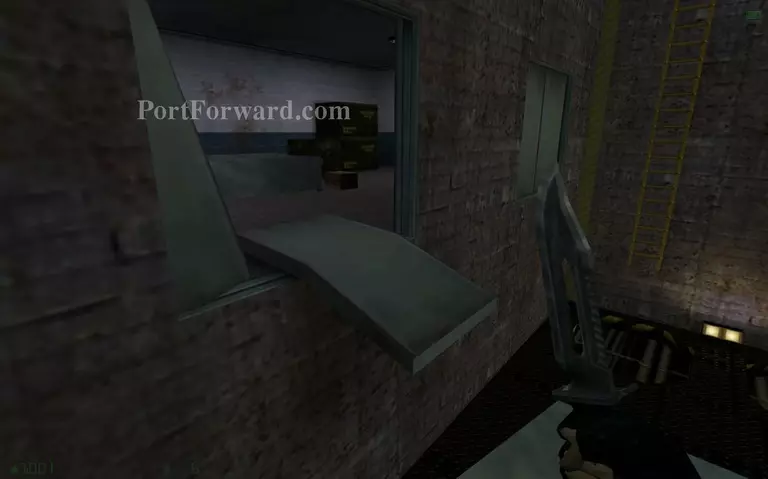
Go up the stairs to the service elevator.
 Half-Life: Opposing Force Walkthrough - Half Life-Opposing-Force 112
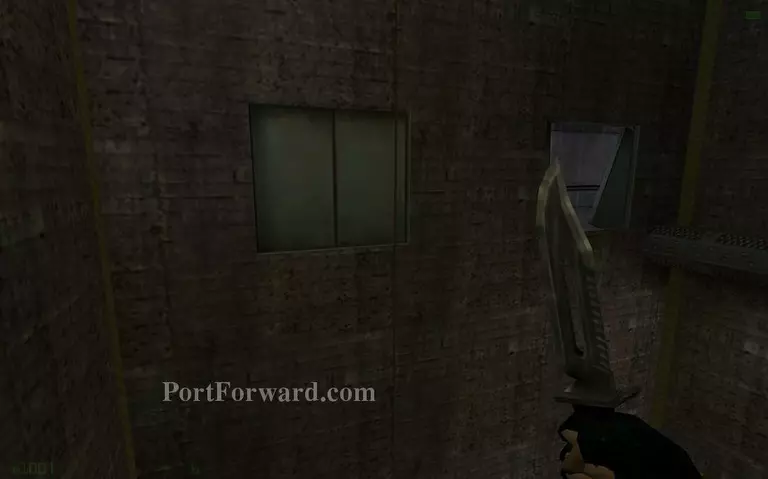
Look outside the elevator shaft.
 Half-Life: Opposing Force Walkthrough - Half Life-Opposing-Force 113
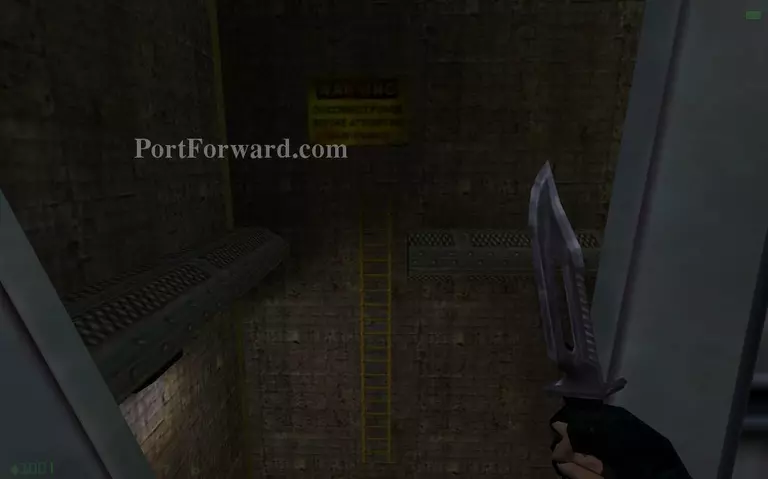
Jump to the ladder.
 Half-Life: Opposing Force Walkthrough - Half Life-Opposing-Force 114
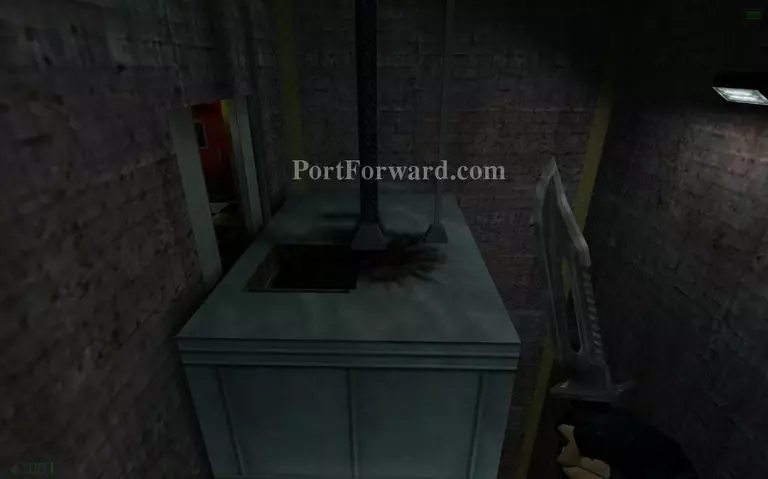
Go down the elevator shaft and enter the elevator.
 Half-Life: Opposing Force Walkthrough - Half Life-Opposing-Force 115
You can climb up the elevator vent here.
 Half-Life: Opposing Force Walkthrough - Half Life-Opposing-Force 116
Jump from the elevator to the fallen door here.
 Half-Life: Opposing Force Walkthrough - Half Life-Opposing-Force 117
Go through here and try to avoid the cable at the center.
 Half-Life: Opposing Force Walkthrough - Half Life-Opposing-Force 118
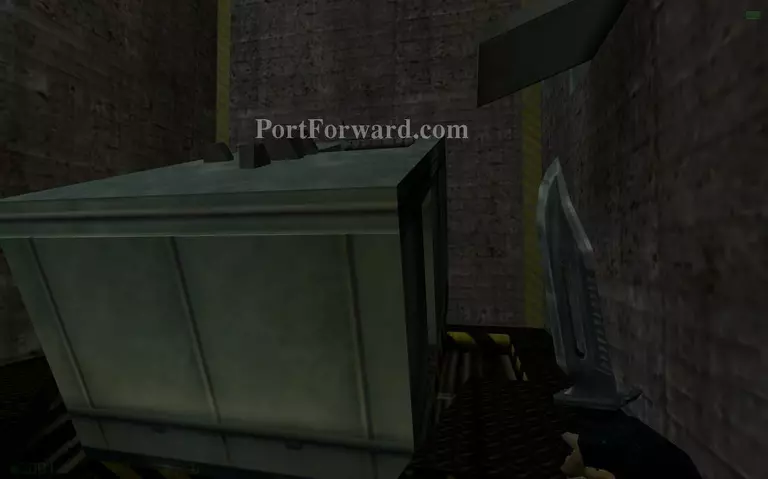
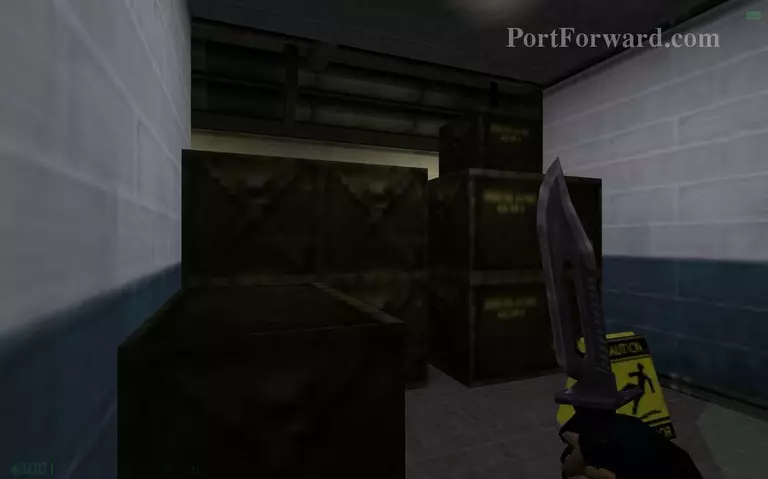
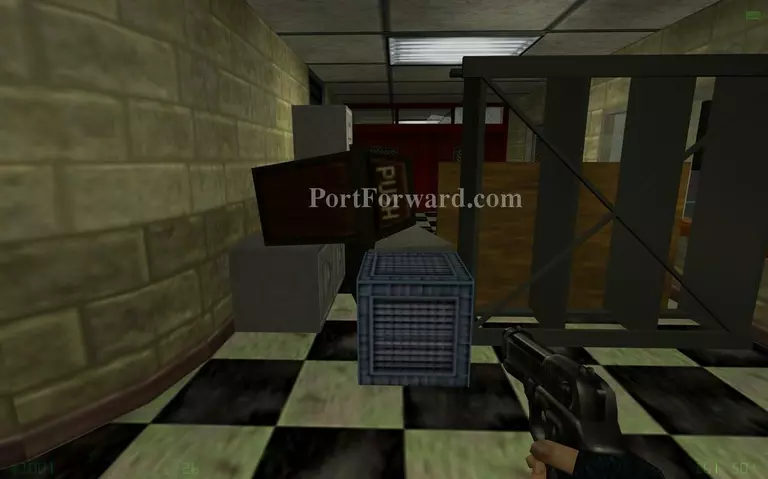
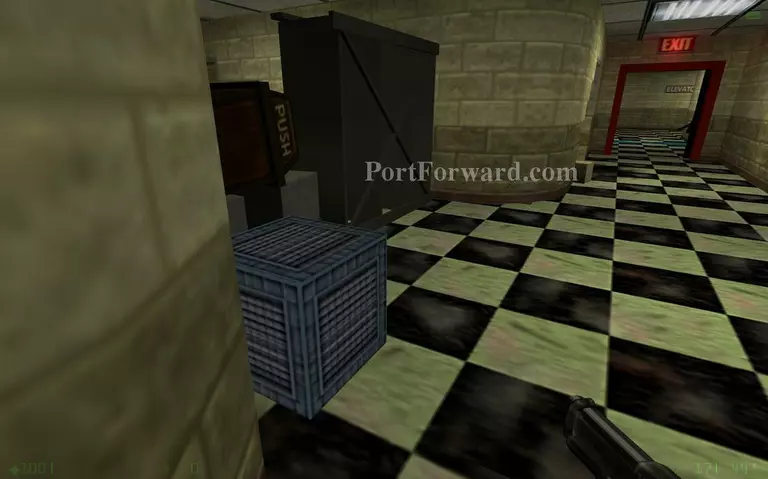
Jump up the crates here.
 Half-Life: Opposing Force Walkthrough - Half Life-Opposing-Force 119
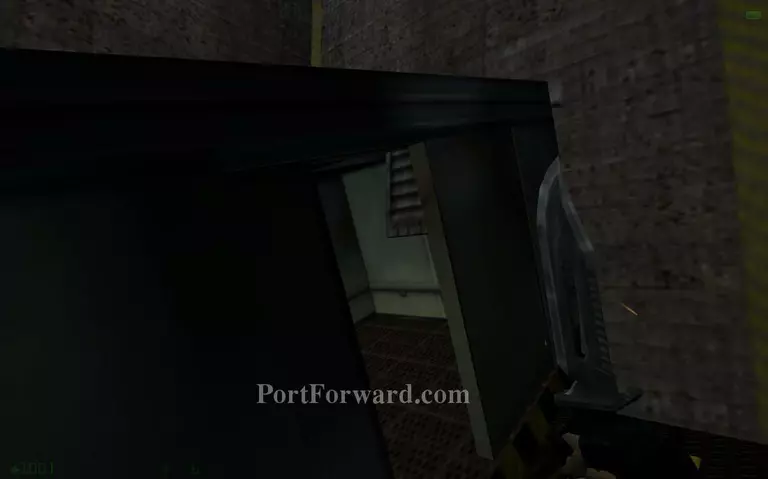
Go to your right and enter the place with grates.
 Half-Life: Opposing Force Walkthrough - Half Life-Opposing-Force 120
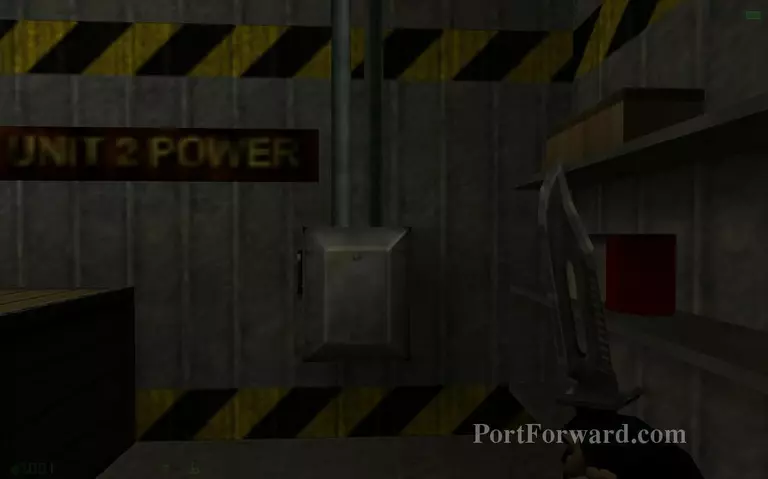
Cut the power from this switch.
 Half-Life: Opposing Force Walkthrough - Half Life-Opposing-Force 121
Get back to the elevator shaft and jump on the cable to climb up.
 Half-Life: Opposing Force Walkthrough - Half Life-Opposing-Force 122
Jump on top of the elevator. Try to swing from the rope so the jump is easier.
 Half-Life: Opposing Force Walkthrough - Half Life-Opposing-Force 123
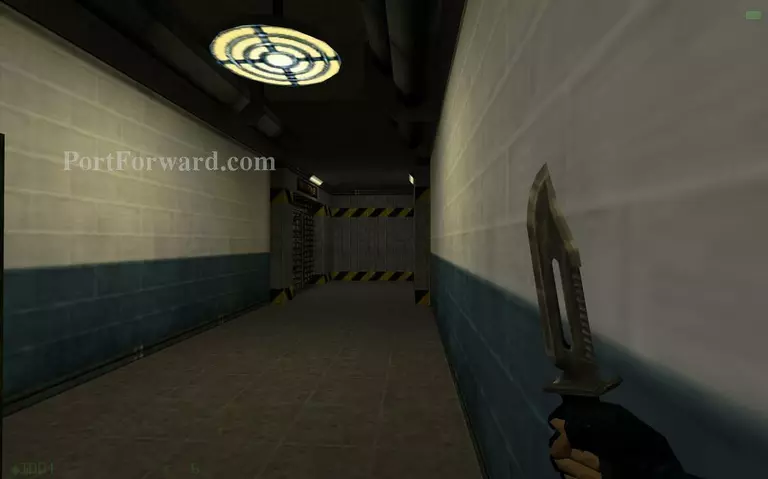
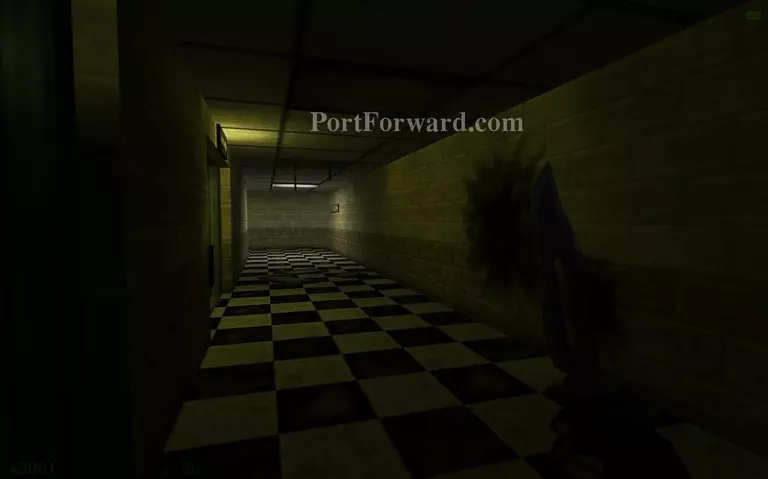
Go down the corridor.
 Half-Life: Opposing Force Walkthrough - Half Life-Opposing-Force 124
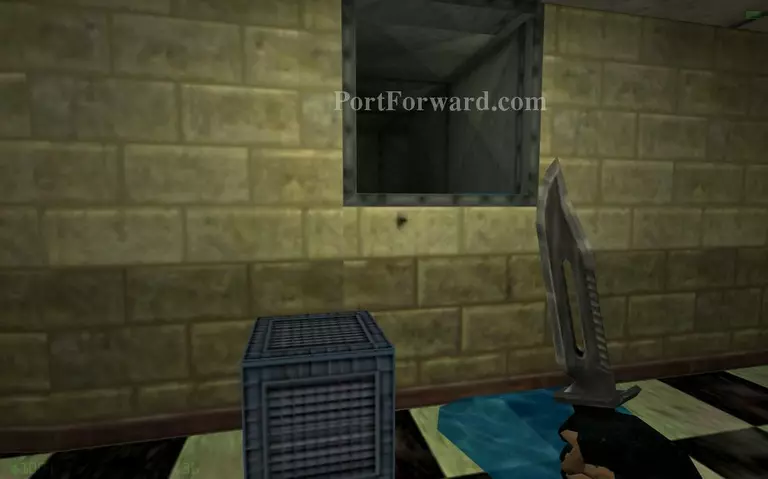
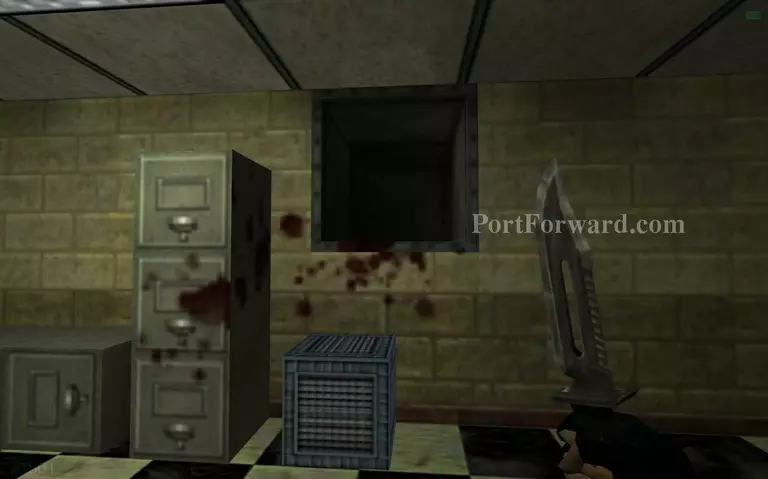
Push the small box under the vent to get inside it.
 Half-Life: Opposing Force Walkthrough - Half Life-Opposing-Force 125
Exit through the destroyed wall.
 Half-Life: Opposing Force Walkthrough - Half Life-Opposing-Force 126
Get back to the corridor where you left the small box.
 Half-Life: Opposing Force Walkthrough - Half Life-Opposing-Force 127
Push the box near the barricaded corridor to jump to the other side.
 Half-Life: Opposing Force Walkthrough - Half Life-Opposing-Force 128
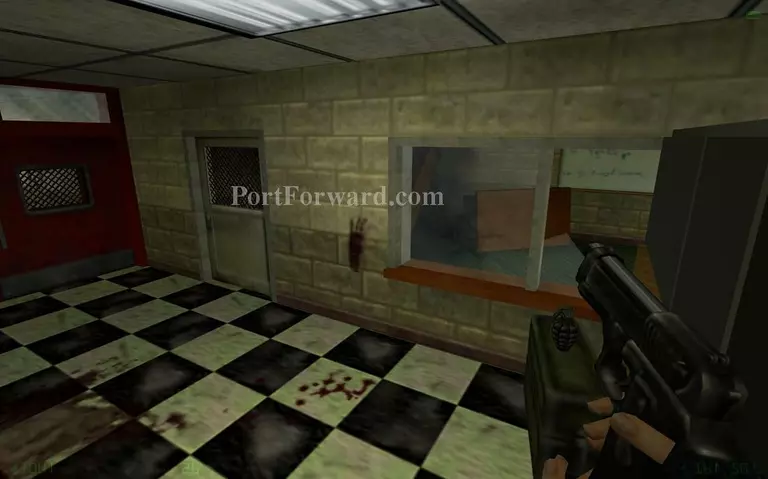
Pick up a grenade from here.
 Half-Life: Opposing Force Walkthrough - Half Life-Opposing-Force 129
Use the grenade to throw it at the explosive box.
 Half-Life: Opposing Force Walkthrough - Half Life-Opposing-Force 130
The explosion will create a big hole in the wall.
 Half-Life: Opposing Force Walkthrough - Half Life-Opposing-Force 131
Push the small box yet again. This time through the hole you just created.
 Half-Life: Opposing Force Walkthrough - Half Life-Opposing-Force 132
Push the box under the next vent and enter.
 Half-Life: Opposing Force Walkthrough - Half Life-Opposing-Force 133
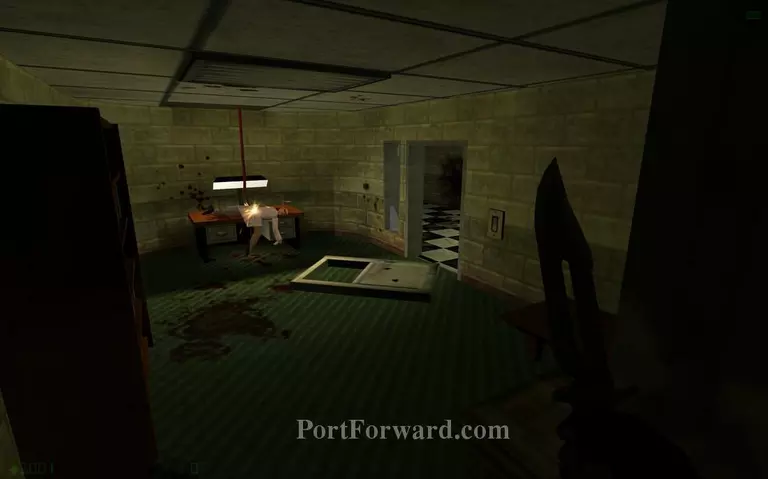
Go through the office.
 Half-Life: Opposing Force Walkthrough - Half Life-Opposing-Force 134
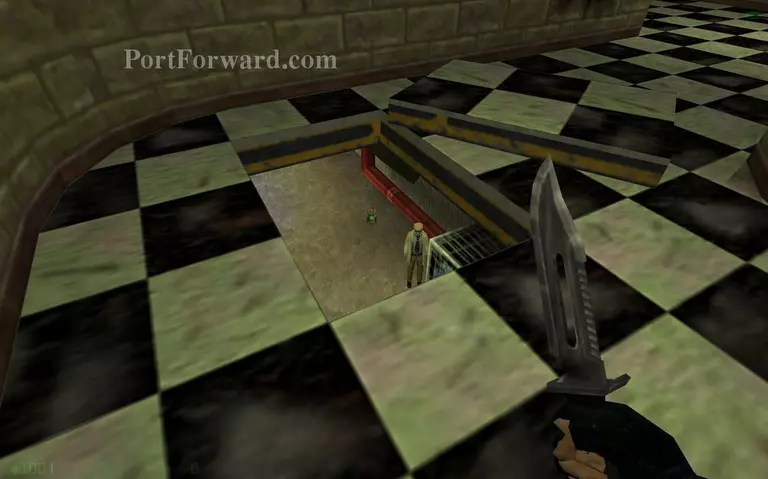
Jump down here.
 Half-Life: Opposing Force Walkthrough - Half Life-Opposing-Force 135
Pull the lever.
 Half-Life: Opposing Force Walkthrough - Half Life-Opposing-Force 136
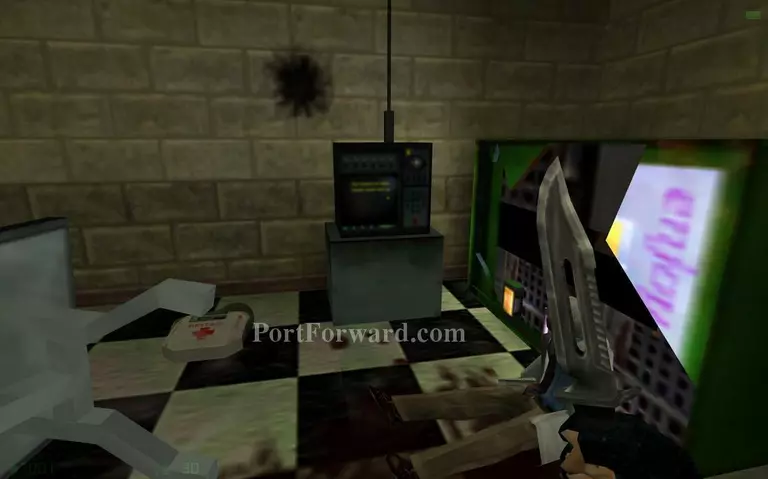
Use the nearby radio.
 Half-Life: Opposing Force Walkthrough - Half Life-Opposing-Force 137
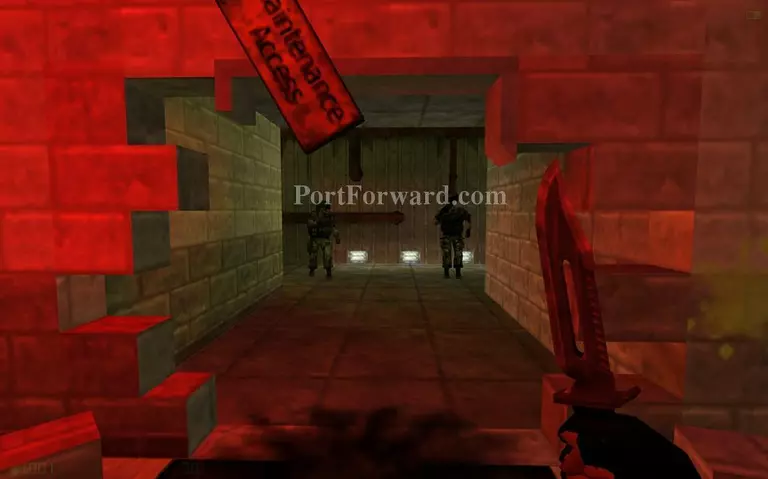
A few soldiers will crash through the maintenance access.
 Half-Life: Opposing Force Walkthrough - Half Life-Opposing-Force 138
Get the engineer soldier to follow you to the door that is nearby. He will open it with his blow-torch.
 Half-Life: Opposing Force Walkthrough - Half Life-Opposing-Force 139
You can order both soldiers to follow you in the elevator. You can use the extra firepower.
More Half-Life: Opposing Force Walkthroughs
This Half-Life: Opposing Force walkthrough is divided into 12 total pages.


