You can jump to nearby pages of the game using the links above.
Vicarious Reality
Half-Life: Opposing Force Walkthrough - Half Life-Opposing-Force 223
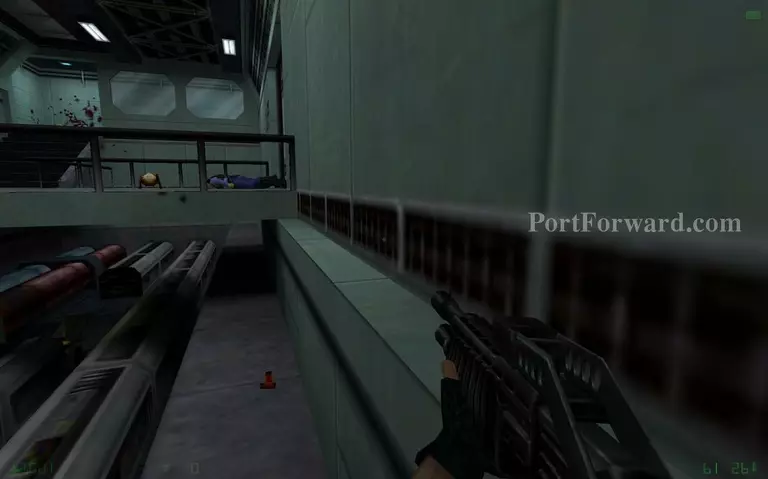
Jump up the right ledge to reach the top.
Half-Life: Opposing Force Walkthrough - Half Life-Opposing-Force 224
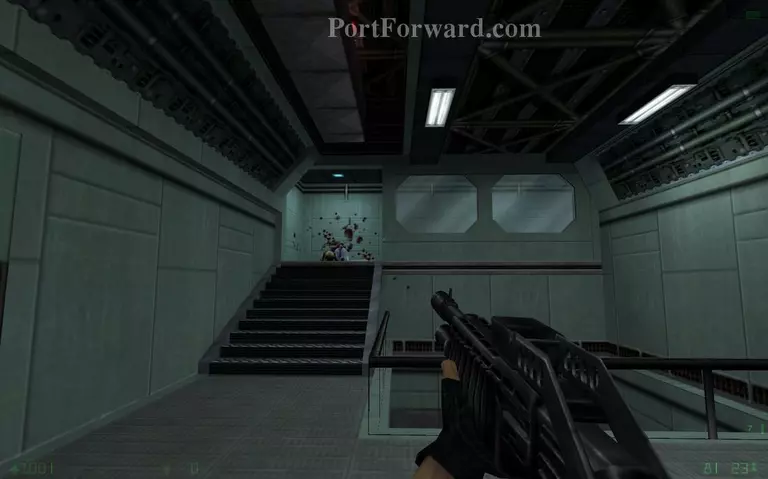
Go up the stairs.
Half-Life: Opposing Force Walkthrough - Half Life-Opposing-Force 225
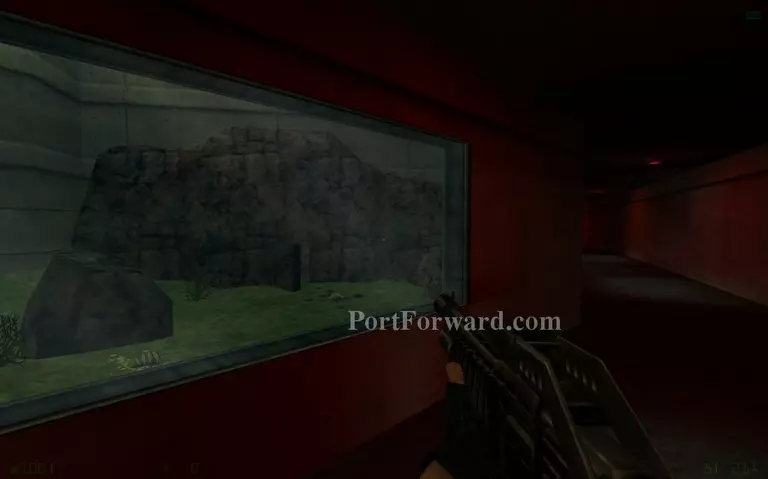
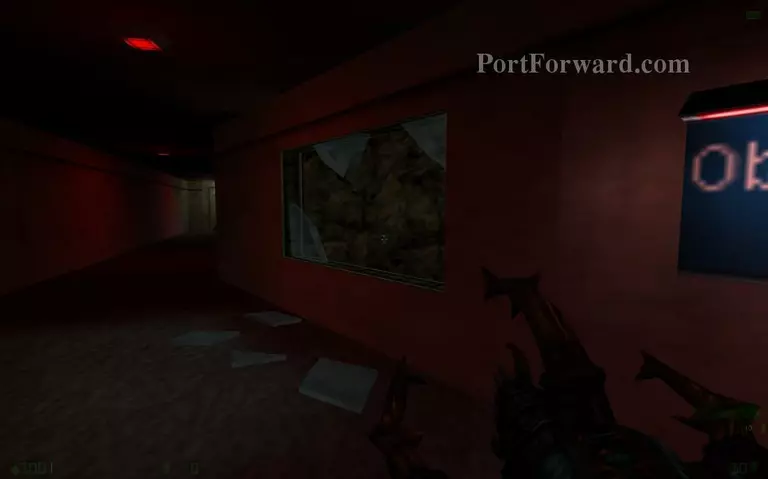
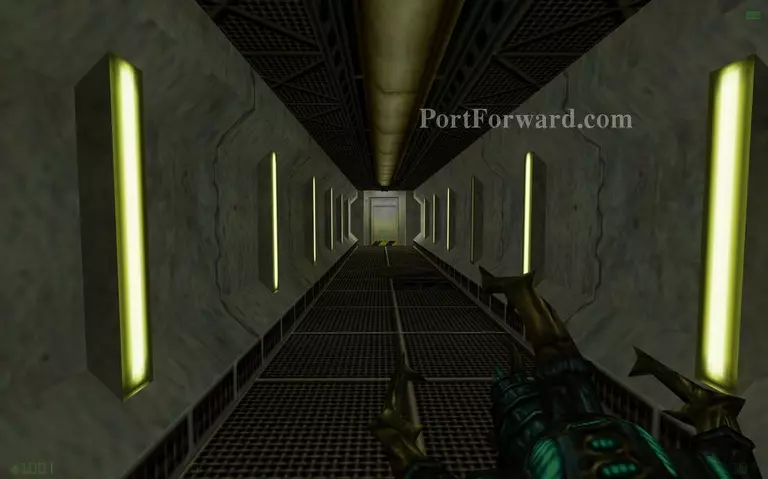
Walk through the observation corridor.
Half-Life: Opposing Force Walkthrough - Half Life-Opposing-Force 226
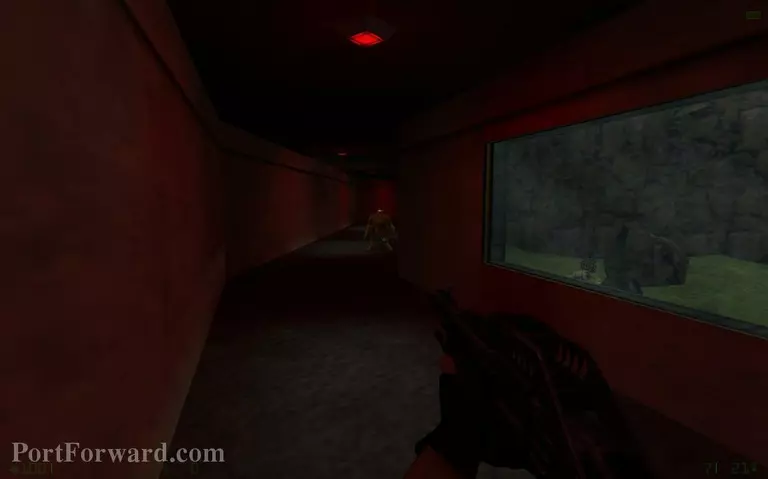
The path will be a dead end. When you go back you will be attacked by aliens.
Half-Life: Opposing Force Walkthrough - Half Life-Opposing-Force 227
Jump through the broken window.
Half-Life: Opposing Force Walkthrough - Half Life-Opposing-Force 228
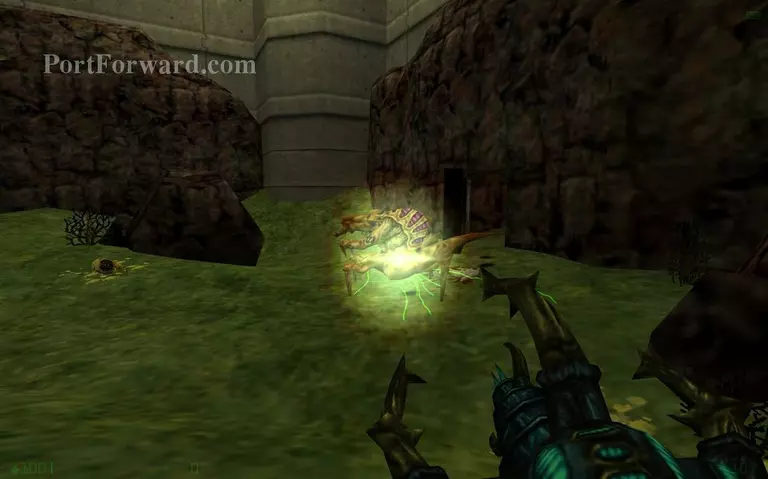
A big alien will teleport and block your way. It can fire bolts of electricity in a straight line but you can dodge them by side stepping. If you don't want to fight it you can just lure it away and then enter the passage in the rocks.
Half-Life: Opposing Force Walkthrough - Half Life-Opposing-Force 229
Use the lift to go up.
Half-Life: Opposing Force Walkthrough - Half Life-Opposing-Force 230
Go towards the elevator on the right.
Half-Life: Opposing Force Walkthrough - Half Life-Opposing-Force 231
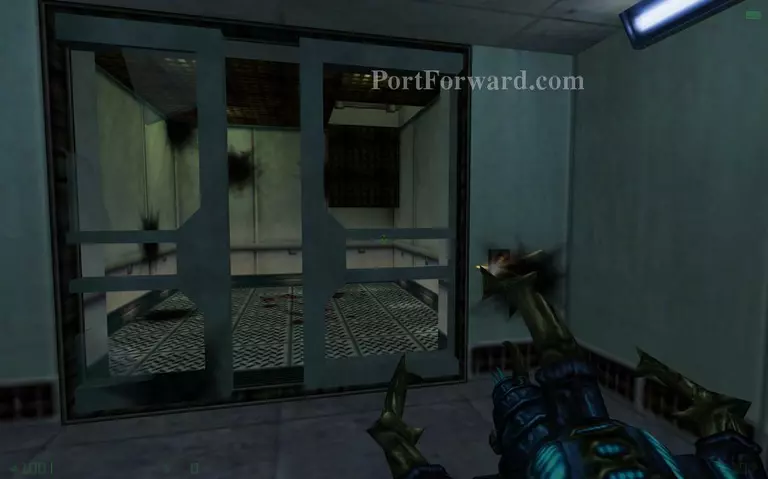
Jump through the door on the right to go inside.
Half-Life: Opposing Force Walkthrough - Half Life-Opposing-Force 232
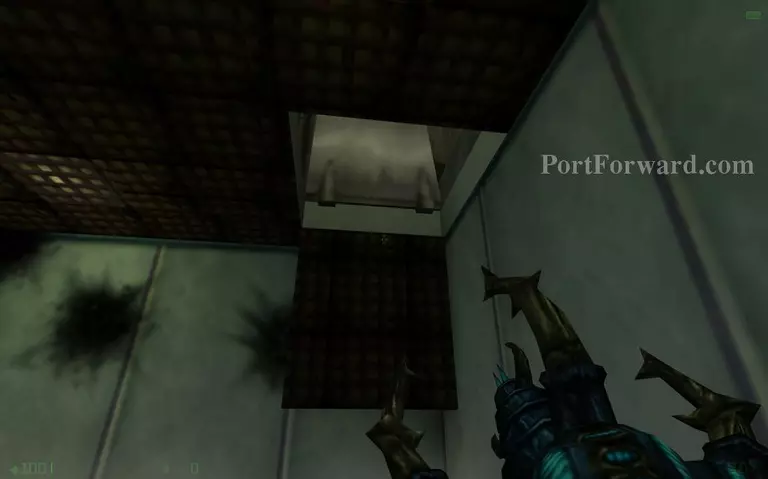
Climb to the elevator hatch.
Half-Life: Opposing Force Walkthrough - Half Life-Opposing-Force 233
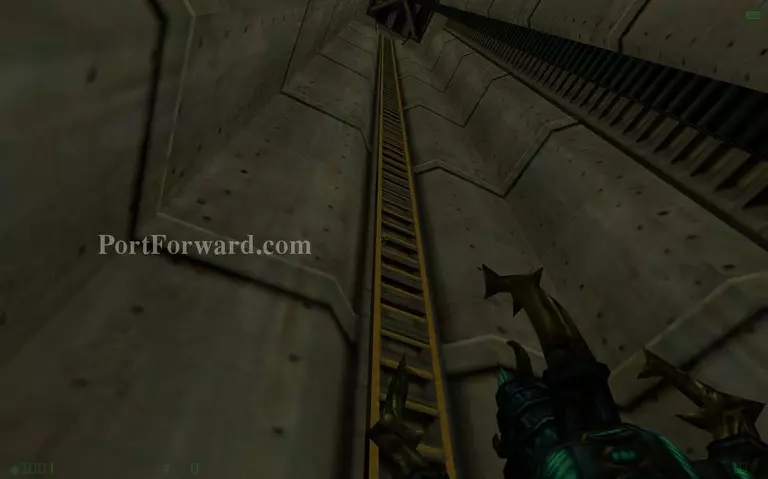
Go up the ladder.
Half-Life: Opposing Force Walkthrough - Half Life-Opposing-Force 234
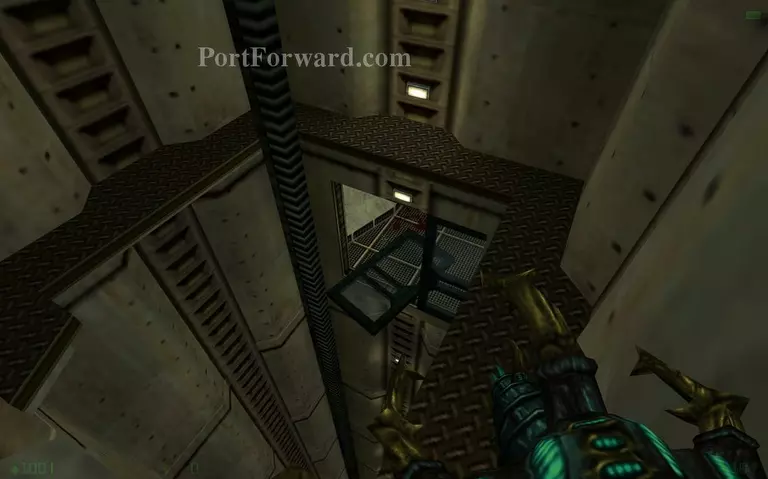
Jump at the fallen door.
Half-Life: Opposing Force Walkthrough - Half Life-Opposing-Force 235
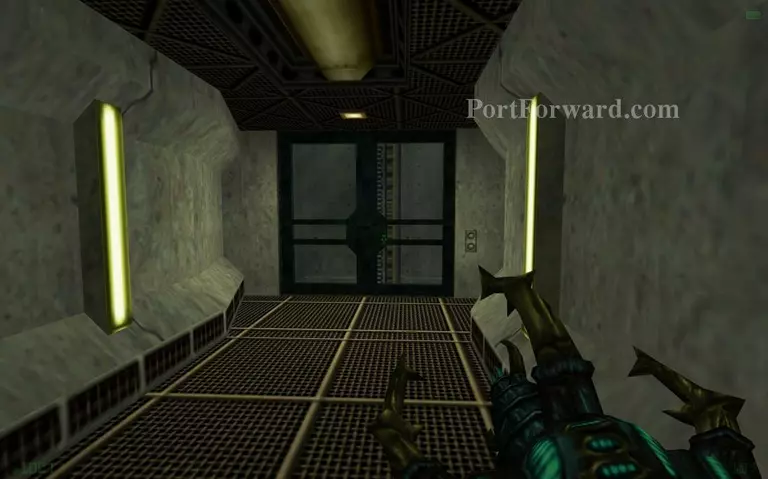
Reach the end of the corridor.
Half-Life: Opposing Force Walkthrough - Half Life-Opposing-Force 236
Use the elevator.
Half-Life: Opposing Force Walkthrough - Half Life-Opposing-Force 237
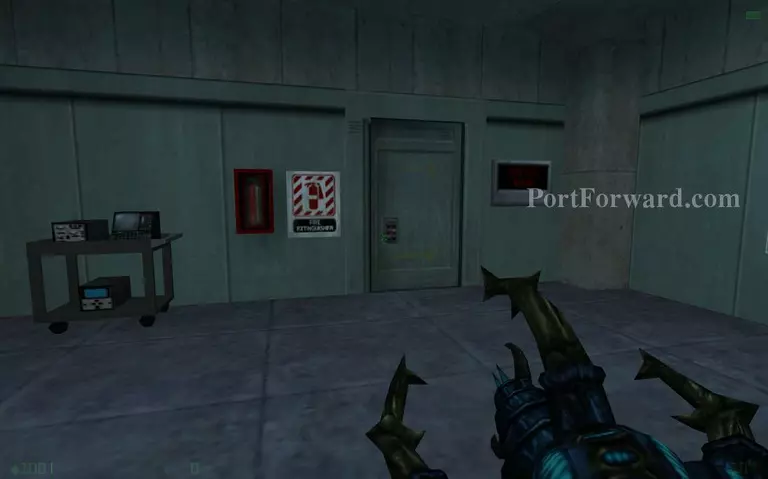
Enter a door next to a fire extinguisher.
Half-Life: Opposing Force Walkthrough - Half Life-Opposing-Force 238
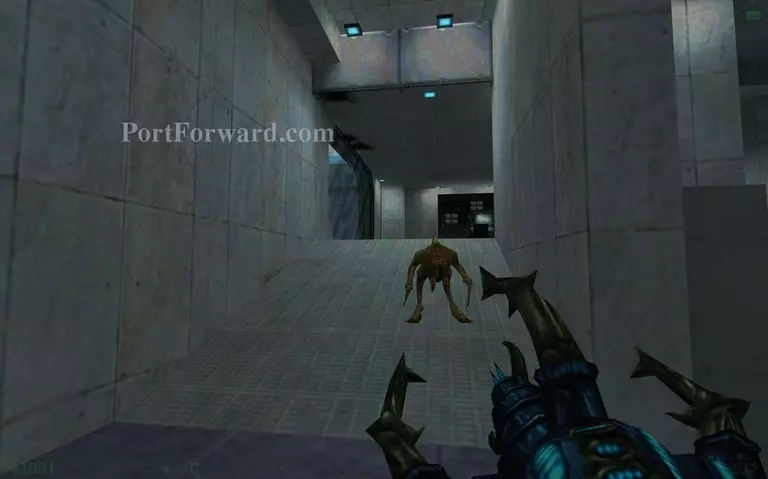
Fight some aliens and go up.
Half-Life: Opposing Force Walkthrough - Half Life-Opposing-Force 239
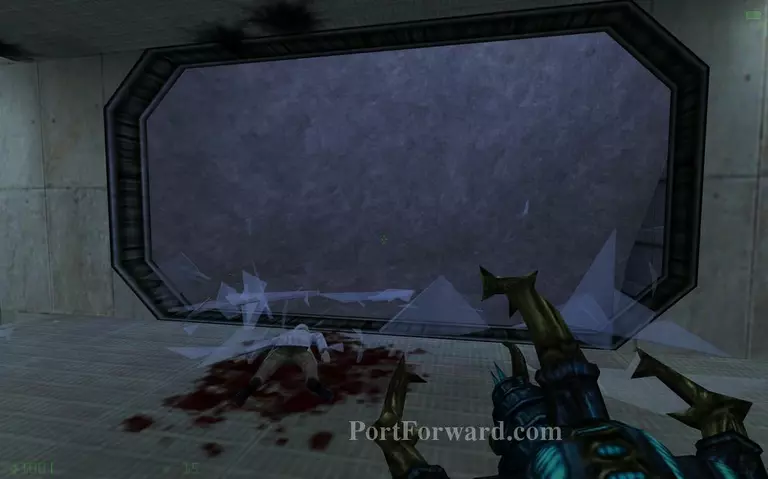
Shoot the window to break the glass.
Half-Life: Opposing Force Walkthrough - Half Life-Opposing-Force 240
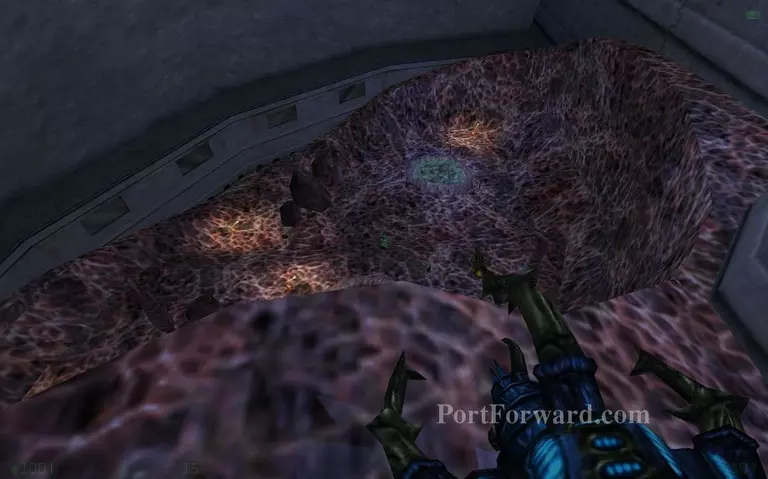
Drop down in the alien habitat.
Half-Life: Opposing Force Walkthrough - Half Life-Opposing-Force 241
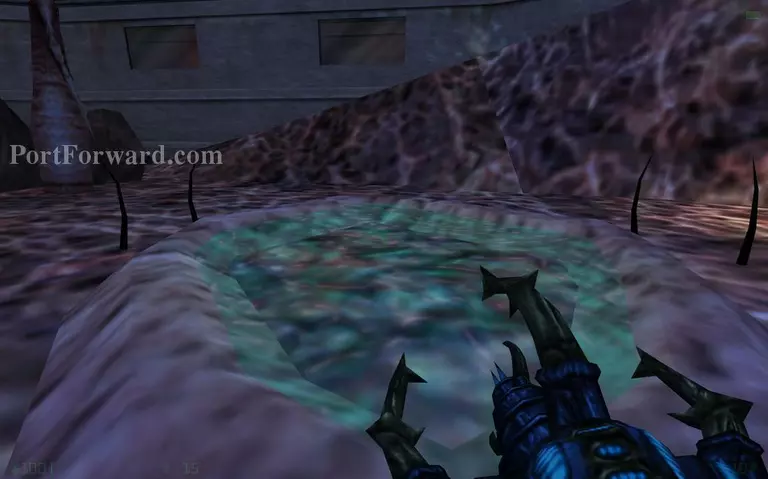
The blue pool can heal your life.
Half-Life: Opposing Force Walkthrough - Half Life-Opposing-Force 242
The green balls are ammo for a weapon you will pick later. They replenish over time.
Half-Life: Opposing Force Walkthrough - Half Life-Opposing-Force 243
Enter the passage embedded in rock.
Half-Life: Opposing Force Walkthrough - Half Life-Opposing-Force 244
Use the lift.
Half-Life: Opposing Force Walkthrough - Half Life-Opposing-Force 245
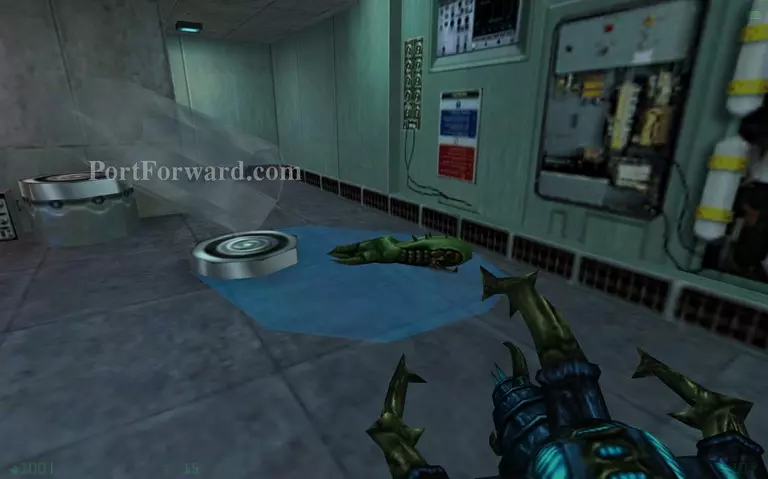
Pick up the green grasshopper looking alien.
Half-Life: Opposing Force Walkthrough - Half Life-Opposing-Force 246
This alien weapon is like a grenade launcher. The ammo it uses explodes on impact and is very powerful.
Half-Life: Opposing Force Walkthrough - Half Life-Opposing-Force 247
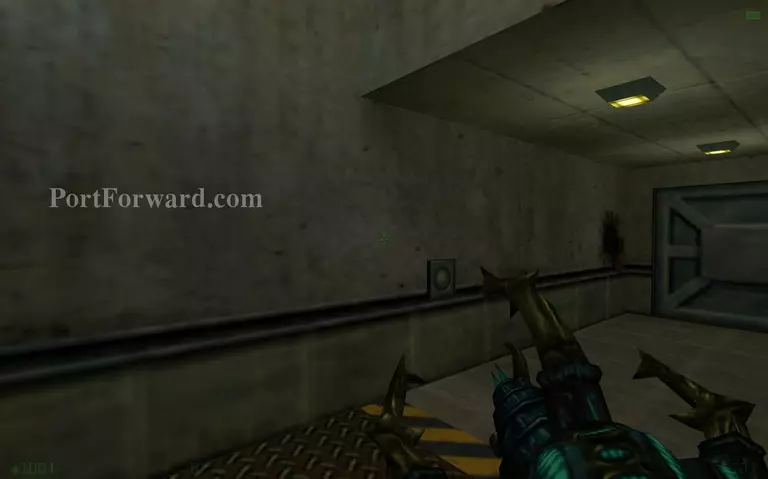
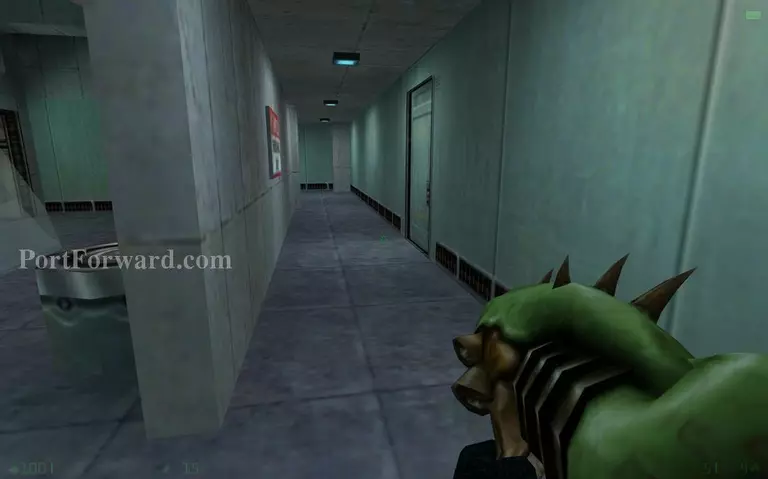
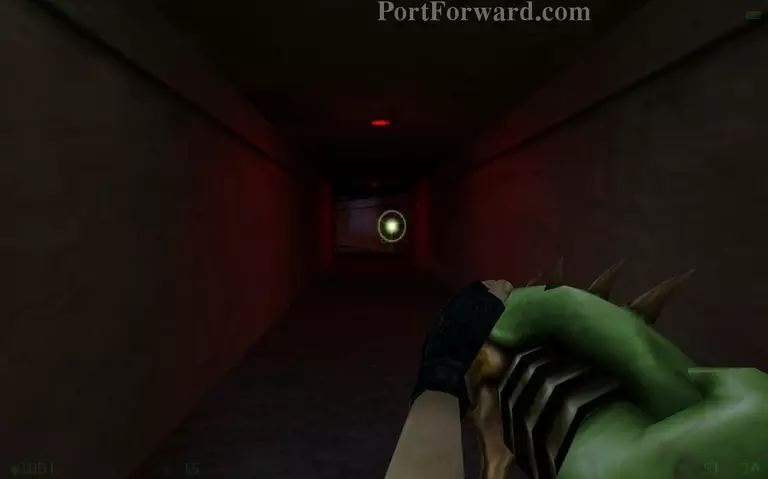
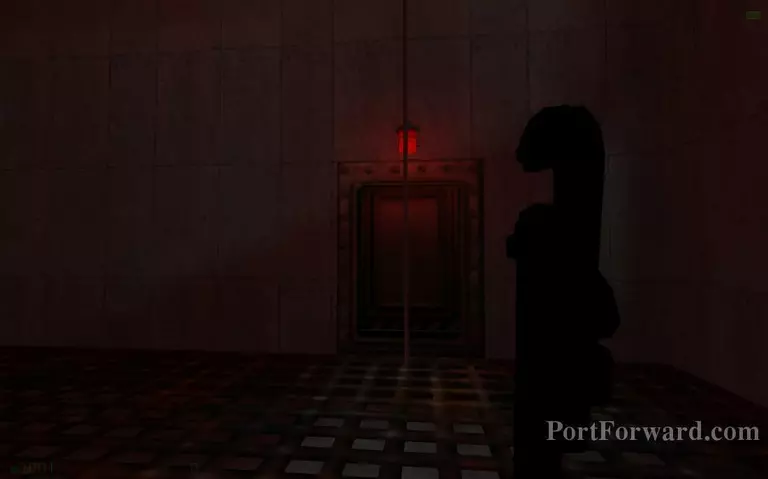
Follow the light down the corridor.
Half-Life: Opposing Force Walkthrough - Half Life-Opposing-Force 248
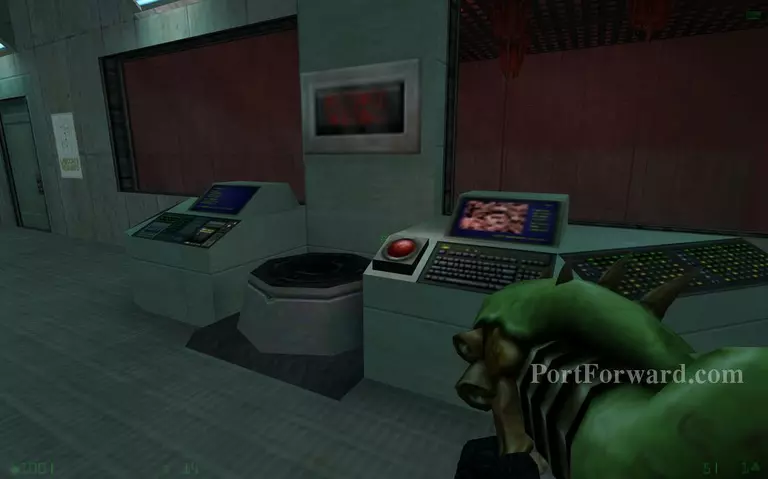
Pressing the red button will show a hologram of a scientist who will explain that they managed to create a barnacle weapon.
Half-Life: Opposing Force Walkthrough - Half Life-Opposing-Force 249
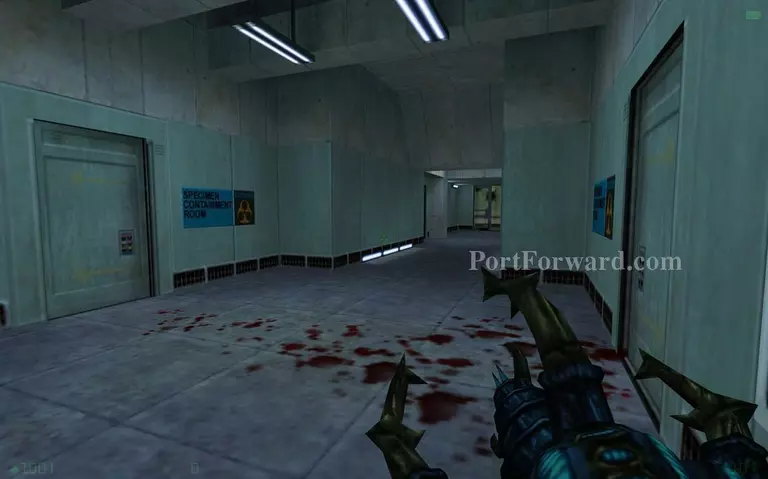
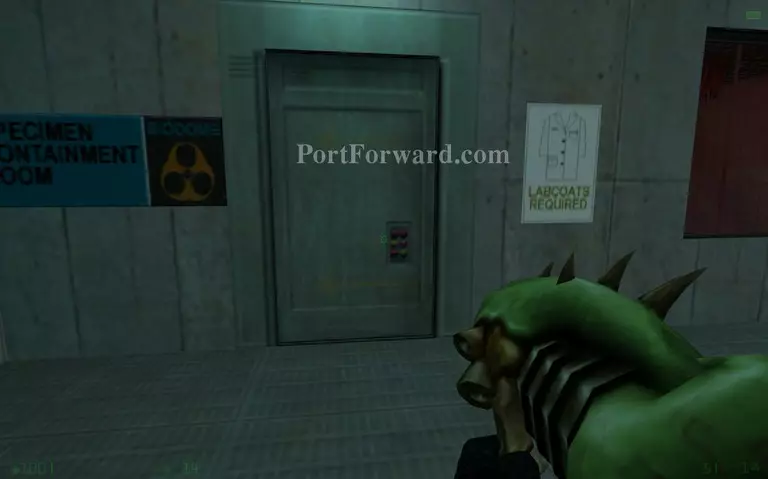
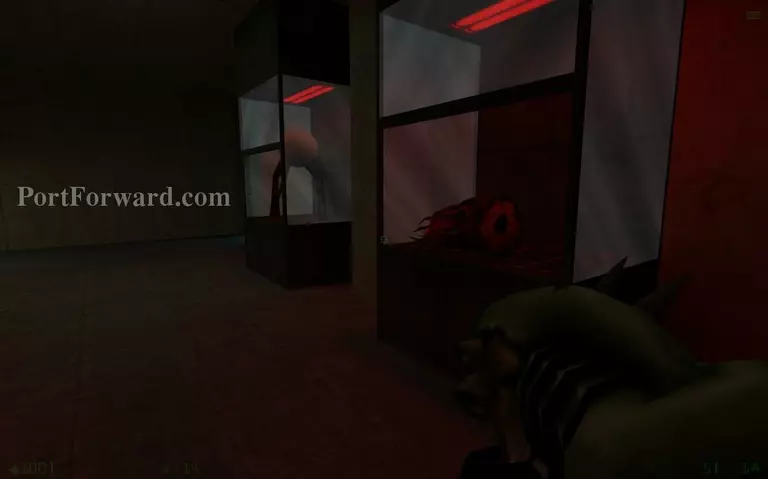
Enter the specimen containment room.
Half-Life: Opposing Force Walkthrough - Half Life-Opposing-Force 250
Go near the barnacle weapon to pick it up.
Half-Life: Opposing Force Walkthrough - Half Life-Opposing-Force 251
The barnacle can latch onto any organic material. Hold left mouse button to pull yourself towards the green goo that sticks to the wall. You can pull yourself towards any green goo you find.
Half-Life: Opposing Force Walkthrough - Half Life-Opposing-Force 252
Avoid the barnacle tongue.
Half-Life: Opposing Force Walkthrough - Half Life-Opposing-Force 253
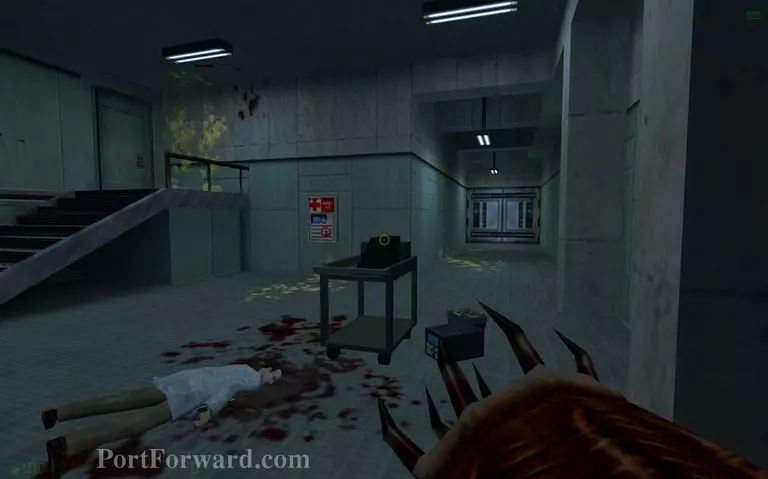
Go to your right.
Half-Life: Opposing Force Walkthrough - Half Life-Opposing-Force 254
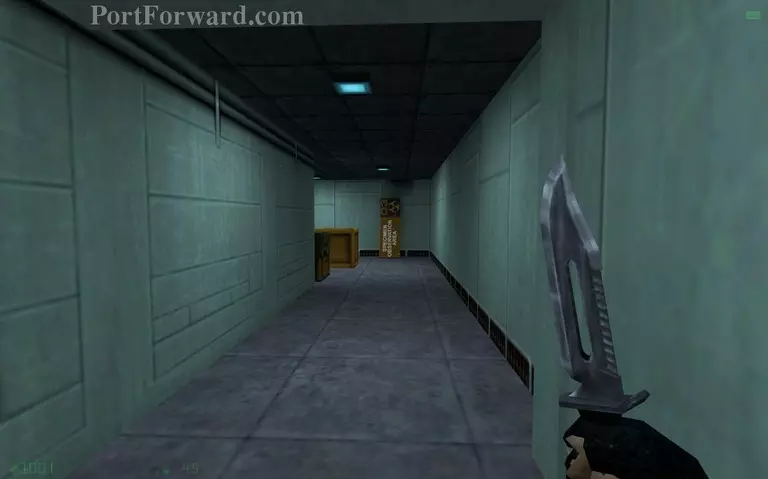
Go past the specimen observation area sign.
Half-Life: Opposing Force Walkthrough - Half Life-Opposing-Force 255
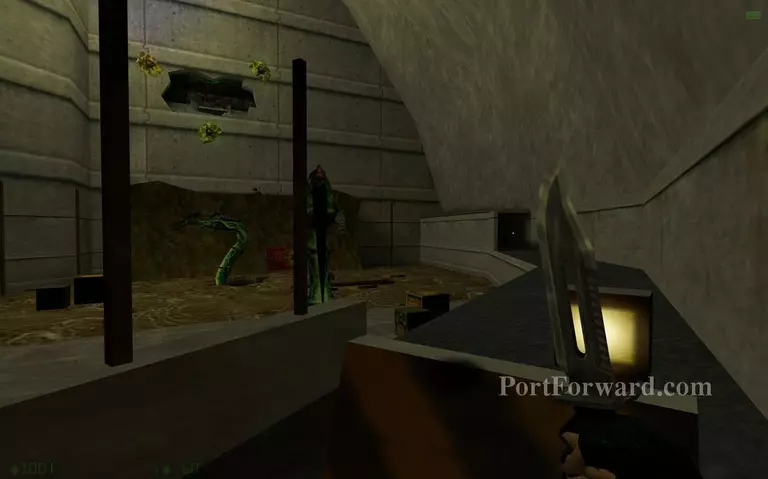
The tentacle aliens cannot be killed but you can stun them with explosives. Just try to avoid them.
Half-Life: Opposing Force Walkthrough - Half Life-Opposing-Force 256
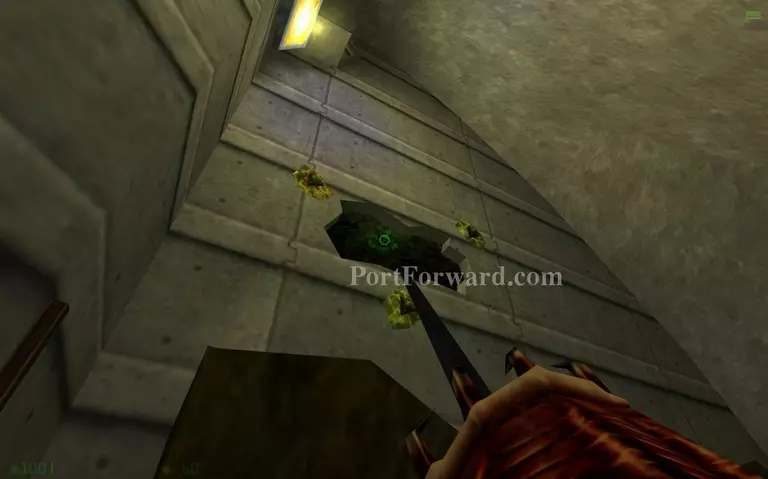
Use the barnacle to pull yourself up to this hole in the wall.
Half-Life: Opposing Force Walkthrough - Half Life-Opposing-Force 257
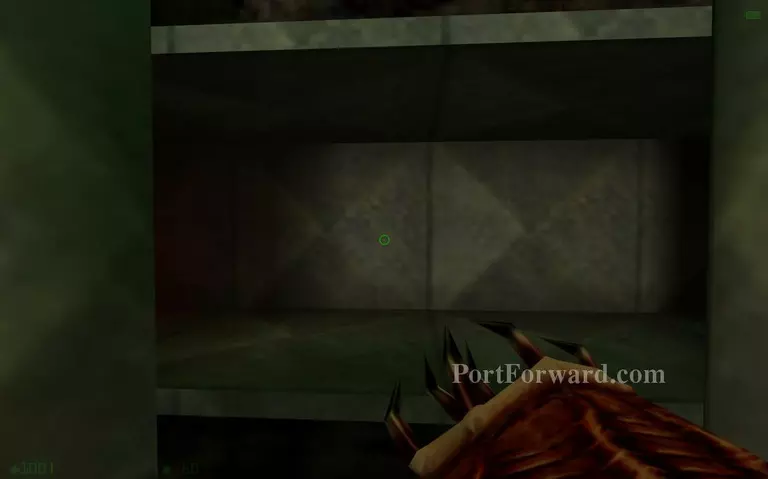
Get in the vent.
Half-Life: Opposing Force Walkthrough - Half Life-Opposing-Force 258
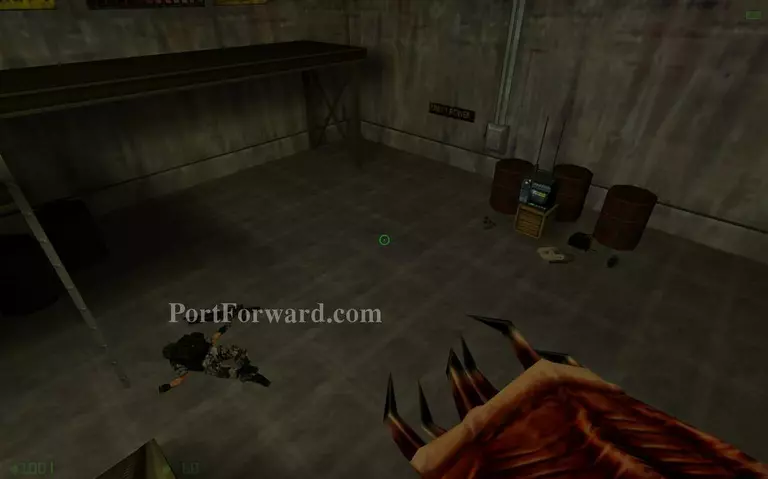
You can use the radio here.
Half-Life: Opposing Force Walkthrough - Half Life-Opposing-Force 259
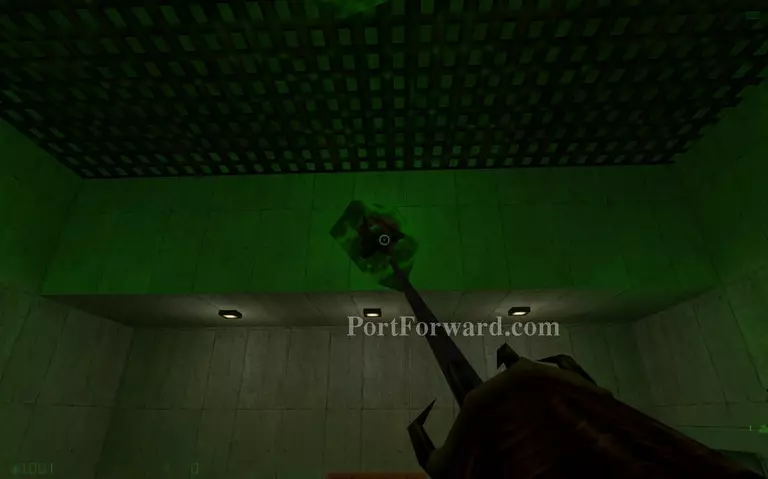
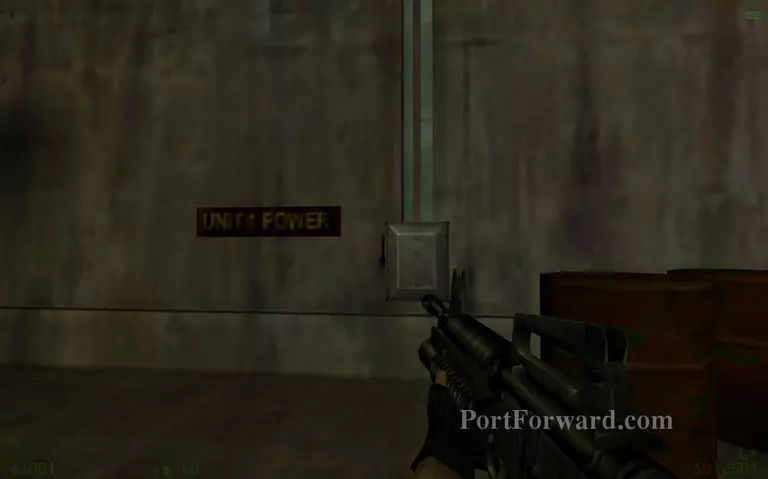
Cut the power from the lever.
Half-Life: Opposing Force Walkthrough - Half Life-Opposing-Force 260
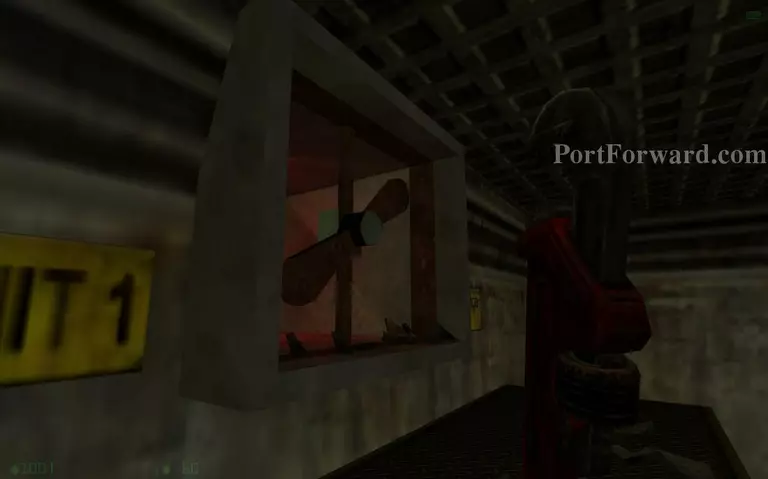
Climb up and enter the vent with the propeller you just stopped.
More Half-Life: Opposing Force Walkthroughs
This Half-Life: Opposing Force walkthrough is divided into 12 total pages.