This Half-Life: Opposing Force walkthrough is divided into 12 total pages.
You can jump to nearby pages of the game using the links above.
Foxtrot Uniform
 Half-Life: Opposing Force Walkthrough - Half Life-Opposing-Force 293
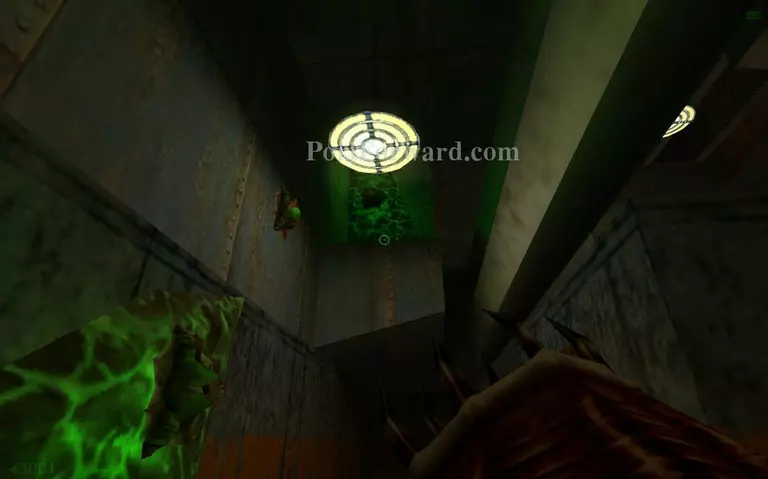
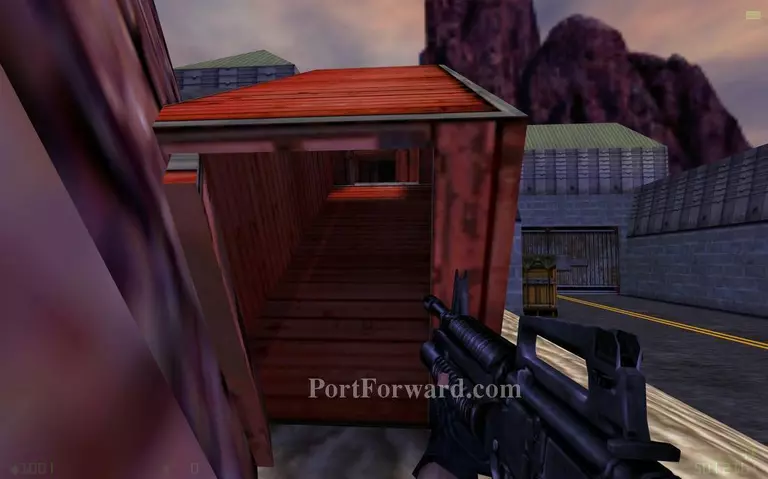
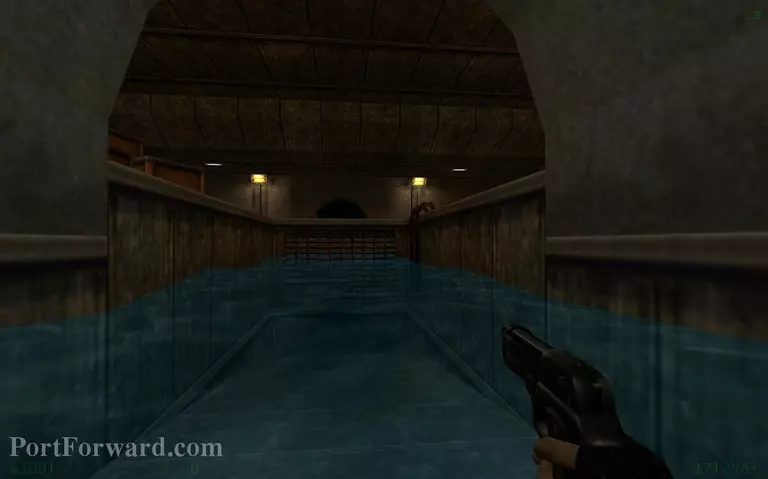
Pull up the green wall.
 Half-Life: Opposing Force Walkthrough - Half Life-Opposing-Force 294
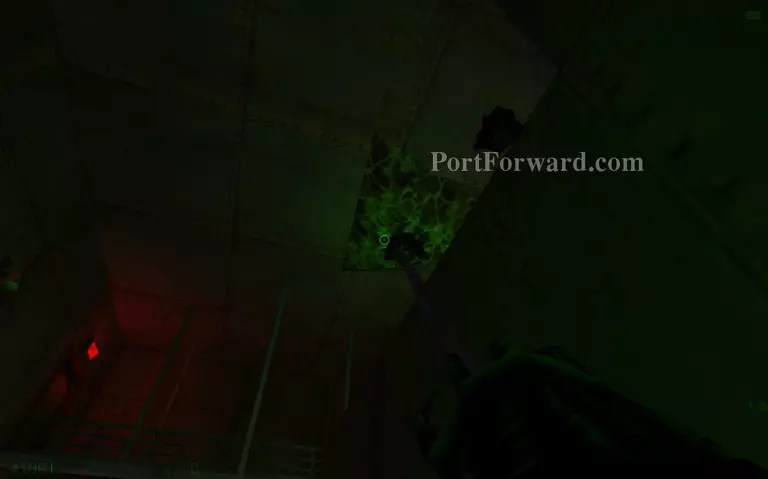
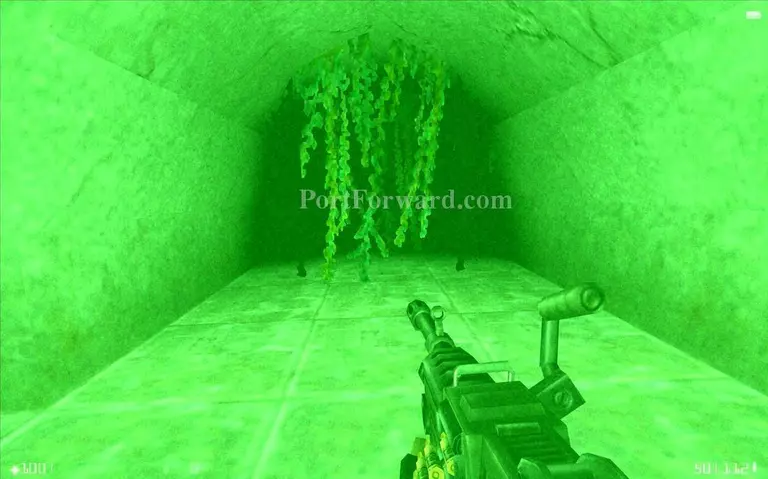
Latch onto the green goo on the ceiling here.
 Half-Life: Opposing Force Walkthrough - Half Life-Opposing-Force 295
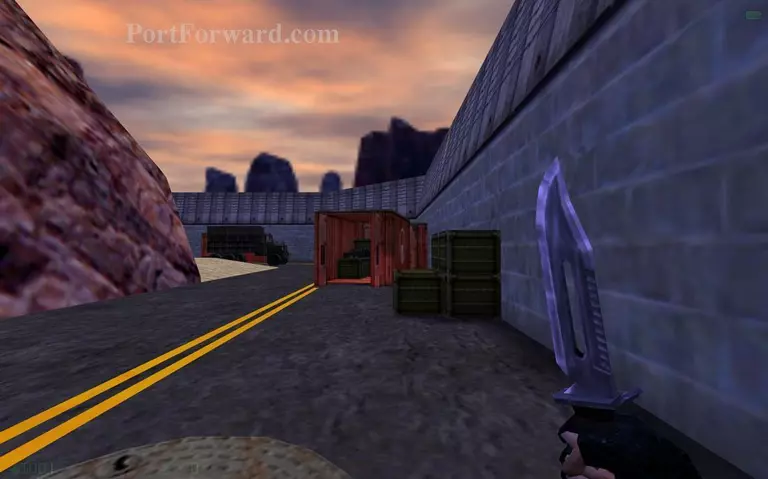
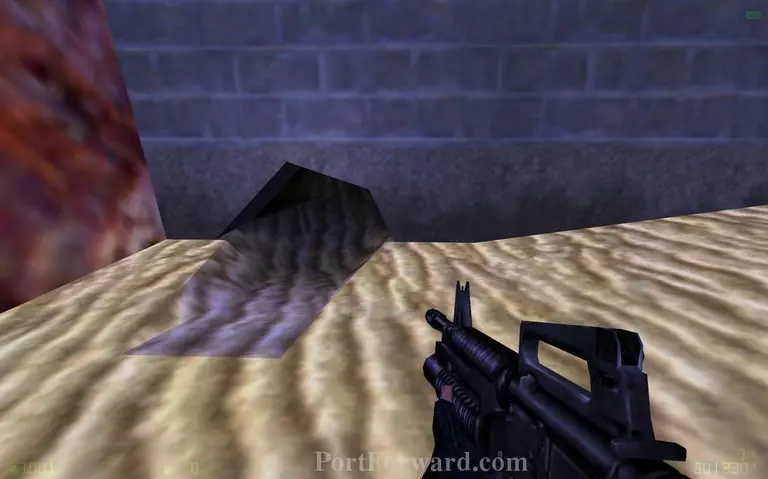
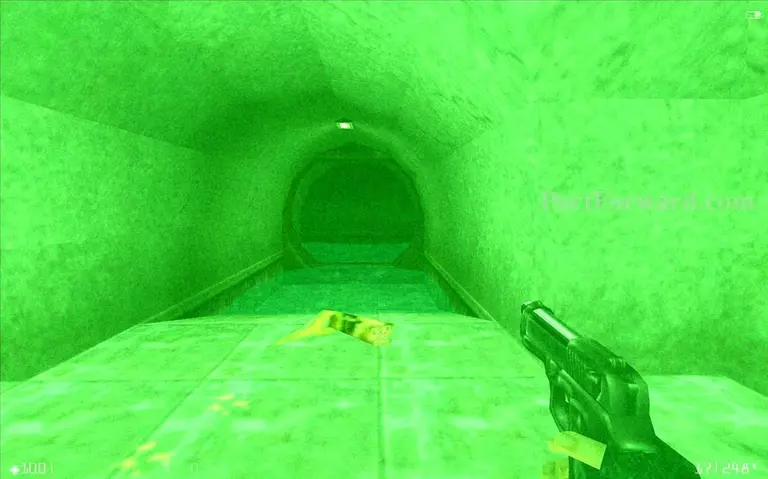
Exit the sewers.
 Half-Life: Opposing Force Walkthrough - Half Life-Opposing-Force 296
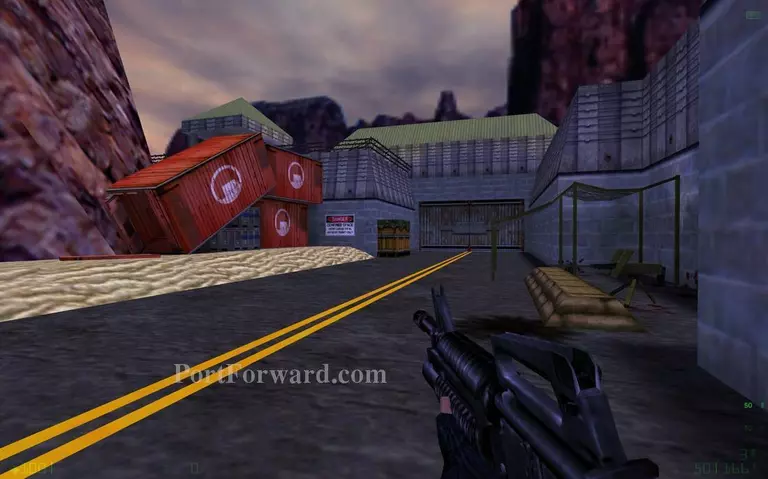
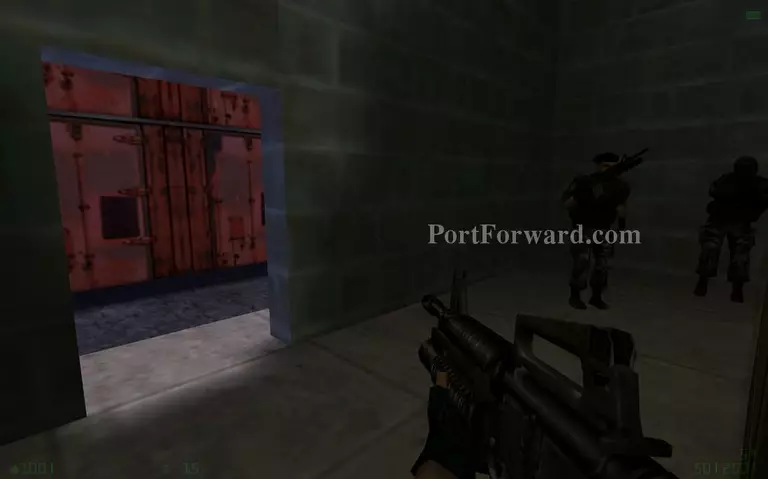
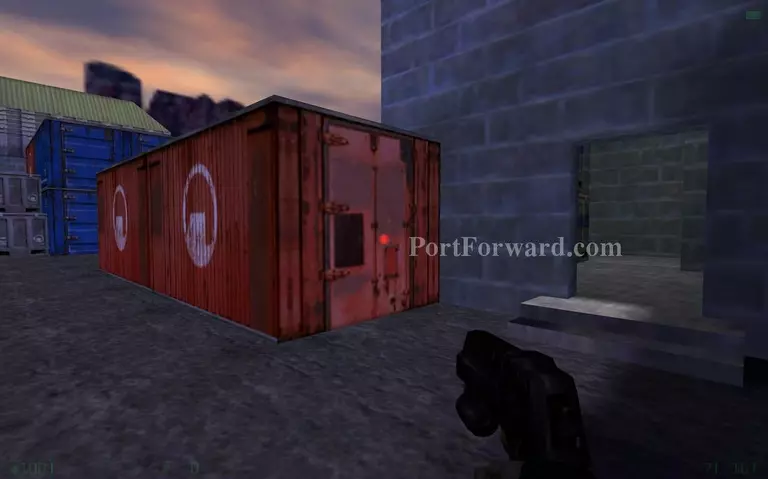
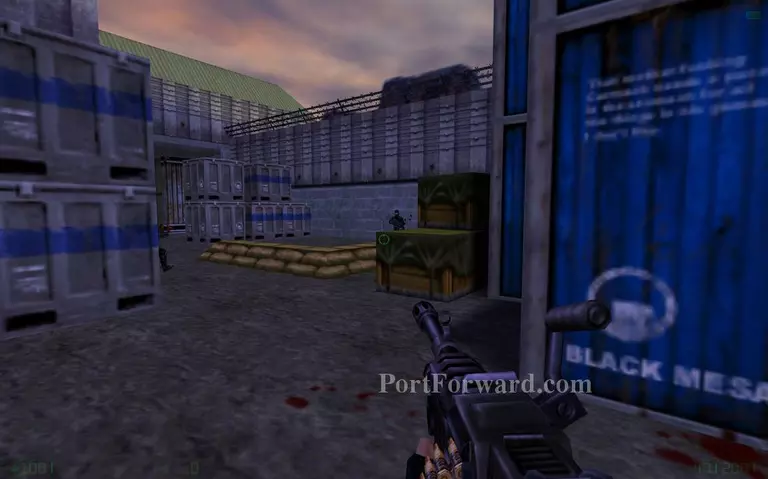
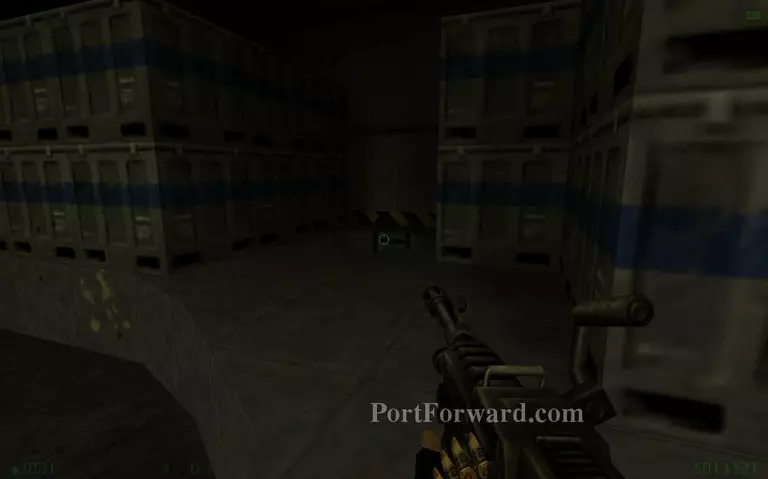
Get the machine gun from the container and get ready to kill some black-ops.
 Half-Life: Opposing Force Walkthrough - Half Life-Opposing-Force 297
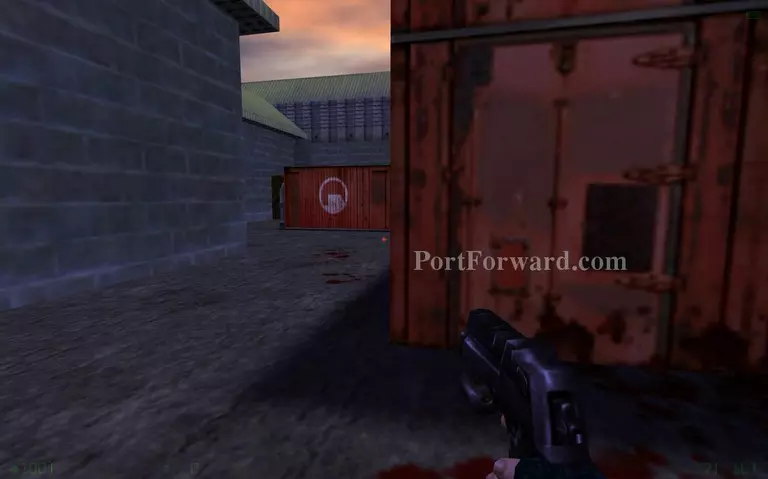
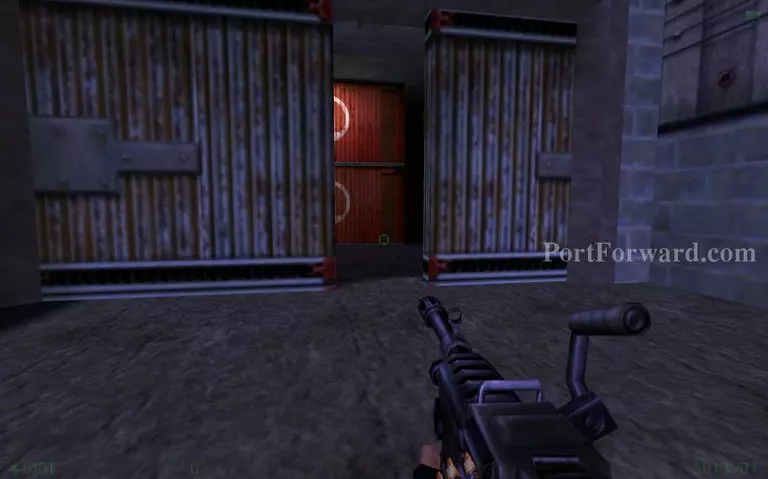
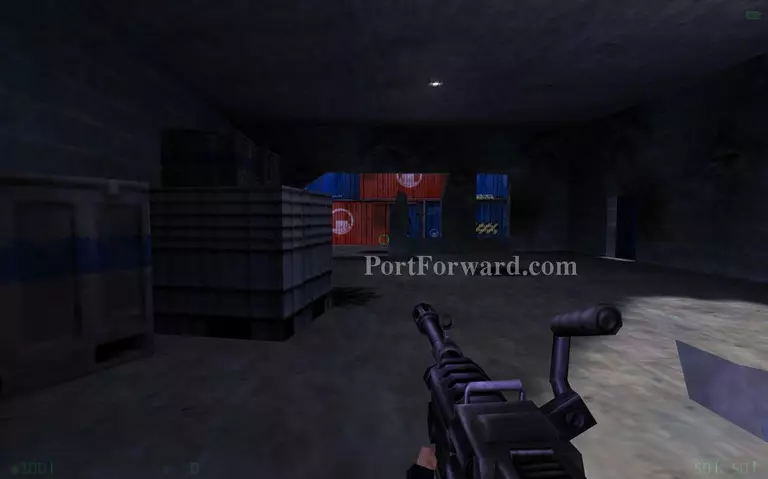
Go towards the red containers.
 Half-Life: Opposing Force Walkthrough - Half Life-Opposing-Force 298
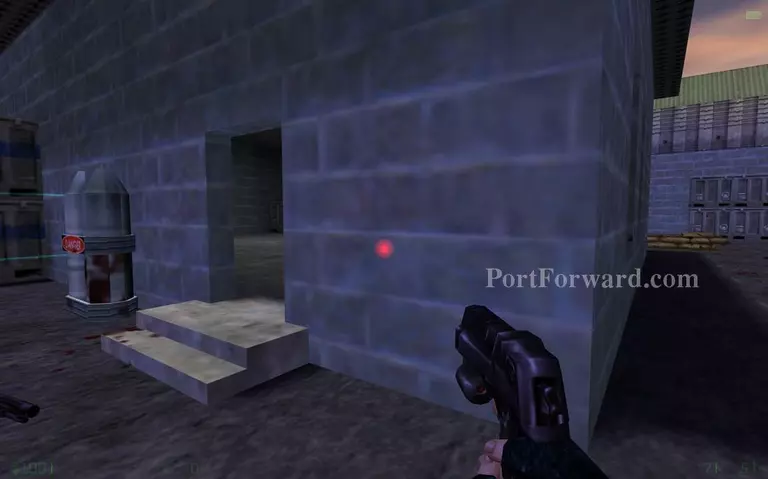
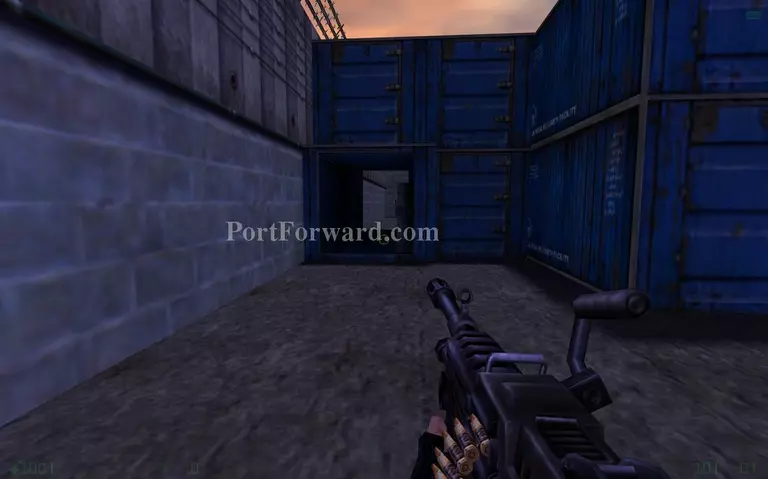
Move up through here.
 Half-Life: Opposing Force Walkthrough - Half Life-Opposing-Force 299
Watch out for the black-op on the tower.
 Half-Life: Opposing Force Walkthrough - Half Life-Opposing-Force 300
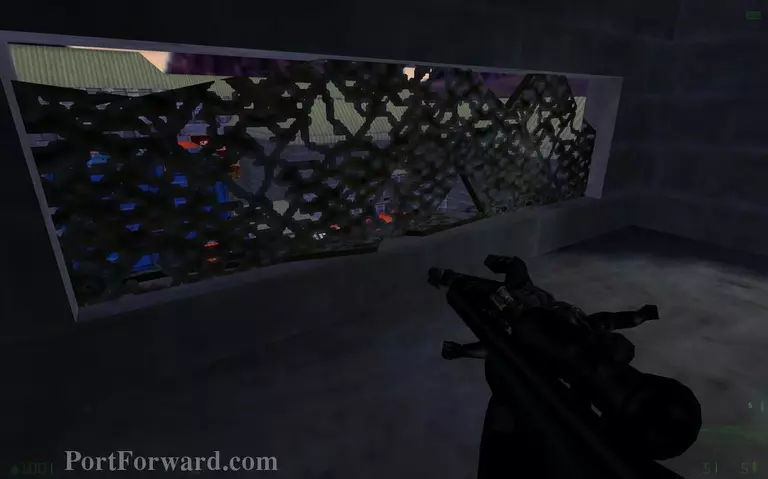
Crouch and enter this hole.
 Half-Life: Opposing Force Walkthrough - Half Life-Opposing-Force 301
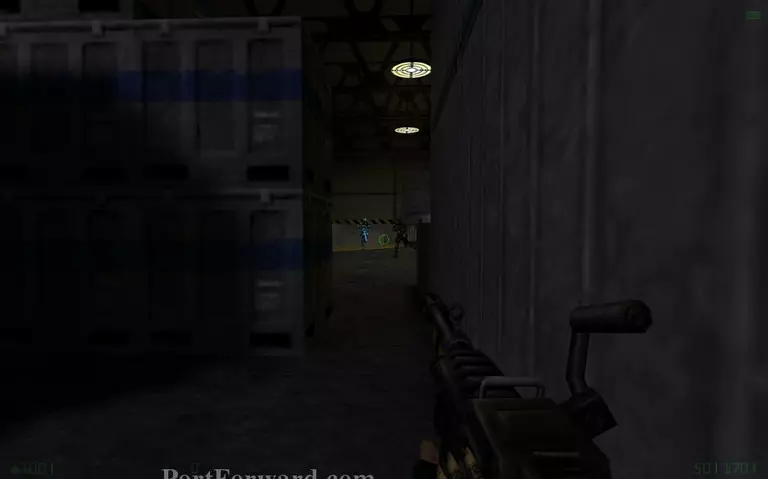
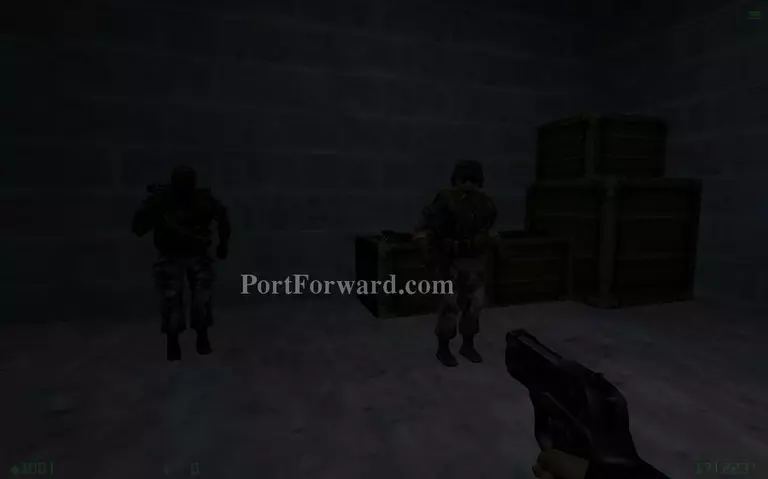
Two soldiers are pinned by snipers here.
 Half-Life: Opposing Force Walkthrough - Half Life-Opposing-Force 302
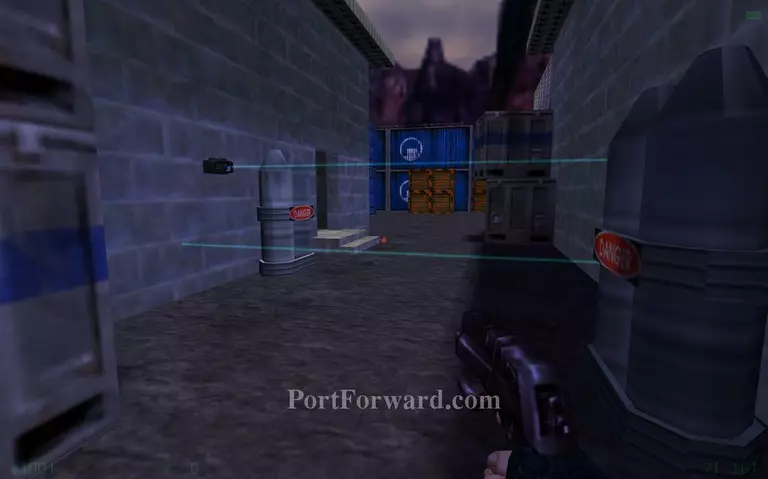
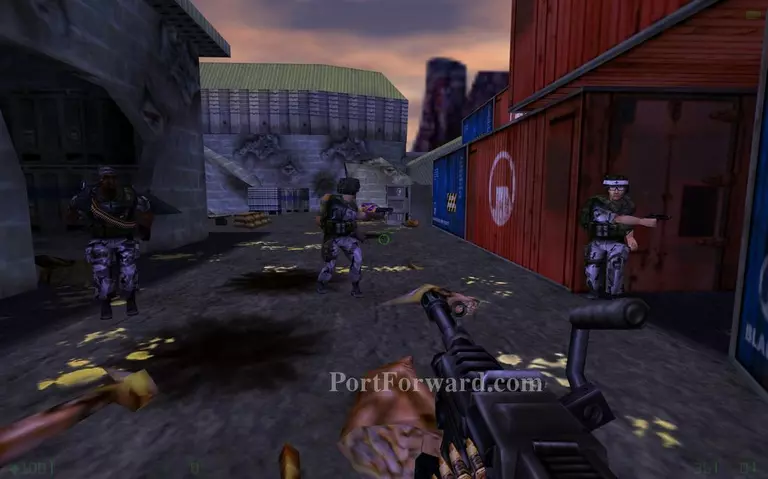
Try to use the containers as cover if you can.
 Half-Life: Opposing Force Walkthrough - Half Life-Opposing-Force 303
Enter the sniper's tower from here.
 Half-Life: Opposing Force Walkthrough - Half Life-Opposing-Force 304
You can get the sniper's scoped rifle from here.
 Half-Life: Opposing Force Walkthrough - Half Life-Opposing-Force 305
This path will be blocked. Do no try to blow up the explosives because it will end the game. Go to the right instead.
 Half-Life: Opposing Force Walkthrough - Half Life-Opposing-Force 306
Go around here.
 Half-Life: Opposing Force Walkthrough - Half Life-Opposing-Force 307
Enter this place.
 Half-Life: Opposing Force Walkthrough - Half Life-Opposing-Force 308
More black-ops are waiting outside.
 Half-Life: Opposing Force Walkthrough - Half Life-Opposing-Force 309
Go through the big gates.
 Half-Life: Opposing Force Walkthrough - Half Life-Opposing-Force 310
A big fight between the black-ops and the aliens will happen here. You can wait for them to kill eachother.
 Half-Life: Opposing Force Walkthrough - Half Life-Opposing-Force 311
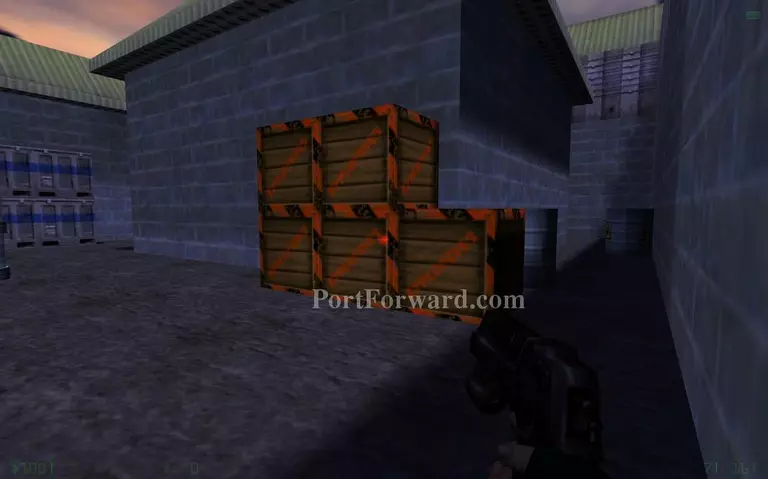
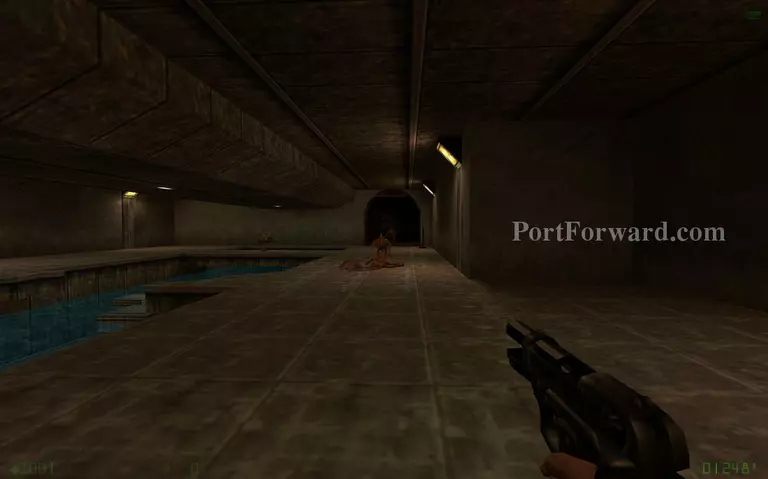
Go down the ladder that is between the crates.
 Half-Life: Opposing Force Walkthrough - Half Life-Opposing-Force 312
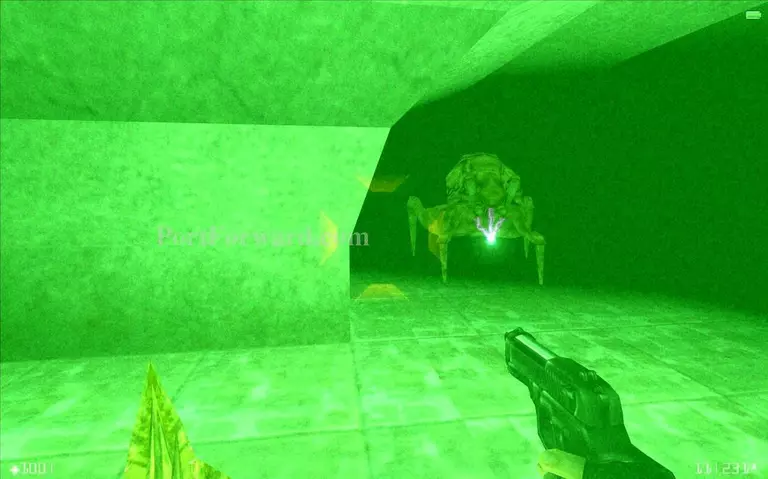
The tunnels here will be very dark so you need to use your nightvision all the time. The aliens here will be many so it's best to try to avoid them.
 Half-Life: Opposing Force Walkthrough - Half Life-Opposing-Force 313
When you reach this tunnel you will know you are on the right path.
 Half-Life: Opposing Force Walkthrough - Half Life-Opposing-Force 314
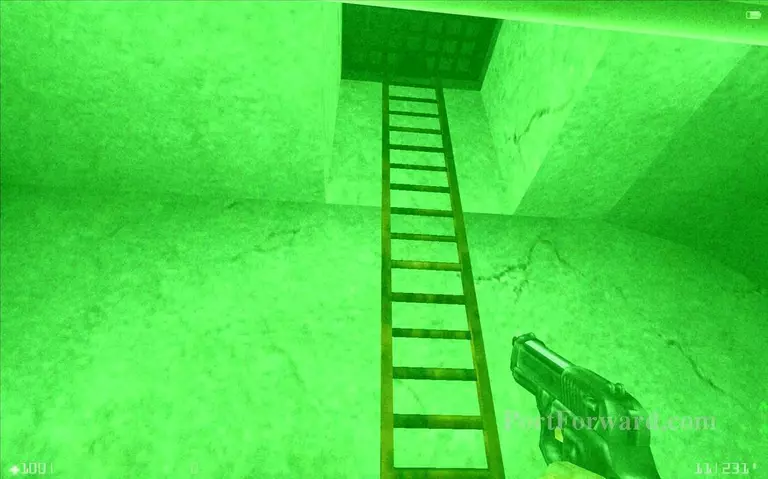
Climb the ladder here.
 Half-Life: Opposing Force Walkthrough - Half Life-Opposing-Force 315
Many aliens will attack you from this tunnel.
 Half-Life: Opposing Force Walkthrough - Half Life-Opposing-Force 316
The labyrinthian tunnels will be crawling with big aliens. It's best to run for it and try to not get cornered.
 Half-Life: Opposing Force Walkthrough - Half Life-Opposing-Force 317
The ladder will lead you out of the tunnels at the end.
 Half-Life: Opposing Force Walkthrough - Half Life-Opposing-Force 318
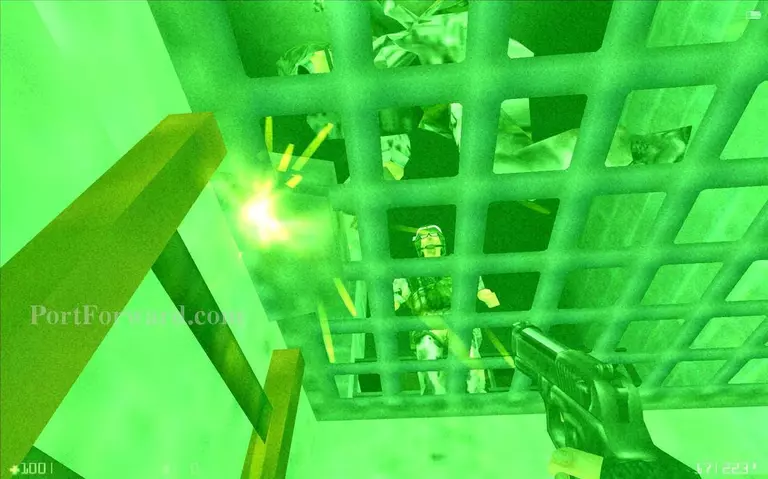
Wait for the soldiers to open the grate for you.
 Half-Life: Opposing Force Walkthrough - Half Life-Opposing-Force 319
Get some ammo and bring the soldiers with you. A big battle is about to happen.
 Half-Life: Opposing Force Walkthrough - Half Life-Opposing-Force 320
As you go outside the aliens will attack.
 Half-Life: Opposing Force Walkthrough - Half Life-Opposing-Force 321
If you need healing, you can hold the E button near the medic and he will heal you. Go forward near the blue containers.
 Half-Life: Opposing Force Walkthrough - Half Life-Opposing-Force 322
Pass through this blue container.
 Half-Life: Opposing Force Walkthrough - Half Life-Opposing-Force 323
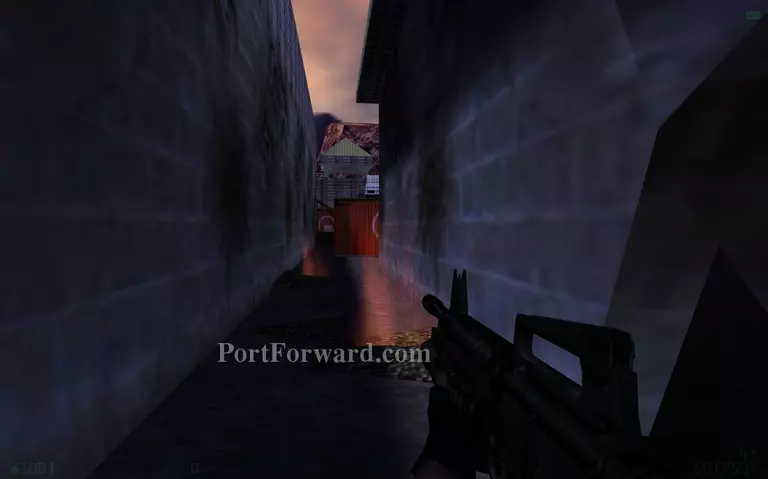
Avoid the fire if you can.
 Half-Life: Opposing Force Walkthrough - Half Life-Opposing-Force 324
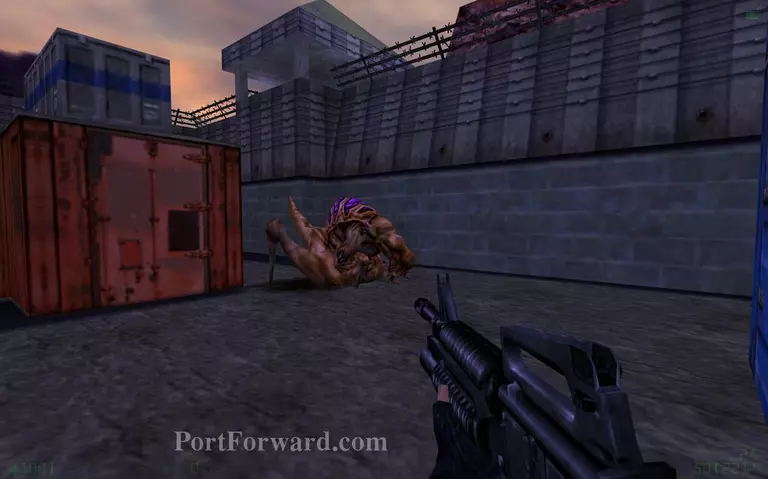
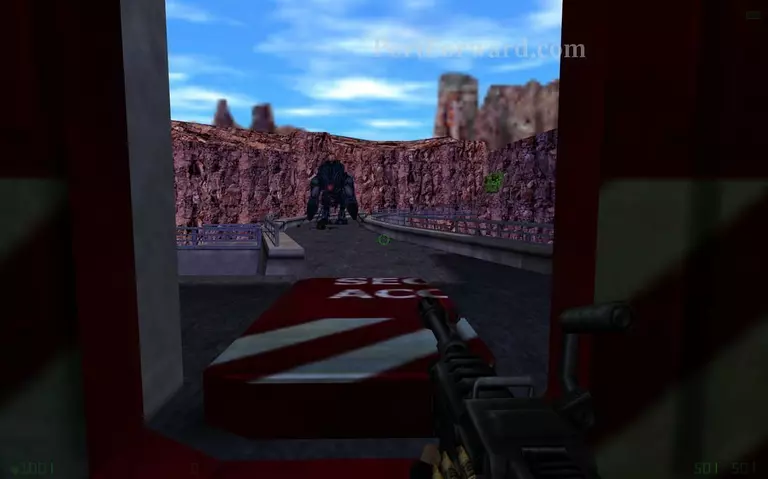
Watch out for the big guy.
 Half-Life: Opposing Force Walkthrough - Half Life-Opposing-Force 325
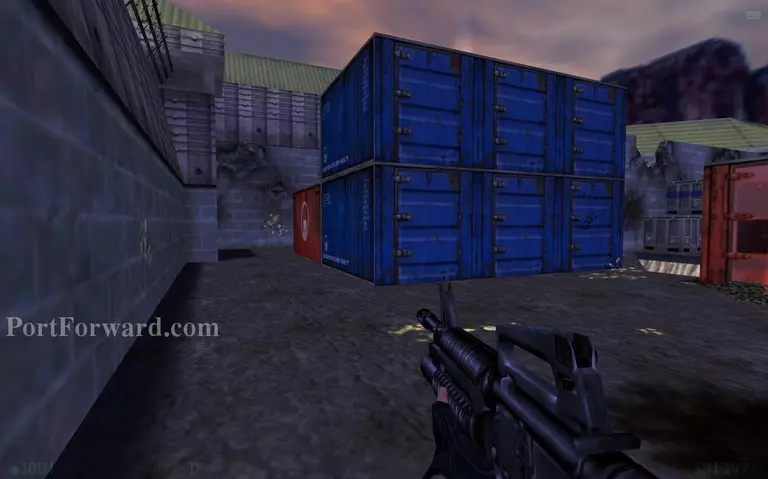
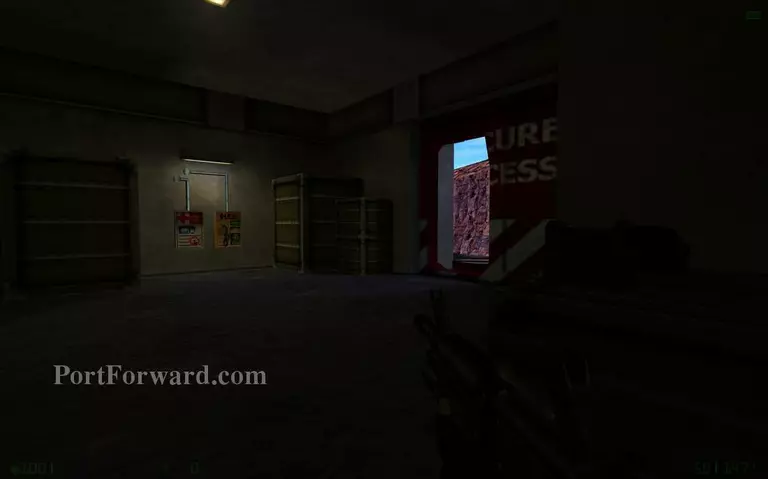
Go to the left here.
 Half-Life: Opposing Force Walkthrough - Half Life-Opposing-Force 326
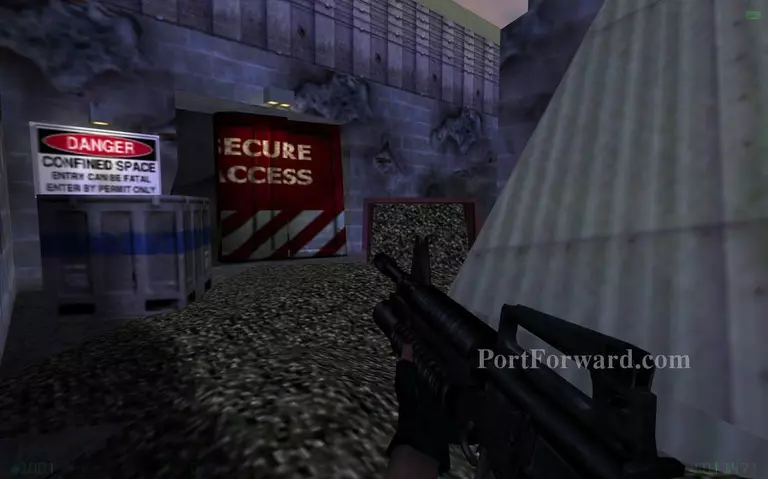
Enter the secure access door.
 Half-Life: Opposing Force Walkthrough - Half Life-Opposing-Force 327
Some recharging stations.
 Half-Life: Opposing Force Walkthrough - Half Life-Opposing-Force 328
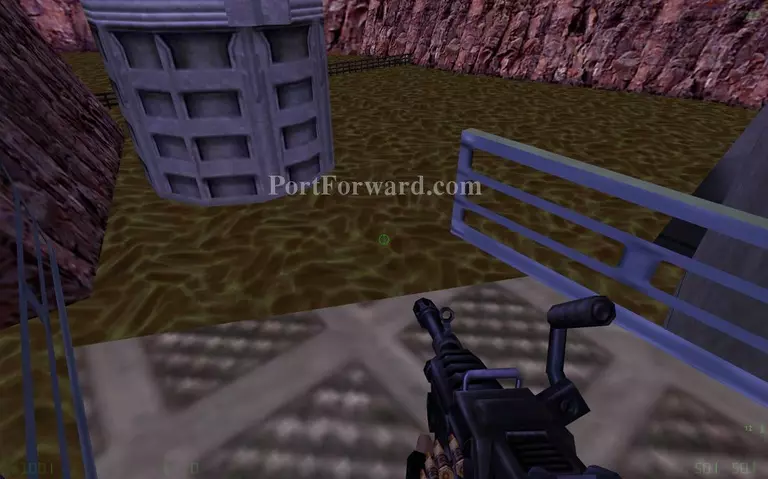
A gargantua is trapped here. Don't get near it.
 Half-Life: Opposing Force Walkthrough - Half Life-Opposing-Force 329
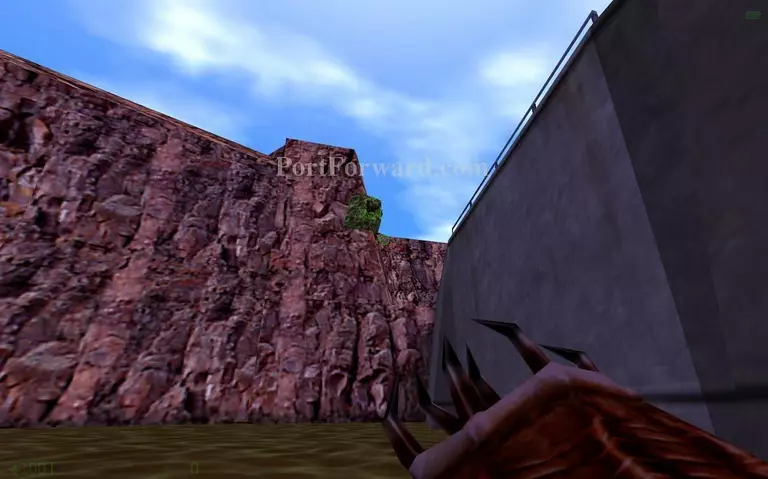
Jump in the water instead.
 Half-Life: Opposing Force Walkthrough - Half Life-Opposing-Force 330
Use your barnacle to pull yourself on the green goo.
 Half-Life: Opposing Force Walkthrough - Half Life-Opposing-Force 331
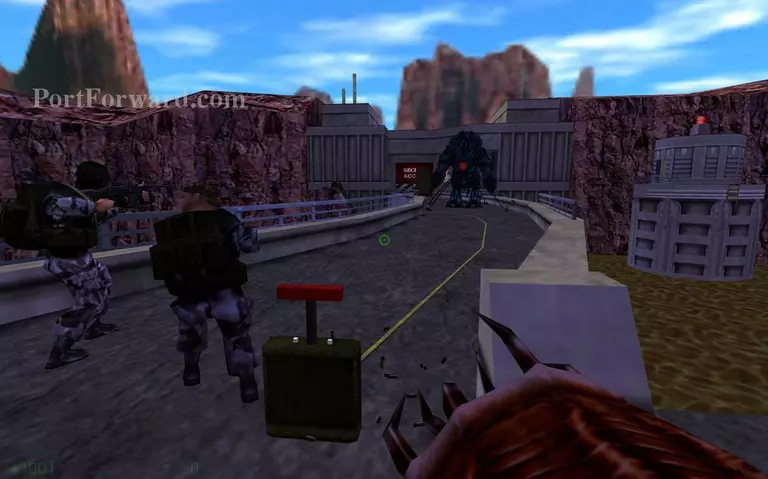
Use the plunger near the soldiers to blow up the gargantua.
 Half-Life: Opposing Force Walkthrough - Half Life-Opposing-Force 332
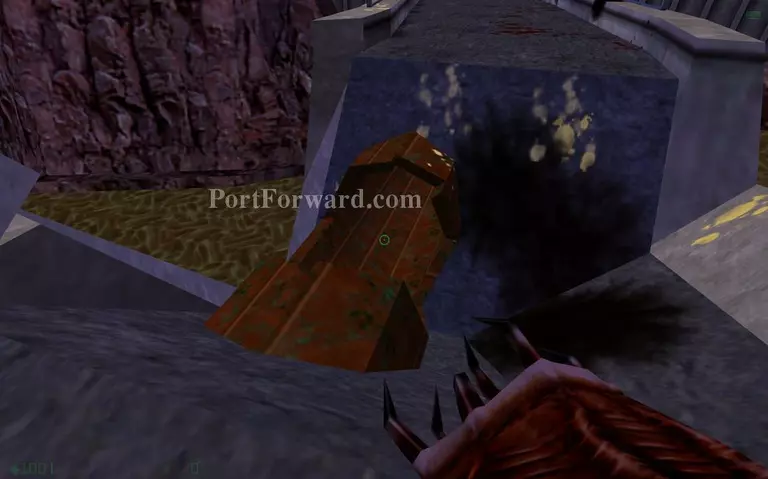
The explosion will make a hole in the pipe.
 Half-Life: Opposing Force Walkthrough - Half Life-Opposing-Force 333
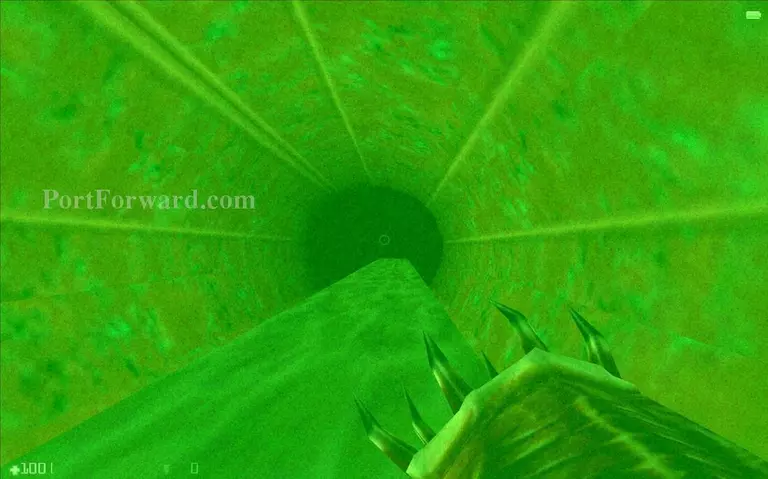
Take a ride down the long pipe.
More Half-Life: Opposing Force Walkthroughs
This Half-Life: Opposing Force walkthrough is divided into 12 total pages.


