
This Half-Life: Opposing Force walkthrough is divided into 12 total pages.
You can jump to nearby pages of the game using the links above.
The Package
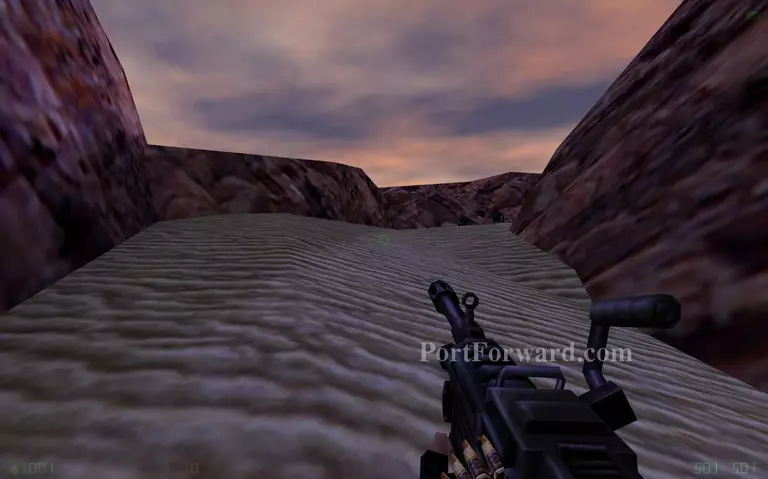
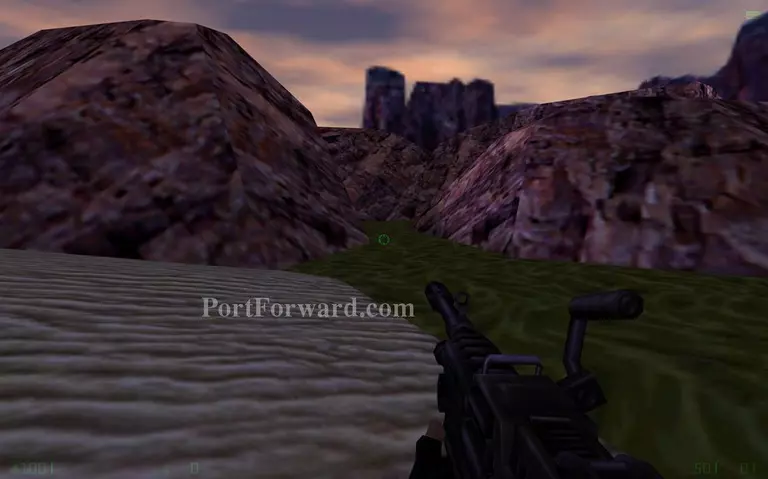
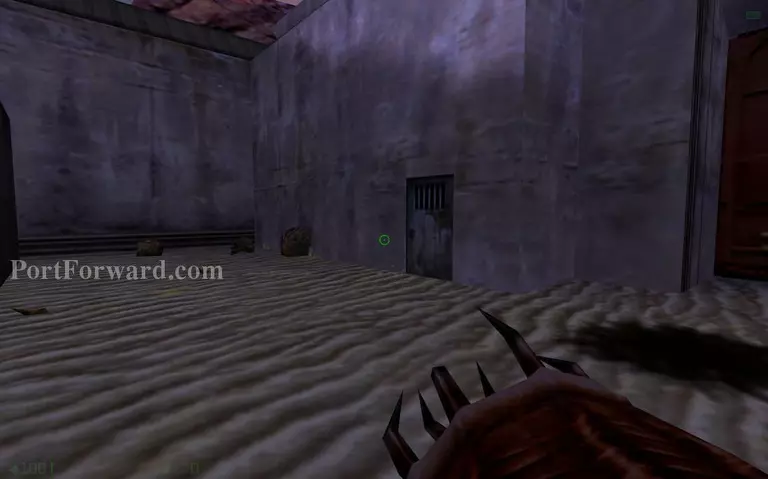
Climb up the sand.
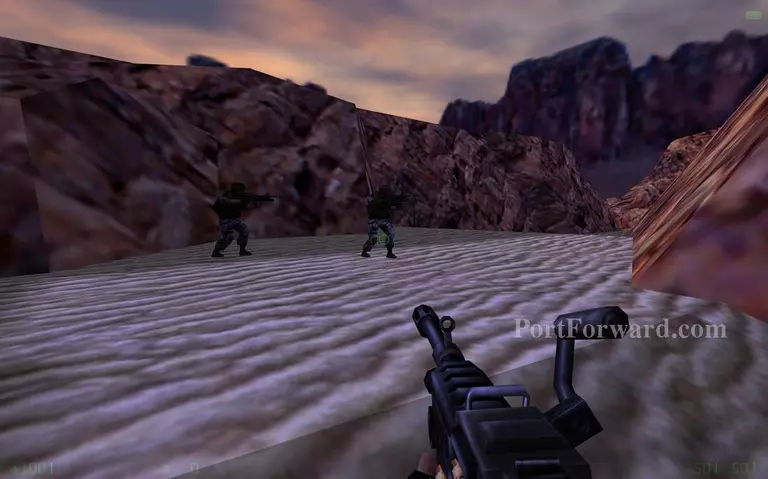
The soldiers will tell you that a large group of black-ops are up ahead.
Team up with the soldiers and prepare to fight your way.
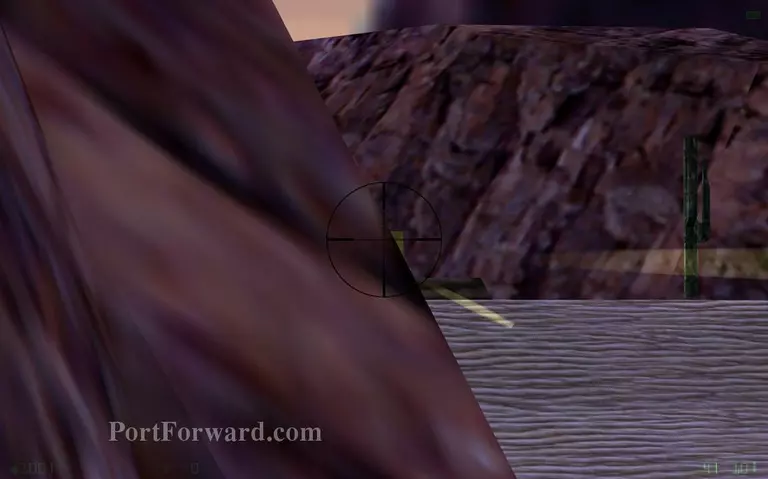
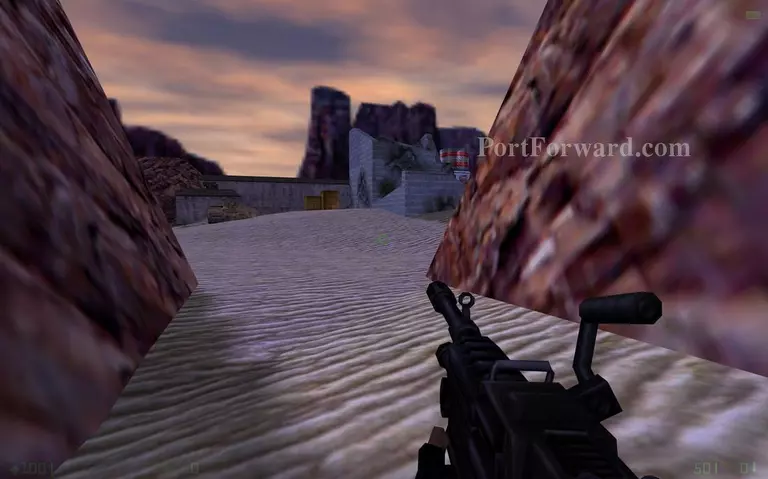
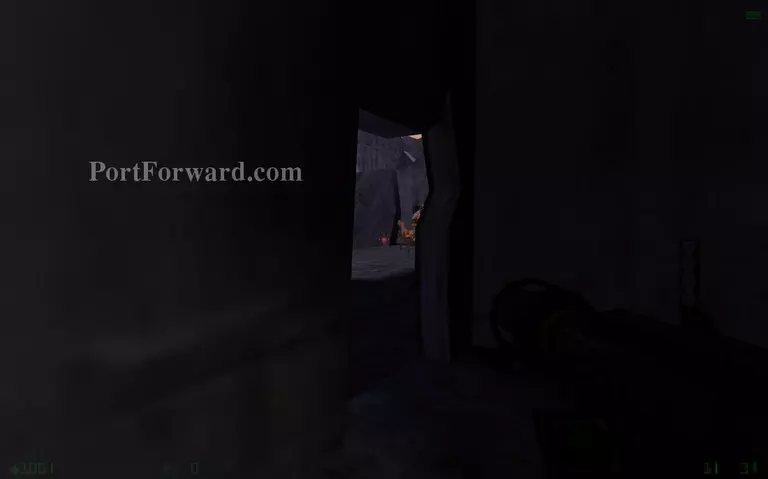
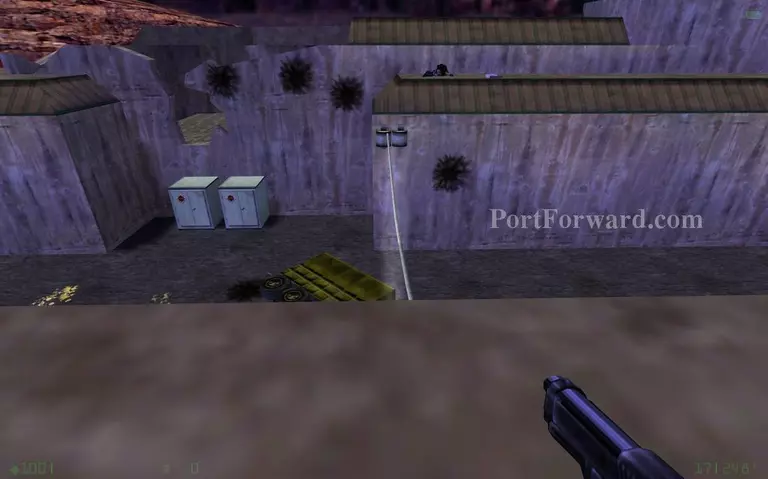
A black-ops soldier is shooting with a machine gun around the corner. Using the sniper rifle will make it easier to kill him.
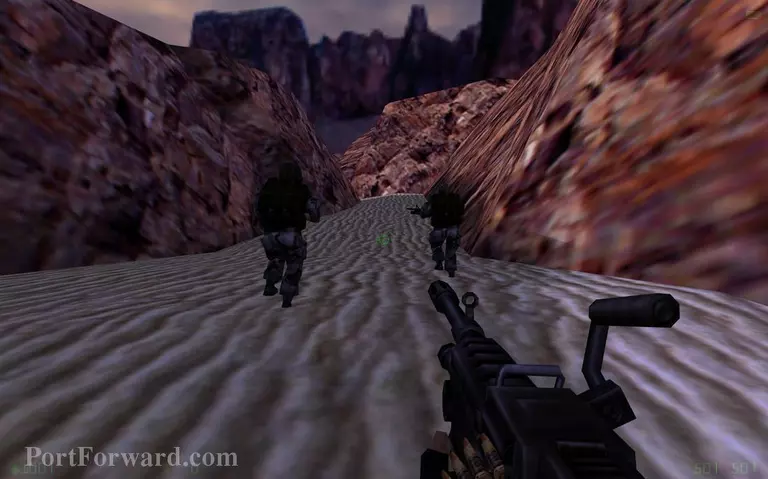
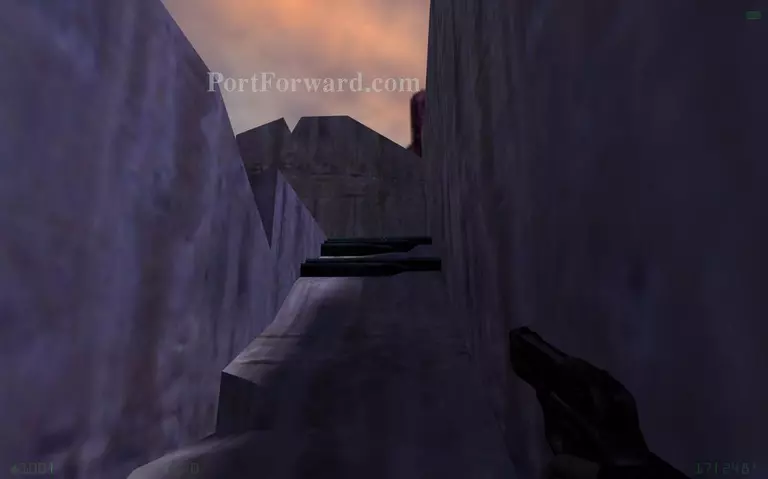
Go between the rocks here.
This area is shelled by a mortar. You will have to move fast and stay out of sight if you can. Save before you try to move further ahead.
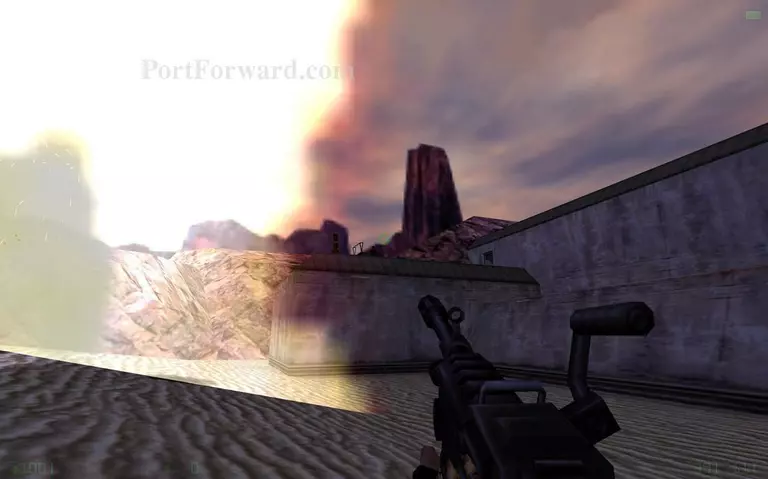
Kill the guy who uses the mortar on top of the building.
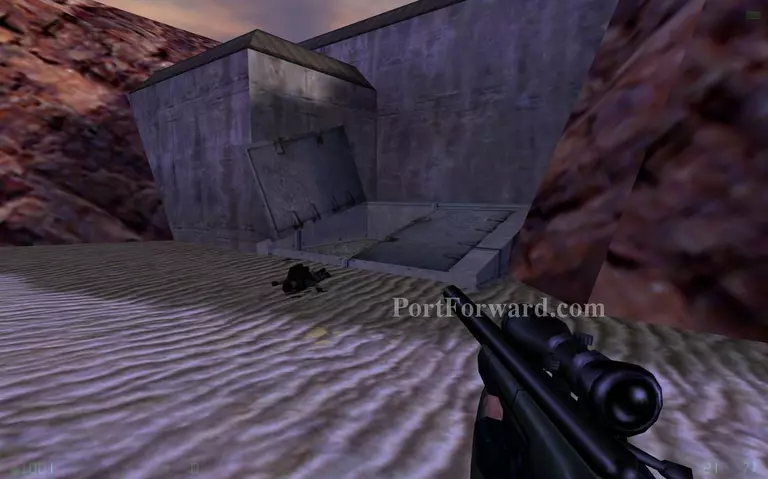
Enter the big basement doors.

Jump from crate to crate to reach the pipes.
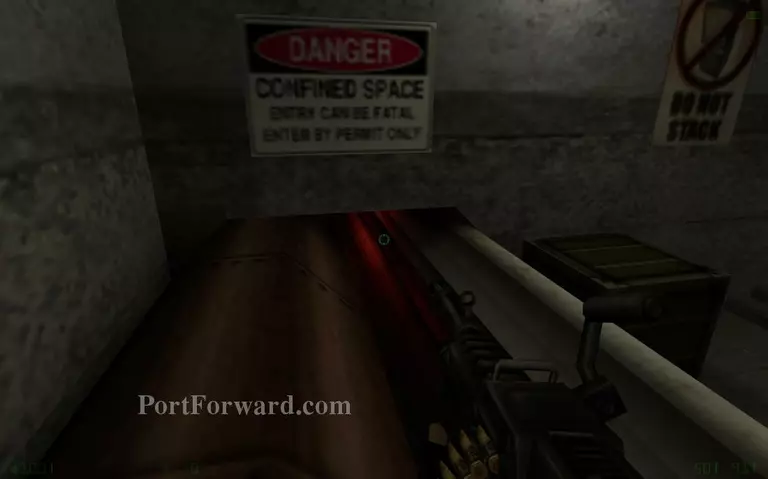
Crouch here and follow the pipes.
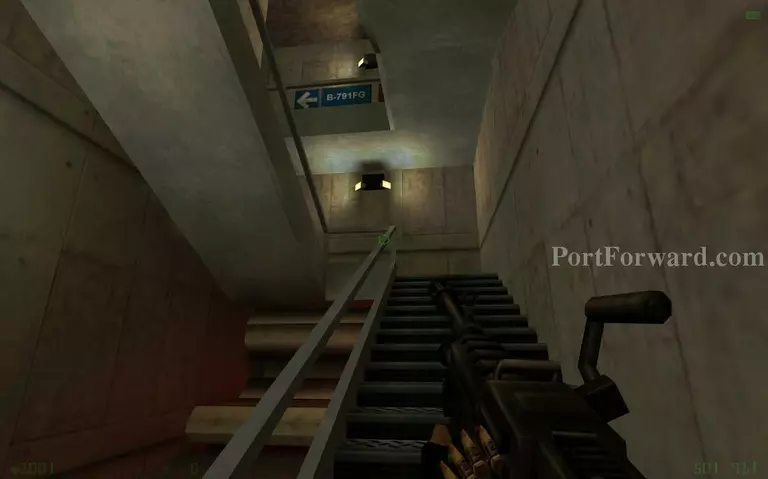
Go up the stairs and expect some black-ops.

Go to the left from here.
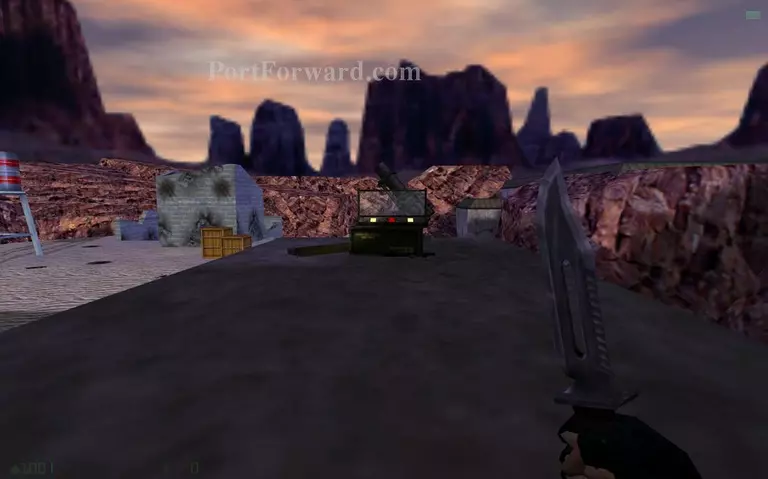
You will reach the mortar that was being used against you before.
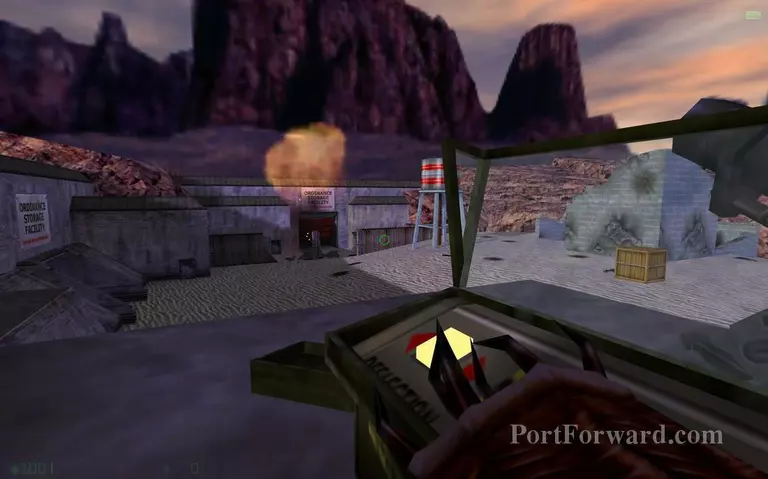
Use the mortar controls to angle the cannon towards the gates on the left. A correct hit will destroy the gates.
Enter the door that is beyound the gates you destroyed.
Big alien up ahead.
Climb up to the rooftops.
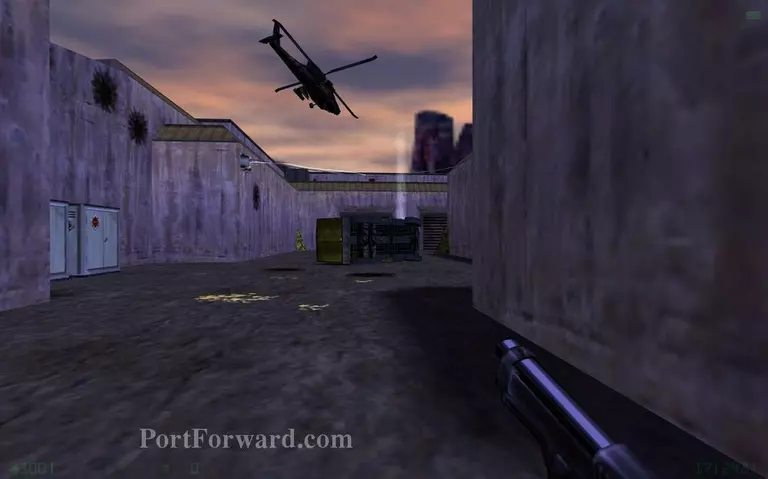
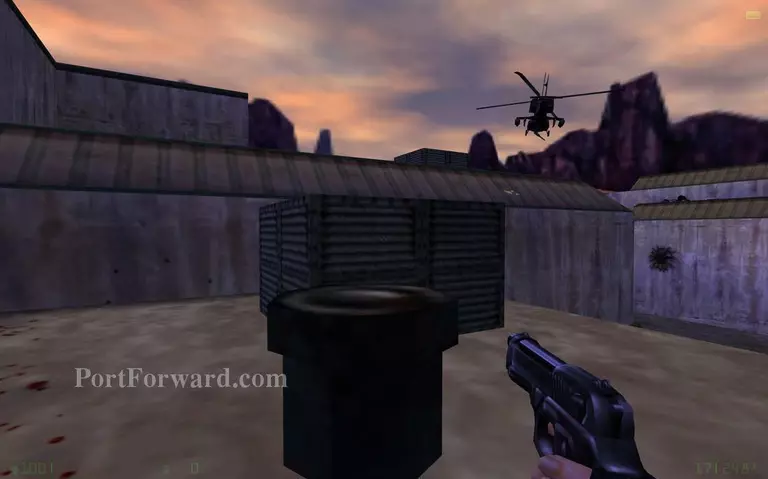
A helicopter will roam this area. Try to move forward only when the chopper is looking away from you.
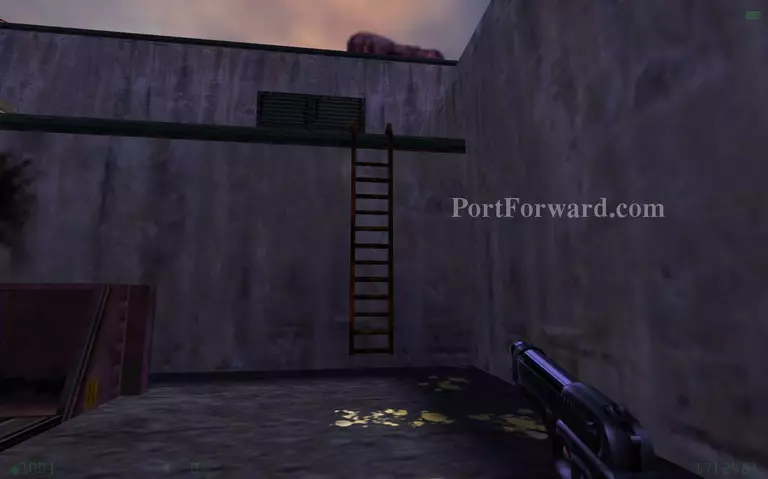
Go up the ladder.
Jump up the rooftop structures to climb to the upper roof.
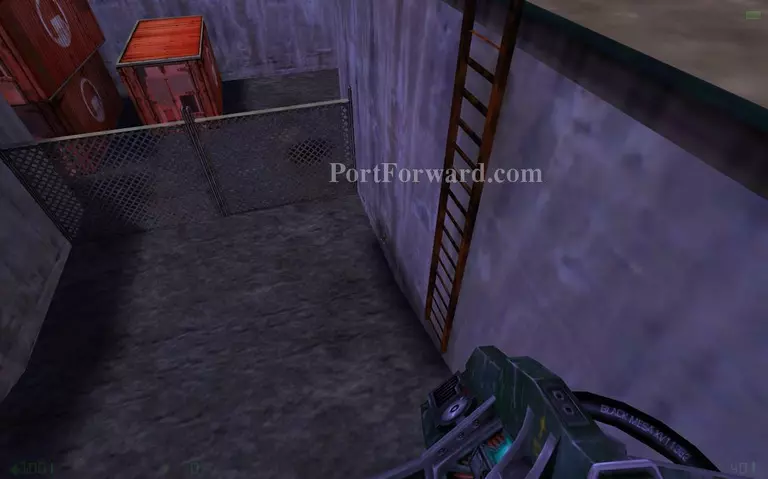
Drop down here.
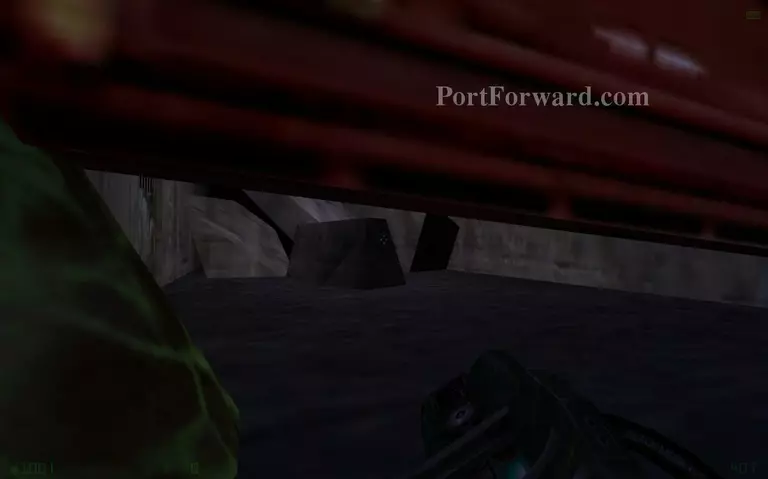
Crouch under a gate.
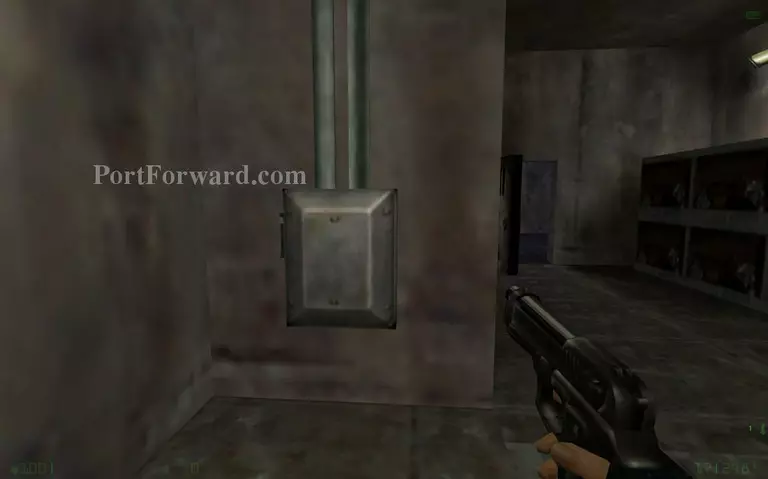
Use the switch to turn off the power.
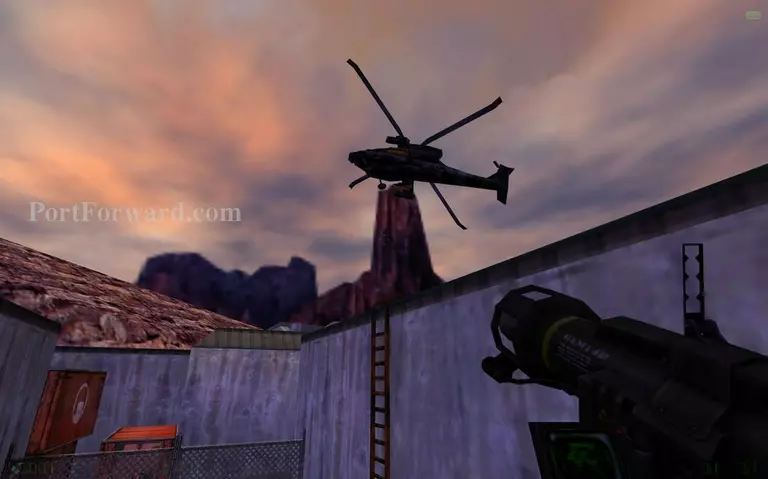
You can destroy the chopper with a single rocket from the rocket launcher you can pick up nearby.
Walk over the power line cable now that the power is turned off.

Enter the vent area here.
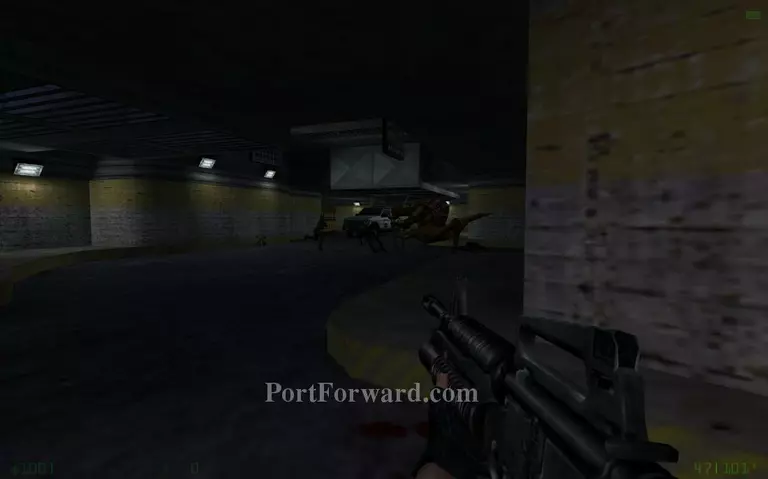
This parking space has a big battle. You can just let them kill eachother.
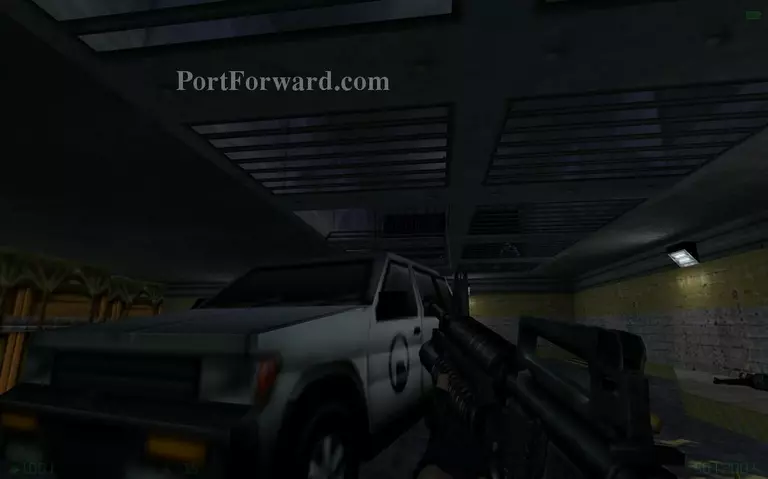
Once the battle is over you have to jump up the car to reach the vents above.
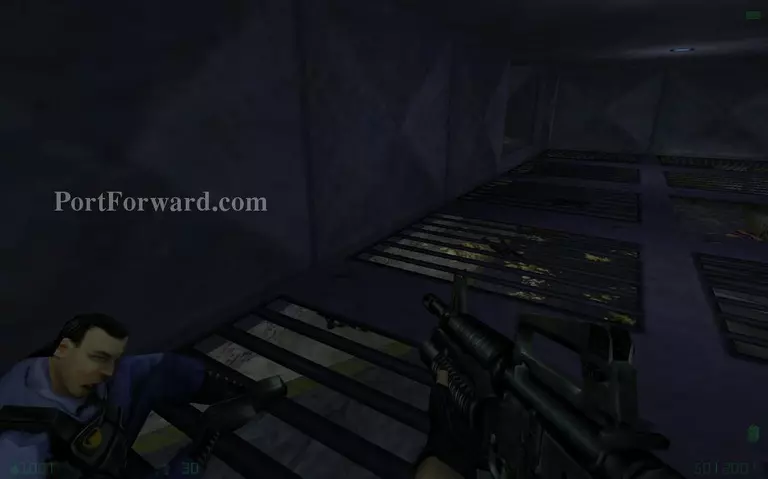
The guard will tell you some info. Continue through the vents.
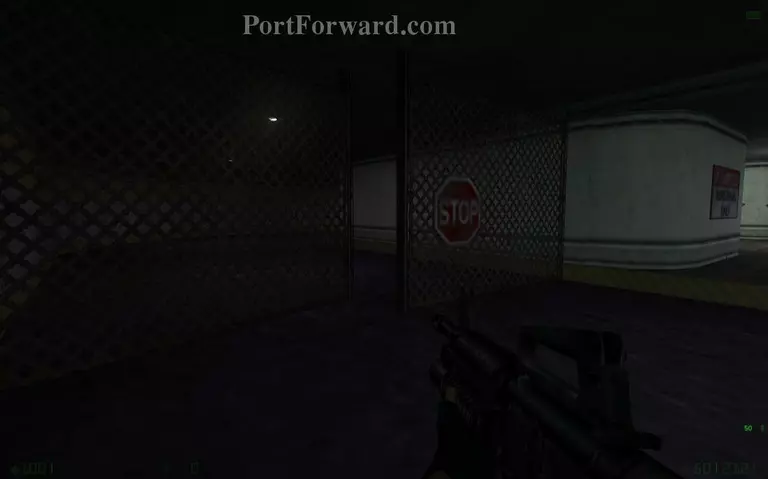
Go through the gate.
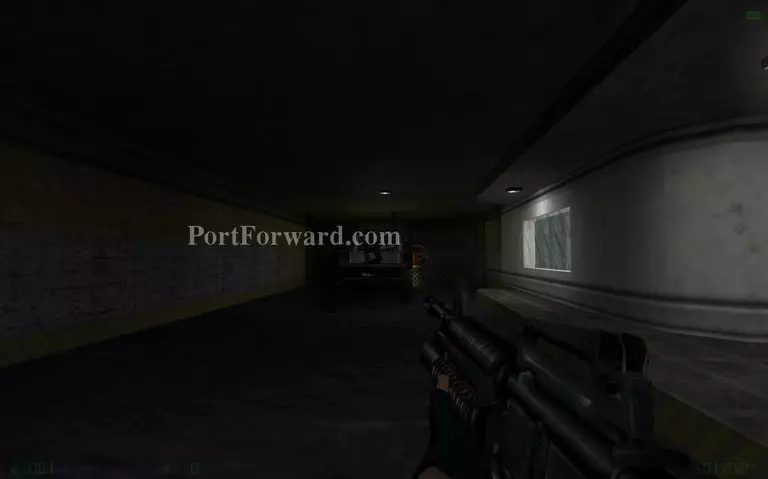
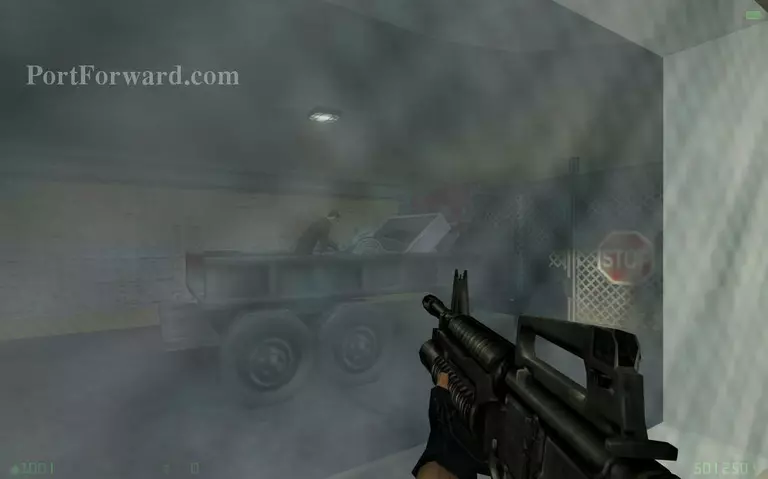
Kill the black-ops who are trying to set up a nuclear bomb.
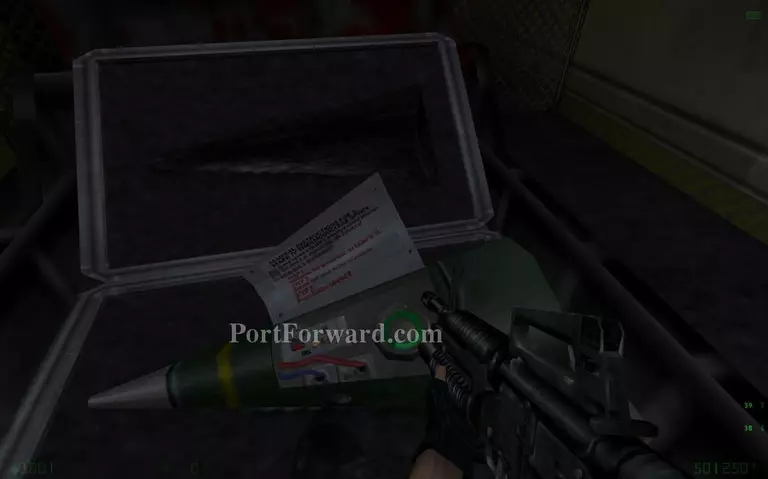
Jump on the truck and press the use key to stop the nuclear device.
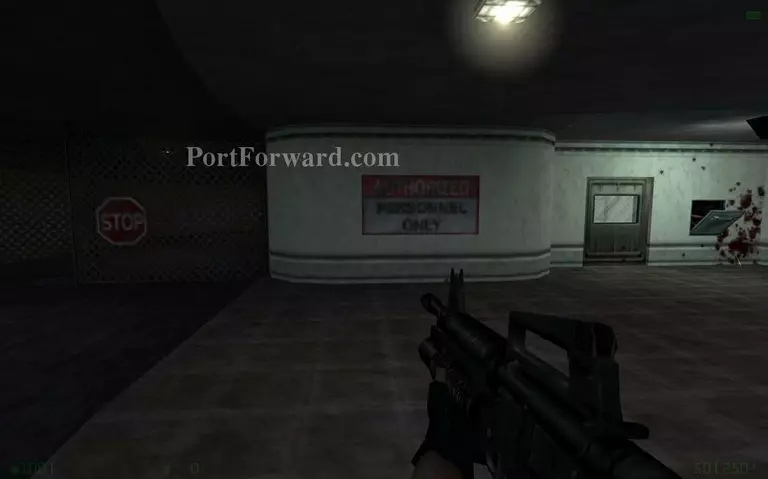
Go back through the fence gate and enter the door on the right.
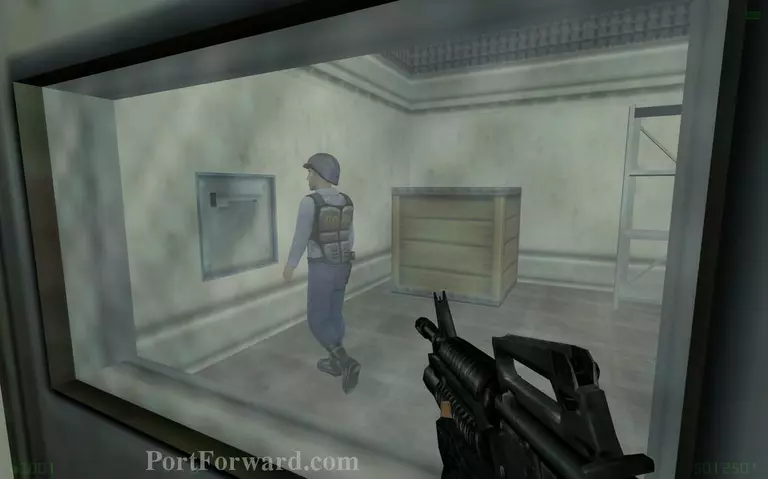
Wait for the guard to let you in.
As you move inside you will see the G-man messing with the warhead. You can't go back to there now.
Use the evelator.
More Half-Life: Opposing Force Walkthroughs
This Half-Life: Opposing Force walkthrough is divided into 12 total pages.


