This Half-Life: Opposing Force walkthrough is divided into 12 total pages.
You can jump to nearby pages of the game using the links above.
Friendly Fire
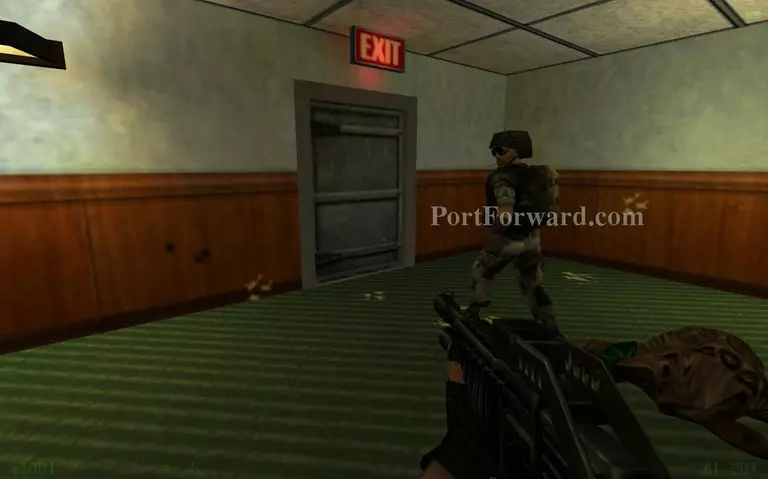
After a big fight with some aliens you can get the engineer close to the exit door so he can open it. There are only a few items out there worth taking.
Afterwards go to the upper floor and prepare to fight more aliens.
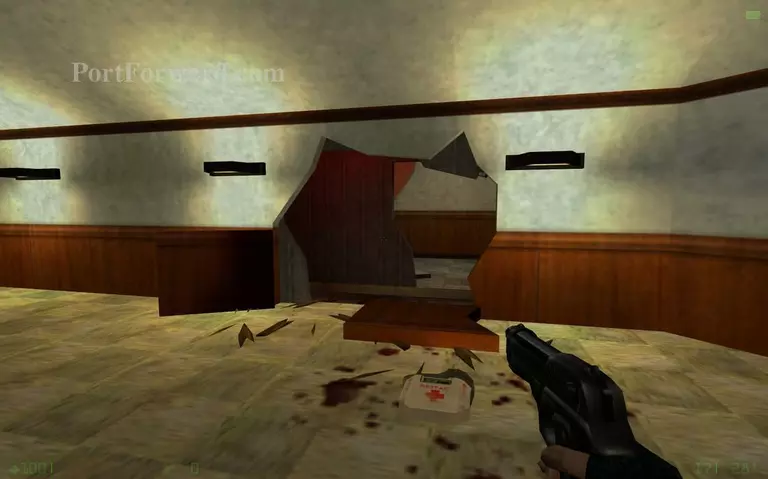
When you kill the aliens in the projector room a vortigaunt will create a hole in the wall. Get through there.
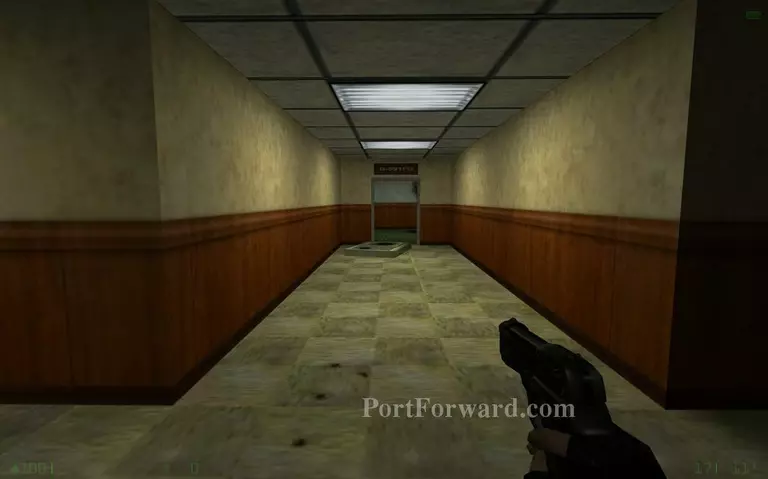
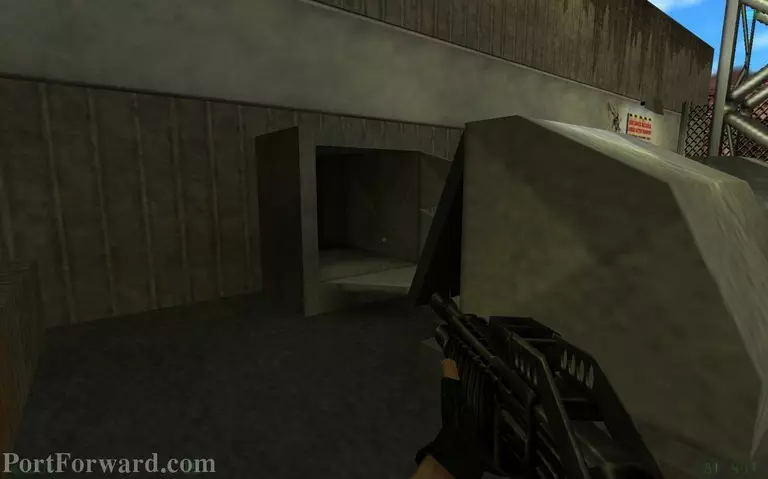
Enter the office at the end of the corridor.
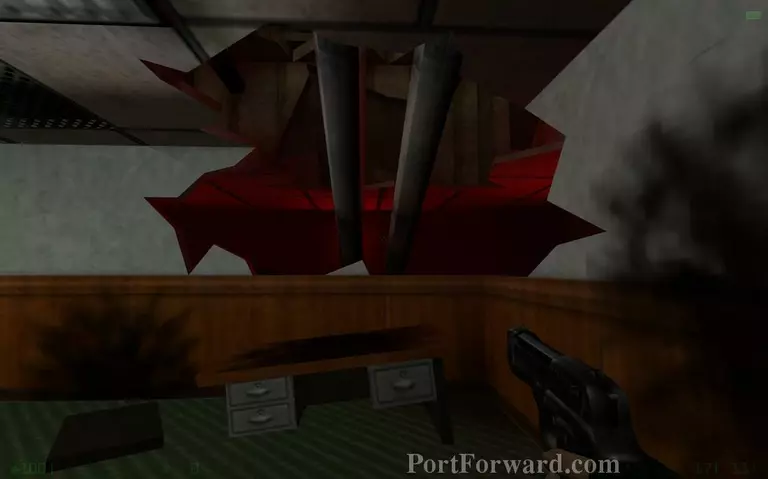
Jump on the desk to reach the other side.
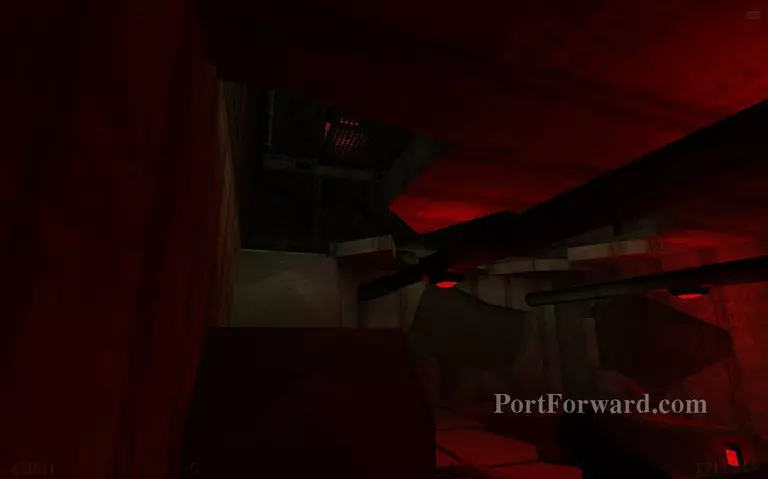
Jump up the vents to reach a higher ground.
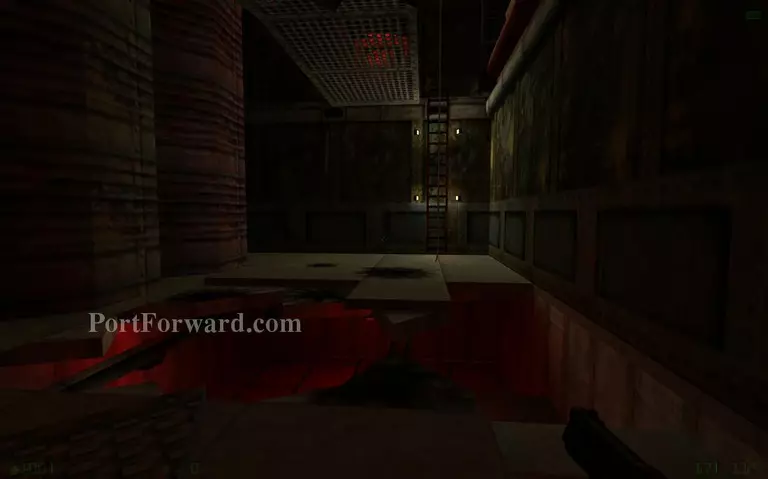
Go up the ladder.
Jump across here.
Shooting the explosives will get rid of the grunt fast.
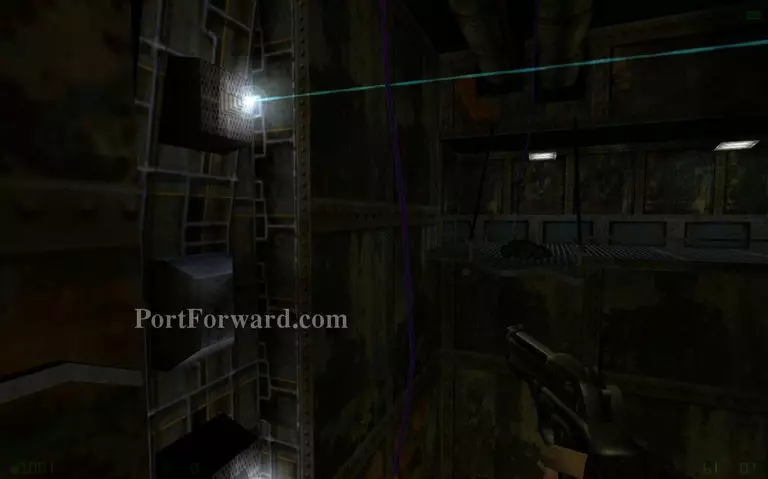
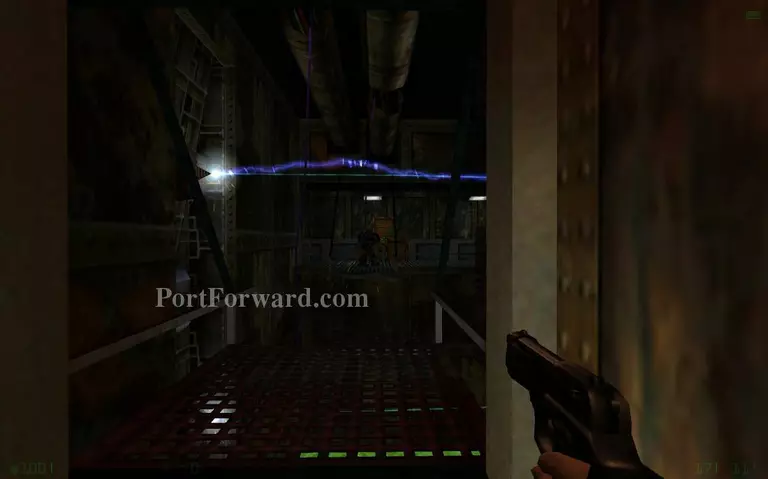
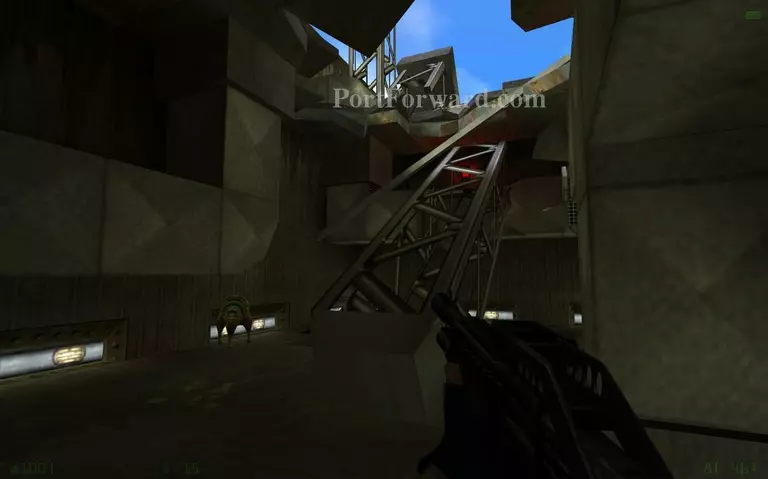
Shoot the crystal that projects the lasers then jump onto the purple cable. Then jump to the next cable to reach the other side. Saving before you try it is a good idea because rope jumping is tricky in this game.
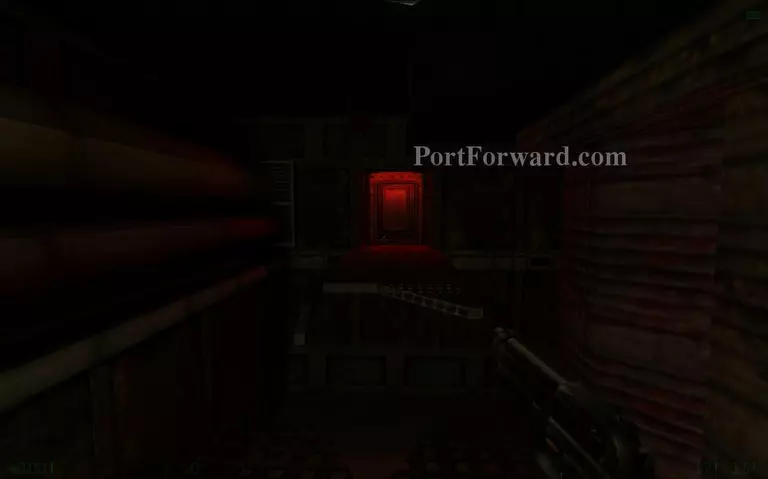
Go through here.
Kill some houndeyes as you go up.
Climb the fallen antenna to reach the rooftop.
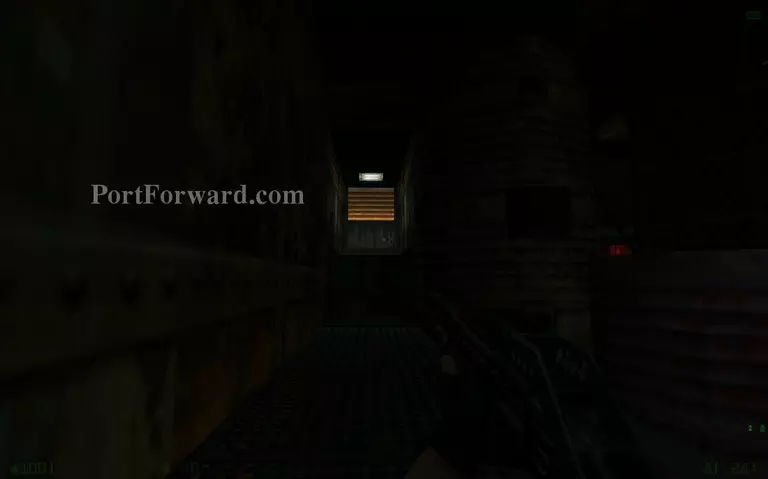
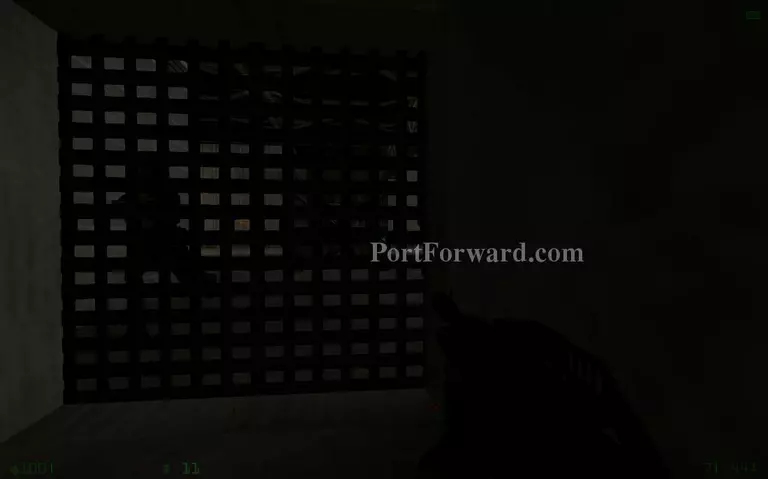
Enter a vent.
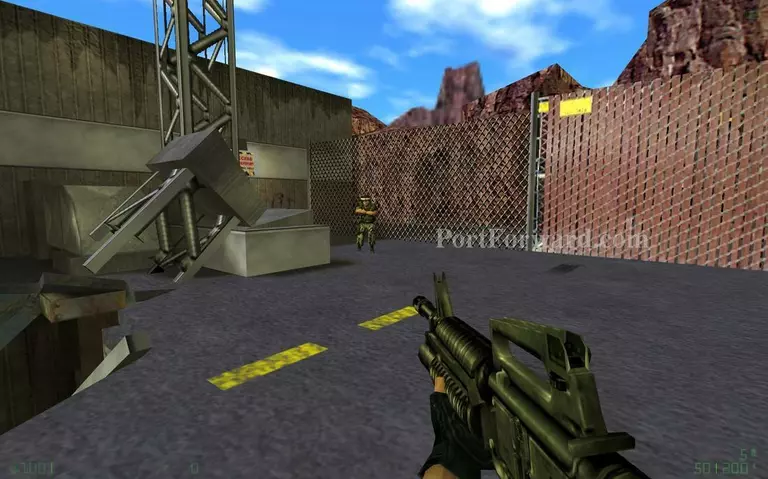
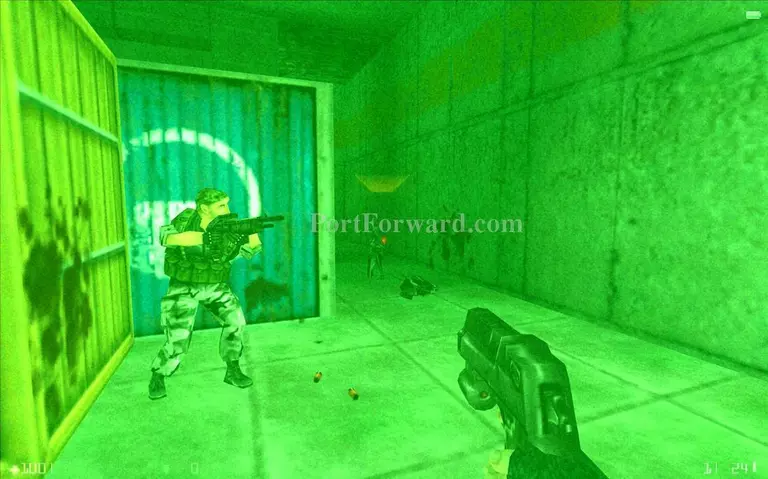
You will encouter a group of black-ops. They are not friendly and follow their own agenda.
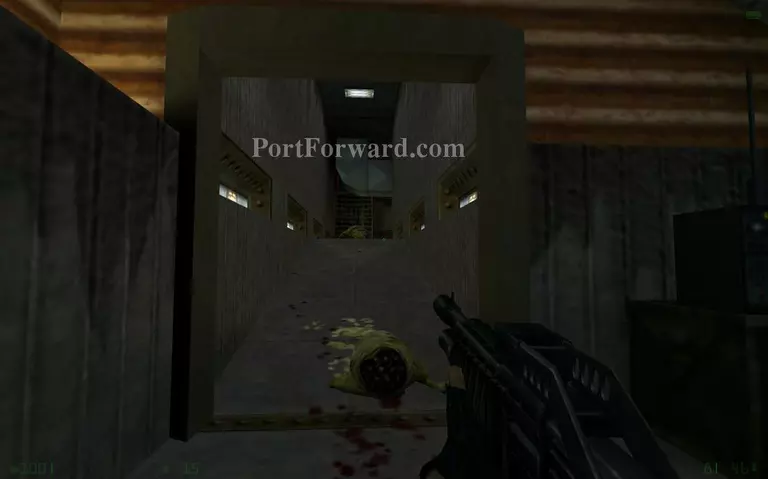
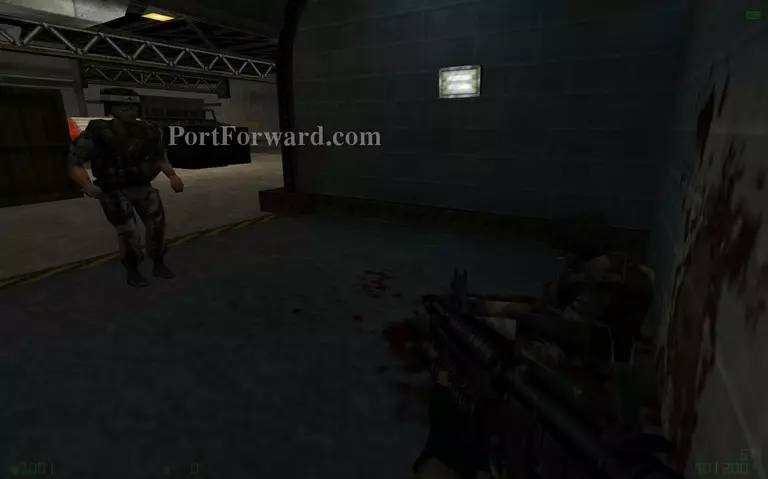
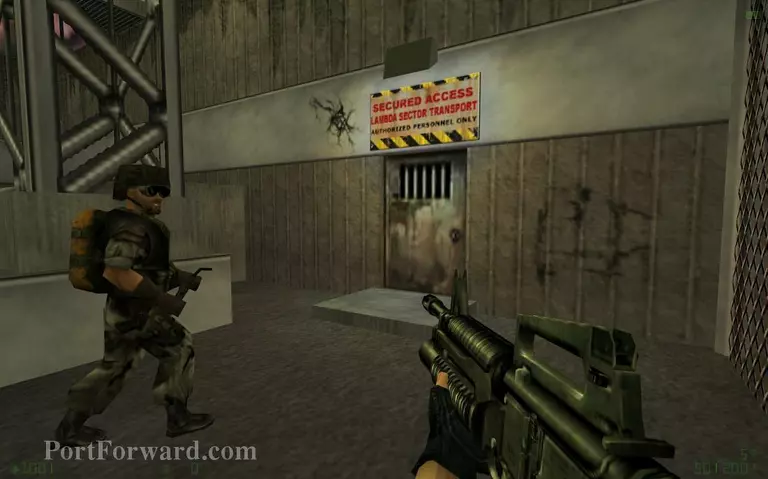
After you kill the black-ops open this gate. You will find an injured engineer inside.
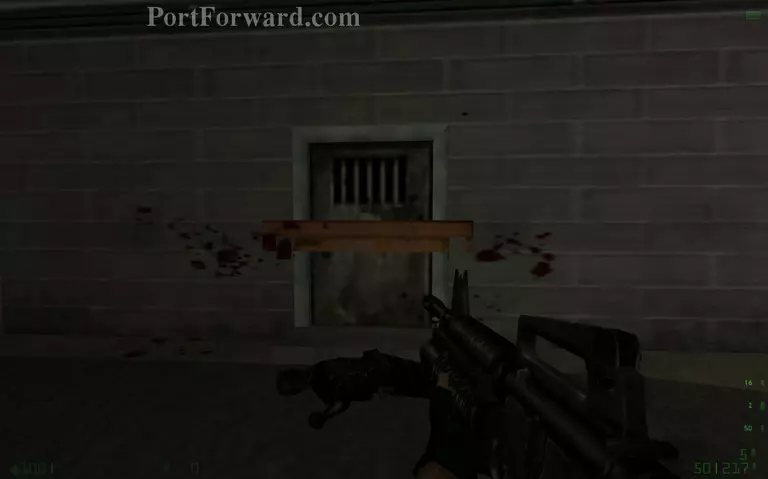
Open this door.
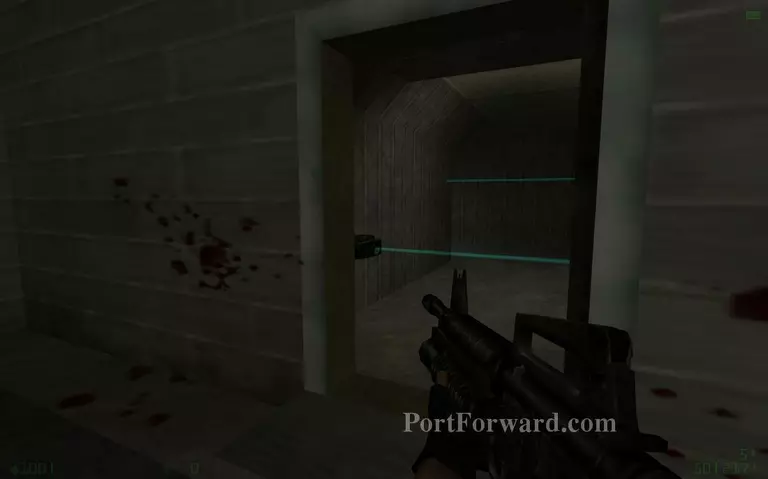
Remove the trip wires howerever you can.
Order the medic to follow you back inside.
Get back to the engineer. The medic will heal him and get him up.
Go outside again while the engineer is following you. He will open the next door for you.
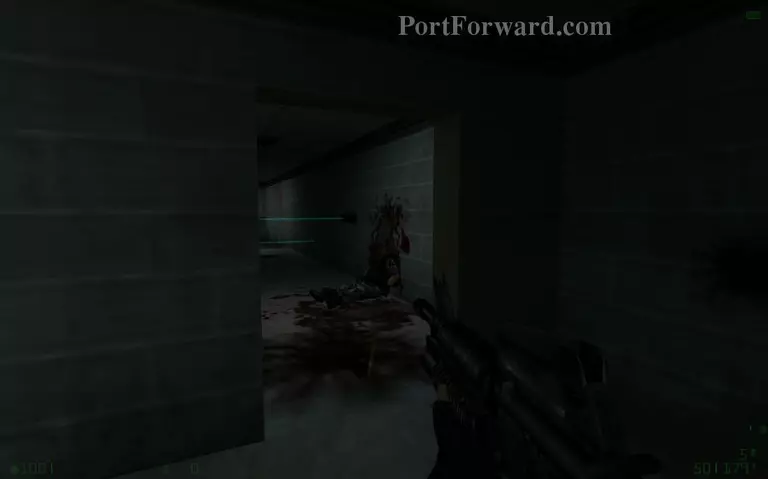
Go through a corridor with tripwires.
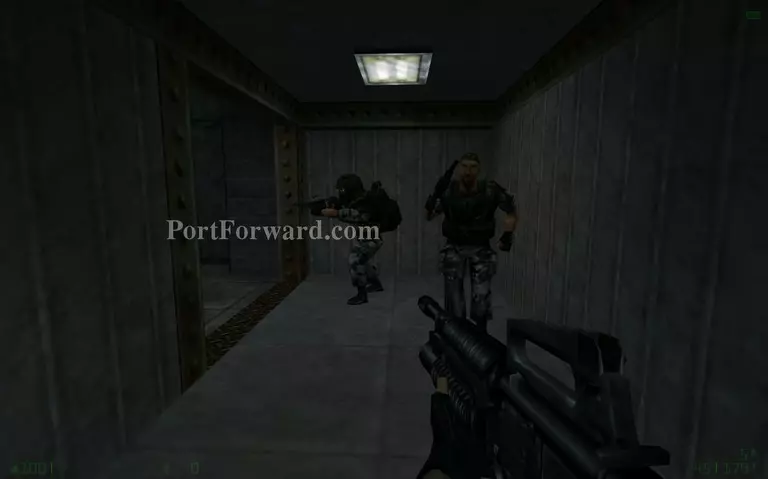
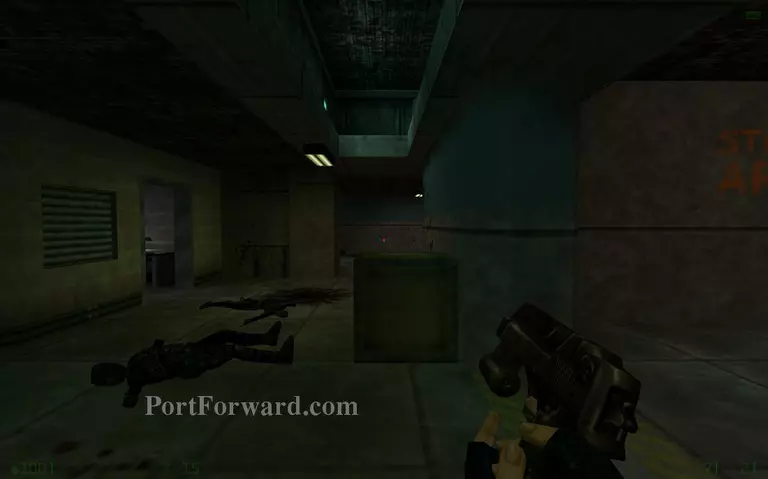
You will encounter another group of stranded soldiers. Get them to follow you because the fight ahead will be tough.
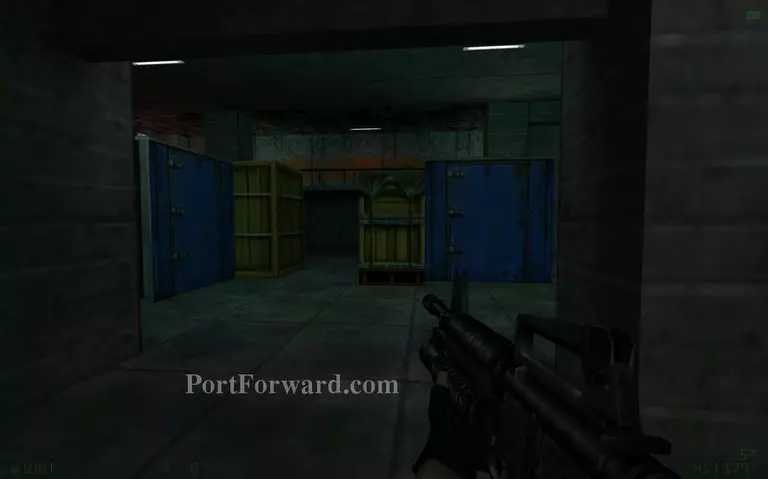
The storage area is too quiet...
You will be attacked by female black-ops. They are very fast so it's best to shoot them with your powerful magnum pistol.
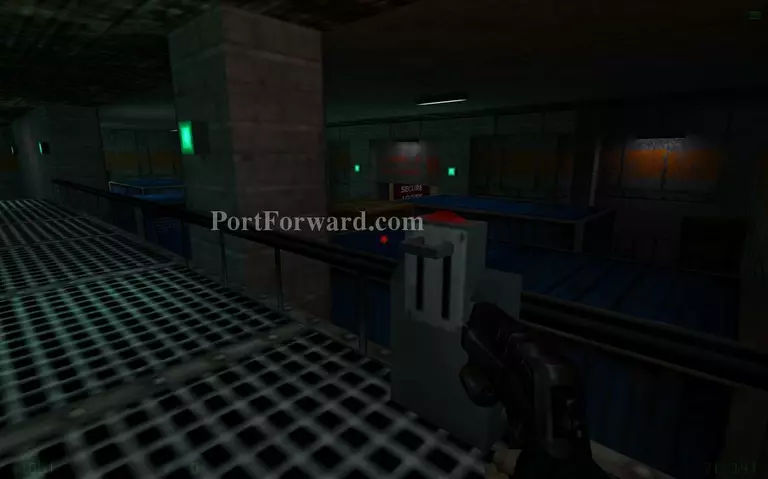
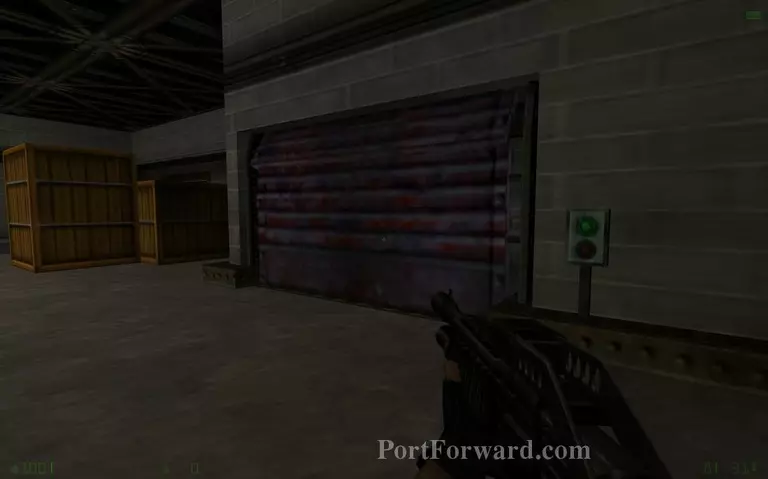
Use the lever at the upper side of the hangar to open the gate that is in front of you.
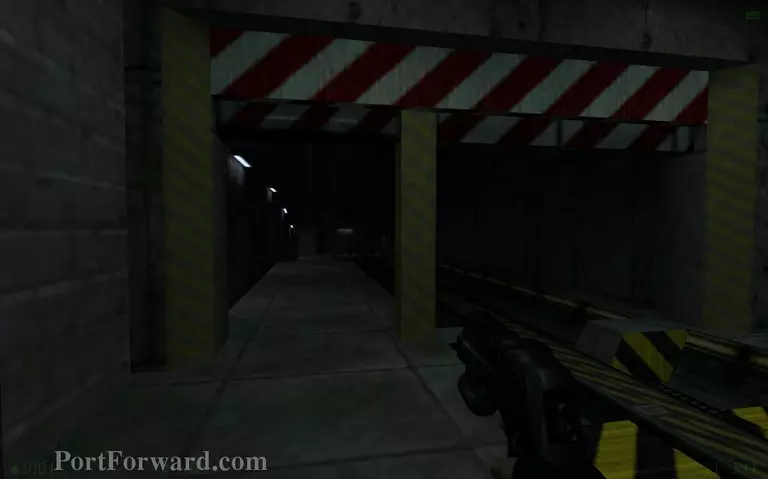
Follow the tracks.
More black-ops will be here.
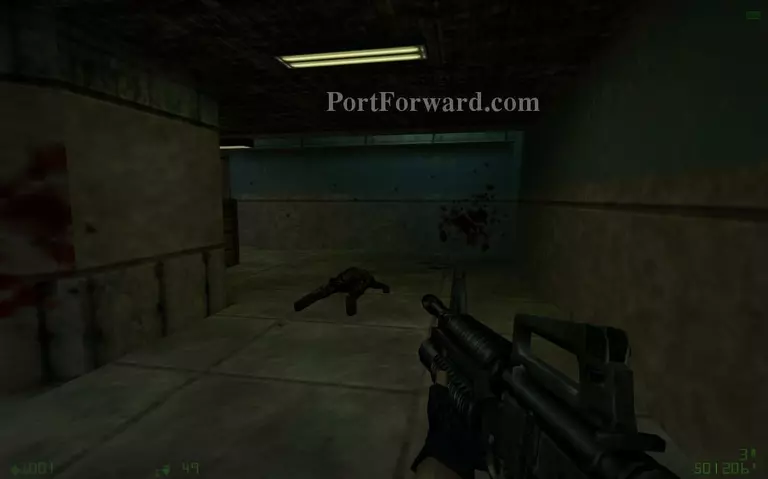
Fight your way through here.
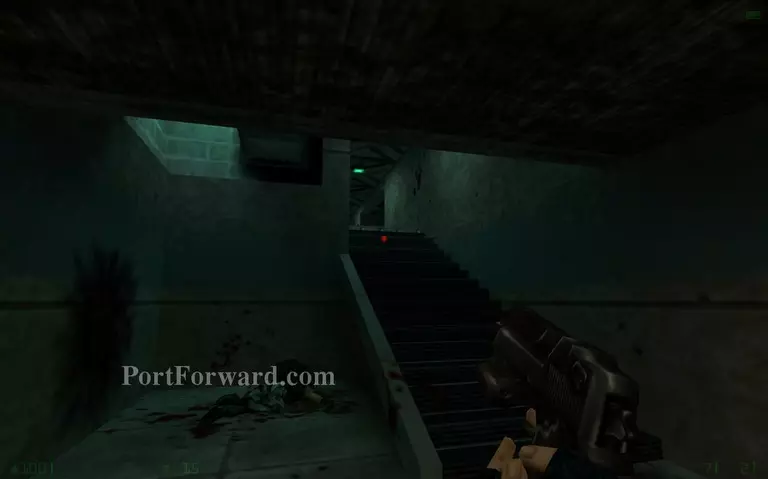
Go up the stairs.
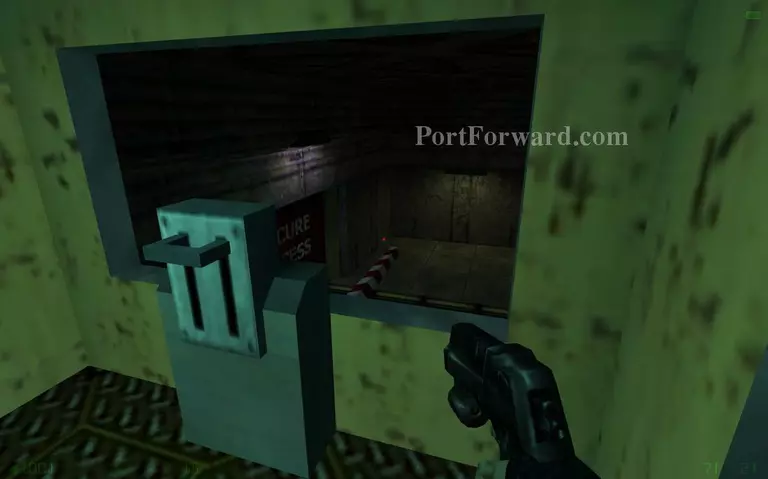
Use the lever to raise the gate.
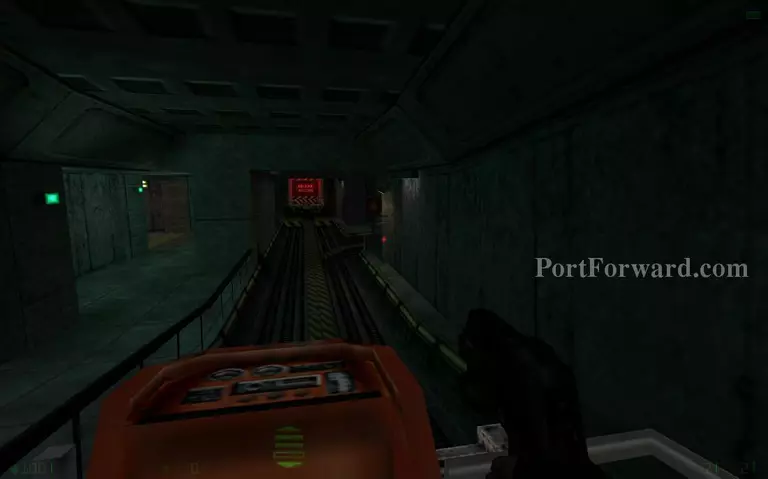
Get back to the tracks and go in reverse on the tram car until you pass the arrow sign. Then go forward and the tram will turn right by itself. Do not shoot the sign to change directions as it isn't needed.
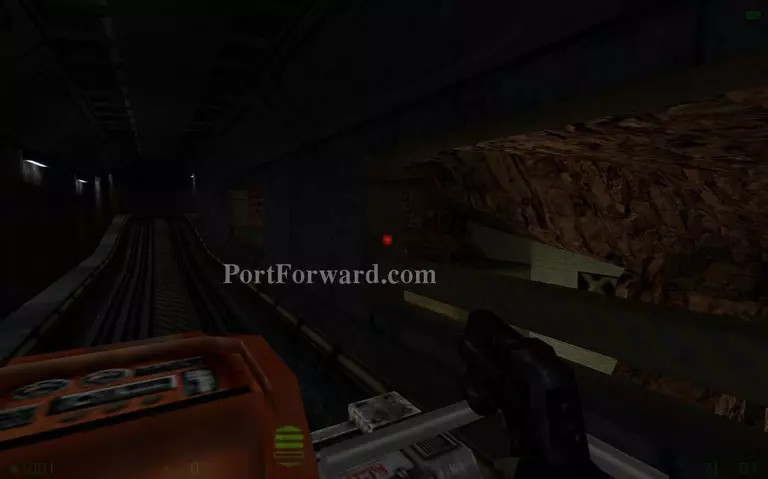
You will pass near a place you have been before on your journey.

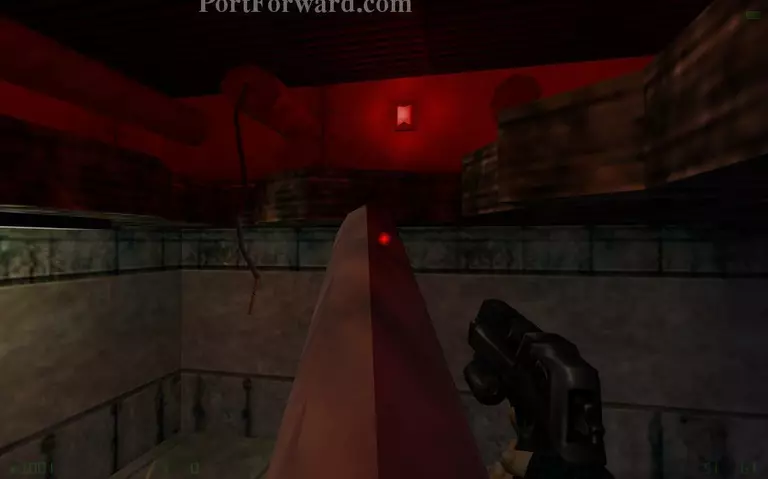
After the tram ride you will find a room that has a pillar sticking out of it. Get inside there.
Climb the pillar to reach the 'attic'.
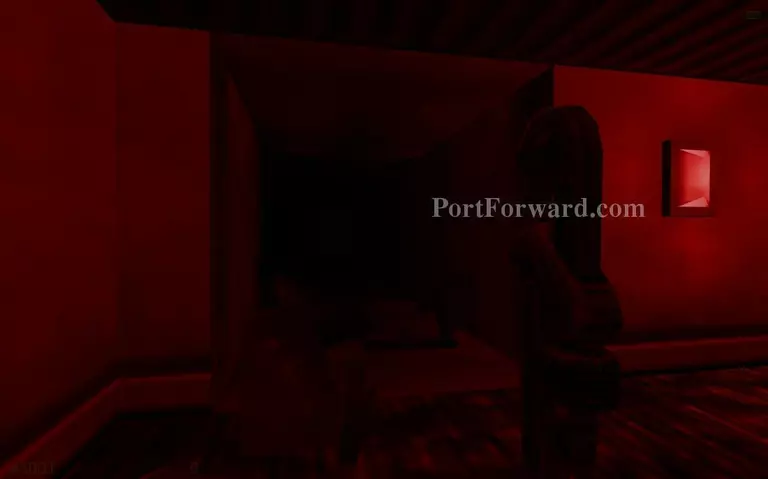
Enter a vent.
More Half-Life: Opposing Force Walkthroughs
This Half-Life: Opposing Force walkthrough is divided into 12 total pages.