
This Half-Life: Opposing Force walkthrough is divided into 12 total pages.
You can jump to nearby pages of the game using the links above.
Worlds Collide
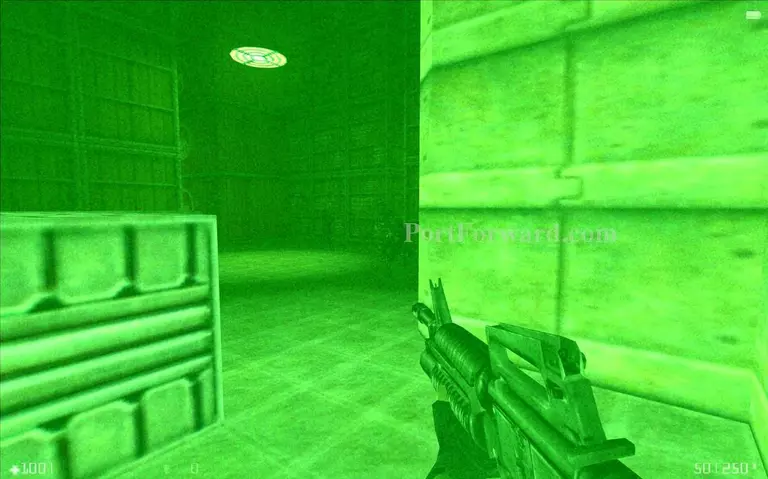
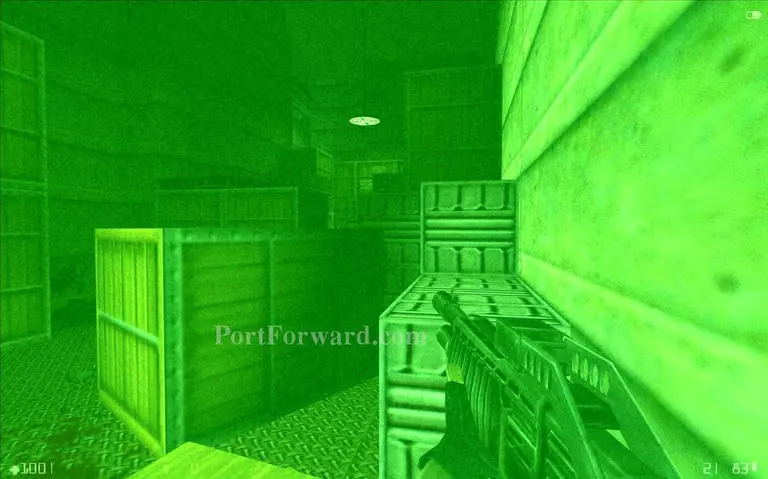
The large storage area is dark and filled with black-ops. Prepare for a hard fight.
You can use a machine gun against the black-ops at one point.

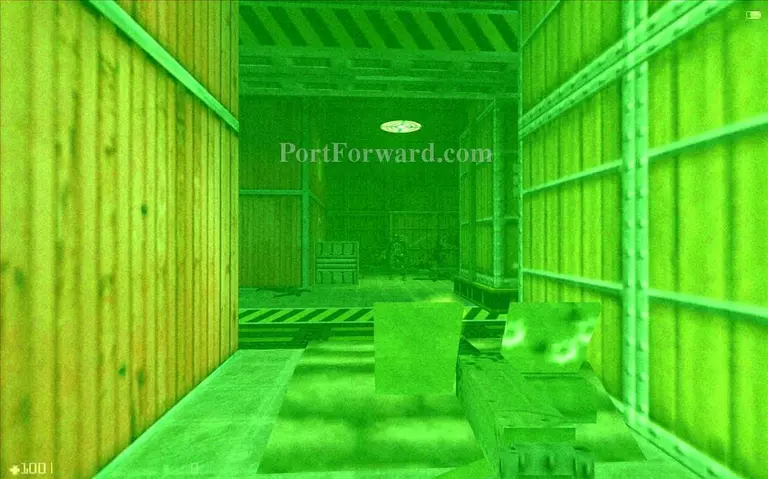
Jump up the crates here to proceed.

Wait for the crates to move so you can run in the first crevice on the left wall.
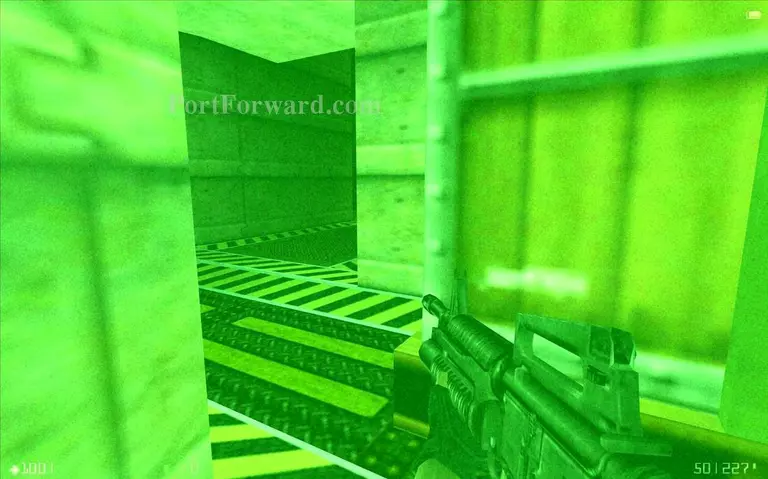
Wait for your moment to run up forward.
Use the lift.
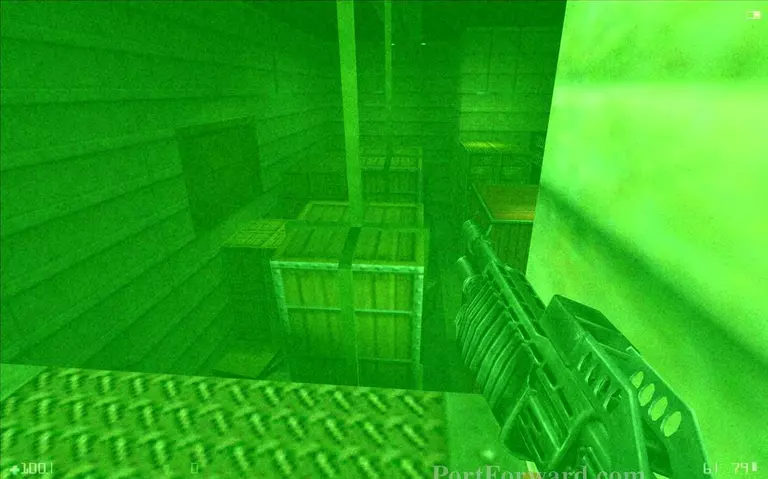
Jump up the crates here.

Jump from crate to crate. A big battle will rage below so try not to fall down.
Jump to the crate.
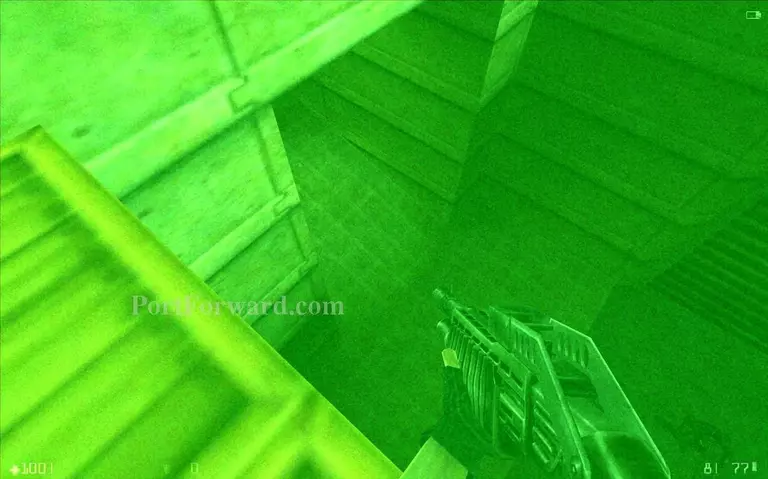
Drop down here. If you manage to make all your jumps correctly you should be able to avoid the big fight here.
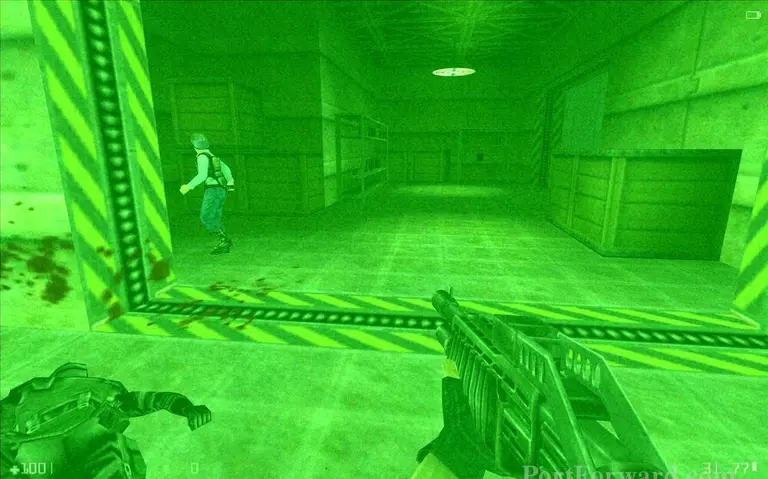
Get inside here and the guard will close the gate.
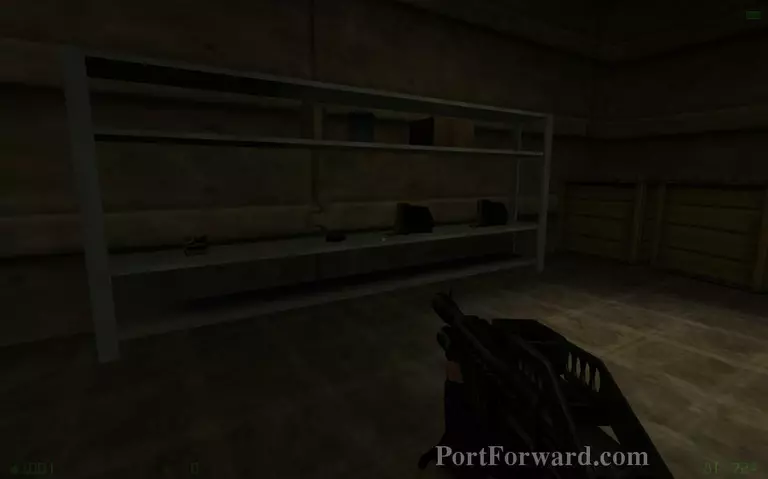
Pick up any ammo from the shelfs you need. The guard will tell you that there is something big below you have to fight.
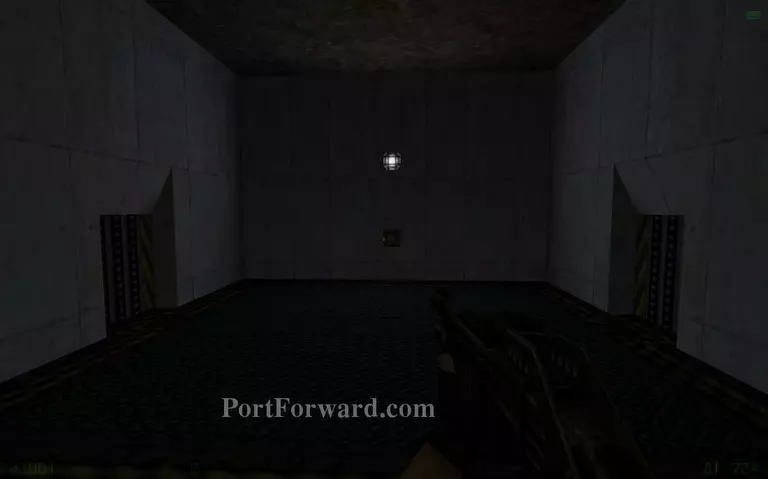
Use the lift to go down.
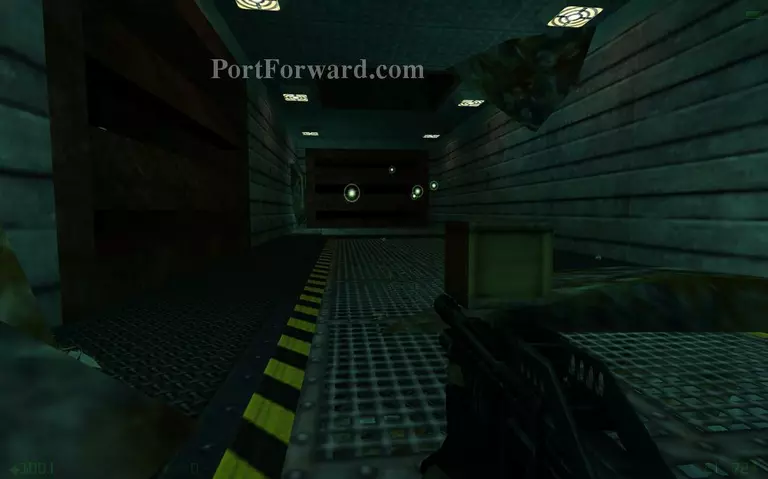
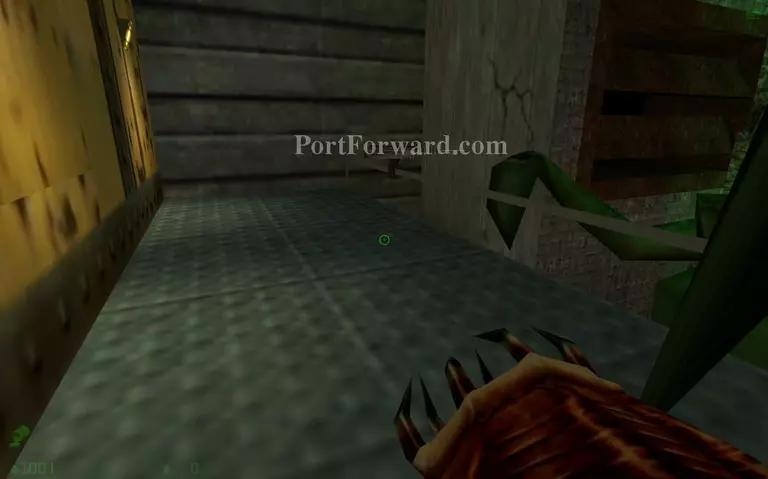
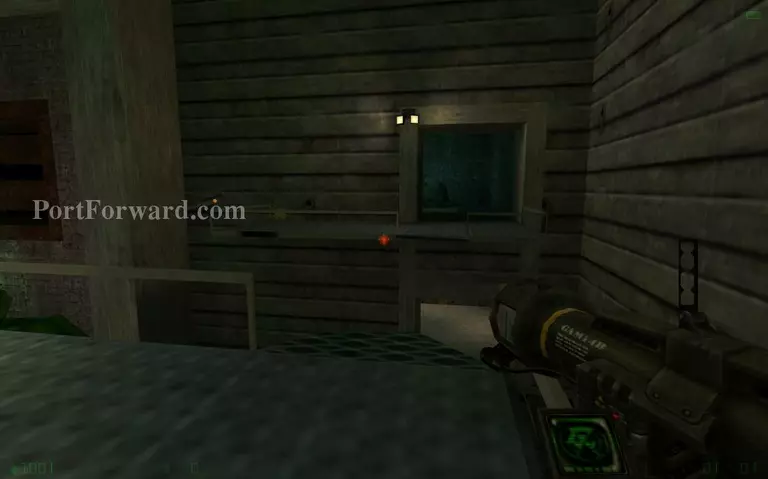
Follow the lights.
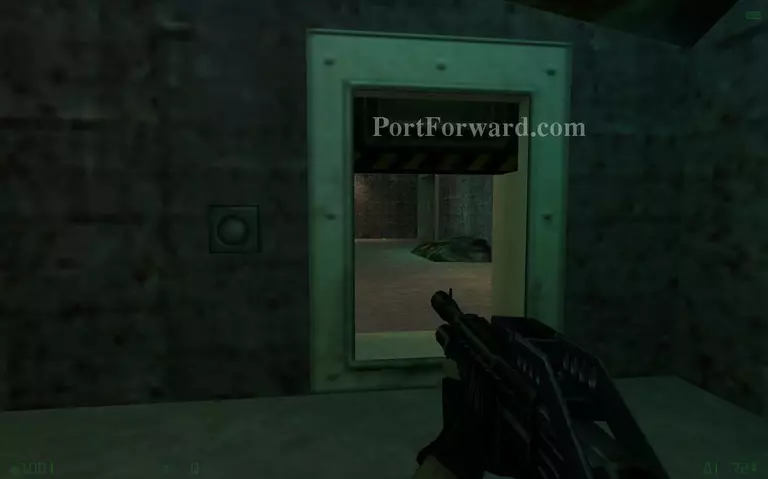
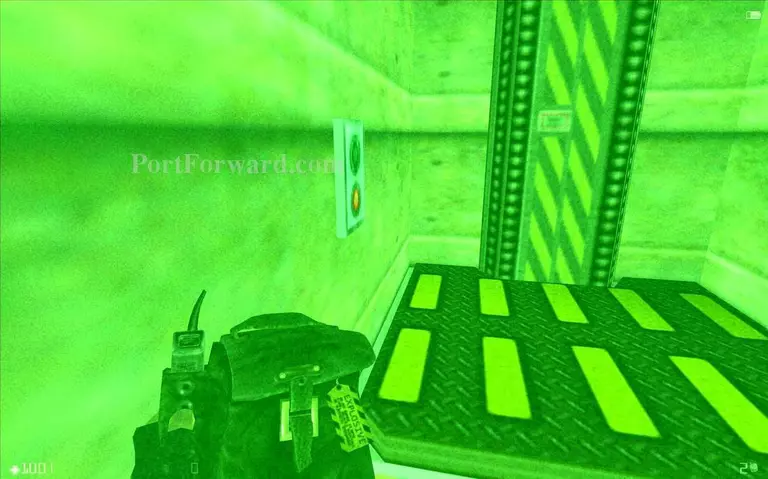
Open the door with the button.
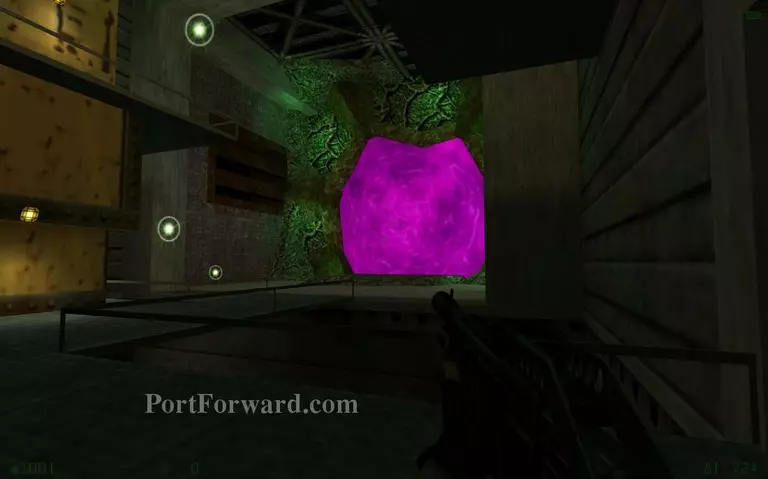
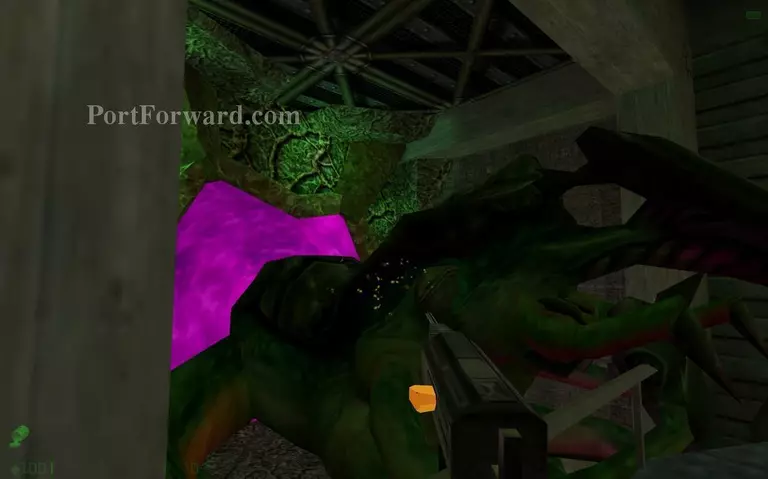
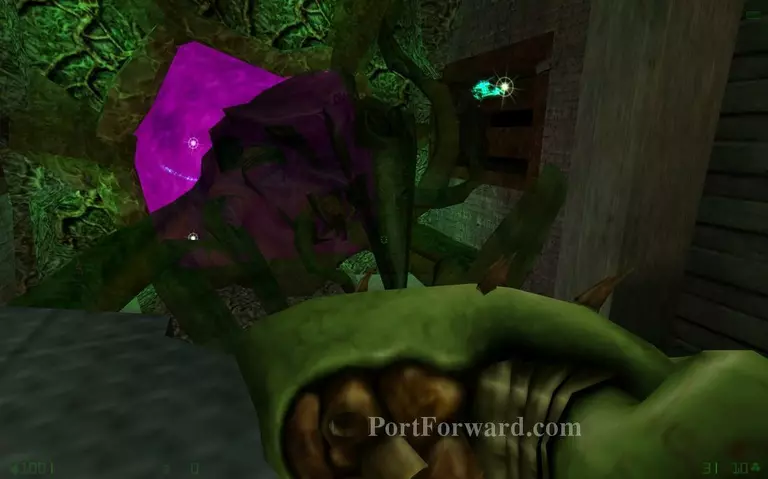
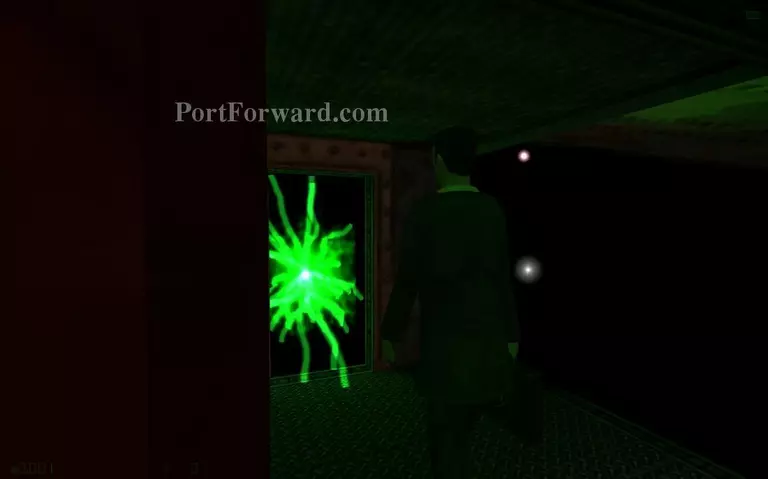
The big purple portal will summon the last boss. You have just a few minutes time to look around here and see what items you can pick.
The barnacle gun will be valuable here.
The blue pool can heal you by standing inside it.
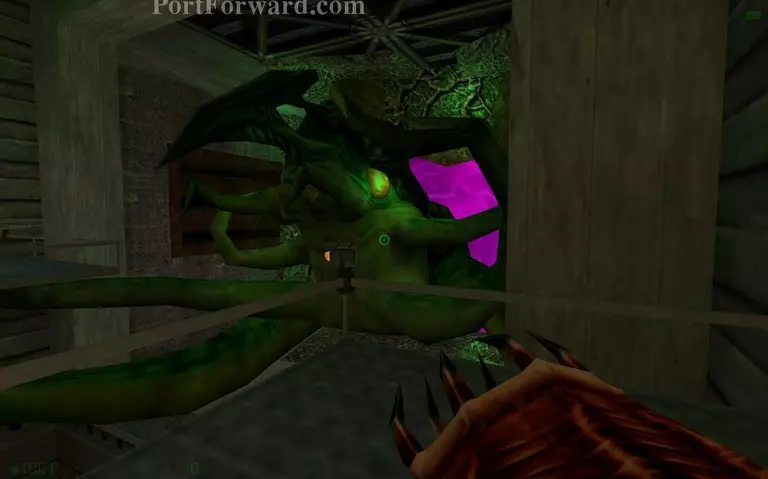
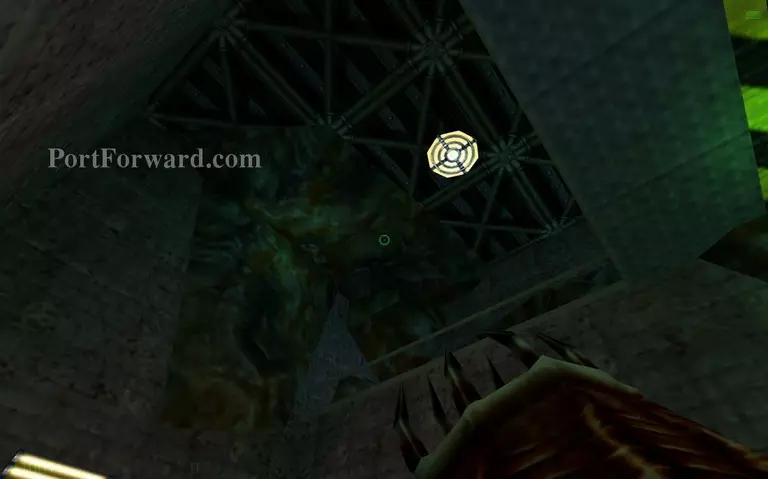
The boss will eventually come. Use the laser turret on this ledge to shoot its eye.

A correct hit will close the monster's eye.
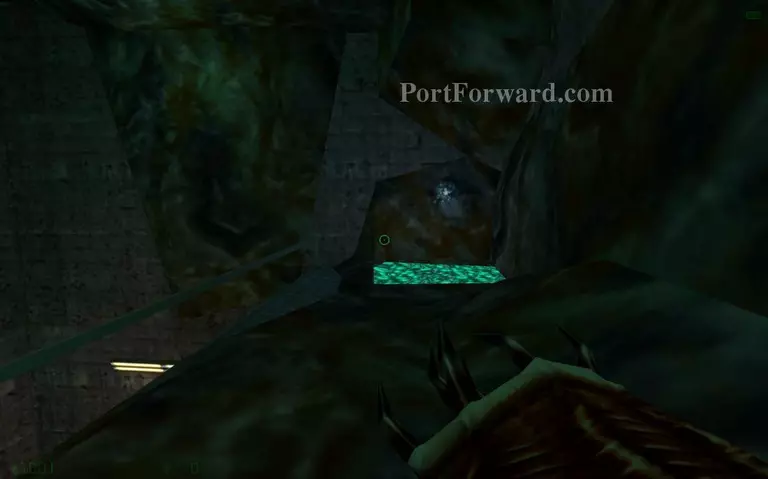
Run to the left side of the ramp.
Shoot the other eye as well.
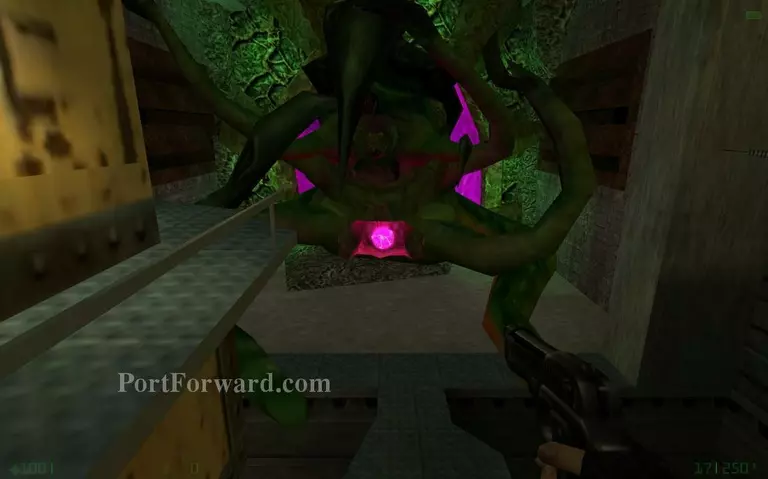
When you hit both eyes with the laser turrets a purple orb will be revealed in the center of the monster. Shoot it with explosives.
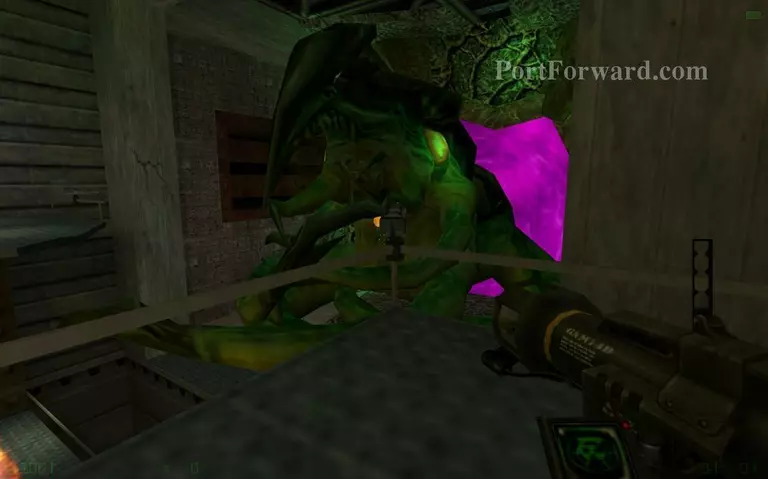
When you shoot the purple orb you will have to repeat the process of shooting the eyes again.
The ramp in the center will be destroyed eventually.
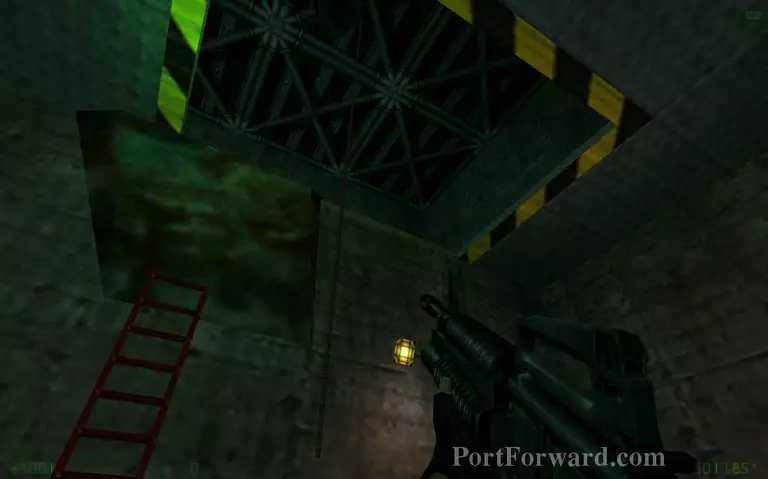
You can use the rope to climb to the upper floor if you need.
When you repeat the process of shooting the eyes and the purple orb three times, the boss will fade away back into the portal.

The G-man will transport you on a military aircraft once the boss is defeated.
He will tell you that Shephard must be detained to some safe place. Afterwards he will jump into a portal.

The end.
More Half-Life: Opposing Force Walkthroughs
This Half-Life: Opposing Force walkthrough is divided into 12 total pages.


