This Harry Potter and the Deathly Hallows: Part 1 walkthrough is divided into 11 total pages.
You can jump to nearby pages of the game using the links above.
Level 6
 Harry Potter and the Deathly Hallows: Part 1 Walkthrough - Harry Potter-and-the-Deathly-Hallows-Part-1 51
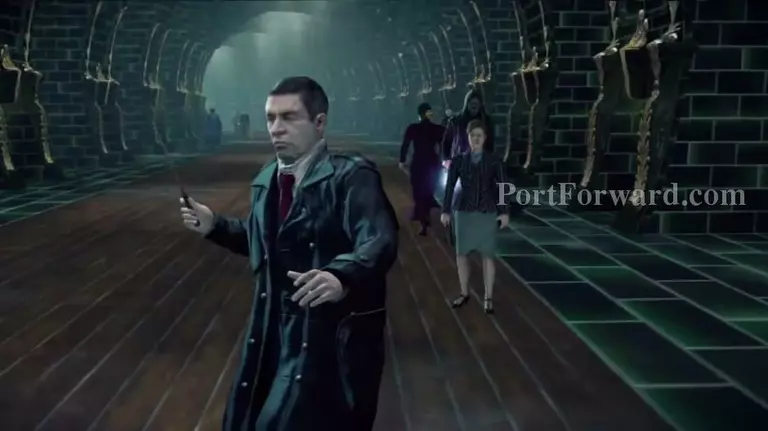
You will then be inside the Ministry of Magic, use the Four Points spell to know where to go next.
 Harry Potter and the Deathly Hallows: Part 1 Walkthrough - Harry Potter-and-the-Deathly-Hallows-Part-1 52
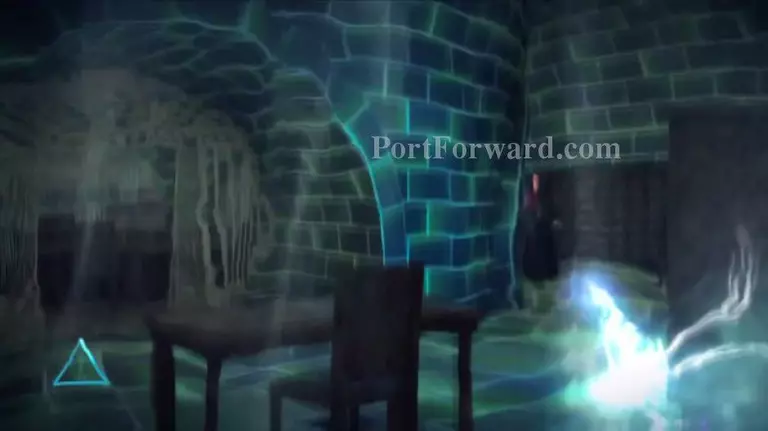
After some time the Potion will wear off, this is where you will need to use the Cloak again.
 Harry Potter and the Deathly Hallows: Part 1 Walkthrough - Harry Potter-and-the-Deathly-Hallows-Part-1 53
If seen you might need to defeat a couple of Death Eaters.
 Harry Potter and the Deathly Hallows: Part 1 Walkthrough - Harry Potter-and-the-Deathly-Hallows-Part-1 54
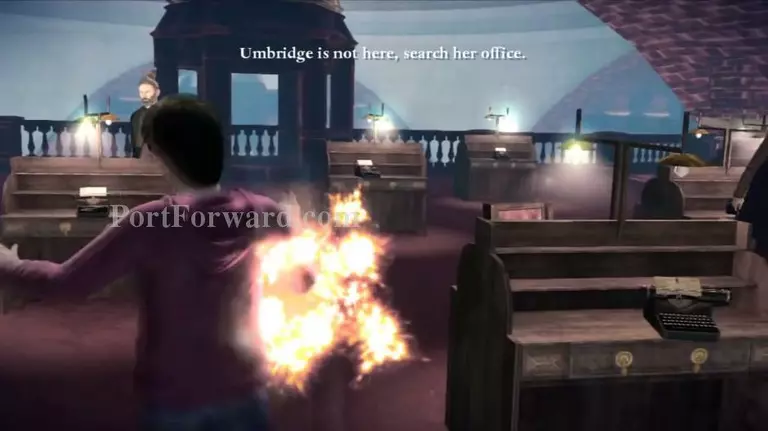
When you reach Umbridge's office, you will need to search it.
 Harry Potter and the Deathly Hallows: Part 1 Walkthrough - Harry Potter-and-the-Deathly-Hallows-Part-1 55
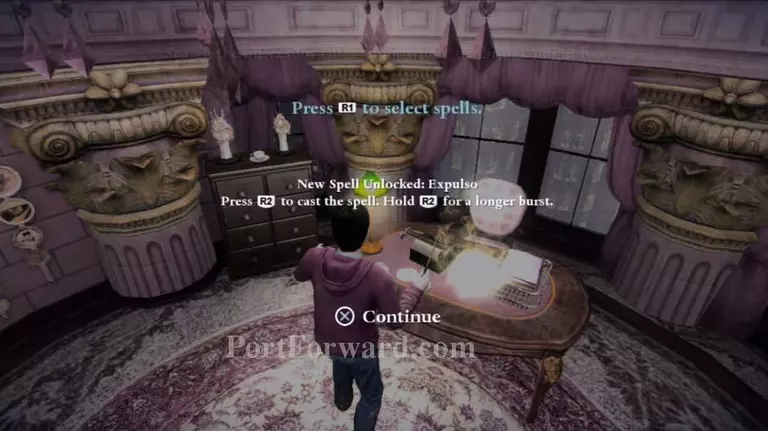
You will learn another spell.
 Harry Potter and the Deathly Hallows: Part 1 Walkthrough - Harry Potter-and-the-Deathly-Hallows-Part-1 56
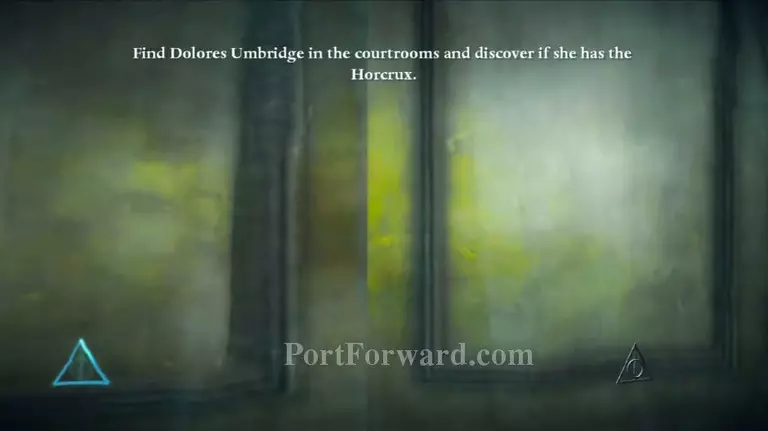
You will need to follow the Four Points spell to find Umbridge.
 Harry Potter and the Deathly Hallows: Part 1 Walkthrough - Harry Potter-and-the-Deathly-Hallows-Part-1 57
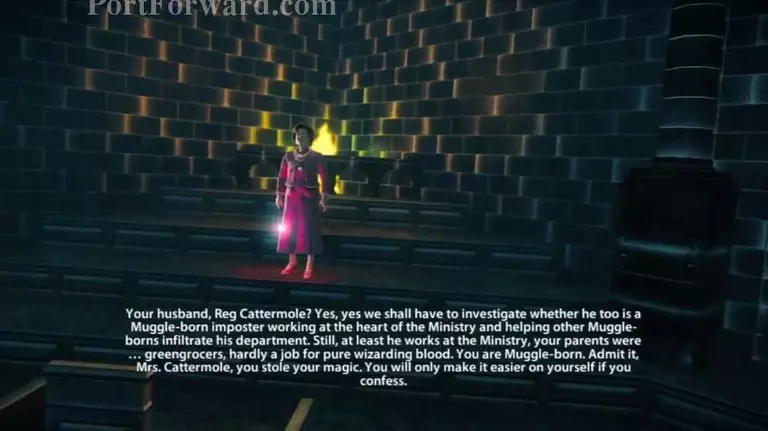
Then you will be prompt with a cutscene.
 Harry Potter and the Deathly Hallows: Part 1 Walkthrough - Harry Potter-and-the-Deathly-Hallows-Part-1 58
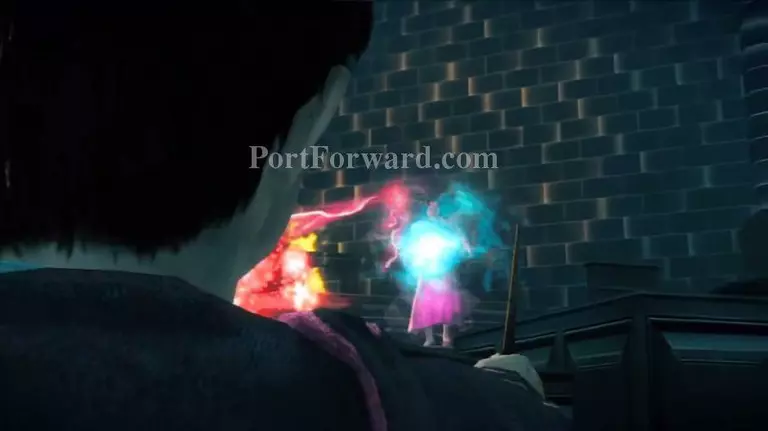
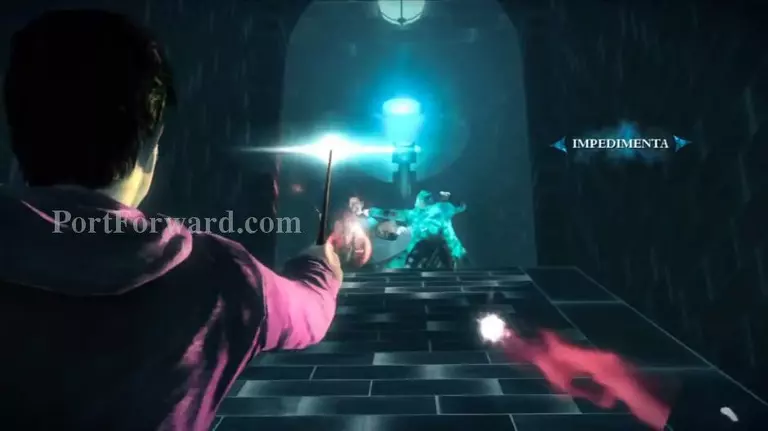
You will then fight Umbridge.
 Harry Potter and the Deathly Hallows: Part 1 Walkthrough - Harry Potter-and-the-Deathly-Hallows-Part-1 59
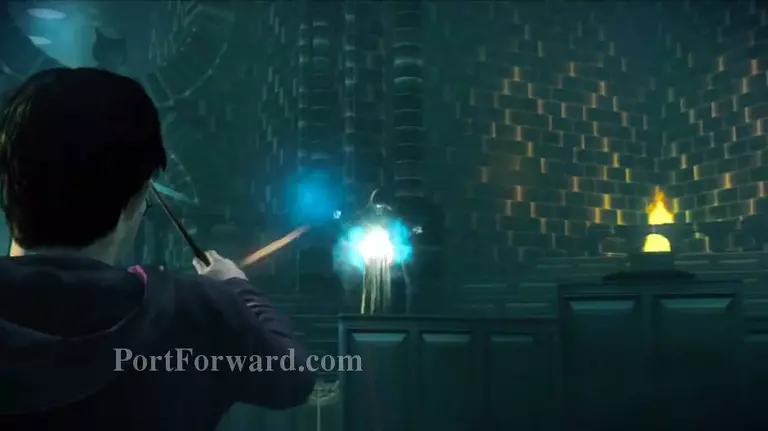
Use the spells from the Spells Wheel to defeat Umbridge and the Death Eaters around her.
 Harry Potter and the Deathly Hallows: Part 1 Walkthrough - Harry Potter-and-the-Deathly-Hallows-Part-1 60
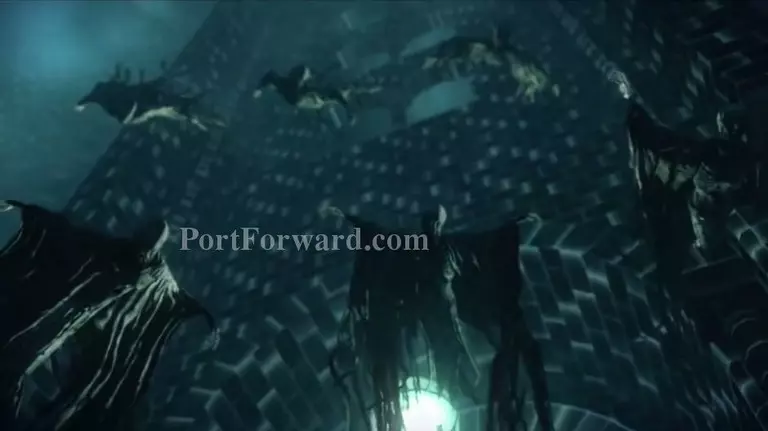
Then Dementors will come.
 Harry Potter and the Deathly Hallows: Part 1 Walkthrough - Harry Potter-and-the-Deathly-Hallows-Part-1 61
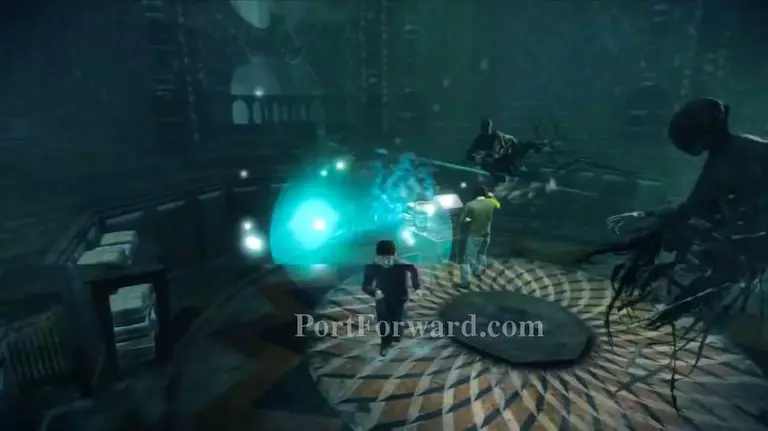
Conjure a Patronus spell to defeat the Dementors and collect the Locker.
 Harry Potter and the Deathly Hallows: Part 1 Walkthrough - Harry Potter-and-the-Deathly-Hallows-Part-1 62
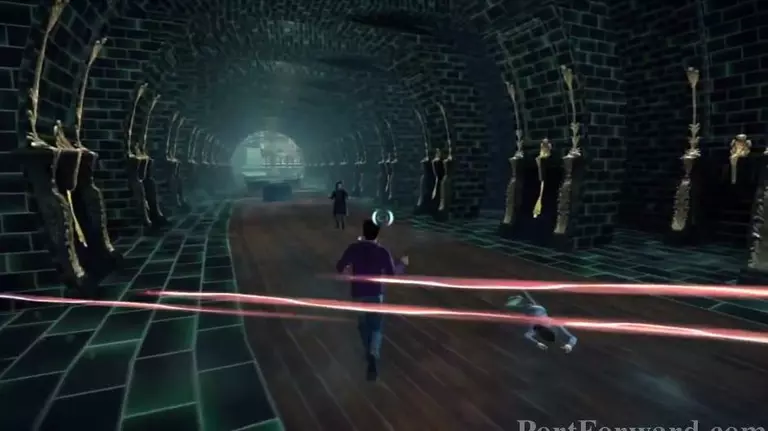
Then follow the Four Points spell to move foward, along the way you will be encountered by the enemy, defeat them and move on.
 Harry Potter and the Deathly Hallows: Part 1 Walkthrough - Harry Potter-and-the-Deathly-Hallows-Part-1 63
Then go to the lifts.
More Harry Potter and the Deathly Hallows: Part 1 Walkthroughs
This Harry Potter and the Deathly Hallows: Part 1 walkthrough is divided into 11 total pages.


