
This Harry Potter and the Deathly Hallows: Part 1 walkthrough is divided into 11 total pages.
You can jump to nearby pages of the game using the links above.
Level 2
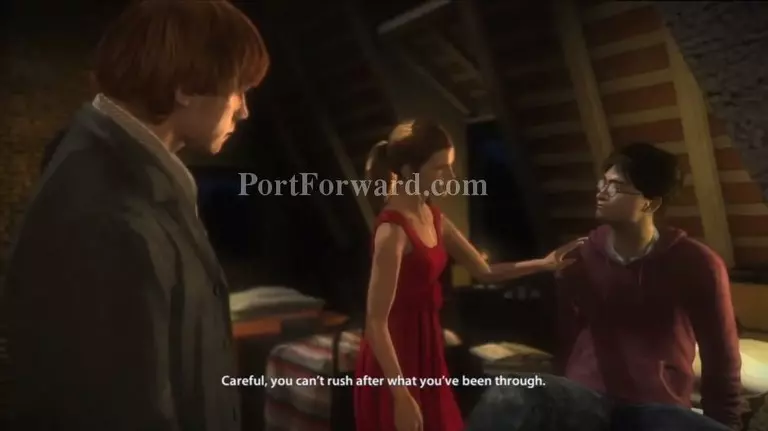
Harry will wake up with Hermonie and Ron at he's side.
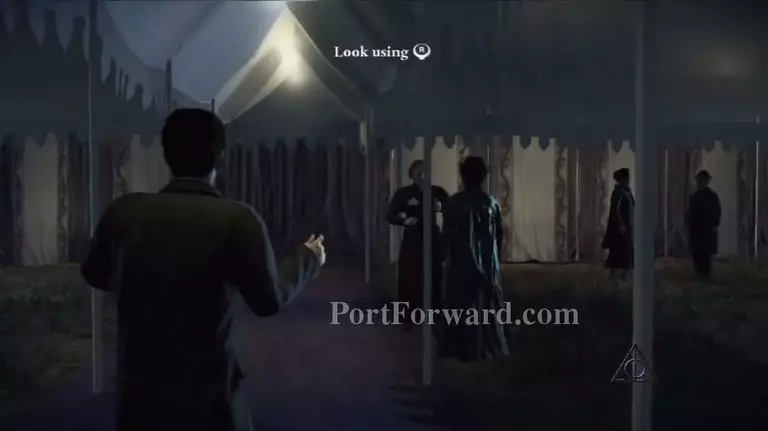
After the custcene, you will find yourself outside, use the appropriate control to look around.
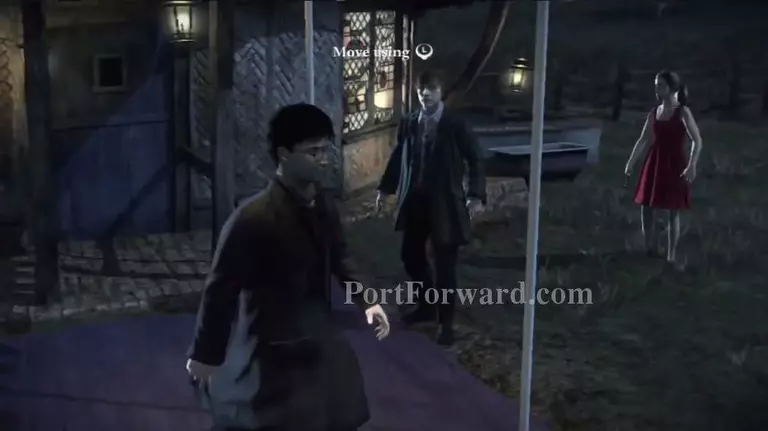
And to move around.
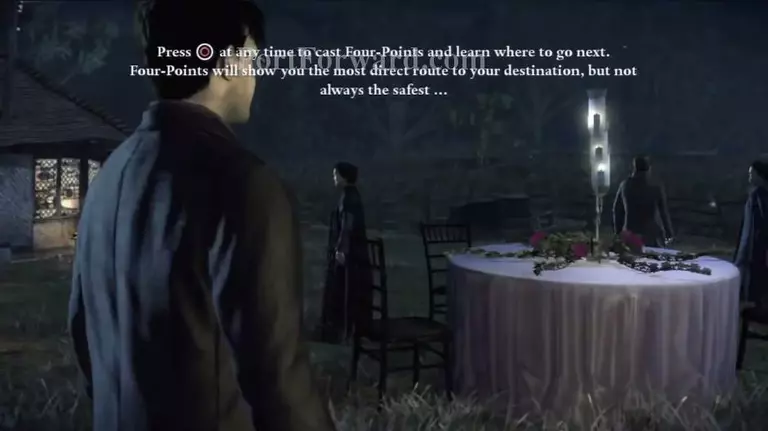
Press the appropriate button to cast the Fours Points spell which acts as a pointer, it will show you where you need to go next.
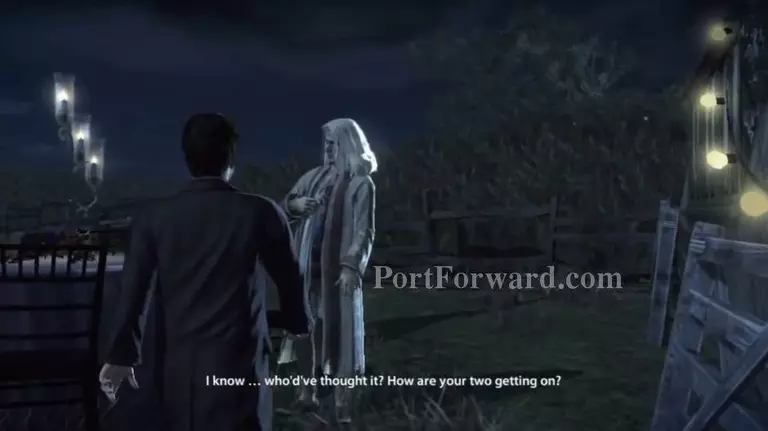
Follow the spell, until you reach the man in white.
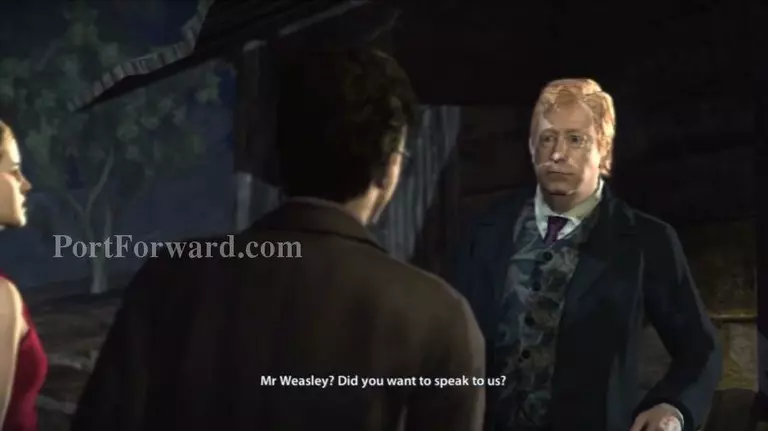
After talking to the man, cast the same Four Points spell and follow it to Mr.Weasley.
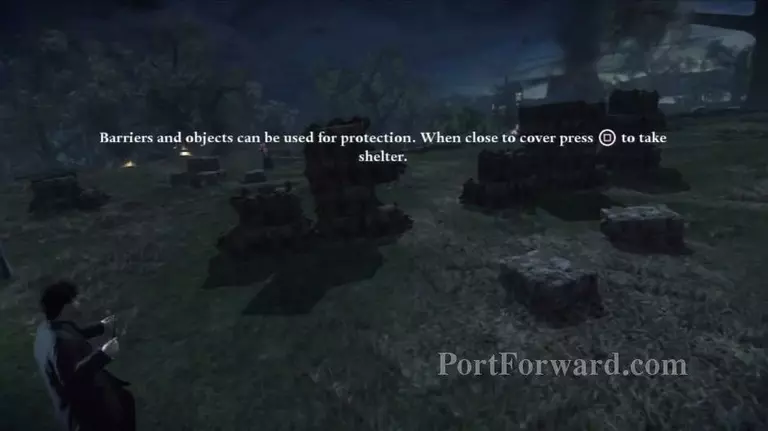
After the cutscene, there will be an attack, use the appropraite button to hide behind cover.
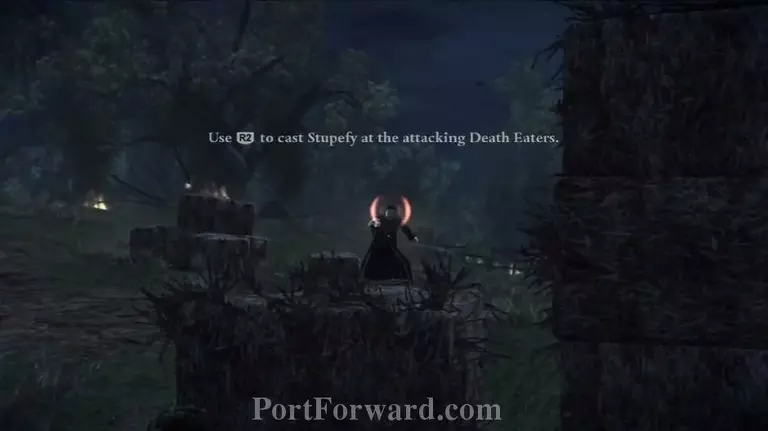
From behind the cover cast a spell to knock out the Death Eaters.
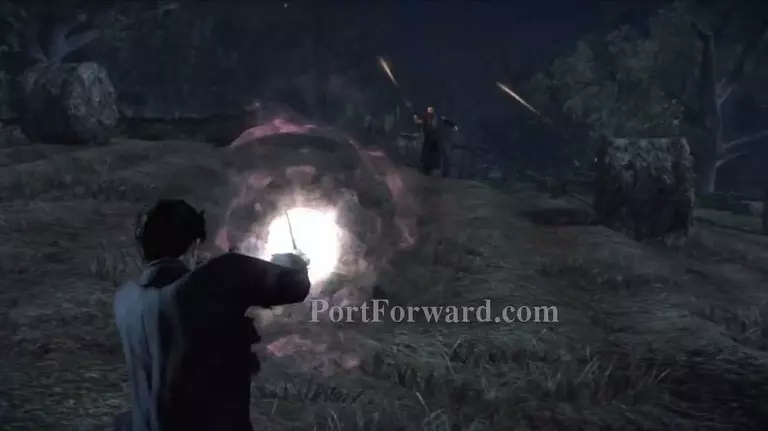
After you defeat the enemy from behind the cover, use the Four Points spell and follow the spell, you will be prompt to cast a proteciton spell, use the appropriate button to cast the Protection Spell and aim it toward the enemy firing at you.
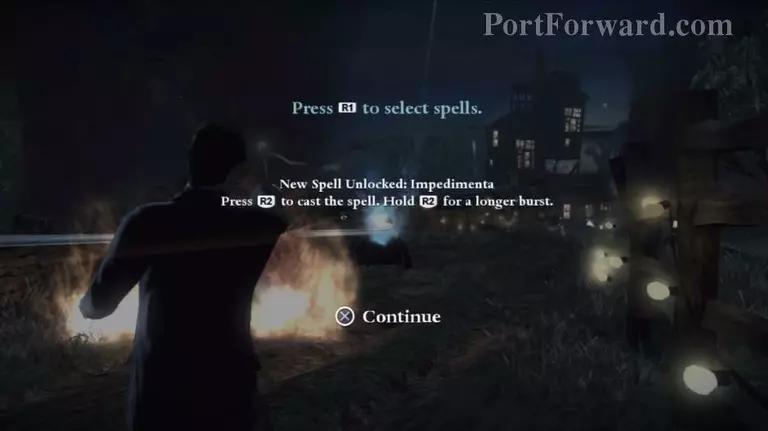
Moving forward you will be prompt with a new spell, use the appropraite button to open the spells wheel and select the new spell, you can cast the spell once or press and hold for a stronger spell and burst.
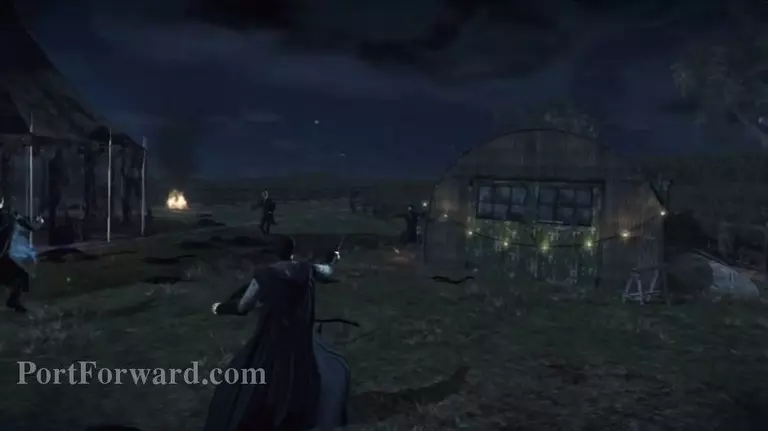
Use the spell and move forward, when you get near the house, there will be a cutscene, this is where Level 3 ends.
More Harry Potter and the Deathly Hallows: Part 1 Walkthroughs
This Harry Potter and the Deathly Hallows: Part 1 walkthrough is divided into 11 total pages.


