This Prey walkthrough is divided into 22 total pages.
You can jump to nearby pages of the game using the links above.
Hidden Agenda
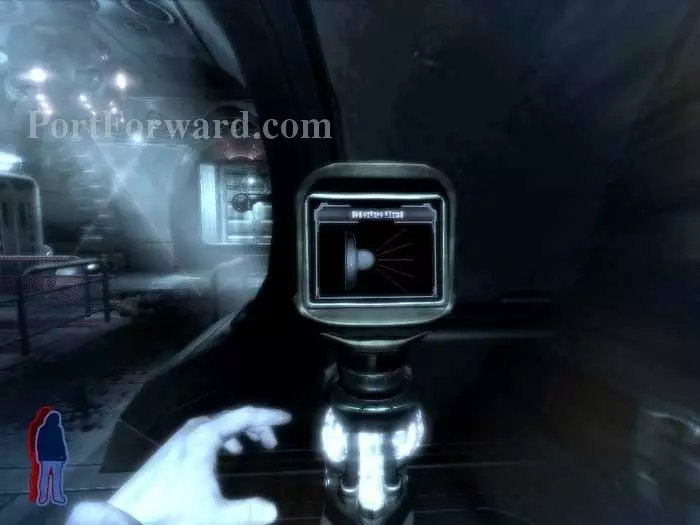
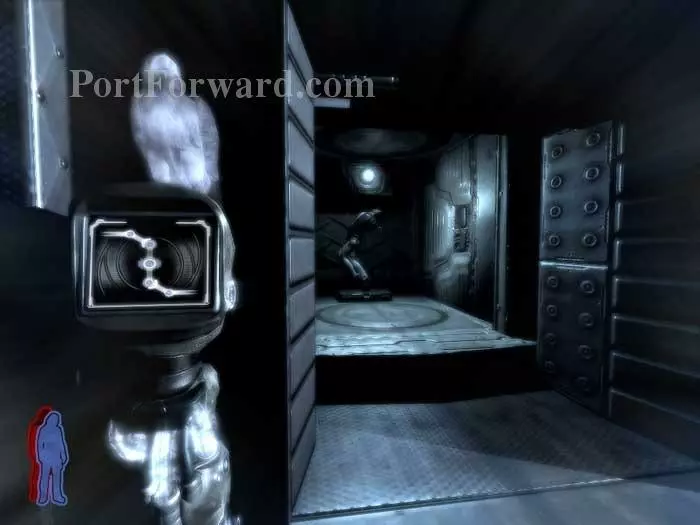
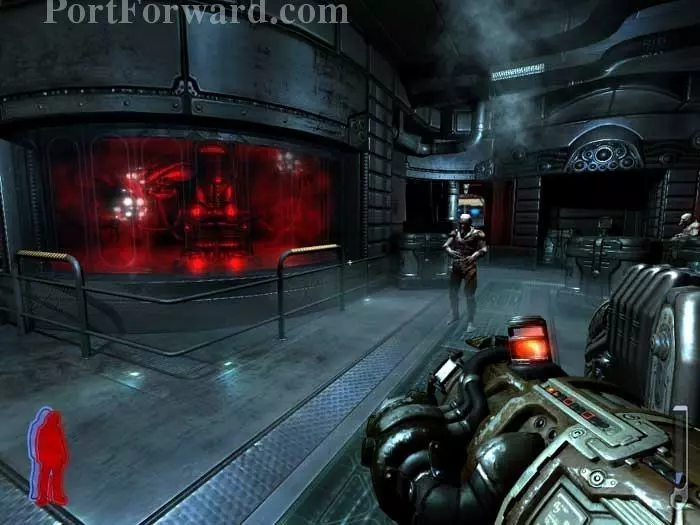
Slip past a mutilated human then Spirit Walk to this console and disable the eye stalks.
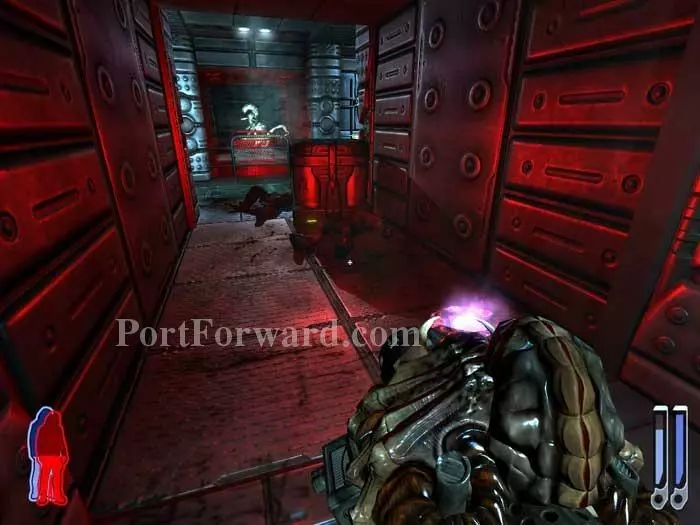
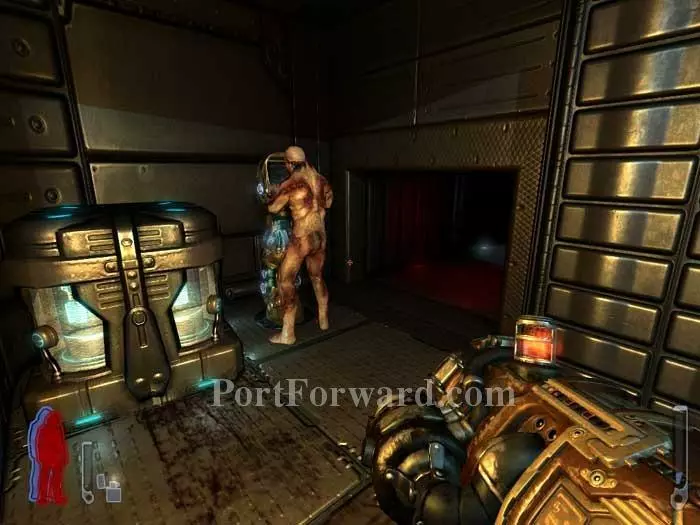
Return to your body then retrieve some rifle ammo as you work your way to this corridor. Catch a fleeting glimpse of the Keeper.
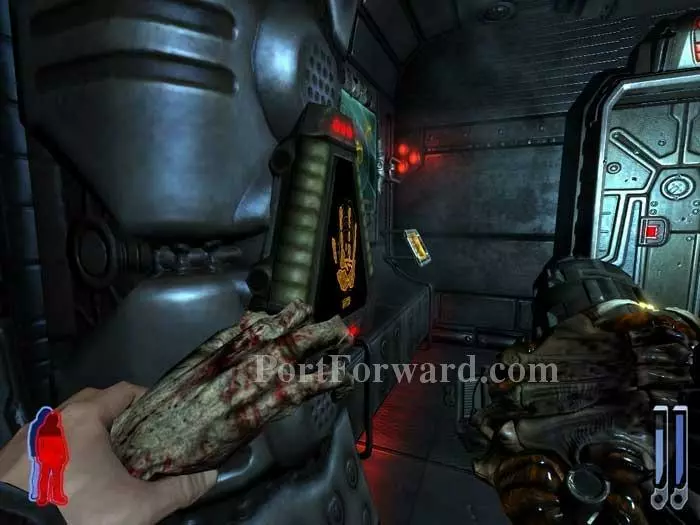
The dismembered hand gets you through this next door.
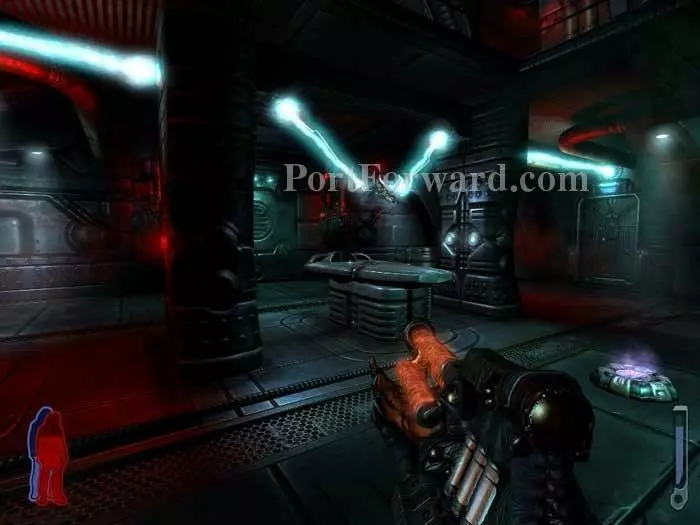
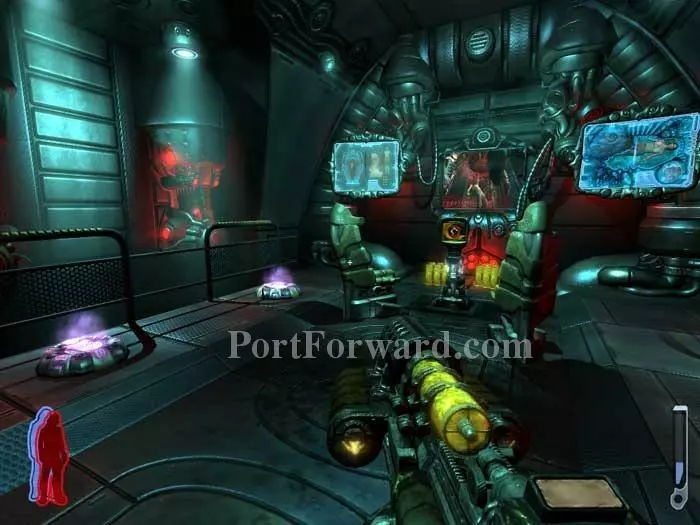
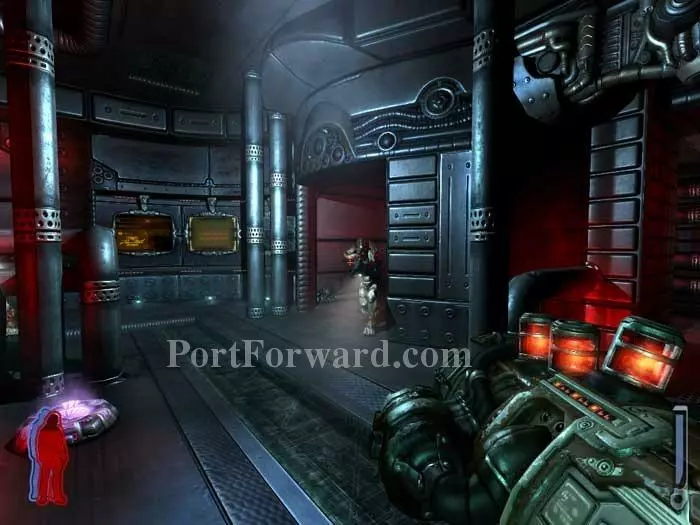
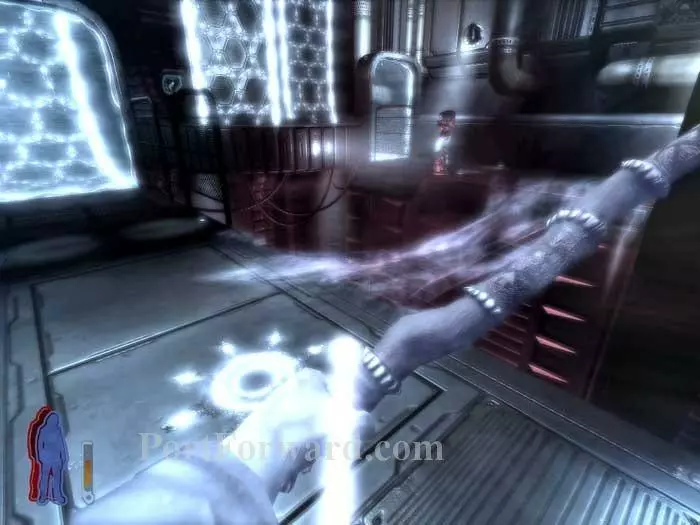
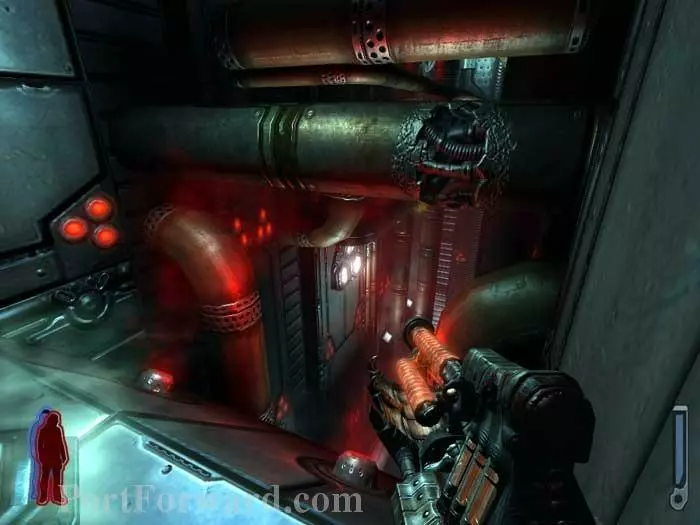
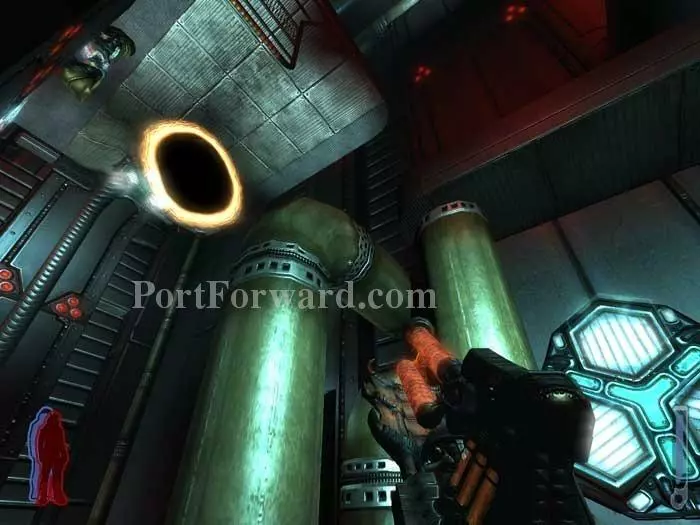
A mysterious weapon is floating in this next room, suspended by beams emanating from neighboring rooms.

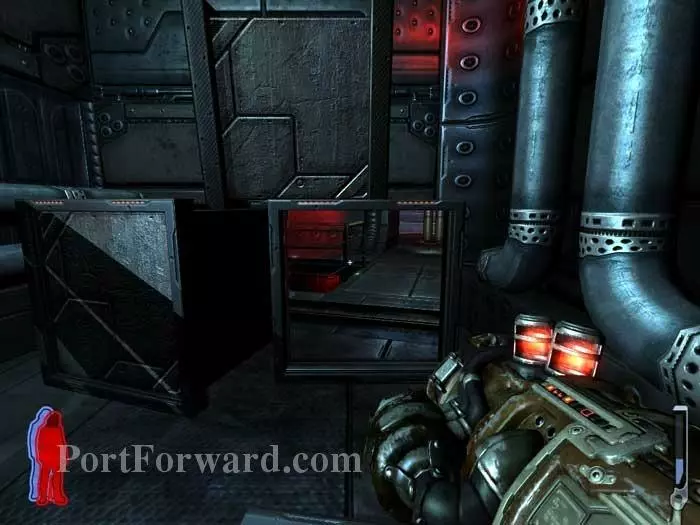
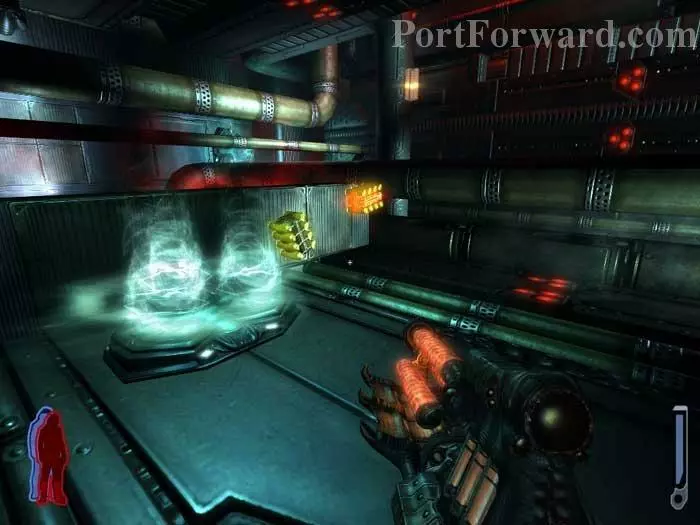
One side room has ammunition and health, the other just health. After retrieving the supplies, shoot out the capsule in each room to disrupt the beams. Be careful -- shooting the capsule activates a turret.

Retrieve the freed weapon -- the acid gun is now yours!
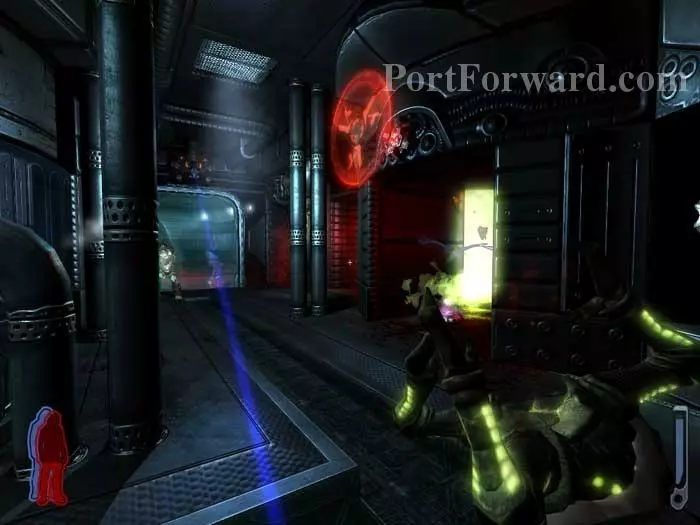
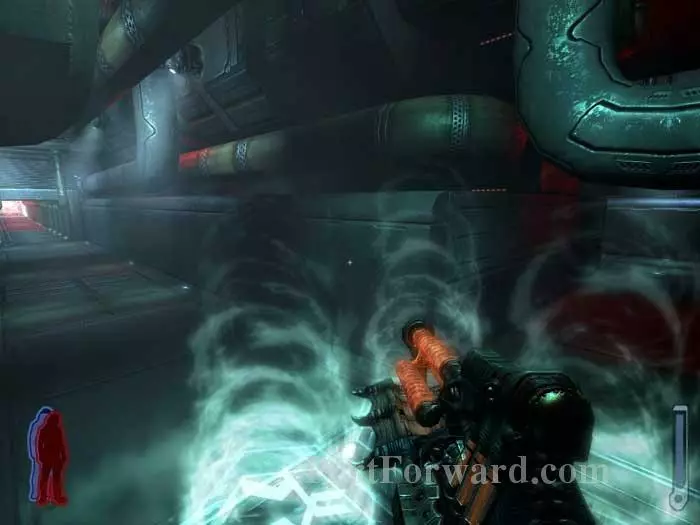
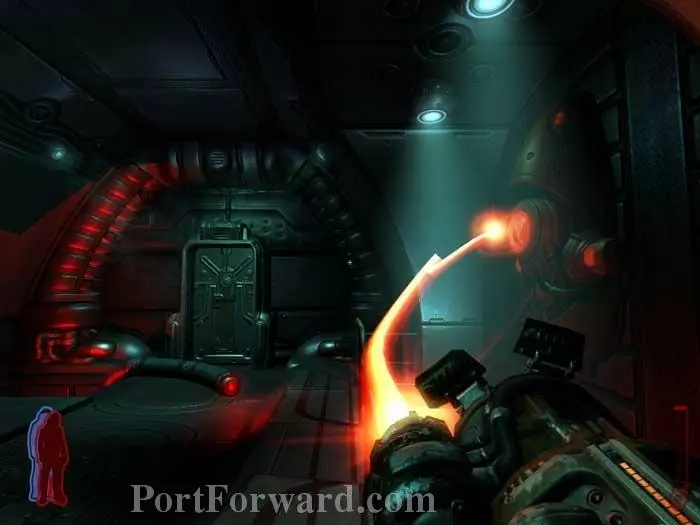
Hunter spawn. Splash them with acid then hop through their portal.
Find health spores on the left and acid ammunition behind the console, which can be used to tune in earth radio -- unfortunately there's no Art Bell this time.
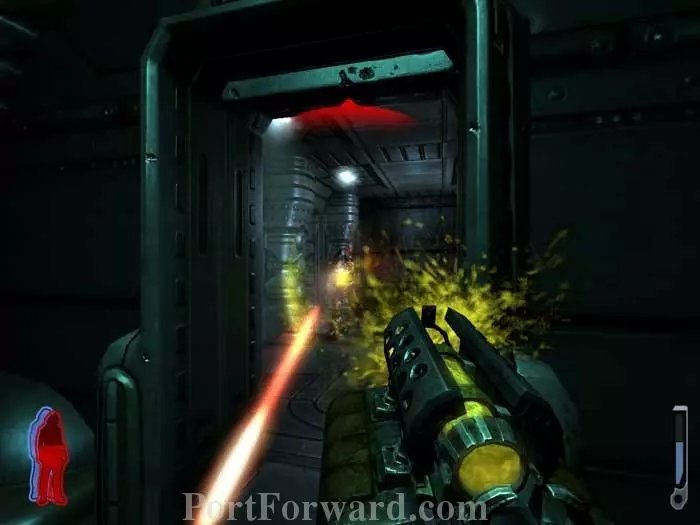
Turn around and acidify a pair of hunters through the door behind you.
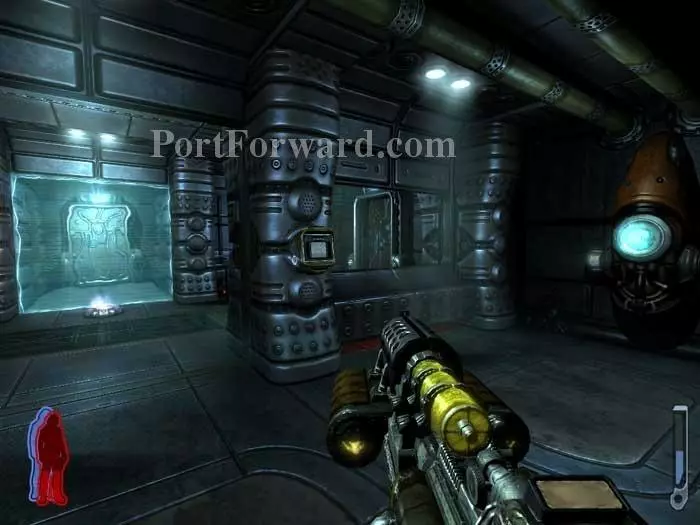
Freeze ammo is on the right. The console in the center disables the force field to the left.
Hunters and a turret are in the room beyond. Toss crawlers at the hunters and use your Auto Cannon against the turret.
Clean up on health, ammo and spirits then confront your next puzzle. Enter the alcove ahead/left, then spirit walk through the force field on the right.
Use this console and the alcove rotates, bringing your body past the force field.
Plasma is available nearby.
Repeat the tactic once again to get past another force field. (Note that you can send your body on to a third position for some Draw Poker fun.)
Defeat a wave of hunters then heal at the two nearby spores.
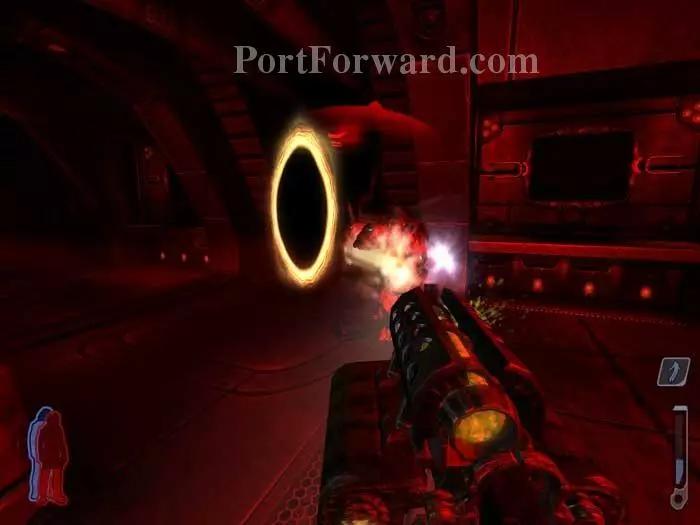
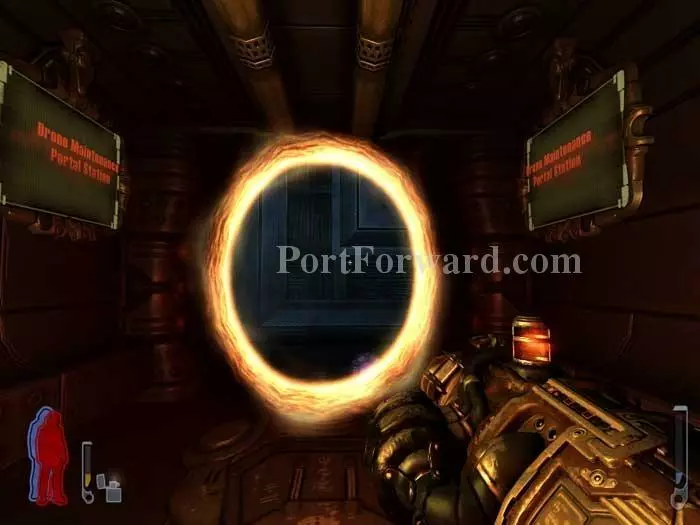
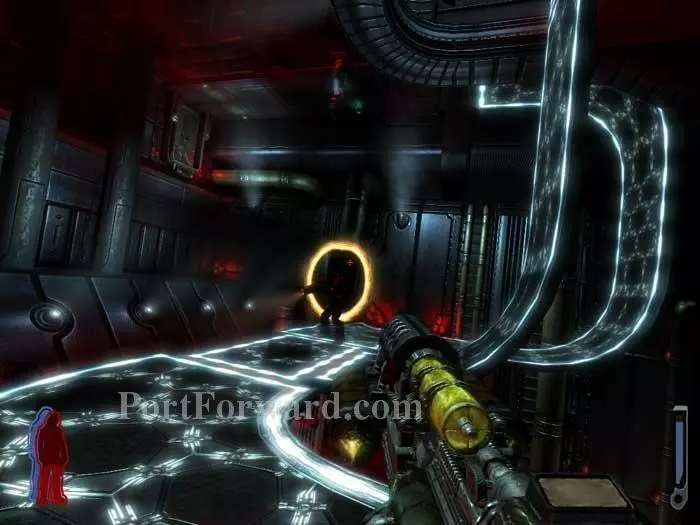
Exit through this portal.
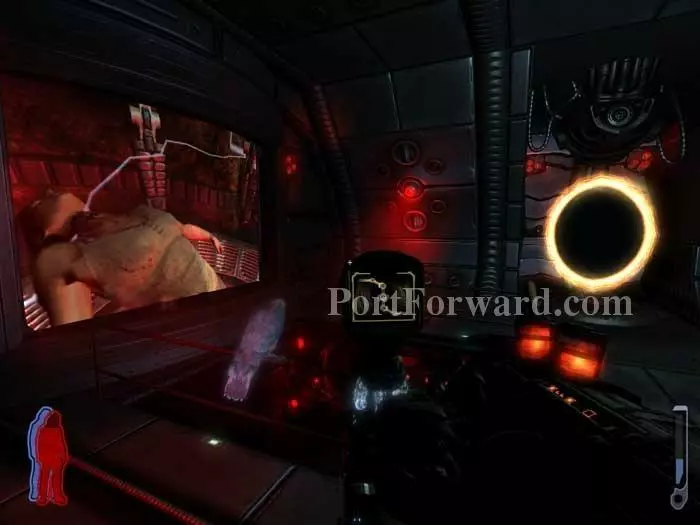
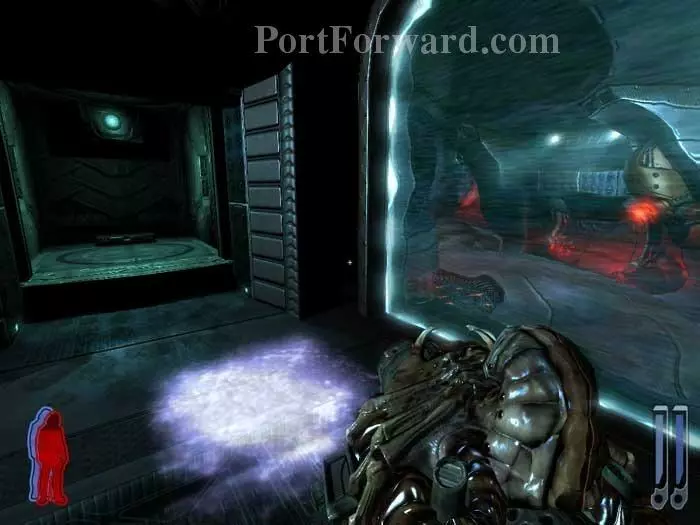
Use the console to open a glow portal and check on Jen -- not good. Acid ammunition is in a a locker to the right.
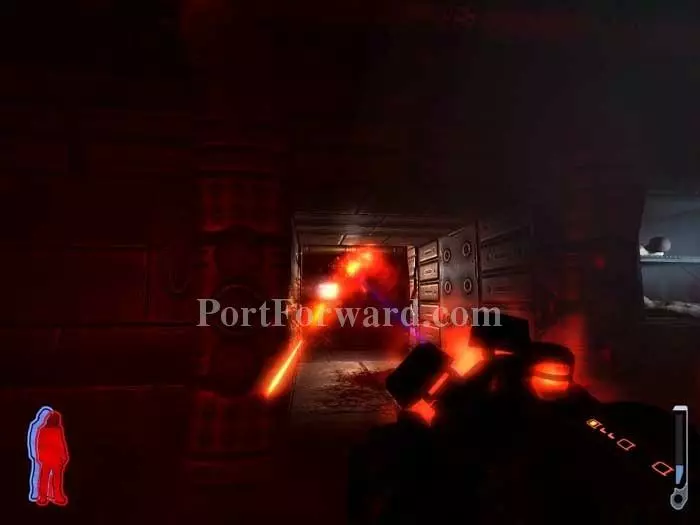
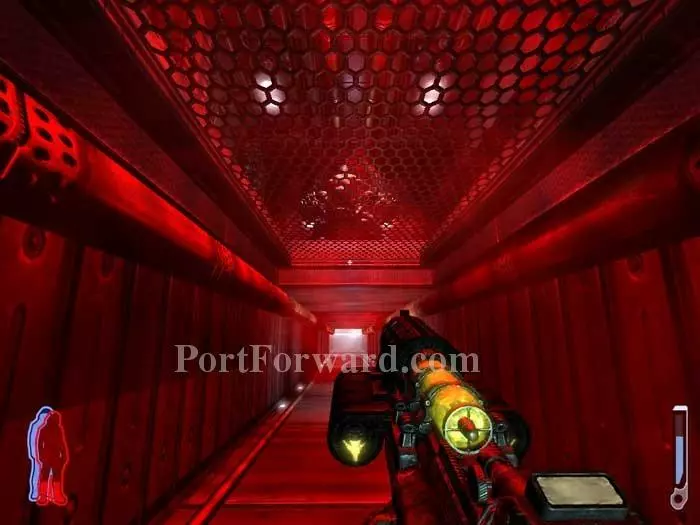
Step through the portal. A turret is to the left, acid ammo is to the right, mutilated humans are all around.
A health station is left of the turret. This portal is farther down the corridor behind the turret and to the left.
Ignore the mutilated humans and head right.
Slip through this crawlspace.
Defeat some robots then Spirit Walk to the force field console across this spirit bridge. Deactivate the force field then return to use the walkway seen on the left.
Zap a hunter then ascend the center walkway.
Cap this turret before squeezing into the crawlspace beyond.
Tommy sounds a bit...concerned after catching a glimpse of something above.
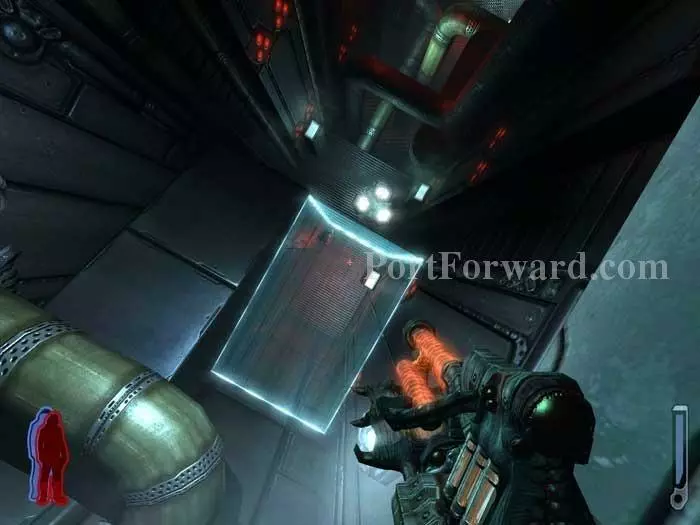
Carefully emerge from the crawlspace; gravity flips and you will take falling damage if you fall. Shoot this gravity switch to your left.
Approach to find acid and rifle ammo. Shoot the gravity switch just visible behind the pipes.
The crawlspace on the left is where you began this dizzying maze. Continue through the crawlspace on the right.
Look up and shoot this next gravity switch. Position yourself so the force field breaks your fall.

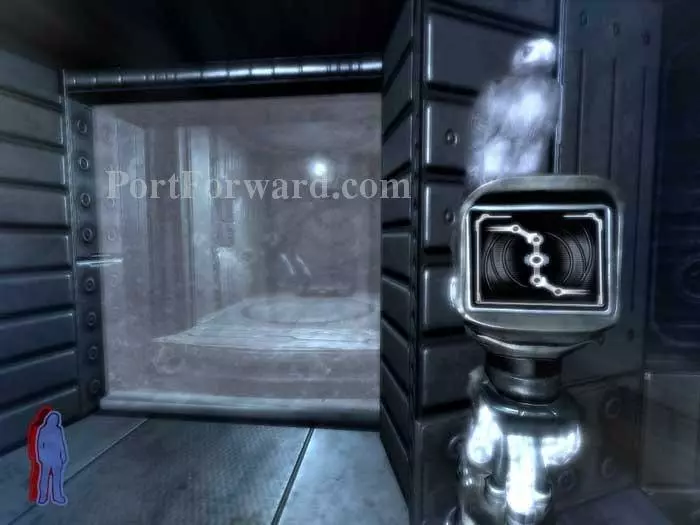
Spirit Walk through the force field to use this console, which activates the exit portal.
Shoot the switch on the right, then another behind the portal to reach the exit.

Catch a quick glimpse of the Keeper before it flees.
Fill up on plasma before dropping through the crawlspace in the left corner.
Find some acid ammo before dropping through to this platform. A spore is on the right and Auto Cannon ammo is in the left corner.
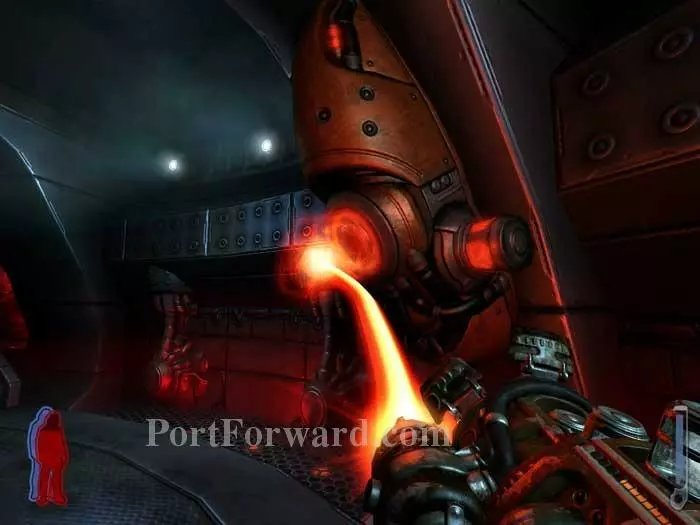
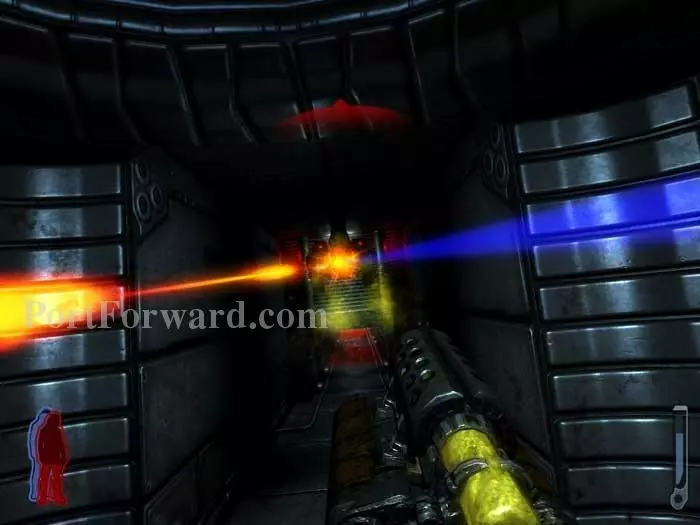
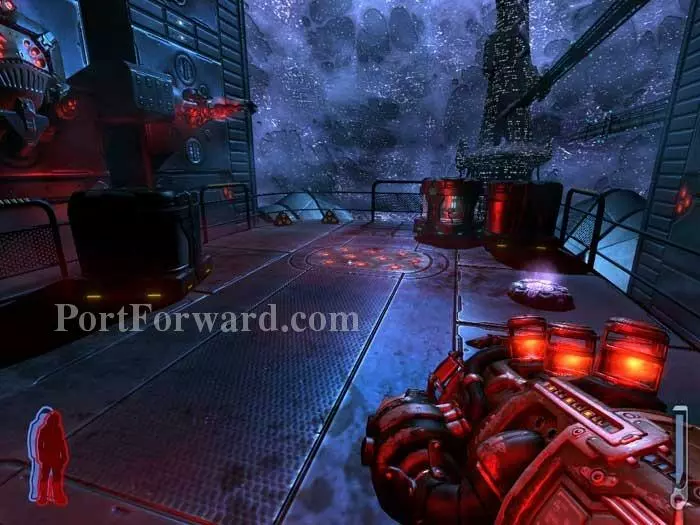
Robots attack. This would be easy if you had a shuttle, or even some lightning ammo for your Leech Gun.

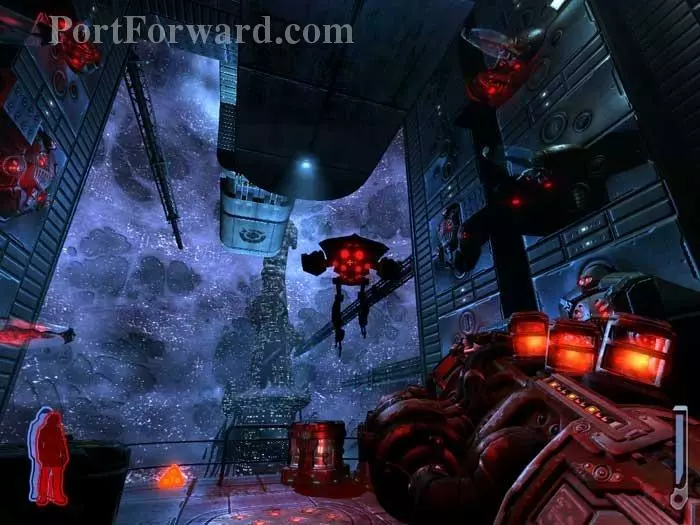
Making things more difficult is the way the robots blend in with the background. I recommend the plasma/Leech Gun followed up by the Acid Gun. The Auto Cannon fires too narrow a stream of fire in my opinion. This is one of the toughest fights in the game.
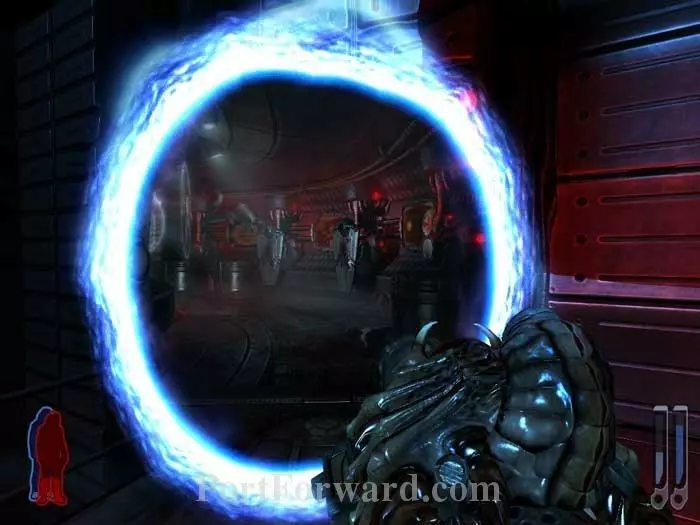
This blue glow portal appears once the robots are defeated. Jump in to complete the level.
More Prey Walkthroughs
This Prey walkthrough is divided into 22 total pages.