
This Prey walkthrough is divided into 22 total pages.
You can jump to nearby pages of the game using the links above.
The Old Tribes
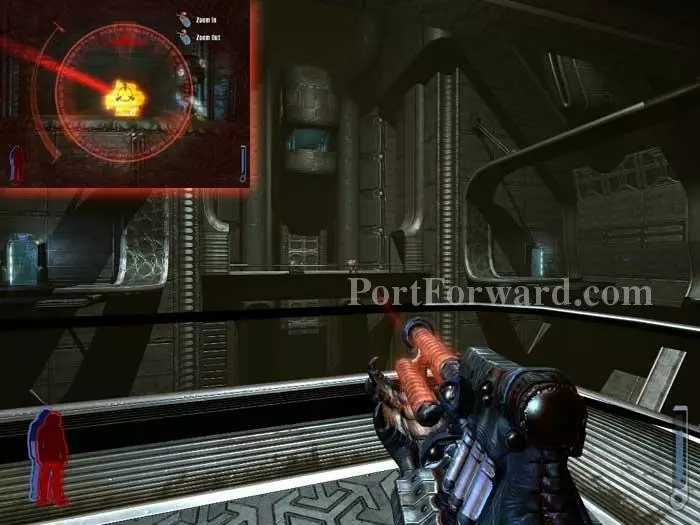
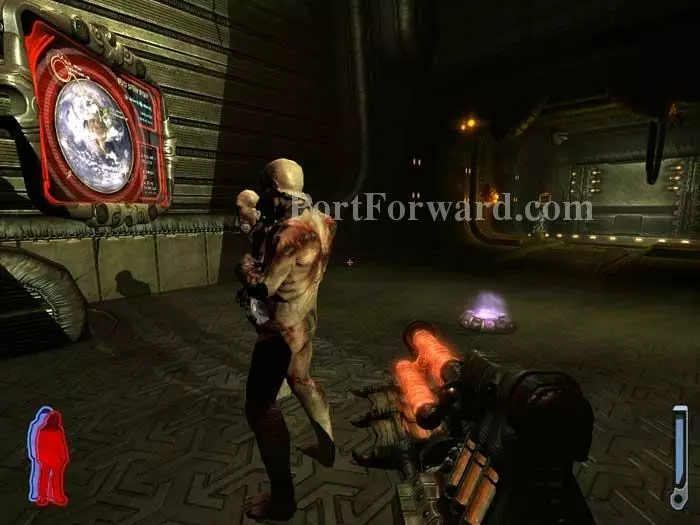
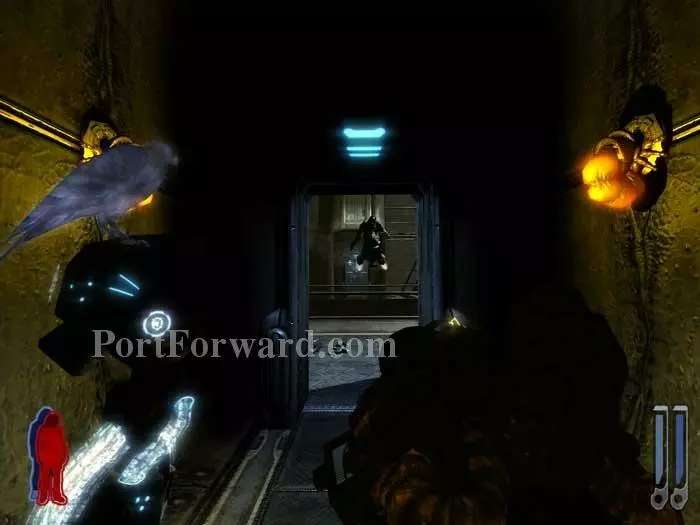
Prepare for counter-sniping before starting through the door. Several hunters snipe from the balconies.
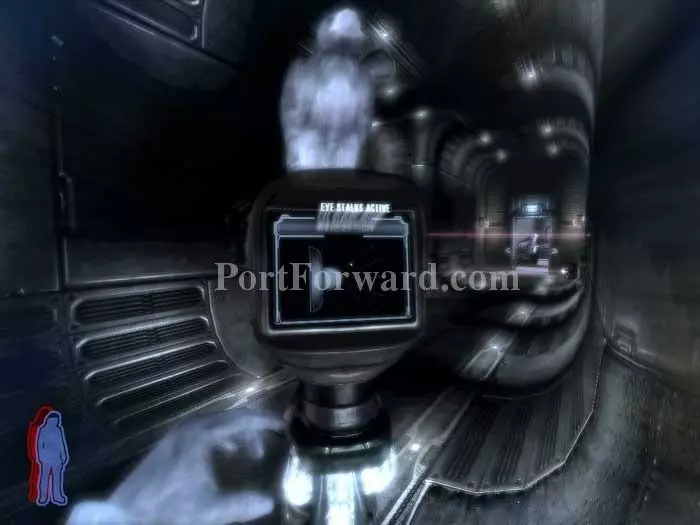
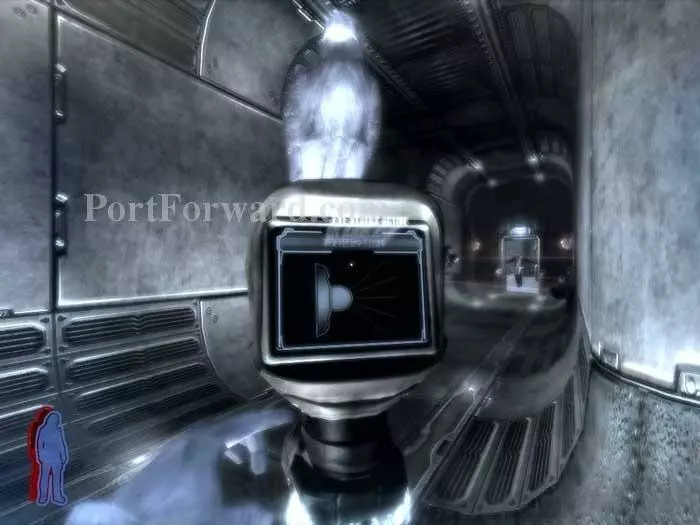
Spirit Walk through the door to your left and disable the Eye Stalks here.
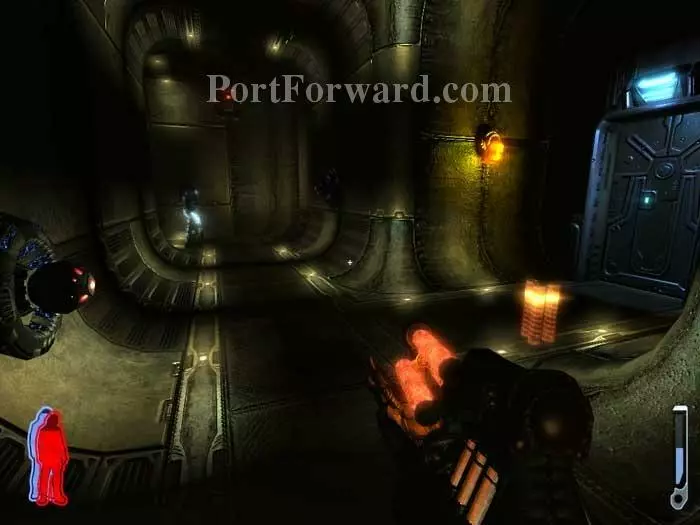
Return to your body and enter the corridor. The path ahead is through the door on the right -- but ignore that for the moment.
Follow the corridor left, past more rifle ammo and through a door to this room. A health station is ahead and a lightning Leech Gun station is to the right.
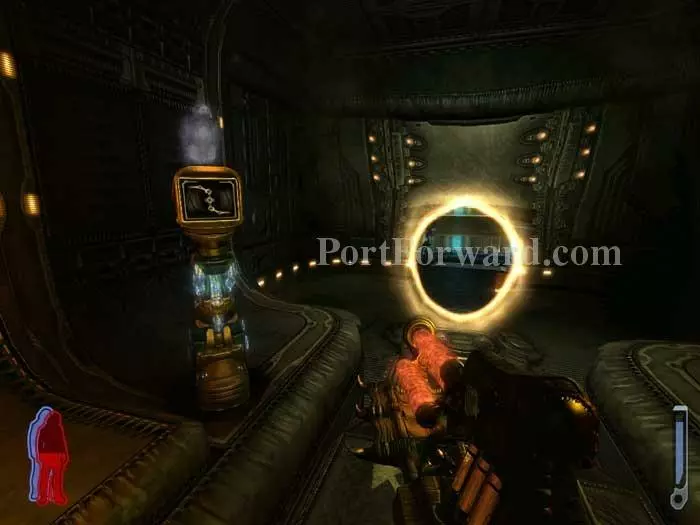
Also here is another chance to listen in on the happenings back on earth, via Art Bell. A sheriff's deputy in Carlsbad, New Mexico calls in to report strange lights dancing around his squad car. Approach the console in the corner ahead.
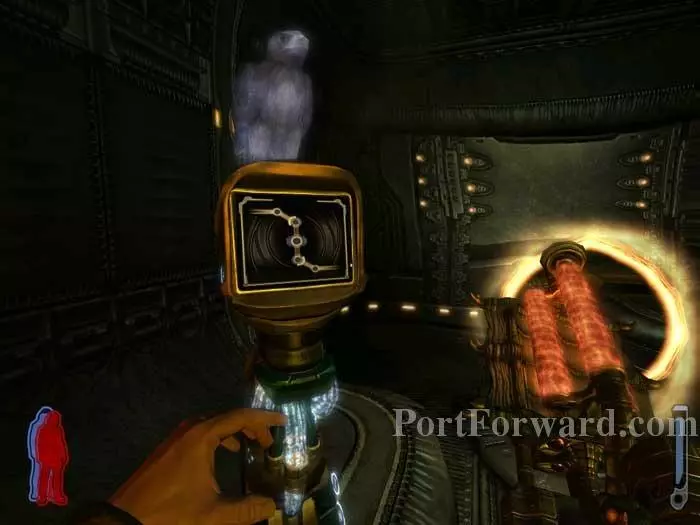
Use the console to activate a portal.
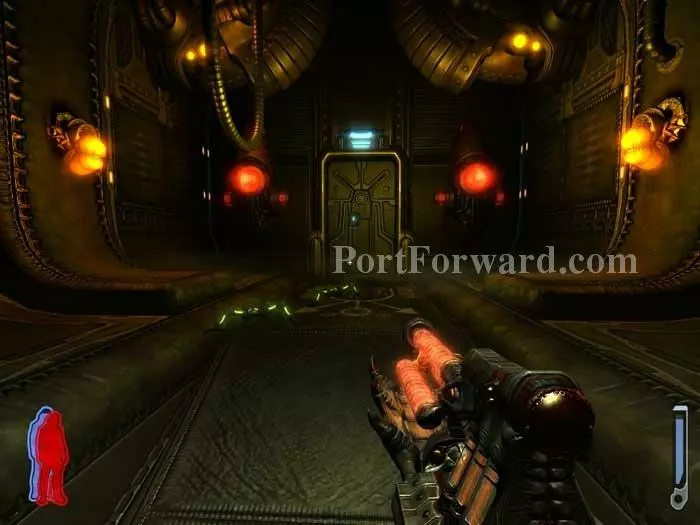
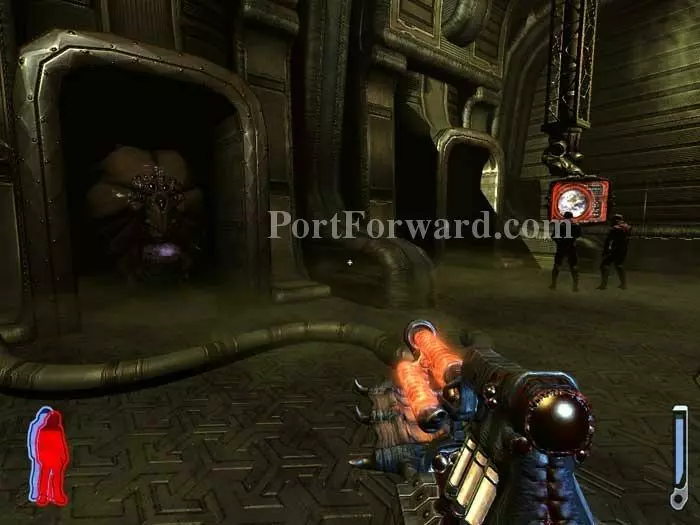
Step through to find two plasma Leech Gun stations and a pair of crawlers. Continue through the door ahead - slowly.
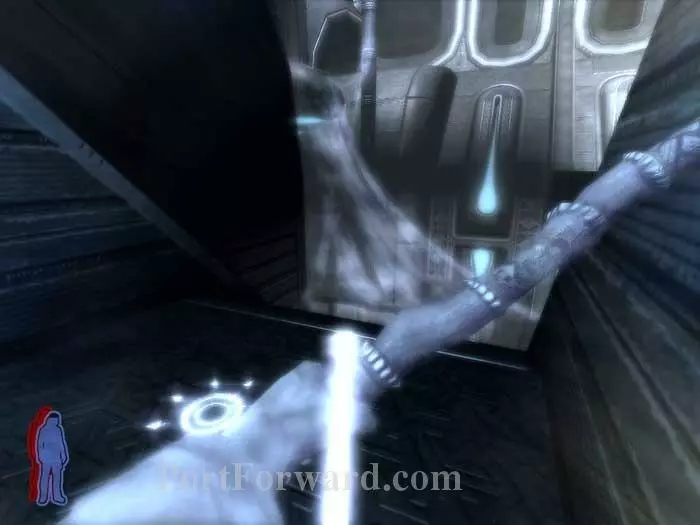
My first time through here I rushed ahead and fell off the ledge. Instead, Spirit Walk across the bridge to find rifle and Auto Cannon ammunition.
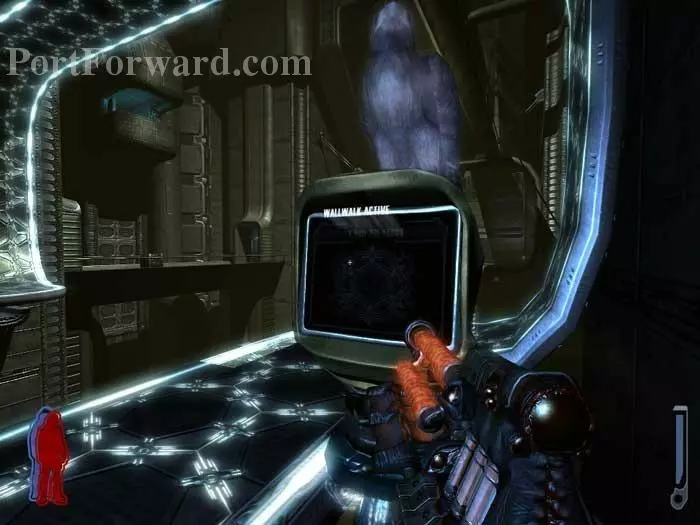
Return to the doorway you previously ignored and activate this walkway.
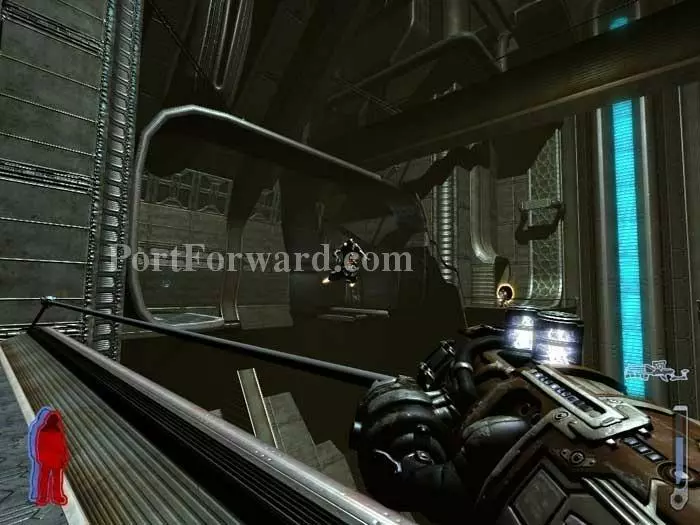
Defeat a pair of hunter snipers on your way to the door upper-right.
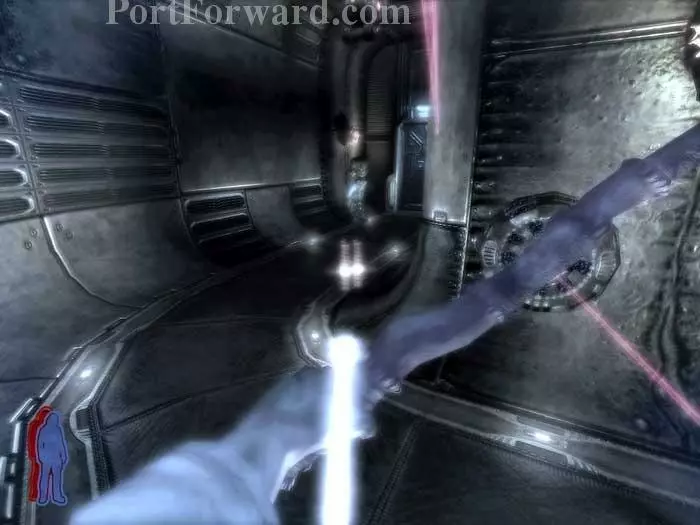
Disable the force field then Spirit Walk to disable the eye stalks at the console ahead.
Return to your body and ready your lightning-equipped Leech Gun before continuing through the door. Defeat a pair of flying harvesters then snipe a lone hunter.
Spirit Walk to this console to disable another set of eye stalks.
Return to your body and follow the corridor to this room, ignoring a doorway to your right. Activate this portal.
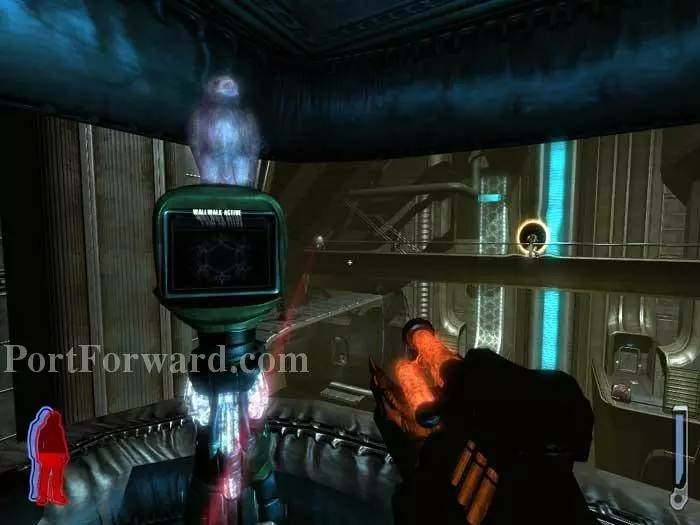
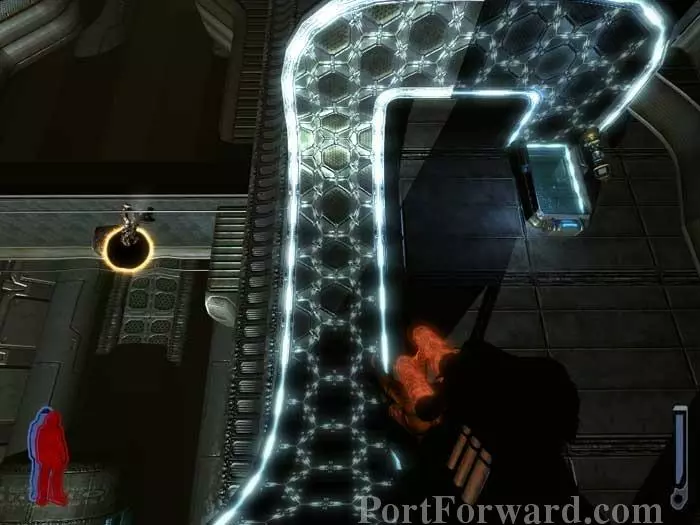
You're now in the guard tower seen previously. Activate the walkway then snipe the four hunters that spawn.
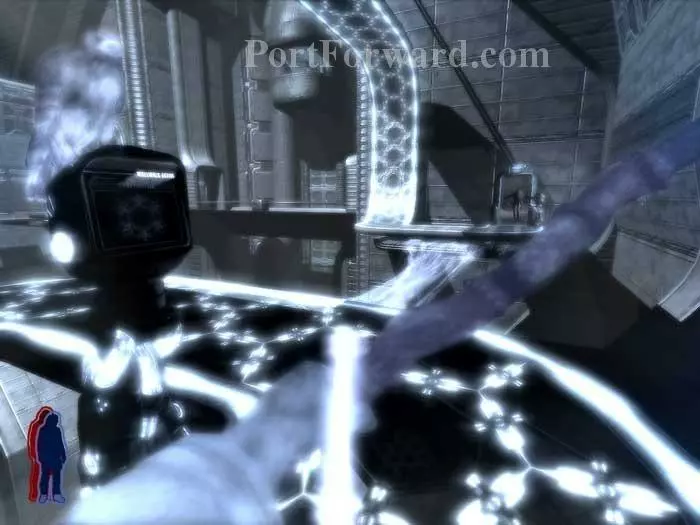
Backtrack to the door you ignored a moment ago, then Spirit Walk through the force field and disable it with the console just outside the door. Spirit Walk across the bridge to this position and activate another walkway. (You can see my body in the doorway to the right.)

Bring your body across via the just-activated walkway then once again Spirit Walk to disable the eye stalks.
Pick up some Auto Cannon ammo then use it on this harvester through the door.
Defeat a pair of hunters on the walkway.
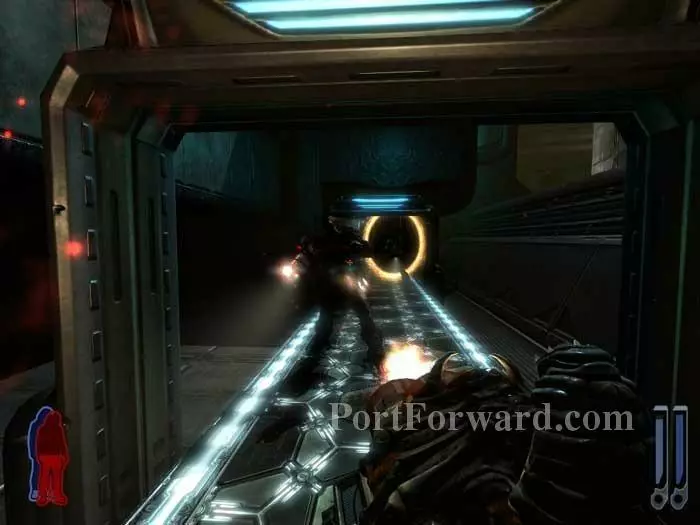
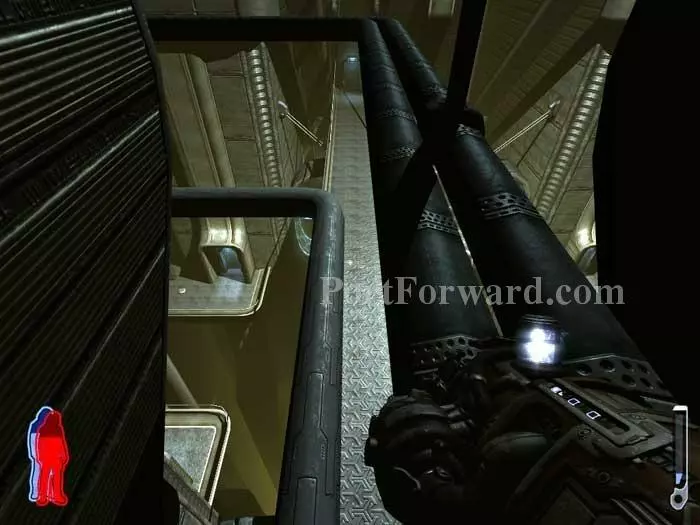
Ready your rifle then step onto the pipe ahead.
Snipe the hunters that spawn on the balcony and guard tower below, and on the balcony to your left.
Ready your Leech Gun or auto cannon before dropping to the pipe on the left, and then to the catwalk beneath.
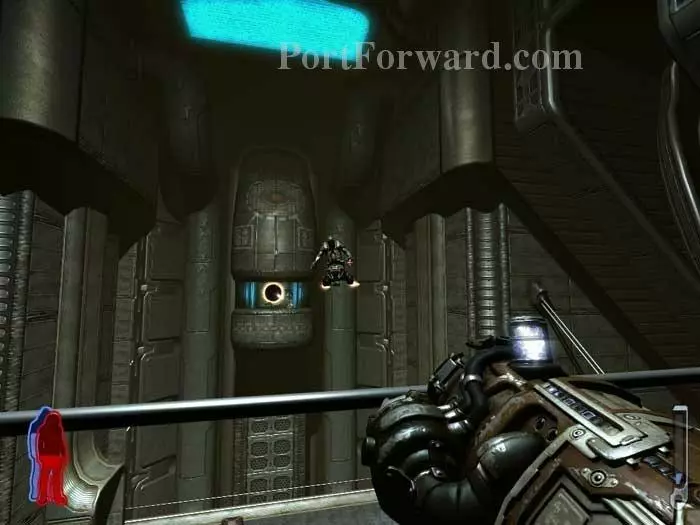
Zap another flying harvester. Rifle ammo is to the right; the way out is through a door to the left.
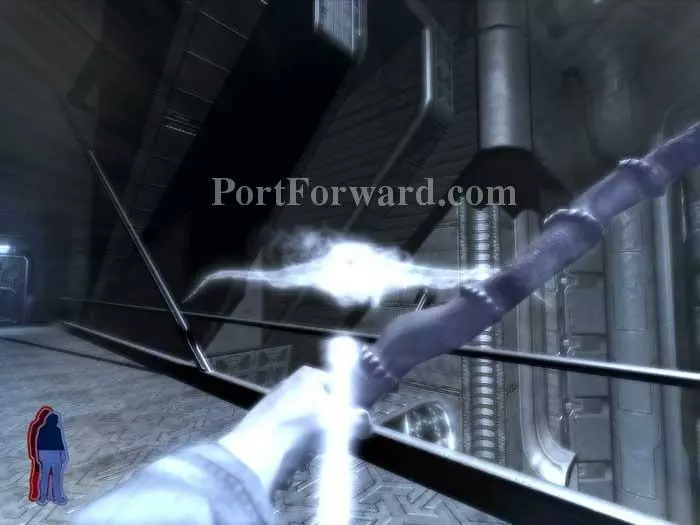
This wraith attempts to block your progress -- one shot from your bow takes him out.
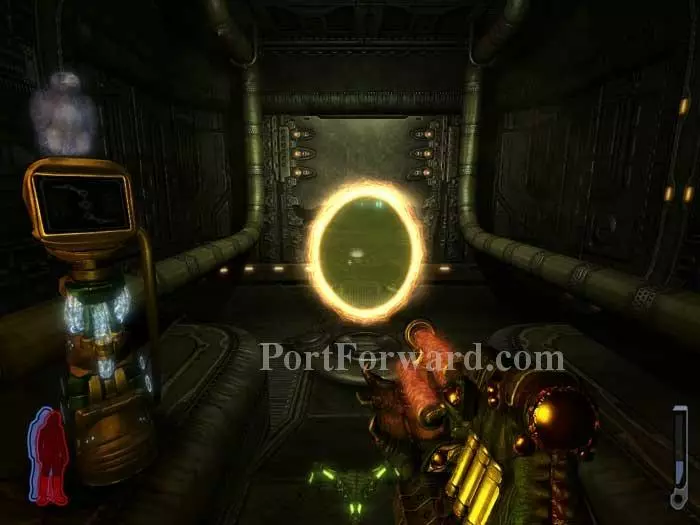
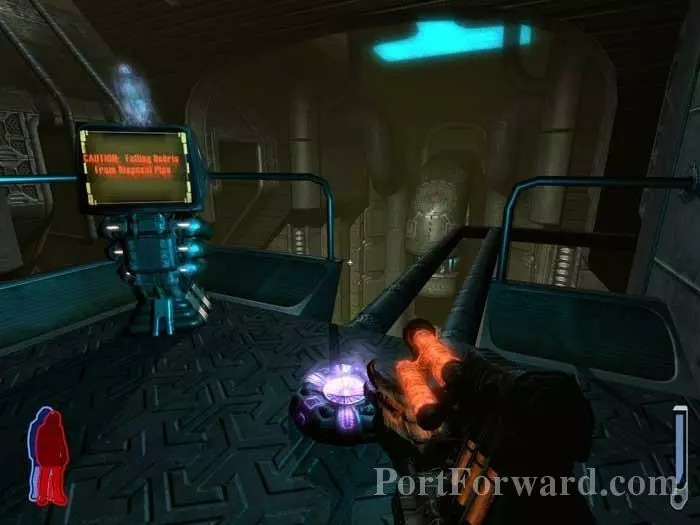
Use the console to activate this portal, then step through.

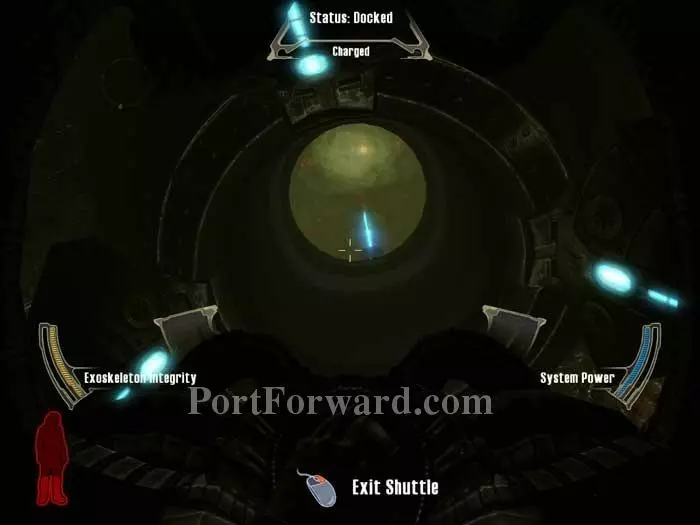
Snipe the hunter inside, then call a shuttle.
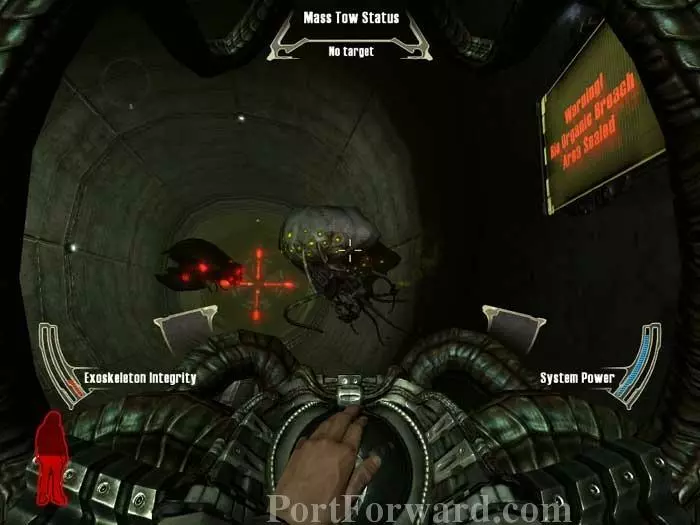
Destroy the mine blocking the exit.
Clear the area of hunters then land on the platform seen here.
Spirit Walk to the guard tower.
Use this console to open the ceiling hatch, seen opening on the right.
Fly up through the opening, careful to destroy/avoid any mines on the other side.
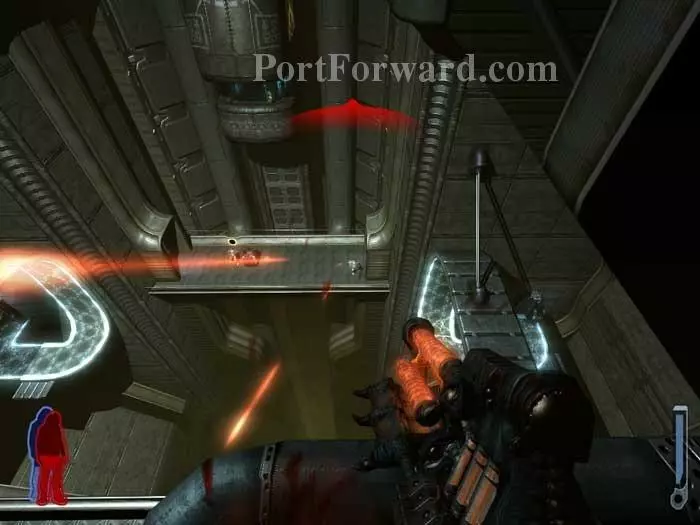
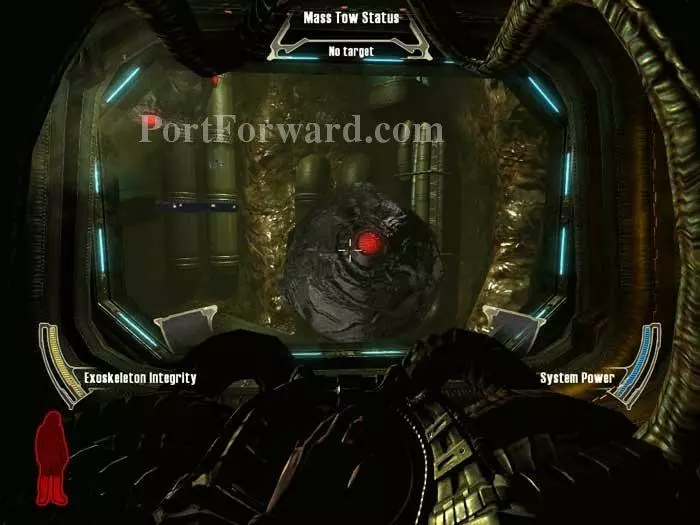
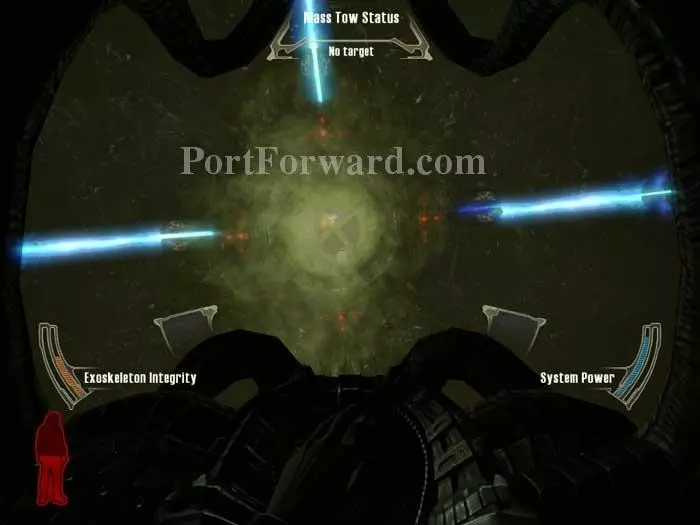
Robots and hunters attack. This is an intense battle so be prepared to land in a hurry if your exoskeleton integrity gets low.
If you need to land before the area is secure, you can duck behind one of these force fields for cover. Spirit Walk past the force field to this console, deactivate it, then reactivate it once your body is across.
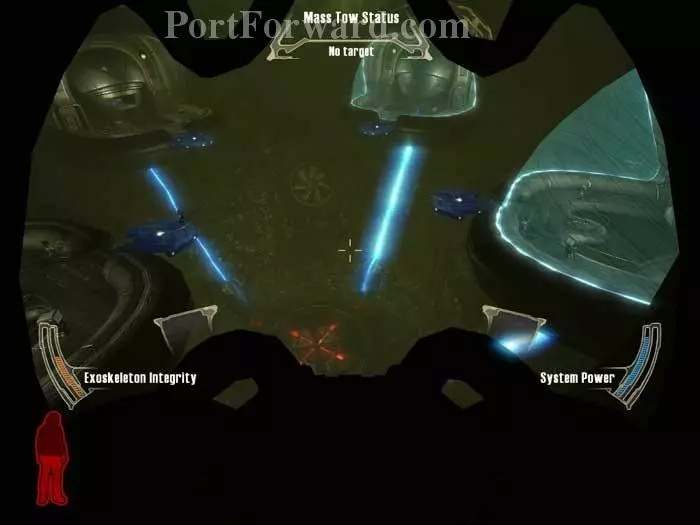
Notice that there are four bays, three powered (two with active force fields) and one unpowered.
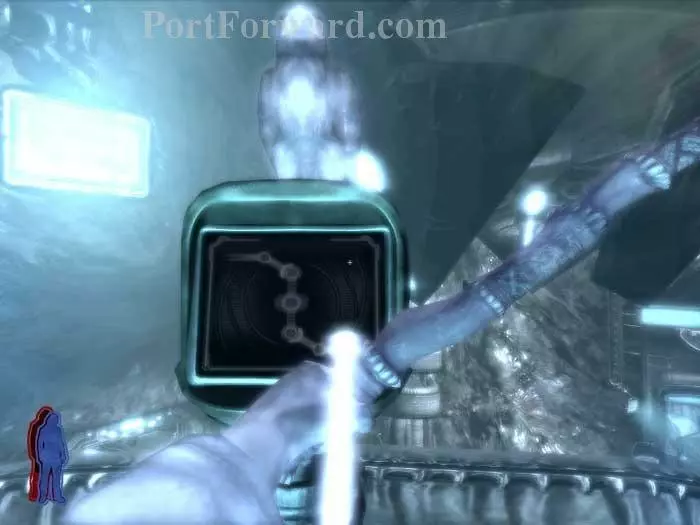
Power is flowing to this fan in the ceiling from the three powered bays. I racked my brain trying to figure out how to get power to the fourth bay before I realized that the puzzle works the other way -- you need to disable power in the three powered bays, stop the fan, then fly through.
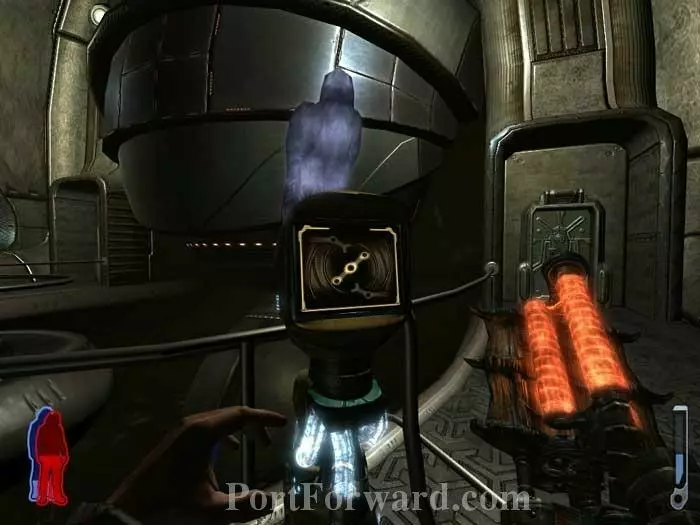
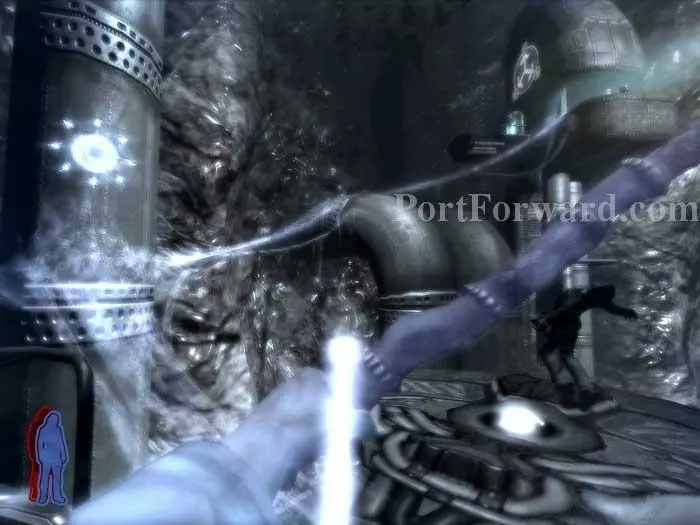
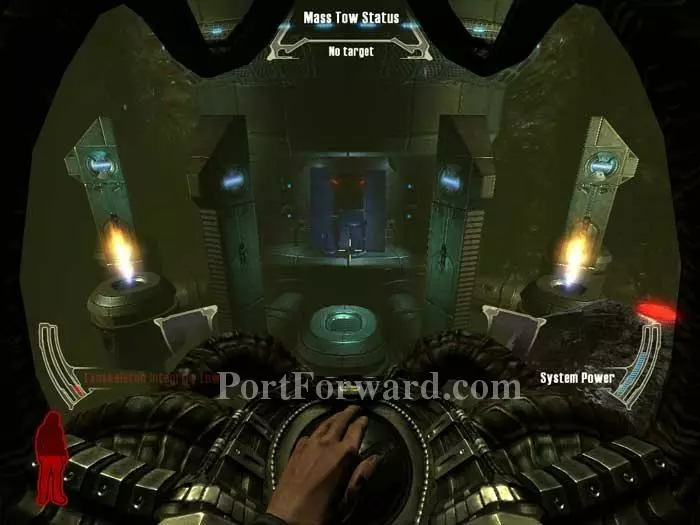
Again, get past the two active force fields by Spirit Walking and using the force field control console. Use the console seen here to open the power core dome shielding, visible ahead.
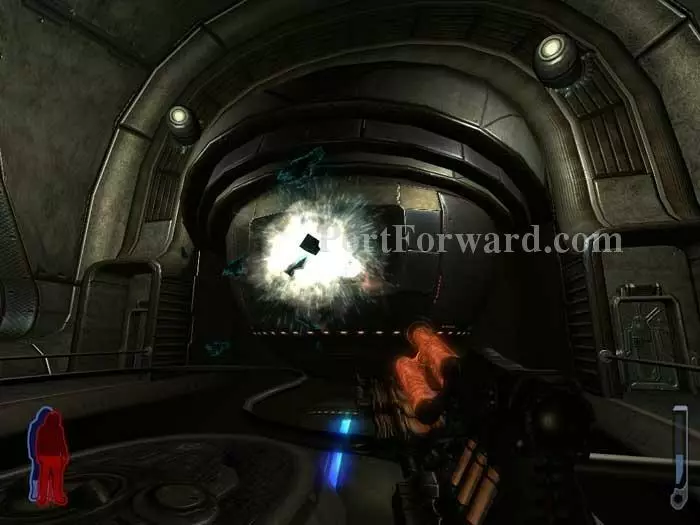
Once the shielding is open, shoot the plate that remains.
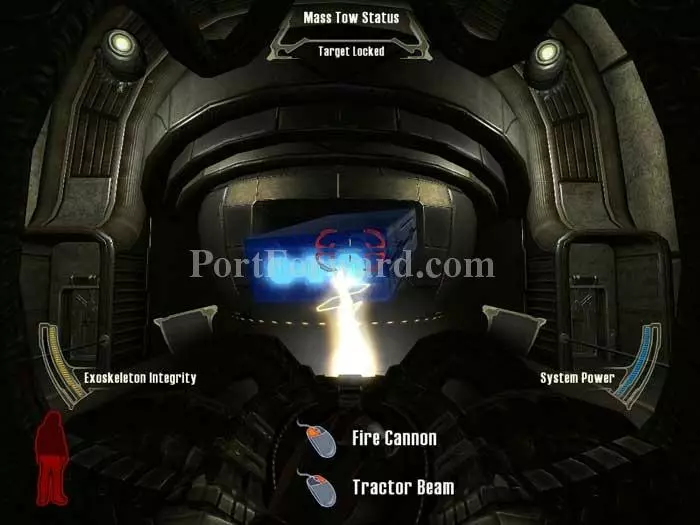
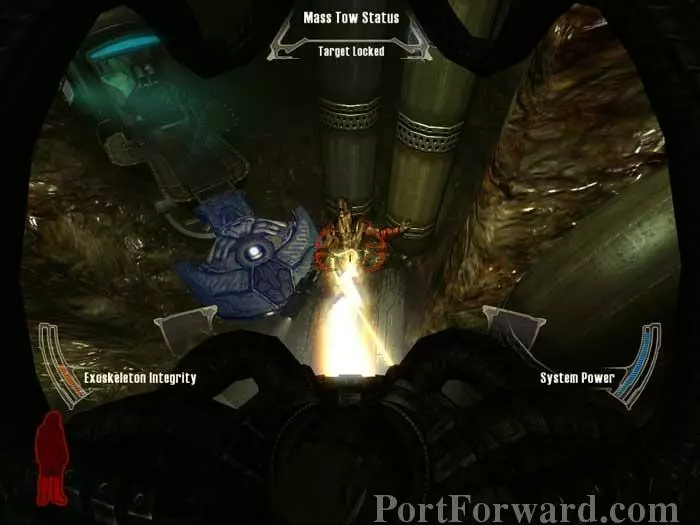
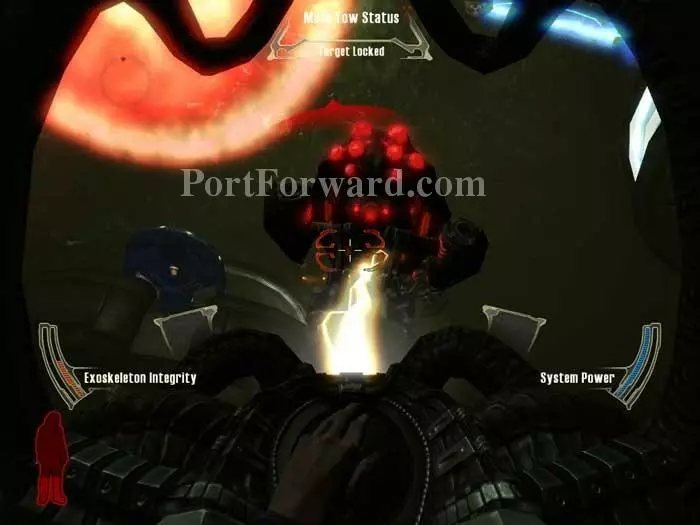
The last step is to use a shuttle's tractor beam to pull the power source from the bay. Repeat the process on the remaining two powered bays.
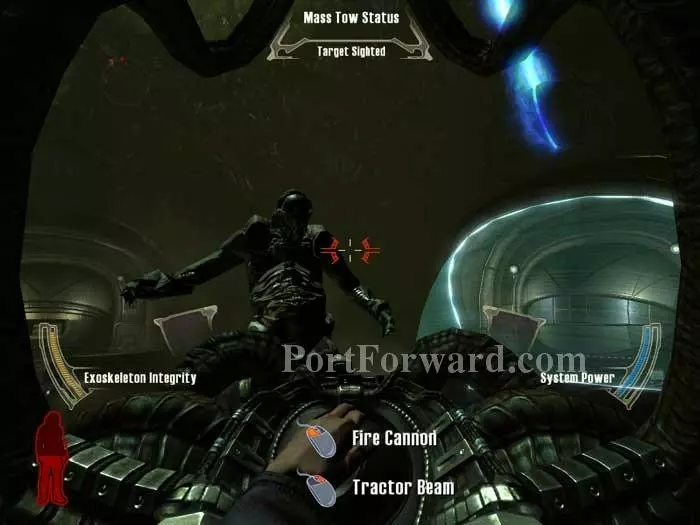
Flying harvesters and a hunter attack after you disable the second bay.
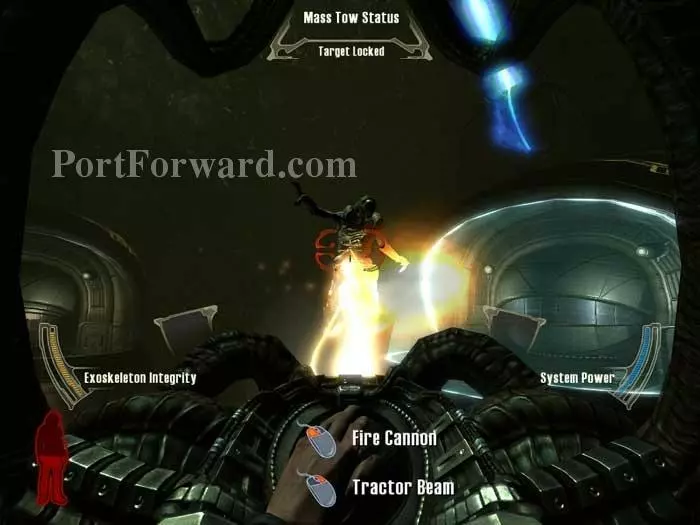
The harvesters are really no match for the shuttle's tractor beam. I'd feel sorry for them if this weren't so fun.
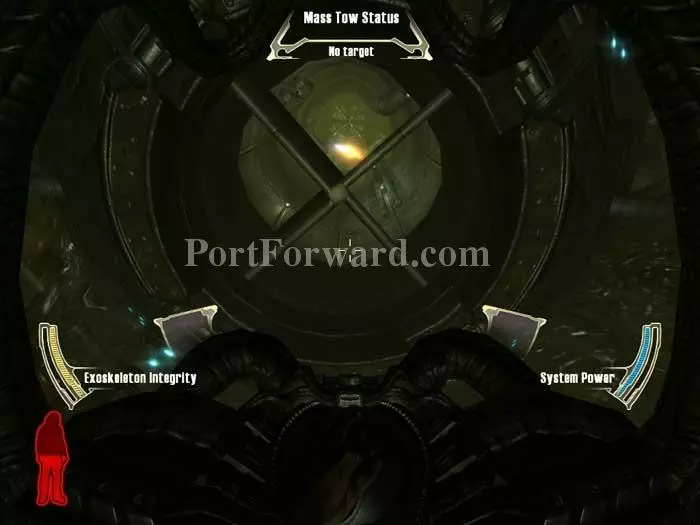
Once you've powered down three bays, the fan stops. You can now fly past the stationary blades.
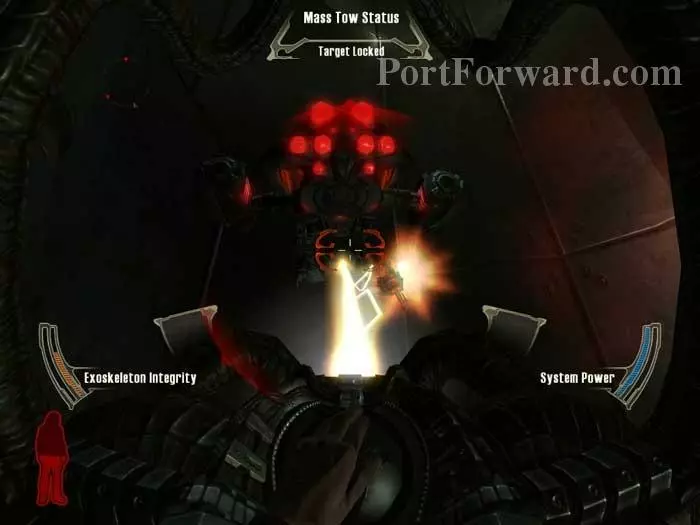
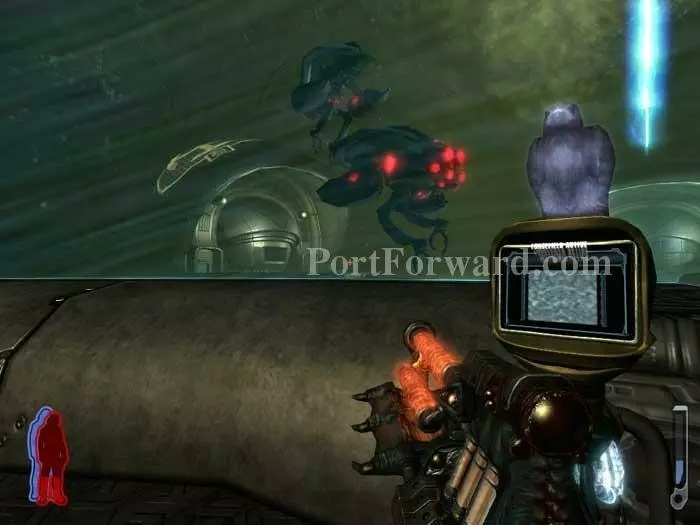
Mines and robots are on the other side.
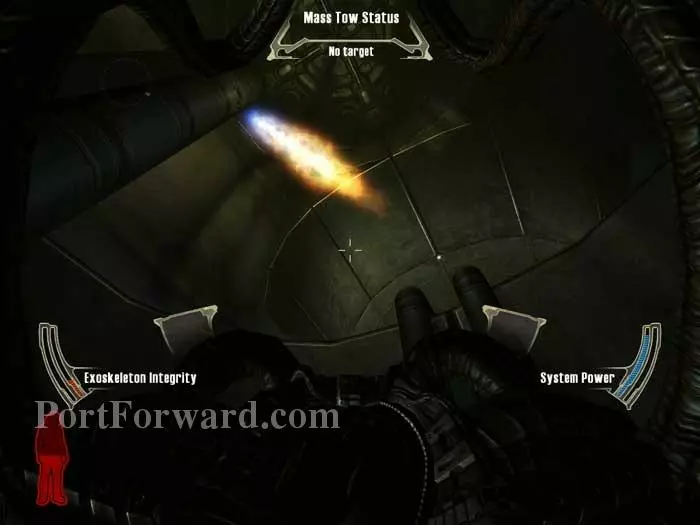
A guiding fire points the way around this bend.
Gasbags battle a robot. Join in and clear them all out.
Use your tractor beam to remove debris from the door ahead, then fly through and dock.
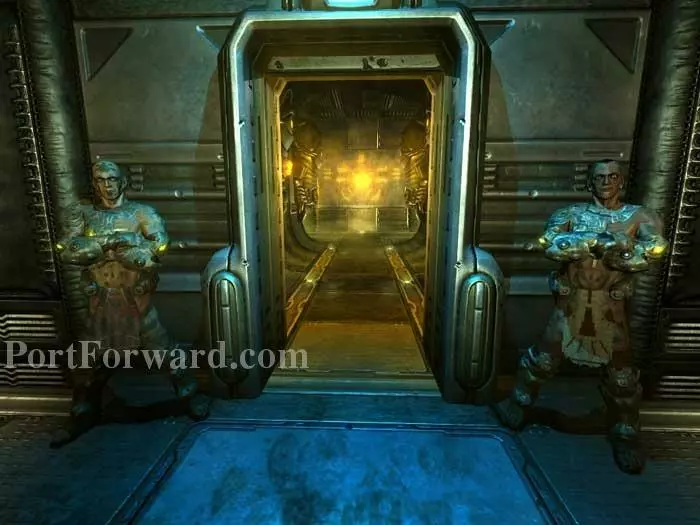
"The priestess is waiting."
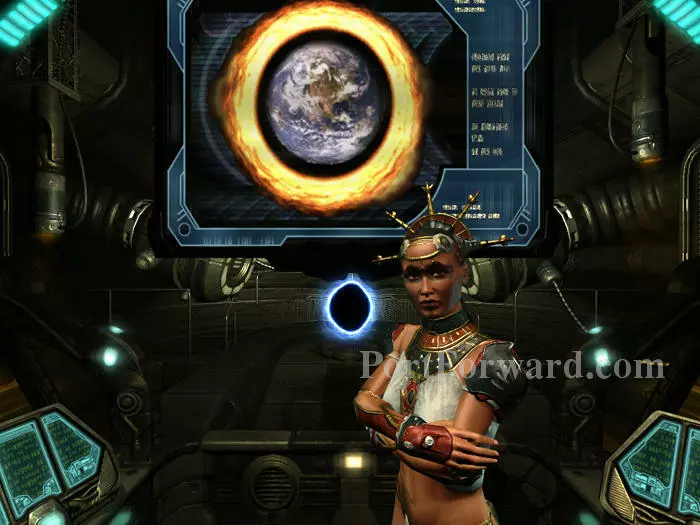
Walk past the guards to the priestess Elouit, then listen as she advances the storyline. After the platform rotates, approach the priestess twice for additional background, then step through the blue portal to end the level.
More Prey Walkthroughs
This Prey walkthrough is divided into 22 total pages.


