
This Prey walkthrough is divided into 22 total pages.
You can jump to nearby pages of the game using the links above.
Sacrifices
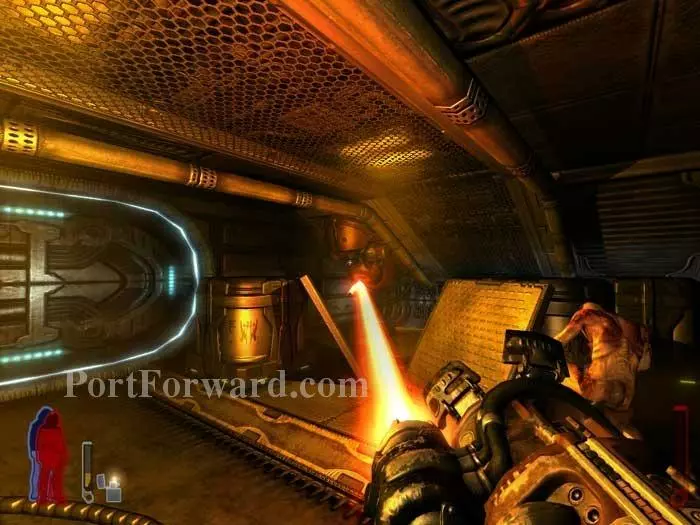
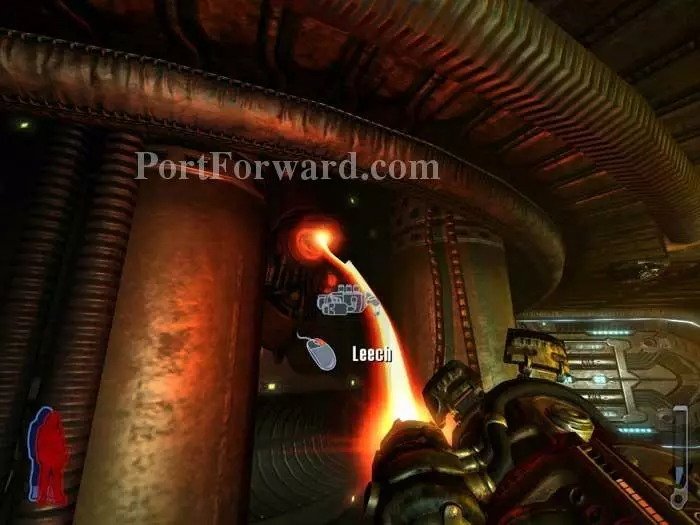
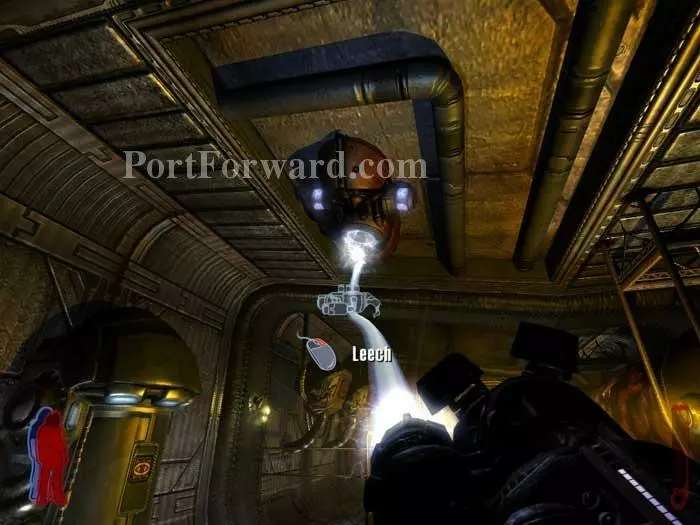
Take out the mutilated human on the right. You'll be wanting his numeric keypad in a moment. Grab the crawlers from the floor. Farther along is another mutilated human that you can leave alone. Leech plasma from the station then proceed through the door ahead.
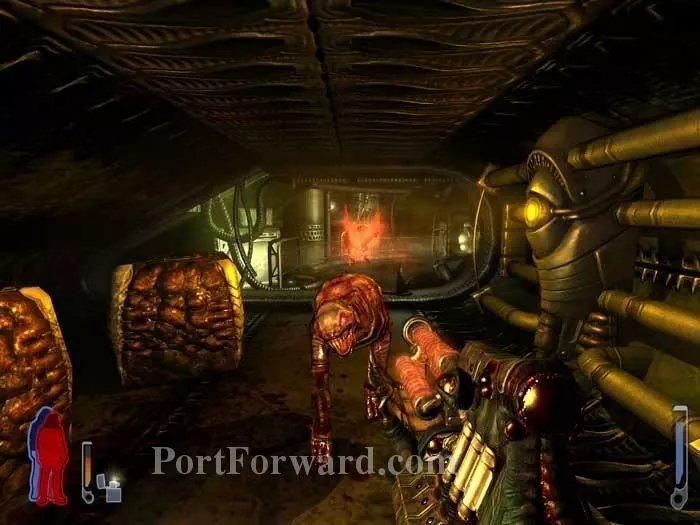
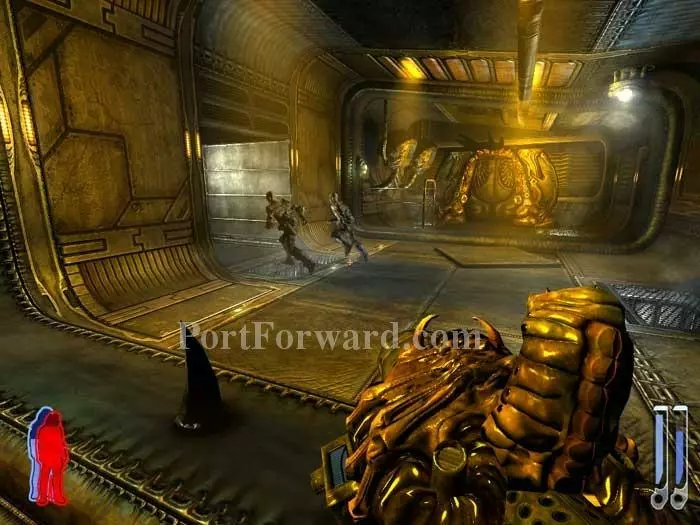
Engage the fodder and remove the tentacles in the corridor.
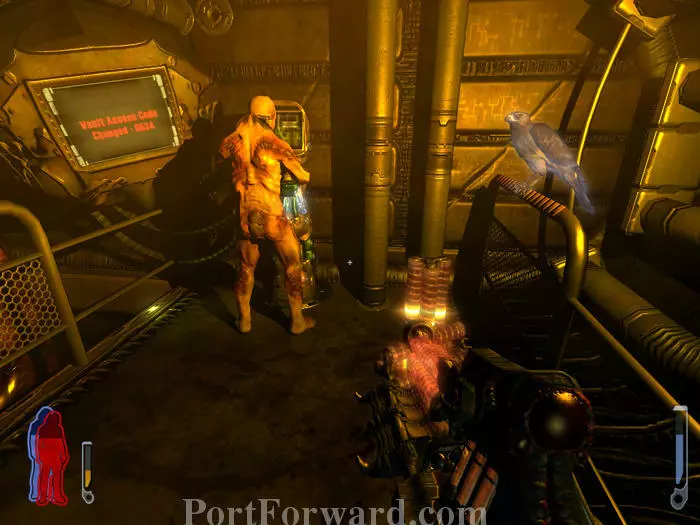
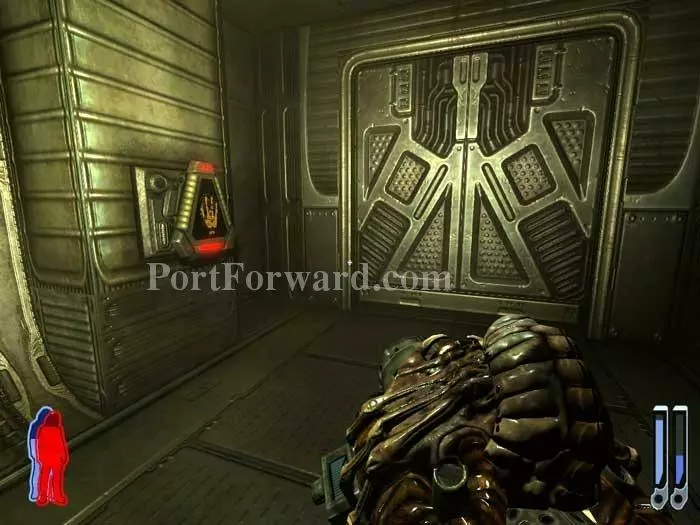
If you're lucky the mutilated human will leave you alone as you swipe the rifle ammo on the right. The important thing here is the message on the left: Vault Access Code Changed: 0634.
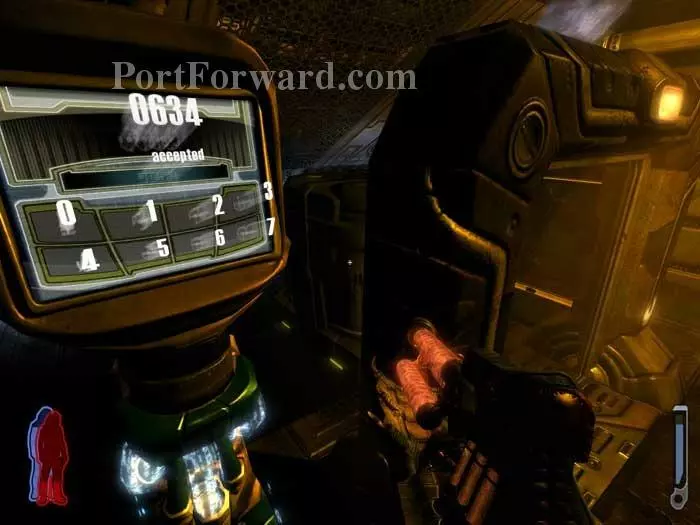
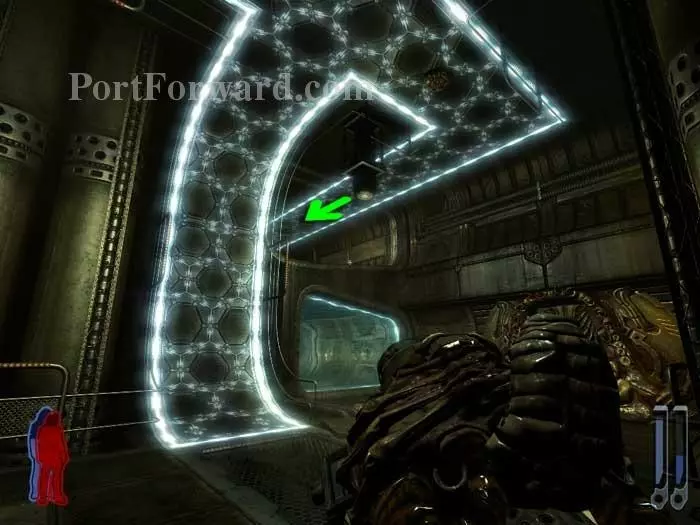
Return to the keypad you liberated a moment ago and enter the code 0634. The portal to your right opens.
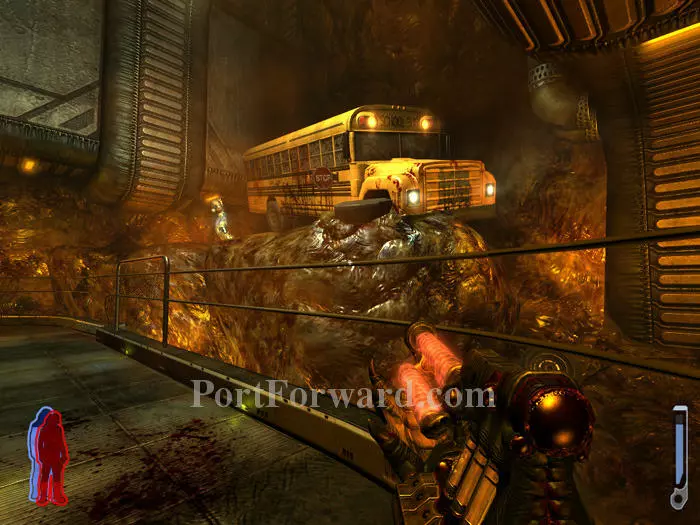
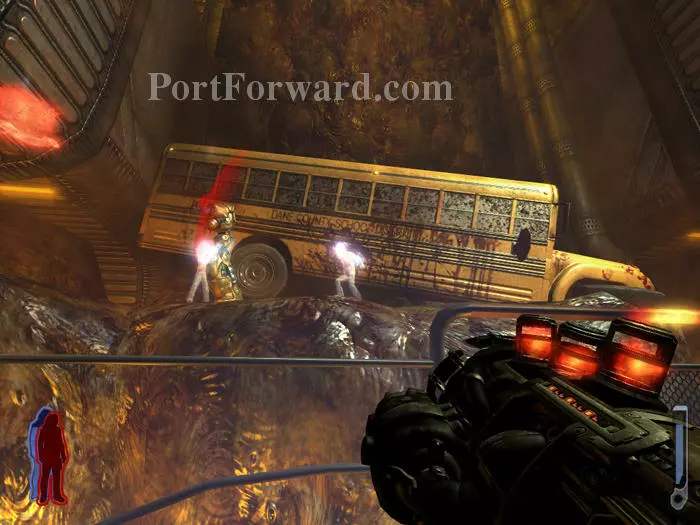
Step through the portal to find this blood-splattered school bus. This thing is very well rendered. Notice how the blinking lights glow on and off realistically.
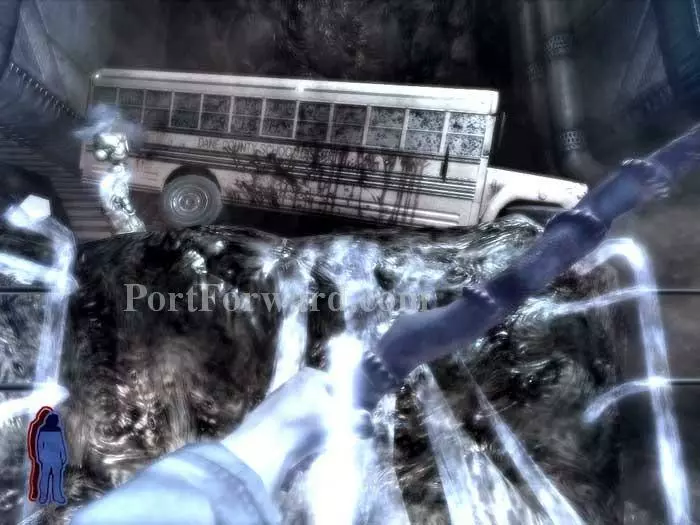
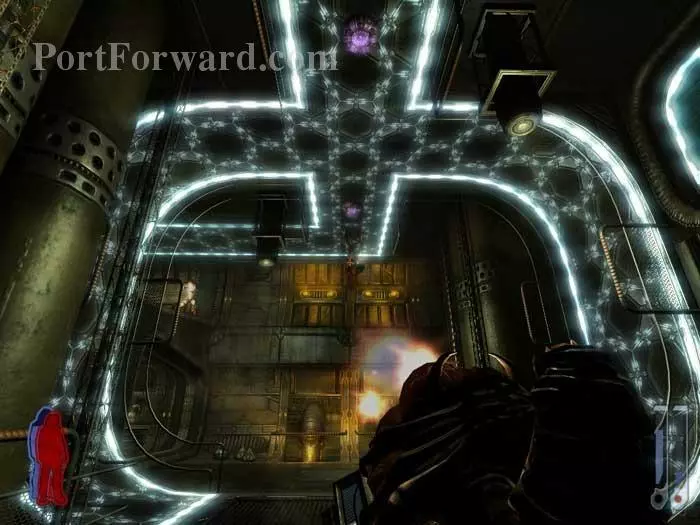
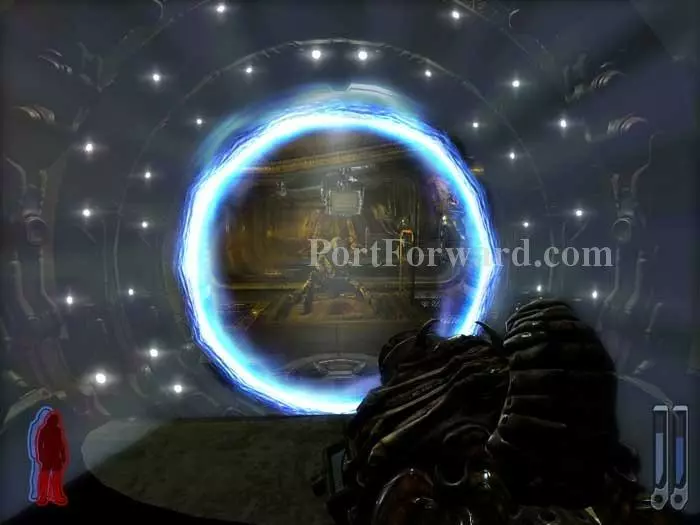
If you follow the walkway to the end, you'll find a blocked portal. The portal can be opened by using the console by the bus. Spirit walk across the bridge to the console.
Approach the portal and it closes once again, and the area goes dark.
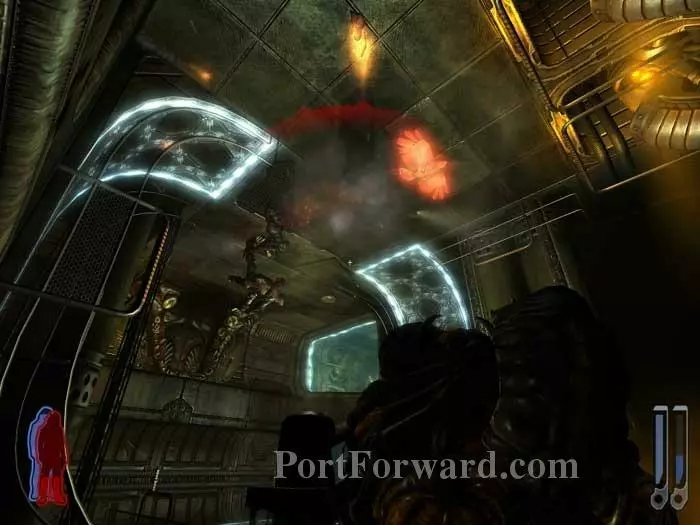
This very Children of the Corn moment ensues. The school bus glows, and more demonic little girls come out to play.
Your Leech Gun's plasma ammo turns them into tater tots rather efficiently, but there are enough to cause trouble if you aren't quick at dodging their shots. Once the assault is over, the portal opens once again.
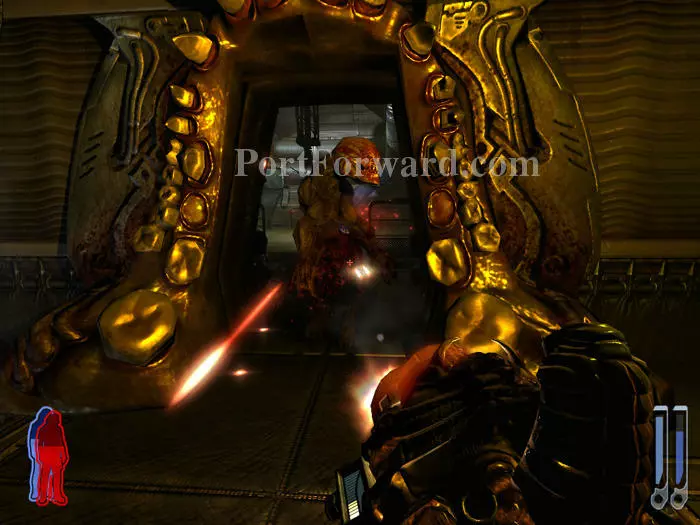
A well-placed crawler clears the corridor of fodders. Use your rifle to pop any remaining tentacles.
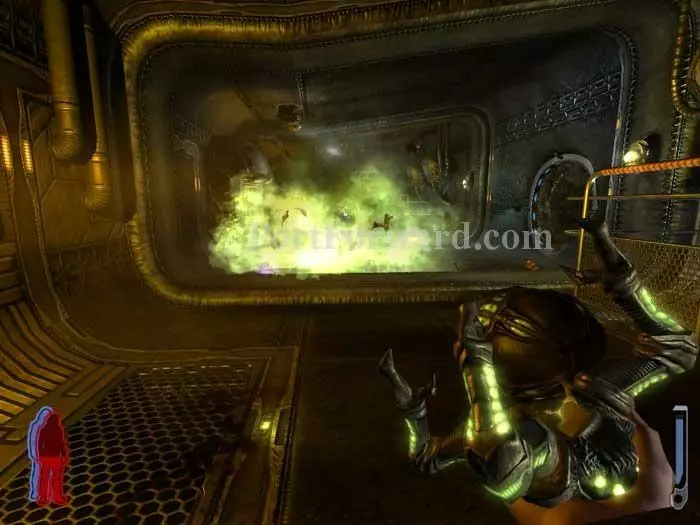
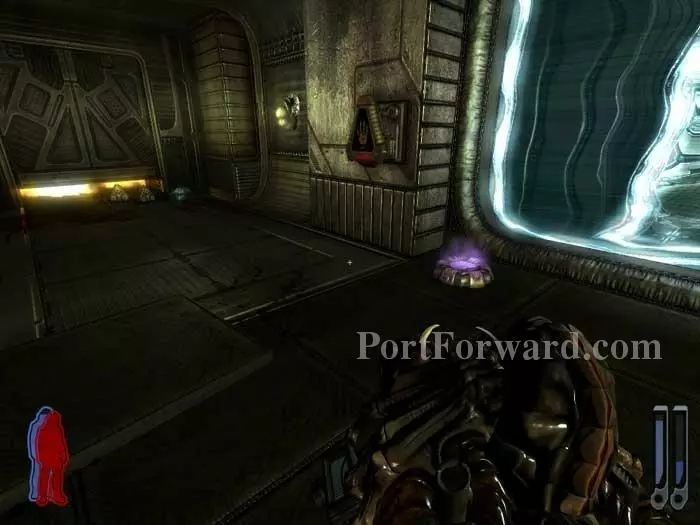
Find a spore and more crawlers through the next door, then peer over the window at this very Contact-like device.
Pass through another door, then pop some more tentacles before leeching plasma off this terminal on your left.
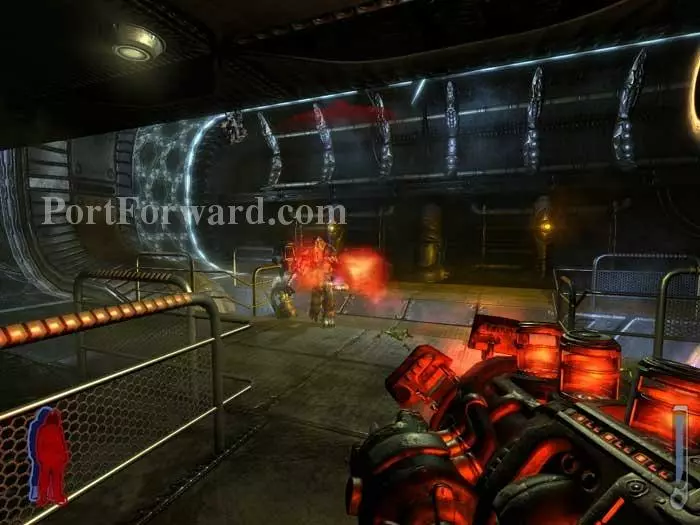
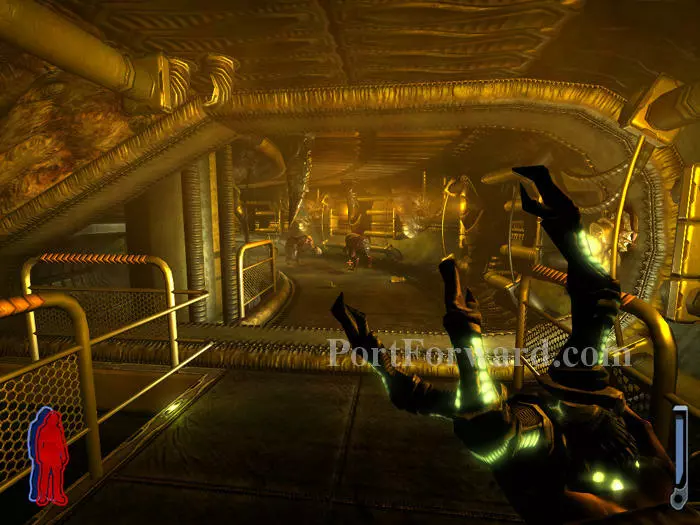
Battle several hunters in this next room. Crawlers and a health spore are ahead.
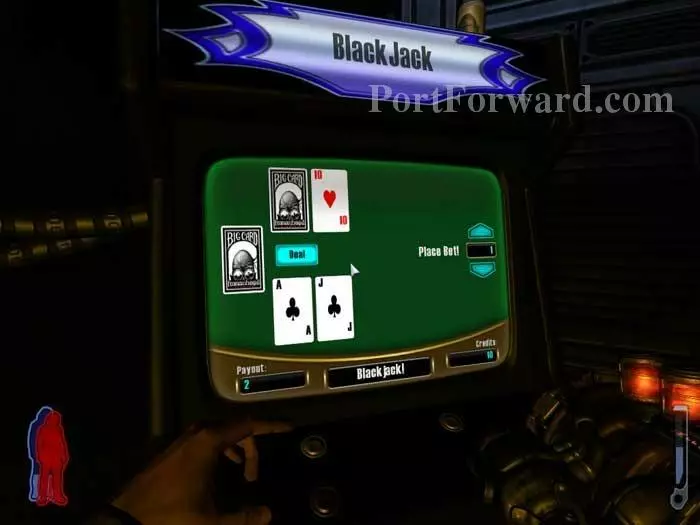
You can take a break for a few hands of Black Jack if you like.
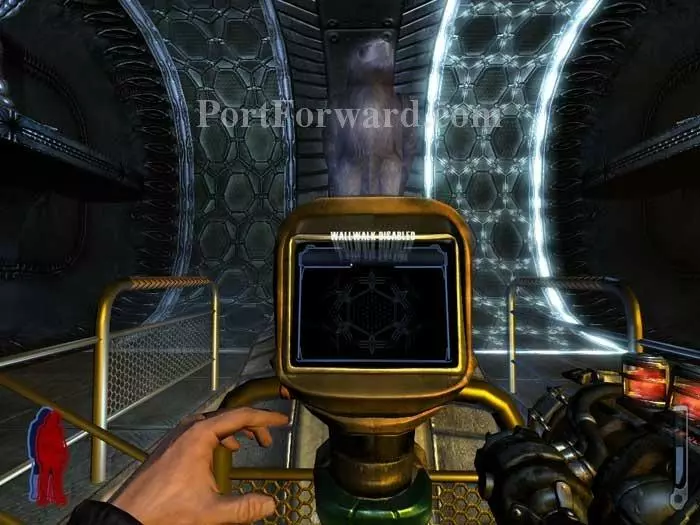
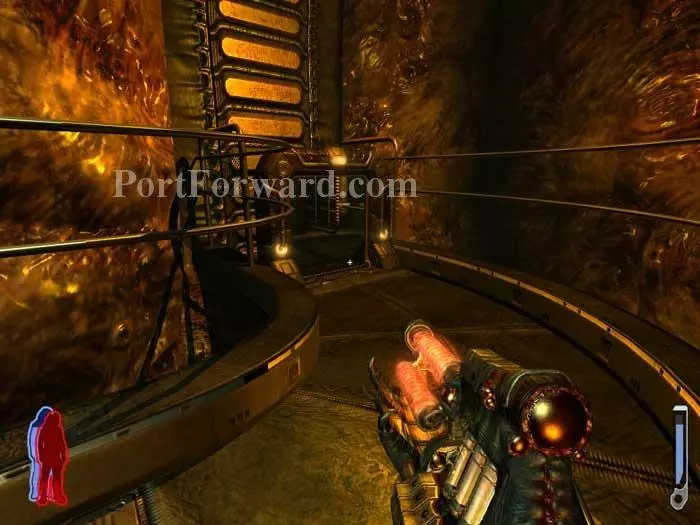
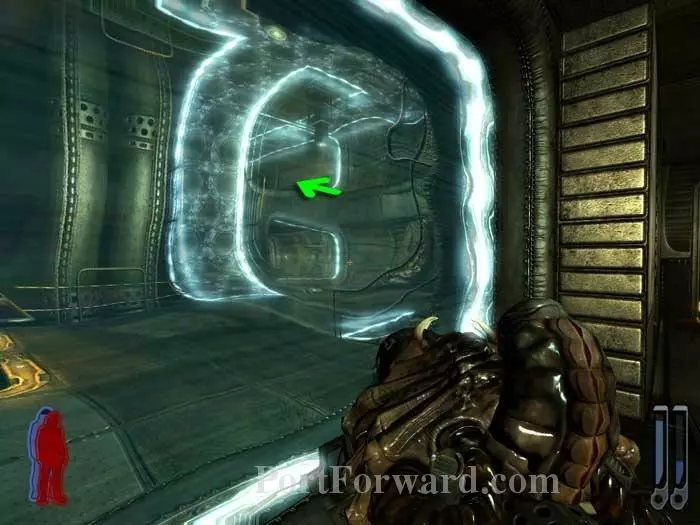
Use this console to activate the walkway on the left. (The walkway on the right is active, but the path is blocked farther up.)
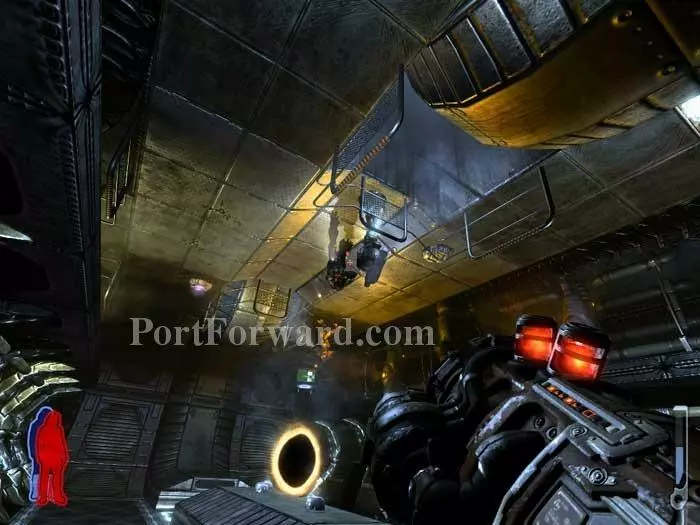
Follow the walkway to get to the portal ahead. More hunters spawn and they deactivate the walkway. Defeat them, forage for health and ammo, then reactivate the walkway to return to the portal.
Toss a crawler at the fodder congregation. A spore is ahead and a rifle-ammo locker is to the left.
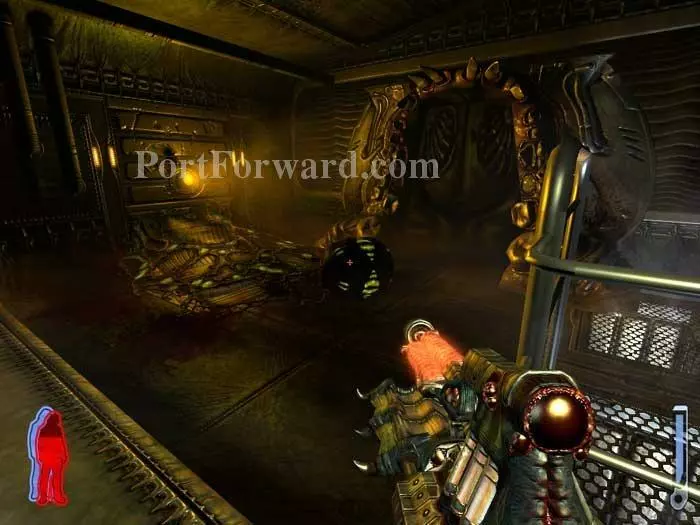
Kick a pod to the membrane by the door. Shoot the pod to destroy the membrane and expose a hole in the floor. Drop through.
Yuck. Tommy comments on the smell. Continue ahead/left.
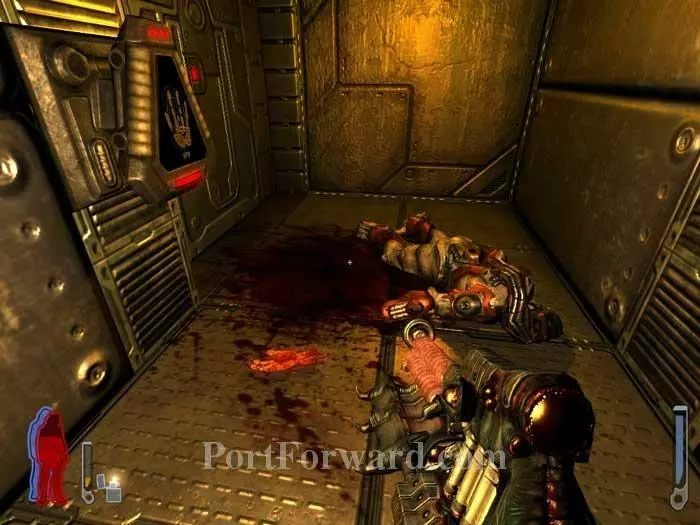
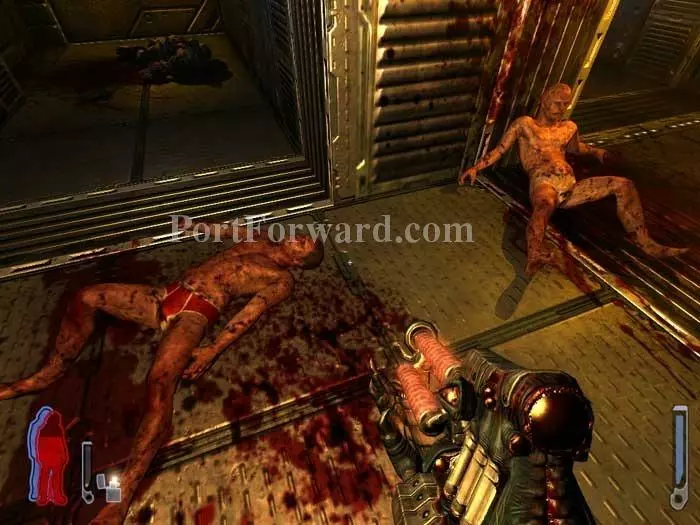
Pick up the dismembered hand from the hunter lying on the ground.
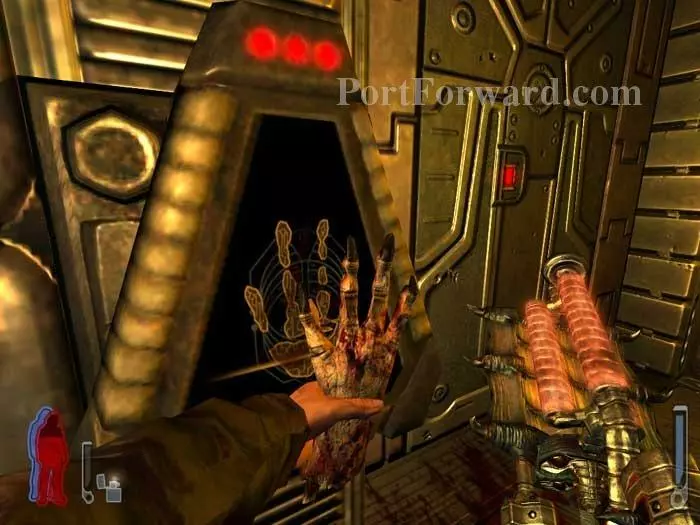
The hand grants access to unlock the door.
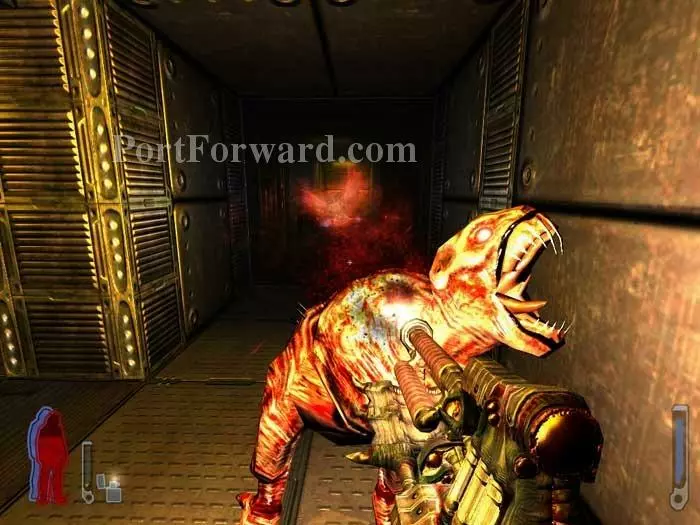
Ready your weapon before going through -- fodder attack.
Recover with help from these spores, then drop through the vent ahead.

You're trapped in a dead-end - for the moment. Peer between the bars to see a fellow abductee hunted down by a giant.
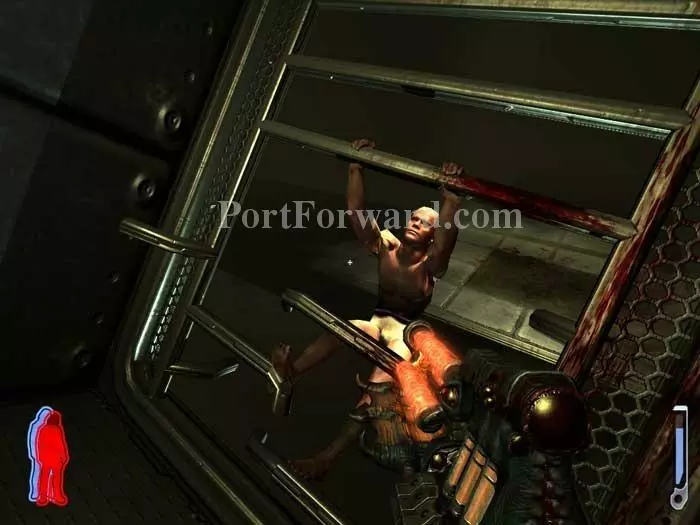
The poor guy is flung into the air. He grabs hold of the bars and pulls the vent to the ground, shattering it.
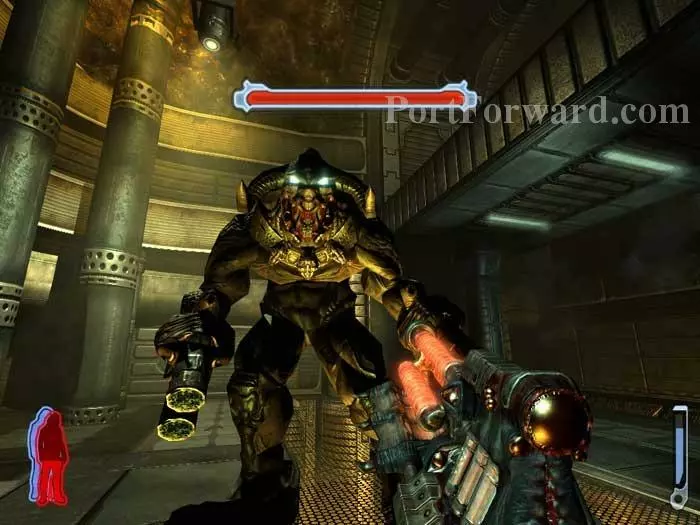
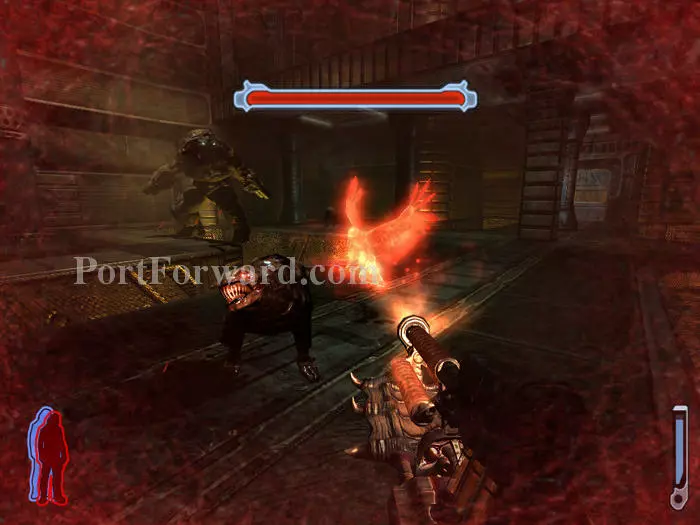
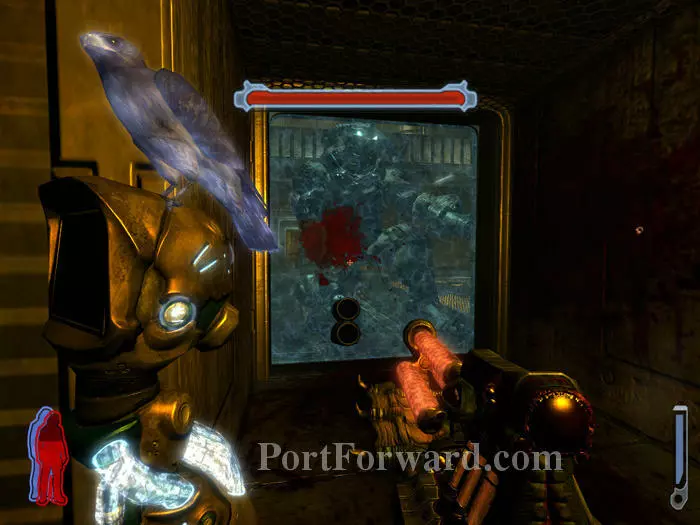
You're free once again, but now you have to battle your first boss. Meet the Centurion.
The Centurion will attack you with Auto Cannons attached to his arms. These rapid-fire weapons are complimented by a slower, but more powerful grenade launcher.
You'll notice two force fields at the midpoint of the room, each with rifle ammunition.
More rifle ammo and health spores are behind columns in the corners.
Fodder also attack. Your rifle is essentially a pea shooter against the Centurion -- best to concentrate your fire on the fodder for the moment.
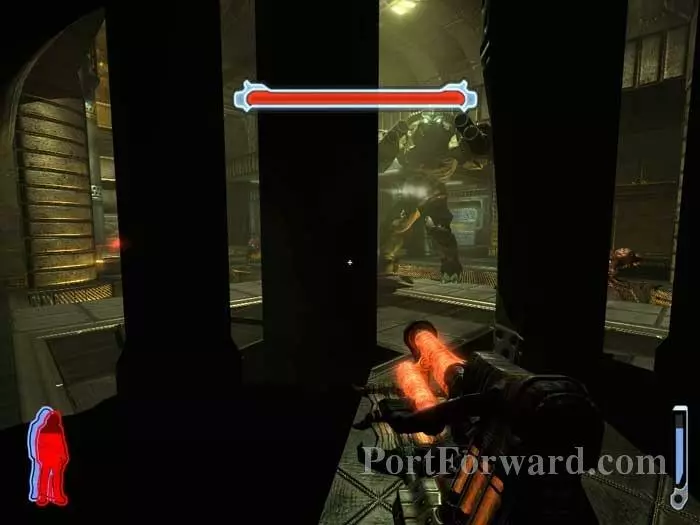
Also, concentrate on defense during this opening stage of the fight. Hide behind these columns in the corners of the room.
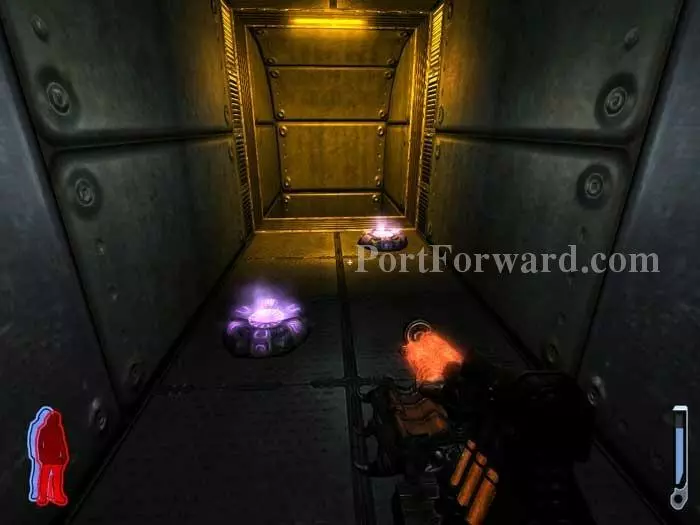
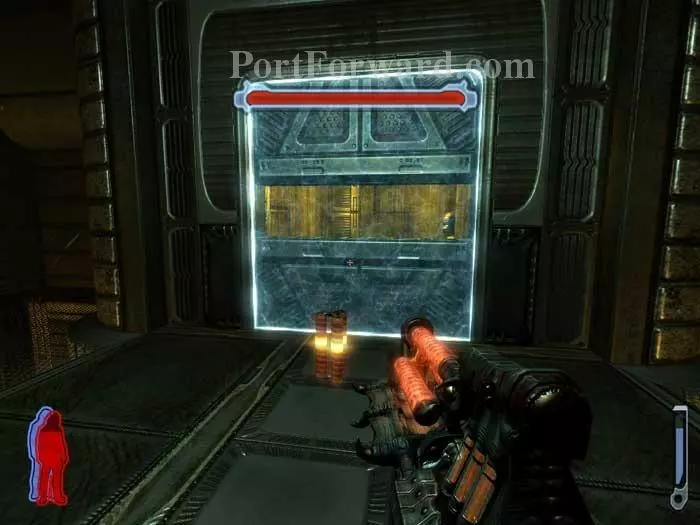
Eventually, you'll see these electrical discharges. The force fields are lowered and the doors behind them open.
Rush in to find more health and ammo. Use the console to re-establish the force field.
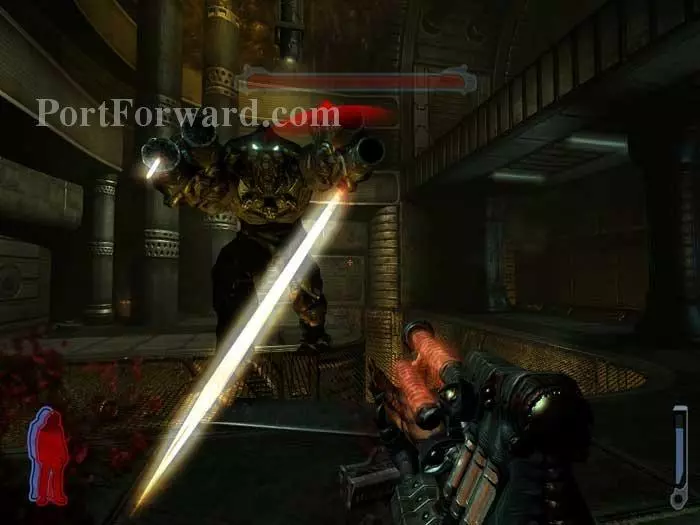
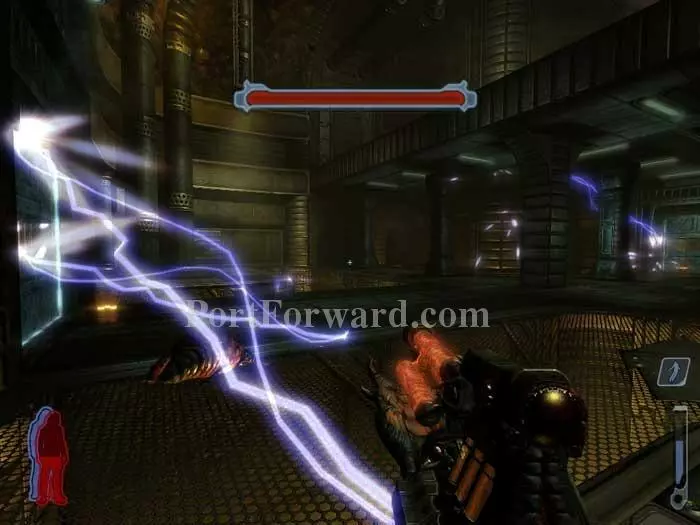
The force field eventually succumbs to the Centurion's attacks. Once again, use the console to re-establish the force field. This time, the force field sever's the Centurion's arm - releasing an Auto Cannon.
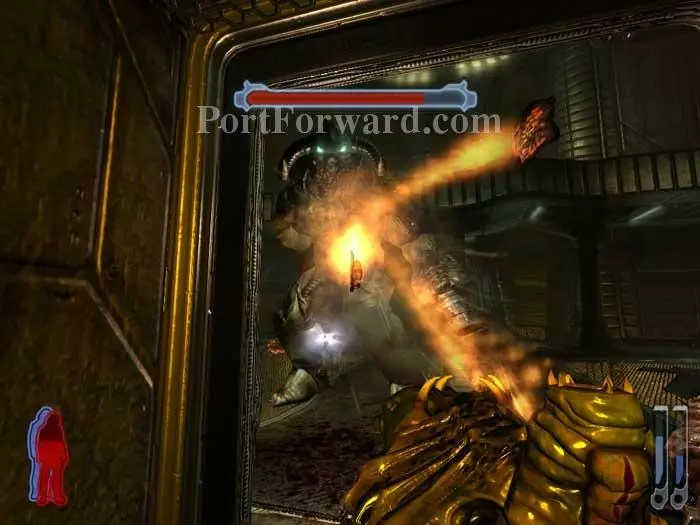
Retrieve the Auto Cannon and unleash its firepower on the Centurion. Now you're doing real damage!
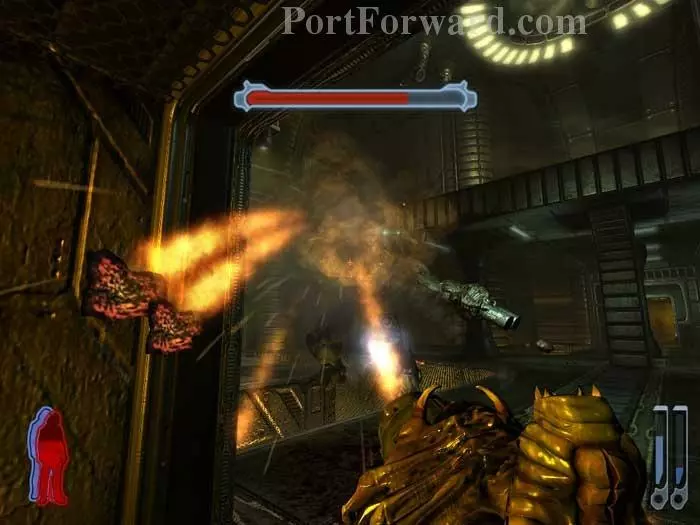
Primary fire unleashes rapid-fire bullets. Secondary fire lobs grenades.

Eventually, the Centurion's health bar reaches zero and the giant falls. You hear the female disembodied voice once again, expressing surprise that you are still alive. A hunter spawns to finish you off -- finish him off instead, then jump through the portal.
Clear out the tentacles to retrieve the Auto Cannon ammunition. Find a health spore to the left of the mouth door before going through.
A large firefight with many hunters follows. The opening far-left will turn into a force field once you pass through. You can still return via the walkways, but you might want to grab any health and ammo you can before continuing.
If you look back as you step through the opening, you'll see the force field materialize. Simultaneously, you'll see a force field drop at the indicated opening. We'll be passing through that in a moment.
The hand you retrieved earlier can be used on the panel ahead to deactivate the force field on the right. Auto Cannon ammo is to the left.
More hunters attack. When they're bunched up like this, it's effective (and fun) to use your Auto Cannon's secondary fire to lob a grenade on them.
Clear the area of hunters and come full-circle. Take the walkway through the now-lowered force field as indicated.
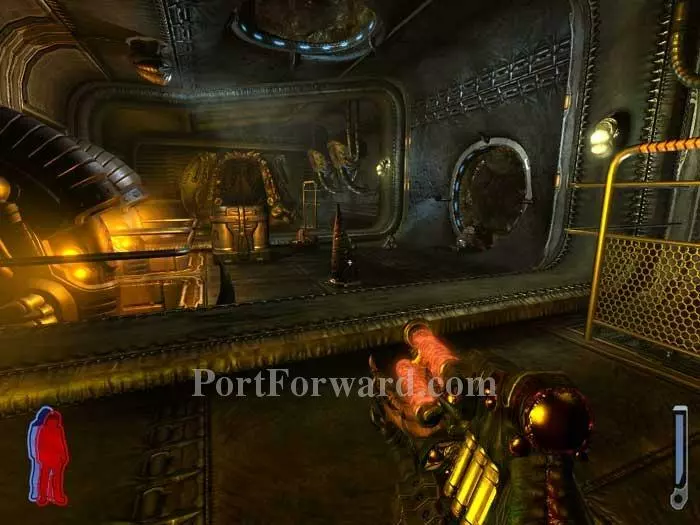
Find yourself in this corridor, with another hunter-hand-controlled console. Use the console to unlock the door ahead.
Lightning ammo for your Leech Gun is on the ceiling. A locker with Auto Cannon ammo is on the left, and dead hunters are all around.
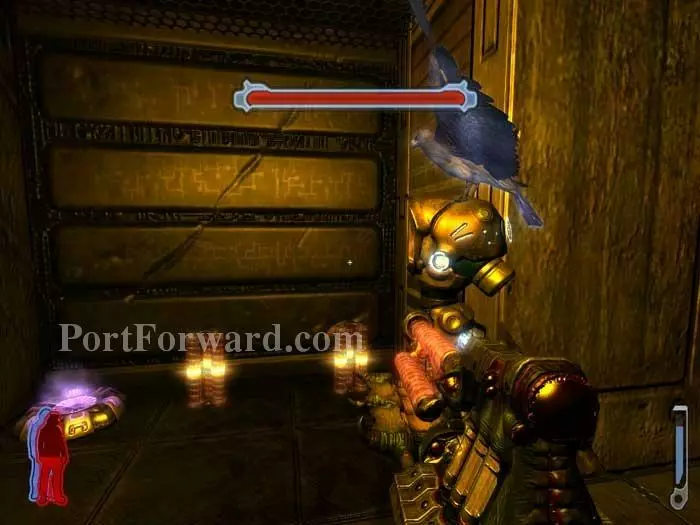
An explosion kills several hunters, and then a pair of these friendlies scurries away. Ready your weapon of choice before continuing through the mouth door ahead.
This hound lunges through the doorway. Several hunters are backing him up.

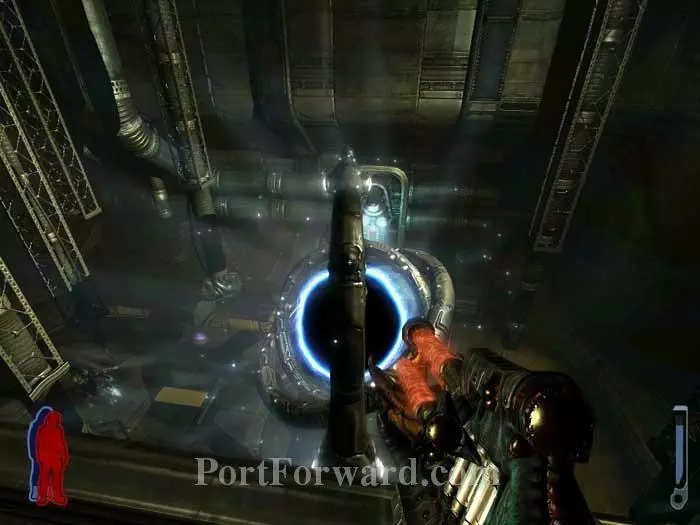
Clear the area of hunters, then use this console to stop the portal's rotation. A healing spore is to your left.
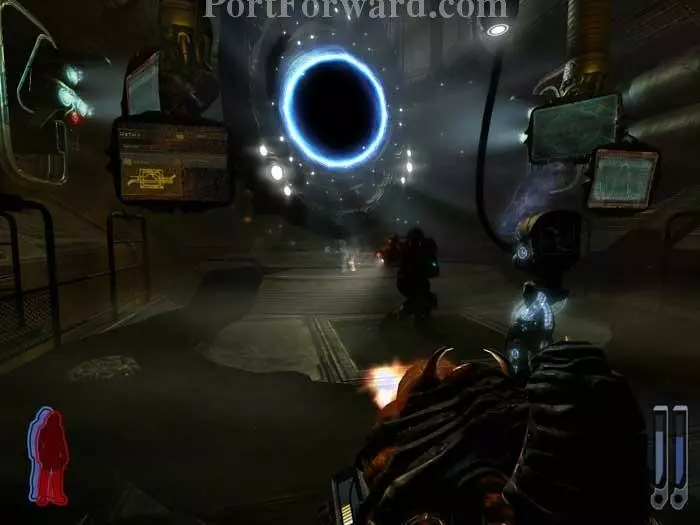
A hunter spawns as the portal spins down.
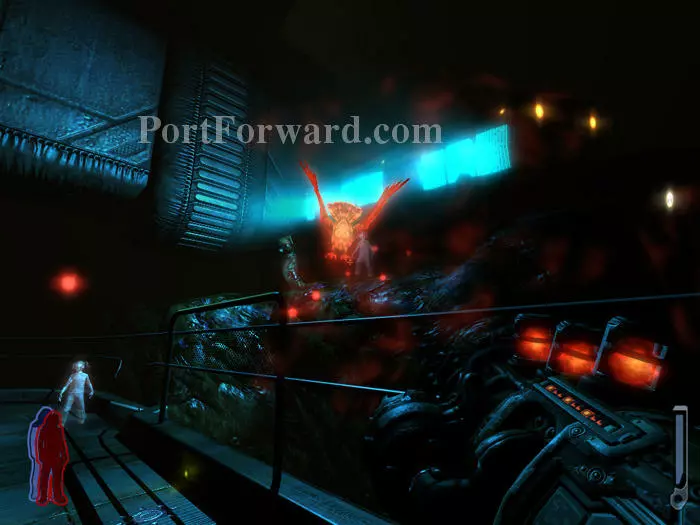
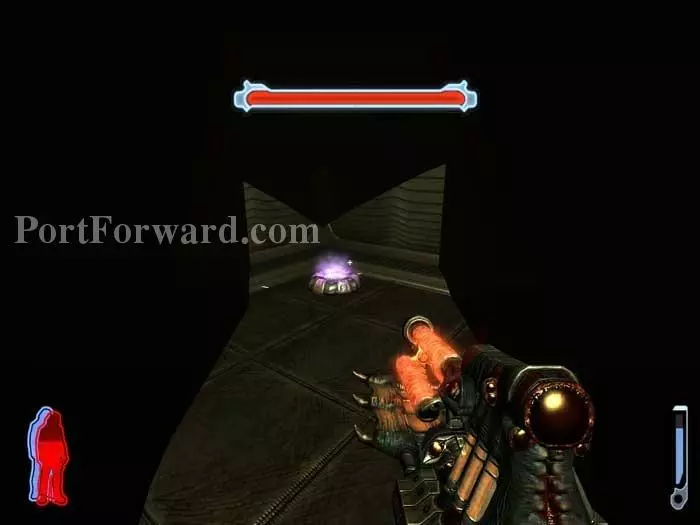
Once the portal stops, be prepared to doge the two grenades lobbed at you by this Harvester. Enter the portal as the Harvester leaves. Once through, step forward to hear Enisi call to you.
More Prey Walkthroughs
This Prey walkthrough is divided into 22 total pages.


