
This Prey walkthrough is divided into 22 total pages.
You can jump to nearby pages of the game using the links above.
Guiding Fires
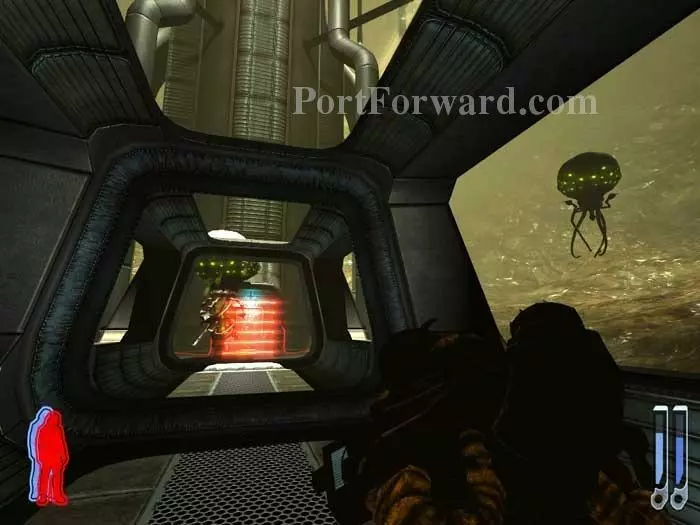
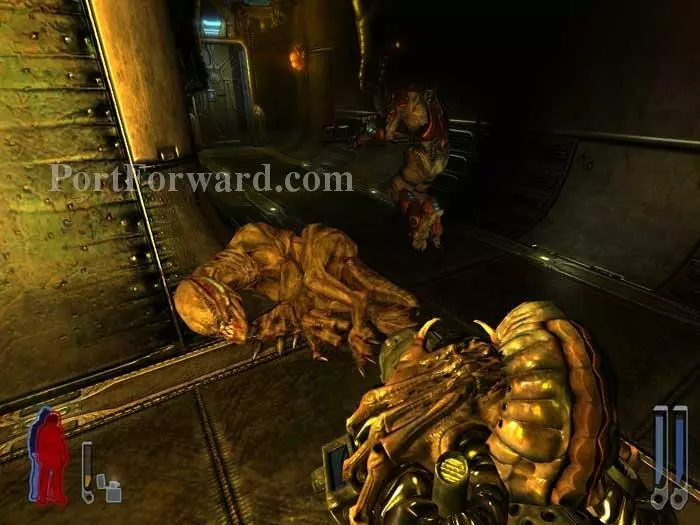
Start through the door. Witness a hunter battling a pair of gasbags. You can either engage immediately or patiently wait until one of the gasbags lifts the hunter then drops him to his death.
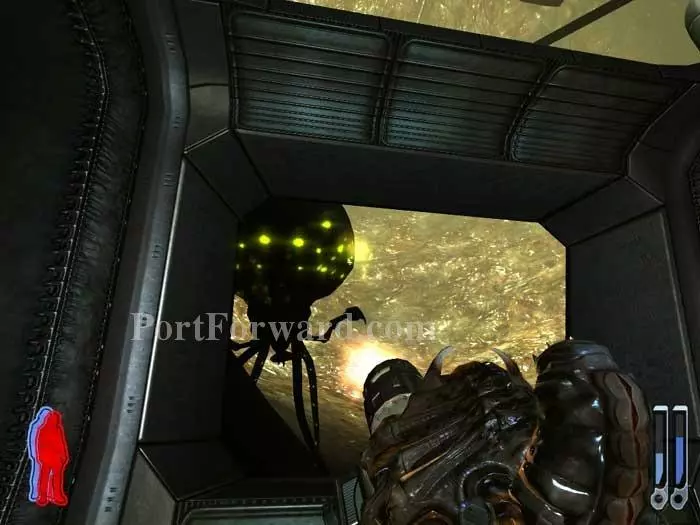
Once you engage the gasbags, these openings provide great protection. The Auto Cannon's primary fire inflicts swift damage, too. Fire in short bursts to counter the gasbag's dodging ability.
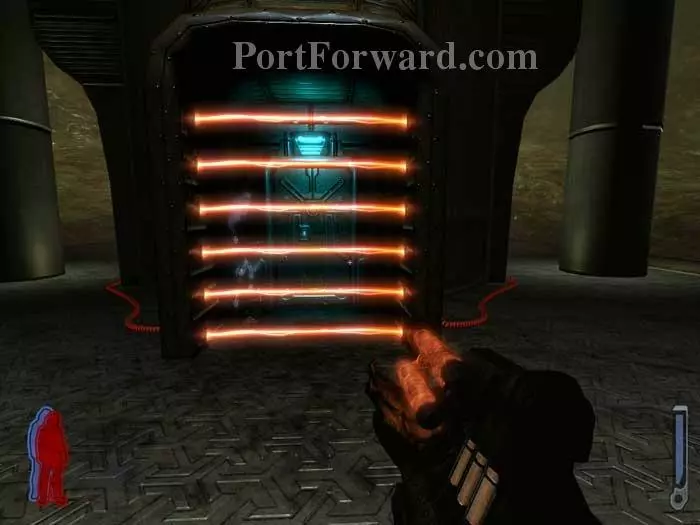
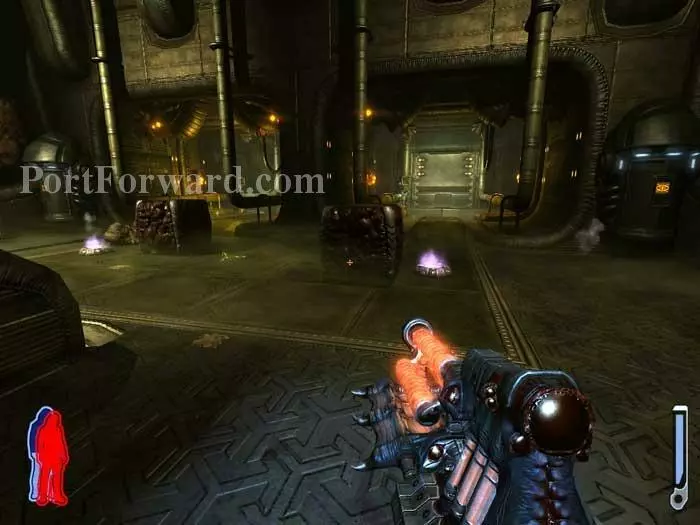
Getting past these beams is your next puzzle. Spores are found left and right.
Walk around back to find two more spores. The weapons locker on the right holds Auto Cannon ammunition.
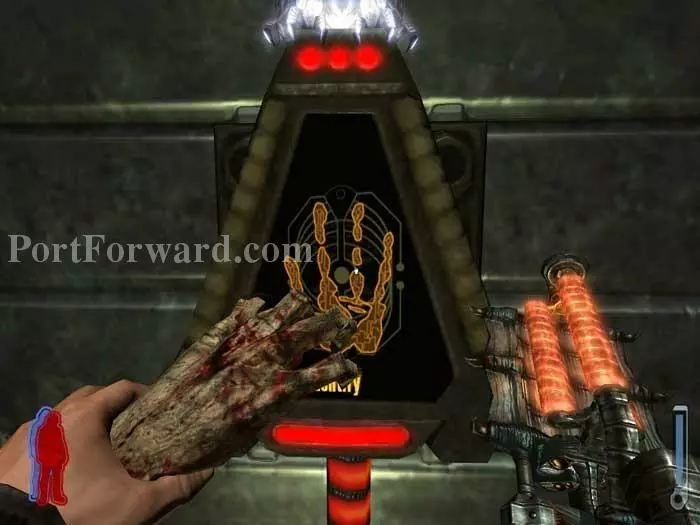
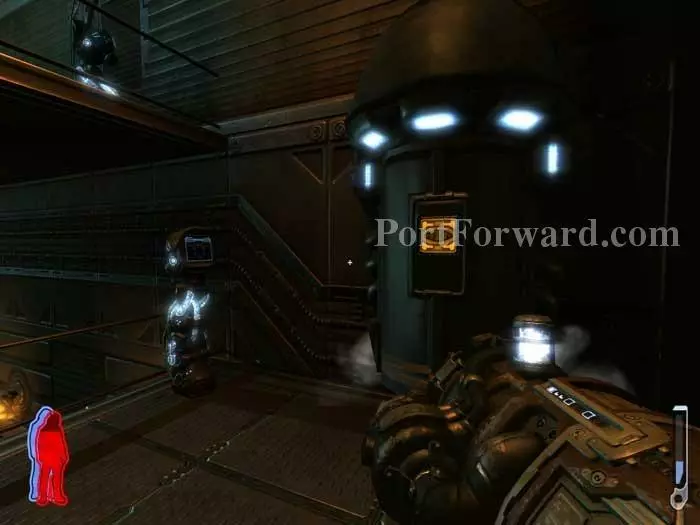
Hand scanners are on the two sides of the tower. Use the dismembered hand on each.
The beams are now disabled. Enter the lift and ride it to level 3.
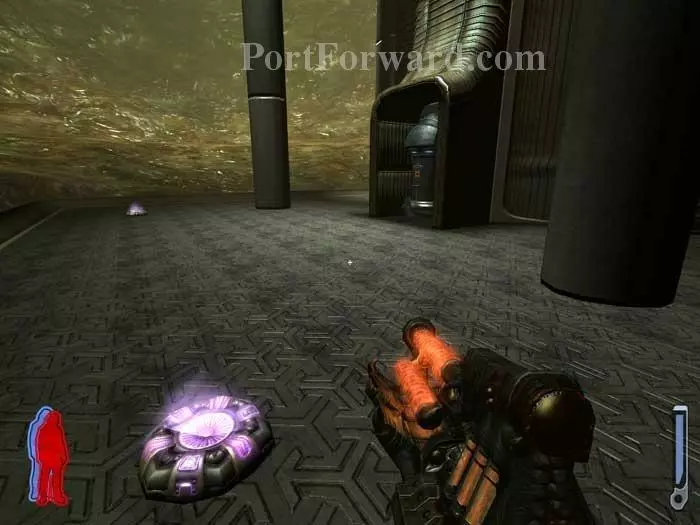
Spores, a locker with rifle and Auto Cannon ammo, and a lightning Leech Gun station are found here.

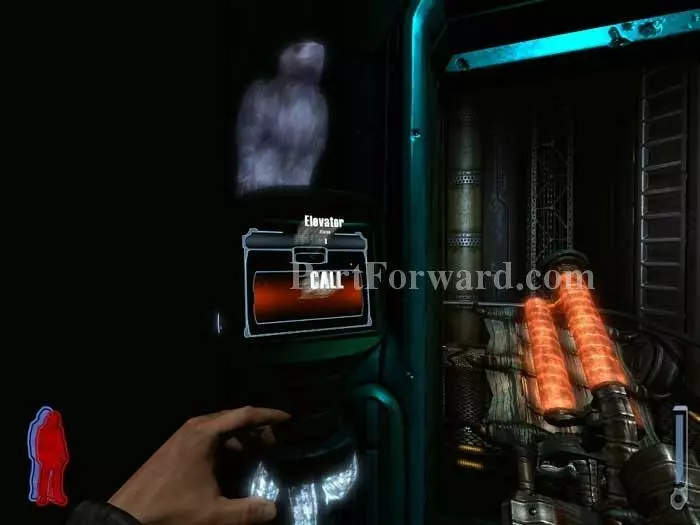
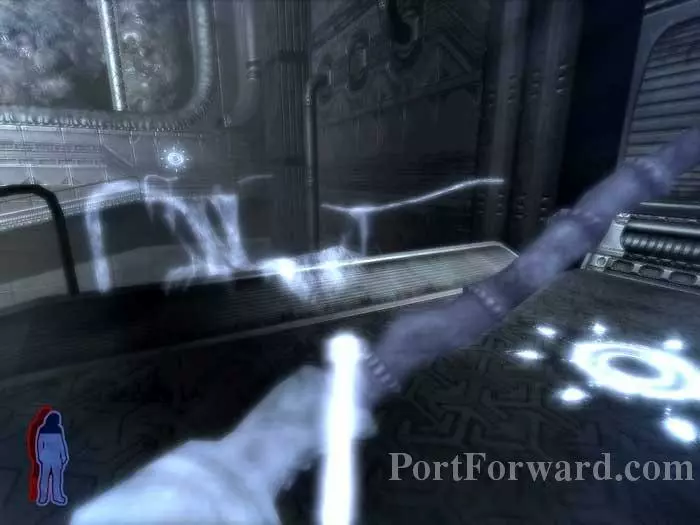
Spirit Walk once you see this wraith. One shot from your bow will take it out. Alternately, if you leave your body in the lift and spirit walk to retrieve the locker ammo, the wraith never shows.
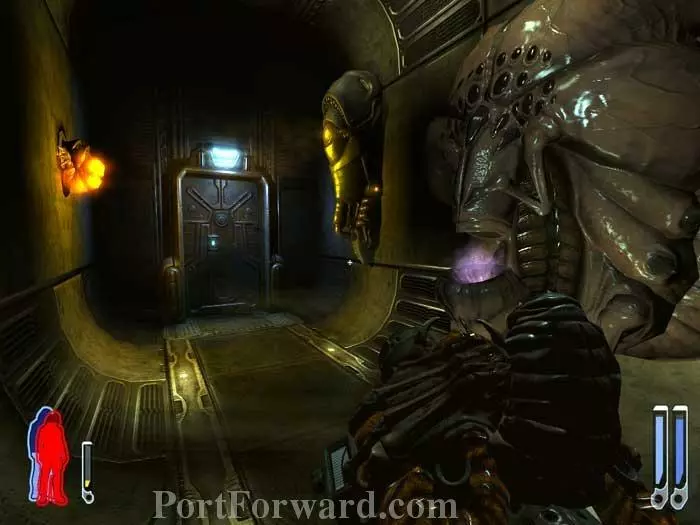
Descend to level two and zap a pair of hunters.

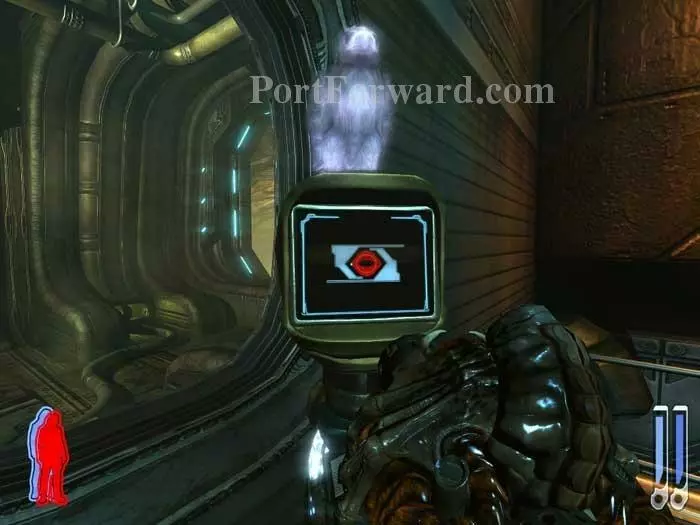
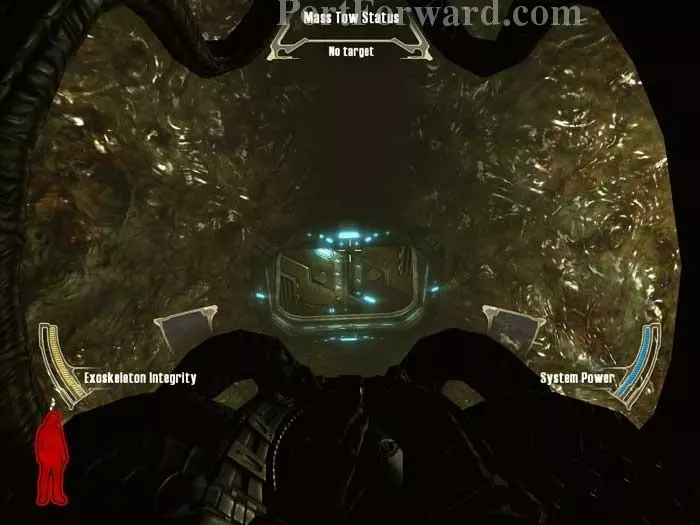
Approach one of the two lit balconies and a console appears.
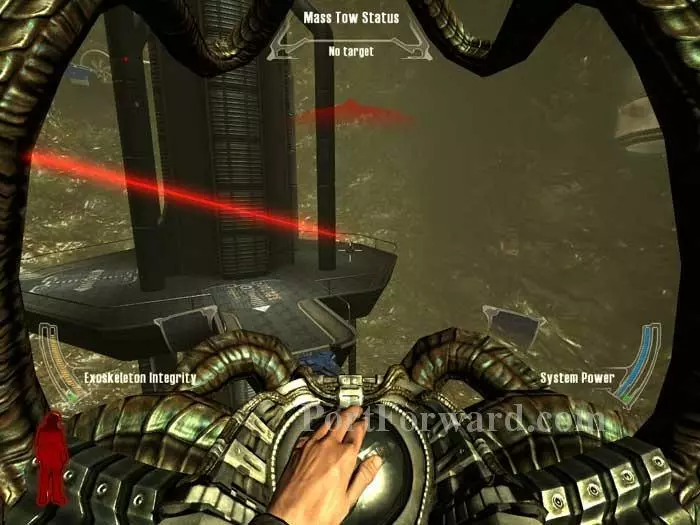
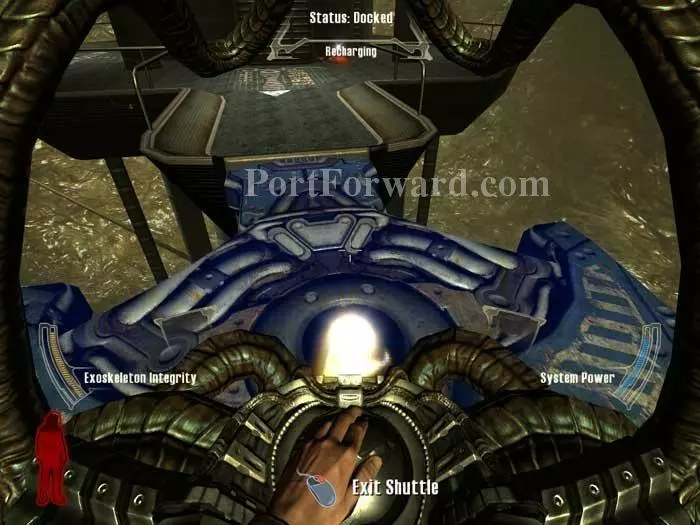
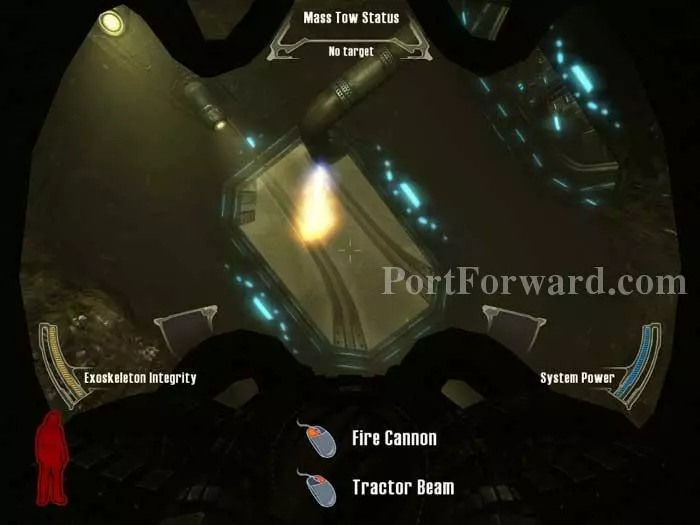
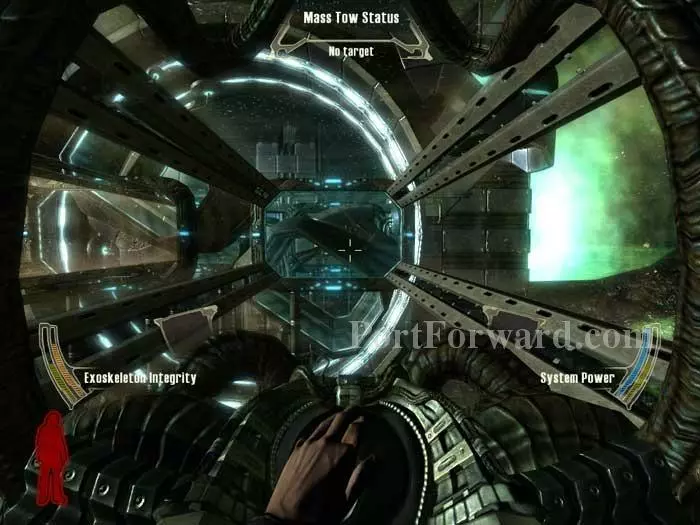
Use the console and a vehicle materializes. This shuttle is controlled with the same keys as your character for forward/back/left/right. Up and down are jump/crouch. There's even a light.
Primary fire is a pulse cannon.
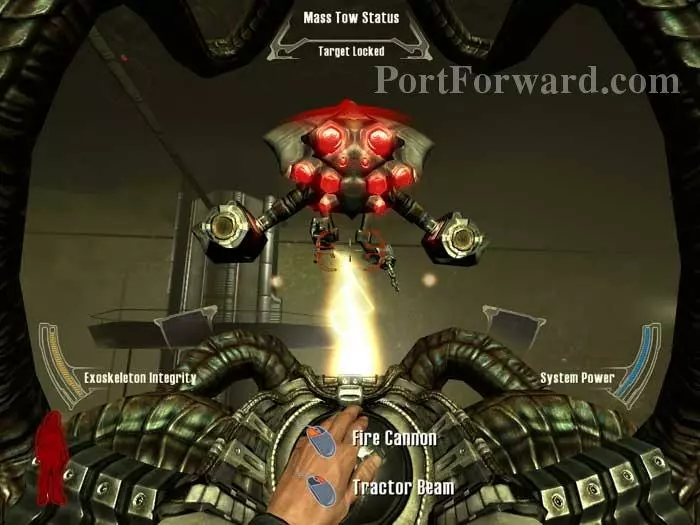
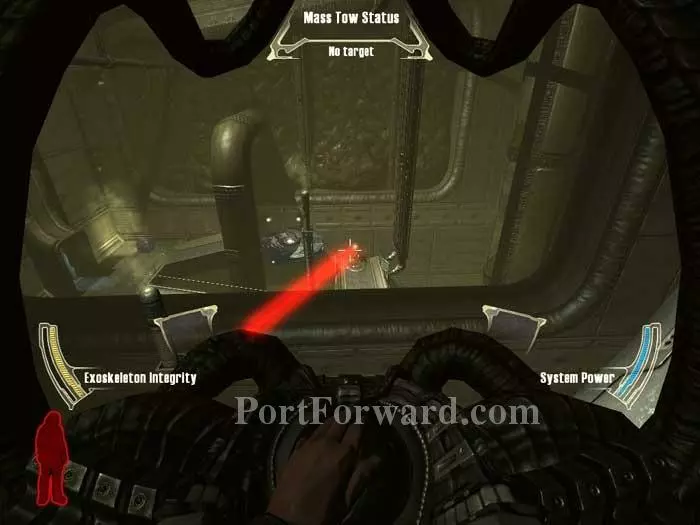
Secondary fire is a tractor beam that you can use to pick up your foes and drop them to their death. This thing is awesome!
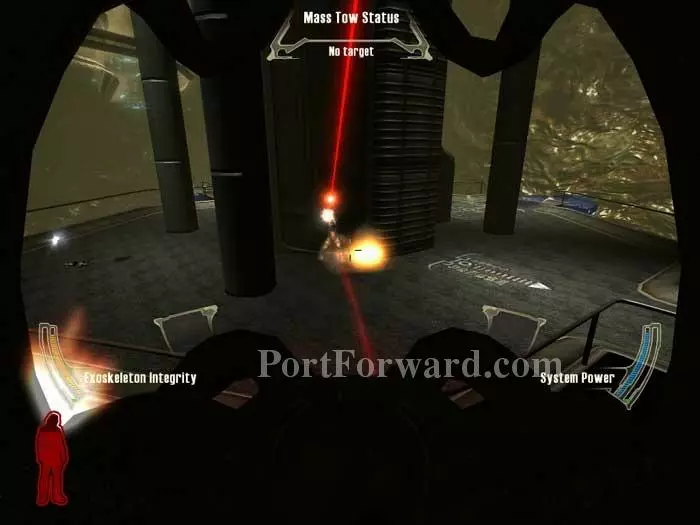
If you aren't quick in dispatching the hunters, one will mount a shuttle of his own. Use the tractor beam to hold the shuttle in place while you pummel it with primary fire.
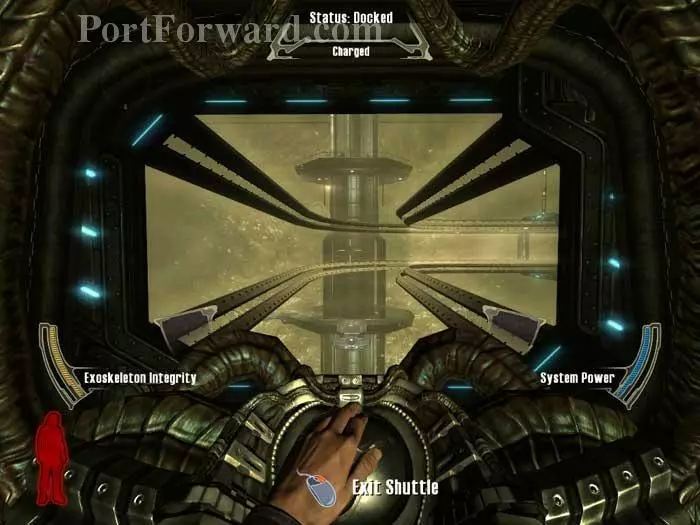
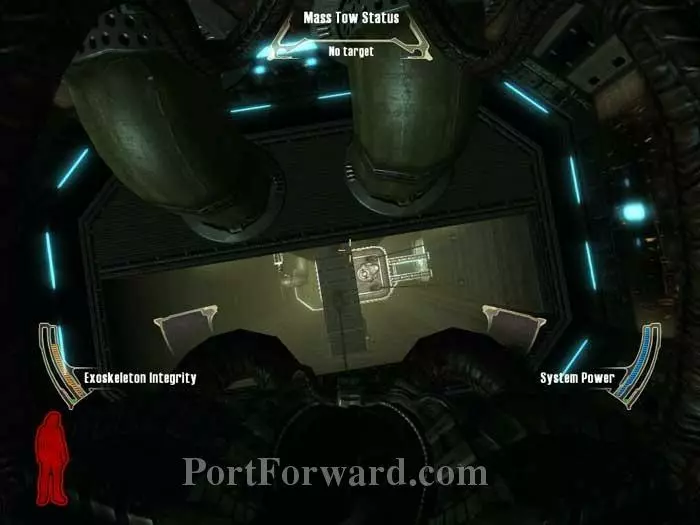
Approach one of the landing pads to exit the shuttle. Retrieve spirits/ammo from the fallen hunters.
Enter a new shuttle and fly to this platform. Enisi speaks: "Their fires will guide you. Watch for them."
Exit the shuttle and walk in this door.
The guiding fire has lead to a battle between hiders and hunters. The hiders dash off, leaving a pair of hunters. Stop them from reaching the alarm to the right of this ramp. Otherwise, reinforcements arrive.
At the opposite end of the walkway is a locker holding auto cannon ammunition, and a console which activates a nearby walkway.
Follow the walkway to this console. Activate it to open a window and witness the large shuttle door open outside.
This nearby console opens a portal to the lower level where you entered. Your work here is done.
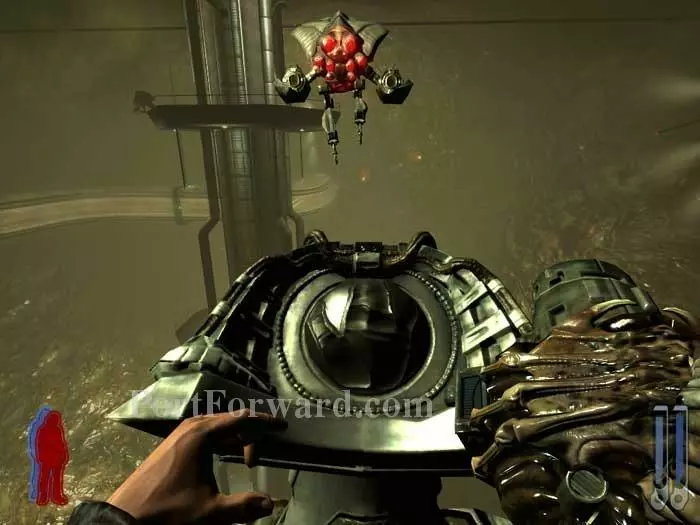
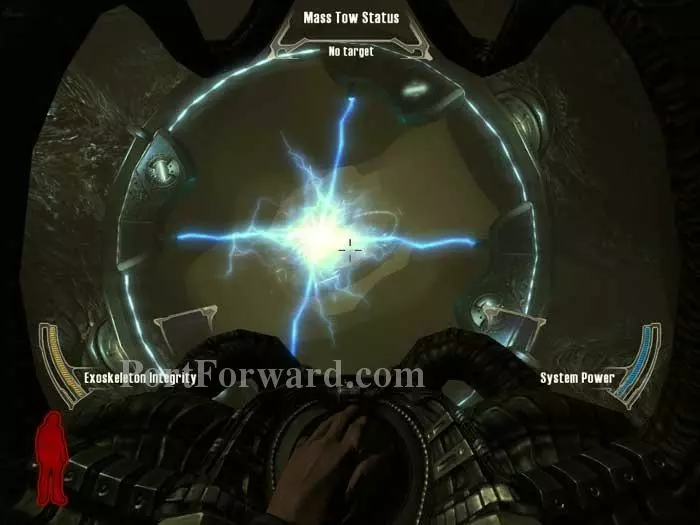
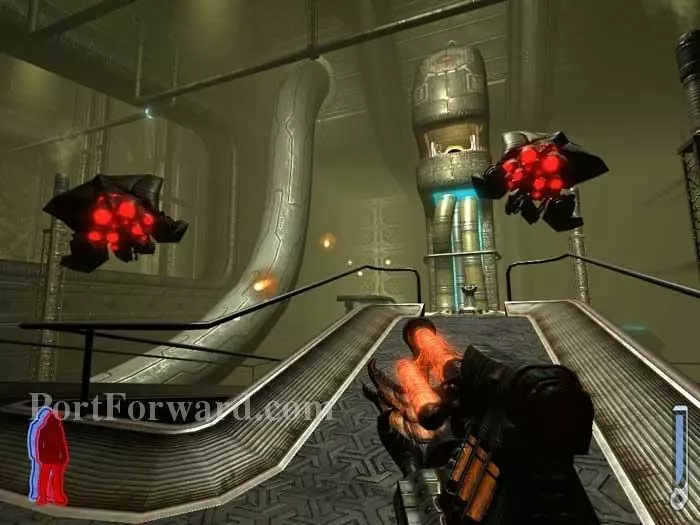
Run outside and call a new shuttle before these flying robots get a bead on you.
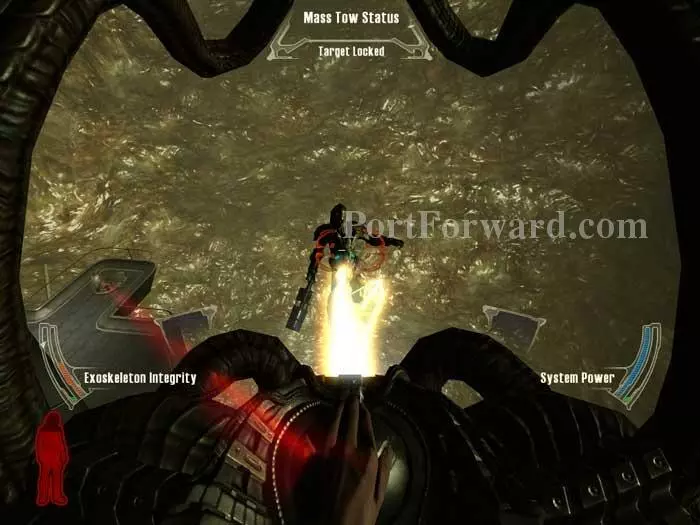
The tractor beam/cannon combo makes short work of these guys.
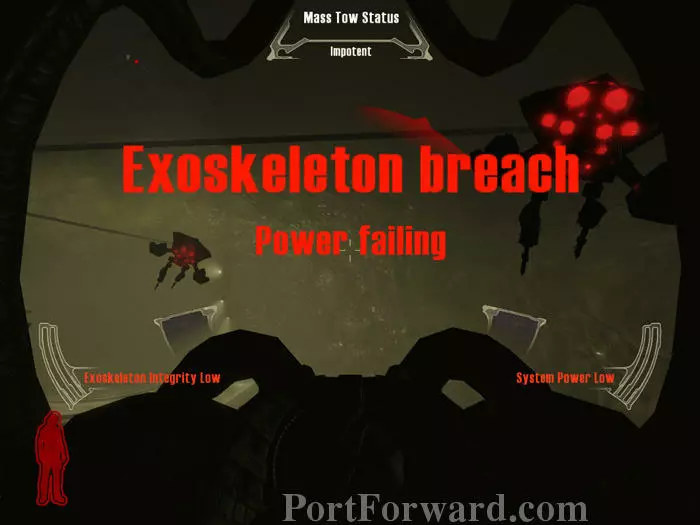
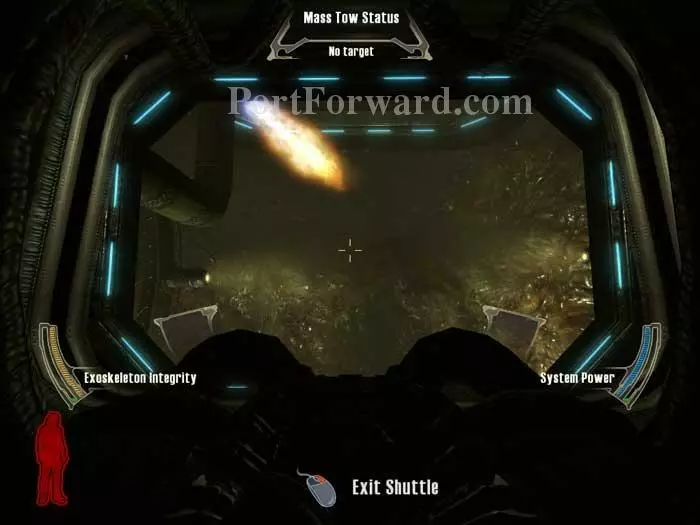
Unfortunately, there's a lot of them, and if you aren't quick you're liable to see this message. Hover your shuttle over a landing pad to recharge, or it's back to the deathwalk for you.
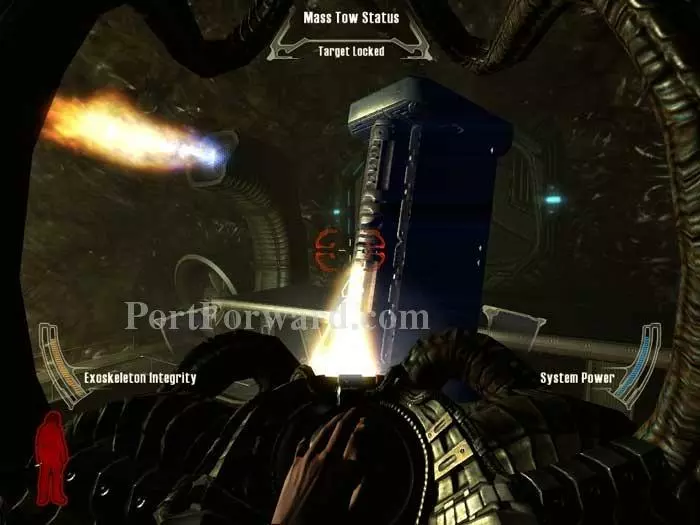
In truth, you can just run past them, but dogfighting is too much fun to pass up. Your next step is to clear away the debris blocking this door. Fly on through when ready.
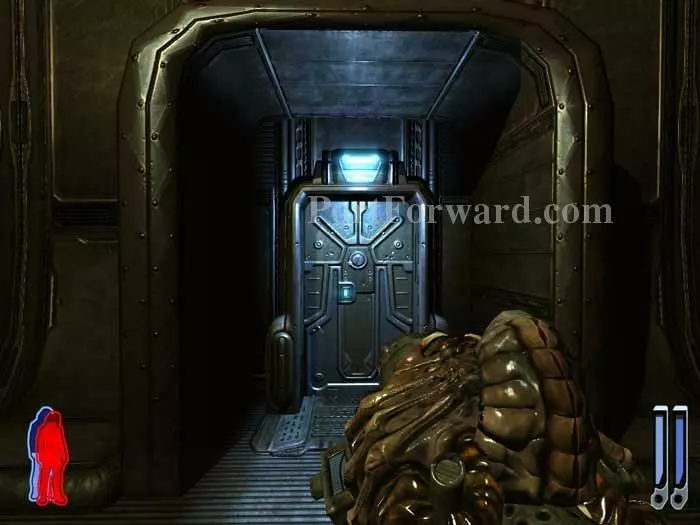
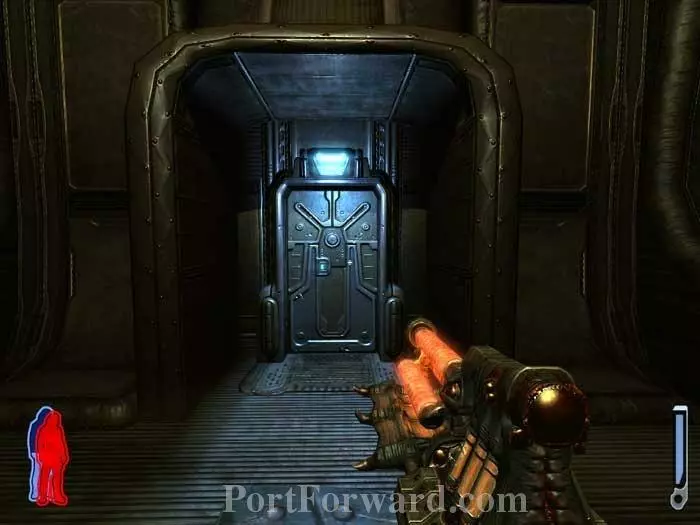
Exit your shuttle and continue through this door.
A hunter and this sleeping hound are inside. If you are even moderately stealthy you can avoid them.
Heal at the station on the right then continue through the door ahead.
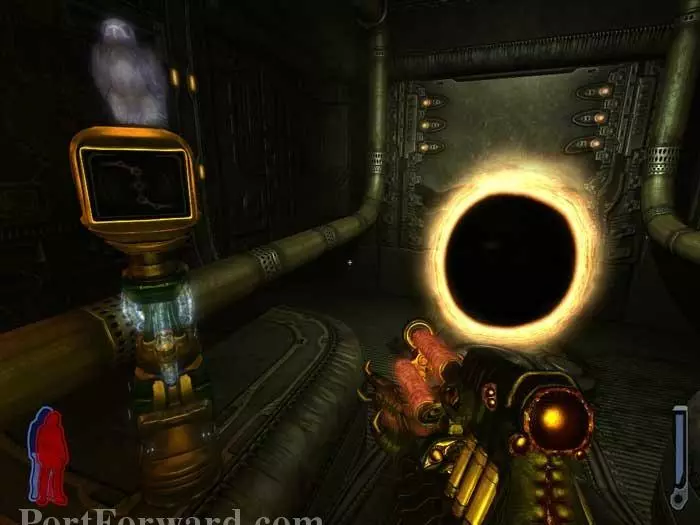
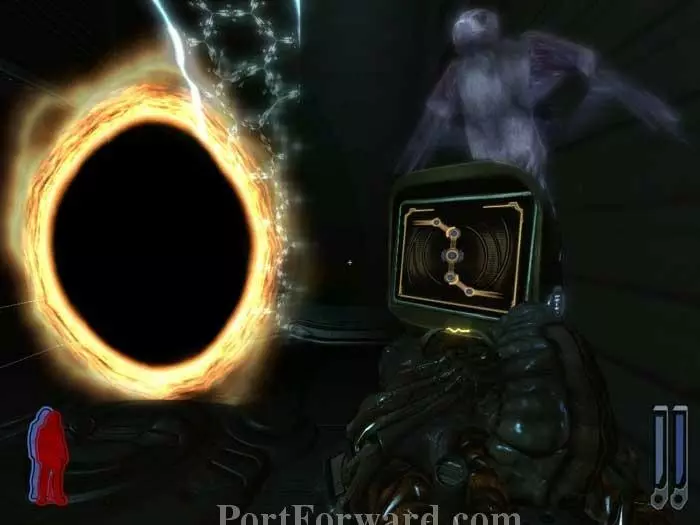
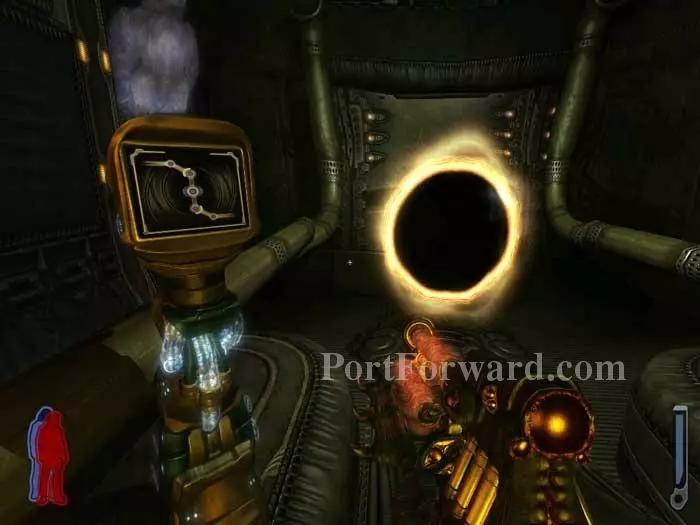
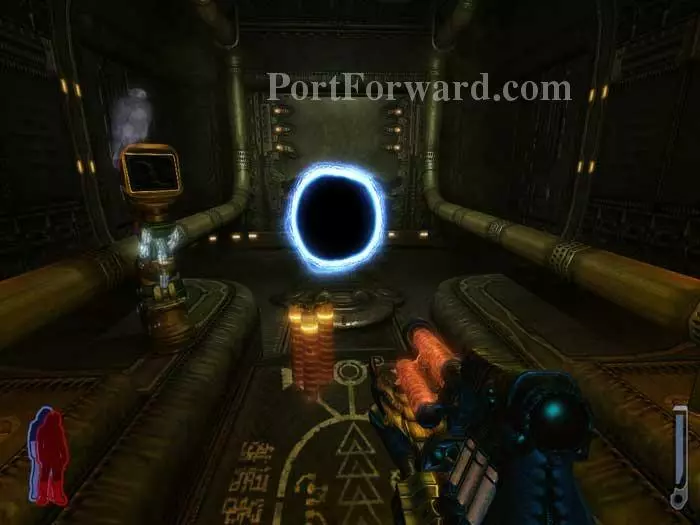
Use the console to open a portal.
Step through the portal and call a new shuttle. Exit through this door.
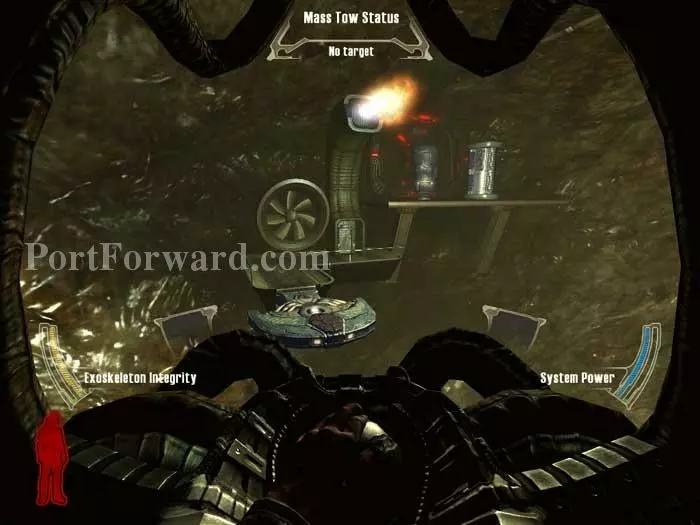
The way out is through the transparent tunnel above you, but head down to this door for a profitable diversion.
Don't exit your craft. Instead, continue to the habitrail through this next door.

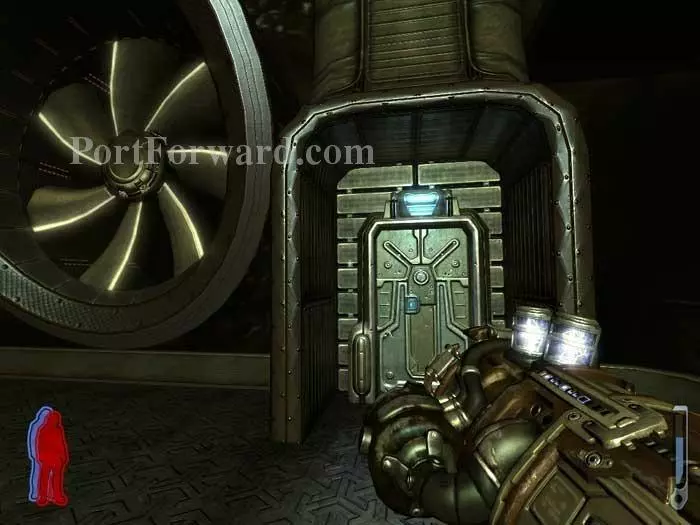
Battle your way to the door on the other side.
Exit the shuttle and proceed through this door.
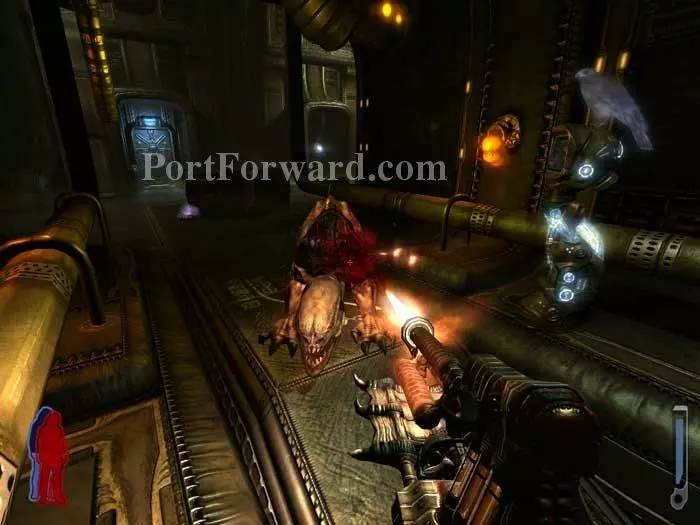
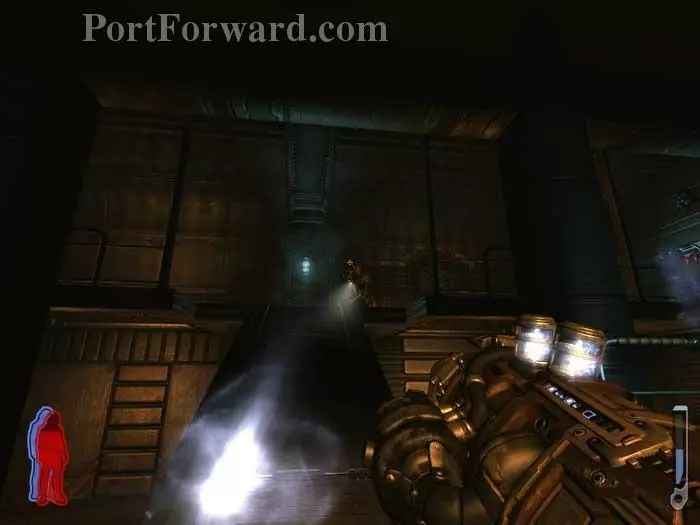
Defeat this hound and then a pair of hunters.
You are rewarded with two weapons lockers, two spores, and a lightning recharge station to the left. Approach the alcove ahead/left.
Use the console to activate a portal, which returns you to where you were before you began this diversion.
You are now free to exit above, past another of The Hidden's guiding fires.
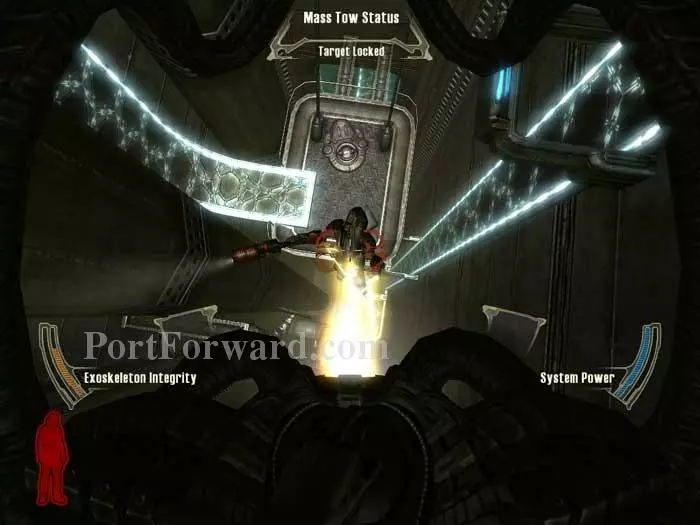
Time your progress to advance past the rings undamaged.

I actually let out an audible gasp when I got to this point.
This is a really awesome scene -- you can watch asteroids smashing into the structure. Fly into the revolving door ahead which will transport you to the neighboring passageway.
After a brief word from Mother, "Where do you think you are going?" move deeper into the complex through this door.
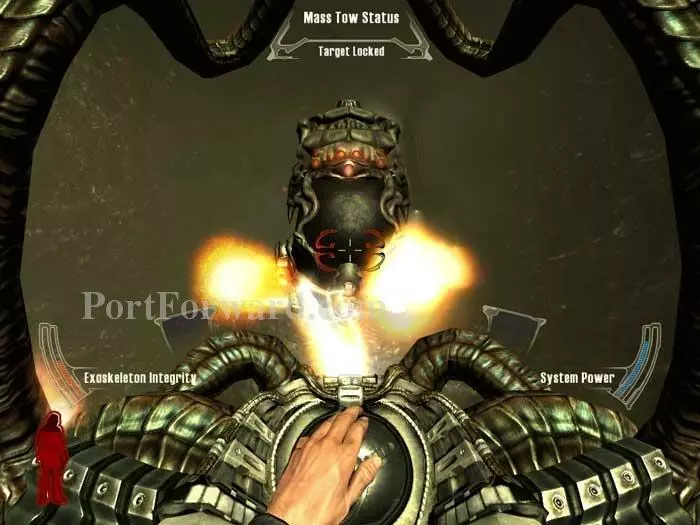
Defeat a pair of hunters then fly through yet another door at the bottom of this area.
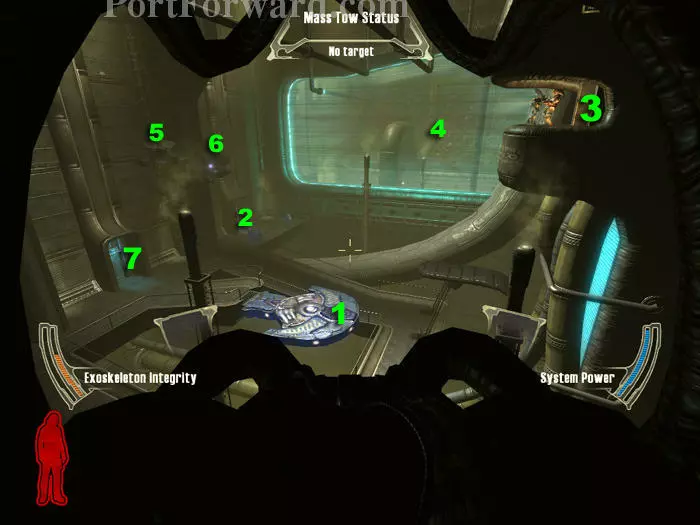
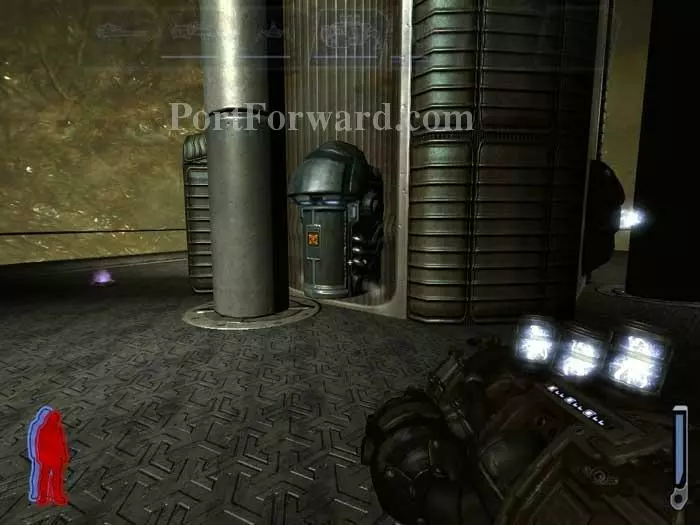
The direct route is to land on the platform (1) then rush through the doorway (2) where you can activate a portal leading to the guard tower (3) where you can deactivate the force field (4). I recommend taking out the maintenance bots (5, 6) before landing. The optional door (7) has plasma ammo and a console that activates a portal leading to a walkway with a health spore and rifle ammo.
Also available is rifle and Auto Cannon ammo across this spirit bridge.
Once the force field is down, more robots come in. Hurry so you can call a shuttle and engage them.
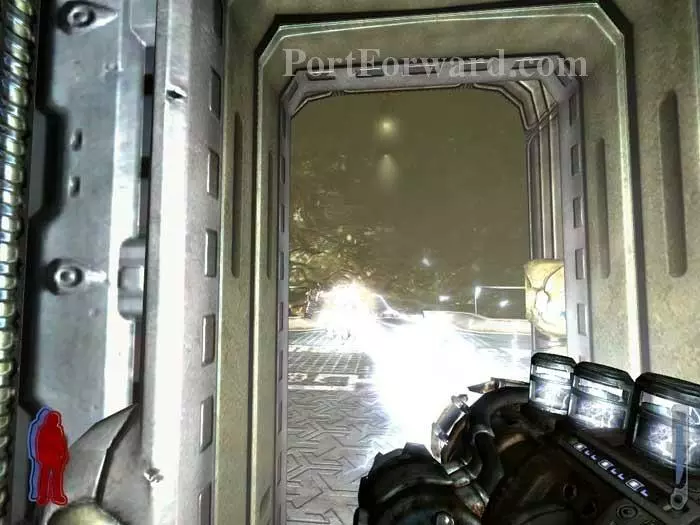
Fly through the disabled force field, land on the pad ahead then enter the doorway on the left. Hunters try to slow your progress.
Use the console then step through the portal to end the level.
More Prey Walkthroughs
This Prey walkthrough is divided into 22 total pages.


