
This Prey walkthrough is divided into 22 total pages.
You can jump to nearby pages of the game using the links above.
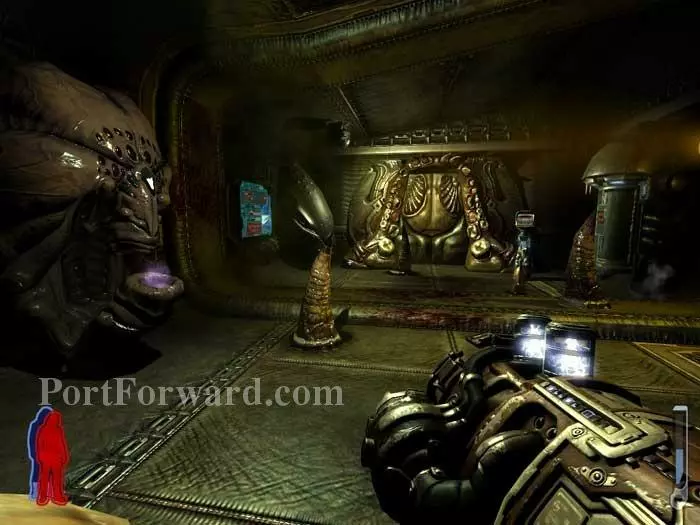
Crash Landing
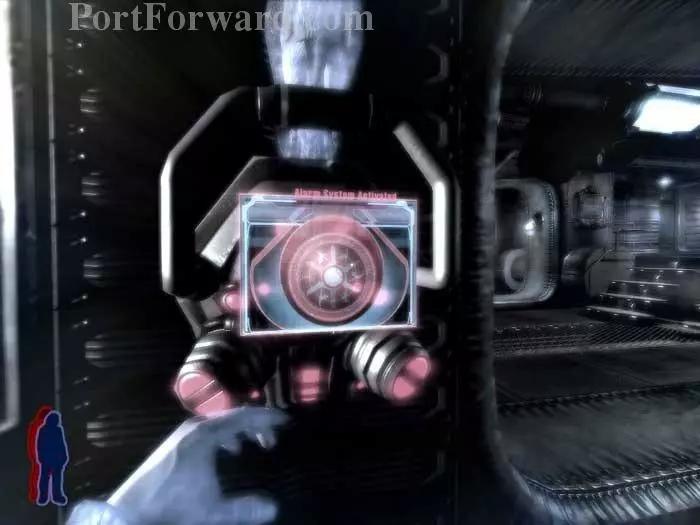
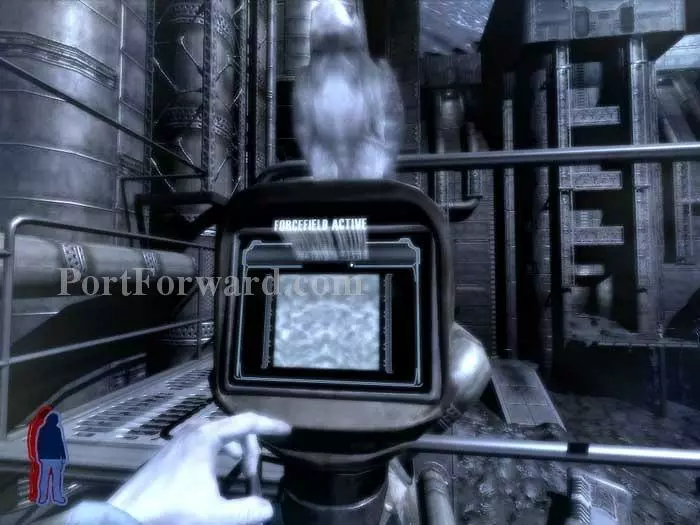
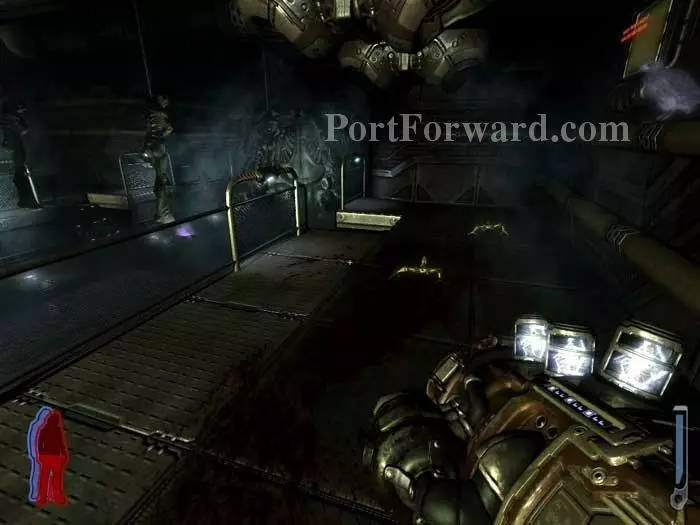
Spirit Walk through the force field and across to the other side of the room. (Note that a console just outside the force field is disabled.) Use this console to disable the alarm and lower the force field.
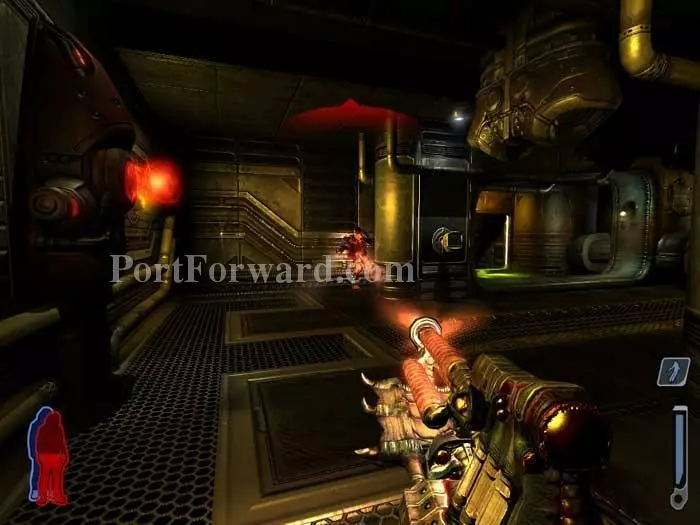
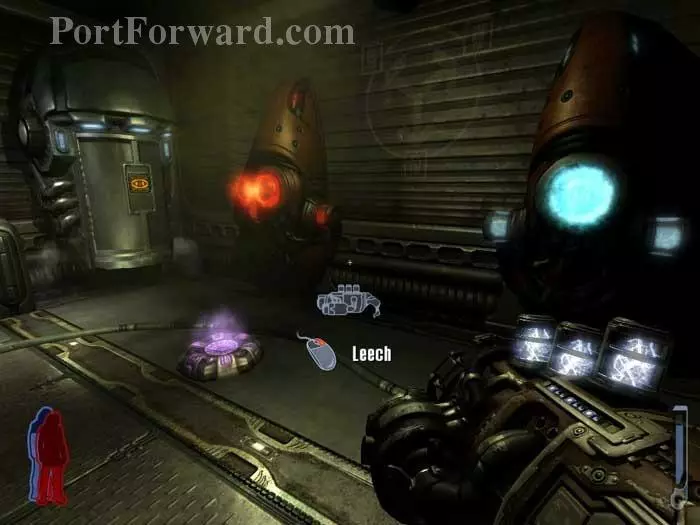
Return to your body and defeat the hunters in the area. Reinforcements follow if hunters reach the alarm console. Note the Leech Gun plasma station on the left. Two health spores are in the area (one to the right of the alarm console and the other farther to the right up some stairs.)
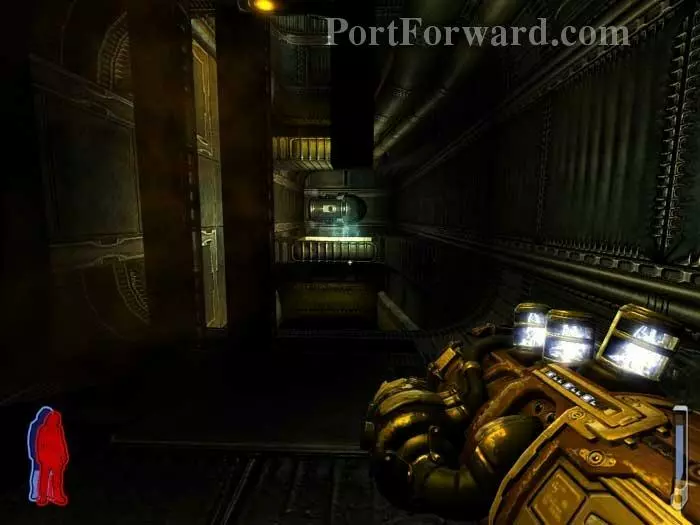
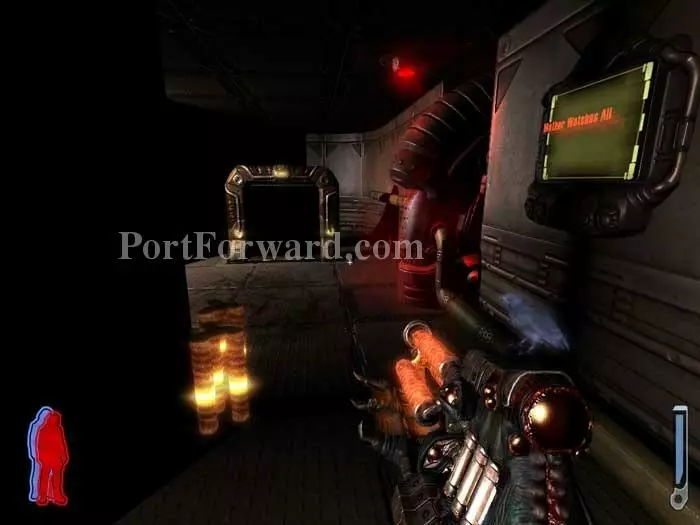
Also up the stairs is this door, opened with the control on the right. The red ball on the left is a turret that will open fire if you re-activate the alarm.
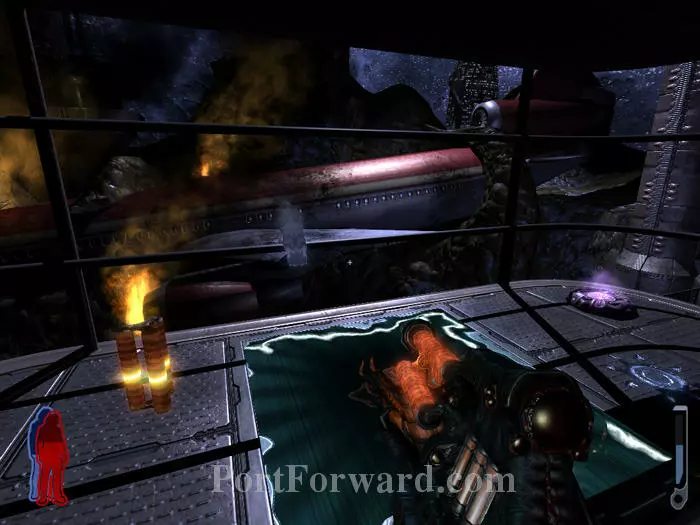
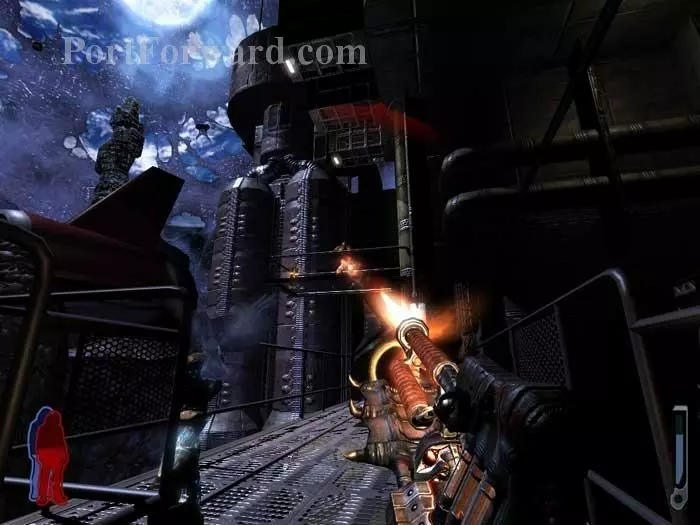
The platform holds rifle ammo on the left, a health spore on the right, and a great view of the crashed jetliner straight ahead. Spirit walk through the force field in the floor.
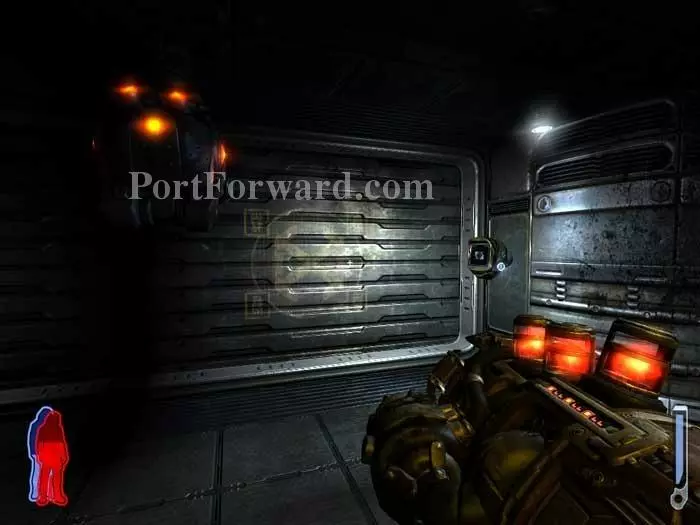
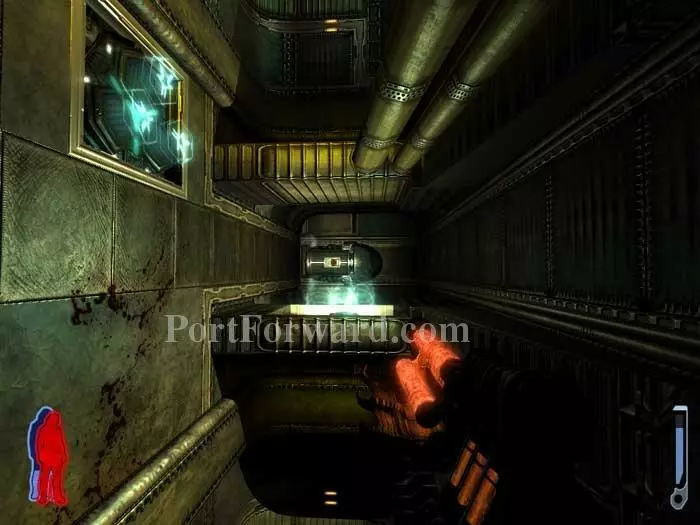
Head right to disable the force field.
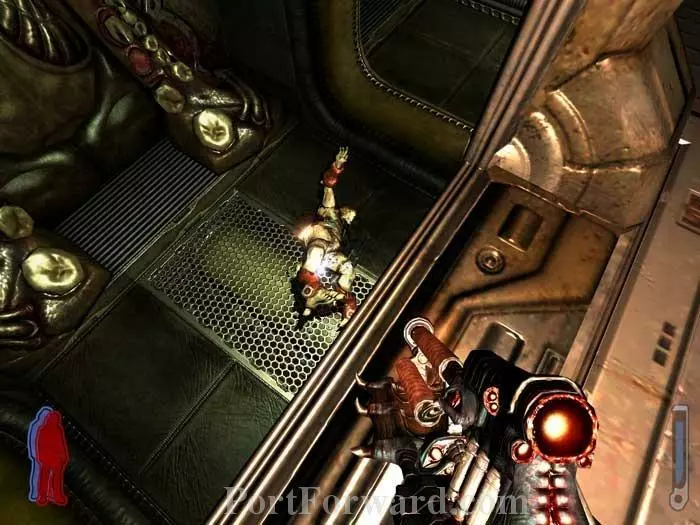
Return to your body, drop below, then battle a pair of hunters.
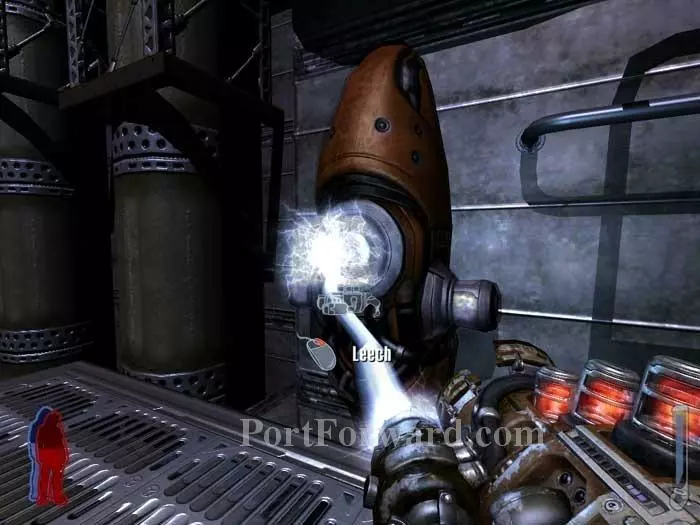
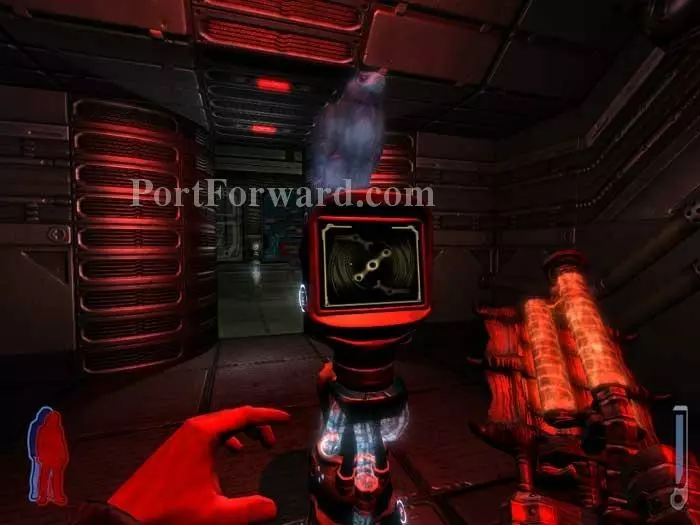
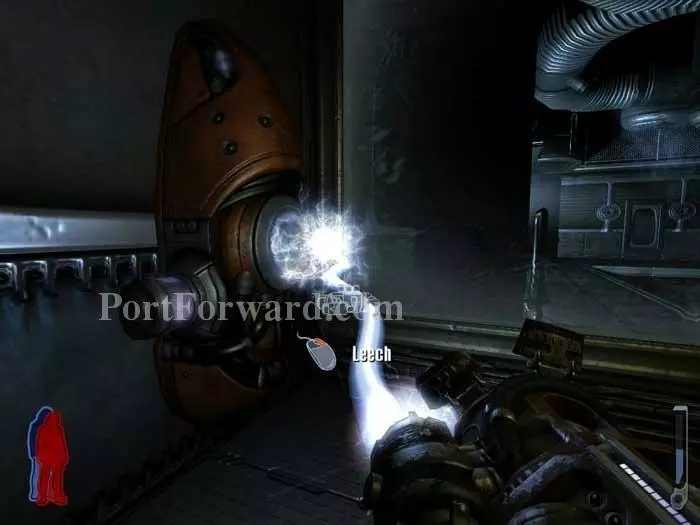
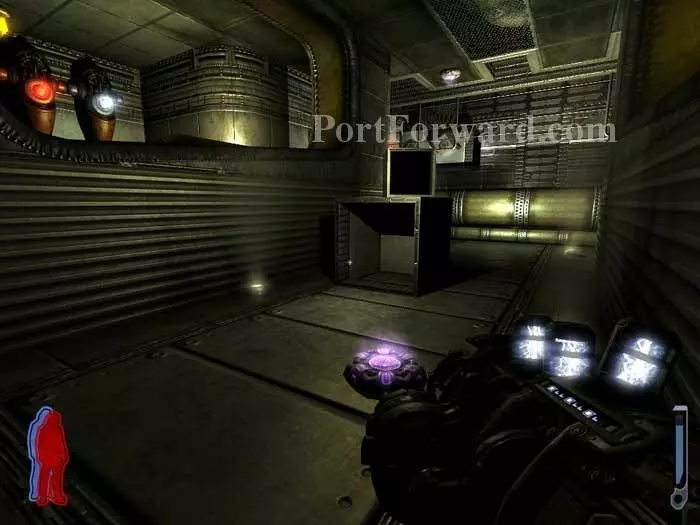
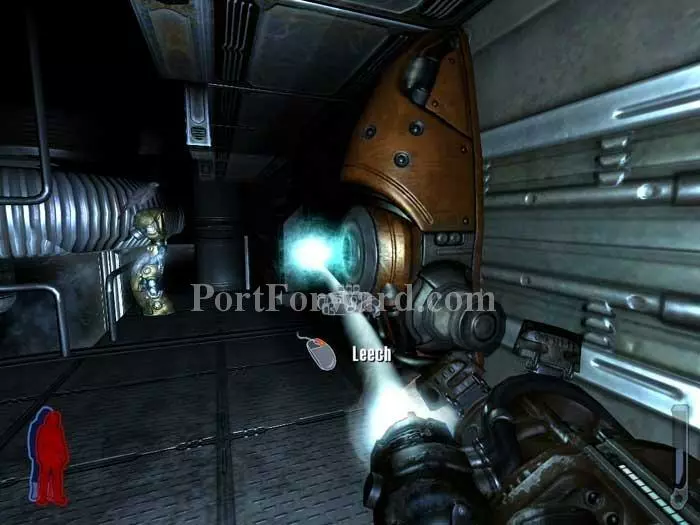
You've already encountered plasma and freeze ammo for your Leech Gun. Here is your first lightning ammo station.
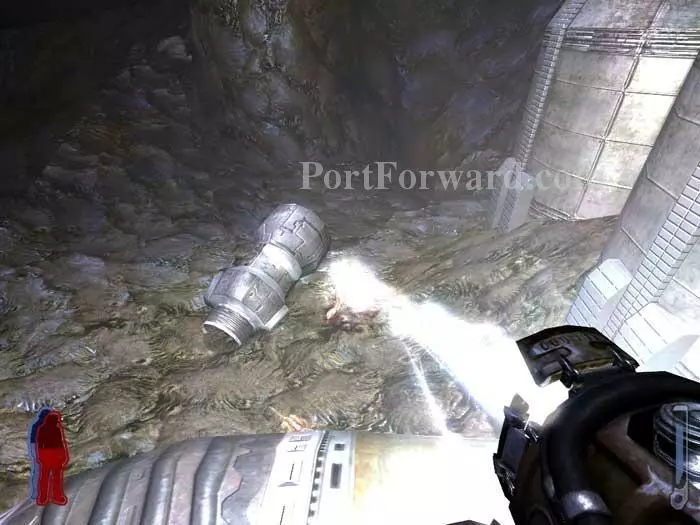
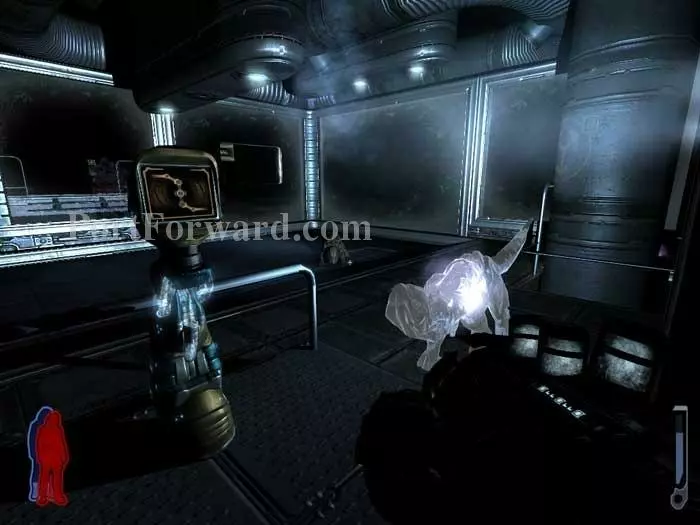
Continue right then drop to the lower of two pipes. Practice your new lightning gun on the two hounds below.

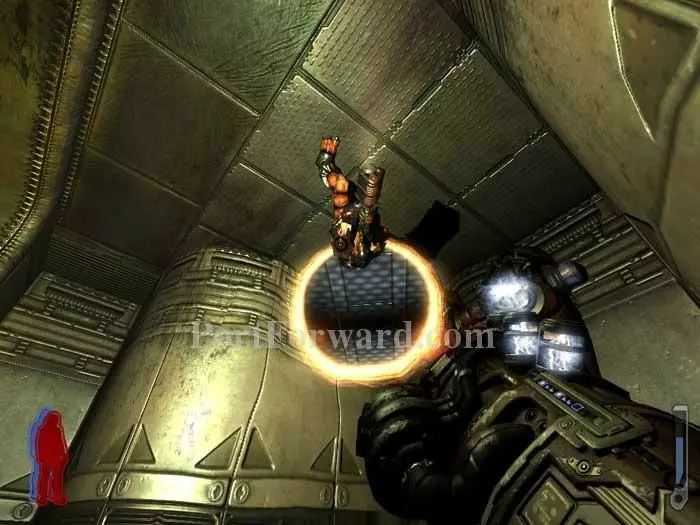
Next, a pair of gasbags. These enemies will grab you with their tentacles and carry you high above the ground. They'll then either gas you or let go, sending you crashing below.
Once the gasbags are dispatched, look left and snipe some snipers.
Lightning ammo is here on the left.

Clear out the snipers (and a fodder) then climb this ramp at the far end of the clearing. Spirit Walk across the bridge.
Use this console to lower a lift. Return to your body then re-activate the console to ride the lift back up to this position. Continue through the portal ahead/left.
Turn around and use the health station at the back of the corridor. Shoot the gravity switch on the left.
You can now pass through the half-closed bar on the right.
Shoot the gravity switch on the left then grab rifle ammo from the locker ahead.
Toss a crawler to take out the fodders congregating by the force field.
Rifle ammo is behind the smaller force field on the left. Use the console to disable both force fields.
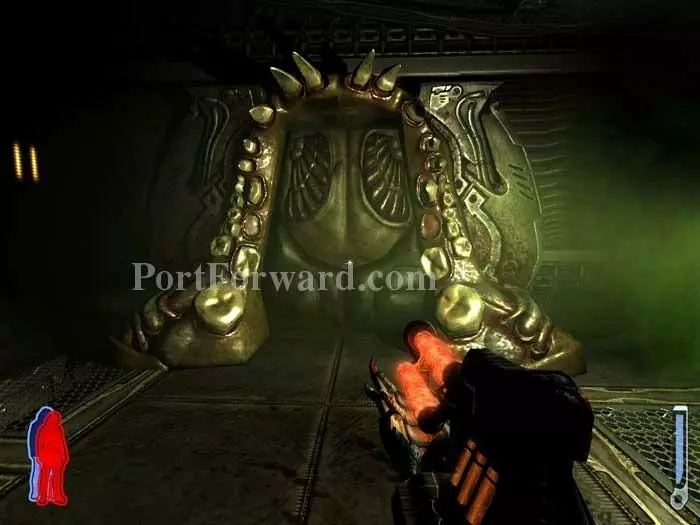
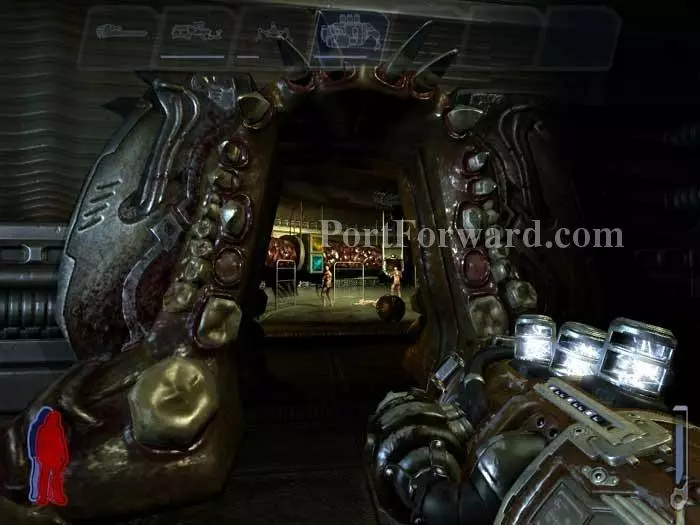
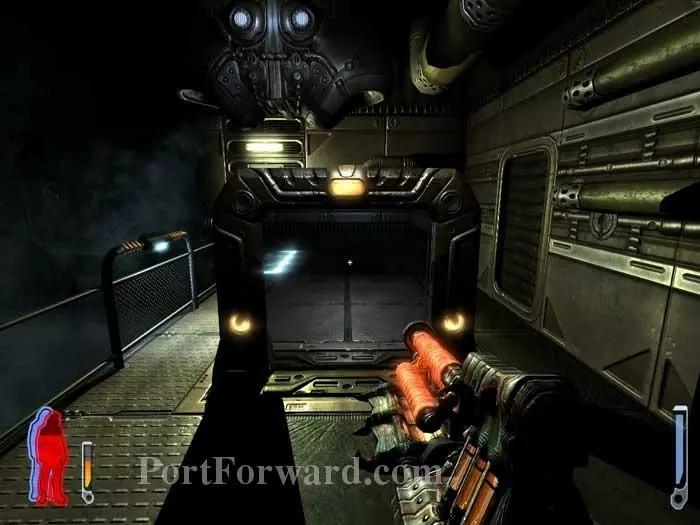
Exit through the disabled force field then continue through this orthodontically-challenged door.
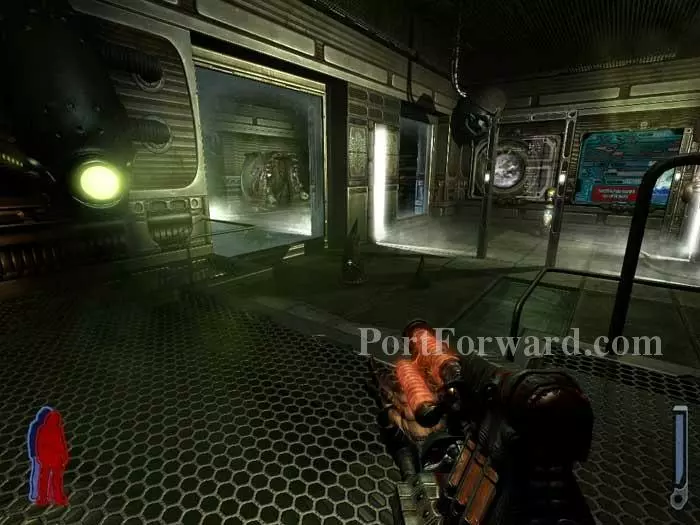
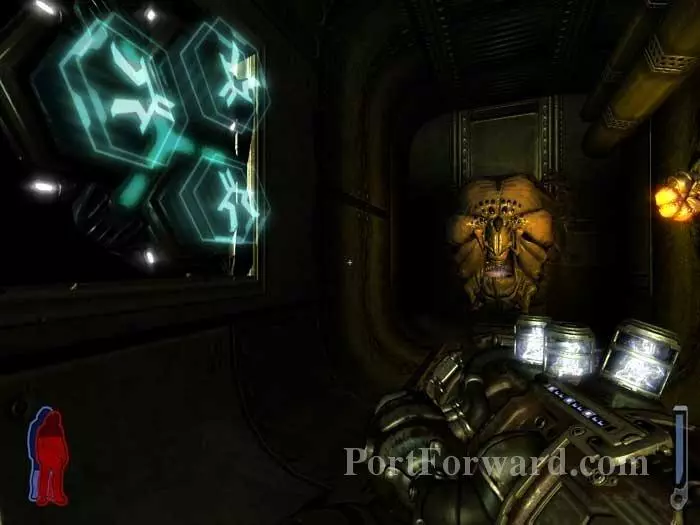
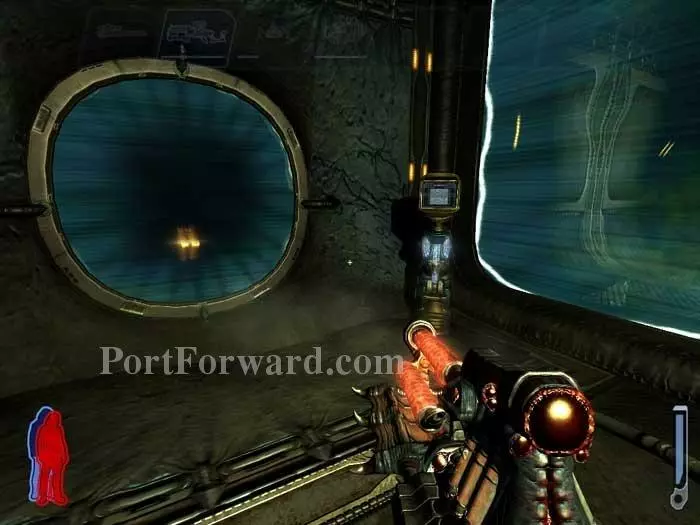
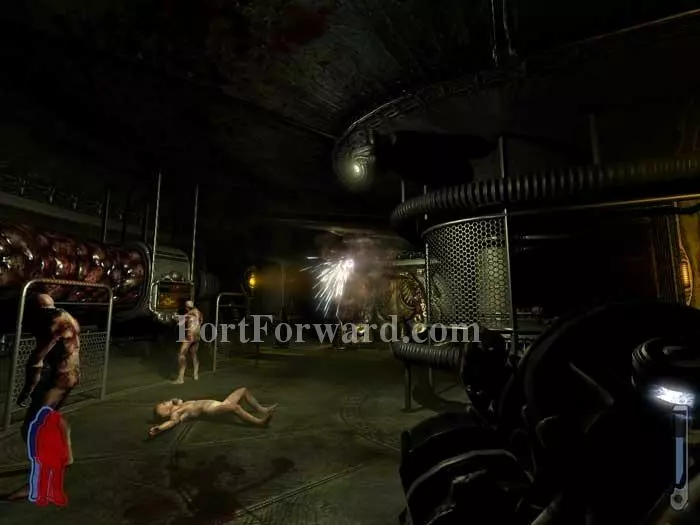
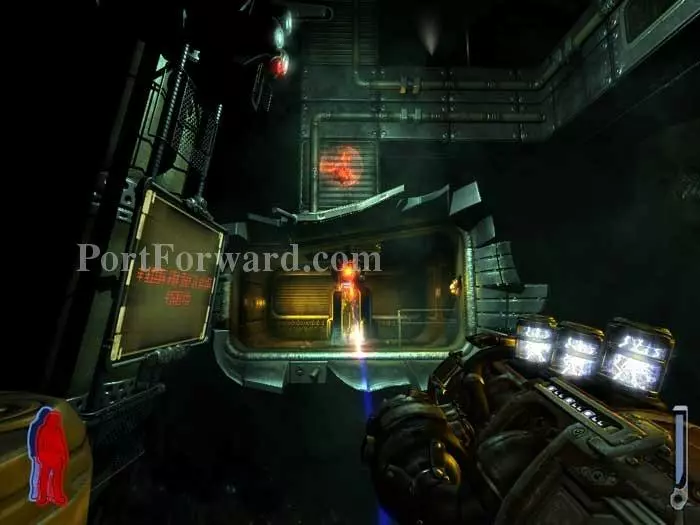
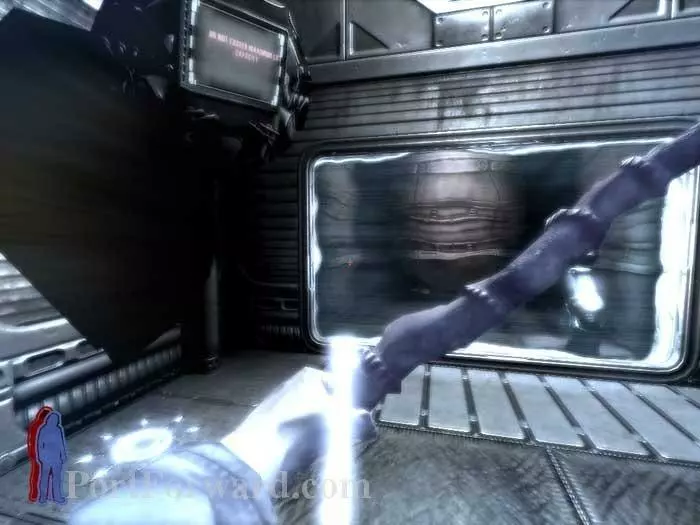
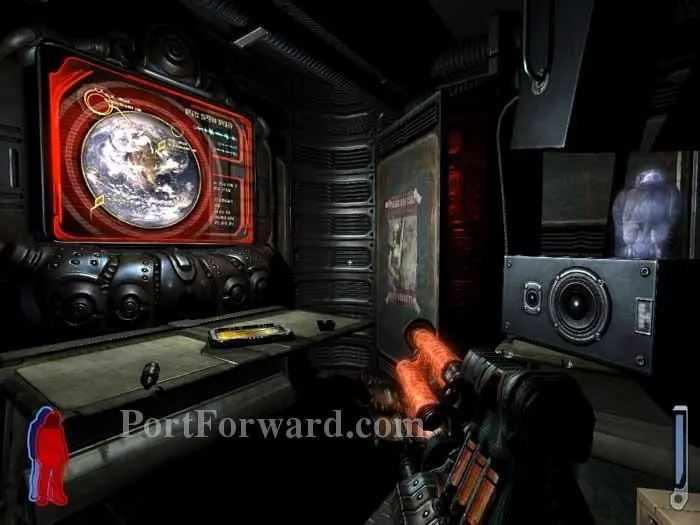
Shoot out the tentacles then spy some of your friends working on something through the left window. Continue right.
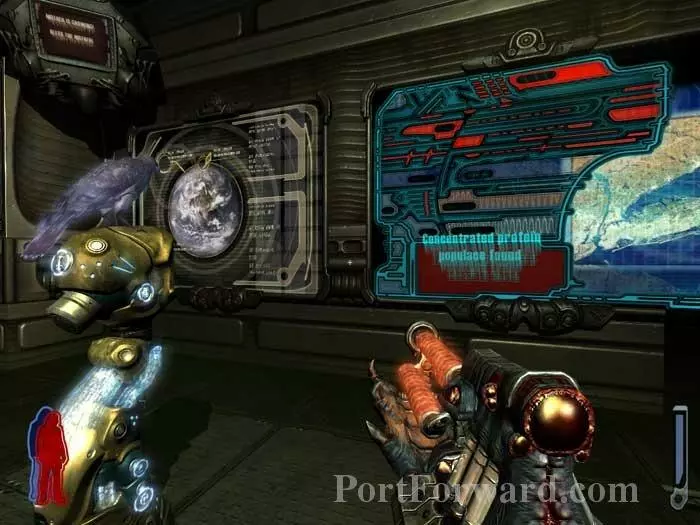
Another concentrated protein populace is found - this time, New York.
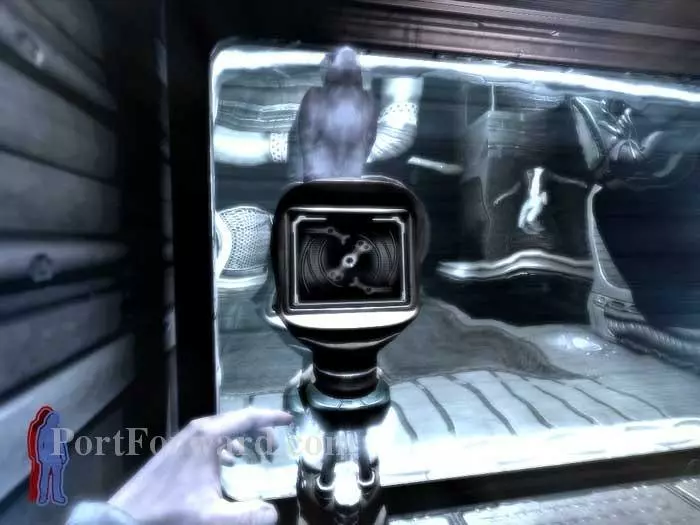
Using the console moves the portal -- leave it be. Step through the portal.
Fill up on rifle ammo at the locker then activate this console. The room moves to the left, past the barrier.
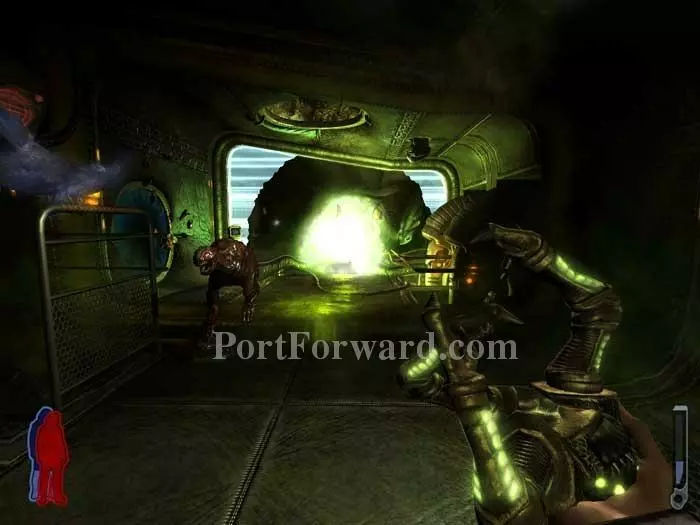
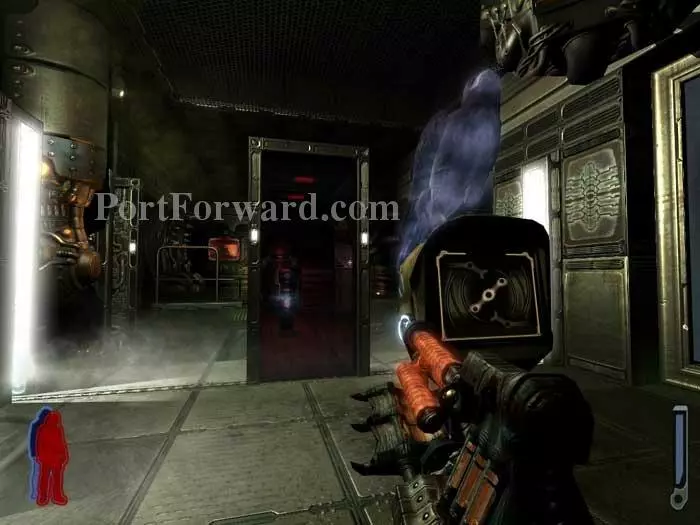
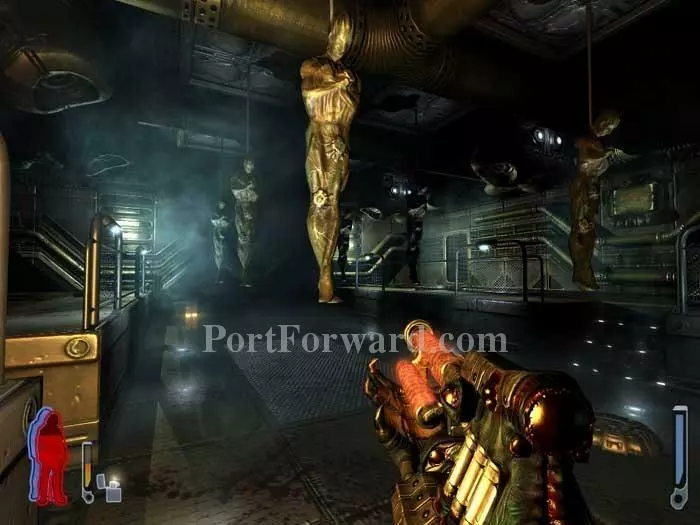
You can now proceed through another mouth door. Ready your Leech Gun.
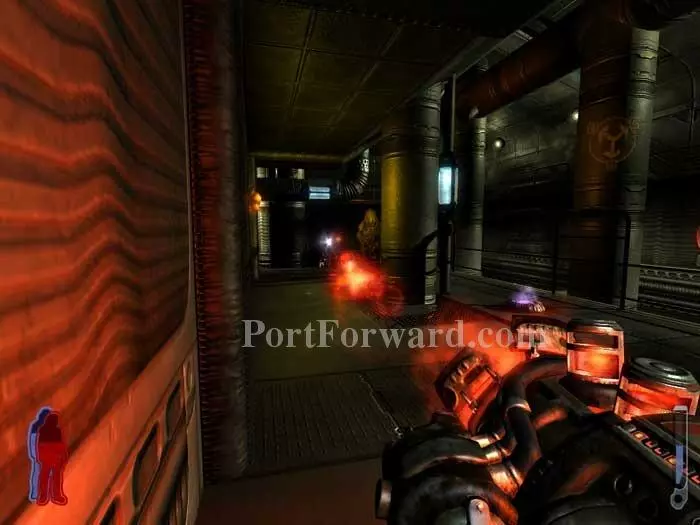
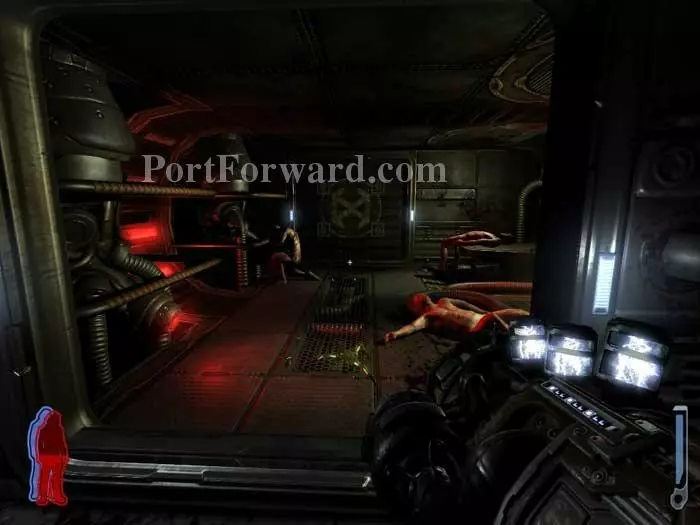
Take out the turret before it has a chance to lock on. The mutilated humans are easily avoided. Continue through the door ahead.
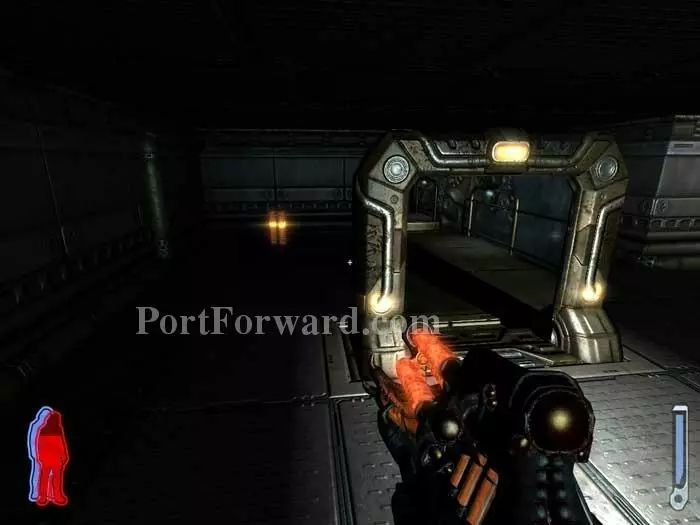
Find lightning ammo on the left.
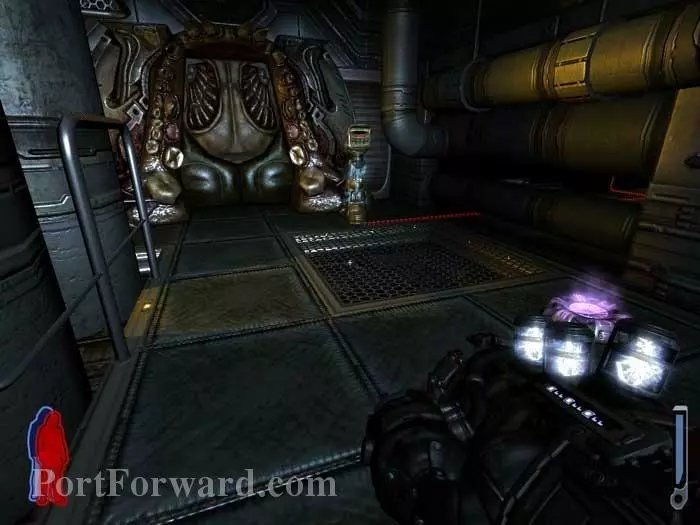
Across the room is this locked door with a console next to it. You don't know the code - yet. Note the spore on the right.
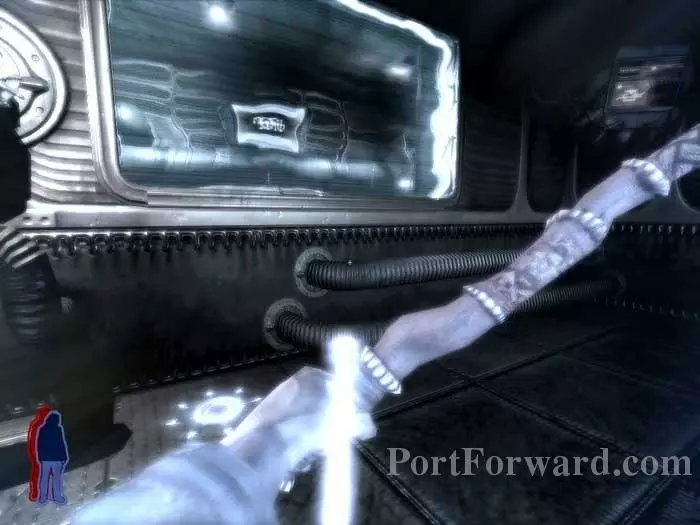
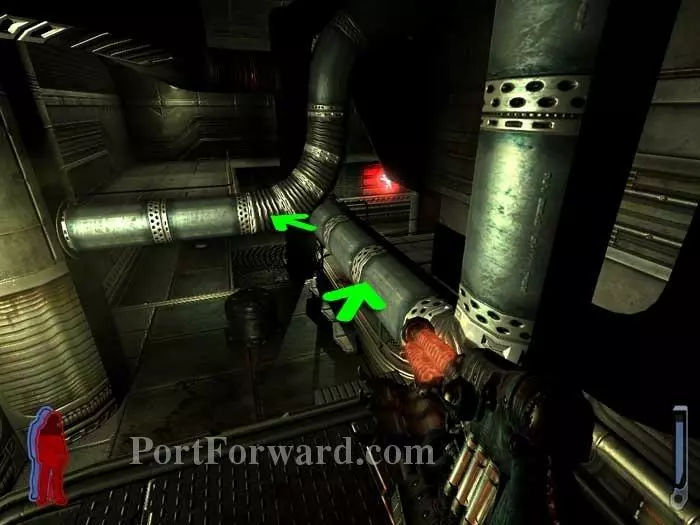
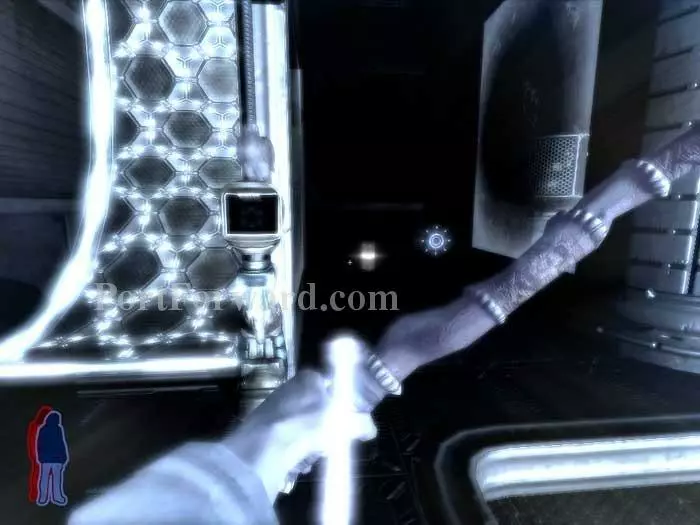
Spirit Walk up the pipes and through the force field.
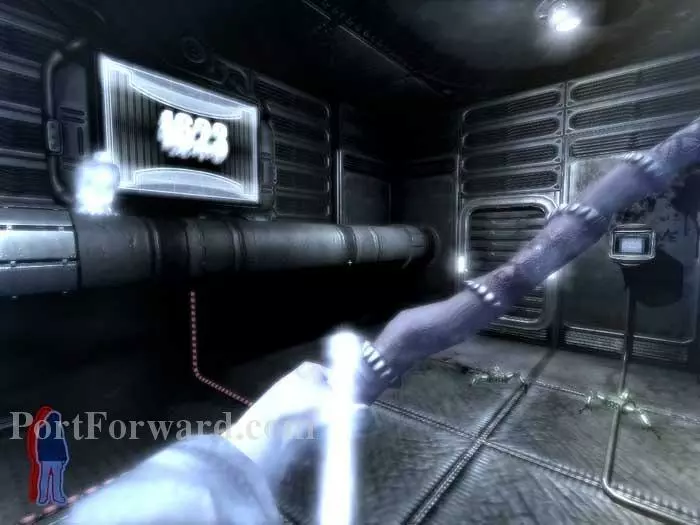
Talon translates the code - 1623. Grab the crawlers and disable the force field with the console on the right. Note what appears to be a door to the left of the console.

Return in your body to find this hysterical airline passenger inside. He closes the door in a bit of a huff.
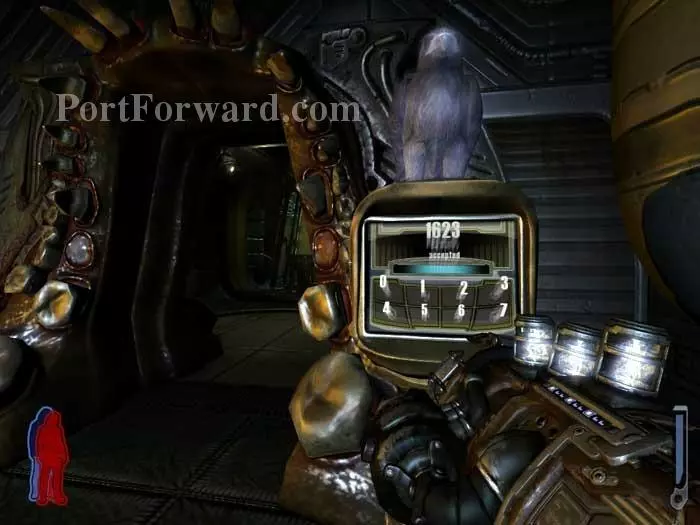
Open the locked door with code 1623.
Take out this turret straight ahead.

Snipe a pair of hunters on the balcony.
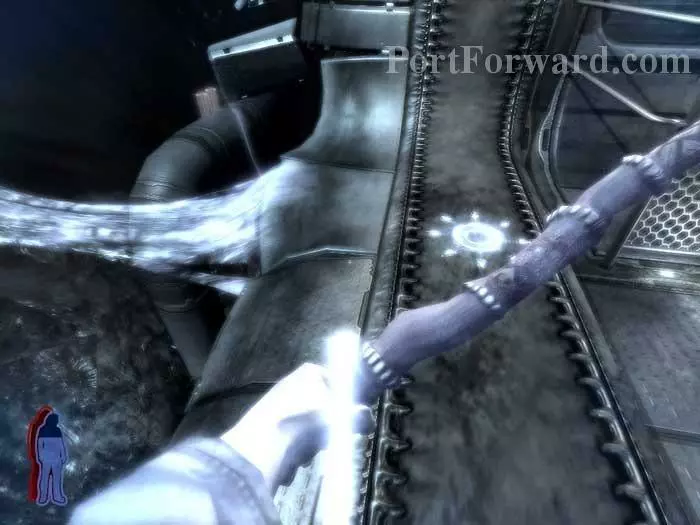
Spirit Walk across the bridge to retrieve the rifle ammo on the pipe.

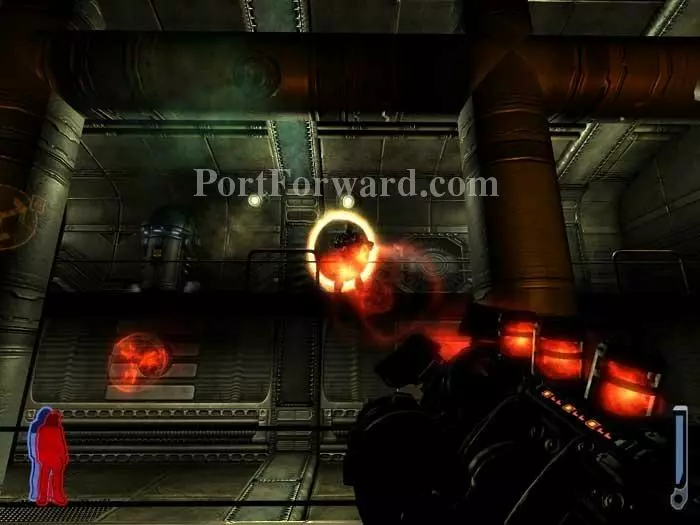
Return to your body then look up to find this gravity switch. Shoot it and drop through.
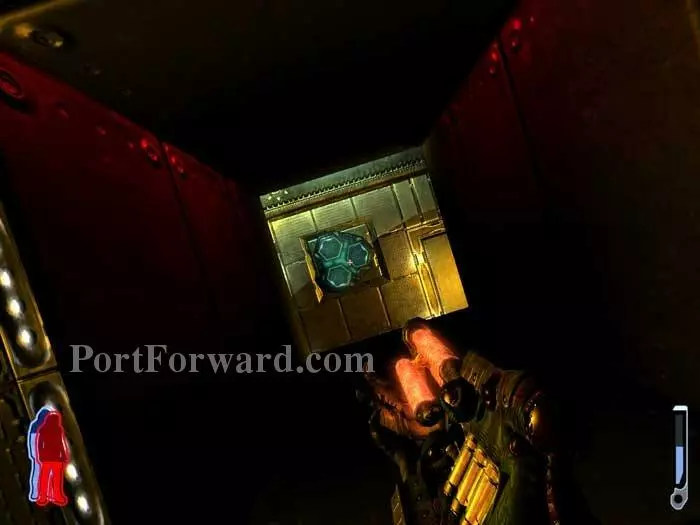
Heal at a spore in the corridor then shoot another ceiling-mounted gravity switch once at the other end.
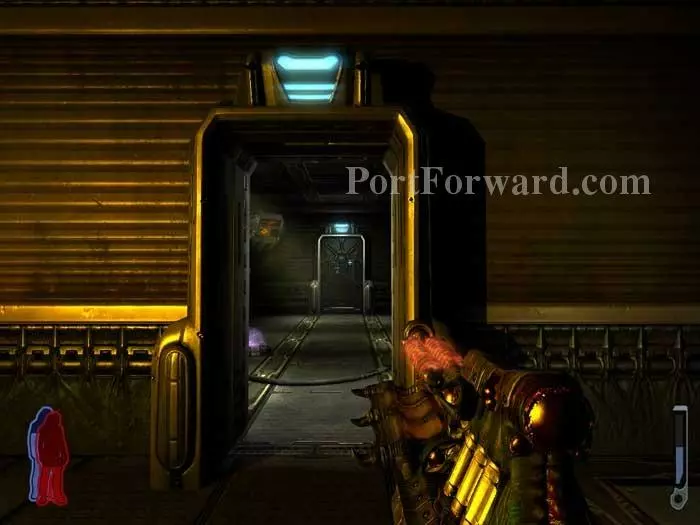
Find yourself on the opposite side of the room. Continue through the door.
Rifle ammo, a healing spore, plasma and freeze ammo are on the left.
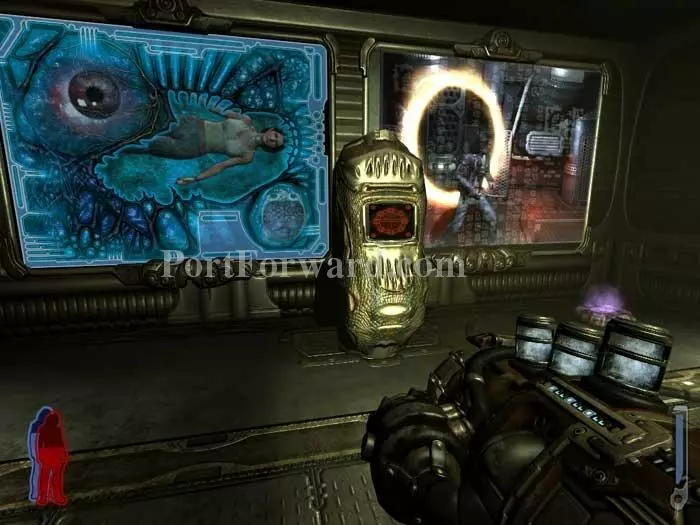
Medical scans of Jen and surveillance images of you (plus another healing spore) are on the right.
Any time you're given health and ammo in a quiet room, you know there's a firefight coming up. Sure enough, there's a firefight through the next door.
Fight several waves of hunters and this hound. Note the spore on the right. Another can be found beyond the railing on the right.
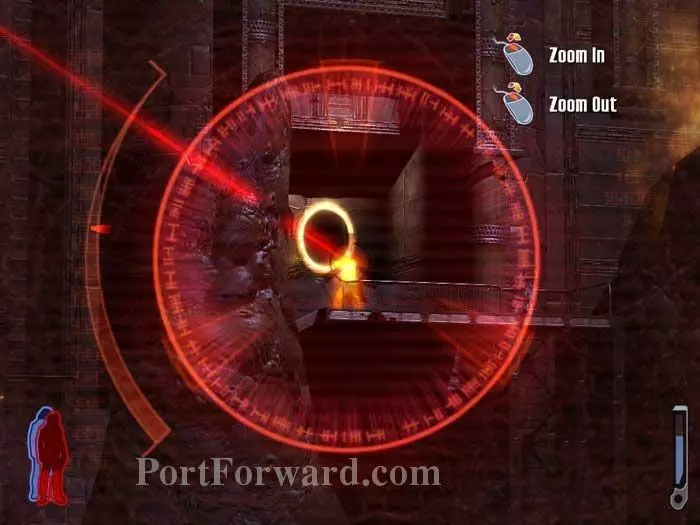
Spirit Walk through this force field.
Use this console and a lift lowers. Return to your body, battle another hunter, then step onto the lift. (That's my body on the lift far-right.) Spirit Walk back to this console to raise the lift.
For an optional treasure hunt, hop across the pipes to the platform beyond.

Find rifle ammo in the locker on the left, lightning ammo at the station ahead, plus rifle ammo dropped by the hunters you brought down earlier.
Backtrack to the lift then proceed through this door. Grab the crawler before continuing through another door ahead. As always, the mutilated human will ignore you unless you fire at it or get too close.
Find some more crawlers then descend the stairs ahead. Note the spore to the left.
Grab the rifle ammo ahead then ascend the stairs on the right.
Exit the room through this pop-up portal.
Once through the other side, turn around to find some rifle ammo.
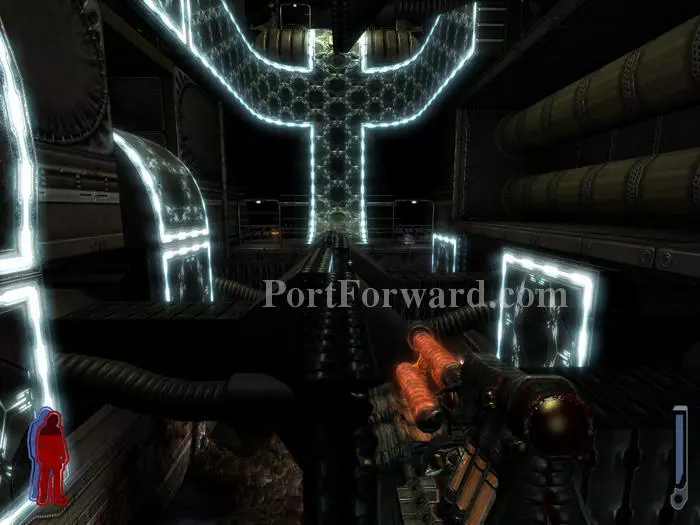
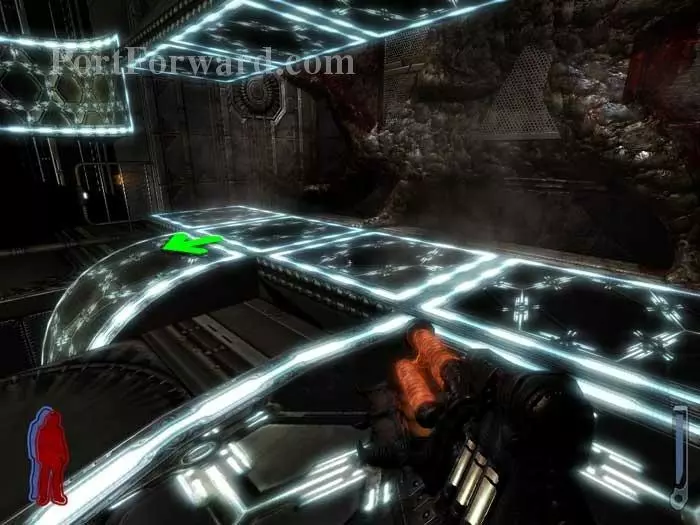
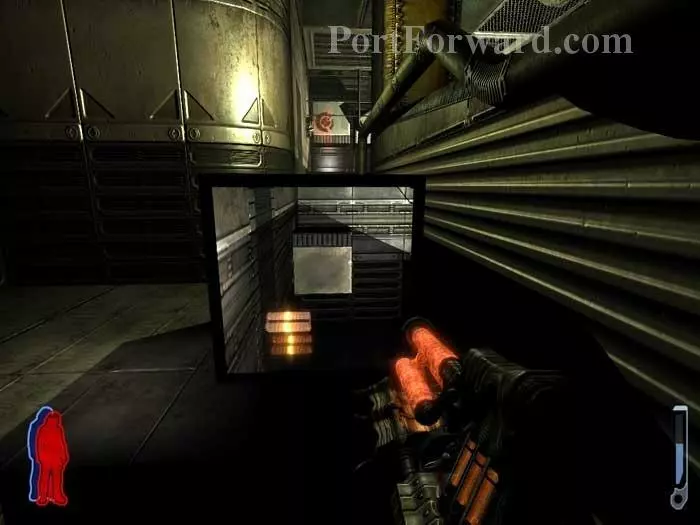
Time for a memorable puzzle -- that isn't as difficult as it looks. Start by crossing the room by walking along the tops of these stationary walkway panels.
On your way across, look left to spy some rifle ammo. We'll be grabbing that in a moment.
Rifle ammo is on the left and a health spore is on the right. Climb the walkway and continue straight up.
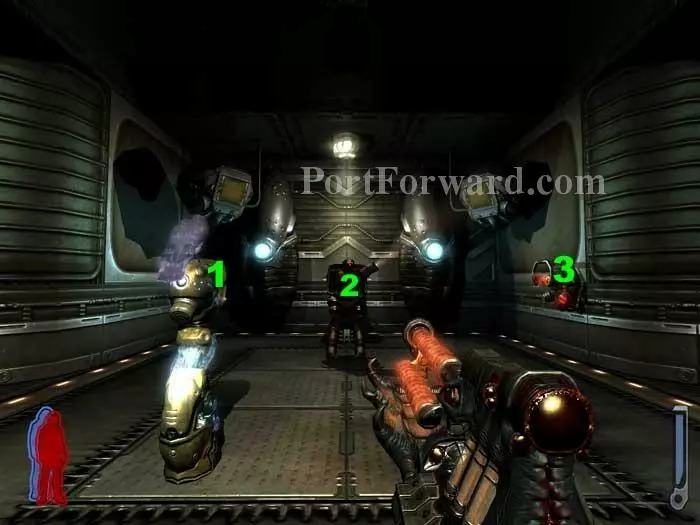
Before activating the console at (1), shoot the hunter at (2). Ignore the alarm switch at (3) -- turning it on activates a turret.

The previously-stationary walkway panels should now be moving. Step back onto the walkway and head to the indicated stationary panel.
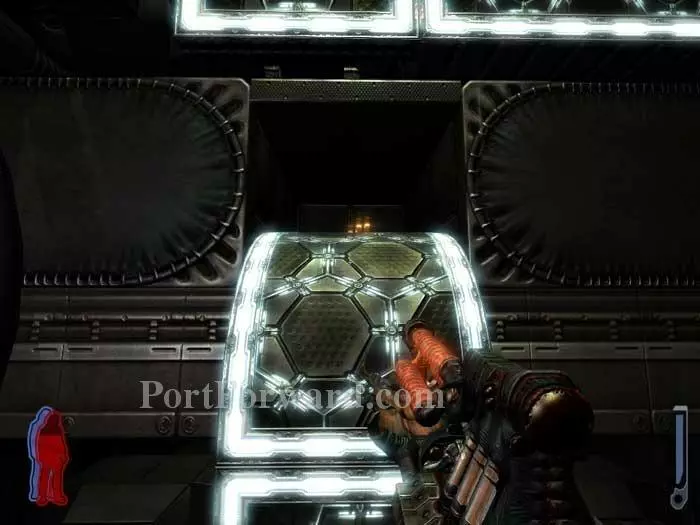
Now on the stationary panel, head to the indicated curved panel.
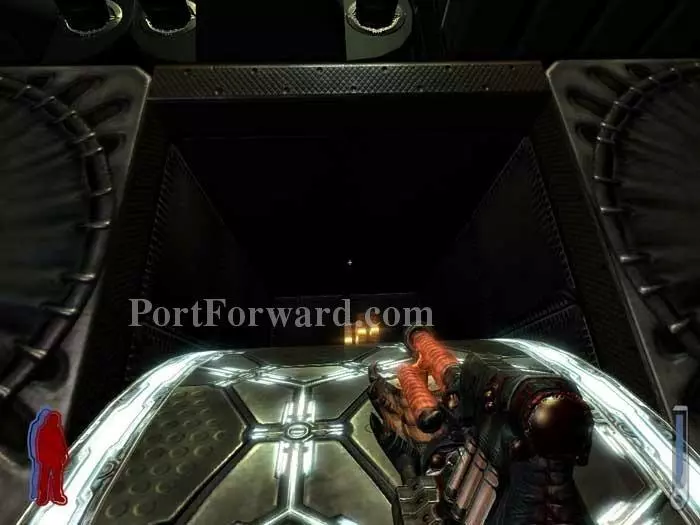
Enter the crawlspace and grab two sets of rifle ammo.
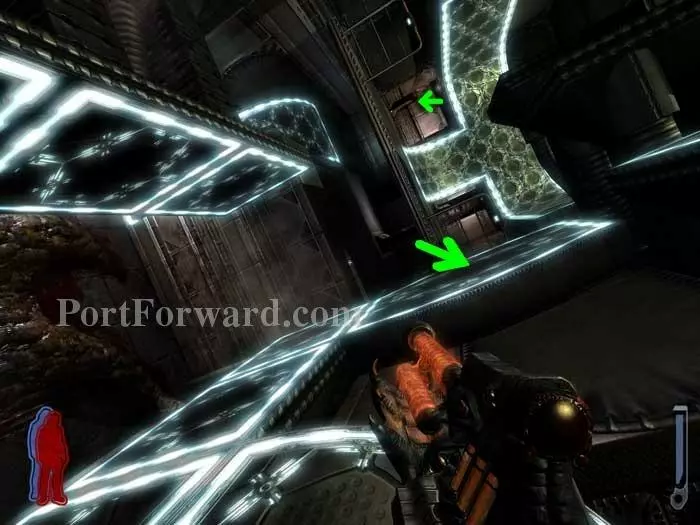
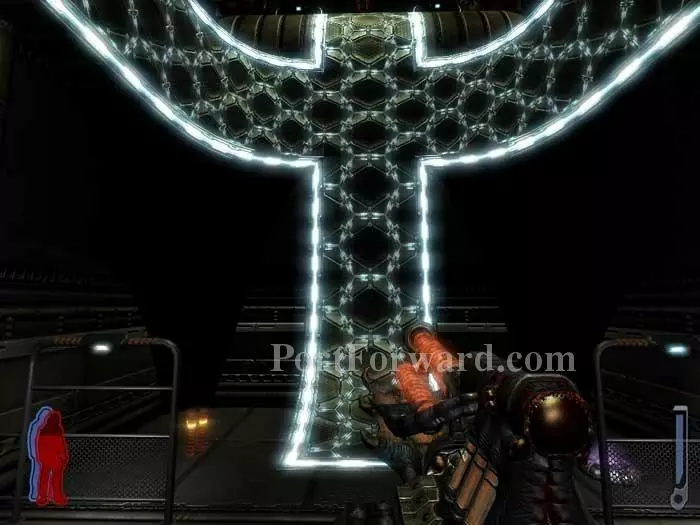
Turn right as you exit the crawlspace and return to the stationary panel (large arrow). Your ultimate destination is a portal just visible ahead (small arrow).
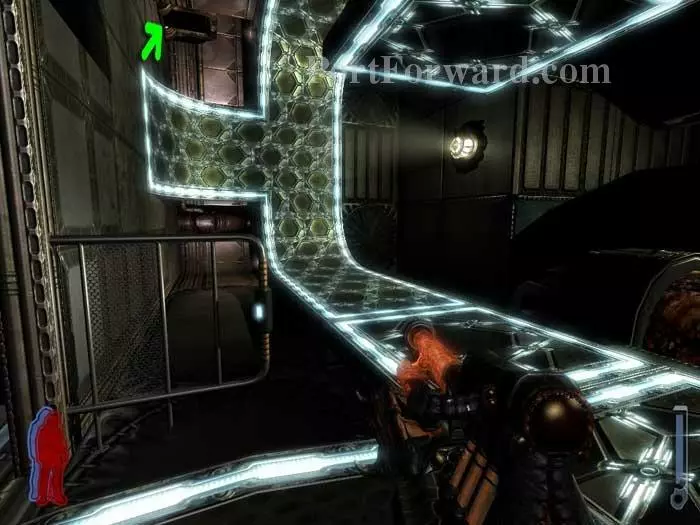
Now on the stationary panel, follow the walkway left. Once again, I've marked the exit portal with an arrow.
Don't exit just yet -- you'll find more rifle ammo hidden here.
Approach the portal and take down this hunter before exiting.
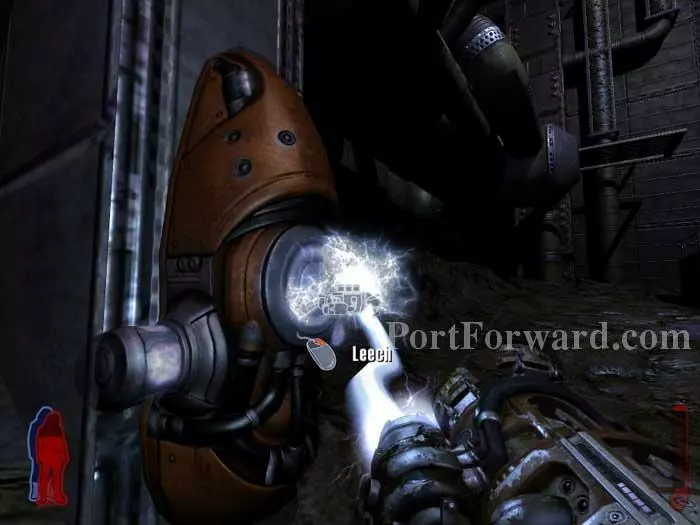
The room inverts after you drop through. Note the spore ahead -- another is found around the right corner, but first, ready your Leech Gun and fill up on lightning ammo if you don't have some already. Use lightning to take out a turret around the left corner.
Hunters spawn as you continue left.
Several portals are found in this room, but this one with the rifle ammo advances your progress. Make sure you're full on lightning ammo before crawling through.
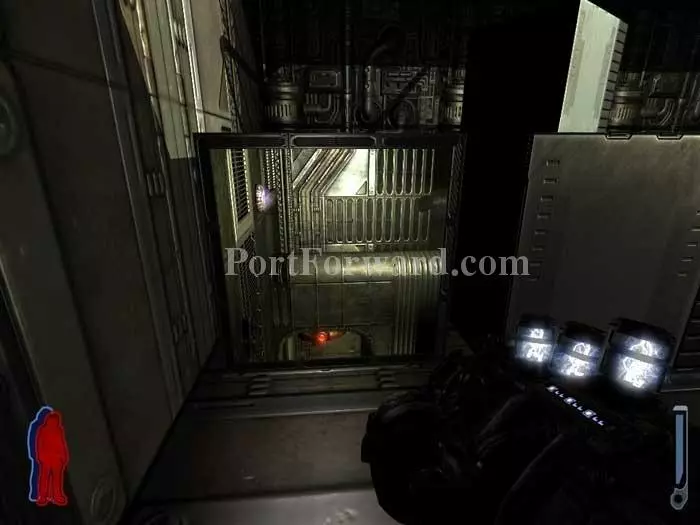
Take an immediate right and enter this next portal, Leech Gun at the ready.
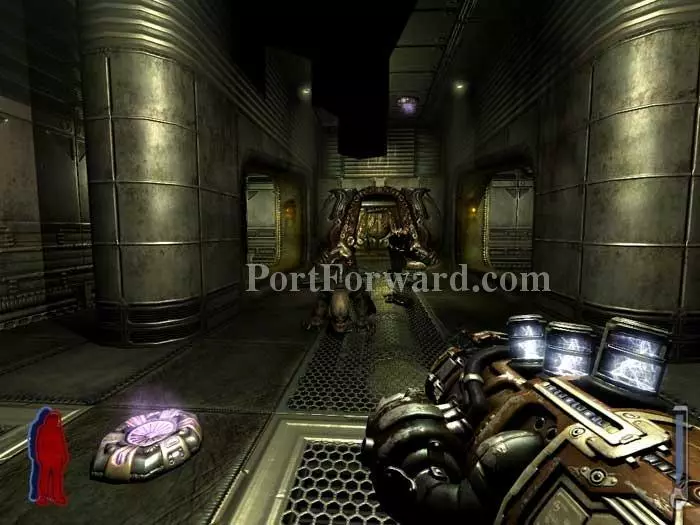
Zap the hound and hunter that rush in.
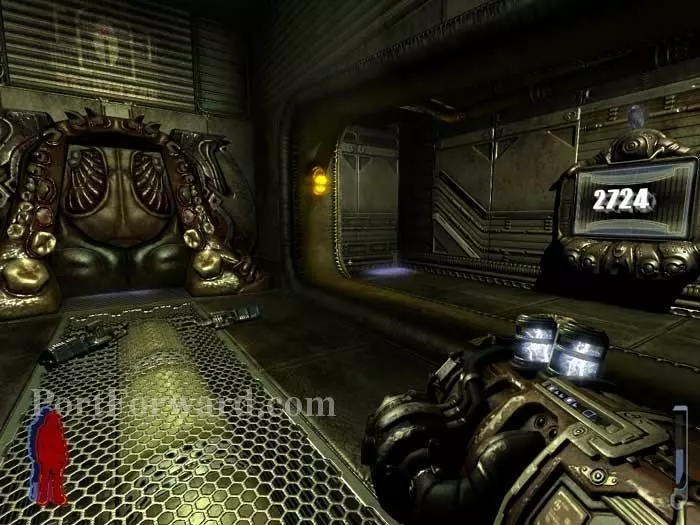
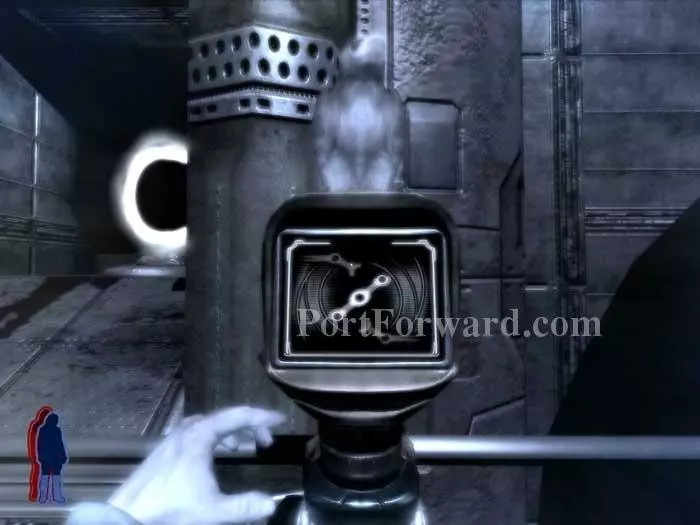
Talon translates the number 2724 from the display on the right. The Leech Gun stations you saw previously are to the left, right-side up.
A health station is on the left, rifle ammo is in the locker far-right. Enter the code 2724 into the console to the left of the locker and unlock the door ahead.
Take the hint to leech some freeze ammo then use the console ahead/left to lower the lift.
The room is packed with hounds. Freeze ammo works really well in these close quarters. Switch to the rifle once it's depleted.
Use the console to activate the walkway. Before climbing, Spirit Walk to find hidden rifle ammo ahead. (For the curious, the glassed-in area on the right is this previously-visited area.)
Listen to a caller from Lubbock, Texas assure Art Bell that the strange lights in the sky are real. I often listen to Art Bell while playing video games, so having him actually in the game talking just like he does on the air is a real treat.
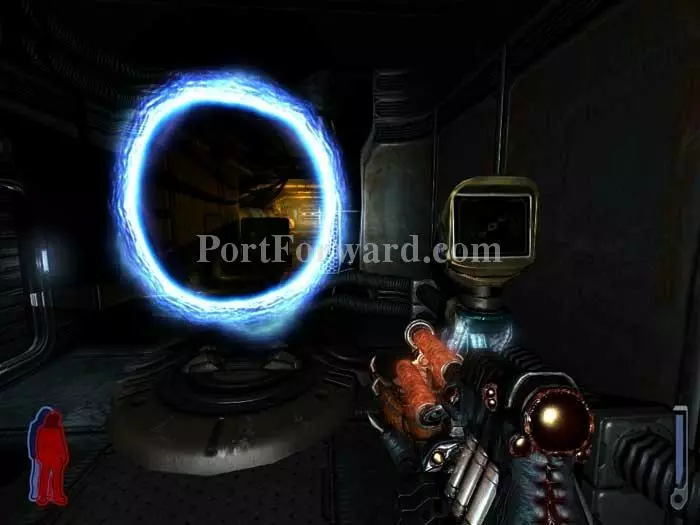
Activate the console on the right then enter the blue glow portal to complete this hefty level.
More Prey Walkthroughs
This Prey walkthrough is divided into 22 total pages.


