This Prey walkthrough is divided into 22 total pages.
You can jump to nearby pages of the game using the links above.
Downward Spiral
On the right is your first health terminal. I think I saw a plate of this in a French restaurant once.
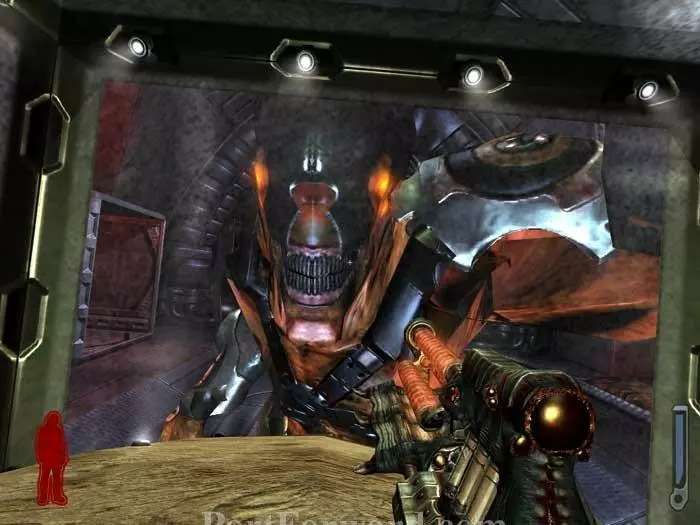
Continue up the corridor to be confronted by your first hunter. Take him down with your wrench and retrieve his rifle.

Stand over the health spore then continue down the corridor.
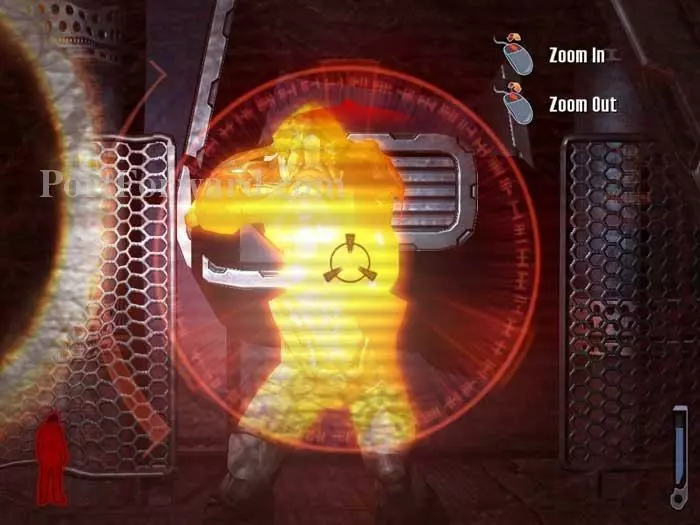
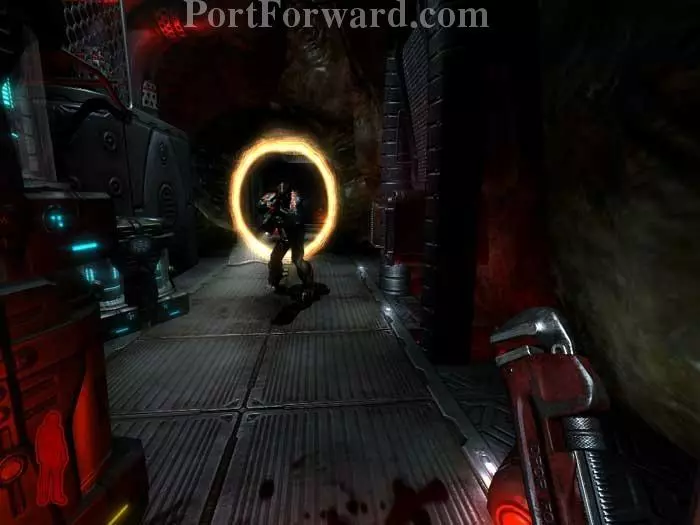
Another hunter appears through a portal. Your rifle's secondary fire provides a sniper scope and fires single, higher-damage rounds that use more ammo.

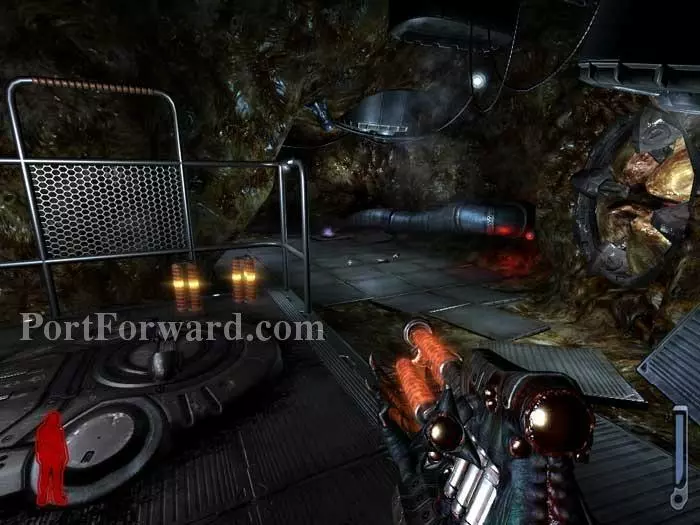
Grab rifle ammo (1) from the fallen hunter before stepping through the portal for some spore healing (2). Use the terminal (3) to lower the force field on the right.
Grab the rifle ammo seen on the right before dropping over the ledge.

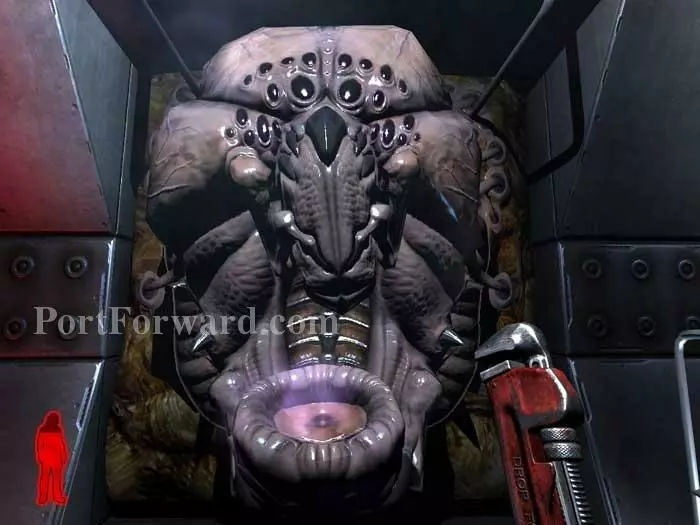
I love this part. You can overhear talk show caller George from Garland, Texas being abducted live on the air! This moment combines alien abduction, video games and Art Bell - the perfect storm of paranoia, technology and entertainment.
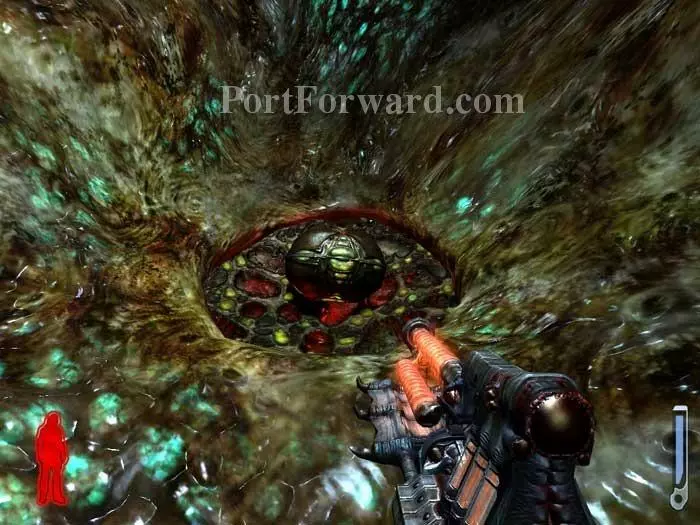
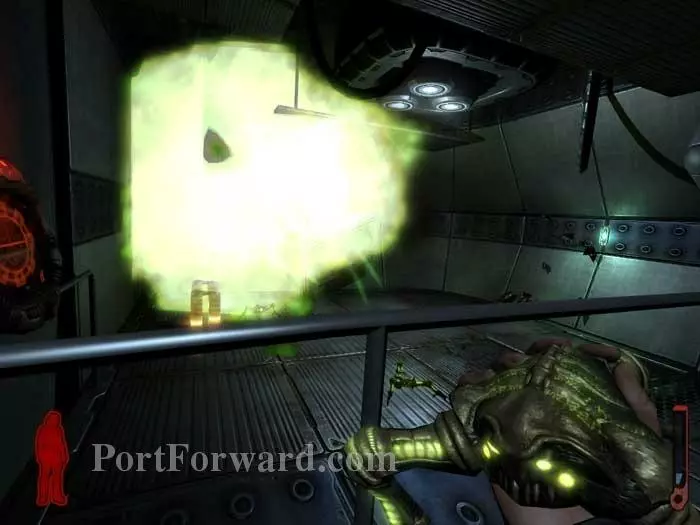
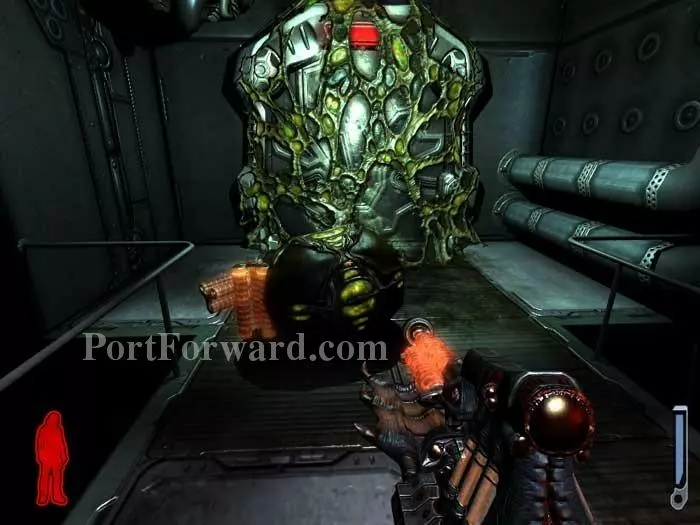
Kick the pod so that it's over this membrane. Stand back a bit and shoot the pod. When it explodes, the membrane is destroyed and you can jump through the hole.
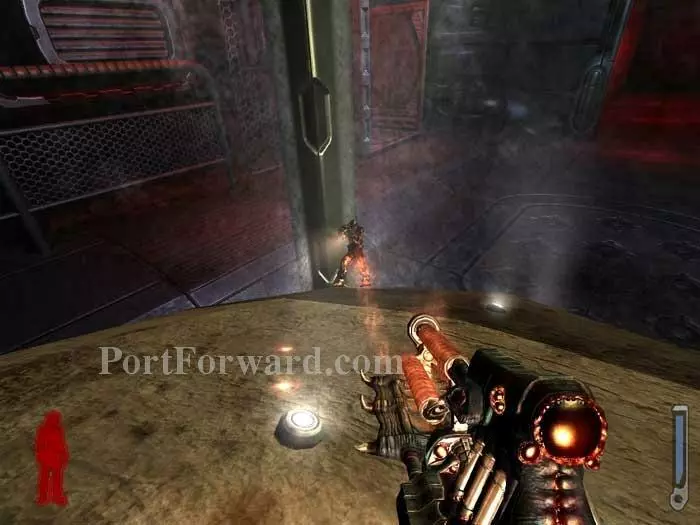
Defeat the hunter on the right and another hunter appears at the door far-left. Save the spore on the left for healing after these firefights.
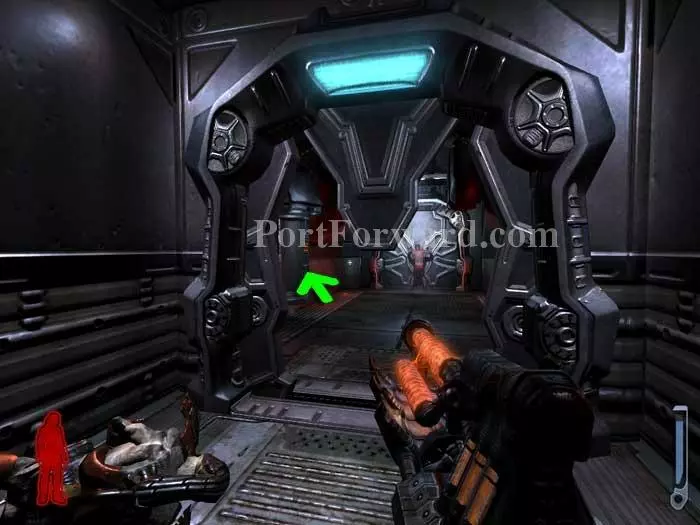
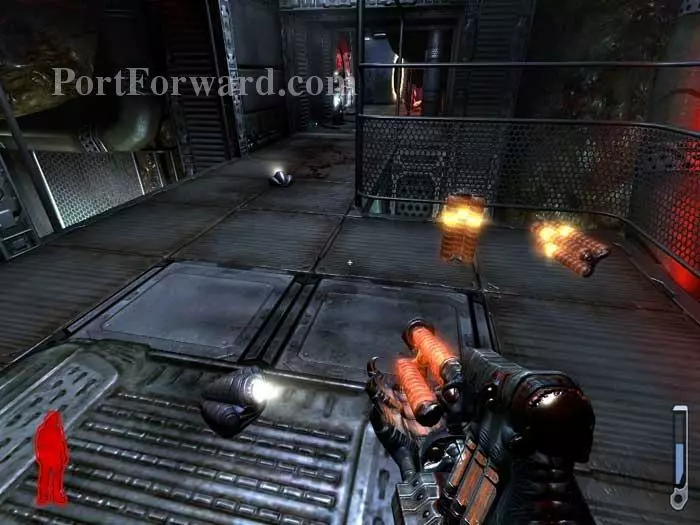
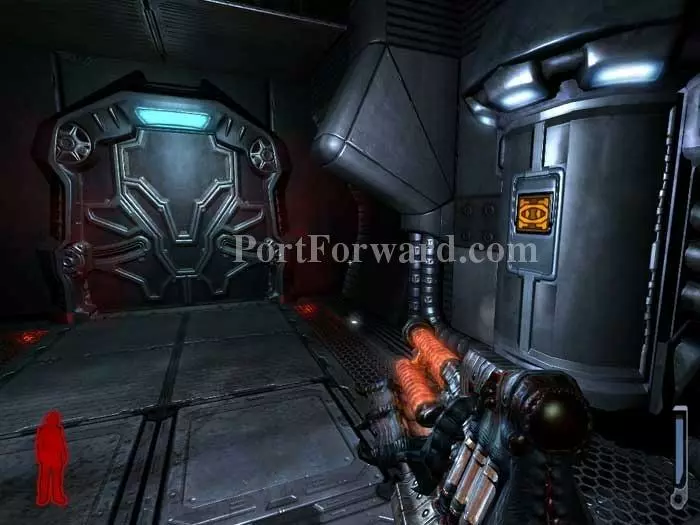
Always check fallen hunters for rifle ammo. Pass through this door to find more ammo at the indicated station. Another crazed abductee is at the impassable door ahead.
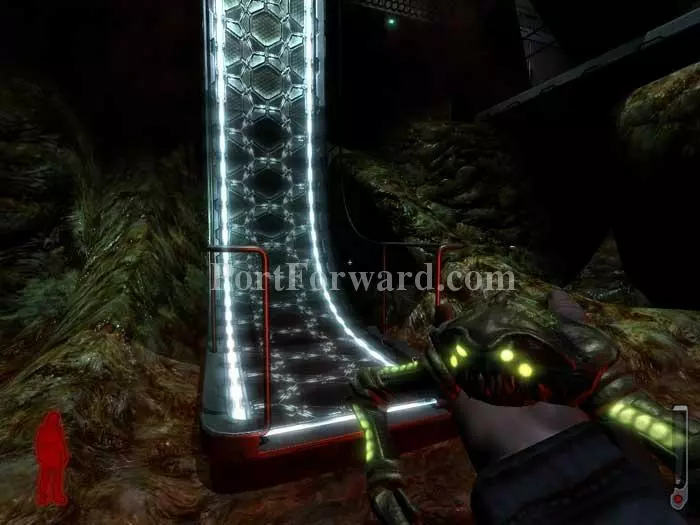
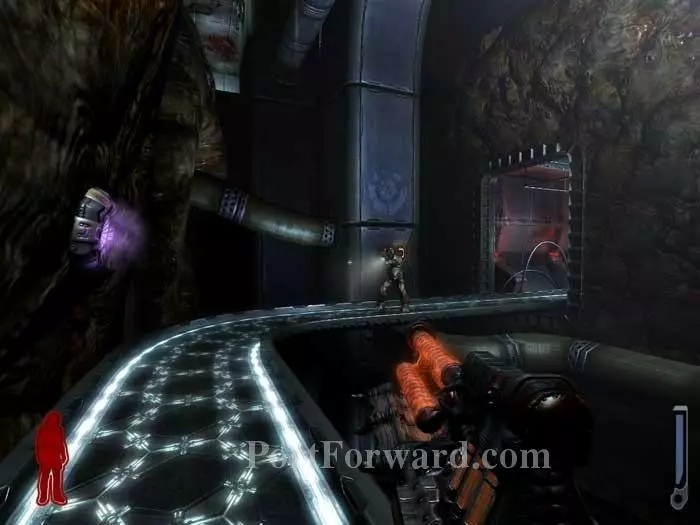
Backtrack through the door and drop over the ledge. Pick up these three grenade-type weapons, called crawlers. Secondary fire toggles the crawler to a proximity mine. Step onto the glowing walkway ahead to wall-walk to the upper level.
Toss a crawler in prox-mine mode to your left. Step forward to trigger a fodder to move into the area, triggering the crawler. Grab the ammo on the left.
Defeat two hunters and heal at two spores before climbing the walkway ahead.
These next few rooms introduce you to wall-walking disorientation. Battle this hunter and grab health from the spore on the left.

It's disorienting enough to have the room rotate around you as you walk the pathway, but gravity doesn't change for the rest of the room, resulting in sites such as these ceiling-walking fodder. Take them out as you proceed along the walkway.
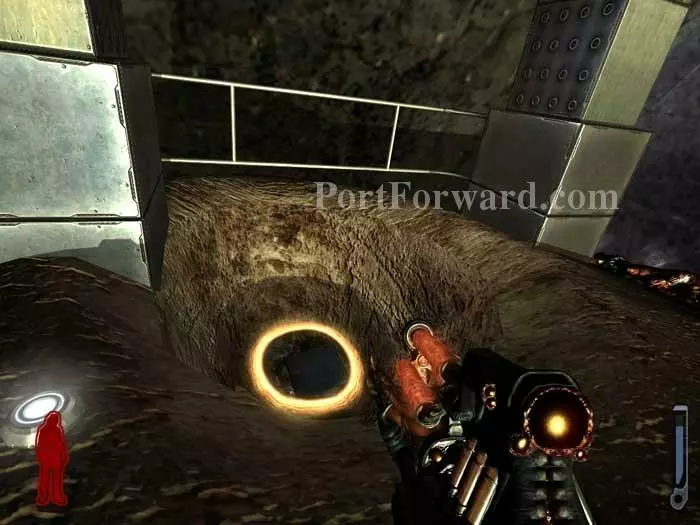
The box ahead drops over, revealing a portal. Rifle ammo is available on the left, and more is found behind the fodder. Proceed through the portal.

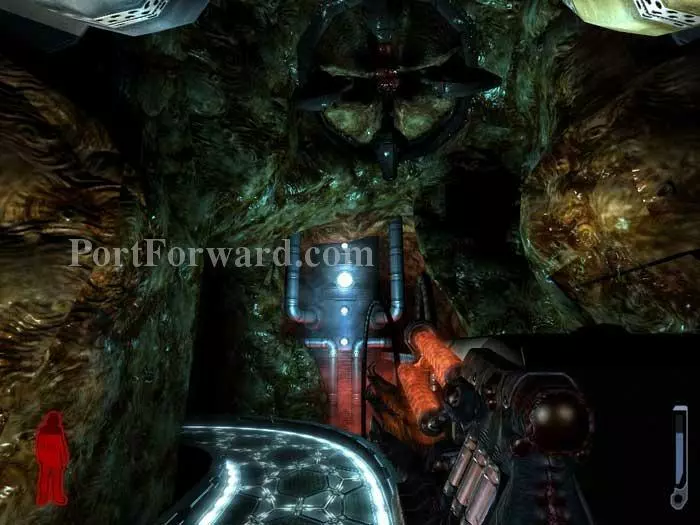
Another portal is directly across the room. Before entering, take a look at this odd rock-in-a-box.
Once through the second portal, you find yourself miniaturized and on top of the strange rock!
The rock has its own gravity, sort of like a mini-planet. Run around the surface and defeat a pair of hunters.
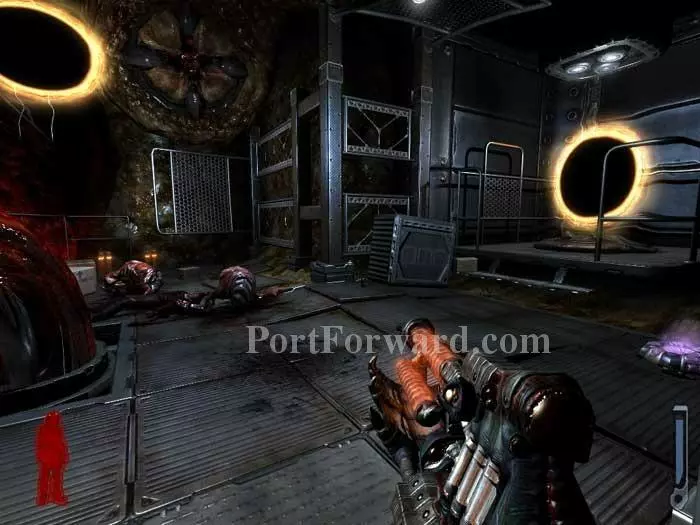
Follow the lights to this portal then drop through. Both hunters appear through portals near this position, so if you are fast you can get a head start on them.

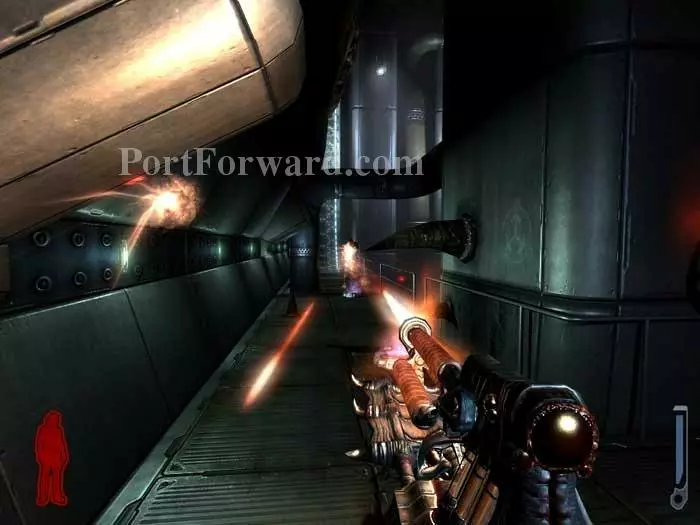
Your real enemy as you proceed through the next few rooms is the gut-tossing Spewers. If you don't mind using the ammo you can disable them with 3-4 shots (thanks for the tip, Zabb65). Step through the portal ahead.
Thee fodders were laid low by the spewing goo. Grab ammo on the left before continuing through the portal on the right.
This room is really tough. You'll have to avoid the Spewer on the right and then another in-ground geyser spews guts in front of the spore seen in the distance. Note the ammo on the left.

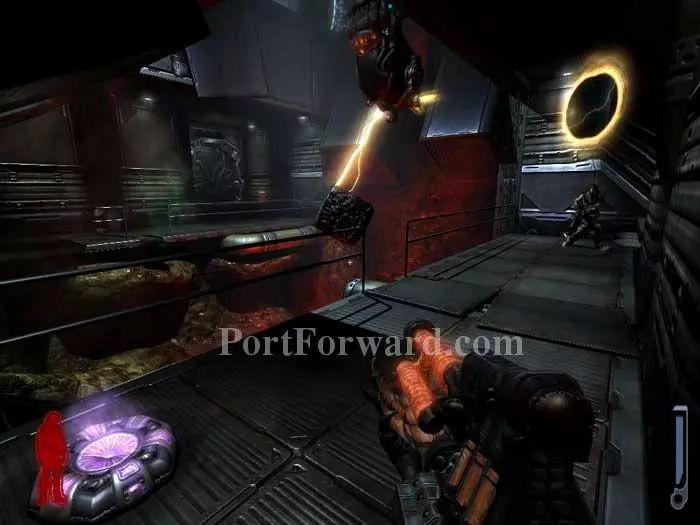
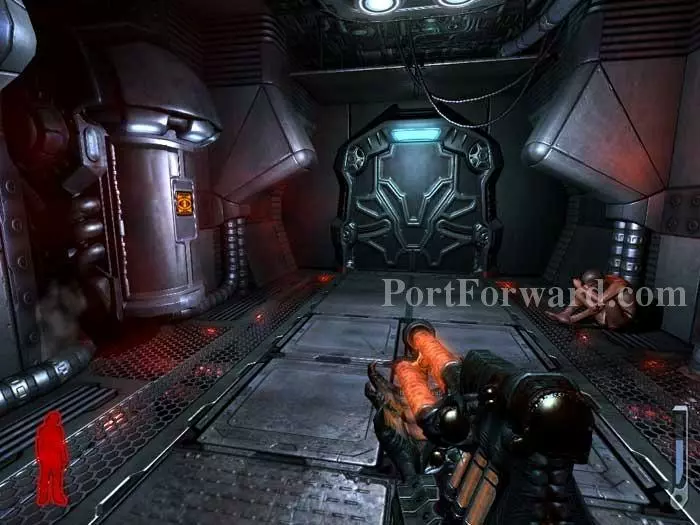
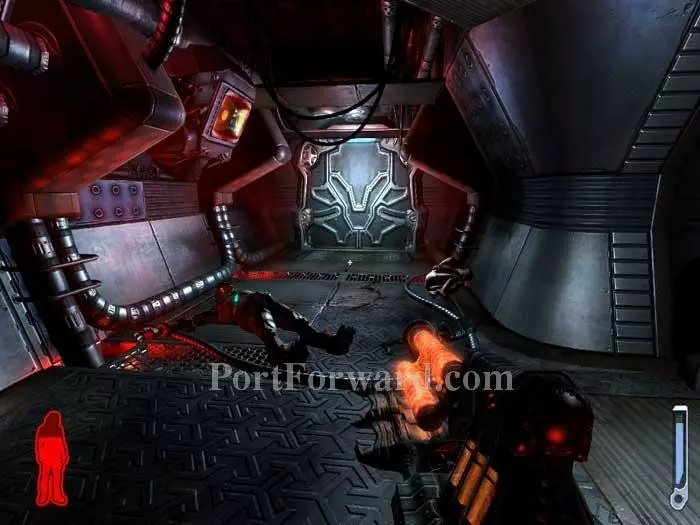
If you get too close to these mutilated humans they'll attack. Otherwise you can leave them alone. Above you can see Jen screaming for help.

A fellow abductee is gunned down by a hunter. Exact vengeance then continue through the door.
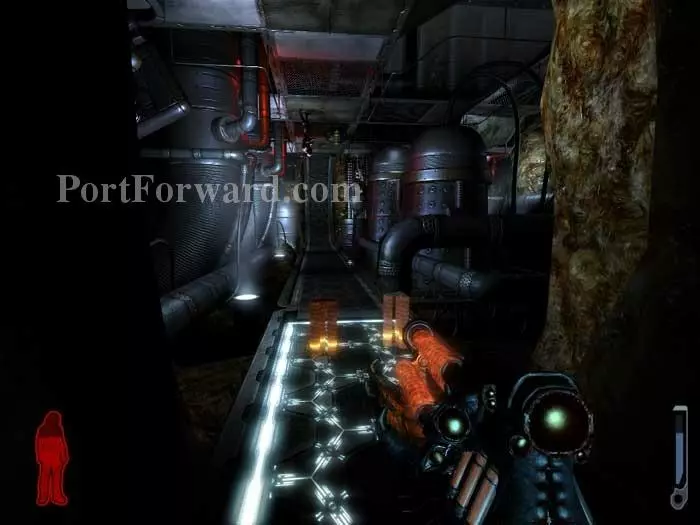
Grab ammo on the right then continue through the doorway ahead.
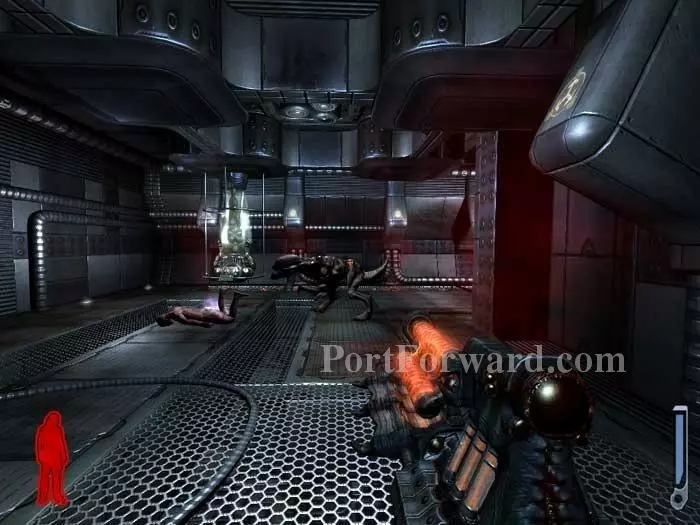
Two hounds and a hunter chase down this abductee. Take them out then continue through a door on the right.
More ammo is on the left; another hysterical abductee is on the right. Continue ahead.
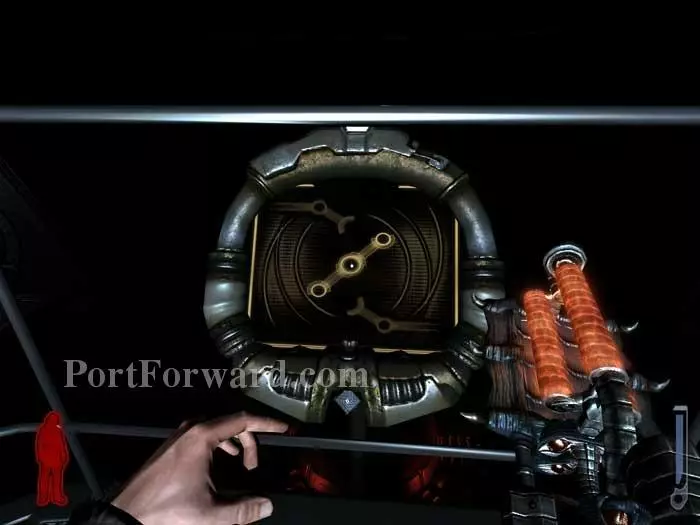
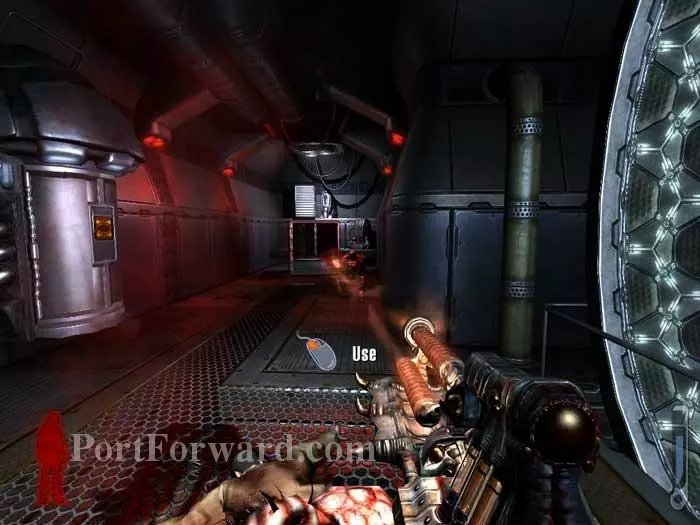
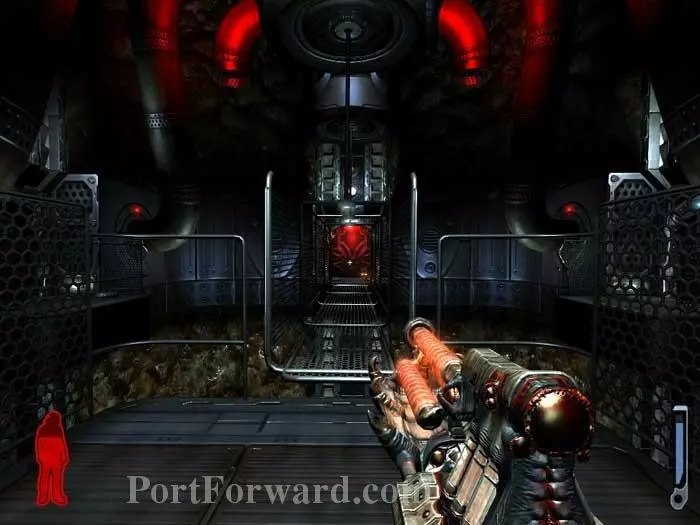
The two corridors beyond both lead to this display. Activate the control.

A glowing sphere lights up, the windows open, and, most importantly, the walkway on the right becomes available.
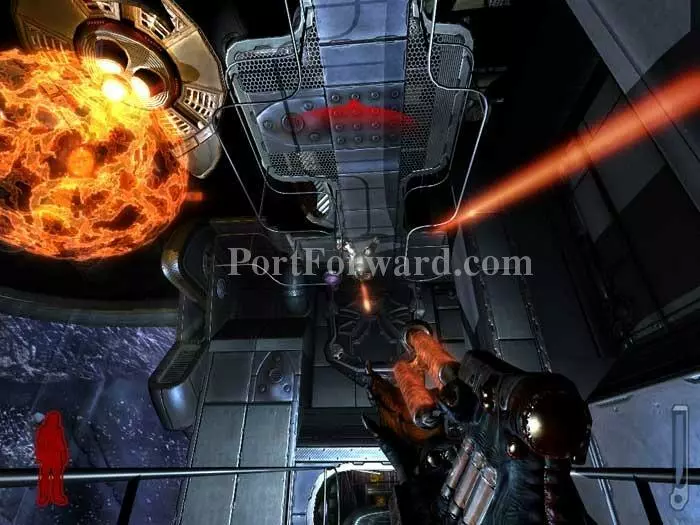
Defeat two hunters on the ceiling above. Crawl through the opening ahead to stay on the walkway.
Avoid the splatter from the Spewer on the ceiling.
Grab the ammo ahead then automatically dismount the walkway.
This room is full of mutilated humans and pods. My preference is to take out the humans so I don't have to worry about them. Roll one of the pods to this membrane and shoot it, exposing a door.
Defeat the hunter seen on the left then continue through the door ahead.
Cross the rickety bridge and retrieve the ammo on the other side.

On your return trip across the bridge, it lets loose and you fall. You hear Enisi as this maelstrom of light swarms around you to end the level.
More Prey Walkthroughs
This Prey walkthrough is divided into 22 total pages.