
This Prey walkthrough is divided into 22 total pages.
You can jump to nearby pages of the game using the links above.
Second Chances
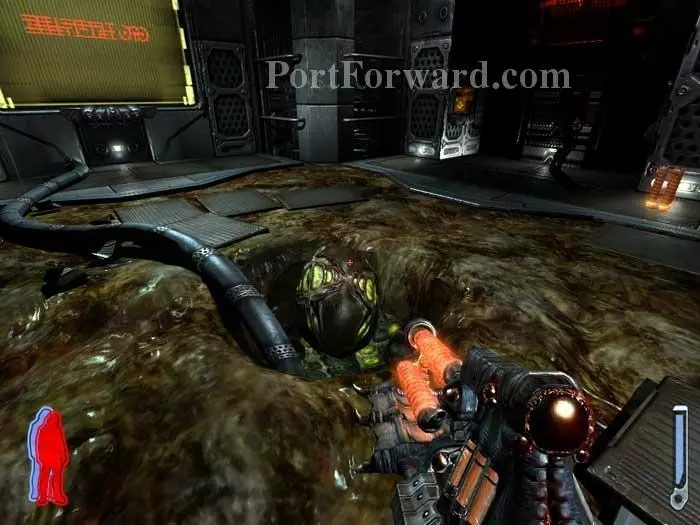
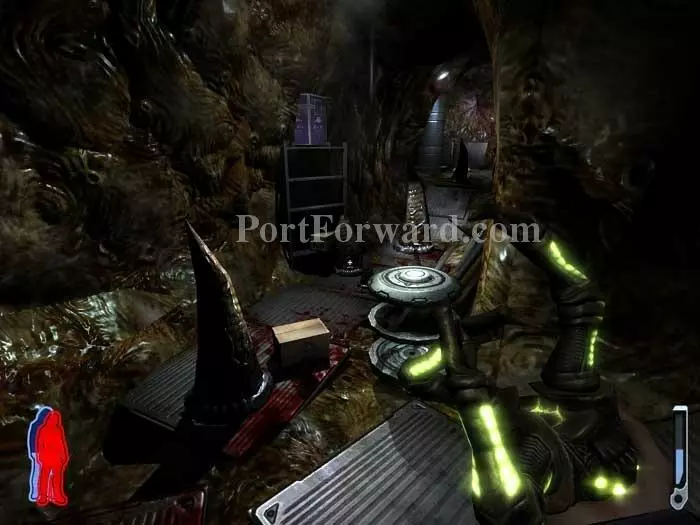
This mutilated human approaches from the left. Take him out before he gets too close. Rifle ammo and another mutilated human are on the right. Pick up a wandering crawler and listen once again to a strange disembodied female voice. Just as before, rolling a pod to the membrane and then shooting it will allow passage to the level beneath.
Walk through a tunnel and emerge here. Spirit Walk through the force field and disable it with the control on the right. Return to your body and toss a crawler grenade to quickly eliminate the three fodder ahead.
Notice the rifle ammo and crawler atop this platform? You can easily retrieve both in spirit mode. Continue through the door far-left.
A body falls over a railing on your left. Take a peek between the rails and spy another "brother," warning of enemies ahead.

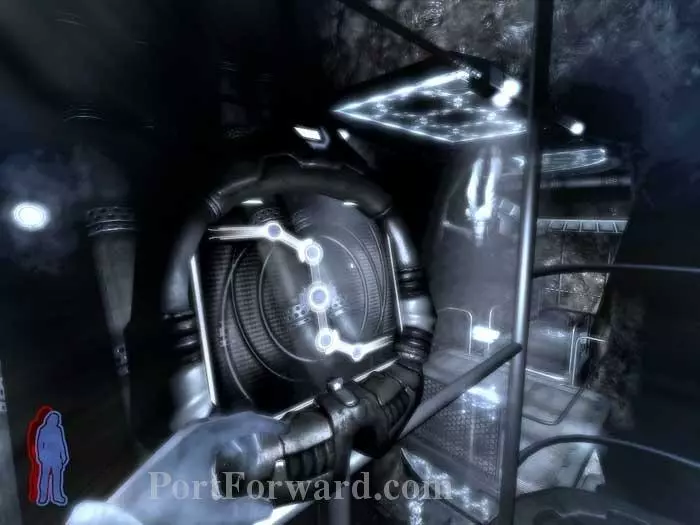
Spirit Walk through this force field.
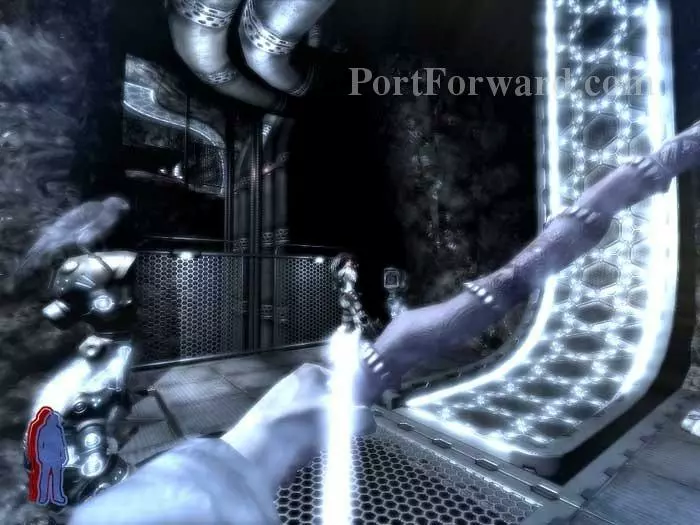
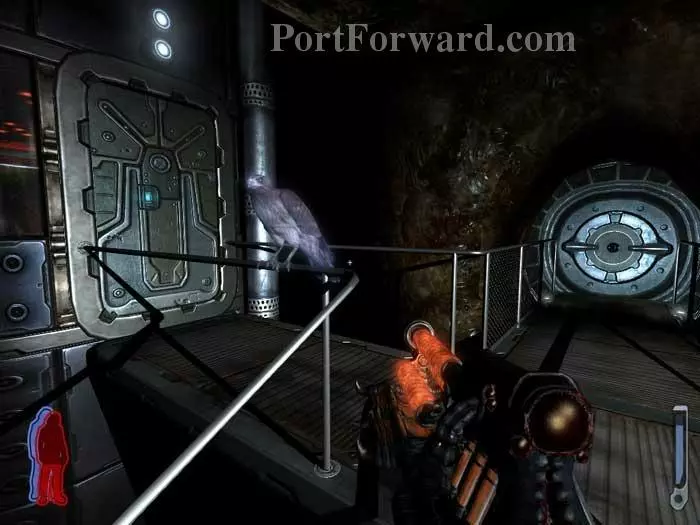
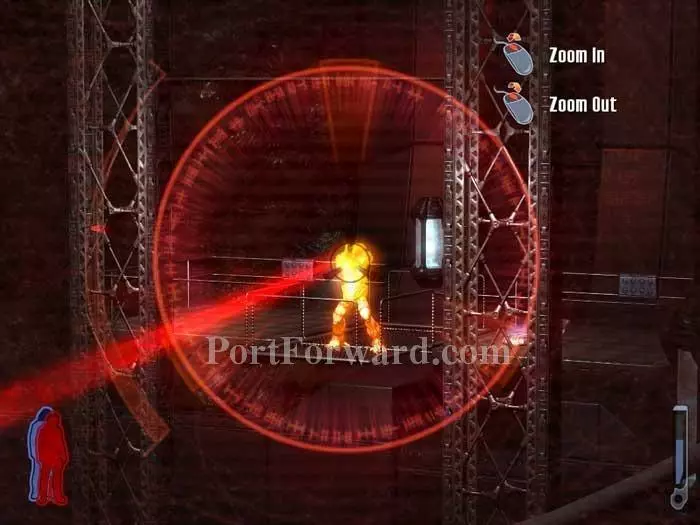
Drop the hunter with your bow then disable the force field with the control that Talon is resting on.
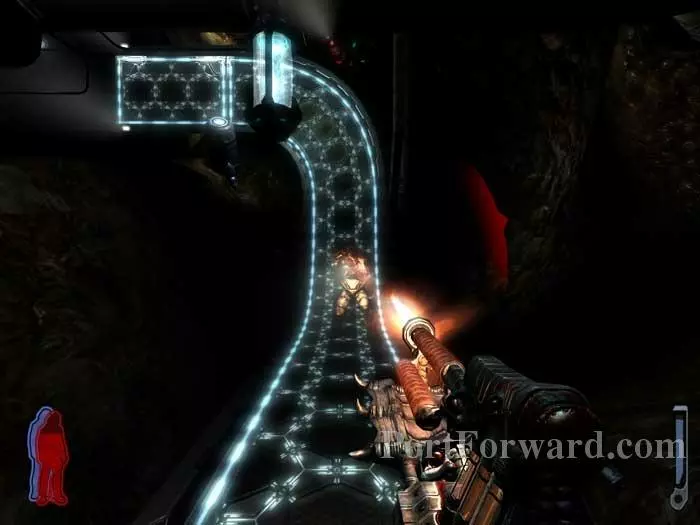
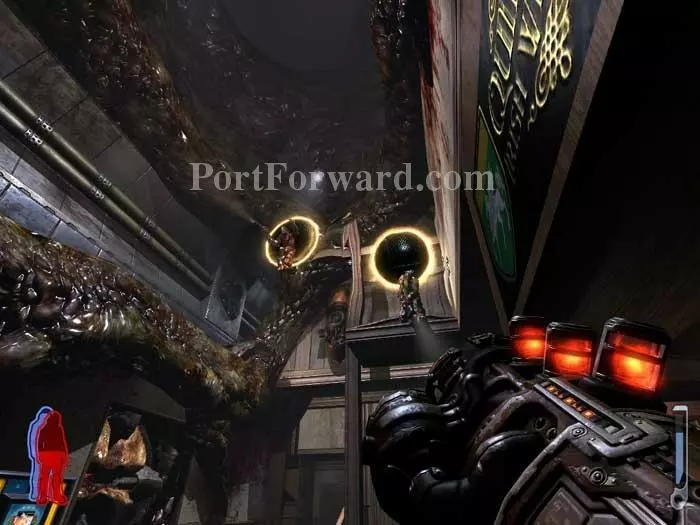
Climb the walkway and take out a pair of hunters.

Follow the platform then stop on the final segment ahead. If you walk any farther you'll flip onto the ceiling and have to work your way back to this position.
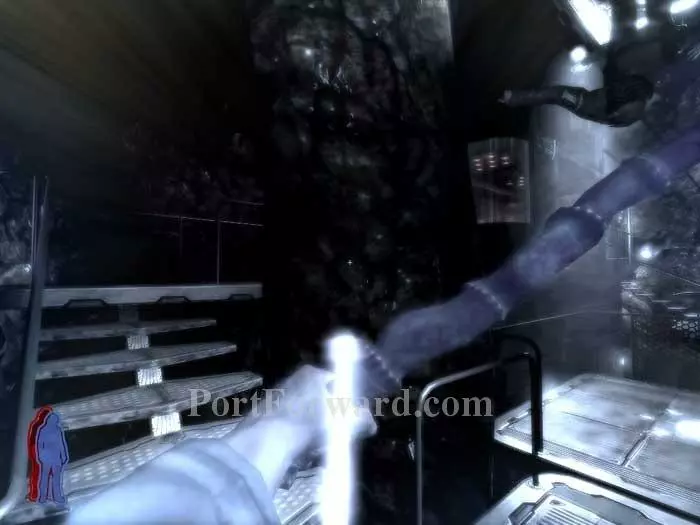
Spirit walk and you'll automatically flip to the catwalk below. Climb the stairs on the left. (Note Tommy's body upper-right, upside-down.)
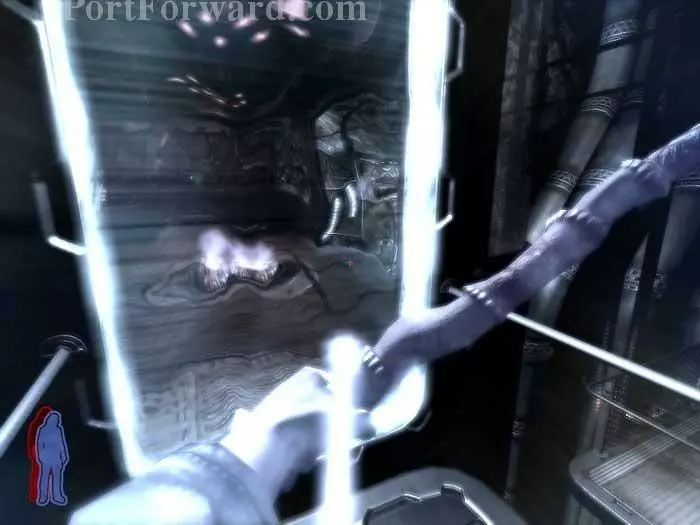
Walk through the force field.
Activate this control and witness the panel supporting your corporeal self sliding along the track.
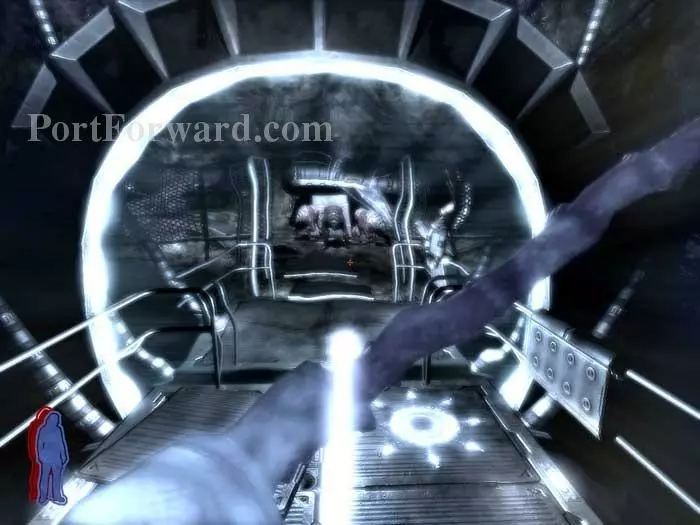
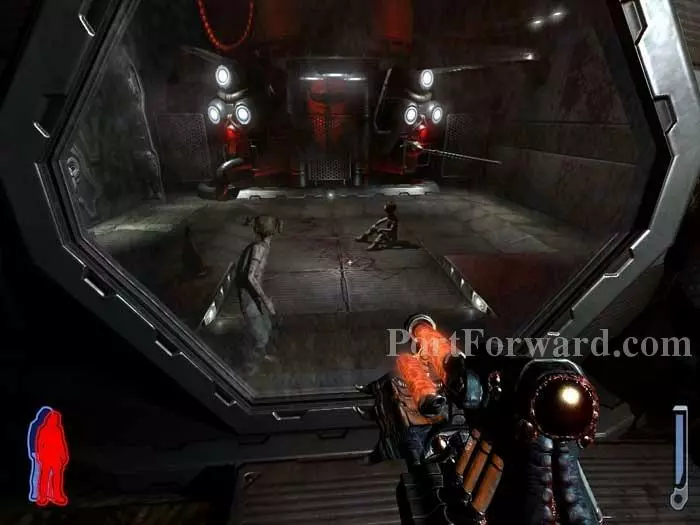
Quickly return to your body and do battle with this hunter that suddenly appears through a glow portal.
Wall walk then climb the stairs to the door on the left.
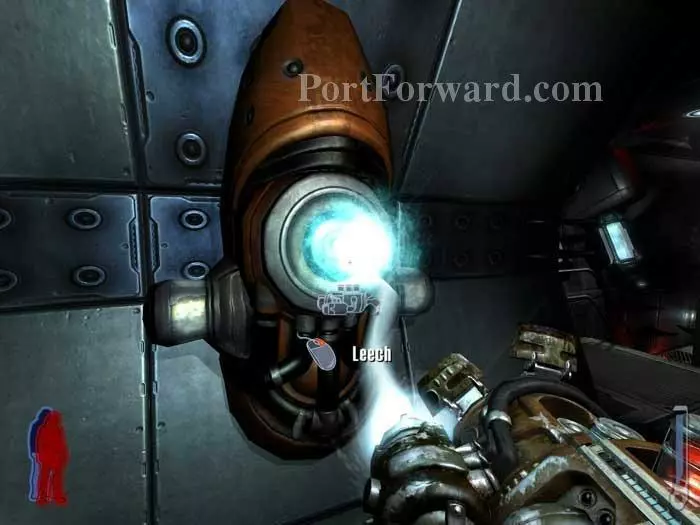
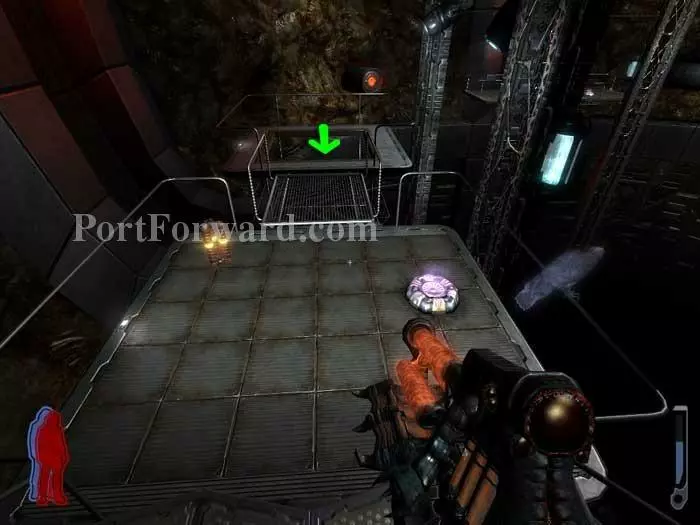
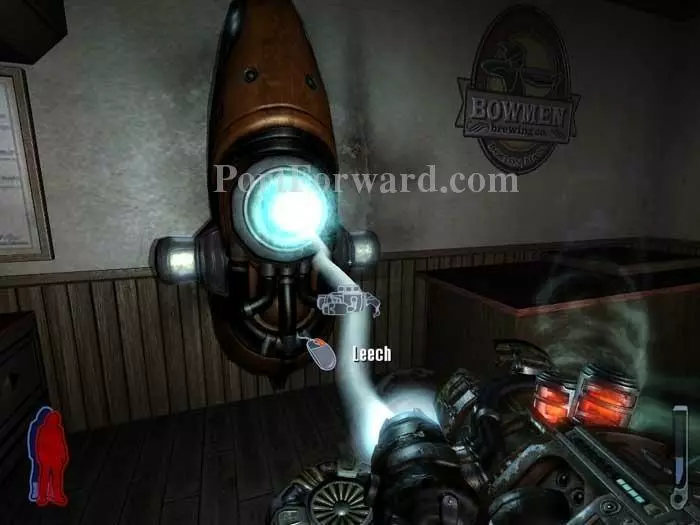
This is the same room you were in earlier. A new weapon emerges from the platform ahead - the Leech Gun. Note the healing spore on the left.
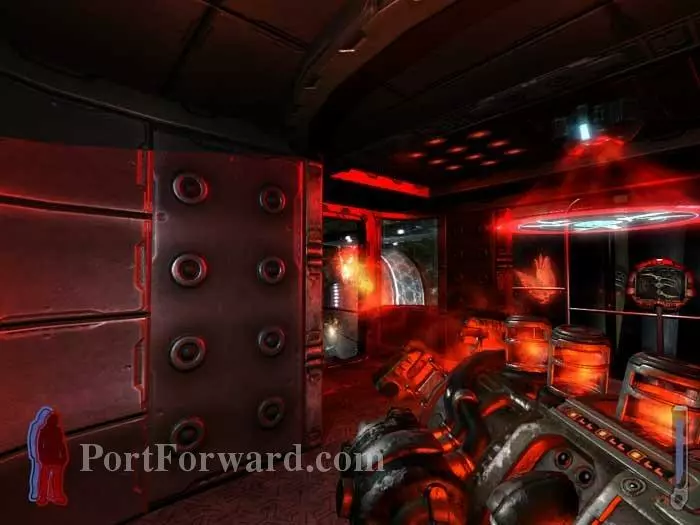
Grabbing the Leech Gun triggers several hunters to spawn -- be prepared to battle them immediately.
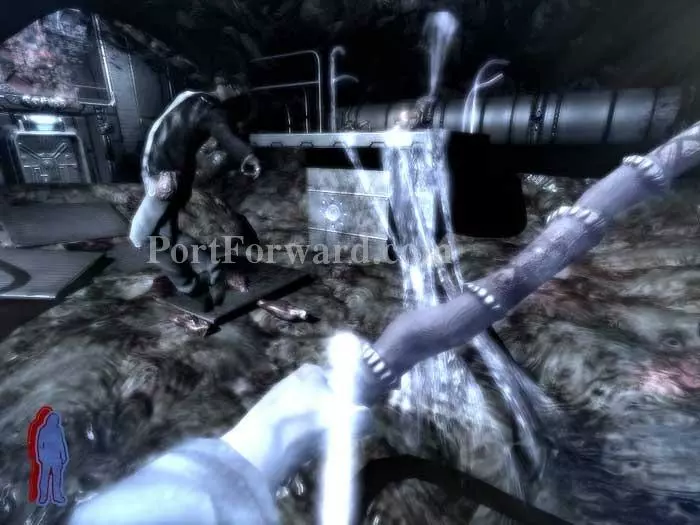
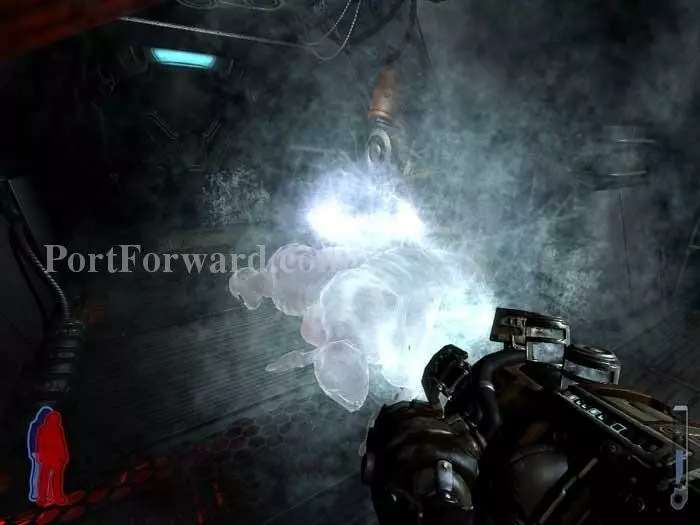
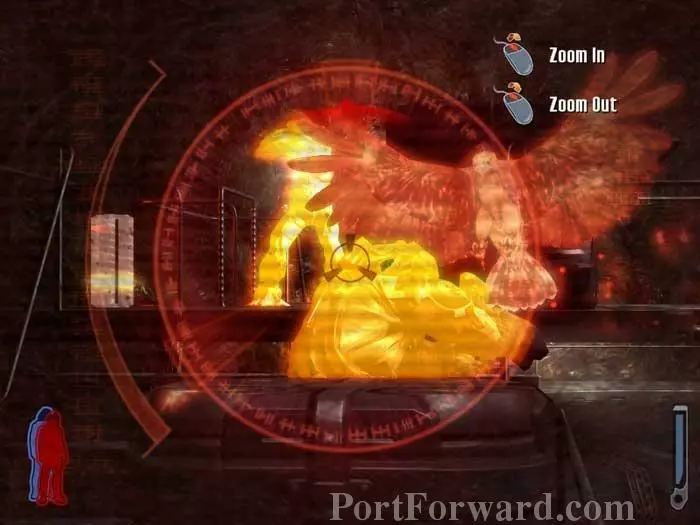
I died. When you die in Prey, this mini-game ensues. You have a limited amount of time to shoot blue and red wraiths. Each successful shot gives you more spirit energy (blue) or health (red). This is an innovative alternative to quickloading, which is also available if you prefer.
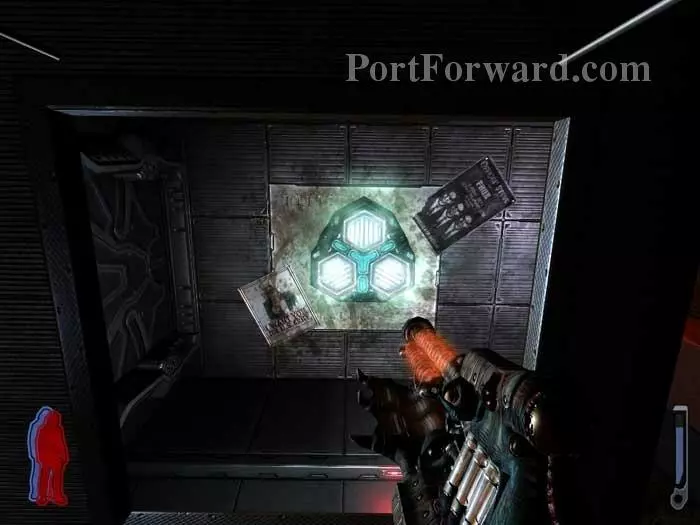
Continue through the now-open door on the right.
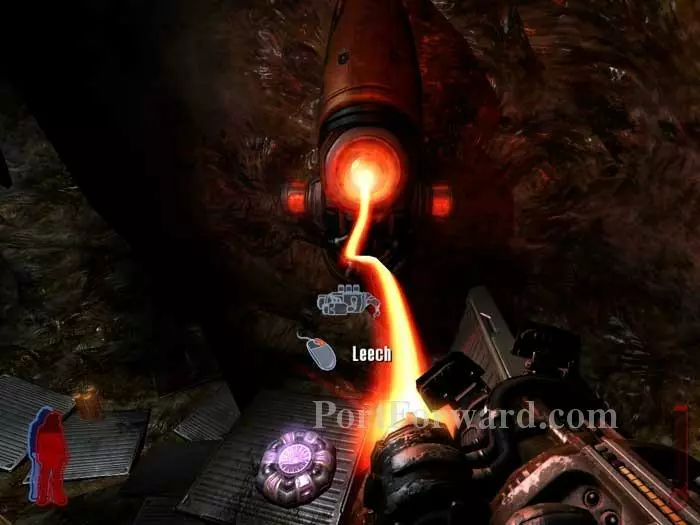
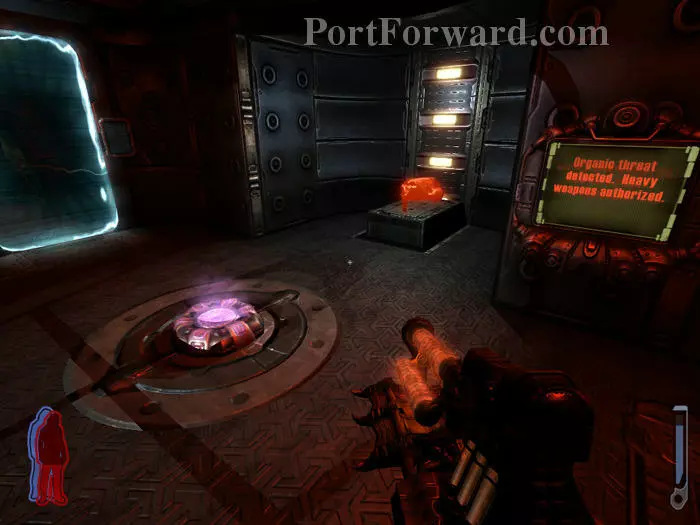
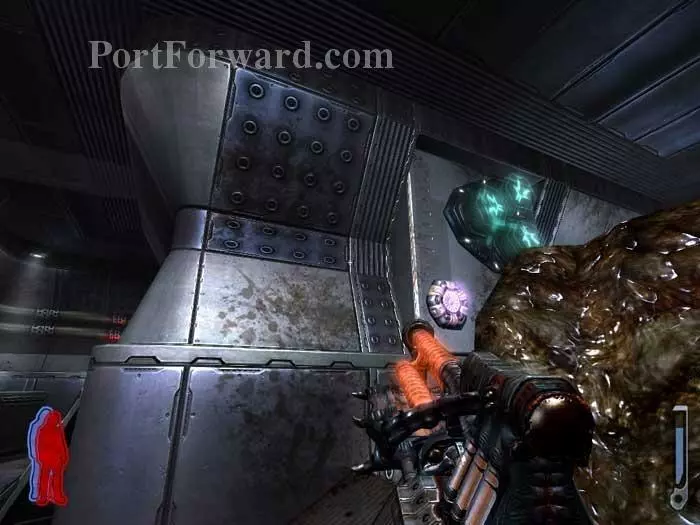
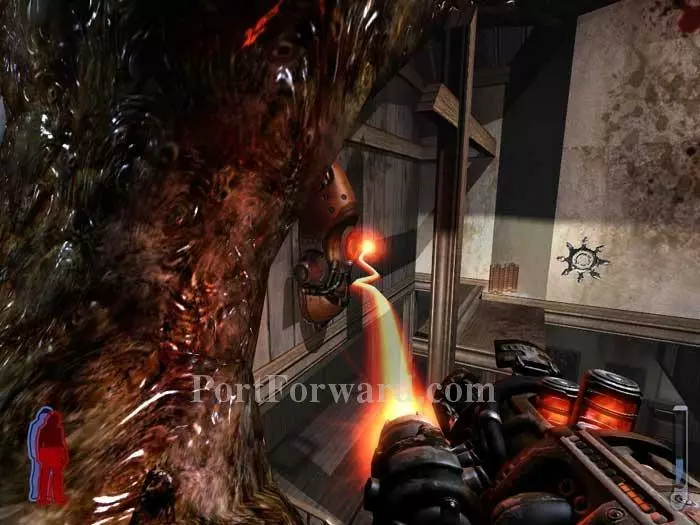
Ready your Leech Gun and use secondary fire to replenish ammo at this plasma node. The Leech gun can be supplied by three other types of nodes: freeze, lightning and sunbeam.
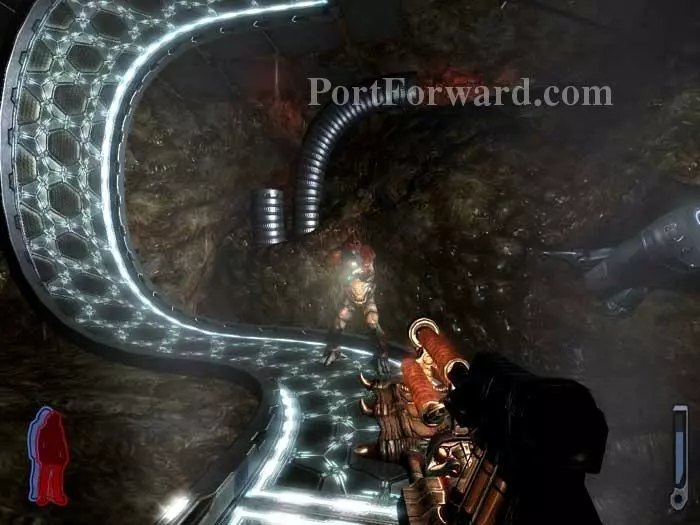
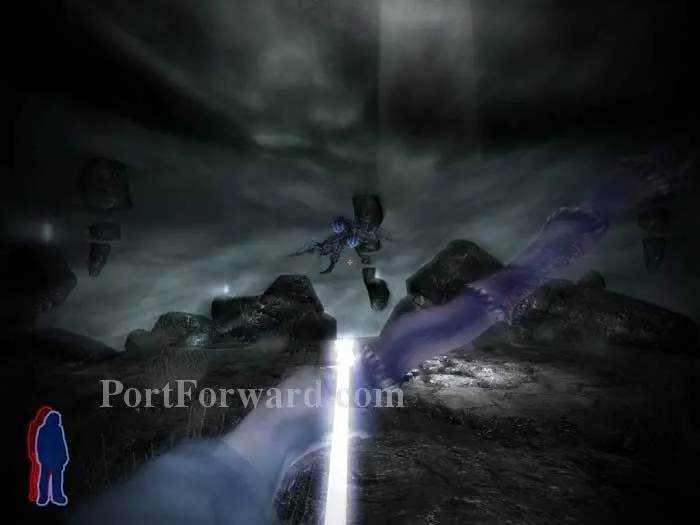
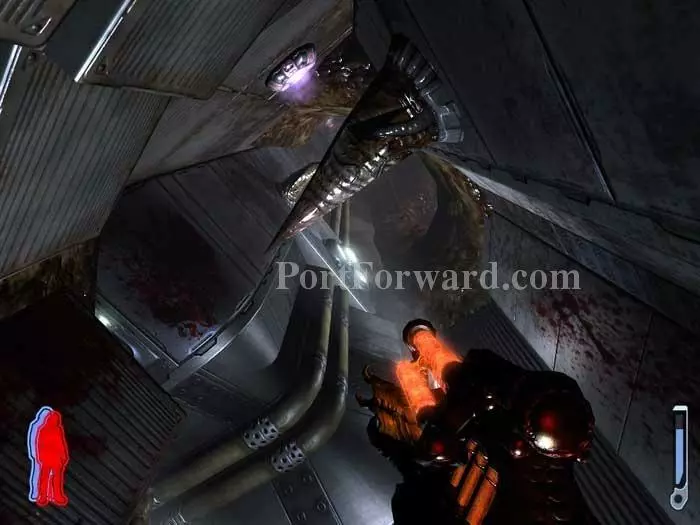
An upside-down crawler takes out these tentacles nicely. Just be sure to keep a safe distance.
Close your eyes! It's only a movie...it's only a movie!
Continue through the door on the left and fill your Leech Gun with some freeze ammo.
A pair of fodder are conveniently nearby to help test out this close-range weapon type.

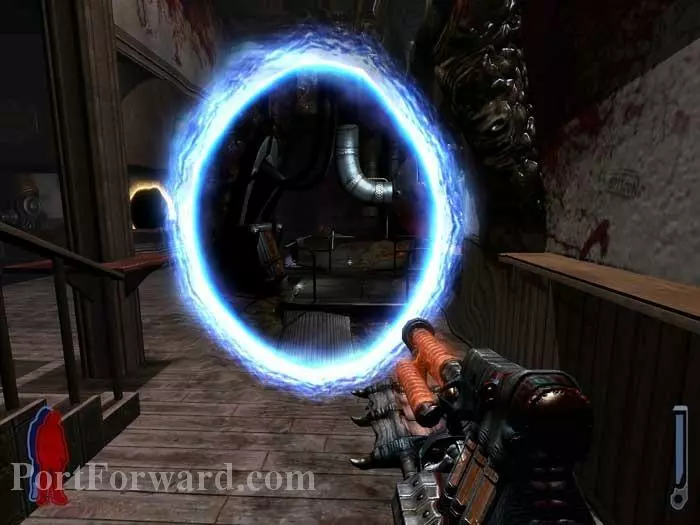
Turn right at the bottom of the stairs. (If you continue on, you'll find a blocked door, a mutilated human, a healing spore and a crawler.) Enter the indicated portal.
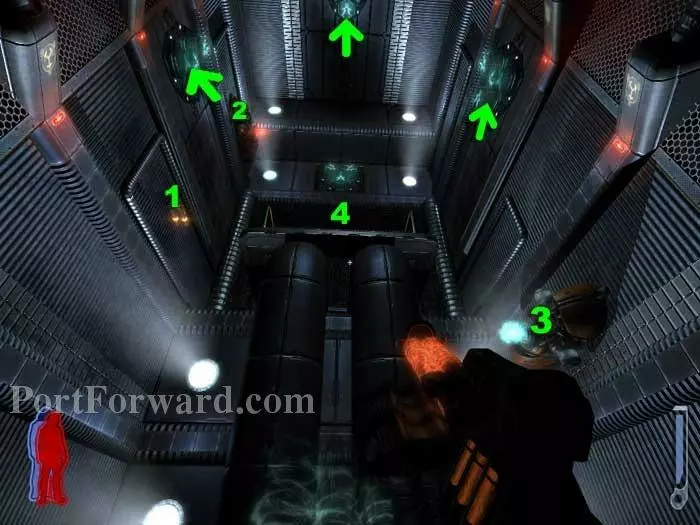
Gravity shifts and you find yourself toppled over in this strange room. Shooting the green switches (arrows) will shift gravity again, making the switch's wall the new floor. You can use this tactic to grab the rifle ammo (1), plasma ammo (2) or freeze ammo (3) for your Leech Gun, and to reach the exit, a glow portal currently hidden at (4).
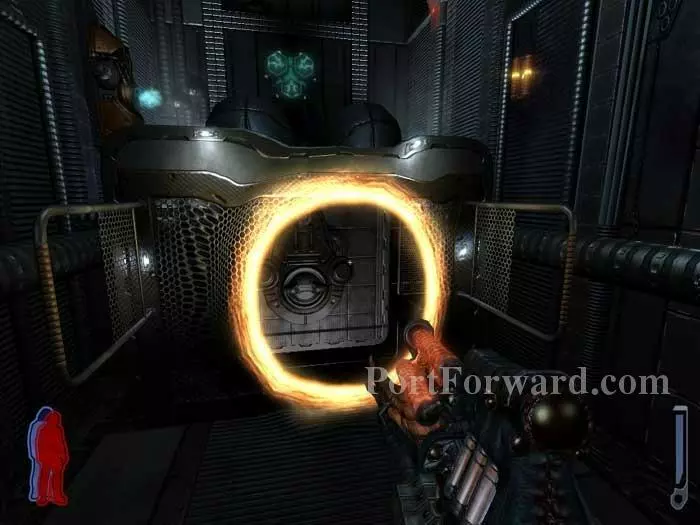
Step through the glow portal to exit the room.
Note the rifle ammo on the right and the spore to the left. Prepare for an intense firefight before ascending the stairs.
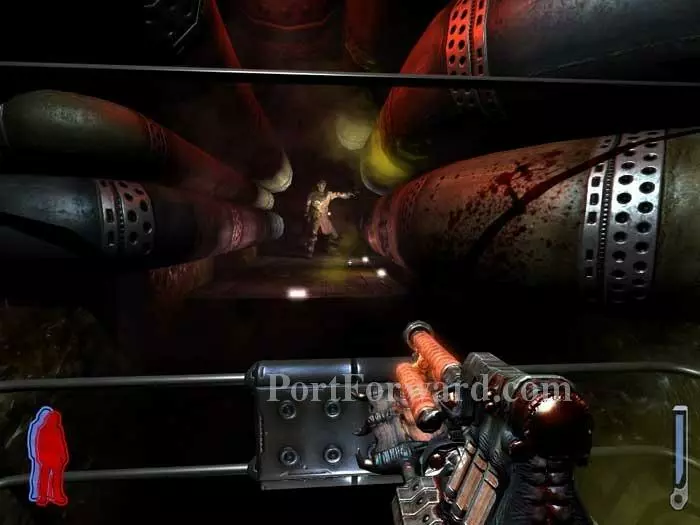
Several hunters are ahead. Talon helps out by distracting them.
Keep an eye open for hunters on the distant ledges. I found the sniper scope to be most helpful in this fight.
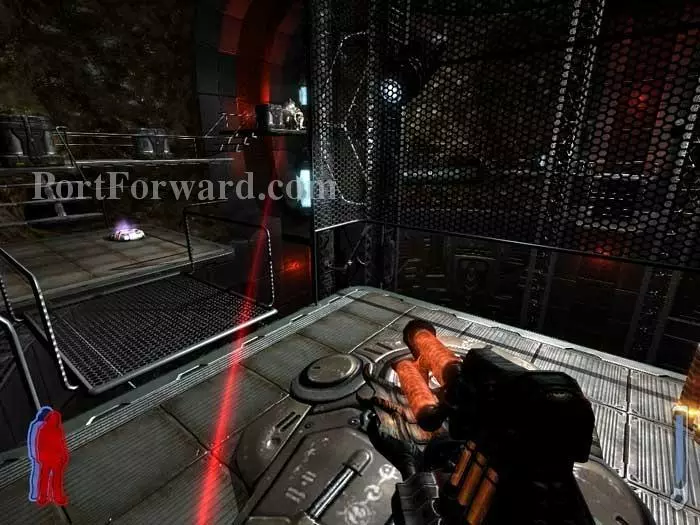
Grab health and ammo on the catwalk before dropping through where indicated.
You can hear music - Barracuda by Heart. Look up and shoot this gravity switch.
Position yourself so that when you shoot the gravity switch upper-right you'll fall against the new floor rather than slide all the way down the corridor to the left. Beware the Spewer that will be on your right after the switch.
Same deal on the next corner, except this time you have tentacles in your way. Best to shoot them first.

The music you've been hearing is coming from the bar! They've ripped up the whole thing, and it's crawling with hunters. My preferred weapon here is the plasma-mode Leech Gun.
If you need plasma ammo, you'll find a convenient node to the left.
Rifle ammo and a spore are to your right. Also, if you Spirit Walk, you'll find a bridge access to more rifle ammo straight ahead. Shoot the gravity switch on the bar to drop in.
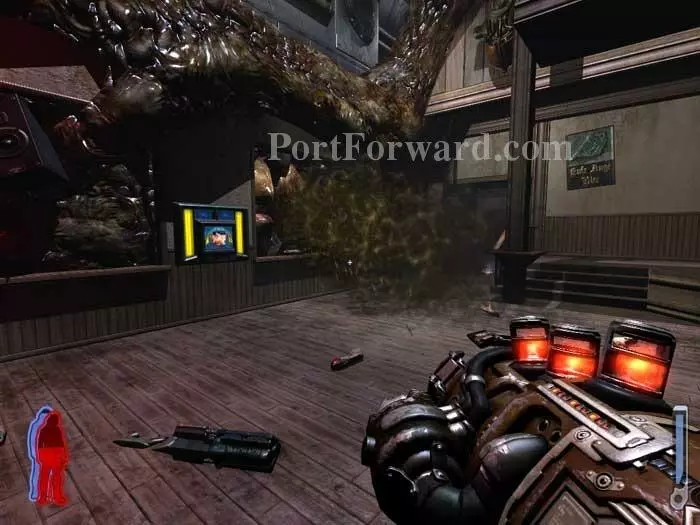
Avoid the Spewer beside the juke box.
Two waves of hunters appear through glow portals.
Freeze ammo is available behind the bar.
New glow portals appear, all leading to other areas of the bar, except one - this blue portal. Step through to end the level.
More Prey Walkthroughs
This Prey walkthrough is divided into 22 total pages.


