
This Prey walkthrough is divided into 22 total pages.
You can jump to nearby pages of the game using the links above.
All Fall Down
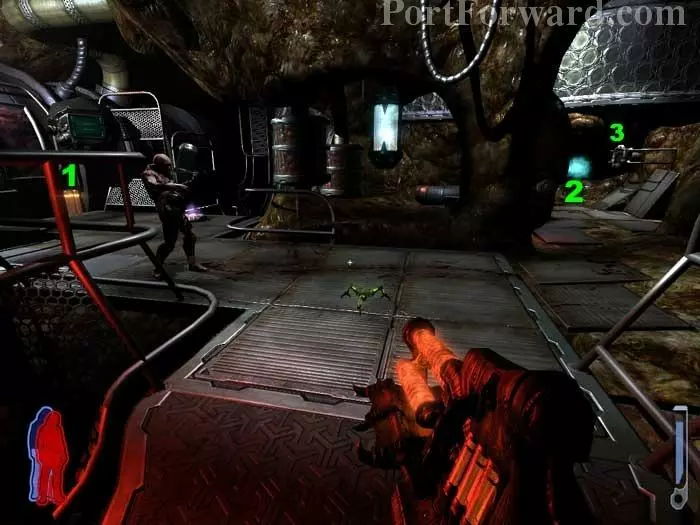
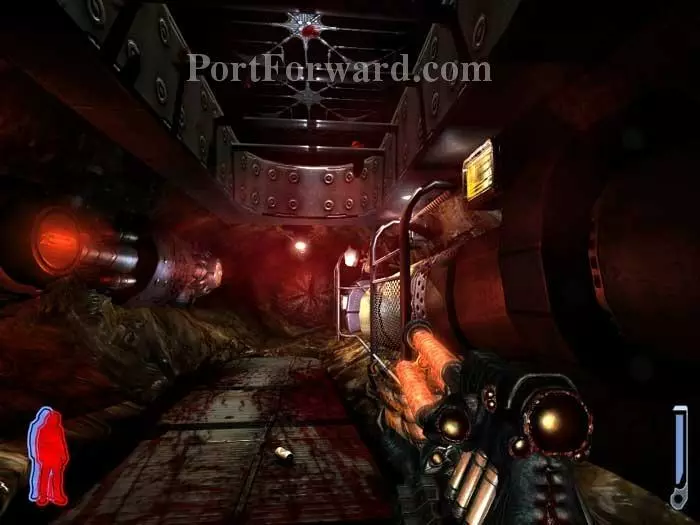
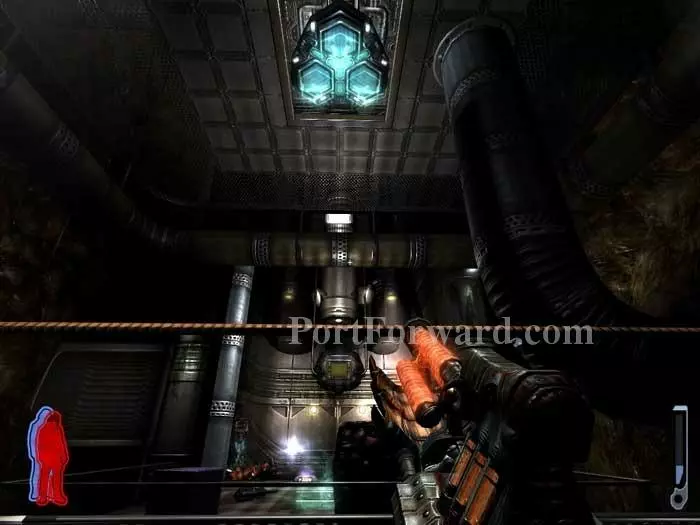
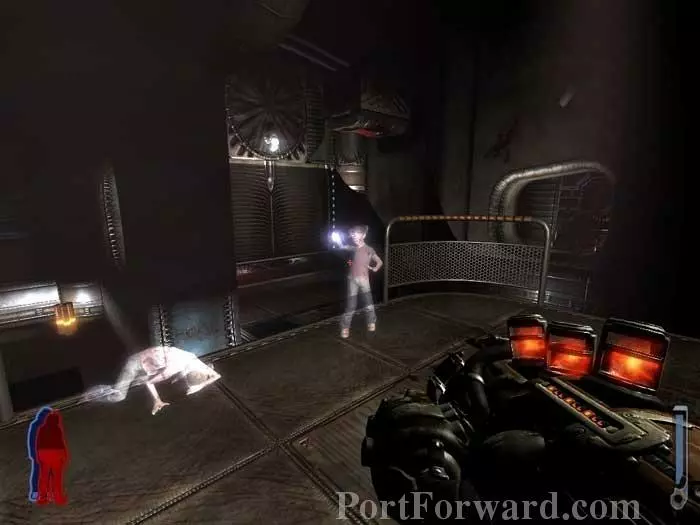
Look up to find Jen pleading for help. Take out a hunter over the right railing before continuing through he sphinc-door ahead. A mutilated human is working in this room. Your choice to avoid him or drop him. Grab the crawler and find rifle (1) and freeze (2) ammo before activating the walkway panel (3). Health spores are on each side of the room.
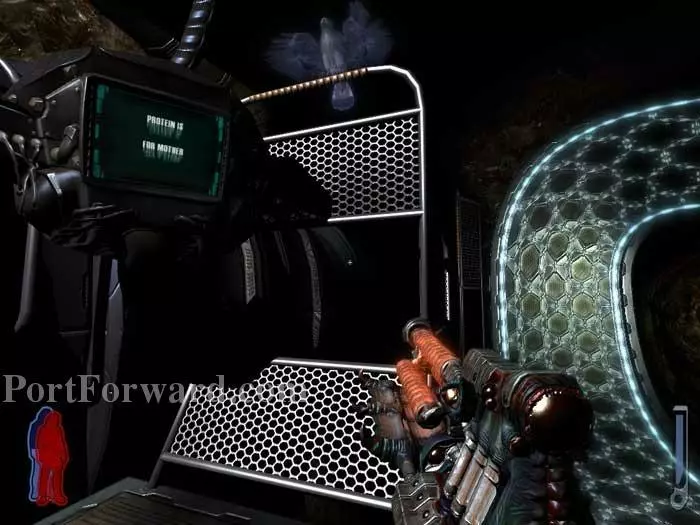
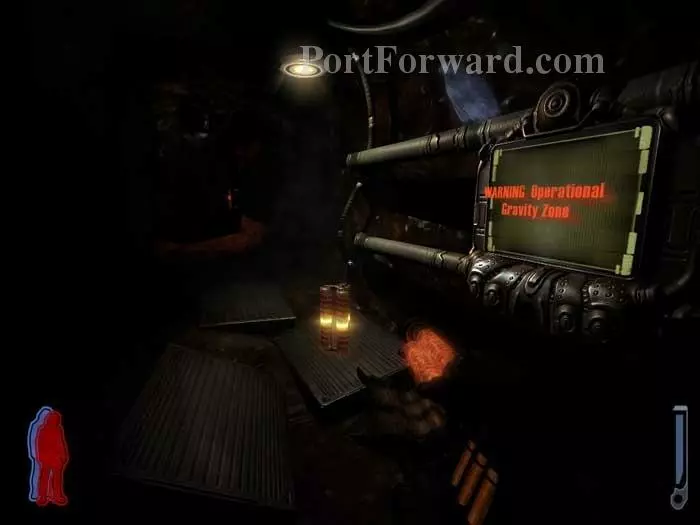
Head left to find the walkway. Talon translates the monitor to read "Protein is for Mother."
Once around the bend, toss a crawler (in right-side up "prox mine" mode) near the walkway control panel. A Hunter will spawn and attempt to disable the walkway, but will instead be mined.
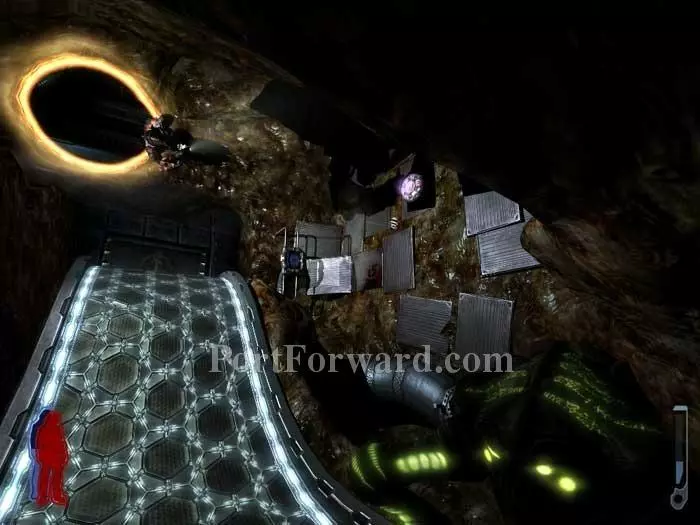
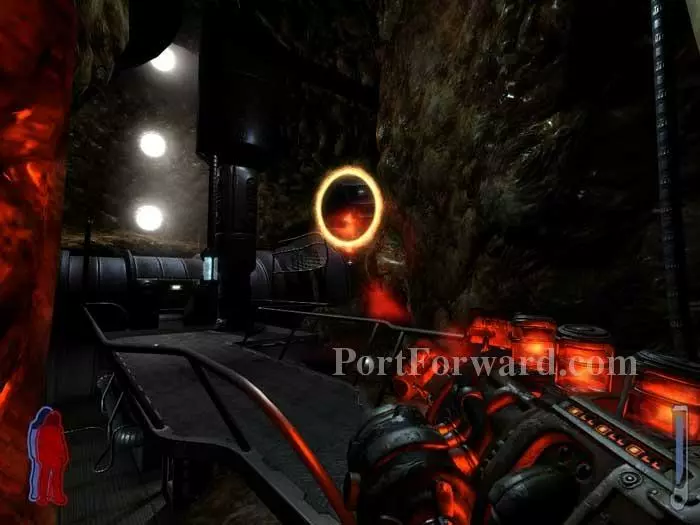
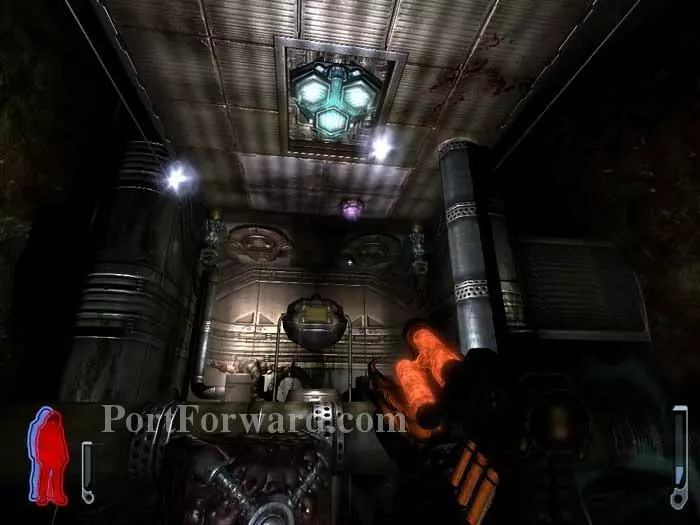
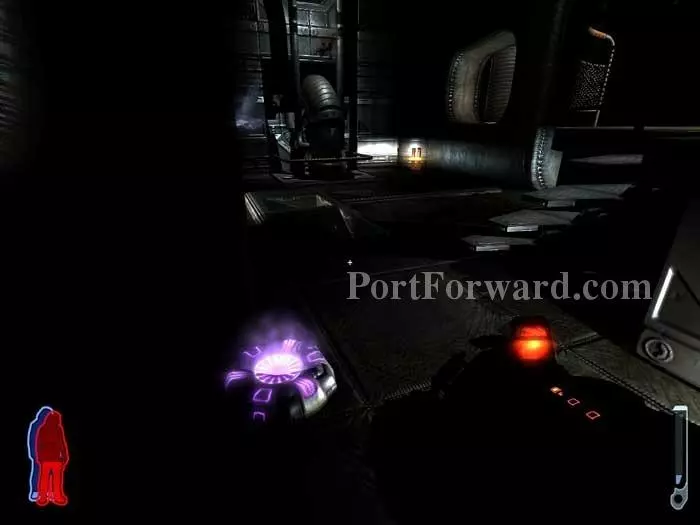
Crouch through a door then drop a crawler in upside-down "regular" mode onto the two fodders below. Follow the walkway to the plasma leech station visible at the top of the shot.
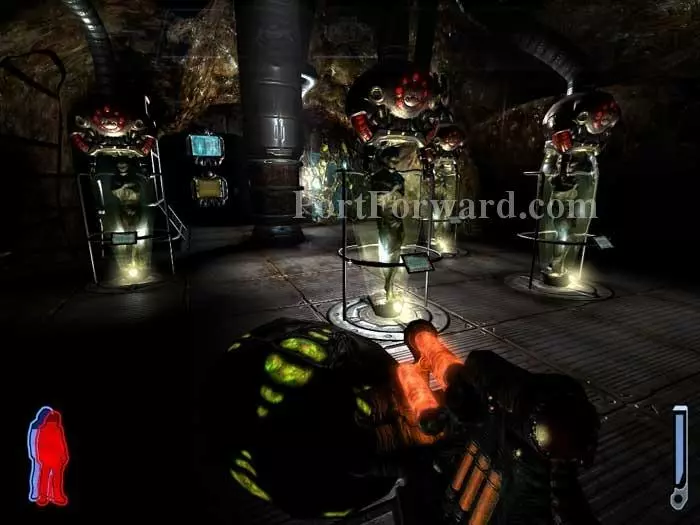
Kick a pod to the membrane, far-right. Shoot the pod to destroy the membrane, revealing a force field.
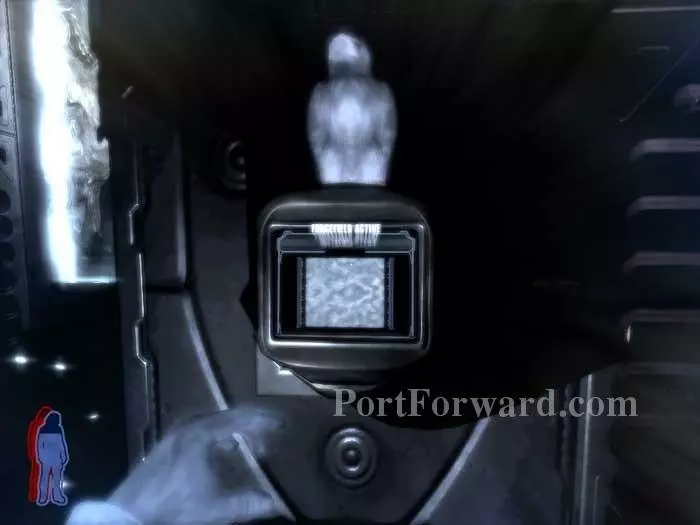
Spirit Walk through the force field and disable it here.
Return to your body and walk through the disabled force field and descend the stairs. Once through another door, two hunters spawn. Two health spores are in the immediate area.
Turn right to find rifle ammo. Follow the walkway ahead.

Find more rifle ammo and another health spore before being shushed by this typical Art Bell listener. Another great moment as Art's caller describes being tormented by his glowing-eyed daughter.
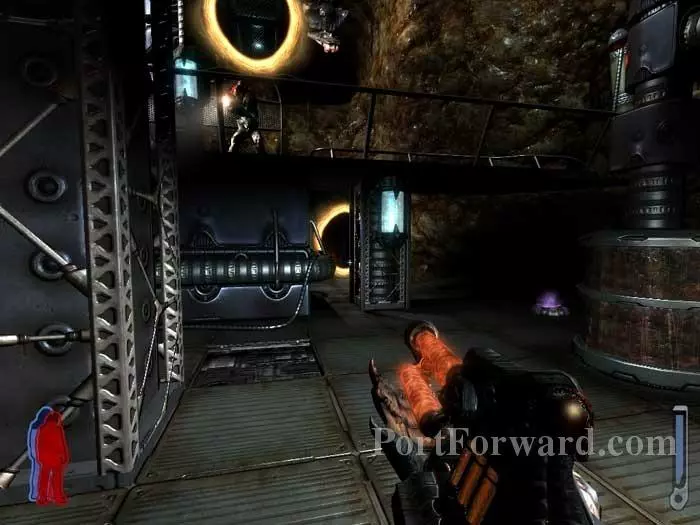
Turn around and take the first tunnel on the right. (The second tunnel backtracks the way you entered.) Two hunters spawn, this one ahead/right, and another behind/above you.
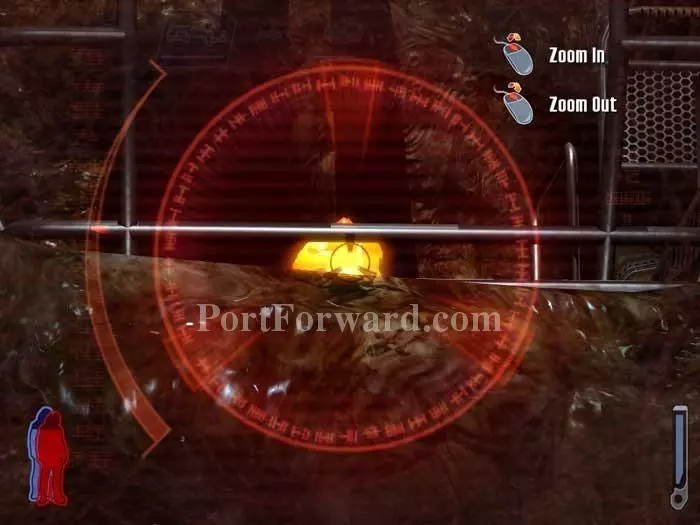
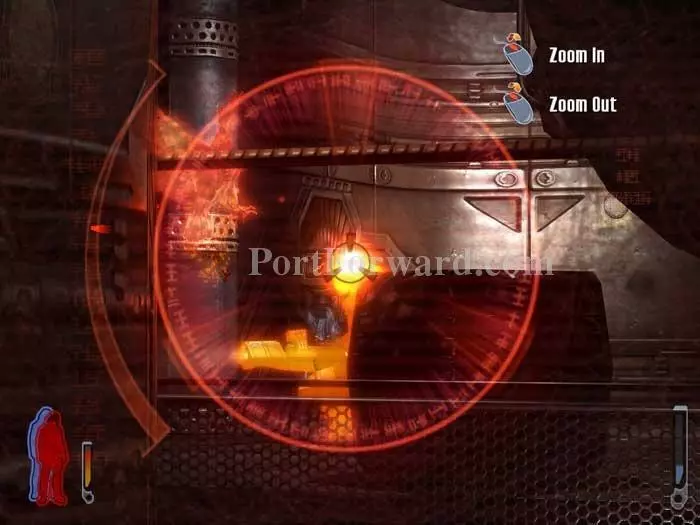
The sniper scope works well on the hunter behind you. Just be quick as he'll be throwing a crawler-grenade your way.
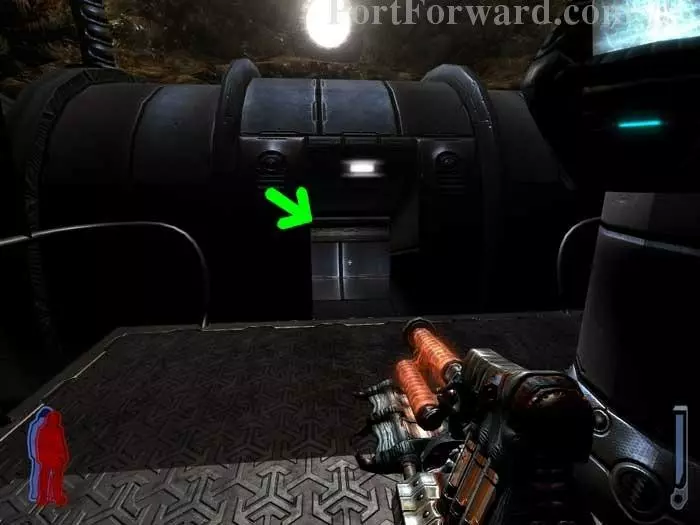
The way out is through the crawlspace ahead. (Don't forget to backtrack for health and ammo.)

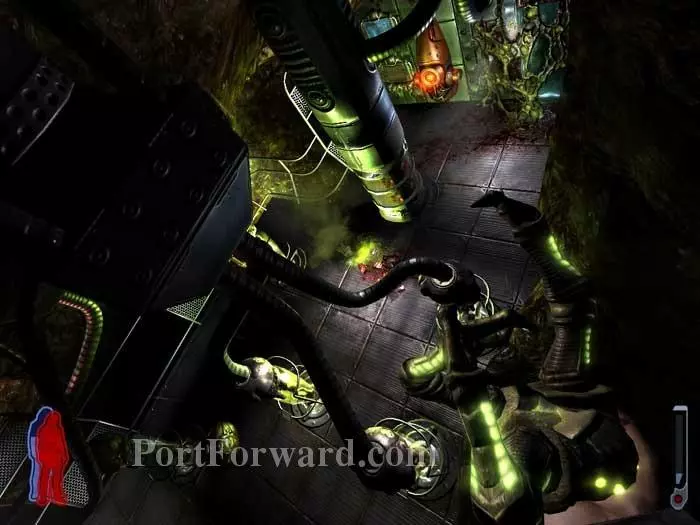
Turn right and defeat this hound.
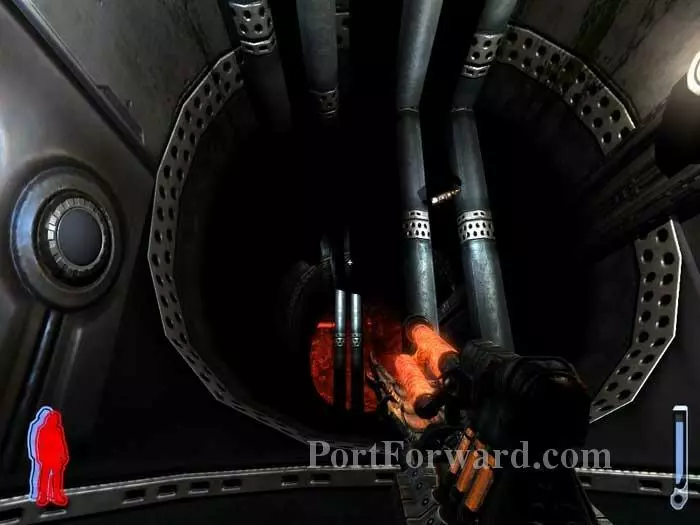
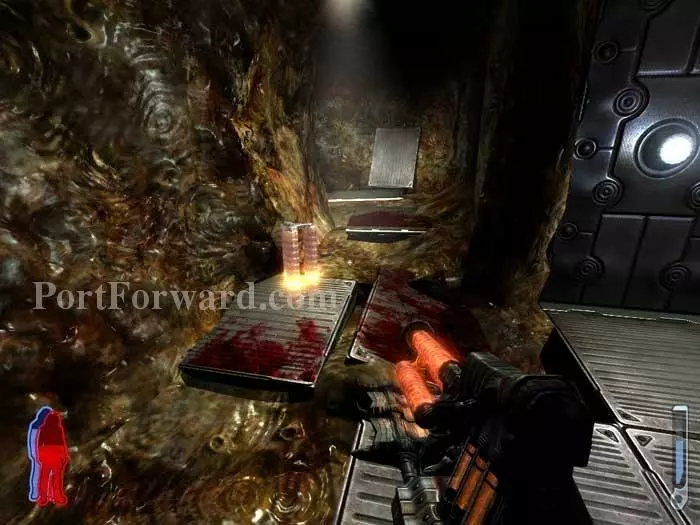
Drop onto the pipes on the right, then those on the left, then onto the ground below.
This is pretty creepy. Hear a child scream and then be showered with body parts. Continue through the sphinc-door ahead.
Follow the tunnel, finding rifle ammo along the way.
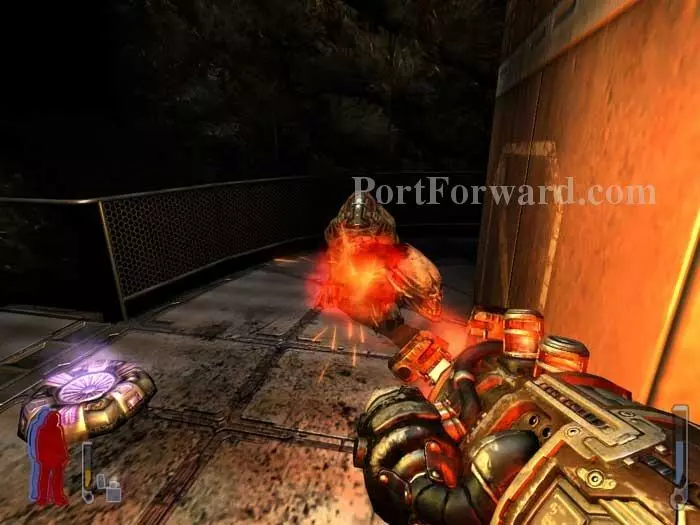
Drop below and battle this hound.
Turn right to snipe a pair of hunters. As always, Talon is on the front lines creating a distraction.
You need to clear the railing but you can't jump over it. Instead, shoot the gravity switch on the ceiling.
Once clear of the railing, shoot this other gravity switch on the new ceiling.
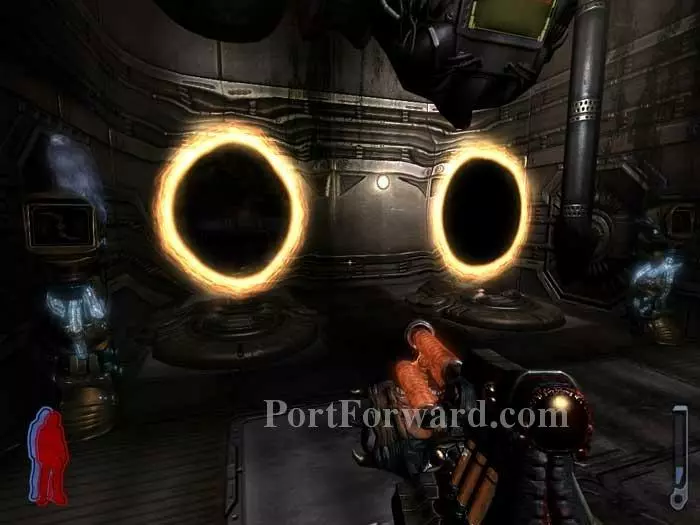
Two consoles are here, one left and one right. Each activates a portal. Enter the portal on the left first.
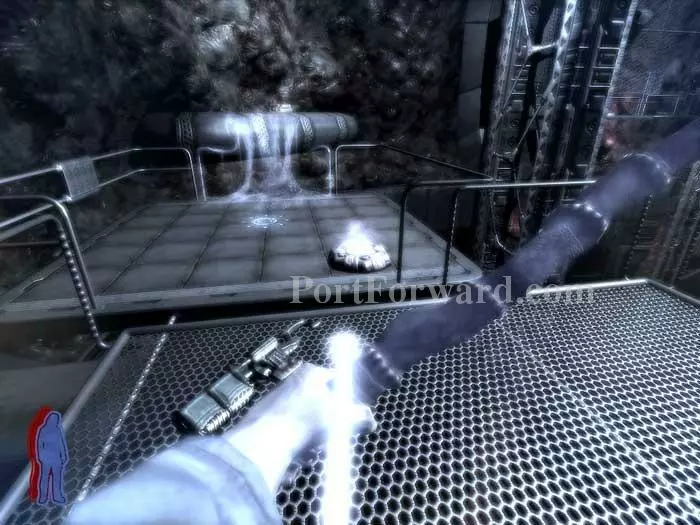
Spirit Walk across the bridge to find rifle ammo.
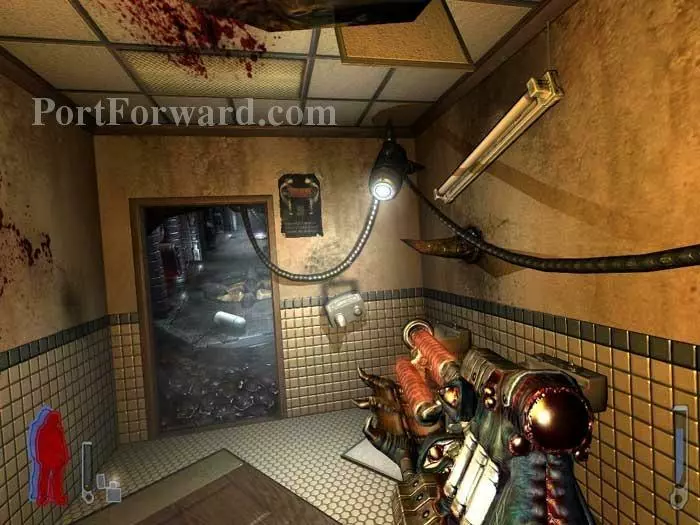
Backtrack then enter the right portal to find the bathroom where you began the game! Two spewers are in the hallway ahead, one on the left wall and one in the ground. Both can be disabled with five shots.
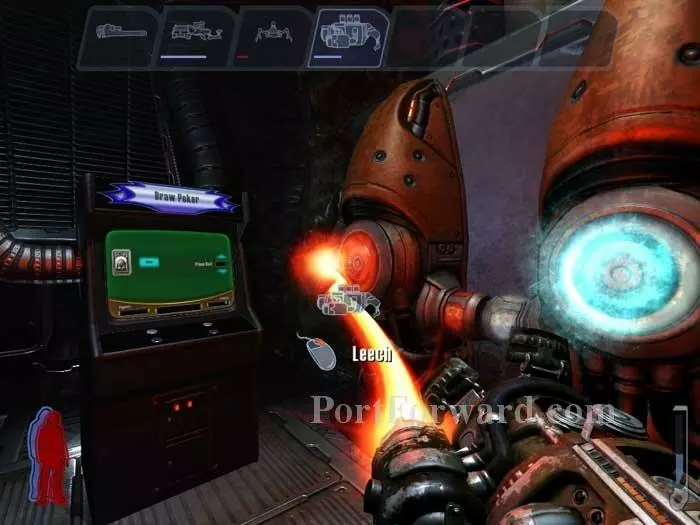
Leech some plasma and play a few hands of impossibly-profitable draw poker.
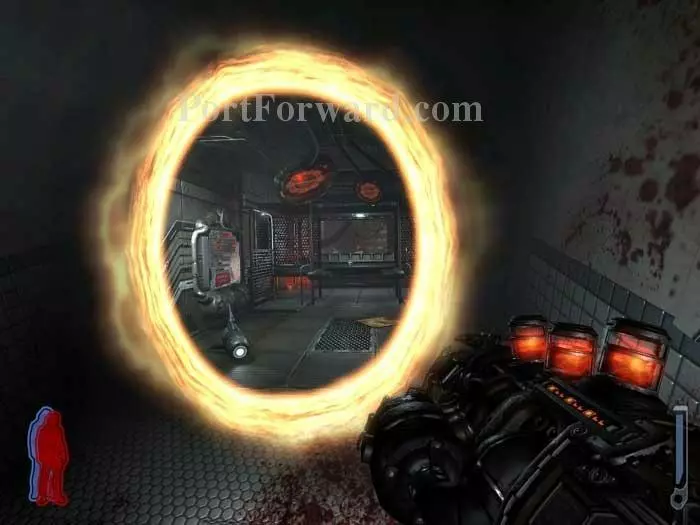
Backtrack to the bathroom and step through the portal to a new room.

This abductee blocks your path to rifle ammo. If you shoot him you can reach the ammo, but that would be wrong.
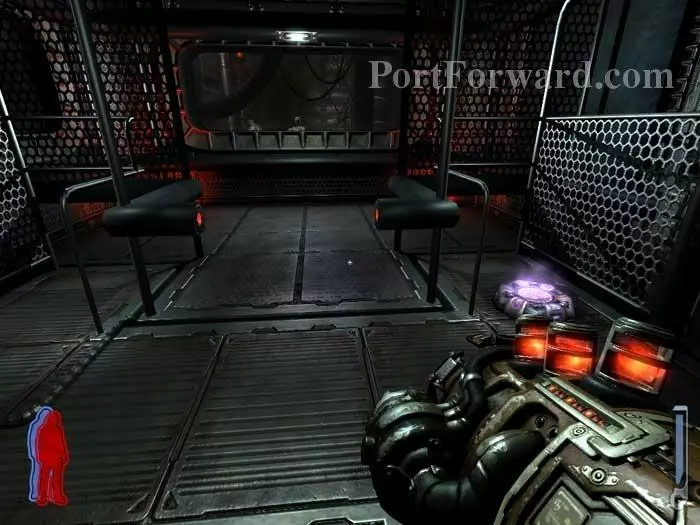
Step forward for the elevator ride of your life.
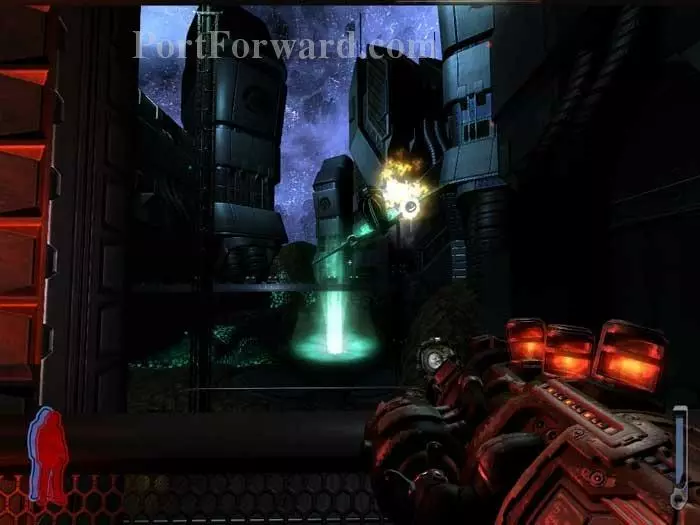
Witness this seriously-troubled airliner. It's just been beamed up through the green shaft of light ahead and is sending a May Day.
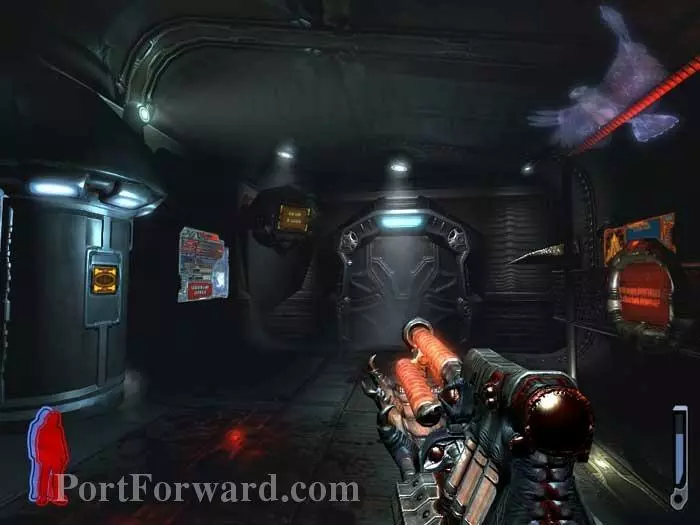
Exit the lift and head through a door to this area. Find rifle ammo in the locker on the left.

Here's Talon's translation of the display on the right. InOrganic Debris? Spirits, perhaps?
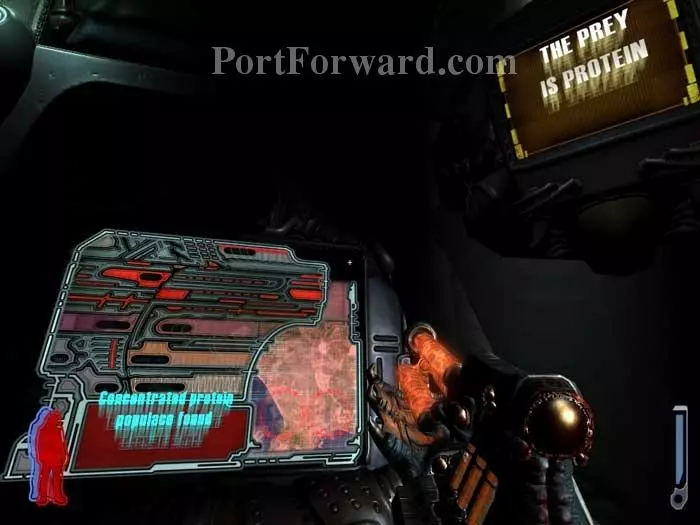
To the left is this display showing the concentrated protein populace of Los Angeles.
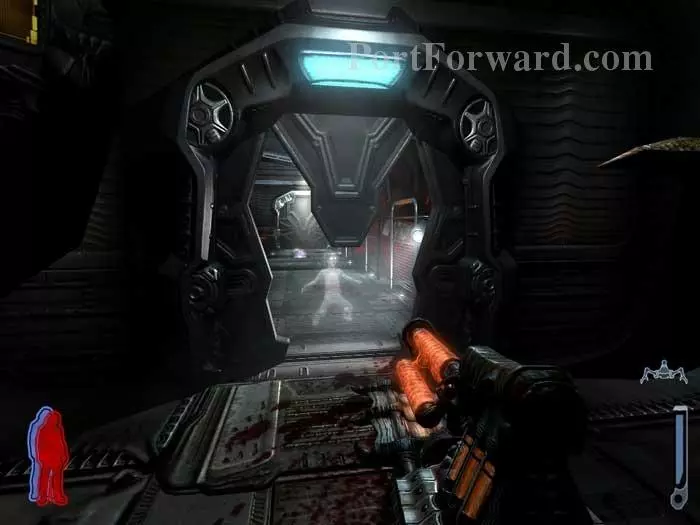
Follow the glowing-eyed spirit girl through the door ahead.
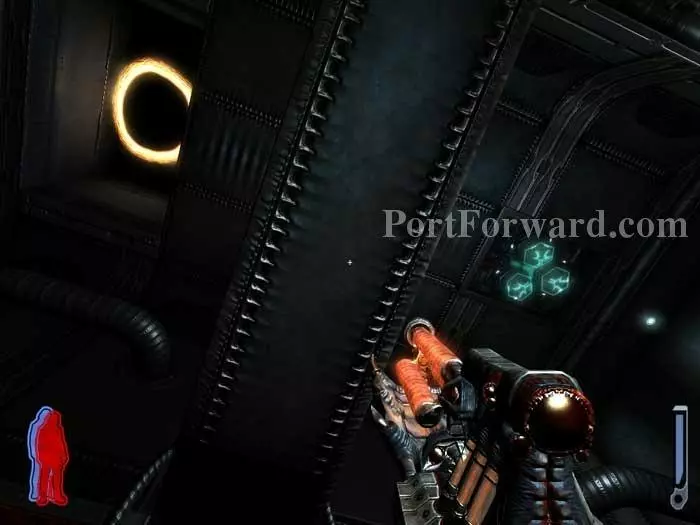
Look up to spy a gravity switch and a portal. Shoot the switch to flip gravity and enter the portal. Health spores are on each floor/ceiling.
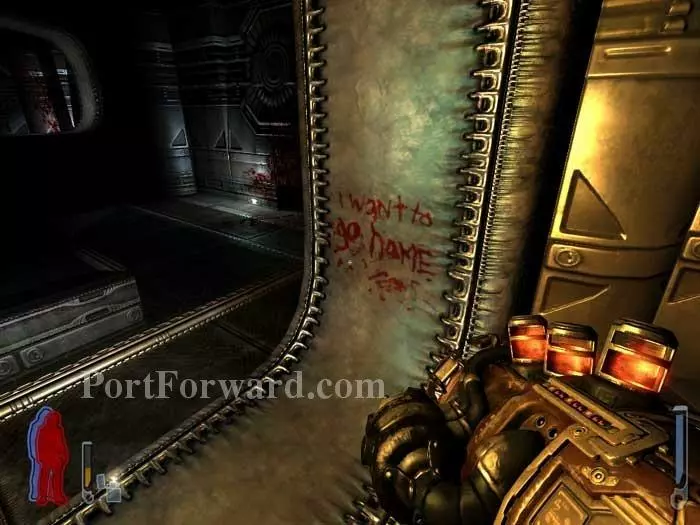
As if the sounds of a music box and children's laughter isn't disturbing enough, bloody notes like this are scribbled on the walls.
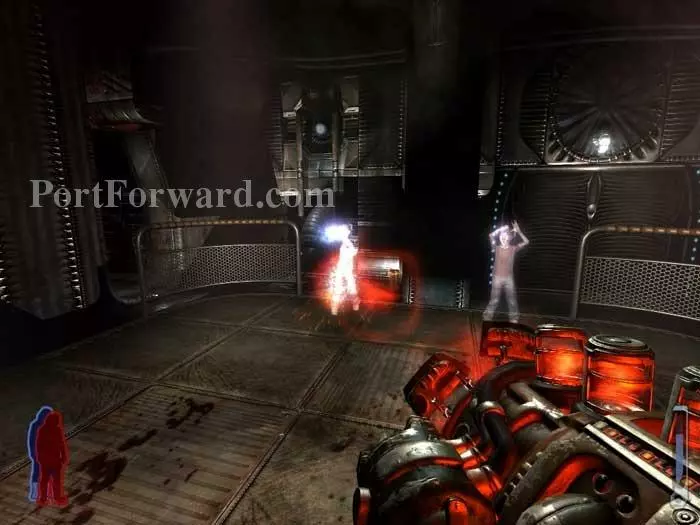
Climb the stairs to this central platform to trigger a massive spawn of little girl spirits.
A plasma recharge station can be accessed from the platform.
When you hear, "Ring Around the Rosie," you'll know the last wave is on its way.
Step off the platform to find health and ammo.
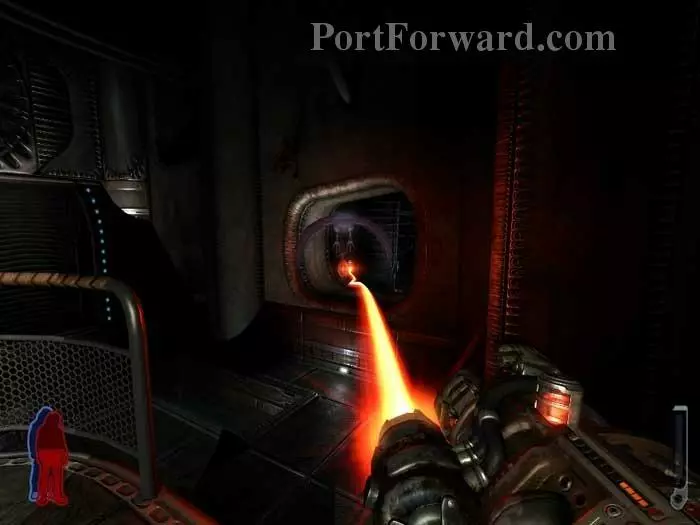
Once the door ahead/right lifts part way, crawl through. A health spore is on the other side.
Grab a pair of crawlers to the right then proceed down this hallway to the left.
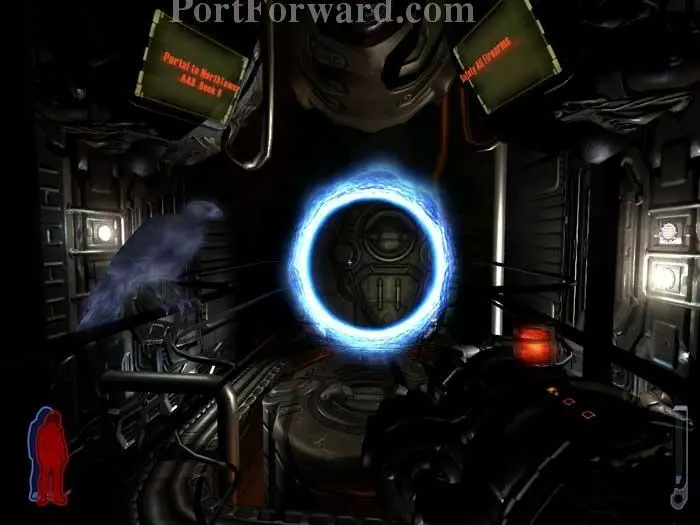
This blue glow portal appears. Hop through to load the next level.
More Prey Walkthroughs
This Prey walkthrough is divided into 22 total pages.


