
This Prey walkthrough is divided into 22 total pages.
You can jump to nearby pages of the game using the links above.
Following Her

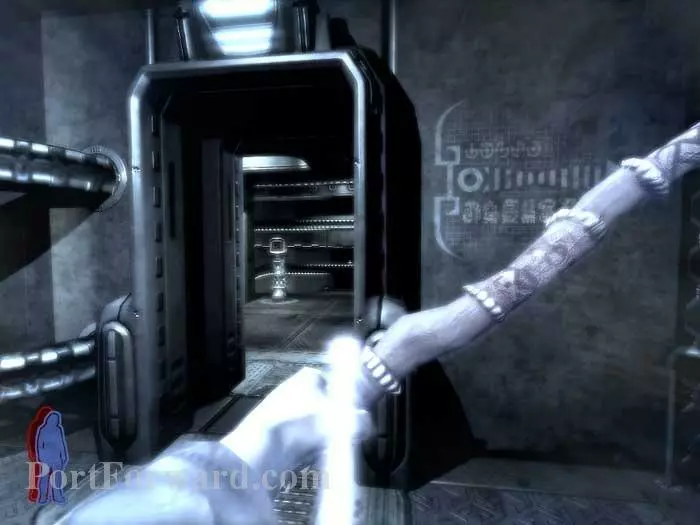
Enter the crawlspace. Emerge and witness Jen being carried away by a harvester. Freeze ammo is to the left.
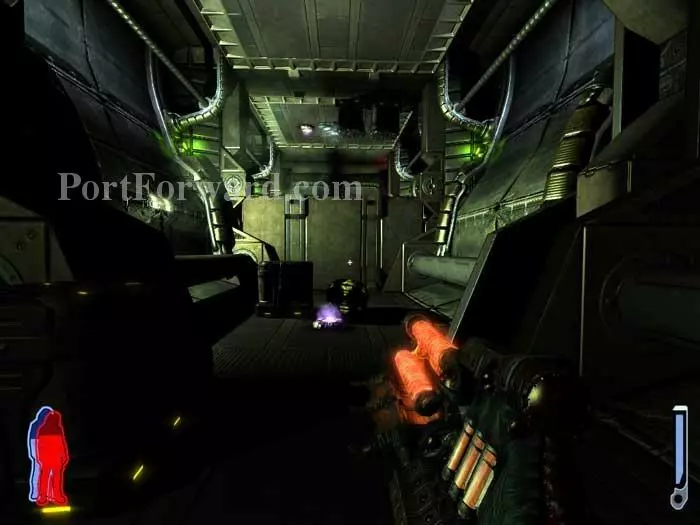
Descend the stairs and turn right to find an ammo locker and a walkway console.
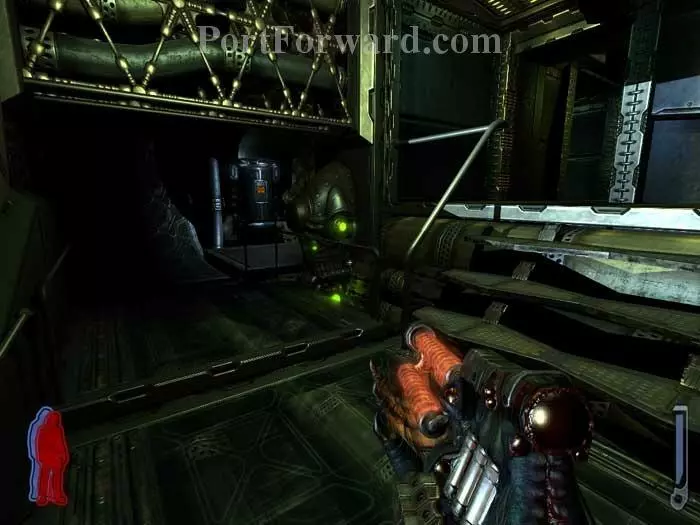
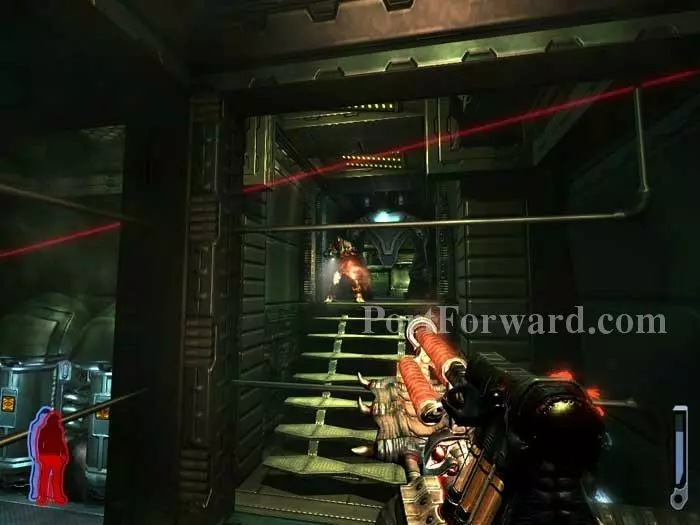
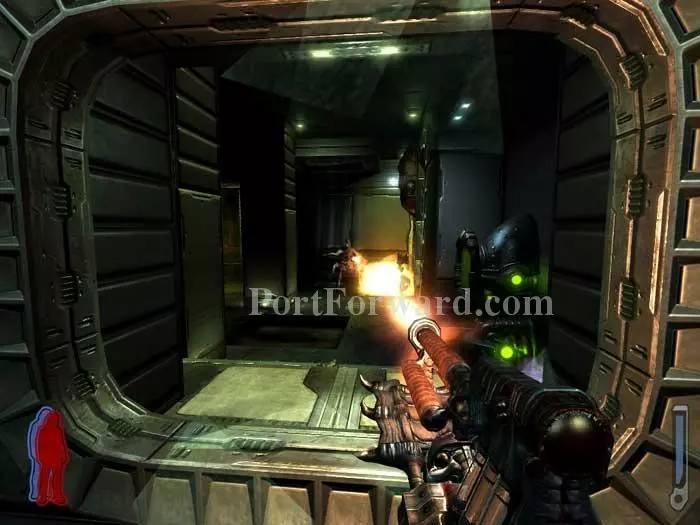
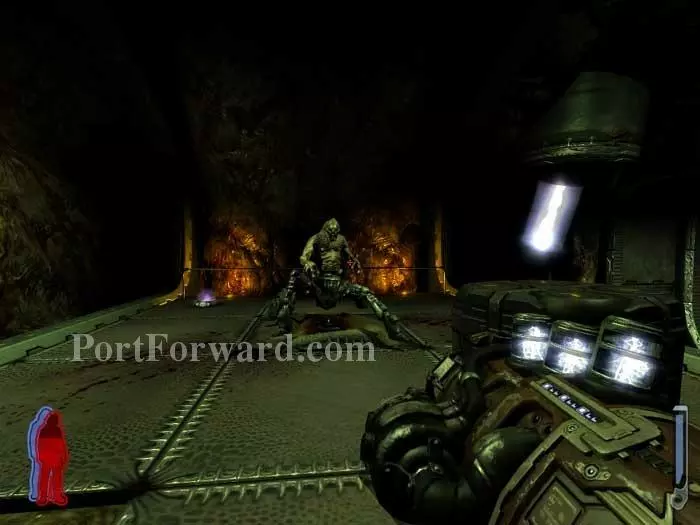
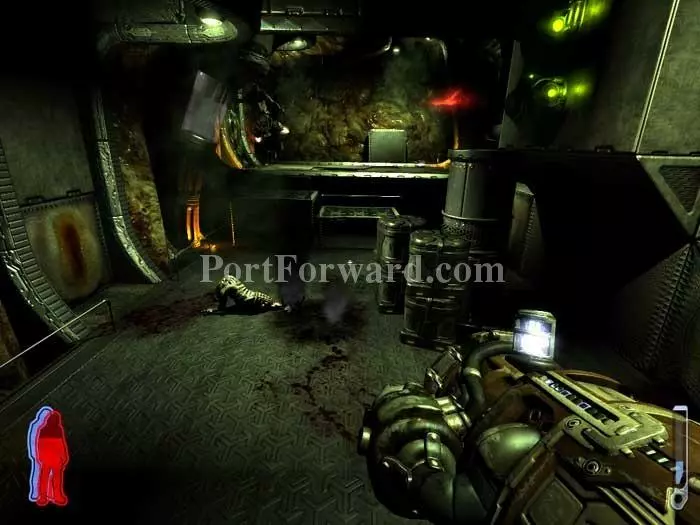
Climb the walkway and defeat this hunter.
Exit the walkway and defeat this fodder in the crawlspace to the left. (A room to the right has a crawler and Auto Cannon ammo.)

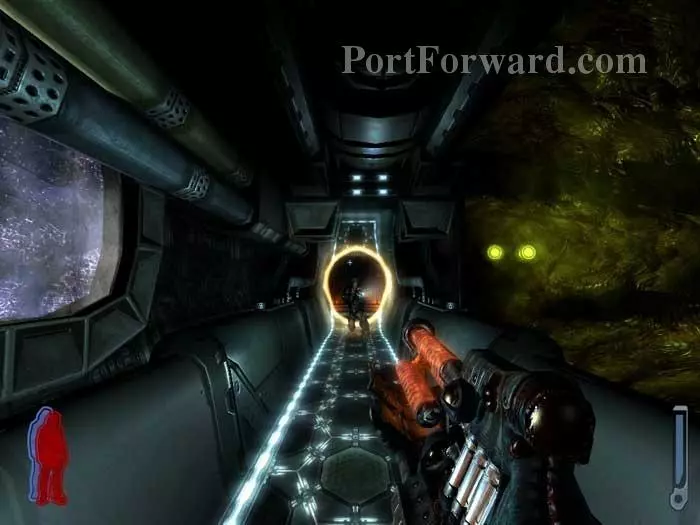
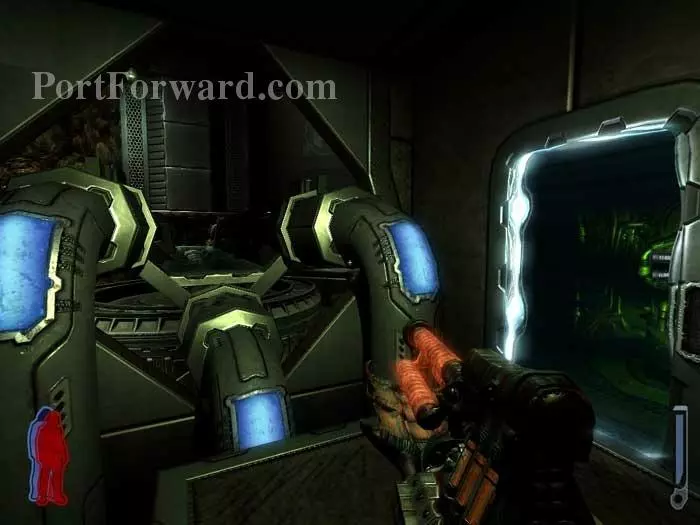
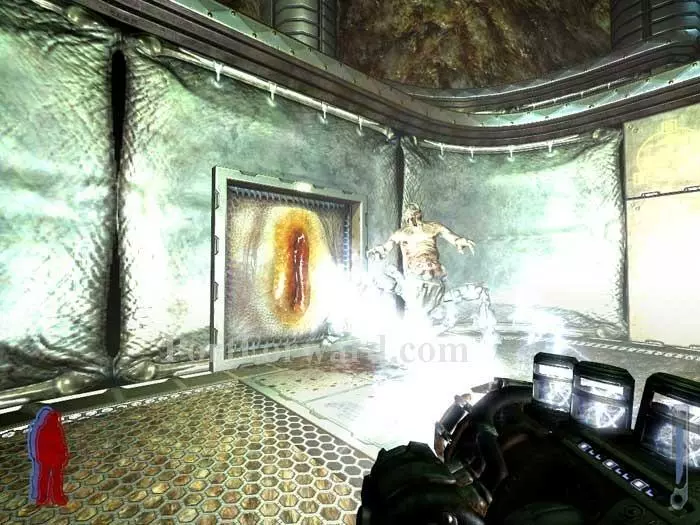
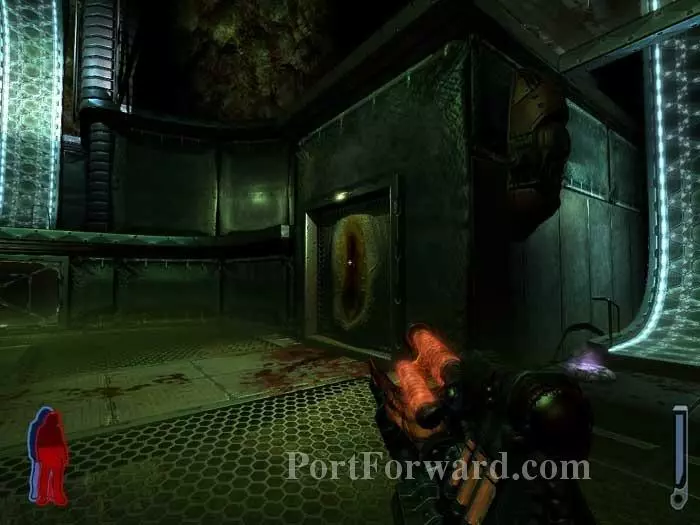
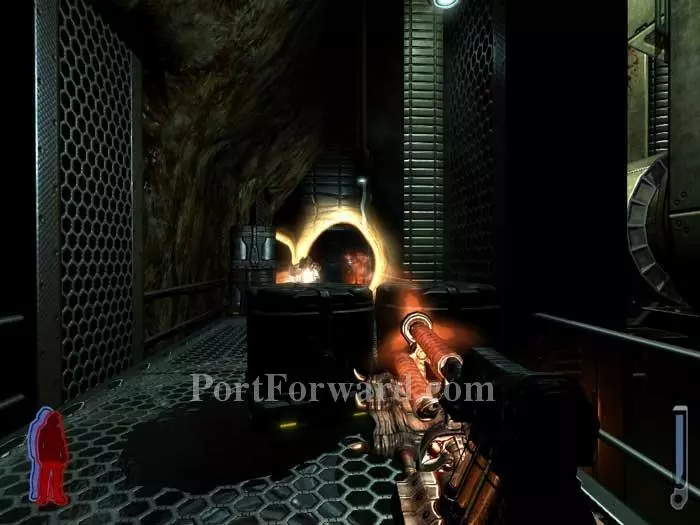
Leech lightning ammo from the ceiling before entering the portal ahead.
Walk forward just enough to open this door.
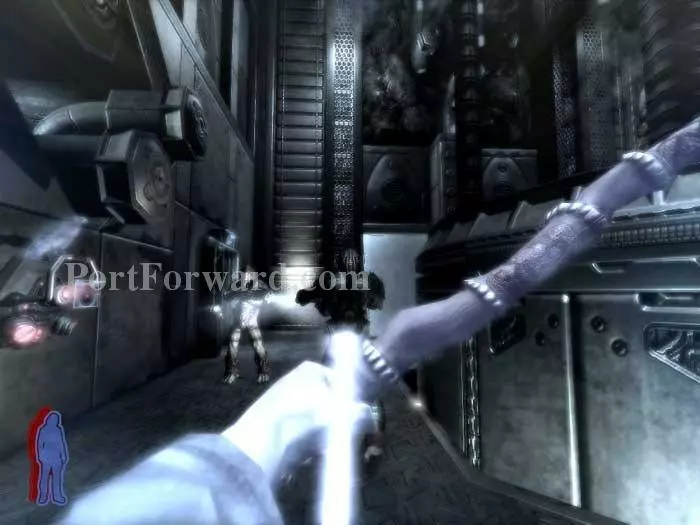
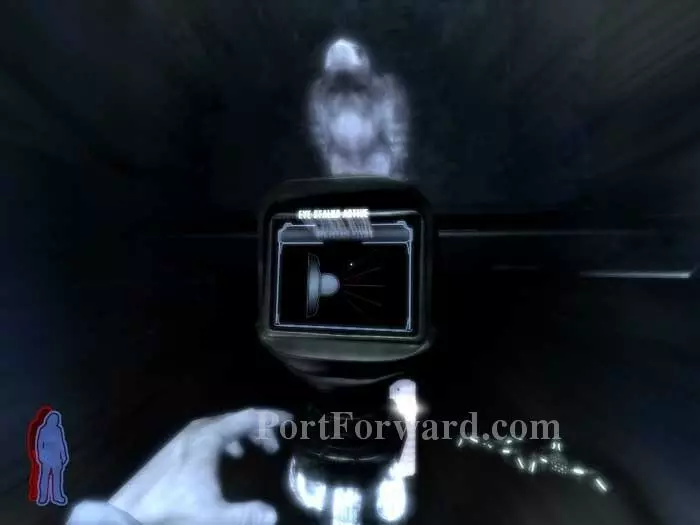
Spirit Walk to stealthily shoot these two hunters before they can trigger the alarm on the left. Two more hunters attack from the right. Continue through the door under the blue light ahead.
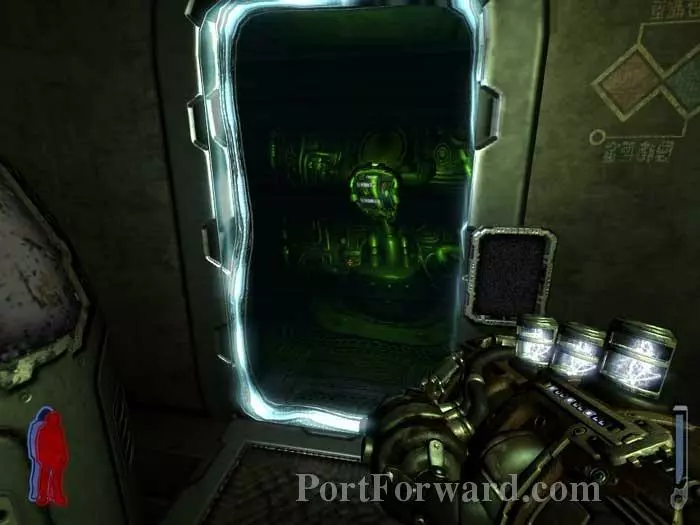
Find a health spore to the right then Spirit Walk through this force field.
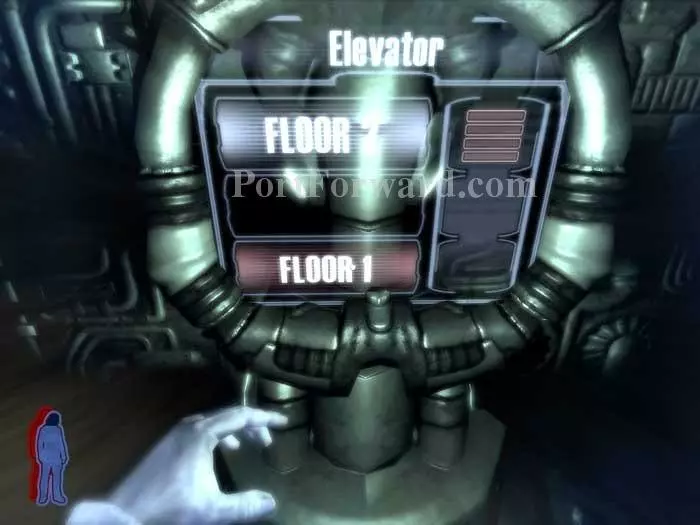
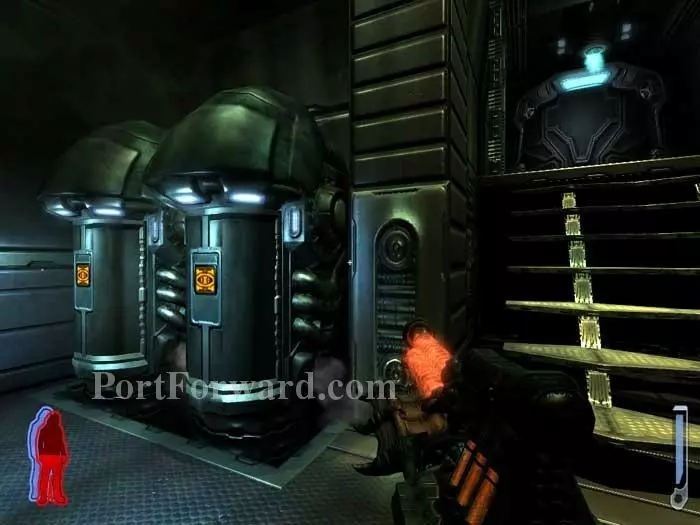
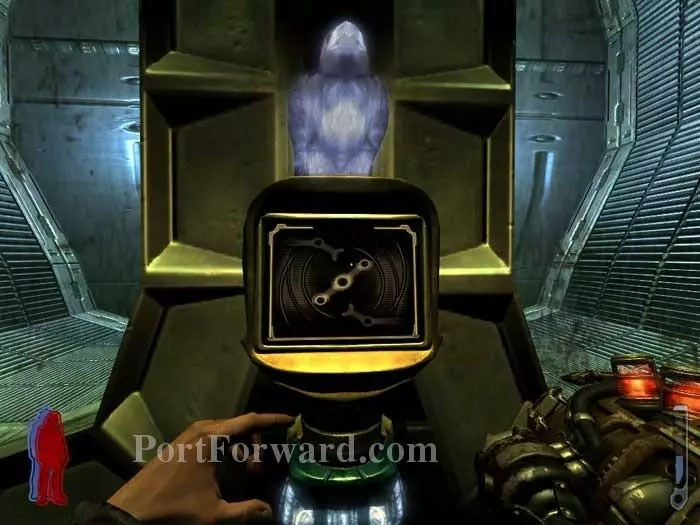
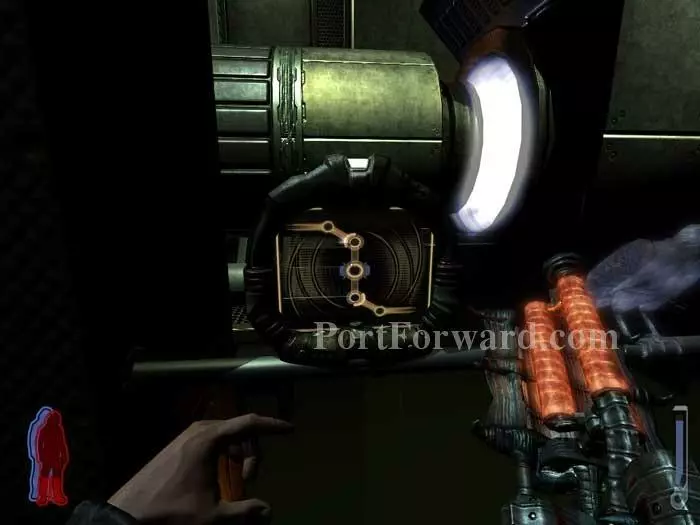
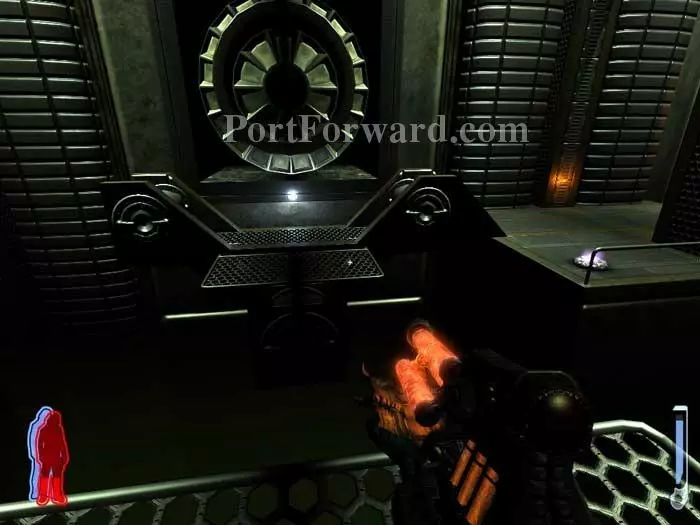
Press the FLOOR 1 button.
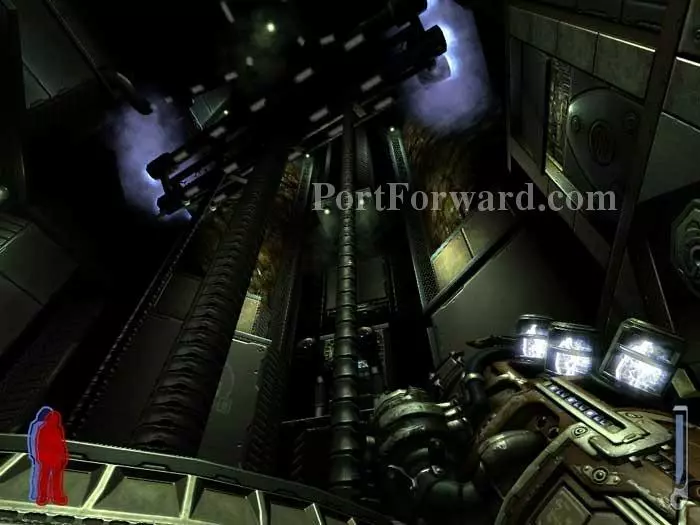
Backtrack to the room where you battled the hunters to see a huge lift descend.
Return to the force field area and step onto the lift.
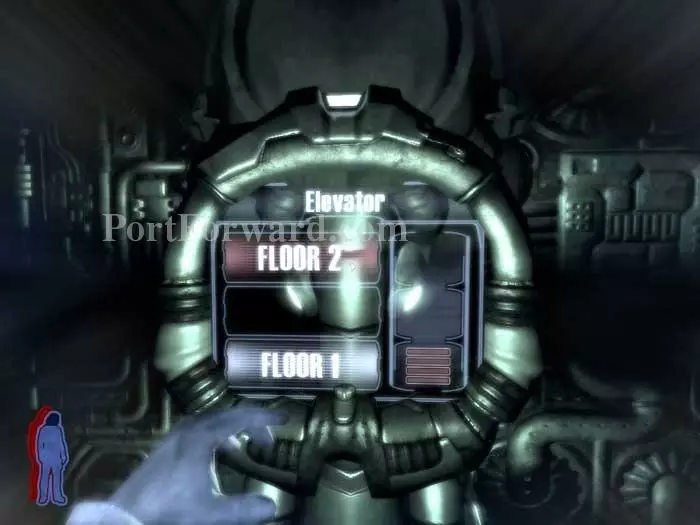
Spirit Walk through the force field and select FLOOR 2.
Your body rides the lift up. A hunter will open fire as the lift ascends but he's no threat. Once the lift stops, continue through the door ahead. Chase writes that you can jump off the lift and listen to another installment from Art Bell.
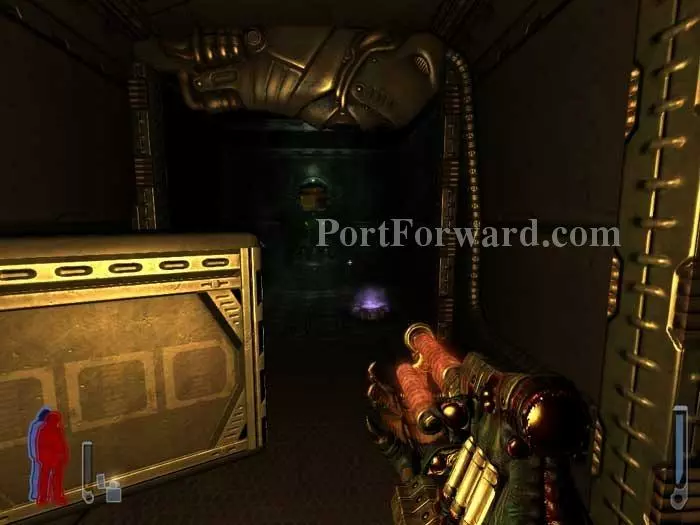
Hear Tommy say, "Man, so dark in here -- I'm doomed." This is a clear reference to Doom 3's dark corridors. A health spore and a fodder are ahead.
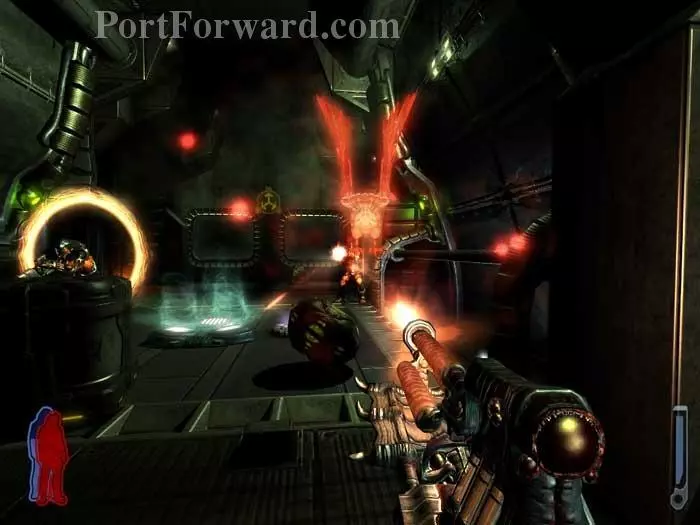
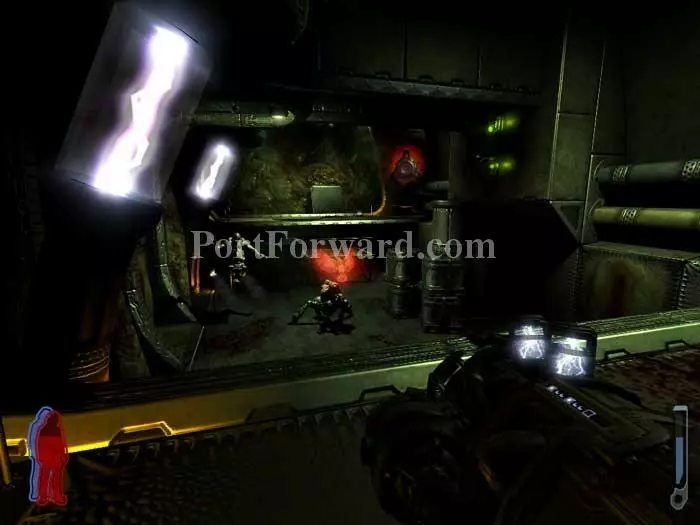
Hunters attack all around. Note the lasers.
Spirit Walk to this console and disable the lasers. Crawlers and rifle ammo are behind the console.
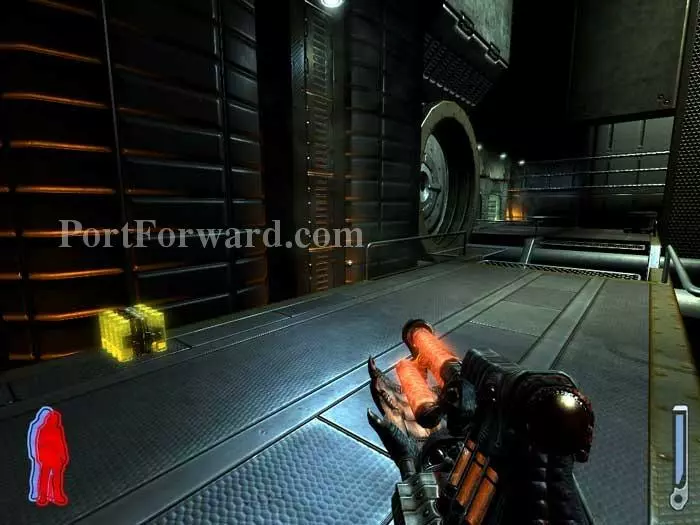
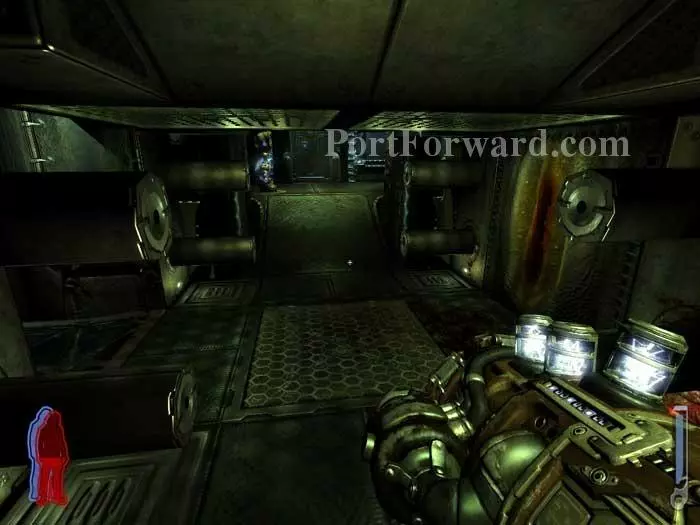
Two ammunition lockers are on the left. Don't miss the lightning ammo on the ceiling before exiting out the door on the right.
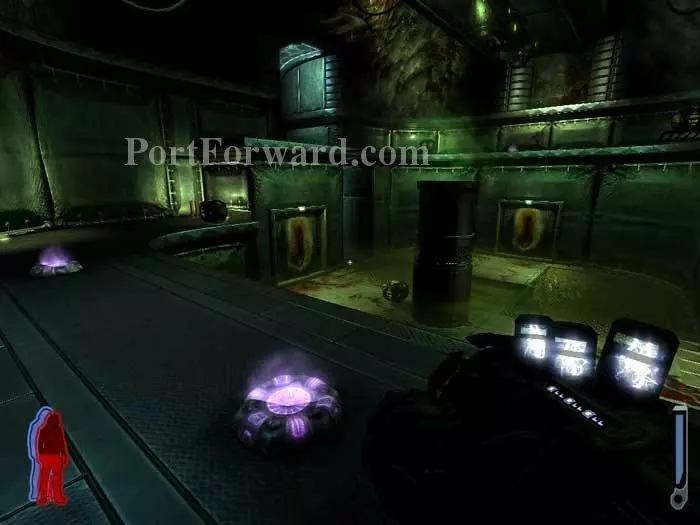
Heal up at the spores before dropping to the ground below.
After a brief word from Mother, a number of harvesters attack through some very...organically-shaped doors.
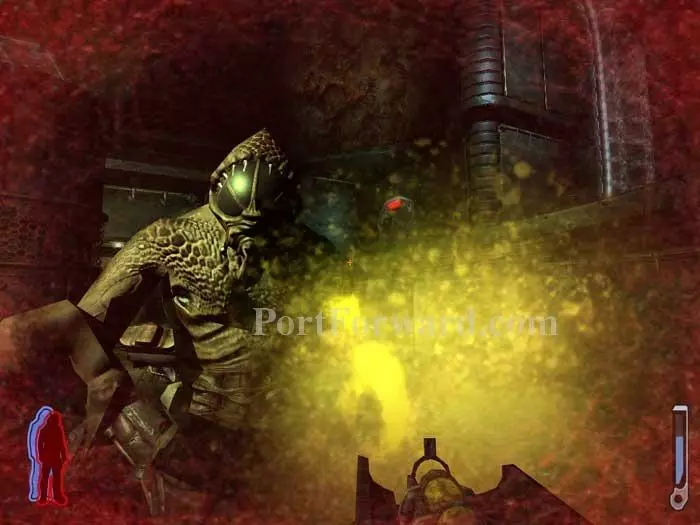
These guys just keep coming and in such close quarters you'd do best to use the acid shotgun. Even so, I went to deathwalk twice.
There's two plasma stations here as well if that's your preference.
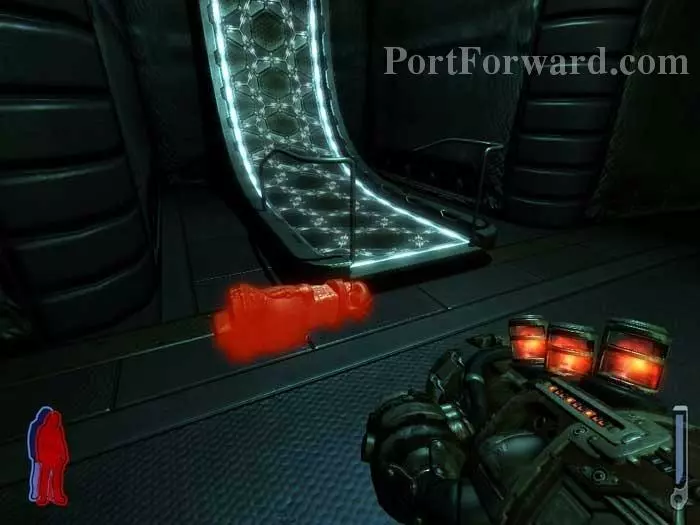
Keep and eye out for this dropped item -- your next weapon, the Launcher. These guns use crawlers for ammo. Primary fire is a straightforward grenade launcher. Secondary fire creates a shield.
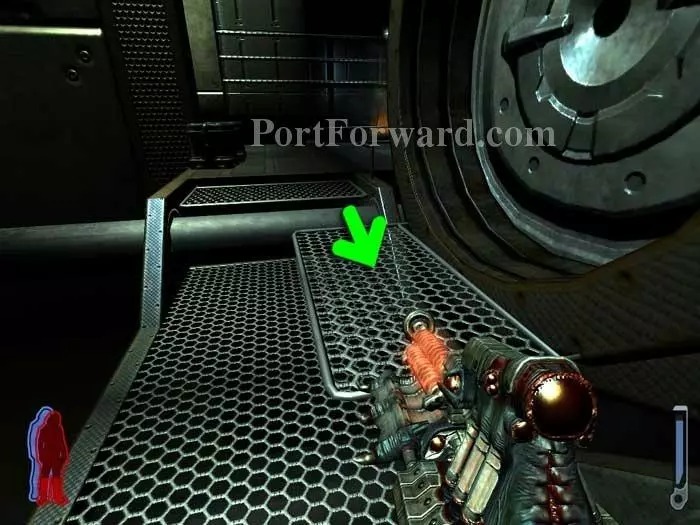
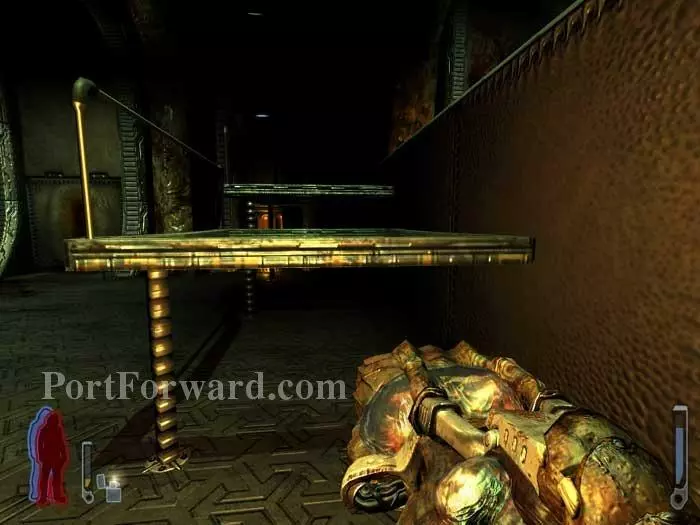
Climb one of the lower-level walkways to reach the upper-level walkway seen on the left.
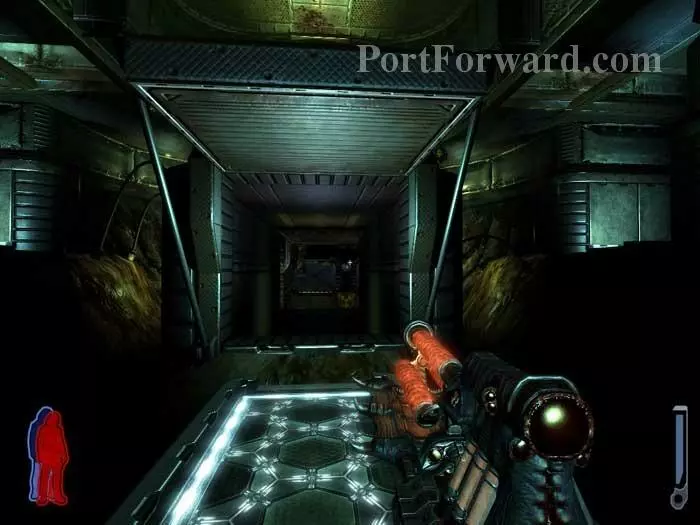
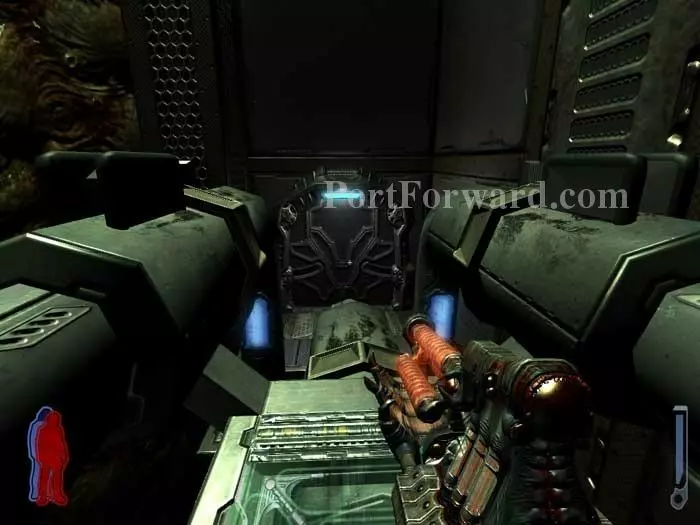
Enter the corridor ahead.
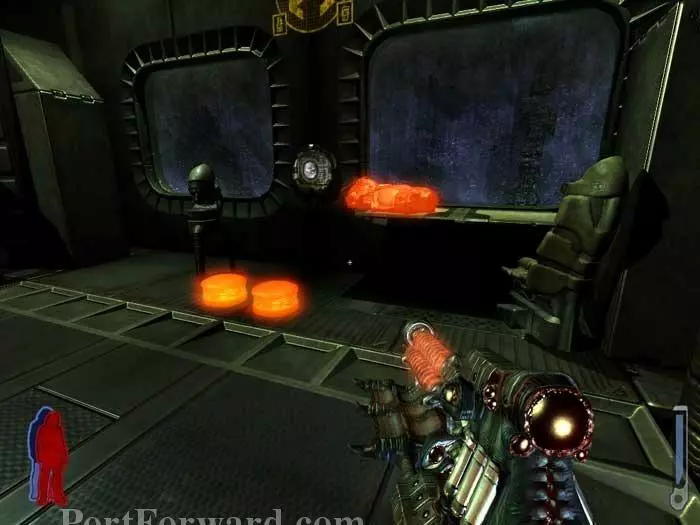
In case you missed the Launcher in the previous room, another is waiting for you here, along with ammo. A barely-audible earth transmission emanates from the display between the windows.
Walk behind the corridor where you entered and battle a pair of hunters.
Shoot the gravity switch on the ceiling to get past the wall ahead. Repeat to get past the next wall.
Defeat three hunters.
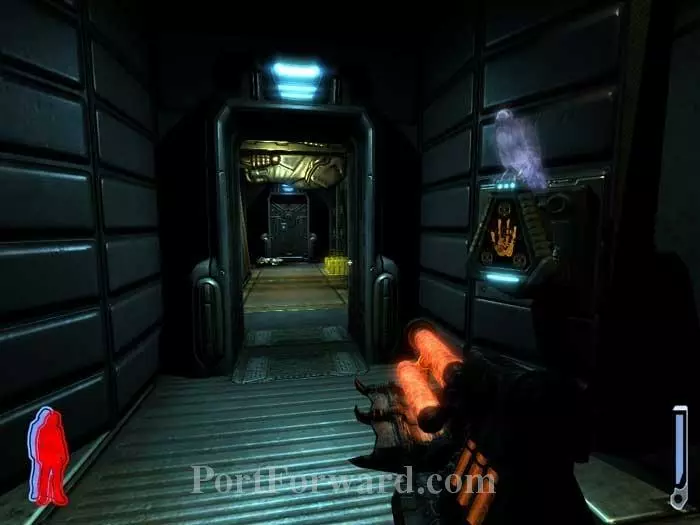
The dismembered hand gets you through this door. Health and ammo are ahead.
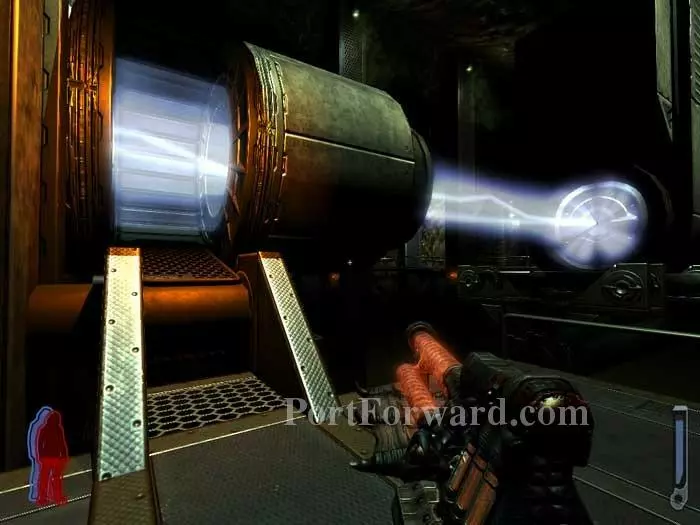
Head left, grab the acid ammo then speed across the room before the beam generator slides right.
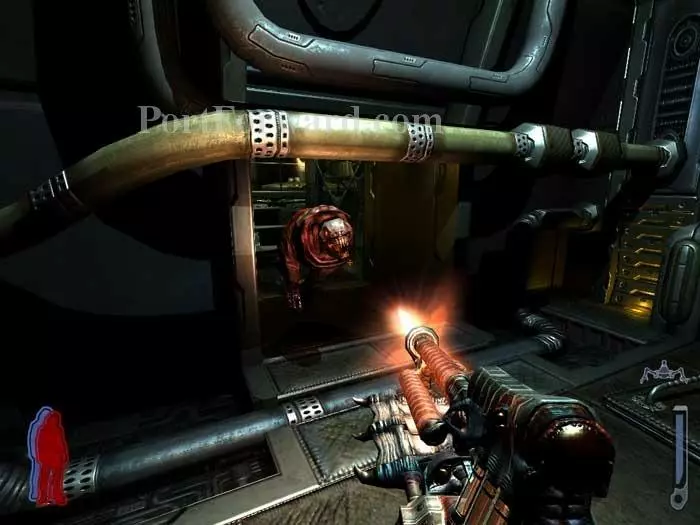
This window on your left explodes open. Jump through and defeat the harvester inside.
Health spores, crawlers and acid ammo are available. Activate this console to start a second beam generator moving.
Ready your launcher before returning through the window. Four harvesters spawn.
Defeat the harvesters then rush past the second beam generator.
Defeat a pair of hunters then find acid and Auto Cannon ammo in the far corner.
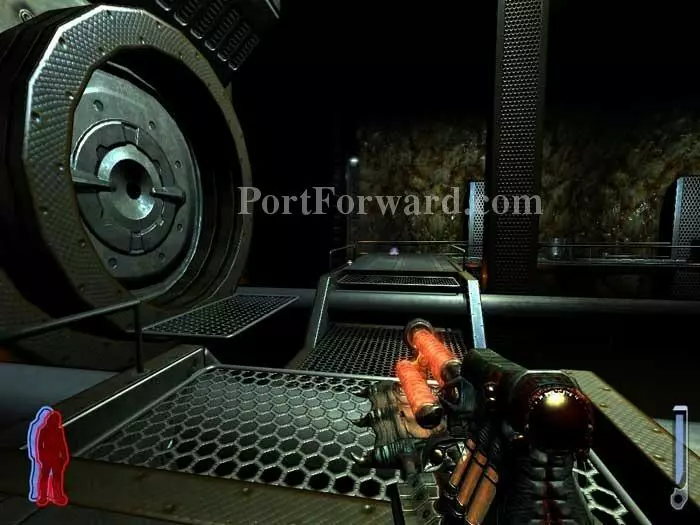
Use this console to retract the left part of the beam mechanism ahead.
Return up front and step onto this platform.
Ride the generator as it slides across the room. Step onto the platform ahead when you get close, then jump to the right and heal at the health spore.
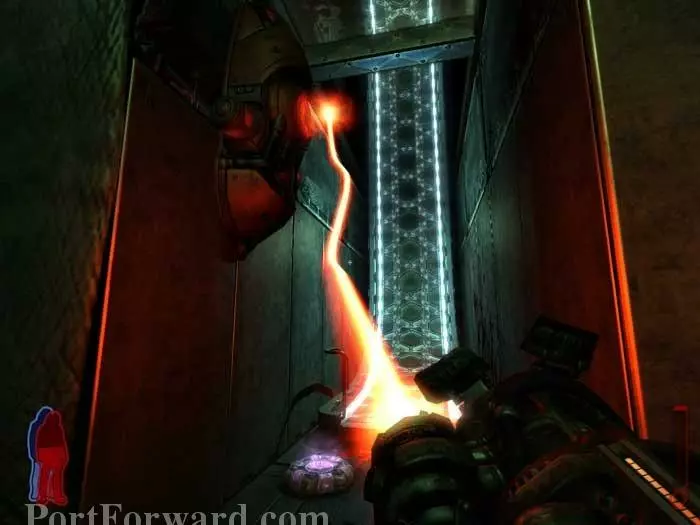
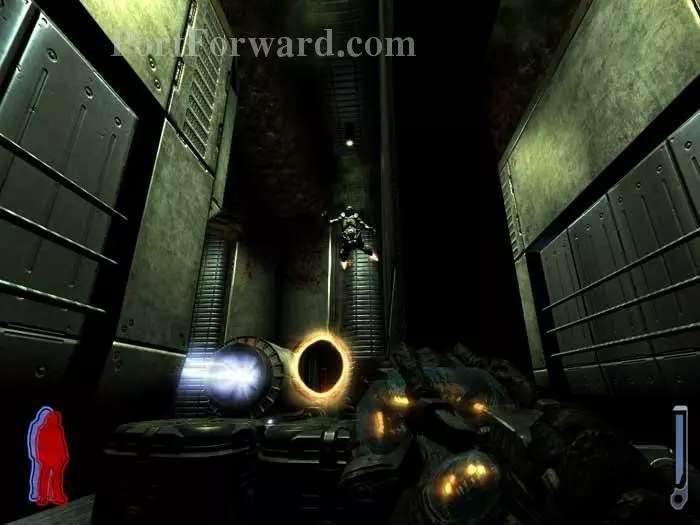
Wait for the beam to stop then jump into the gap ahead. Turn left into the shaft.
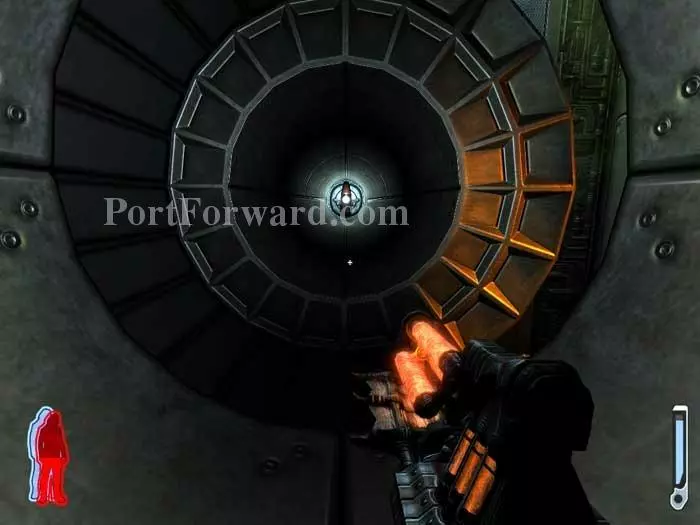
Dart through the tunnel before the beam fires, then turn right. (That's actually a lightning charger for your Leech Gun ahead, in case you feel up to the challenge.)
The horizontal bars on the left block your progress for the moment. Pass through the door to the right of the health spore.
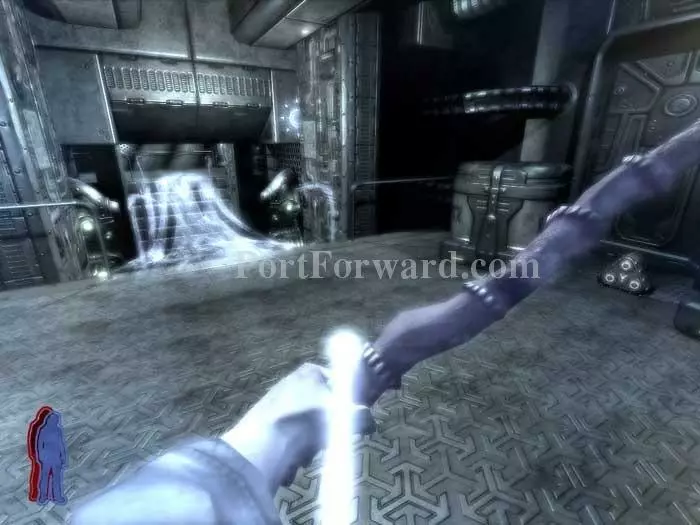
Spirit Walk across the bridge. (Note the Auto Cannon ammo to the right.)
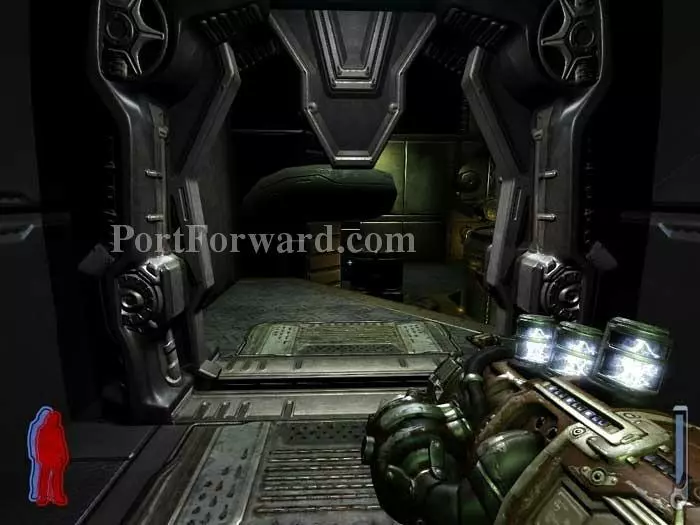
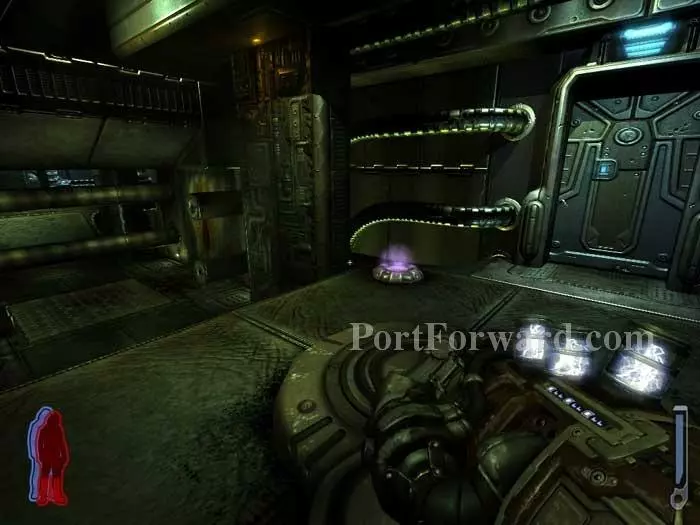
Use the console through this door. A health spore and ammunition locker are inside.
Backtrack to find the path clear to the door ahead.
If you were able to leech lightning earlier, ready your Leech Gun now. Otherwise, the launcher would be a good choice.
Several harvesters attack simultaneously. If you stay on this upper walkway you'll have a clear shot most of the time.
Keep an eye out for crippled harvesters like this one. They'll hobble back to an orifice, only to return full-strength. Sometimes they'll self-destruct, so keep your distance.
Hop up these stair-like platforms to reach the upper level.

Kick the pod to the membrane-covered door ahead then shoot it to proceed. Note the spore on the right. (A hunter will snipe from the left.)
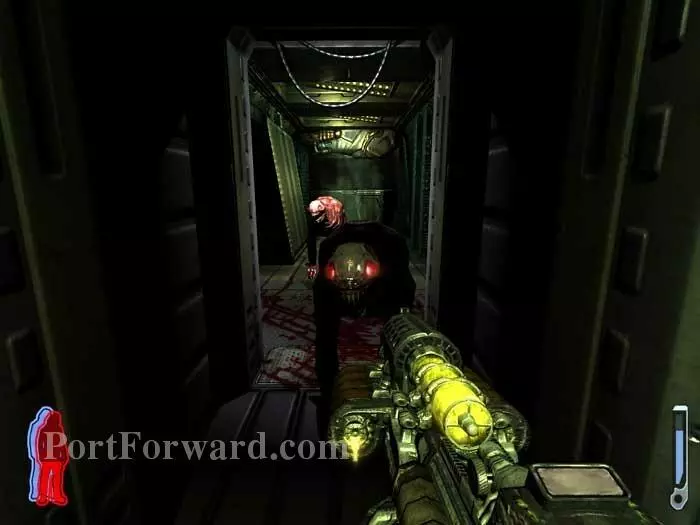
Ready your acid gun before opening the door -- two fodders are inside.
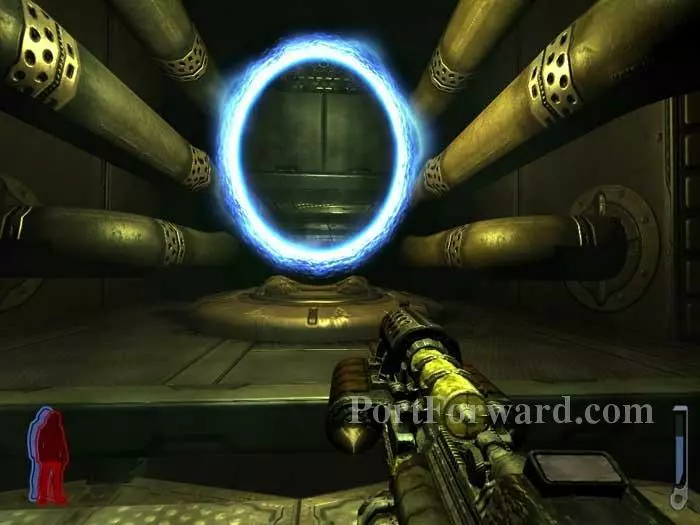
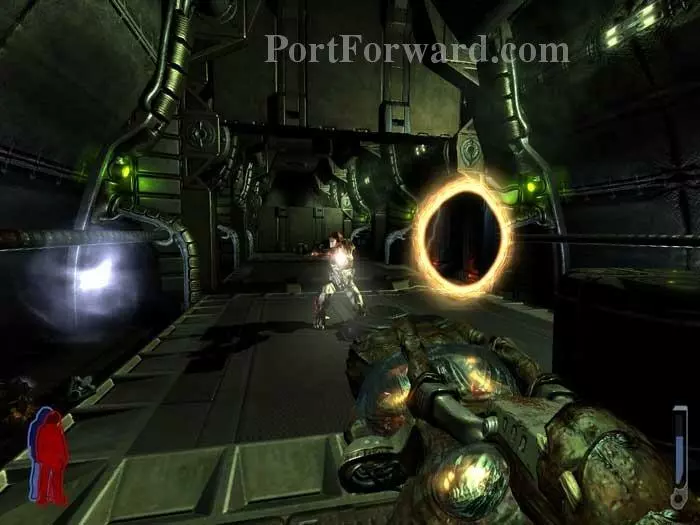
The exit portal is around the next bend. Step through to load the next level.
More Prey Walkthroughs
This Prey walkthrough is divided into 22 total pages.


