
This Prey walkthrough is divided into 22 total pages.
You can jump to nearby pages of the game using the links above.
Ascent
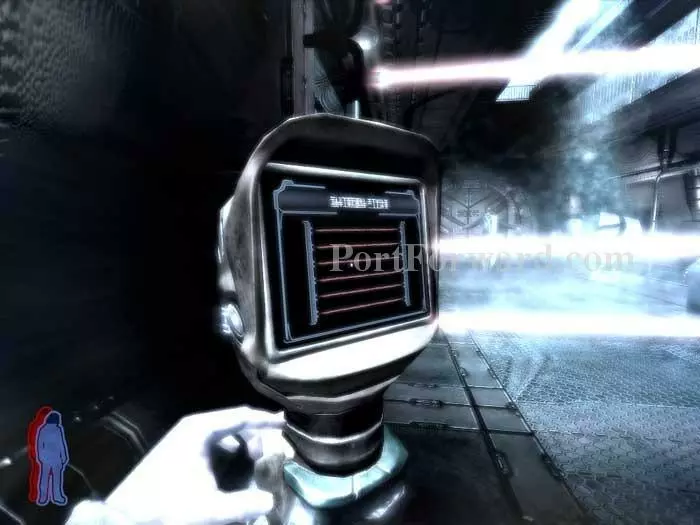
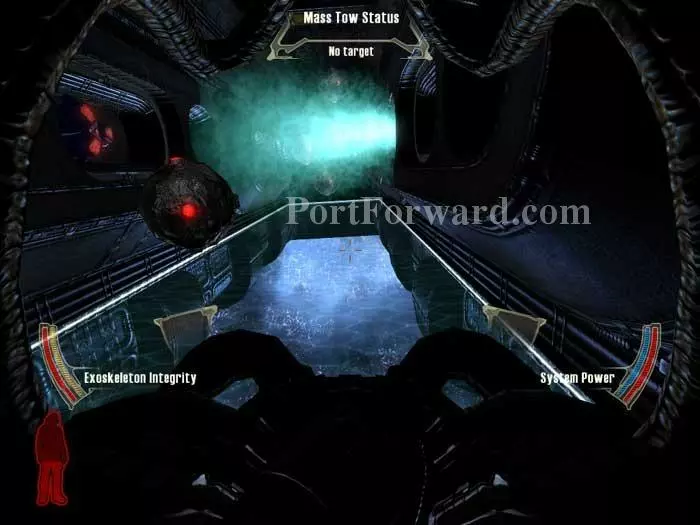
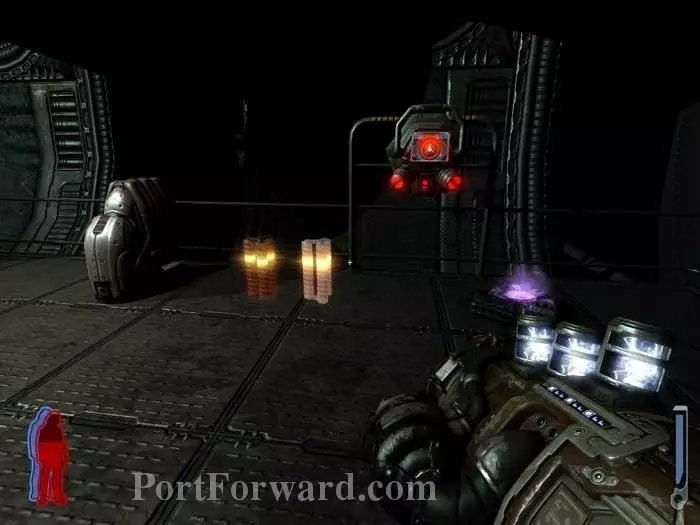
Start by turning around to find plasma and freeze ammo. Spirit Walk to turn off the beams and stop the leak.
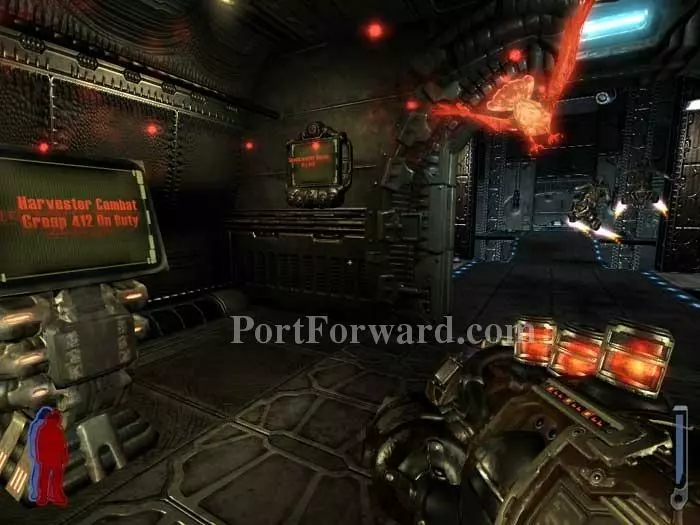
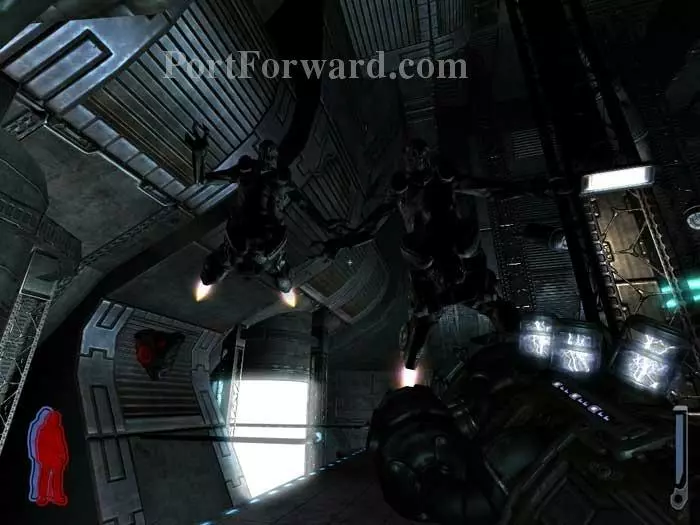
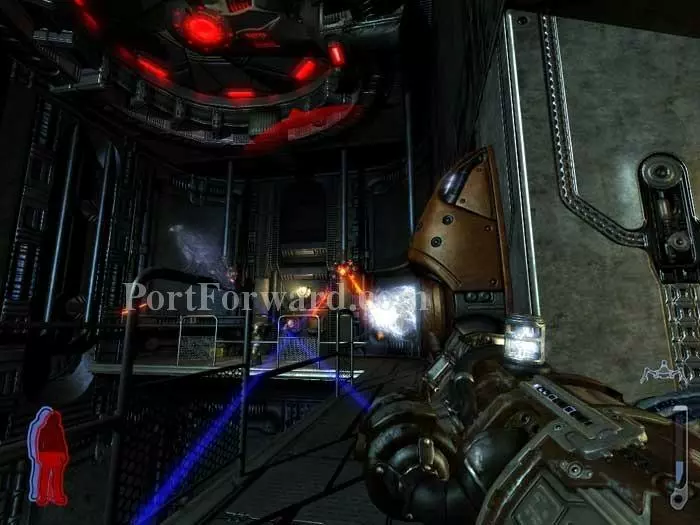
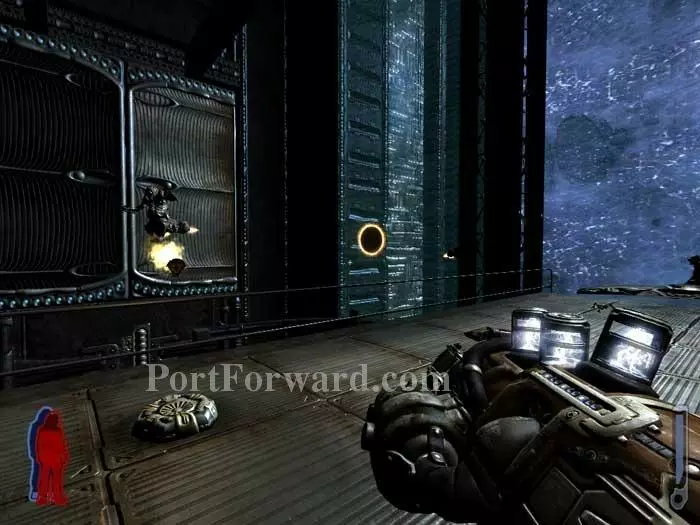
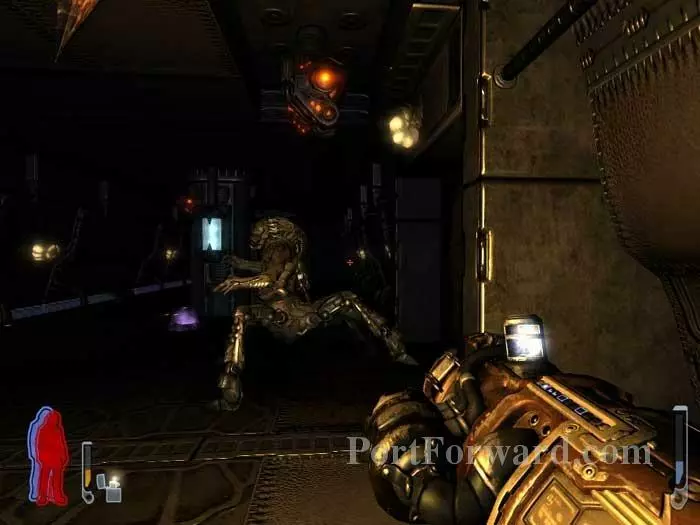
Harvesters are through the next door.
Harvester guts. I like secondary fire from the Acid Gun or Auto Cannon for this fight. Alternately, you can try to run and call a shuttle from the pad to the left.
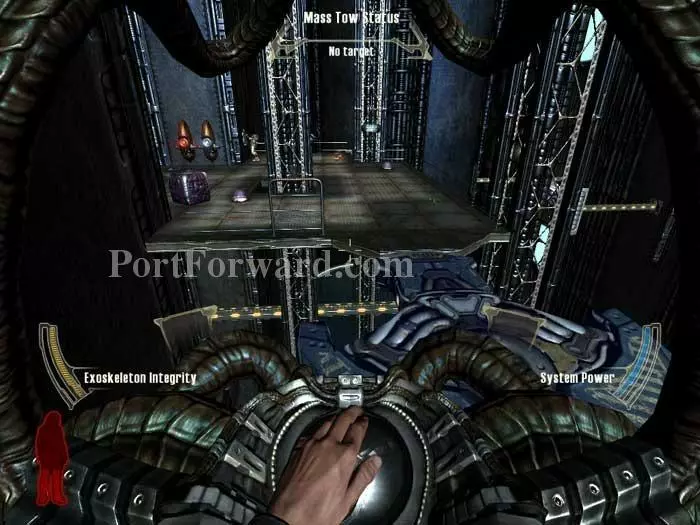
Collect health and ammo from the catwalk.
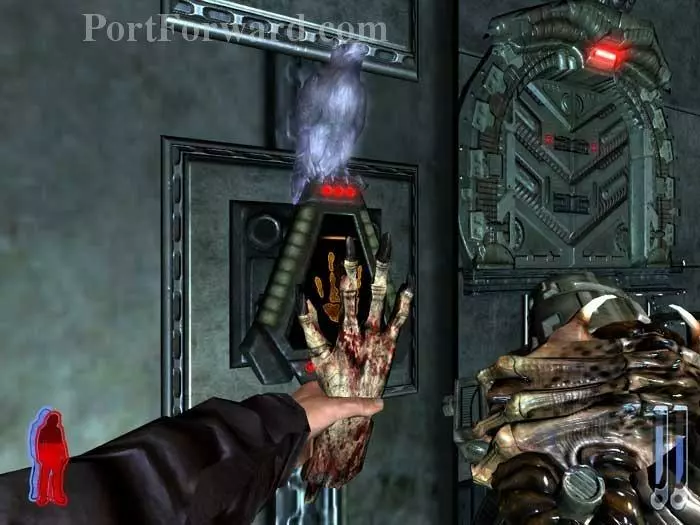
Use the dismembered hand to open the door on the right.
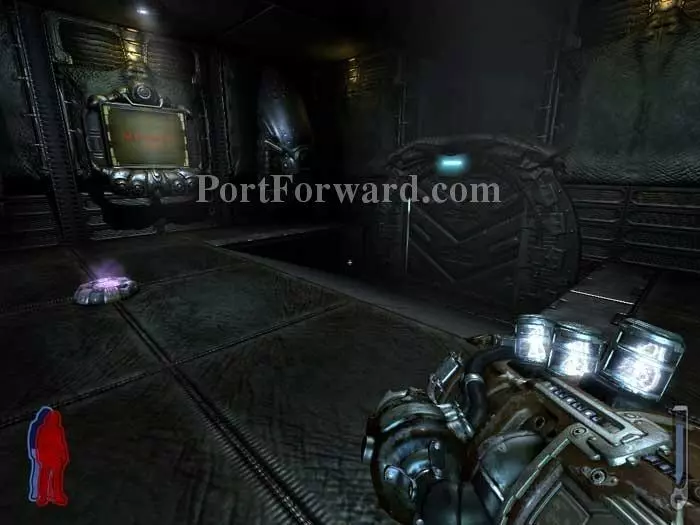
Find an ammo locker to the right then grab some lightning or plasma for your Leech Gun to the left.
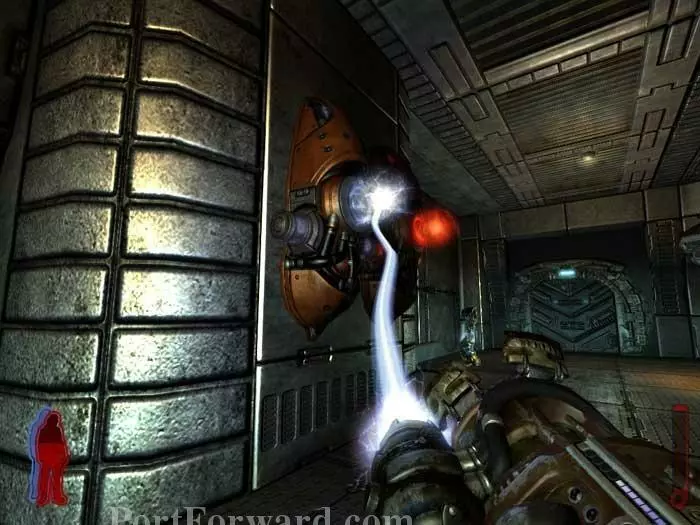
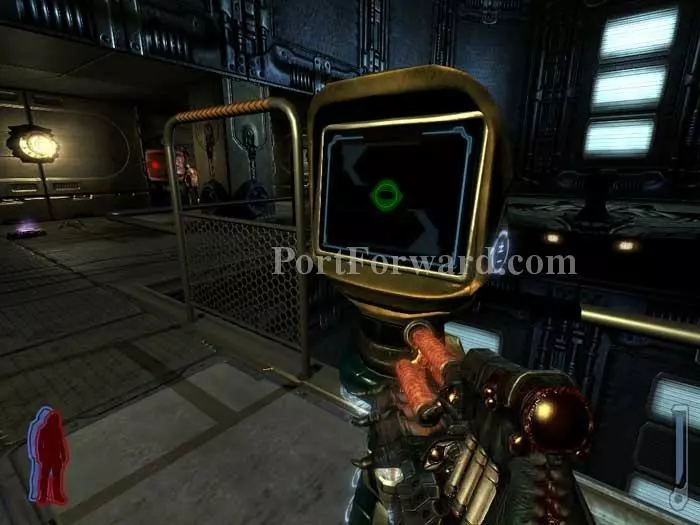
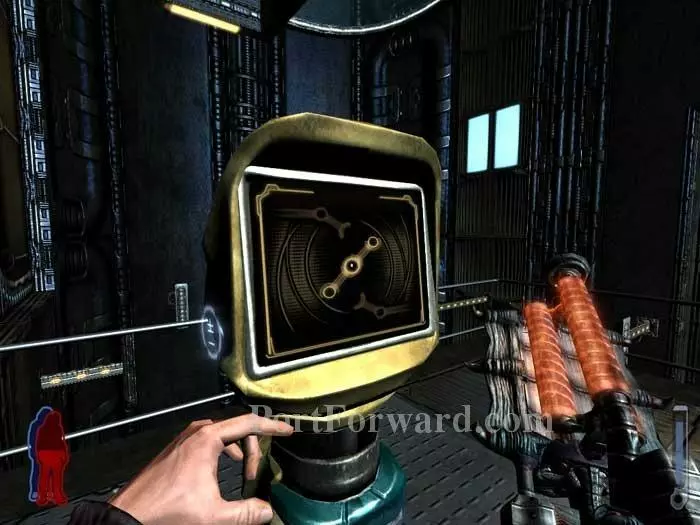
Use this console to activate a portal in the previous room.
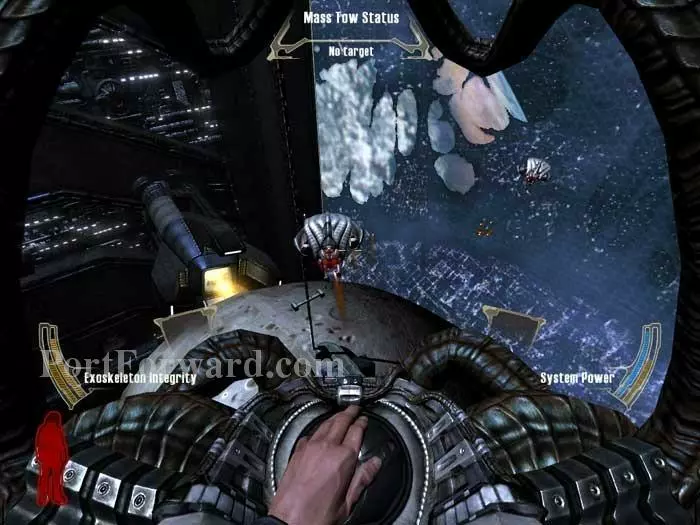
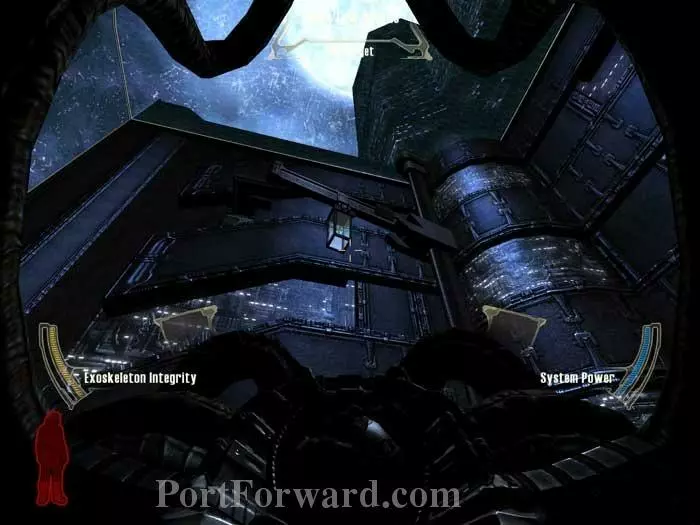
Enter the room on the right and step onto this platform. Mother informs you that this Citadel is several hundred miles tall; you are at its base and Jen is at the top. Ammo as at your feet and health is behind you.
Backtrack to find more harvesters.
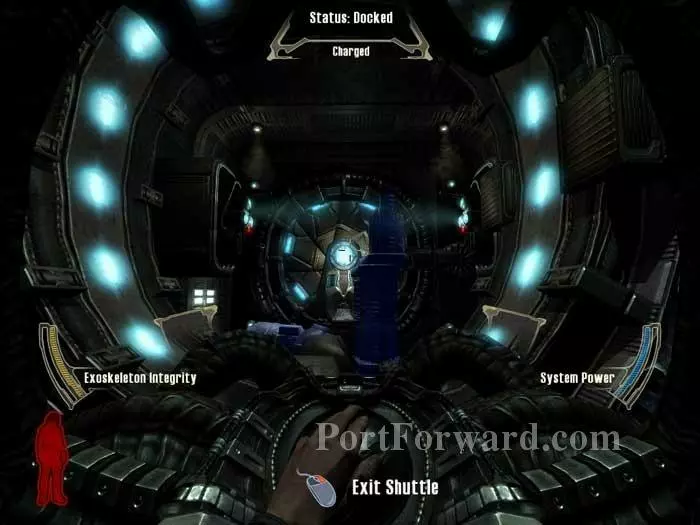
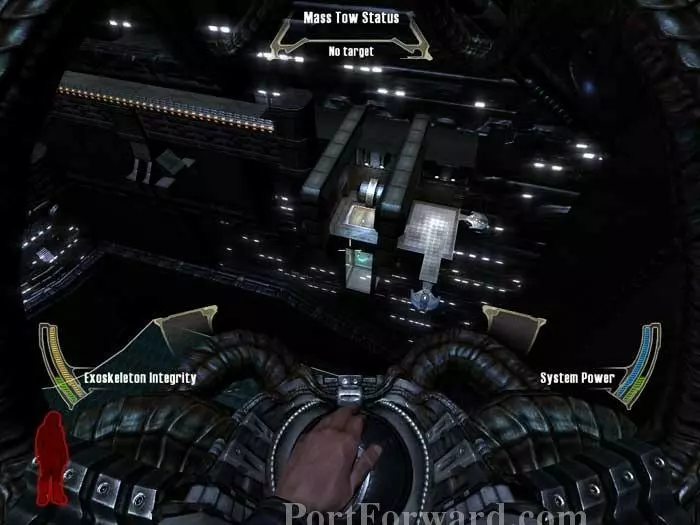
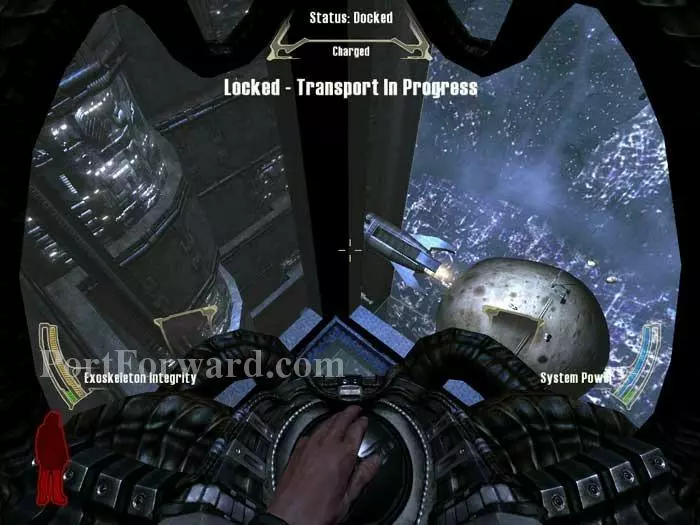
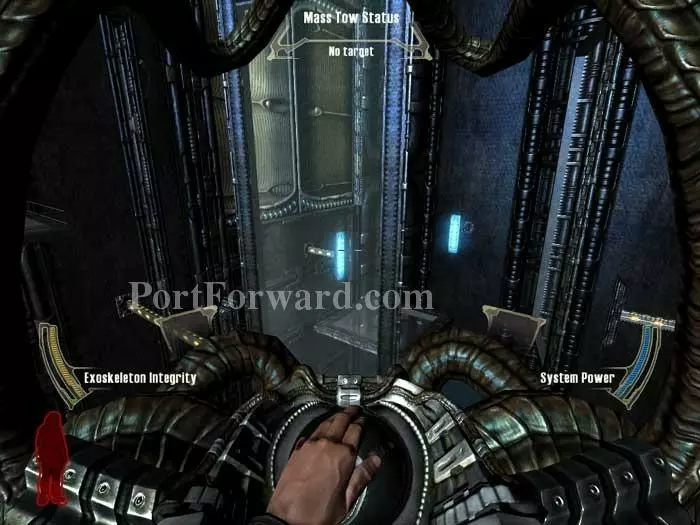
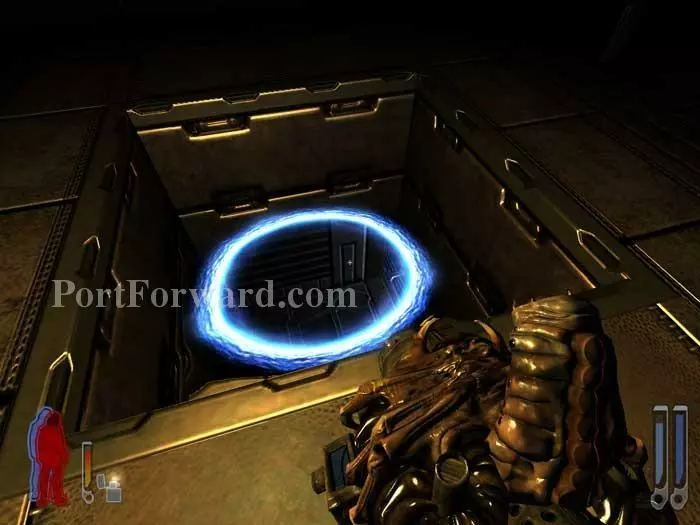
Call a shuttle and ride it to the portal upper-right.
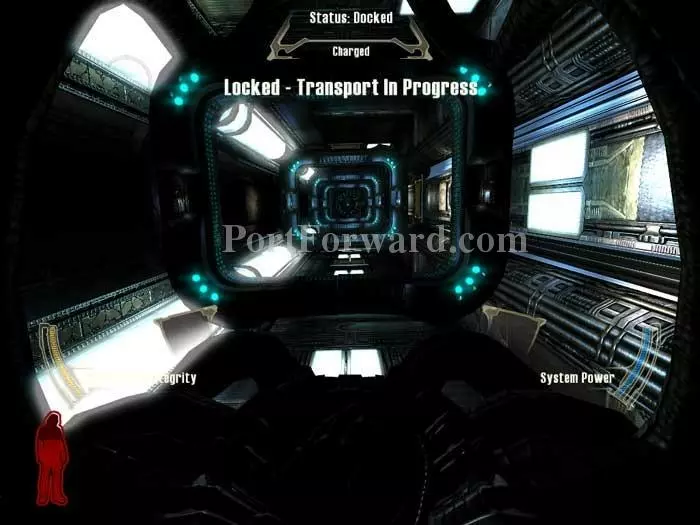
Discover that it's not really a portal at all, but a kind of shuttle elevator.
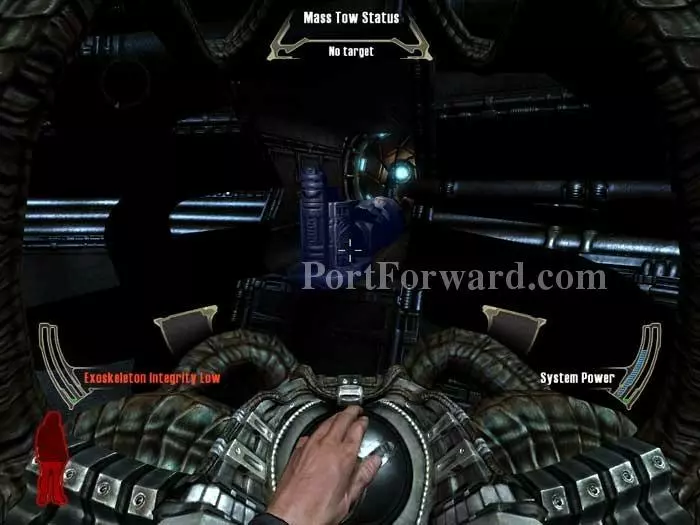
Put down on this pad ahead. Be sure to keep an eye on the lasers -- you don't want the turrets firing on you as you exit the shuttle.
Unfortunately there's no switch to disable the eye stalks. Fill up on lightning if you don't have some already, then trigger the turrets and destroy them.
Listen in on this next Art Bell segment. Researcher Greta Caldwell theorizes that the current abductions are related to the disappearance of the ancient Anasazi.
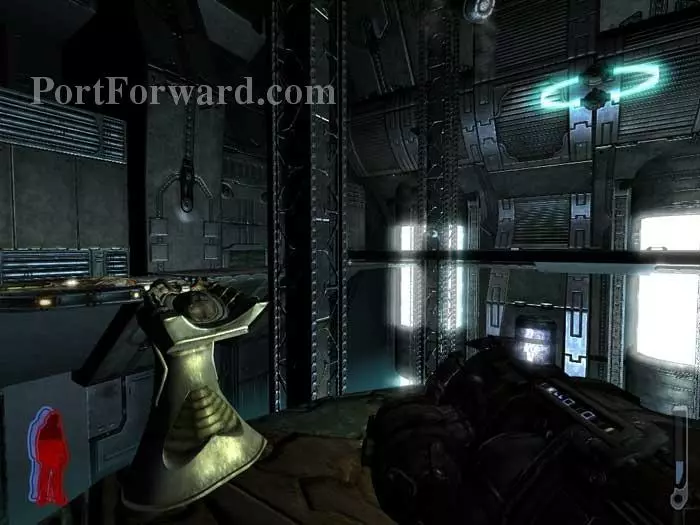
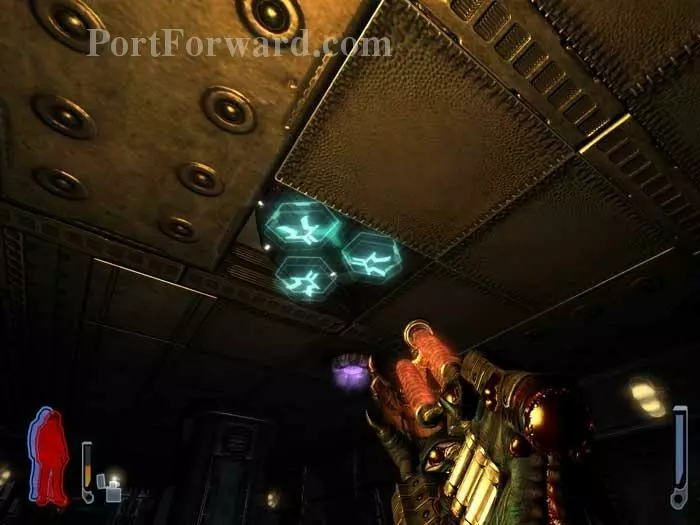
Use this console to unlock the ceiling hatch. (Note that a safer path is to Spirit Walk to this switch if you don't mind missing some goodies in this room.) A health spore, a freeze station and an ammunition locker are to the left. Rifle ammo is to the right.
Call a shuttle and rise through the now-unlocked ceiling hatch.
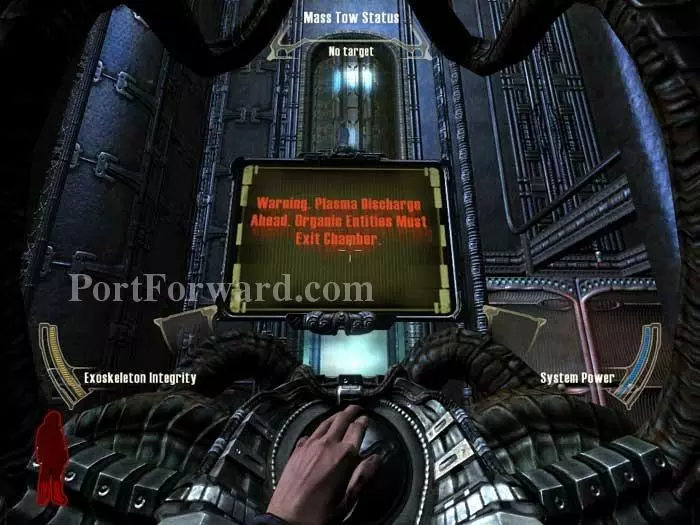
Quickly dodge the mines and other dangers to reach the next hatch, far above.
Clear the debris blocking the next portal. Robots and turrets attempt to slow your progress. (If you die here, you'll return from deathwalk all the way back where you called the shuttle -- best to move quickly and avoid a fight.)
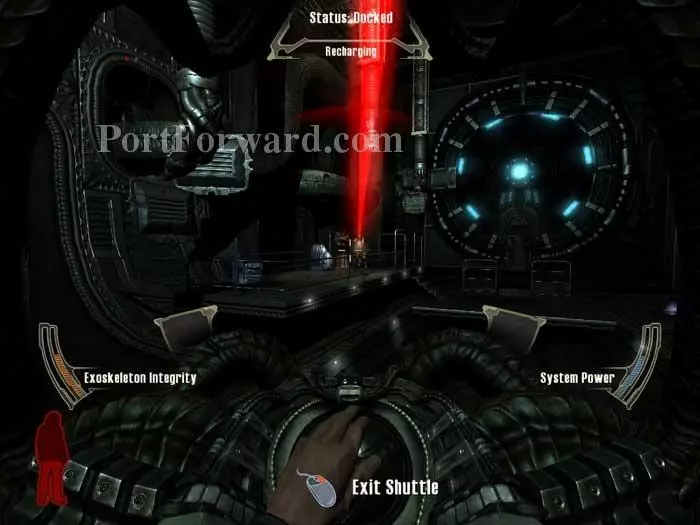
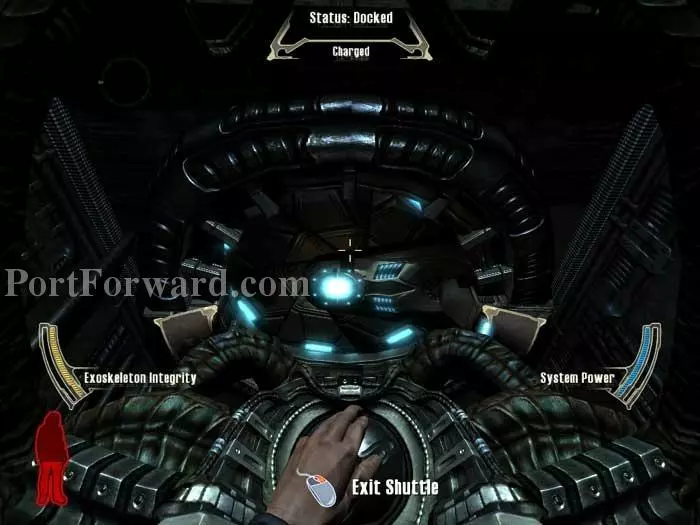
Fortunately, a landing pad is in the next room. Clear the area of threats before exiting the shuttle. Remember, you can hover over the pad to recharge the shuttle's exoskeleton integrity.
Spirit Walk to grab this rifle ammo. Note the health spore ahead/left.
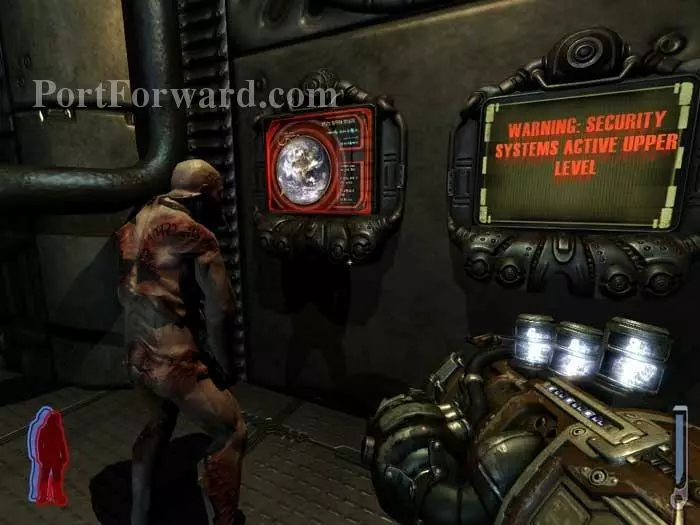
More rifle ammo and another health spore are here. Use the console ahead to disable the alarm.
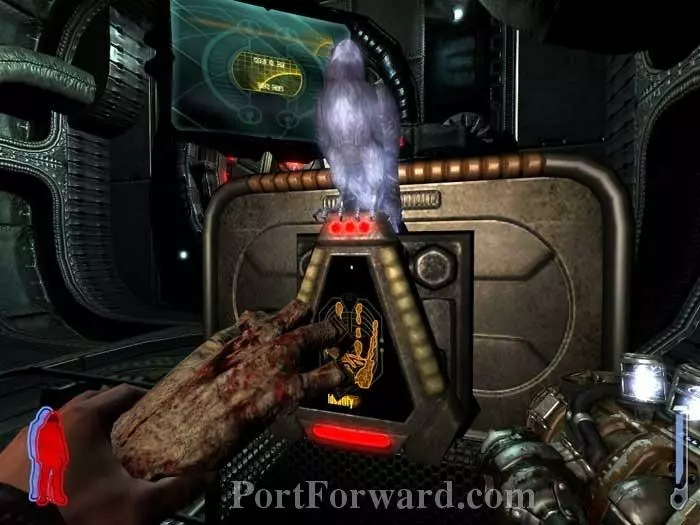
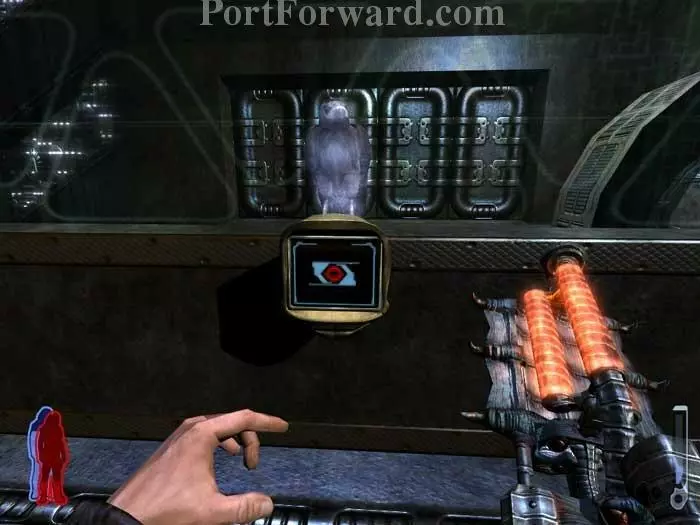
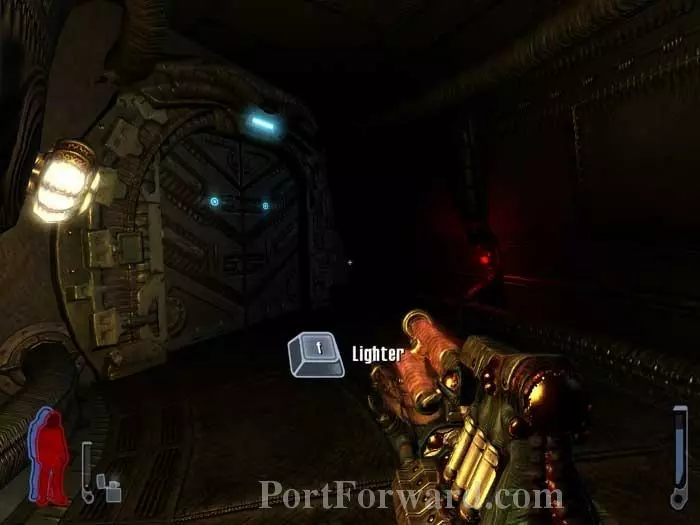
Use the dismembered hand on this console to unlock the hatch ahead.
Call a shuttle and fly through this pair of hatches.
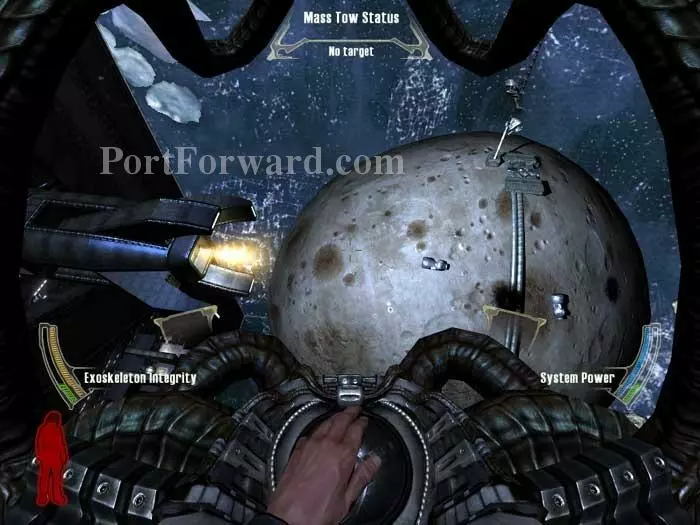
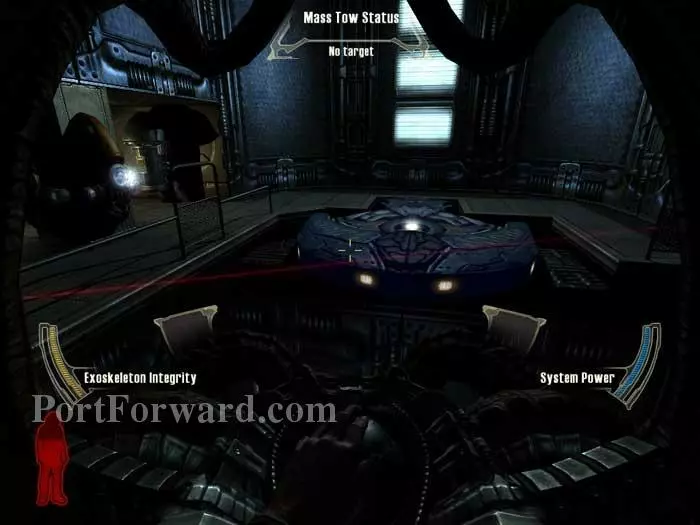
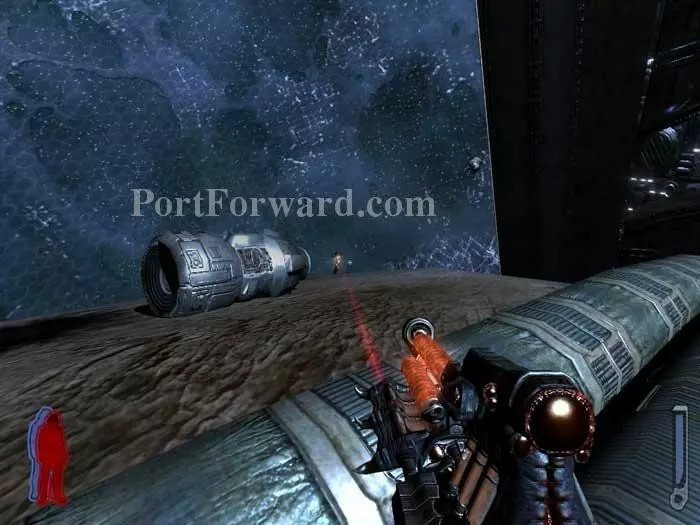
Find this large asteroid being mined. You need to land on the pad near the tower.
Robots will try to stop you, but they spawn in finite numbers. Try taking them all out before landing.
Follow this pipeline. Snipe the hunters that try to stop your progress.
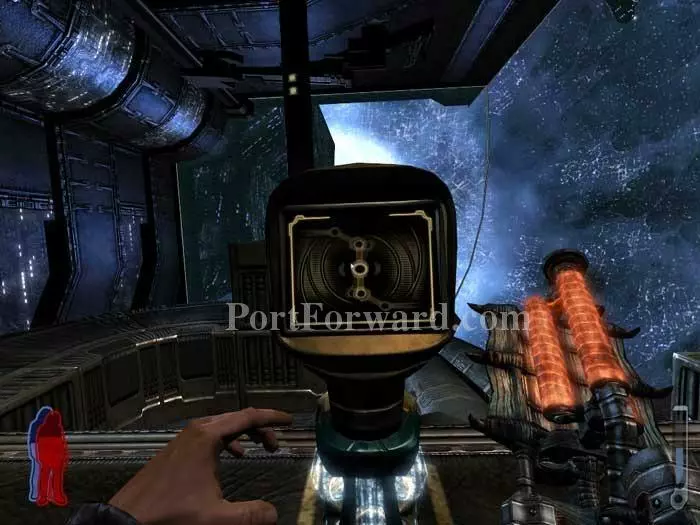
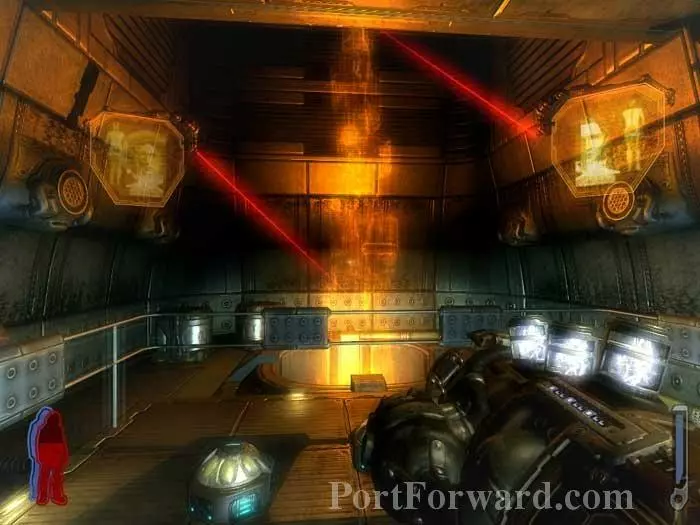
Activate this switch. A large crane upper-left comes to life.
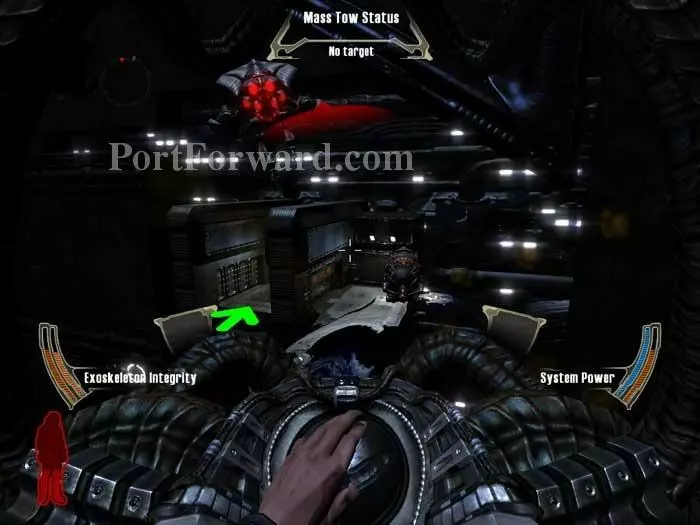
Call another shuttle and battle any robots that spawn, plus any determined hunters in shuttles. Stay close to the pad so you can repair.
Watch the crane lifting large crates higher into the citadel.
Here's where the process begins. Fortunately, there's a landing pad nearby.

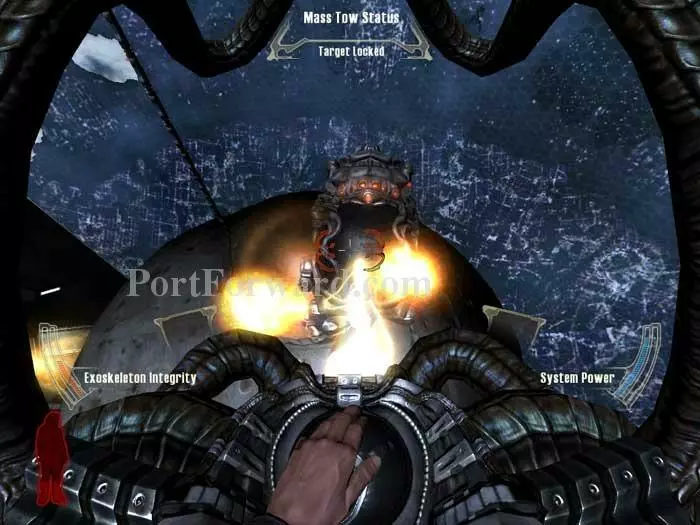
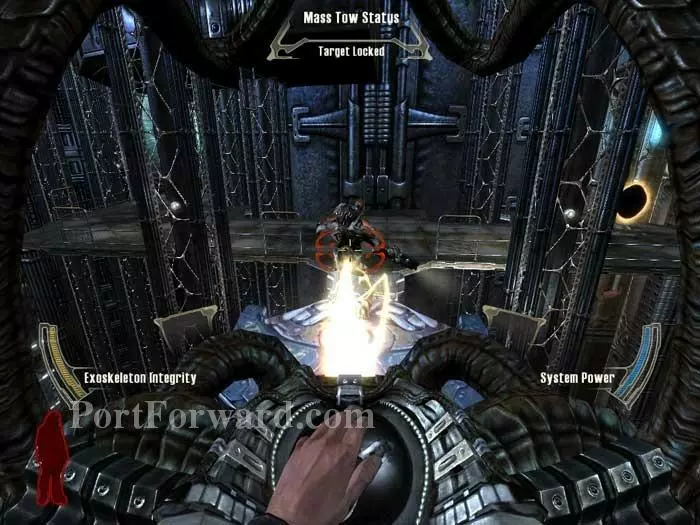
Defeat this hunter that spawns upon landing.
Use this console to your left and unlock the hatch beyond.
Defeat robots and shuttles then enter where indicated.

Fly your shuttle into the box.
Wait while the crane transports you farther into the Citadel. Mother checks in on your progress.
Defeat the hunter, along with a nearby robot (plus another hunter that spawns) before landing. Note the health spores and Leech Gun ammo.
Use this console.
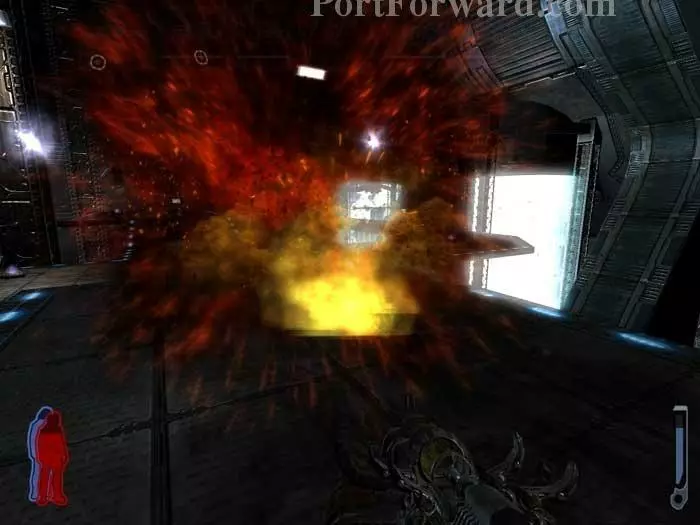
A new container is constructed and carried away. Ready your best harvester-stomping gun.
Two harvesters spawn on your way to call a shuttle. You can either take them out on foot or hop into a shuttle to do battle.
Hop in a shuttle then position it so that it will be enclosed by the next container.
Wait while you are transported, then fly the shuttle up and out of the container when you see this sign and hear Tommy say, "I really should get out of here." Otherwise, the shuttle is destroyed.
Defeat this hunter, his buddies and robots before landing on the pad. Find acid ammo through the portal on the right.
Lots of health spores are in this area, including on the ceiling. Note the gravity switch ahead -- there's another on the ceiling if you look up, just outside this shot. Walk across and then shoot the gravity switch ahead to find yourself on the other side of this gap in the floor.
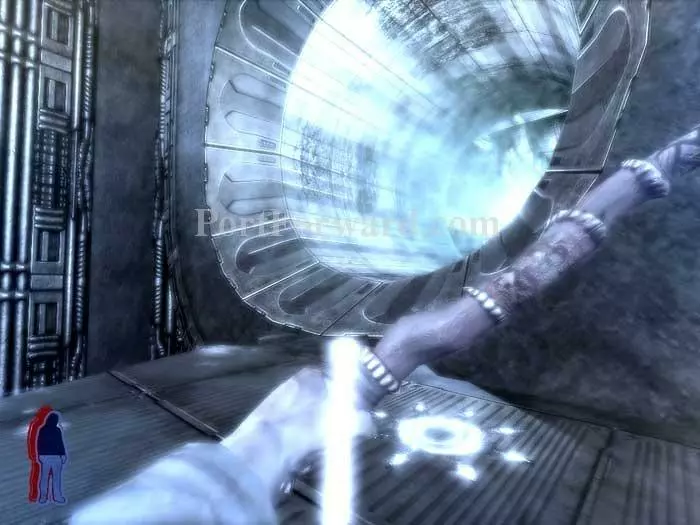
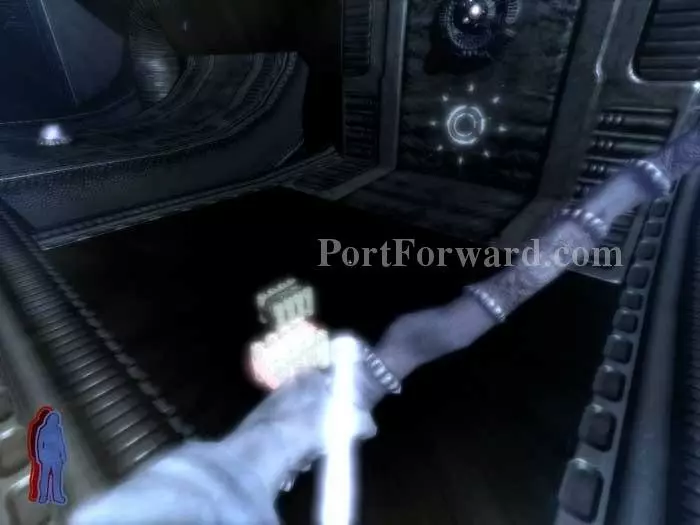
Spirit Walk into the exhaust tunnel.
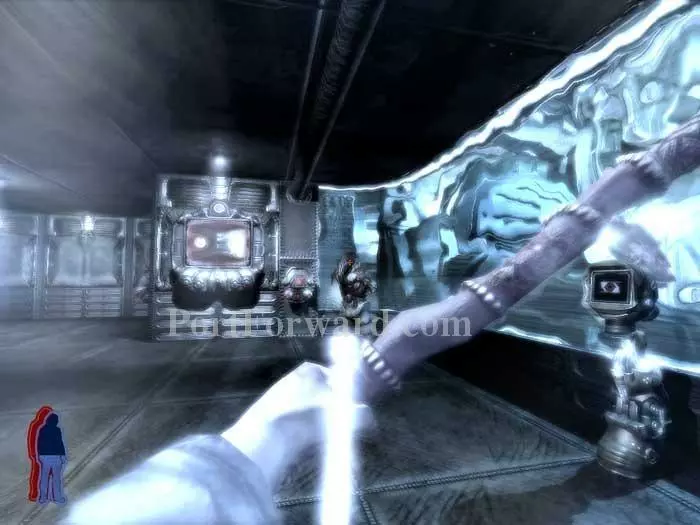
Take out this hunter with your bow then use the console on the right to lower the force field and stop the exhaust.

Return to your body, come through the tunnel then activate the console to let the exhaust and force field stop any turrets or robots on your tail.
A health station is on the right, Leech Gun plasma and freeze ammo is on the left, and another Art Bell segment is straight ahead. Learn that the aliens move from planet to planet, taking food as they need it.
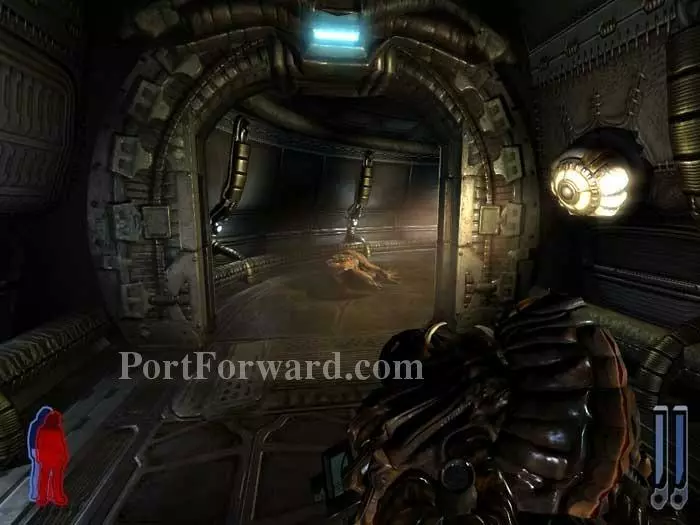
Proceed through the door on the right.
Note the ammo lockers on the right. Approach the door ahead with caution.
Position yourself close enough to open the doors, but far enough away to avoid damage when you trigger the eye stalk controlling a wall mine just inside the door.
Secondary fire from your Auto Cannon keeps this sleeping hound from waking up.
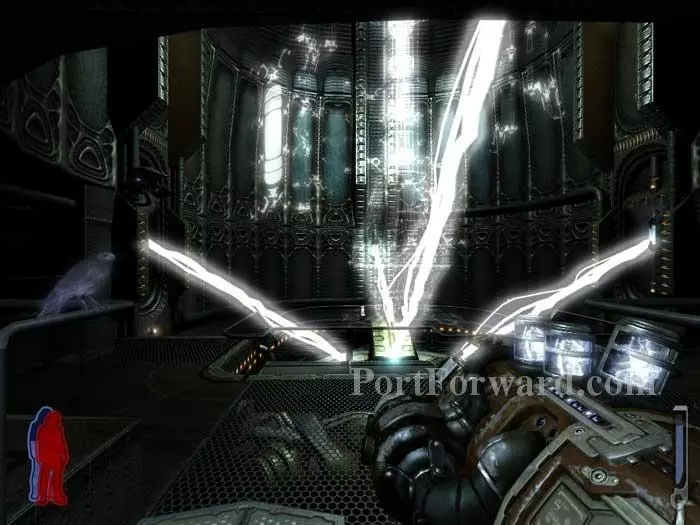
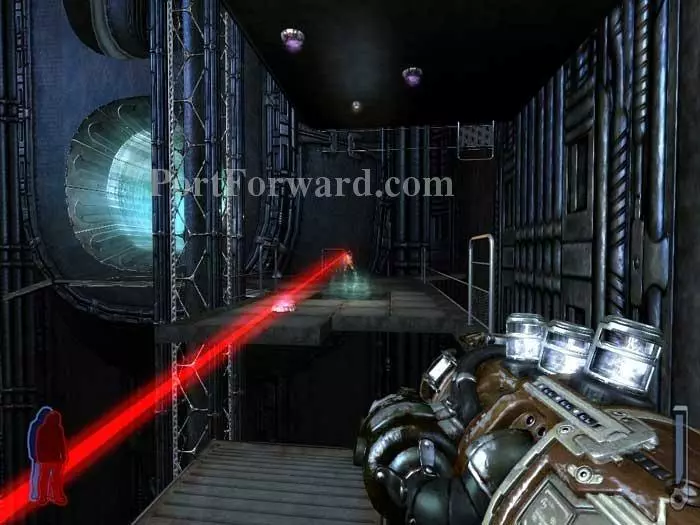
Enter this room and defeat a pair of robots. Notice that the beams ahead are emanating from blue nodes.
Shoot the nodes to terminate the beams.
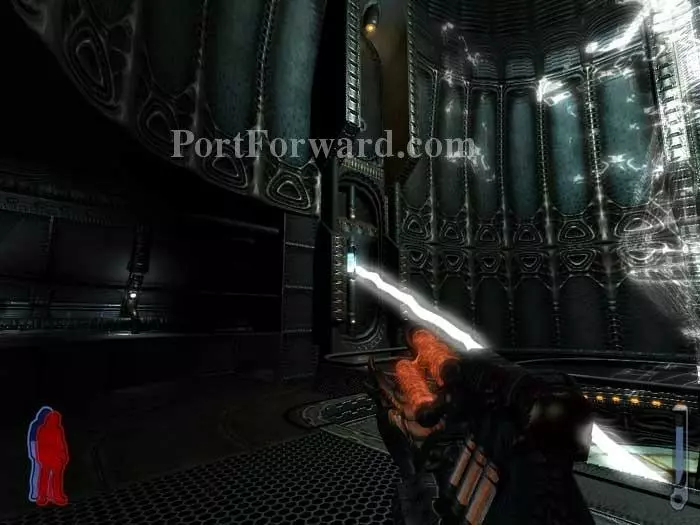
Once all the beams are stopped, the room goes dark. Spirit Walk to defeat these attacking wraiths.
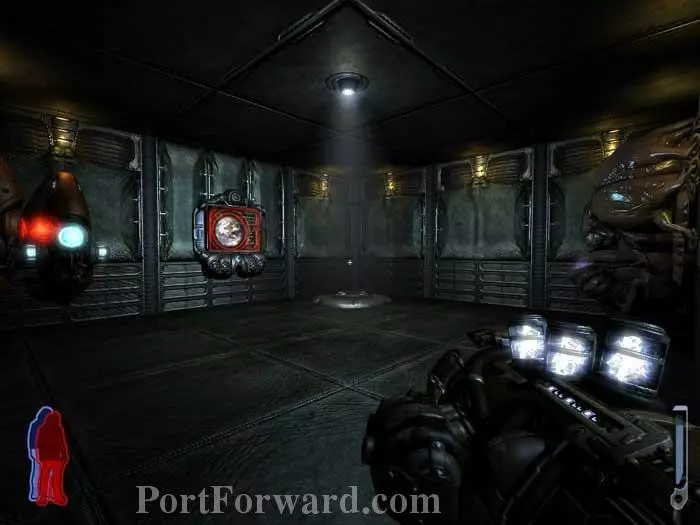
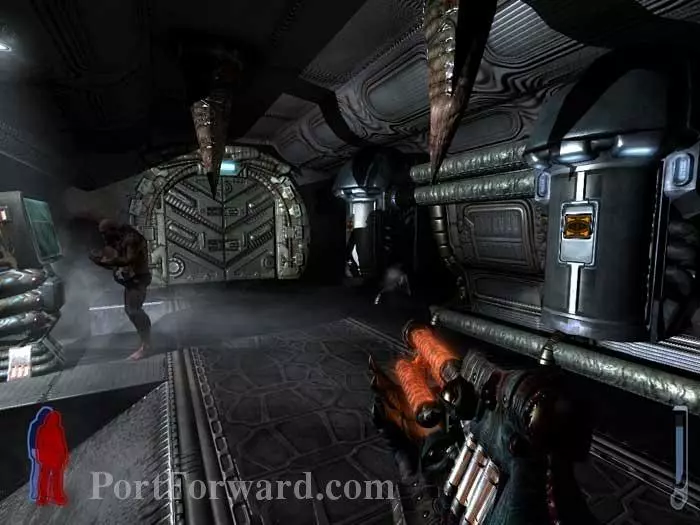
Backtrack through the dark corridors. A previously-locked door is now available. Ready your Leech Gun.
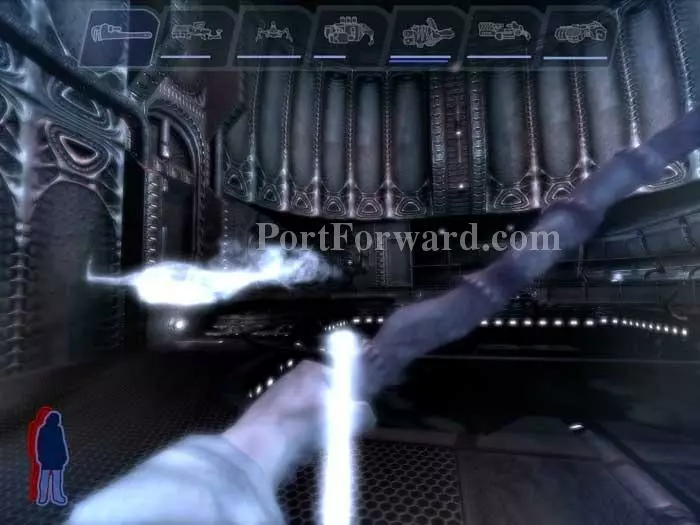
Harvesters attack. Two lightning gun zaps will bring one down and this first harvester is the easiest to see.
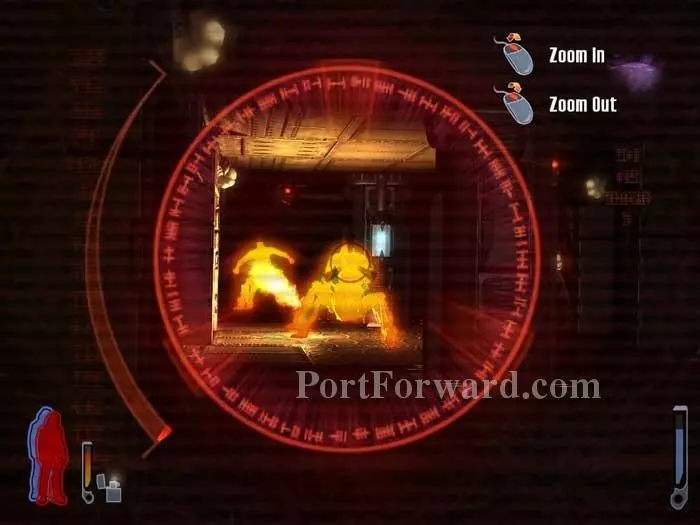
Use the rifle scope so you can see the rest. Rifle fire doesn't do much damage to the harvesters, however, so you'll need to switch to the Auto Cannon or acid gun.
Once the harvesters are defeated, shoot this gravity switch.
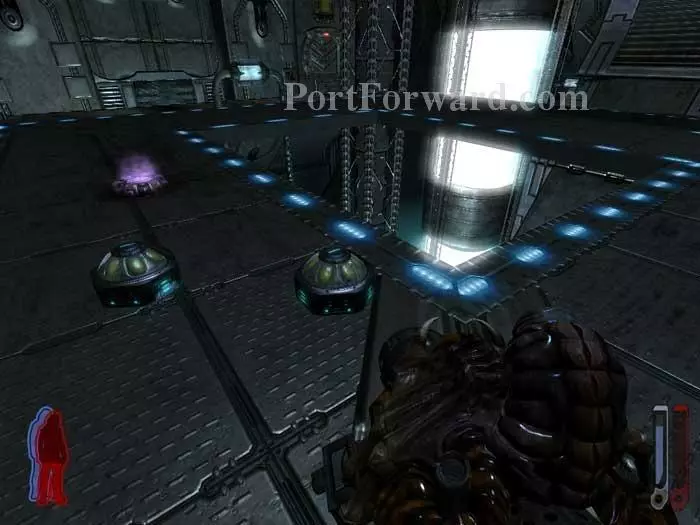
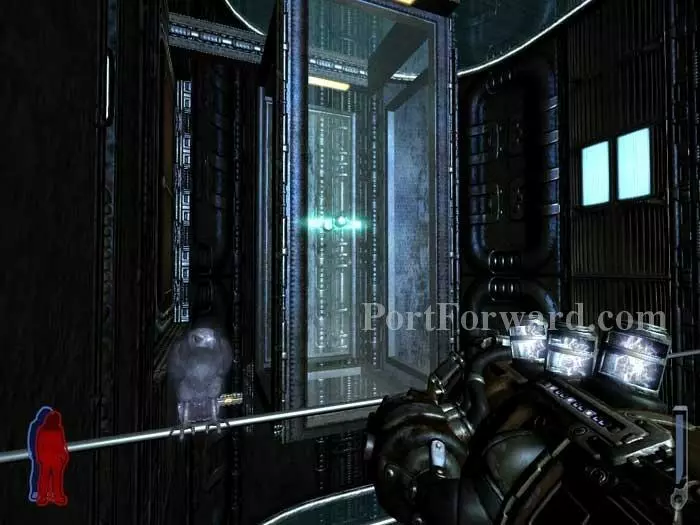
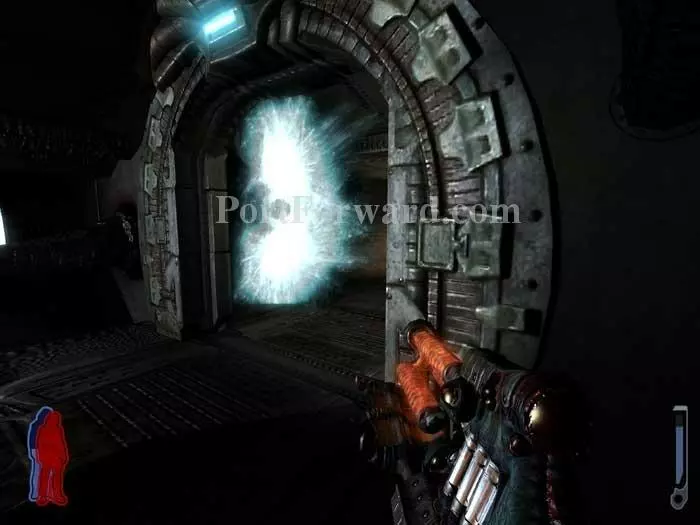
Defeat a pair of turrets then drop through this blue portal to load the next level.
More Prey Walkthroughs
This Prey walkthrough is divided into 22 total pages.


