This Prey walkthrough is divided into 22 total pages.
You can jump to nearby pages of the game using the links above.
Resolutions
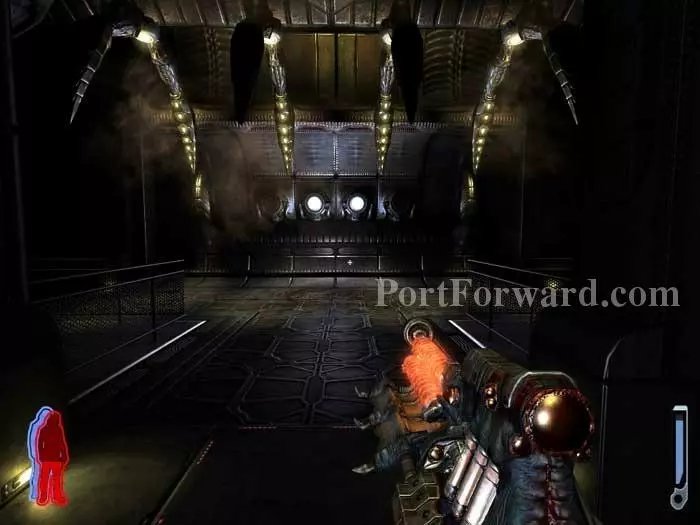
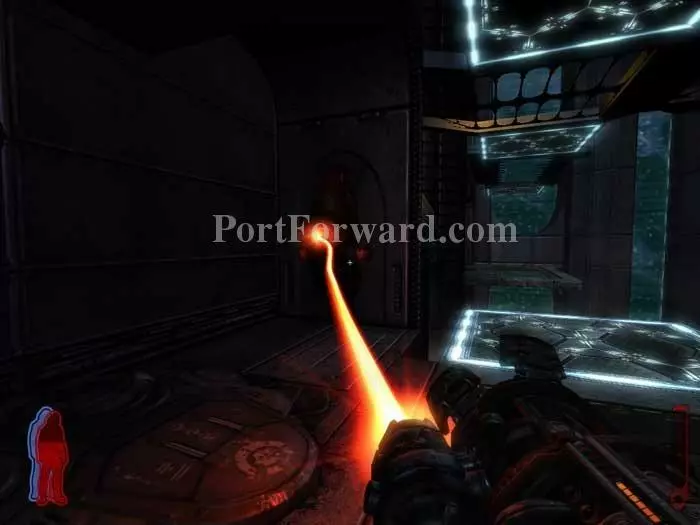
Start through the first door then shoot out these tentacles before hearing Mother's taunts. The door ahead falls away and the corridor is rearranged. Find ammo on the left before advancing right.
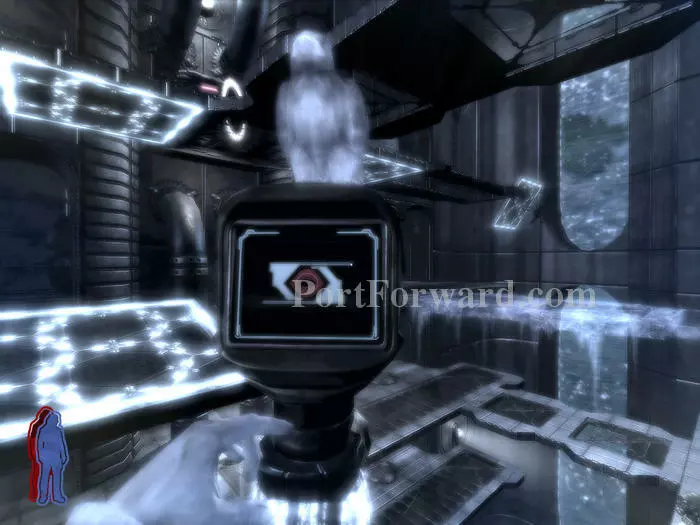
Jen's position and yours are shown once again. Note the health spore to the left. Ascend the stairs behind the display.
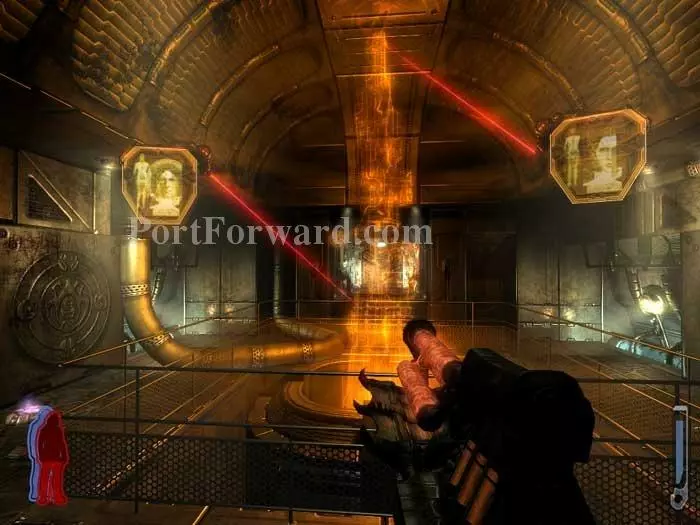
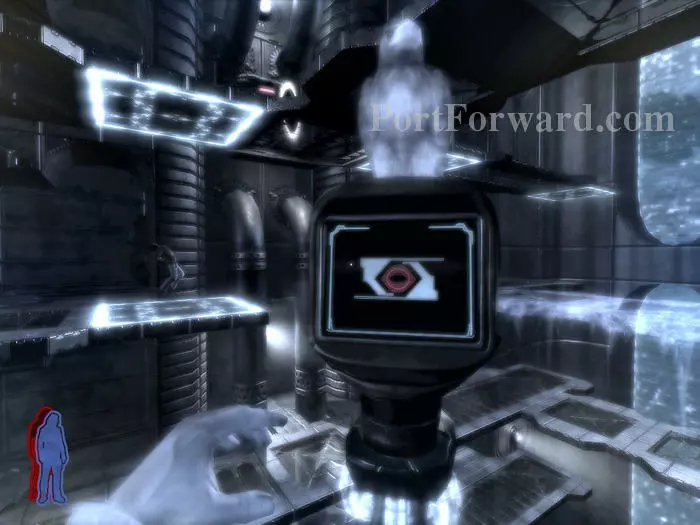
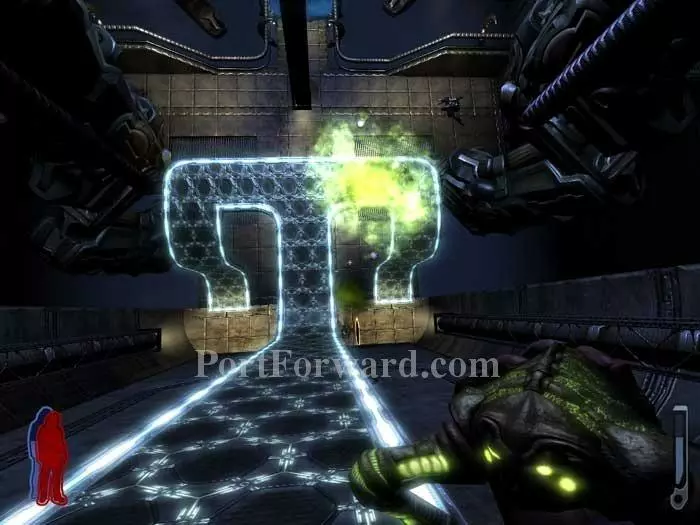
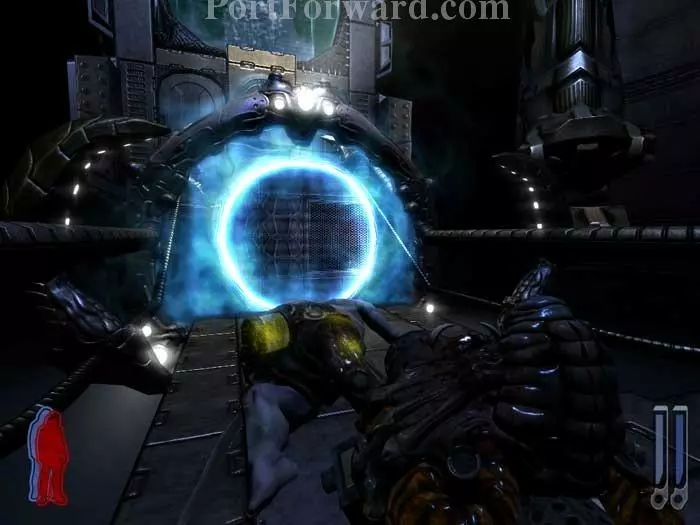
Before we get to this gunslingin' there's a puzzle to do first. Listen to Mother some more (she sounds like a smoker). One of these portals will take you to Jen.
After some more taunting from Mother, she removes all of the portals and illuminates this new one. Spirit Walk across the bridge.

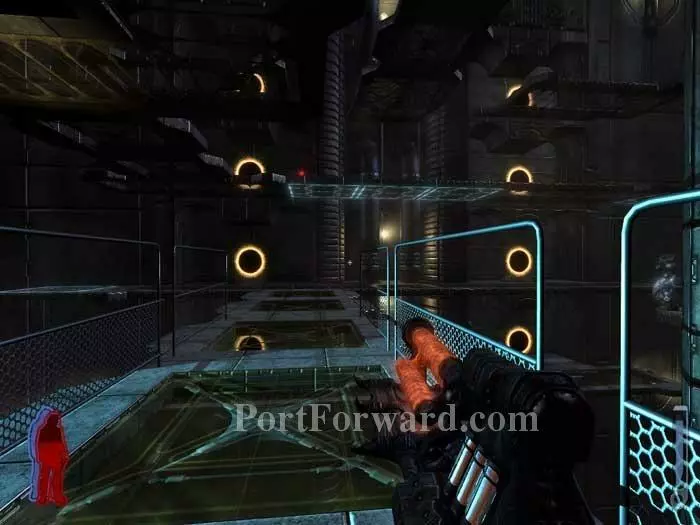
Head right to find this console. Use it to rearrange the catwalk segments.
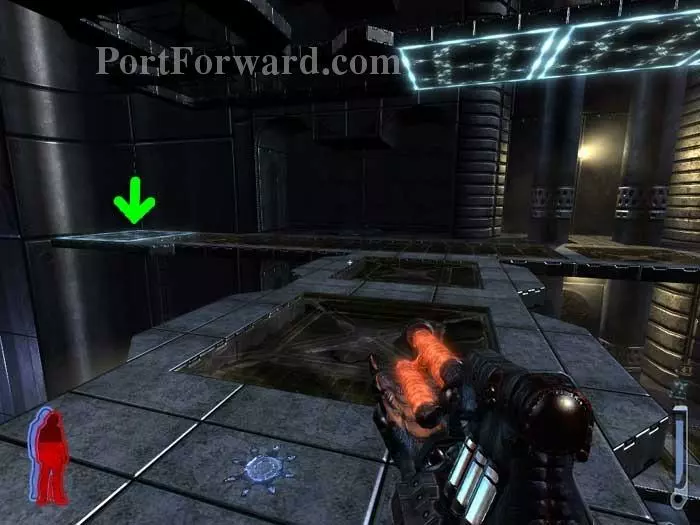
Return to your body and walk to the indicated panel.

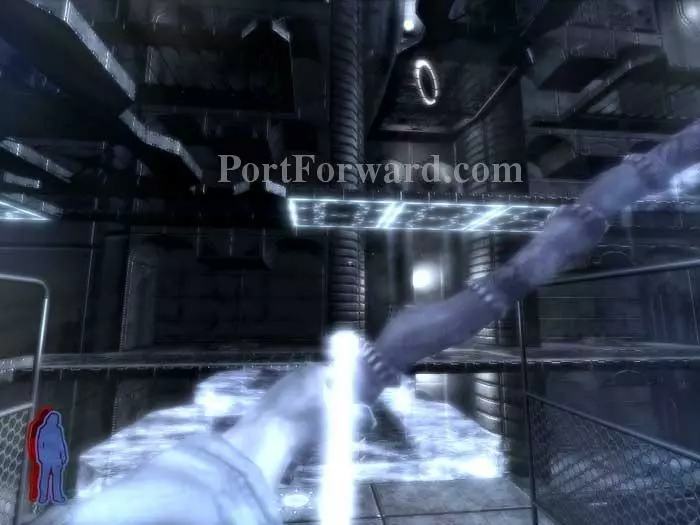
Spirit Walk back to the console and use it to move the panel to the level above. (You can see my body far/left.)
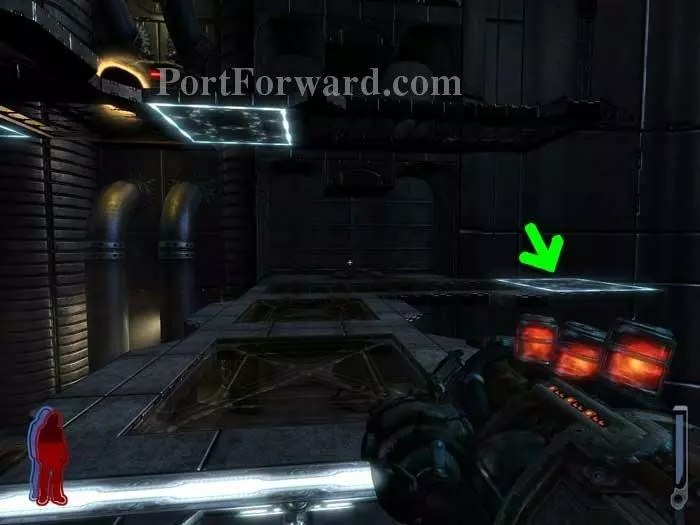
Leech some plasma then step onto the illuminated panel to the right.
Spirit Walk to this new console, and use it to move the panel supporting your body (seen left).
Next, stand on the indicated walkway panel.
Spirit Walk to the same portal once again, and use it to move your body to the final level.
Advance, and Mother snatches the portal away.

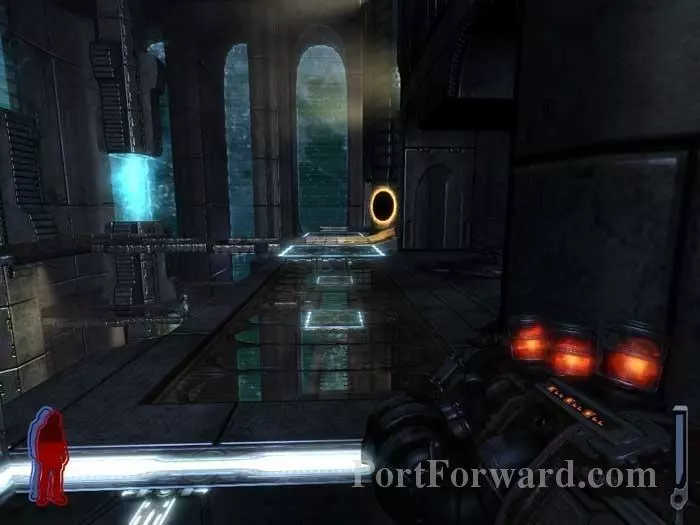
After a brief moment she restores the portal in a different position. Step through.
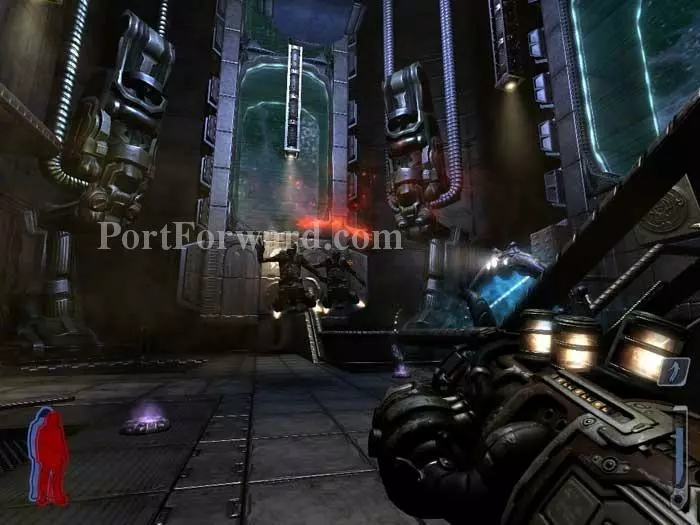
Find ammo on the right then see your updated position on the display -- you're much closer to Jen, (and the big firefights) now. Continue through the door on the left.
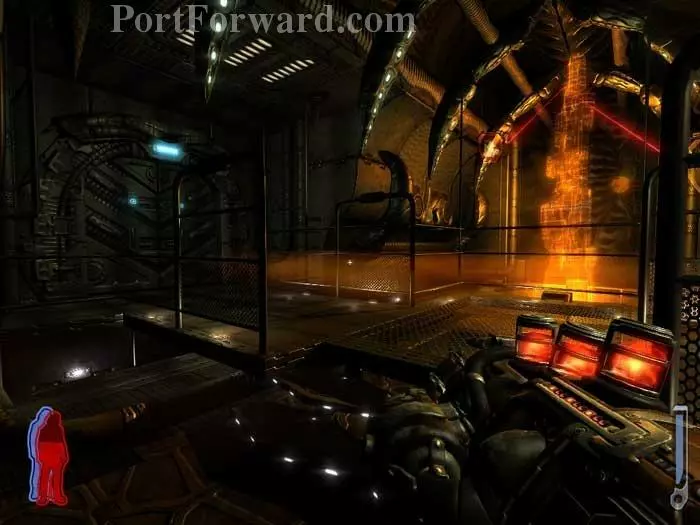
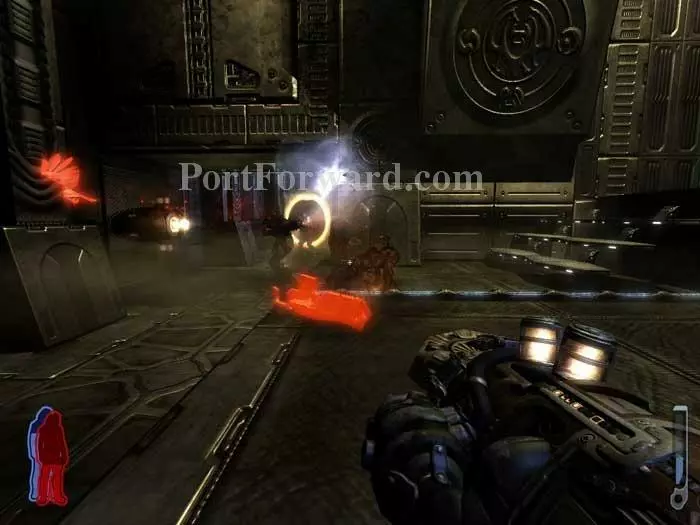
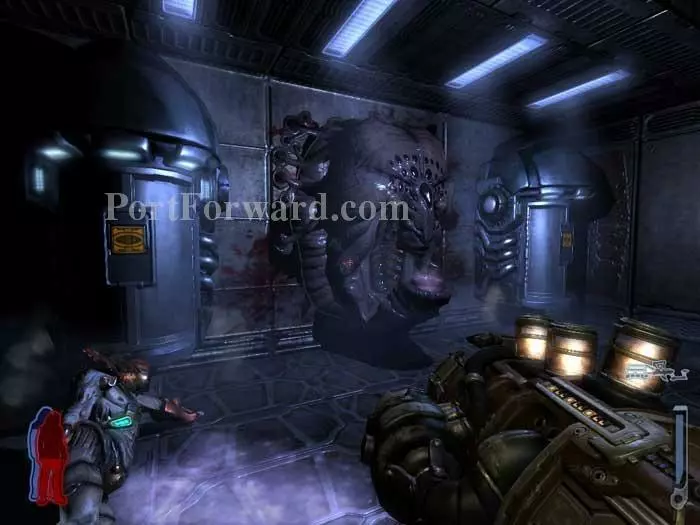
Step through another portal then battle this harvester.
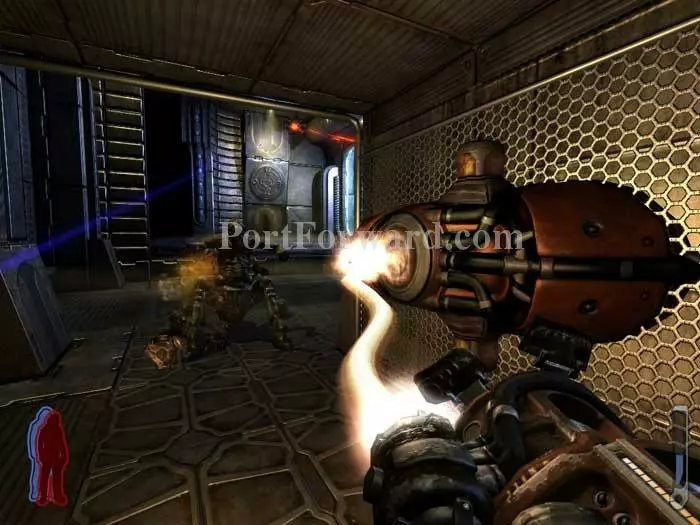
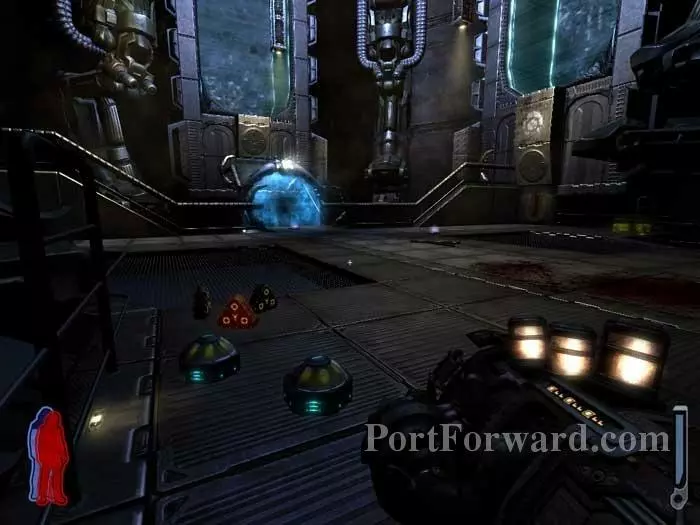
Two more harvesters and a turret are ahead. This Leech Gun station on the right has a new kind of ammo, sunbeam.
Sunbeam ammo fires a continuous beam that is not as potent as lightning, but drains more slowly. Still, fire in short bursts so as not to waste any.
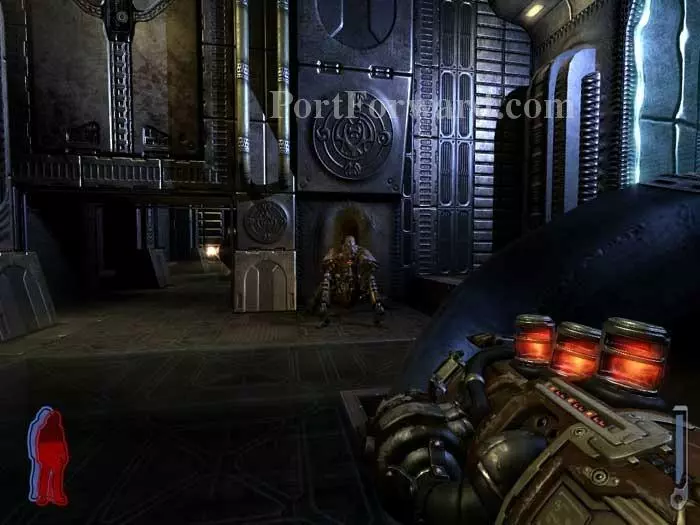
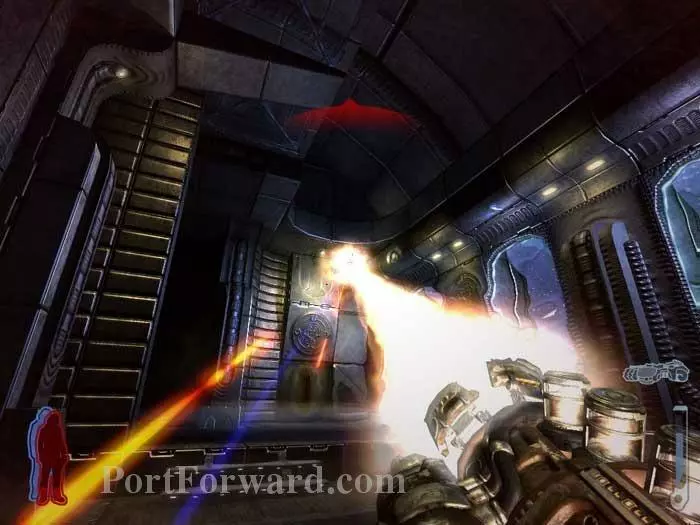
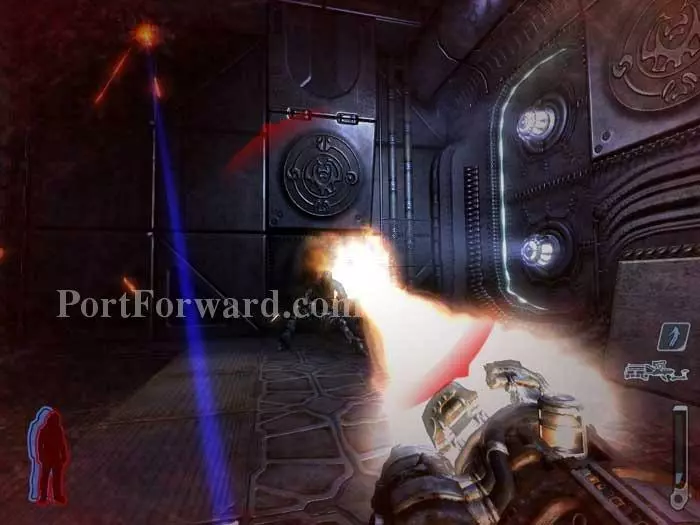
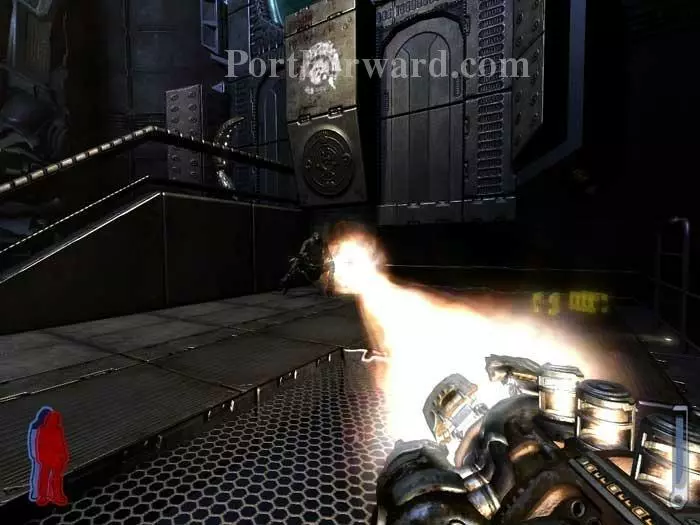
Ready your Leech Gun then head through this door to begin the first of this level's three big gun fights.
Start right to finish off this harvester.
Turn left and let loose on the spawning hunters. Note the sunbeam station on the left.

Your first target in the next area should be the ceiling turret.
Here I am being killed by the turret as I focused on a harvester in an earlier run-through.
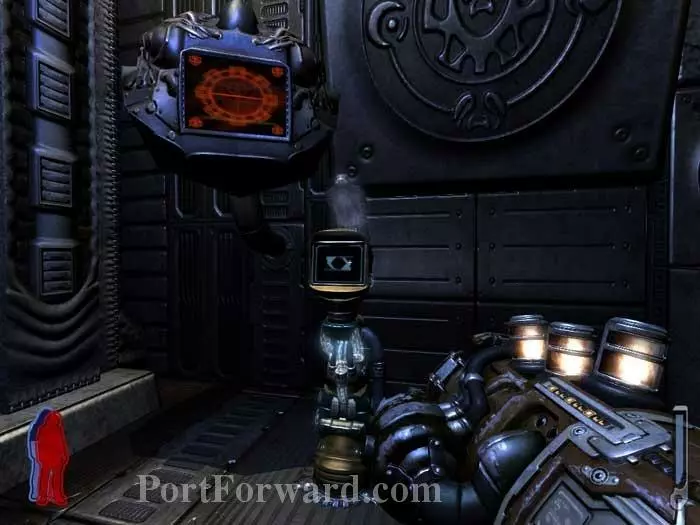
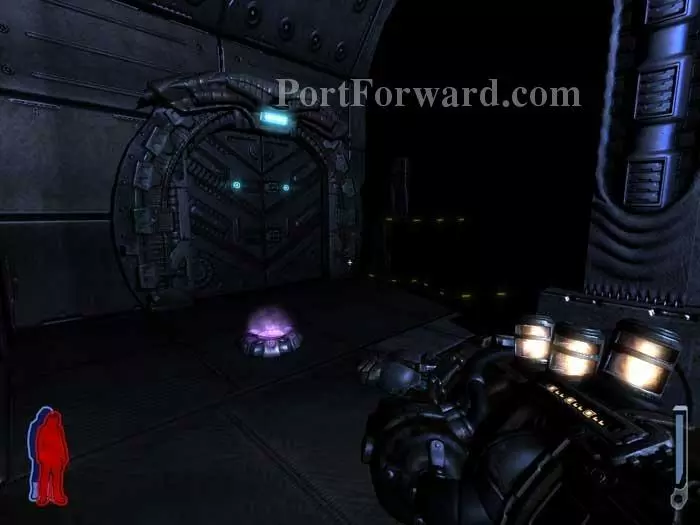
Once the area is clear, use this console to open a doorway in the adjoining room.
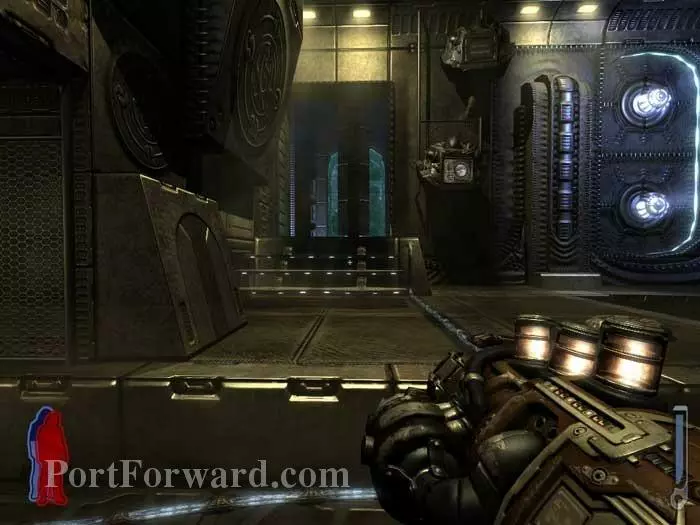
Here's the now-open doorway.
Step onto the walkway then drop some crawlers in right side-up "proximity" mode onto the right side of the walkway below. Three hunters spawn as you advance and trigger the mines.
Follow the walkway to this health station and two ammo lockers.
More ammo is found here. Ready your Leech Gun.
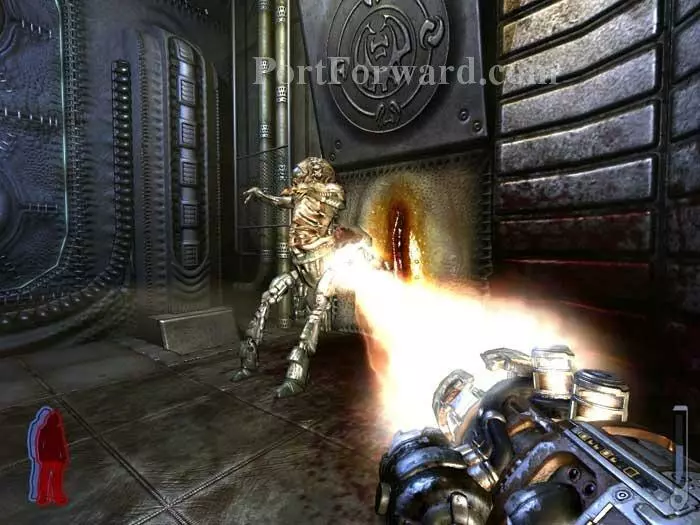
Time for smackdown #2. First up is this harvester emerging from his orifice on the right wall.
Two flying harvesters join in for some fun. Talon does a great job distracting them so you can take pot shots with the sunbeam.
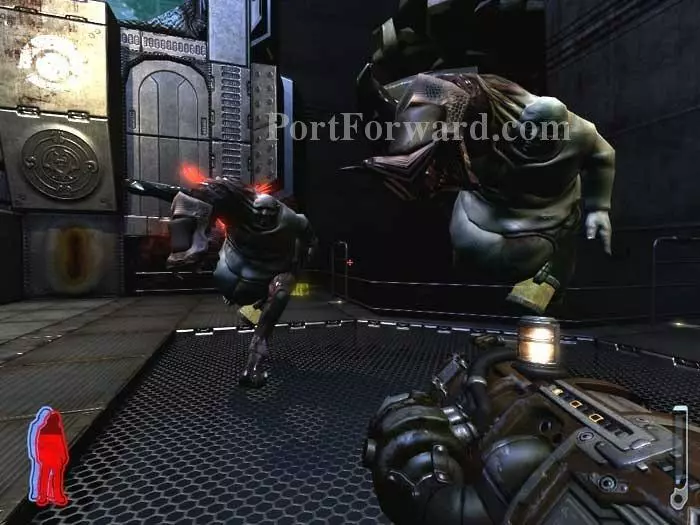
Uh oh. After the harvesters are finished, these two mutates attack.
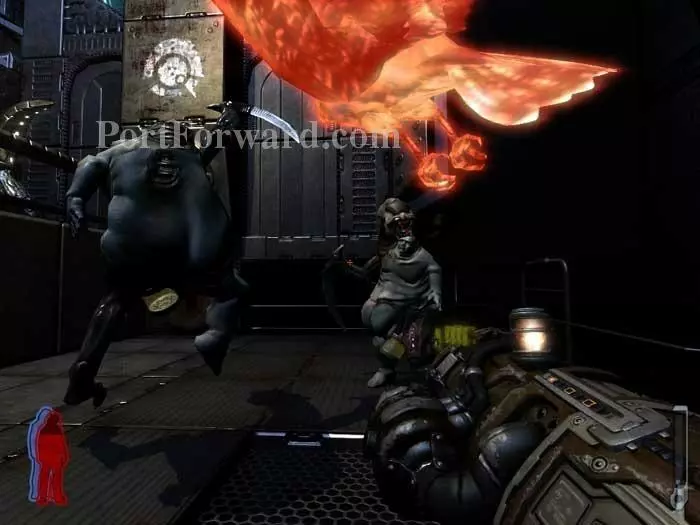
Hopefully you'll have enough sunbeam ammo to take them. Otherwise, the Auto Cannon does a decent job. The important thing is to keep your distance and don't let them maul you. Melee is their specialty.
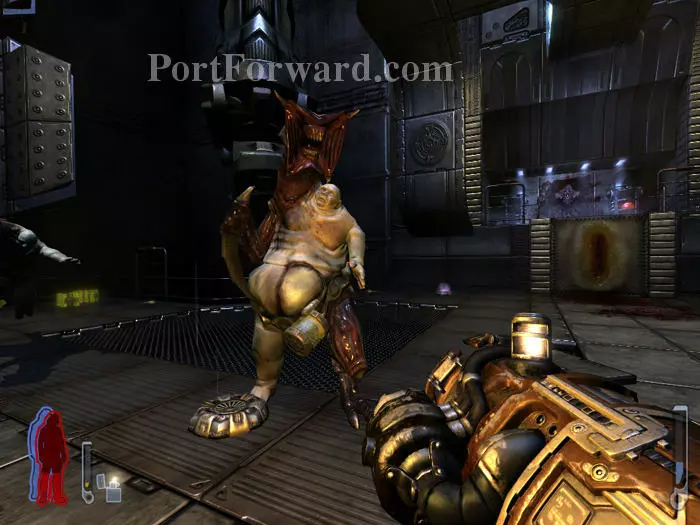
Gratuitous screenshot. Say, "cheese!"
After the mutates are dispatched, Mother opens this portal for you. Grab any remaining health and ammo before jumping through.
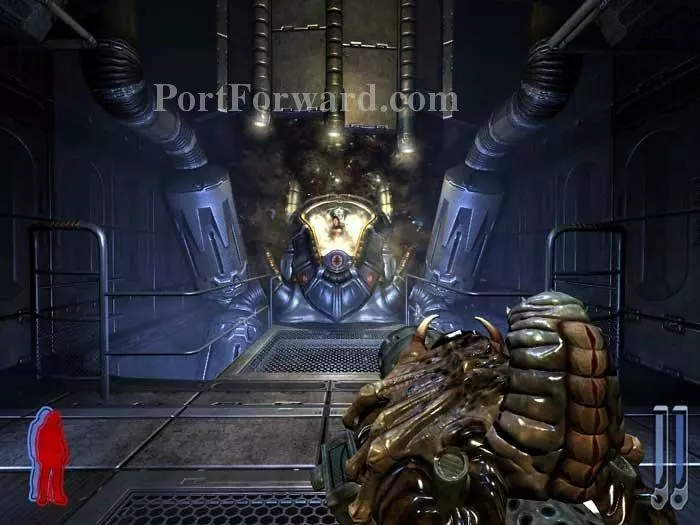
Find Jen in this strange pod at the far end of the room.
Jen says she can't feel her legs -- never a good sign. Especially now.

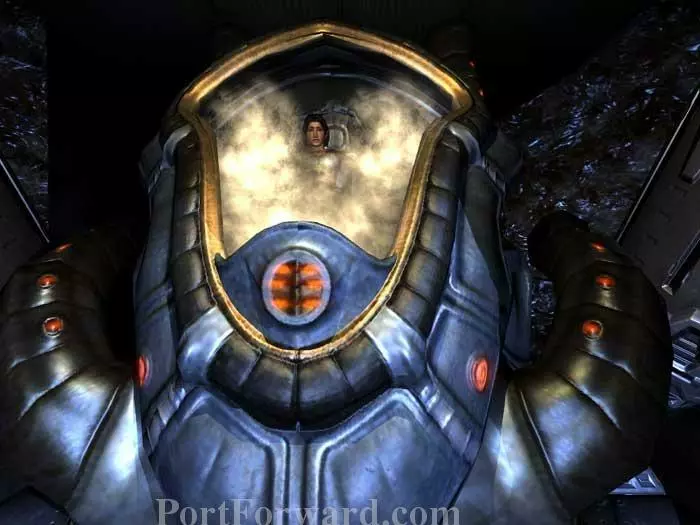
The pod opens, and your next boss battle begins - against your own girlfriend!
Wikipedia calls this boss Girlfriend-X, but I think Jen-X is a better name.
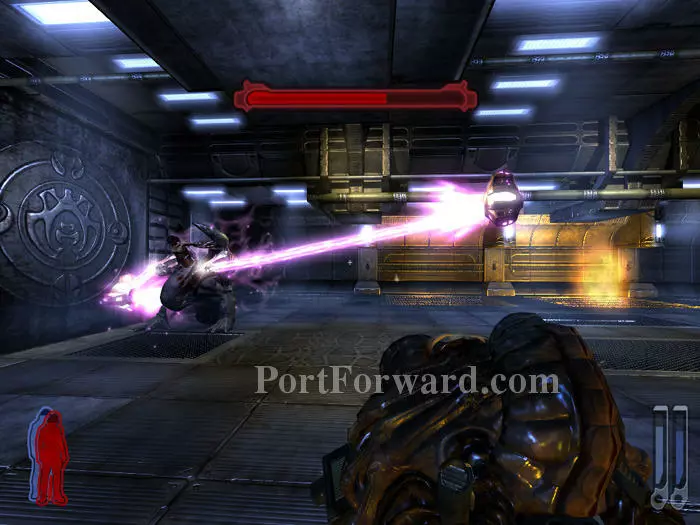
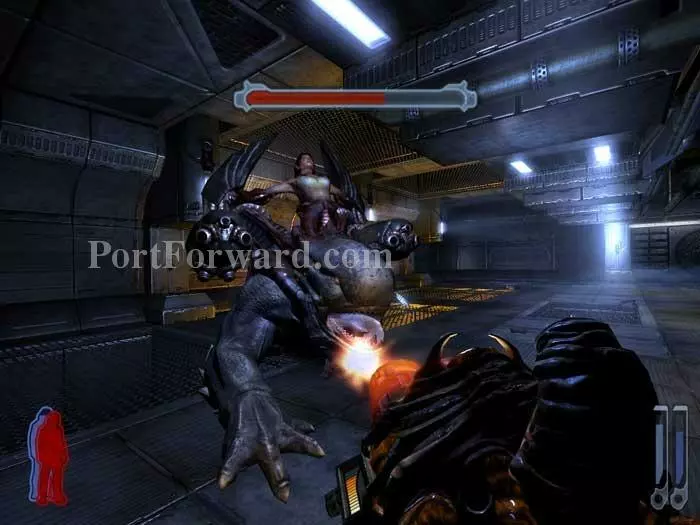
What you need to do is whittle the beast's health bar down far enough for its Leech Gun arms to detach. They then become vulnerable healing nodes.
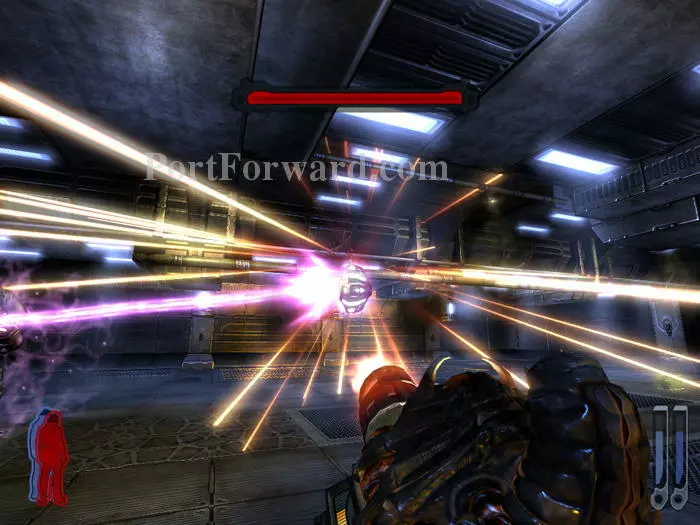
Open fire on these nodes, as they are the key to defeating Jen-X.

Once both Leech Gun arms are destroyed, Jen-X can no longer heal. Pummel her with your weapon of choice -- after the Auto Cannon is depleted, my favorite is the Acid Gun (especially secondary fire). Keeping your distance is essential.
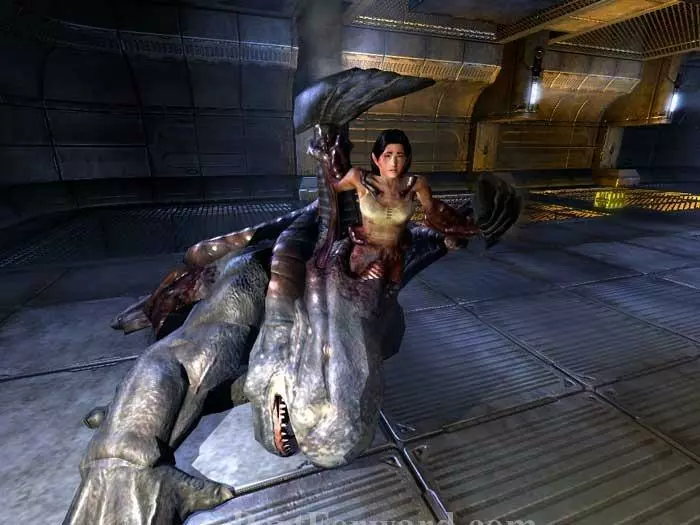
Once the creature is destroyed, Jen has one final request.

I think the rifle is your most humane option.

At your request, Enisi calls you away and the next level loads.
More Prey Walkthroughs
This Prey walkthrough is divided into 22 total pages.