
This Prey walkthrough is divided into 22 total pages.
You can jump to nearby pages of the game using the links above.
Facing the Enemy
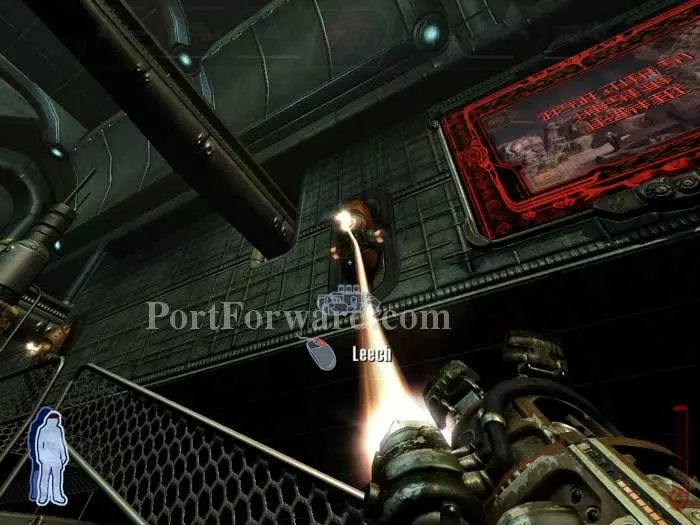
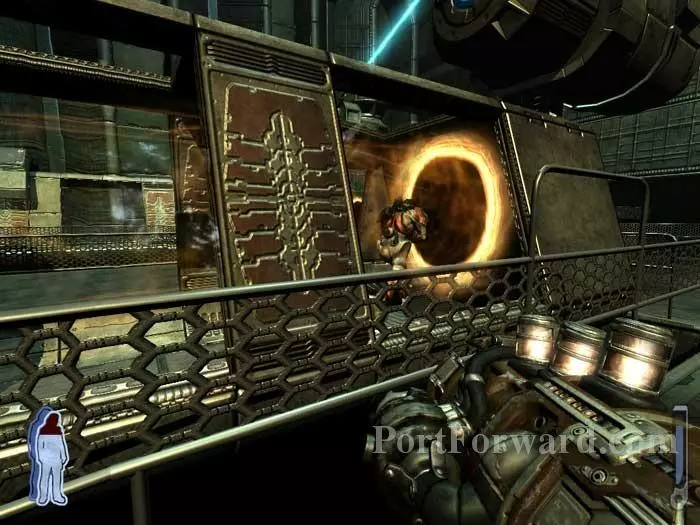
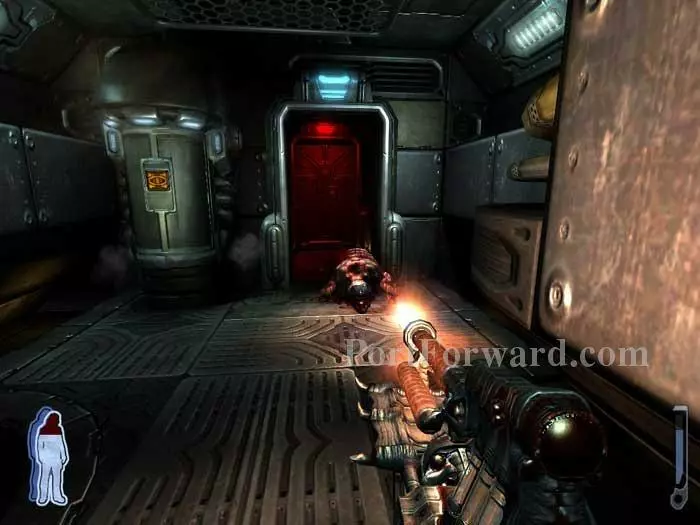
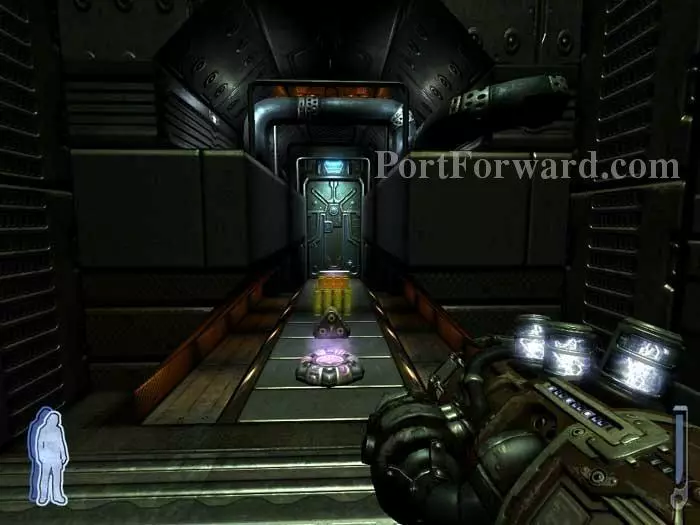
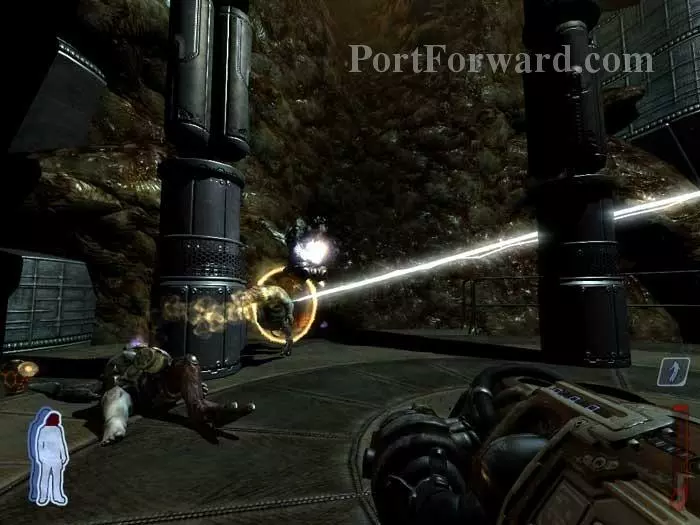
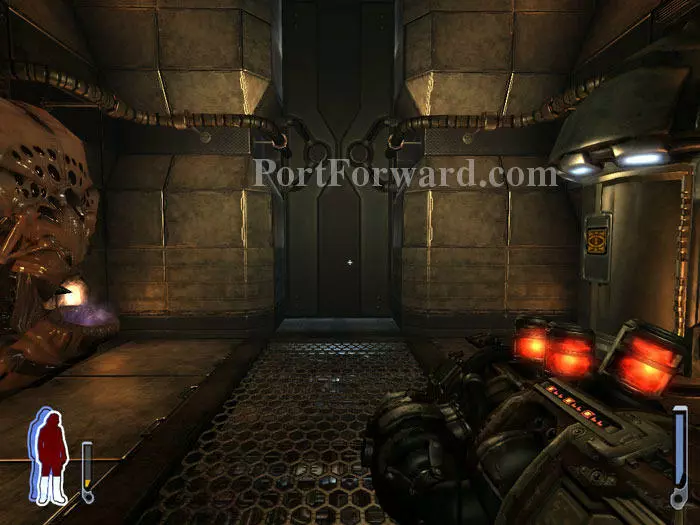
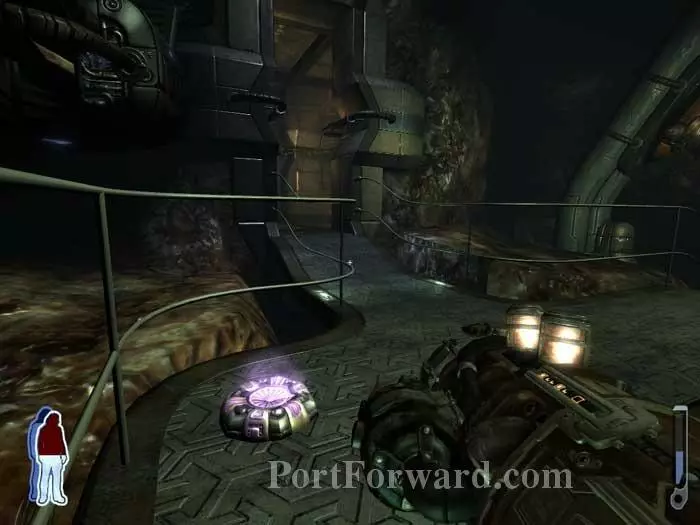
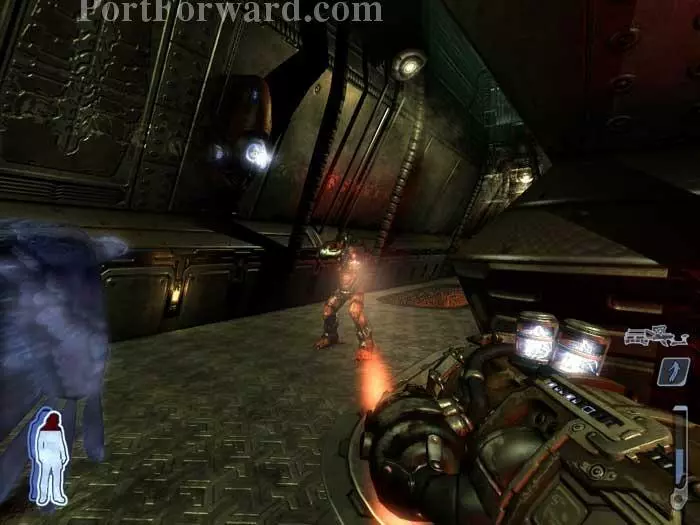
Time for a big firefight. Charge through this door and head right. Your first order of business is to leech Sunbeam ammo from one of the two recharging stations.
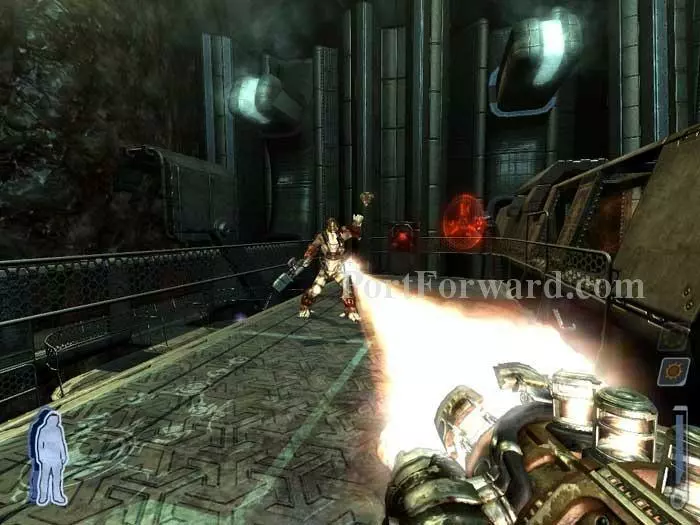
Tommy's desire to seek vengeance for Jen's death makes this firefight very engaging. Note the alarm behind this hunter -- turning it off doesn't help, other than to quiet the sound.
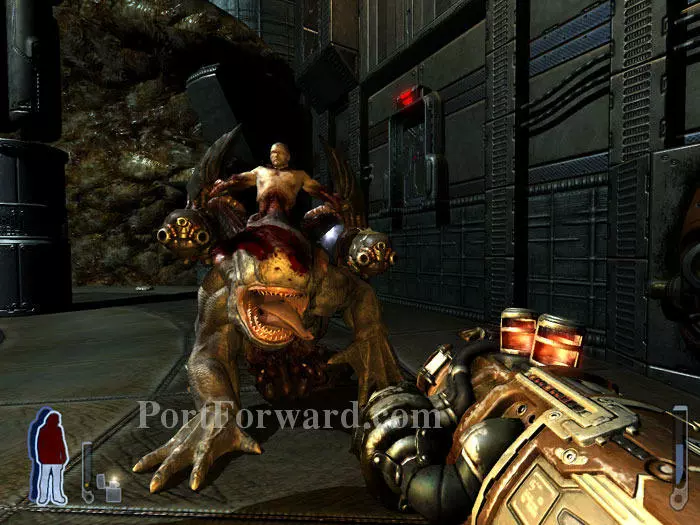
"Die! Die! Die!" Tommy's justifiably seeking justice. Hunters, harvesters and hounds join in.
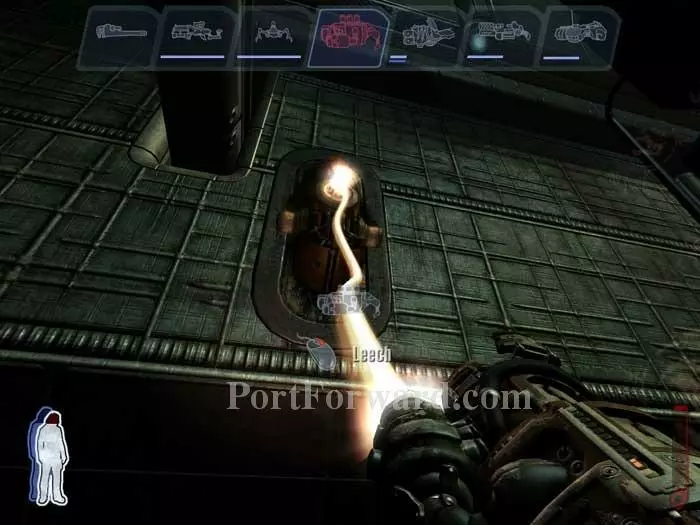
Don't forget that these Sunbeam stations recharge over time.
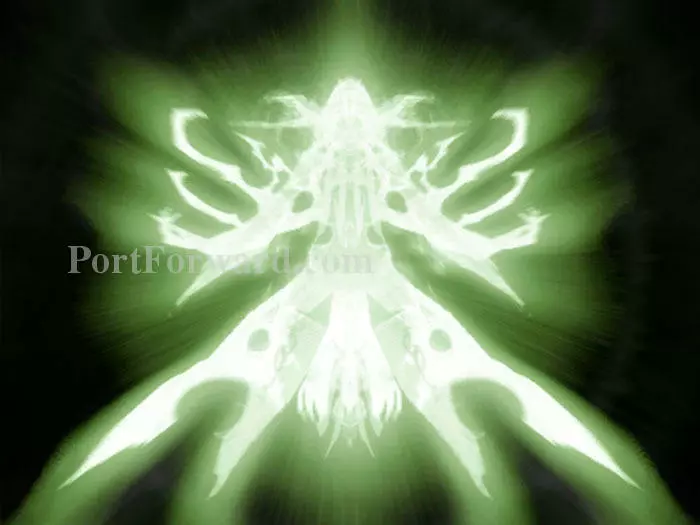
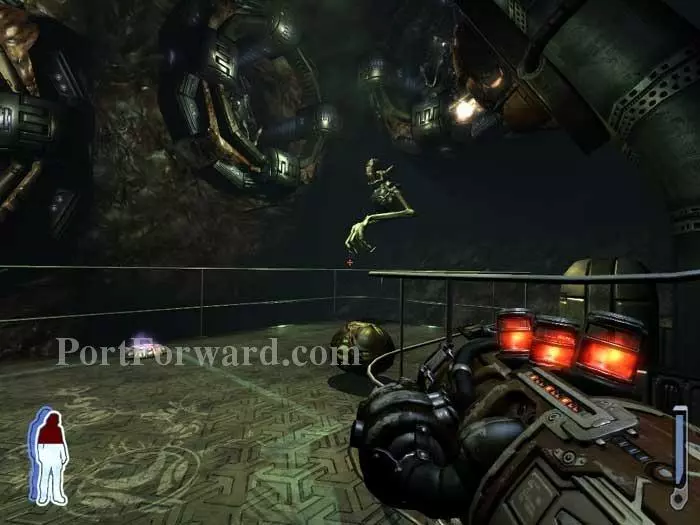
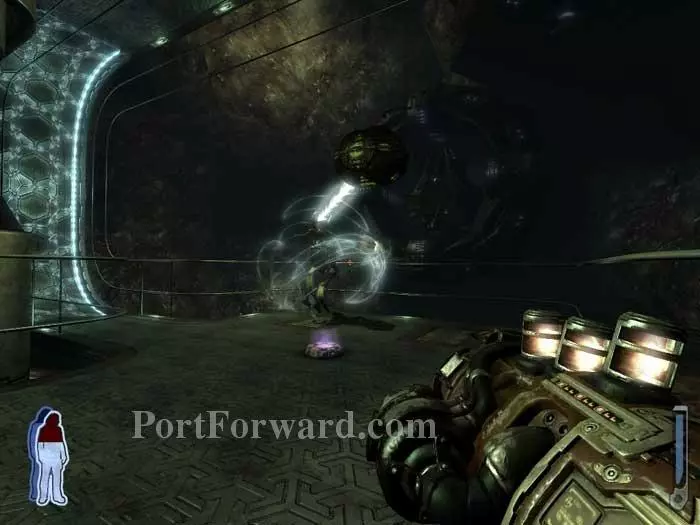
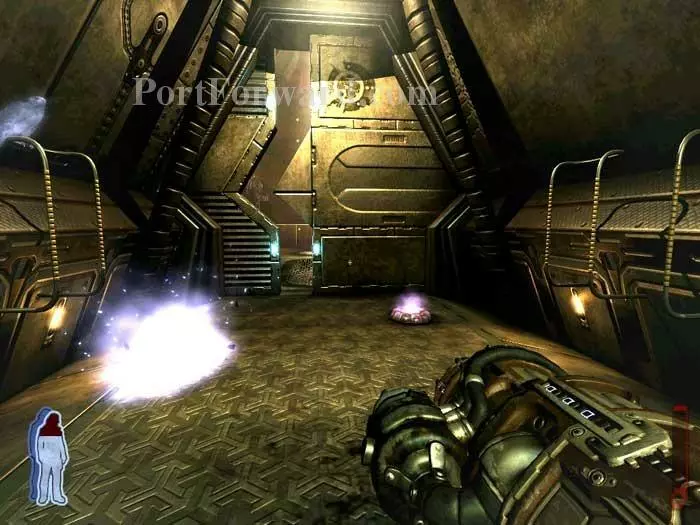
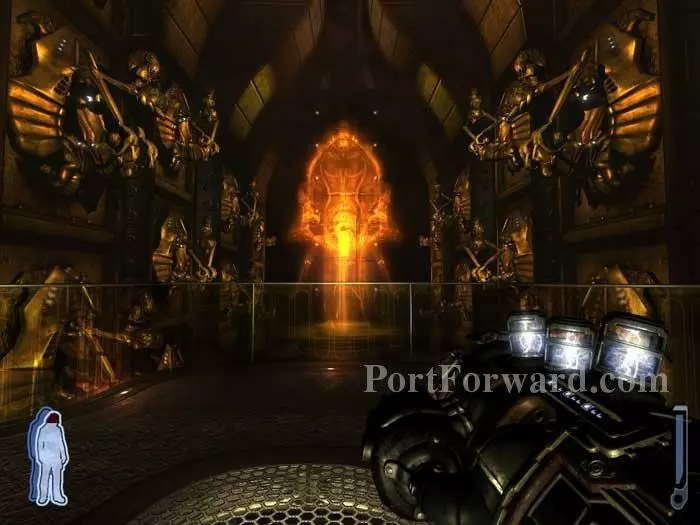
Once the area is clear, Tommy remarks that these chambers are being used by the dark forces to cross over into the land of the ancients.
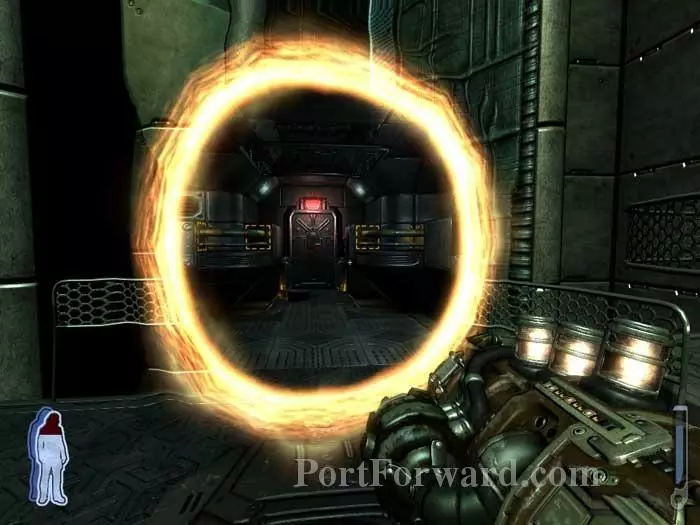
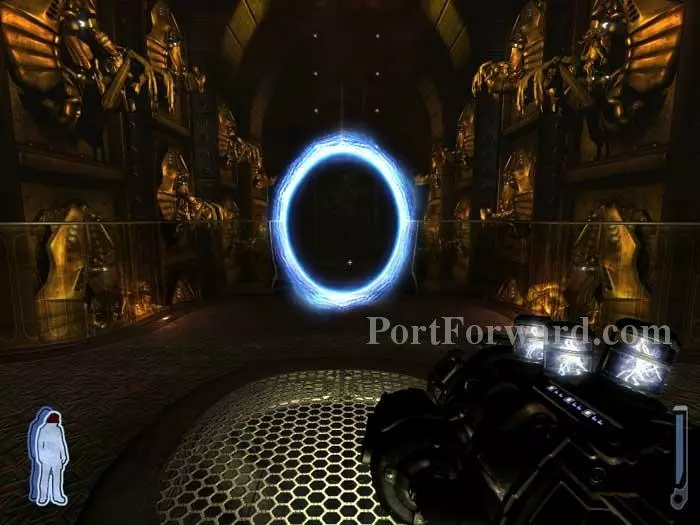
Step through this portal and use the dismembered hand to unlock the door inside.
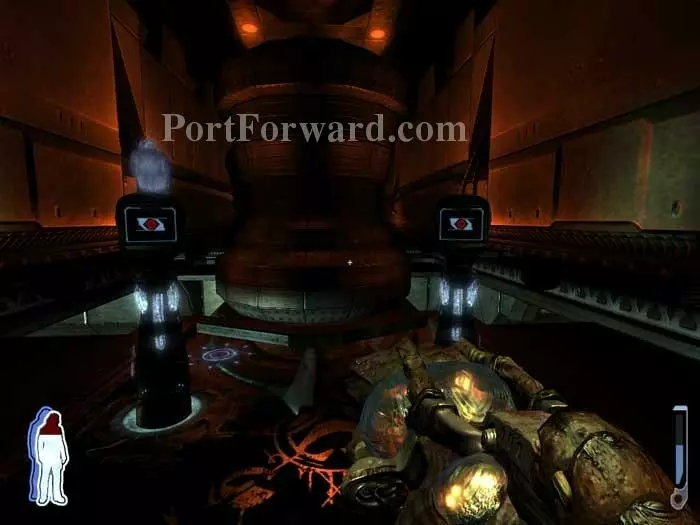
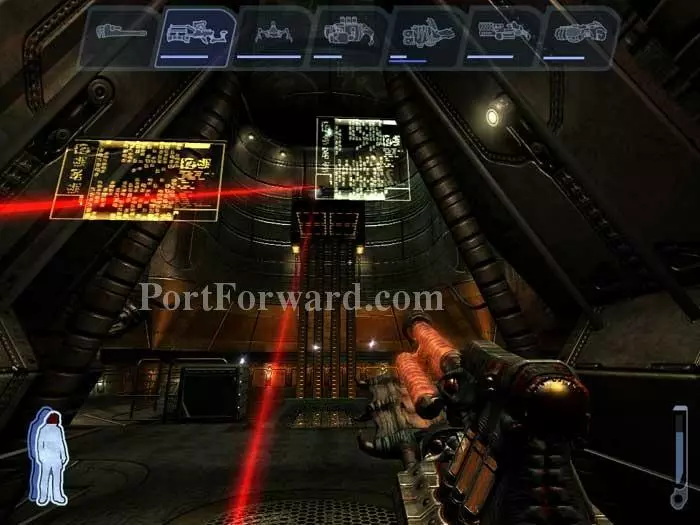
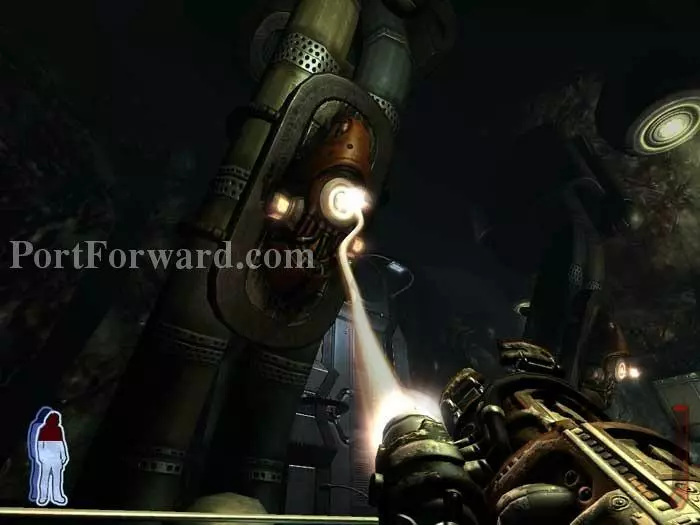
Activate both of these consoles, one right after the other.
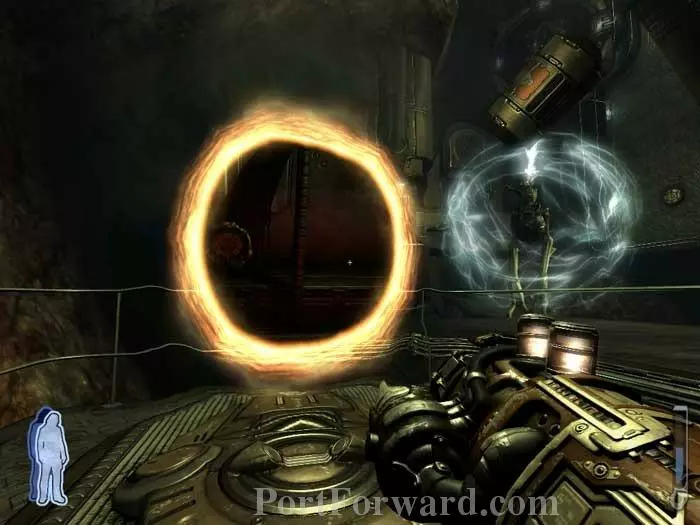
Lob a grenade into this opening as it rotates into view. The device is destroyed, disabling the chambers outside.

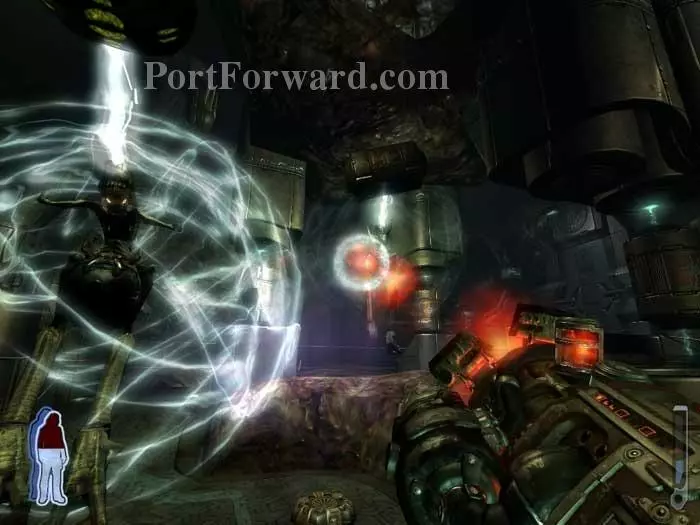
Spirit Walk across the bridge to this console, which activates a physical bridge for your body to cross.
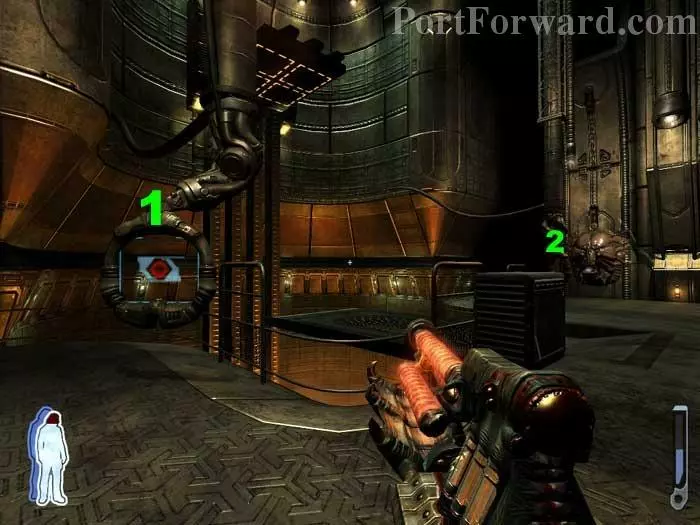
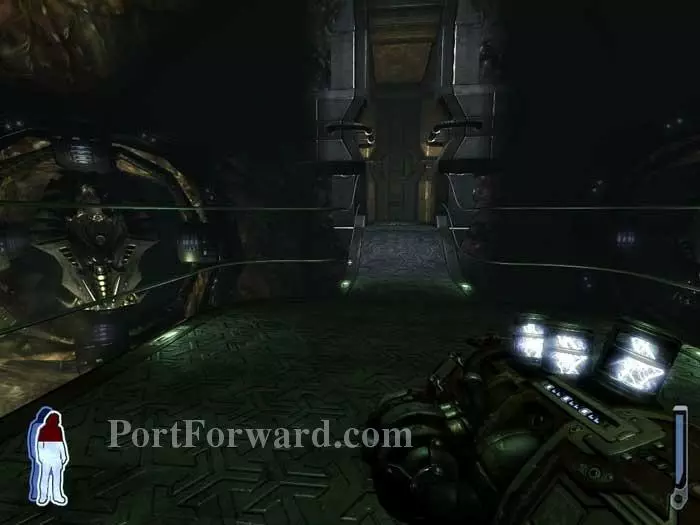
Defeat several fodders to retrieve ammo from the locker in the left corner. The dismembered hand gets you through the door ahead.
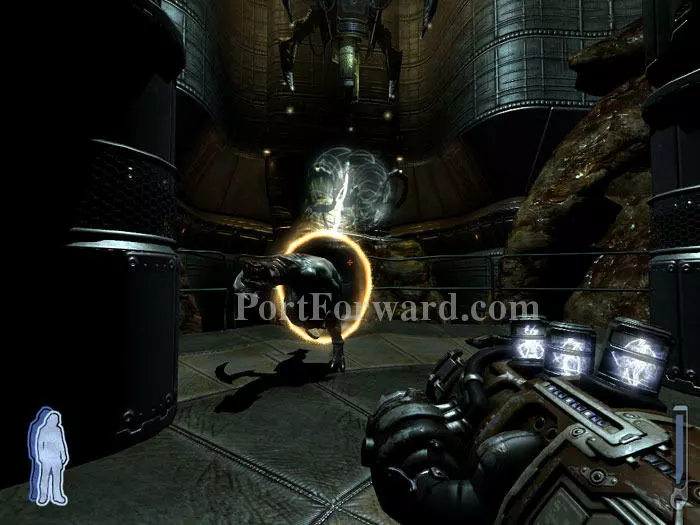
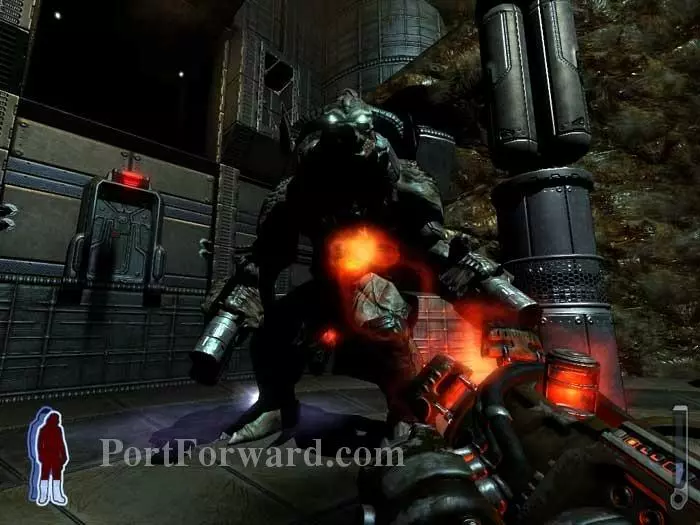
You catch a fleeting glimpse of The Keeper followed by a brief firefight with harvesters and hunters.
These two large consoles must be activated in quick succession. Stand in front of one, Spirit Walk to the other. After activating the first console, quickly return to your body and activate the other.
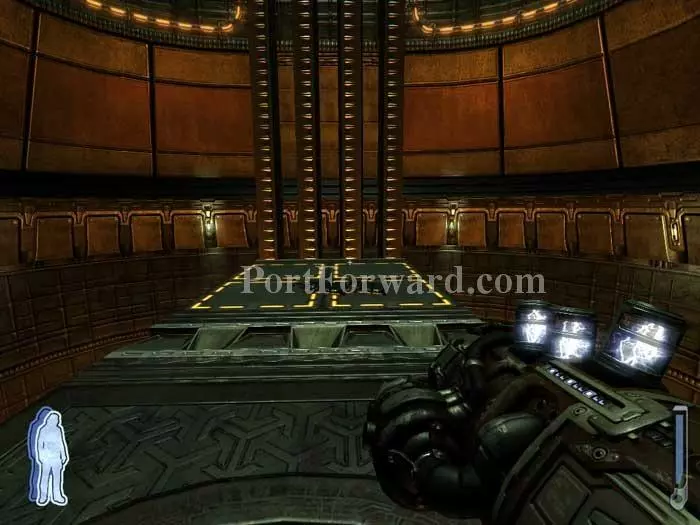
This lift descends. Fill up on health and ammo (a healing station and a lightning station are here) before stepping onto the lift.
These goodies are waiting for you at the top of the lift, a sure sign that something big's about to go down.

Sure enough, The Keeper is waiting for you on the other side of the door.
The Keeper explains that they intend to merge with your spirit, offering you god-like powers.
Time for a boss class reunion. The Keeper opens portals for the game's heavy hitters to launch a final assault against Tommy.
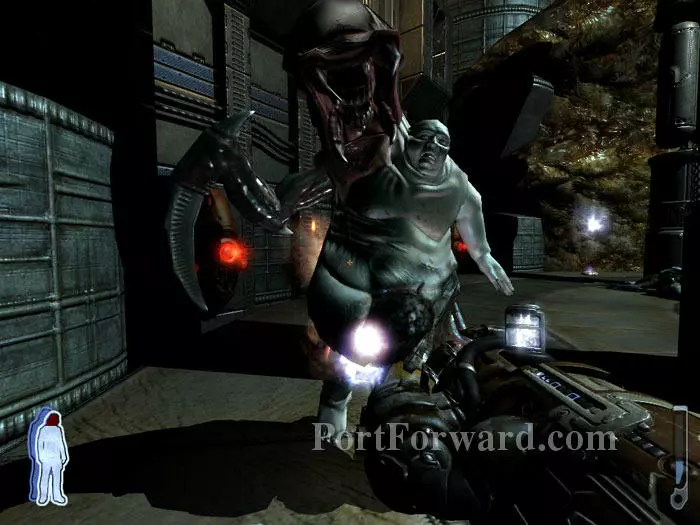
Mutates begin the charge -- note the two plasma stations for you Leech Gun behind him. Fortunately, these stations recharge as well.
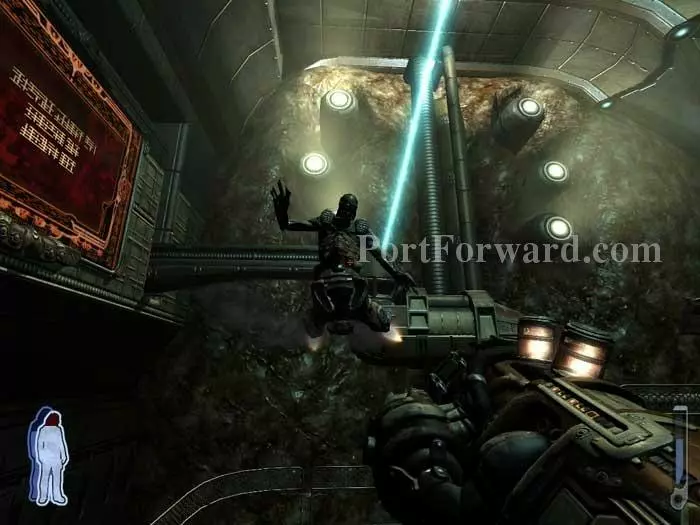
Harvesters are up next. Note the spores in the background -- the entire area is ringed by healing spores.
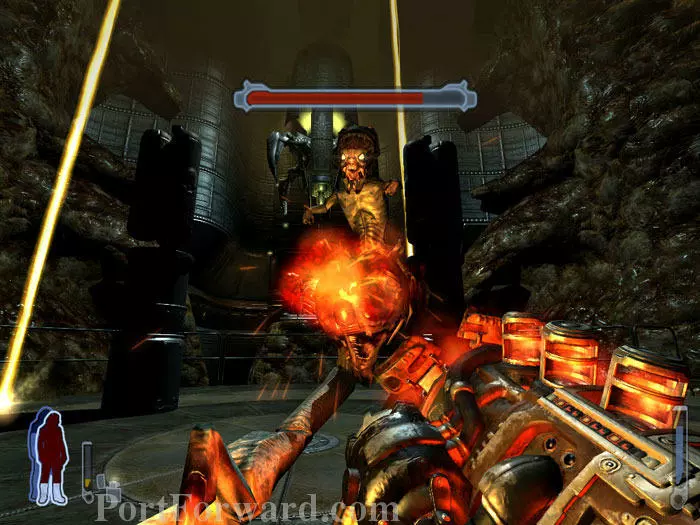
The Keeper then summons Creature X, a foe similar to Jen X but without the ability to heal.
Keep pace to destroy Creature X before the Centurion arrives. Both bosses succumb to plasma fire rather quickly.
No rest for the weary -- now it's time to confront The Keeper head-on. Fortunately he's got a boss bar so you can monitor your progress whittling down his health. Recharge time on the plasma stations is pretty fast so don't be stingy with the ammo.
Circle strafing and pouring on the plasma will bring down your foes, after which you'll come to this room. Health on the left, ammo on the right.
Once through the door, you discover there are more keepers.
An entire group of keepers attacks, tossing explosive pods and crates at you with their gravity beams.
Look up to find recharging Sunbeam stations.
After the spawns have been defeated, pass through the door ahead. Find an ammo locker on the left then pass through another door.
More keepers. This time you'll have infinite lightning ammo at your disposal.
Follow the walkway to this door, which opens after the area's keepers are defeated. Ammo is in a locker to the right.
Sunbeam ammo and yet more keepers are beyond. Hop through this portal as mother asks, "Where do you think you are going?"
No, you're not done yet. Hunters, hounds and more keepers attack. Note the lightning station on the left -- it's another recharger.
Follow the corridor and Mother is impressed that you've made it this far. She opens this door.
The walls are covered with keepers - which Mother sacrifices for you.
"Come to the place which I have prepared for you." Step through the portal to begin the final level.
More Prey Walkthroughs
This Prey walkthrough is divided into 22 total pages.


