This Prey walkthrough is divided into 22 total pages.
You can jump to nearby pages of the game using the links above.
Center of Gravity
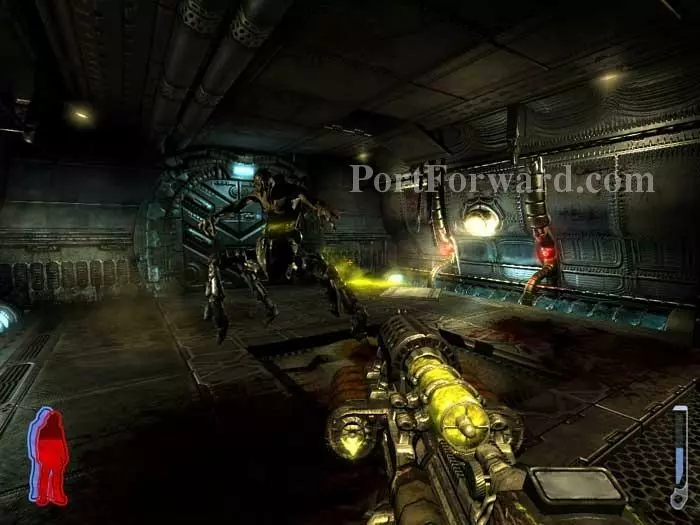
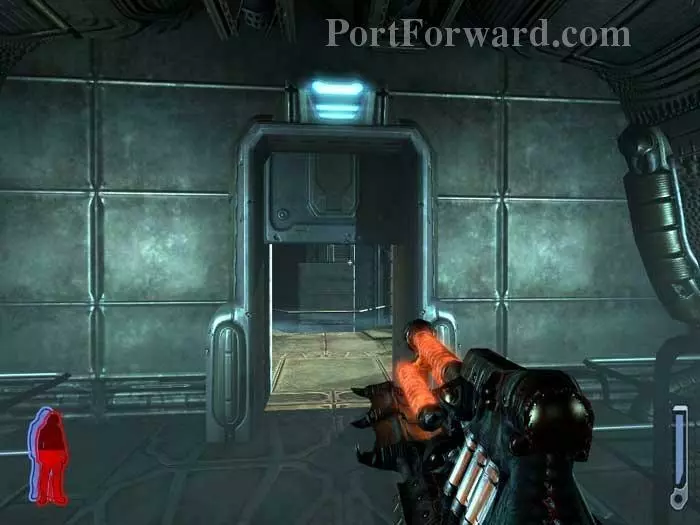
Turn around to find an ammo cabinet and a lightning Leech station. Through the first door you'll find a pair of health spores, then this harvester attacks. Defeat him and a second harvester emerges from the left. I'm using the acid gun here but found the lightning gun to be far superior.
A third harvester patrols this next room.
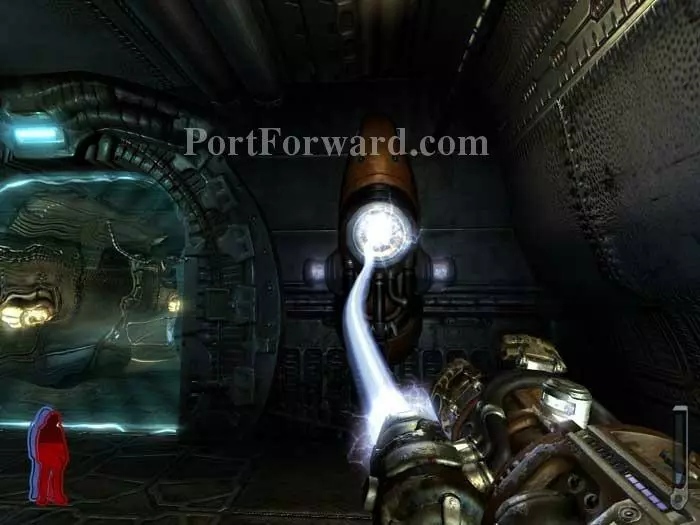
Another lightning station is in the far right corner. Spirit Walk through the force field.
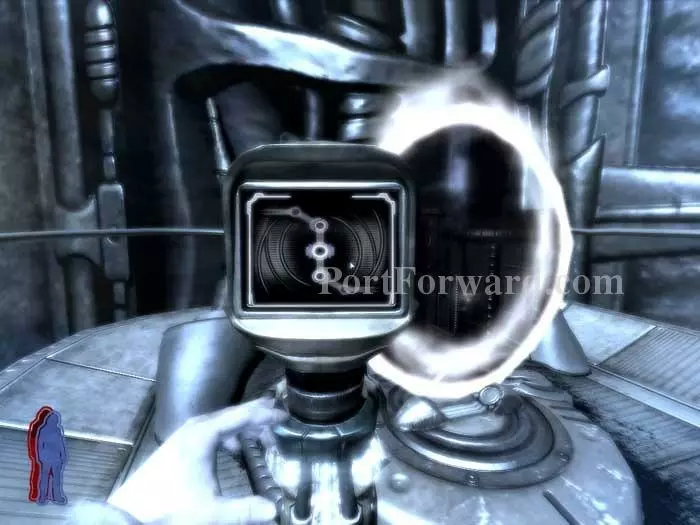
Disable the force field with this console.
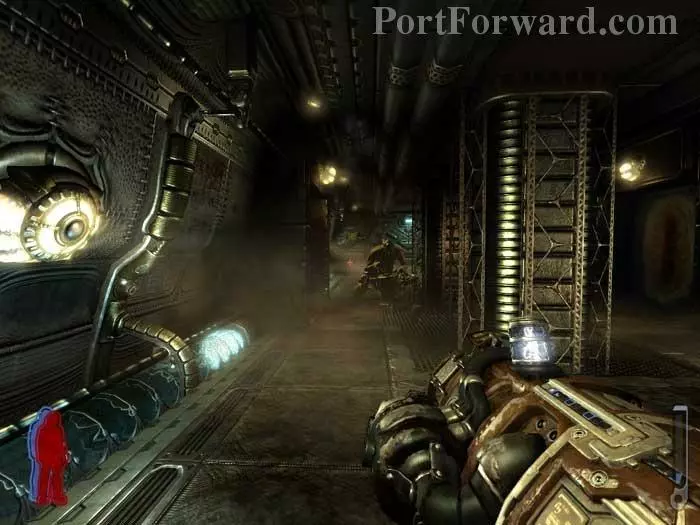
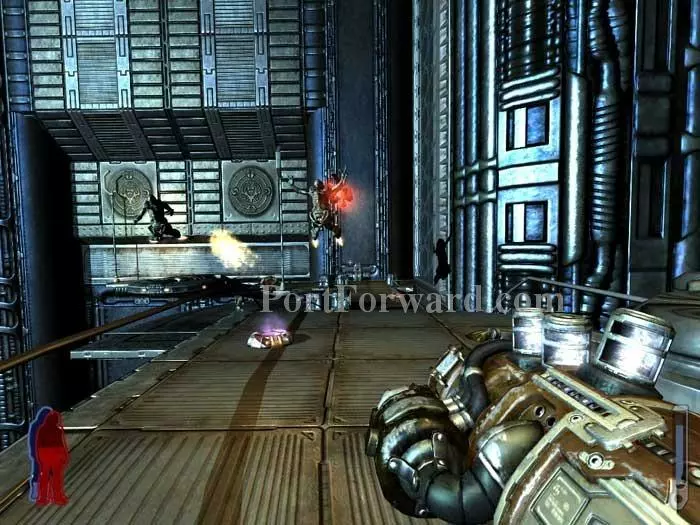
The launcher works well against the hunters in this next room. Note the spores ahead and video slots machine in the left corner.
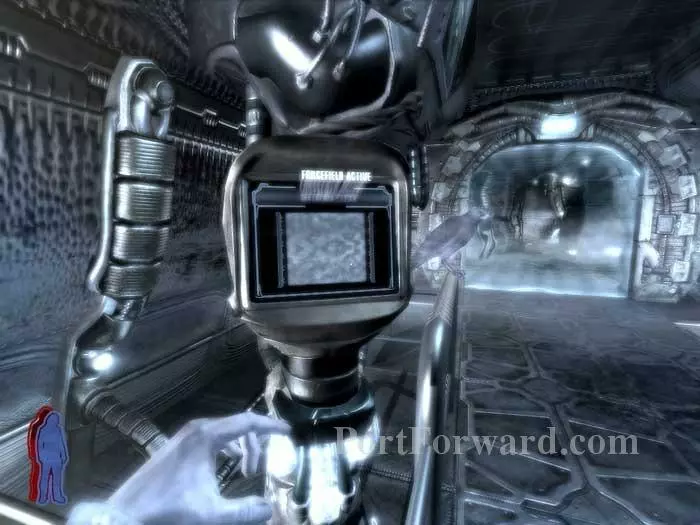
Use this console then see a lift rise on the other side of the window. Step through the portal.
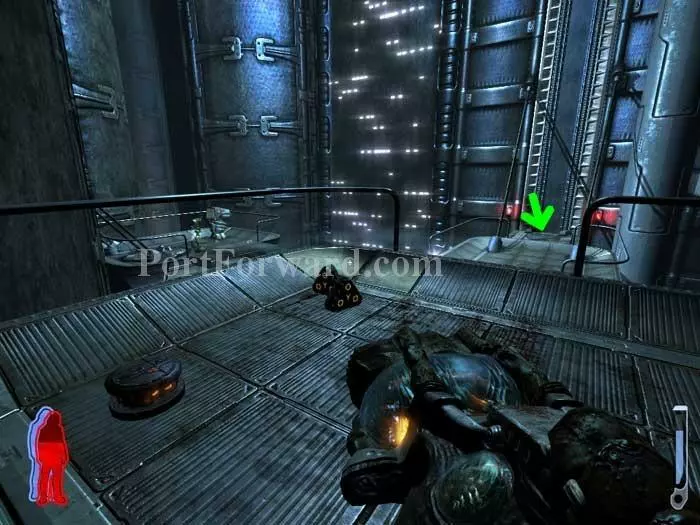
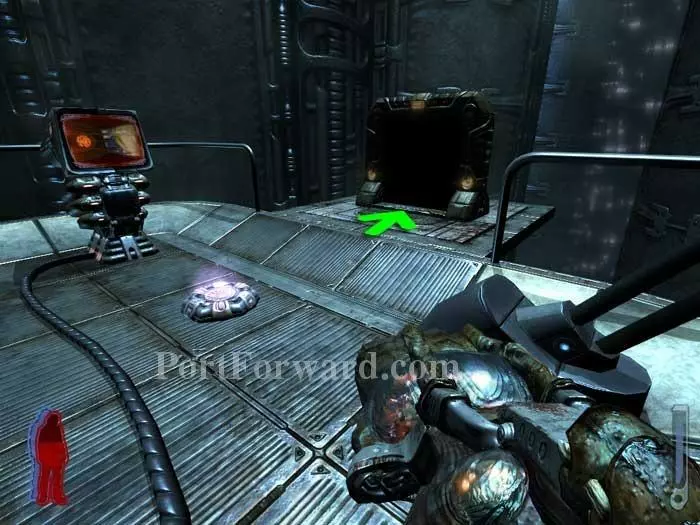
Witness a hunter get crushed by an asteroid then walk over to the lift (arrow).
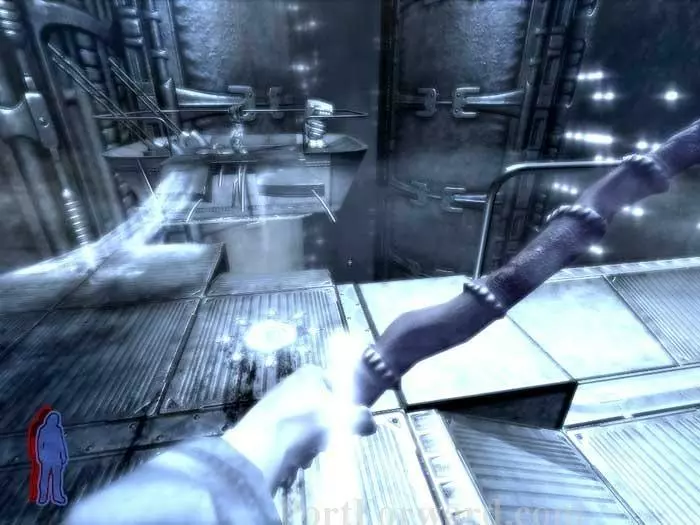
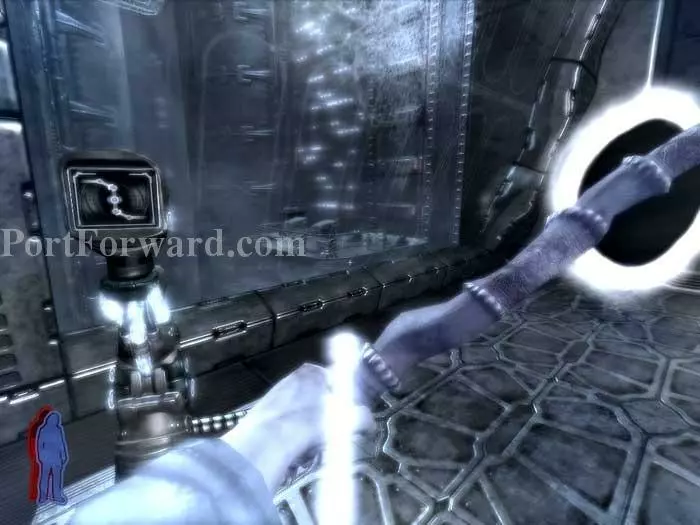
Spirit Walk across this bridge.
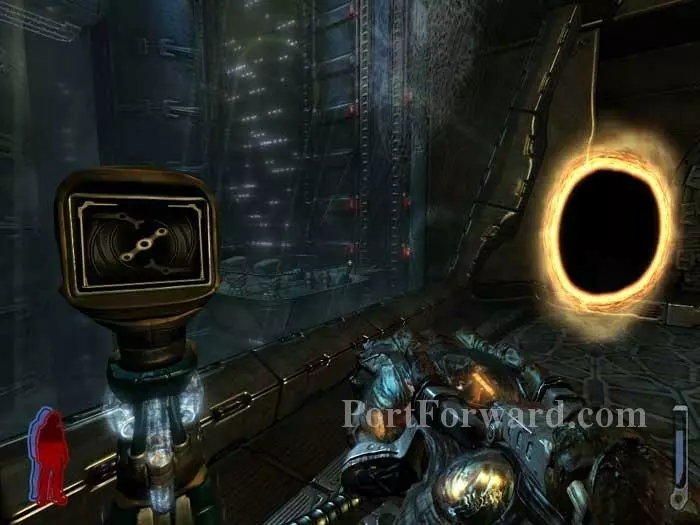
Use this console to activate a portal. Step through.
Find yourself back here. Use the console to lower the lift.
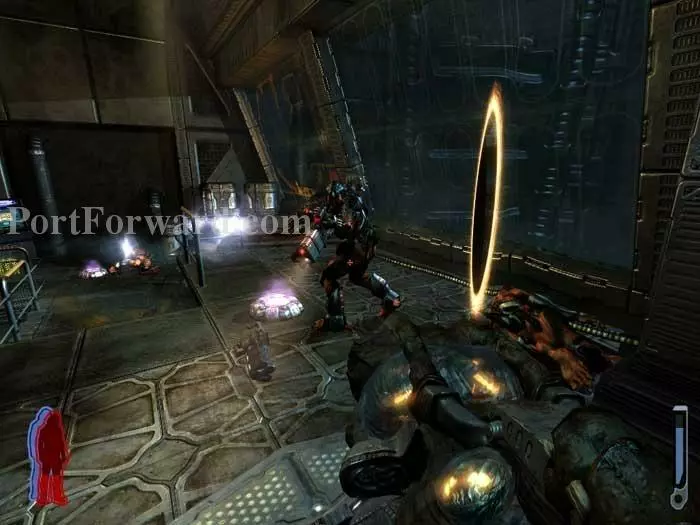
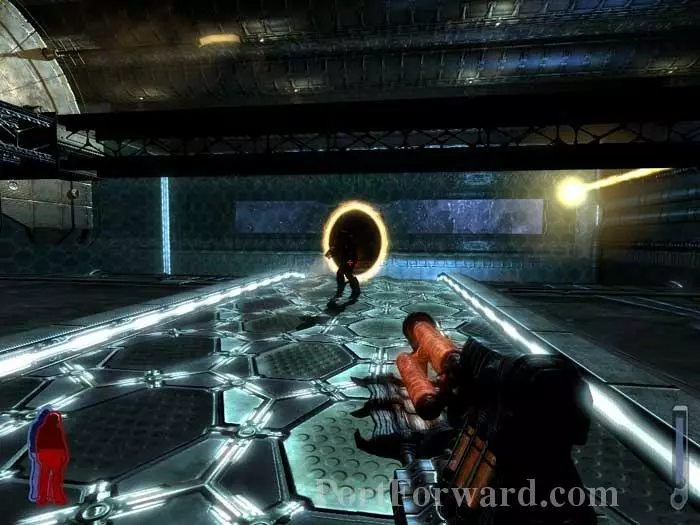
Return to your body and rush through the indicated portal before a pair of robots attack.
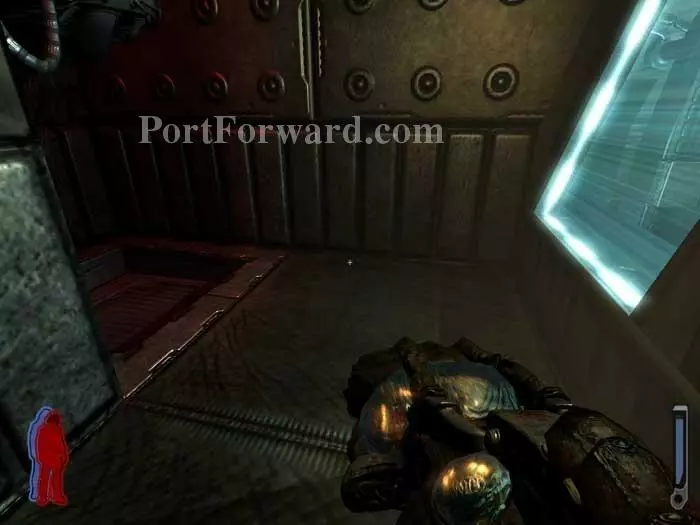
Spirit Walk through the force field on the right to find rifle and Auto Cannon ammunition on a pipe. Return to your body then drop through the trap door on the left.
Your Auto Cannon does double duty against a turret and some robots.
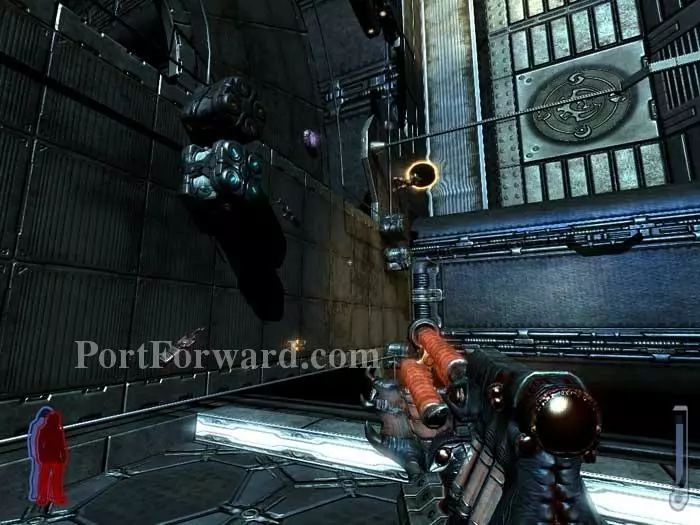
You want to get on the other side of the beam above. Position yourself to fall on the beam before shooting the gravity switch.
Drop over the other side, careful not to fall into the pit.
Destroy this turret then shoot the gravity switch above.

Exit through the door ahead.
Grab supplies from the ammo locker then find the door you came through has closed. Wait for it to unlock and discover the room has moved you to another part of the Citadel.
Head right and defeat a pair of harvesters.
Spirit Walk across the bridge in the background to this walkway console.
Defeat a pair of hunters as you backtrack to this walkway found on the opposite of the door where you entered this area.
Predictably, hunters attack as you advance along the walkway.
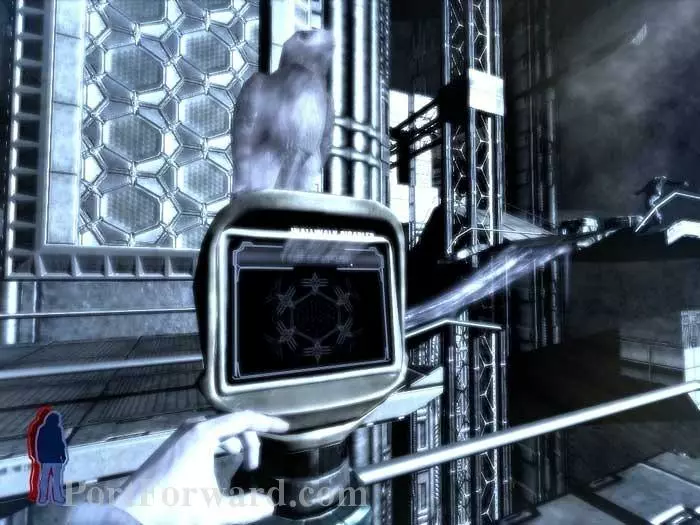
The walkway brings you to this area. Sniping is highly recommended against the hunters.
Grab the area's abundant health and ammo before calling a shuttle.
A turret attacks from your left, and a graviton beam pulls you towards it, making navigation difficult. Destroy both.
Look up to find the exit hatch.
A harvester and a pair of robots try to stop you in this area. Stay close to the pad so you can recharge your exoskeleton.

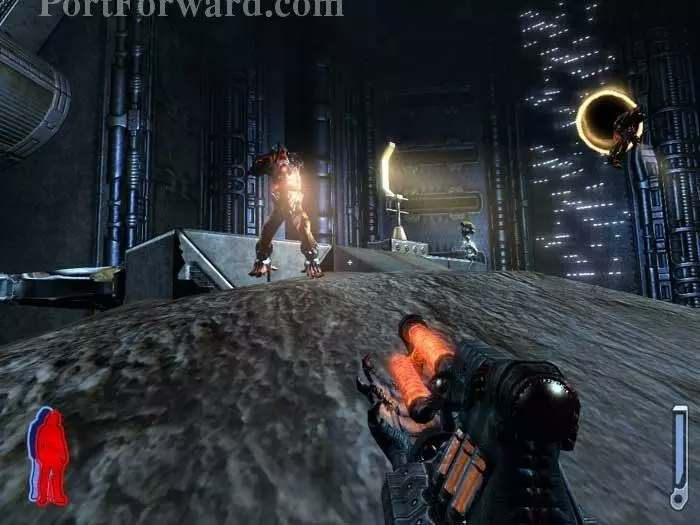
This unfortunate hunter also attacks.
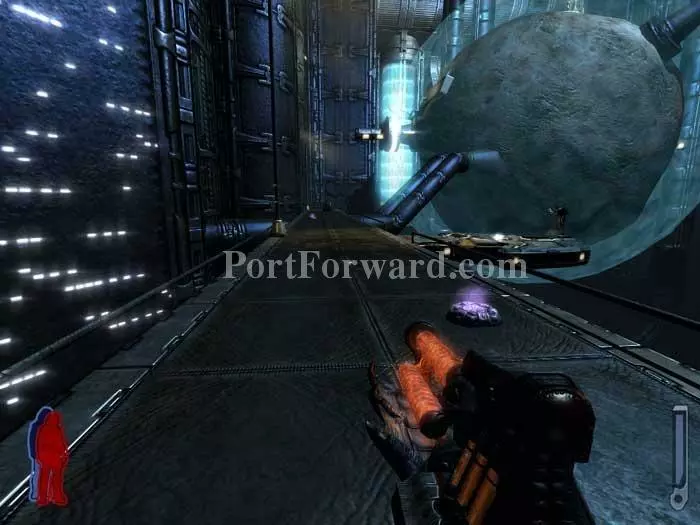
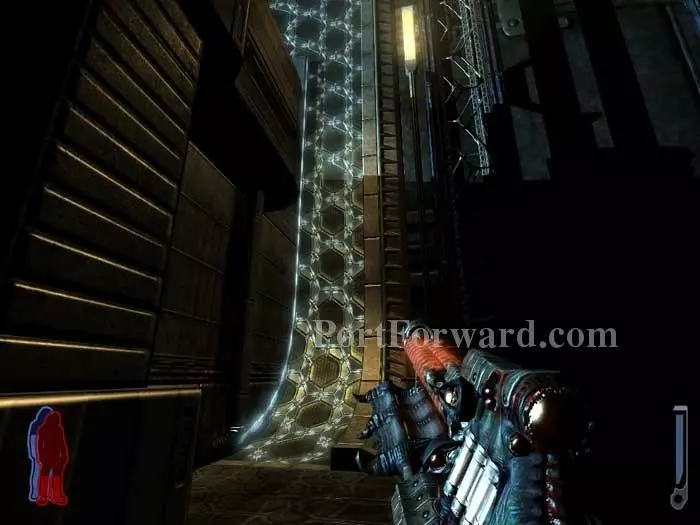
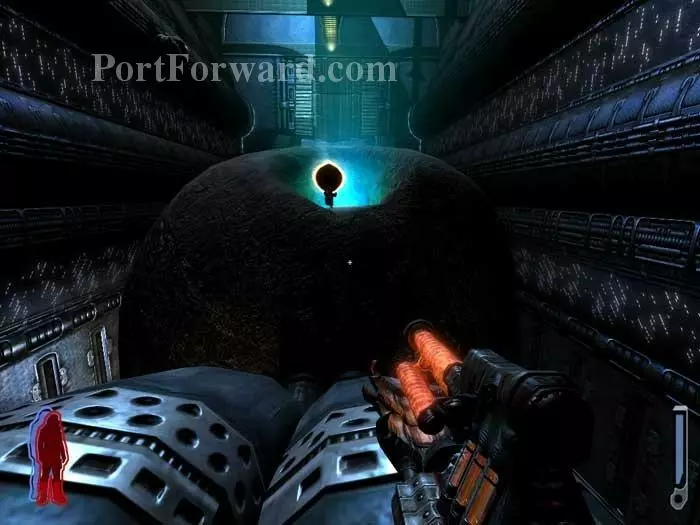
Land on the pad then walk up the pipes to the force field surrounding the asteroid ahead.
The asteroid is your new center of gravity. Spirit walk to drop through the force field. Use the console below to turn the force field off, then return to your body.
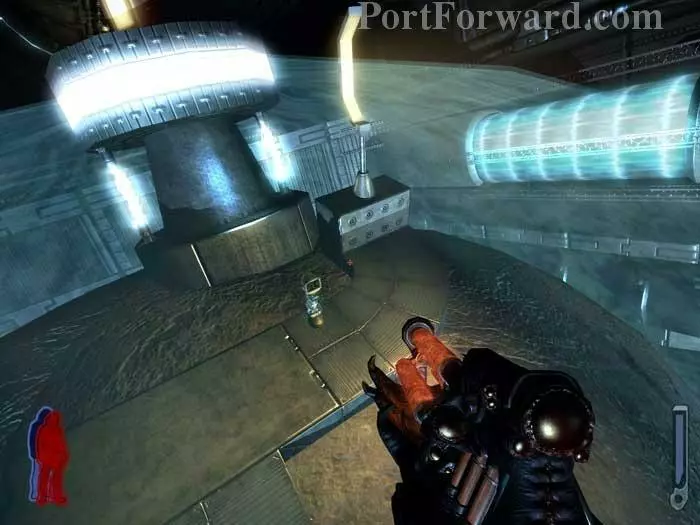
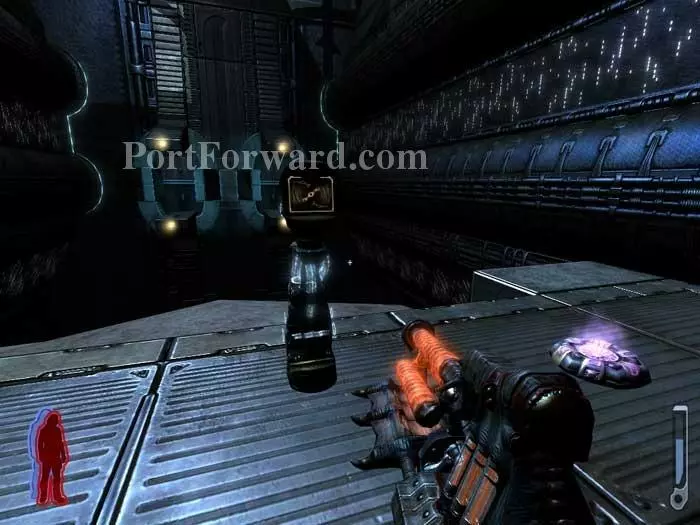
Approach this nearby station and defeat the hunters which spawn.
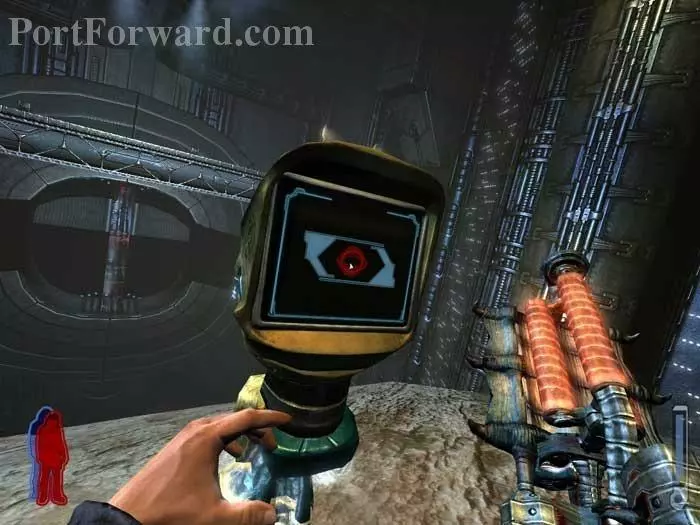
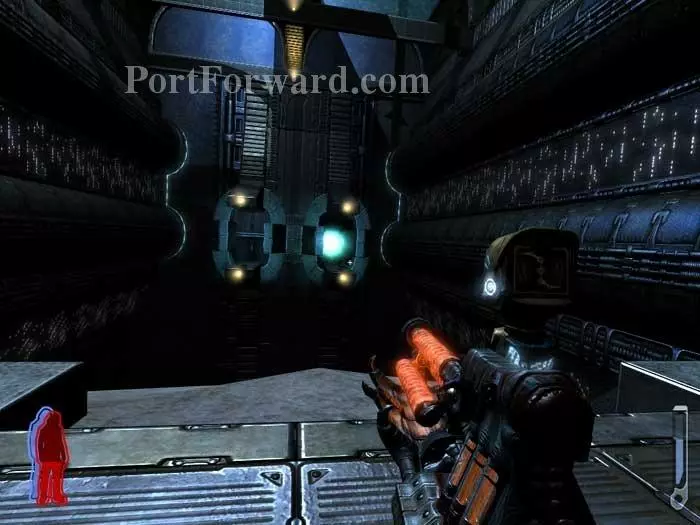
Use this console to open the hatch beyond.
Hunters and robots attack. Quickly turn around and call a shuttle.
Pick off the hunters and blast the robots.
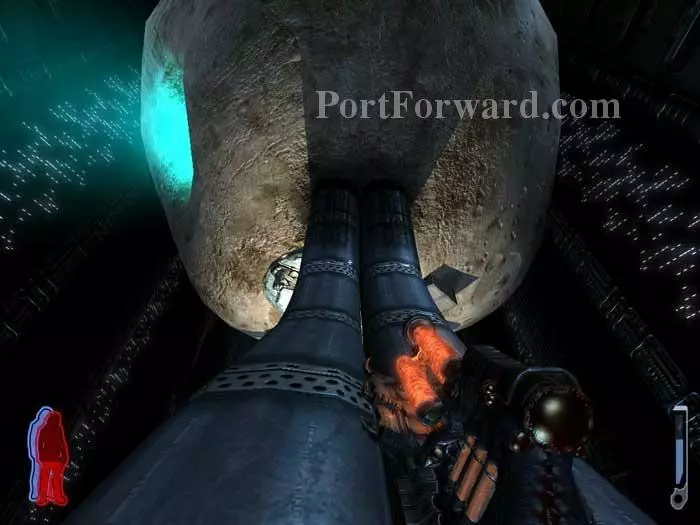
Advance through this now-open tunnel.
Emerge out the other side and find these two asteroids connected into a single structure.
The first thing to do is rush to this landing pad at the top of the lower asteroid. Now you've got a place for your ship to heal as you battle the pursuing robots.
Land on the pad after the robots are defeated, then walk to these pipes.
Follow the pipes to the neighboring asteroid. Snipe the hunters that spawn as you approach
Heal at the spore and use this console.
Exhaust vents are activated, their doors alternating as they open, then fire, then stop, then close. This is your escape.
Return along these pipes to the other asteroid. Note that another set of pipes are inaccessible due to gravity's orientation.
Call a shuttle then terrorize the hunters that spawn.
Fly up towards the ceiling then position yourself in front of one of the two vents. You want to be far enough away so as not to be damaged by the exhaust, but close enough so you can rush through after the exhaust stops but before the doors close.
Once inside, avoid the exhaust gas as you wait for this door to open.
Fly through, then look up to find the exit hatch.
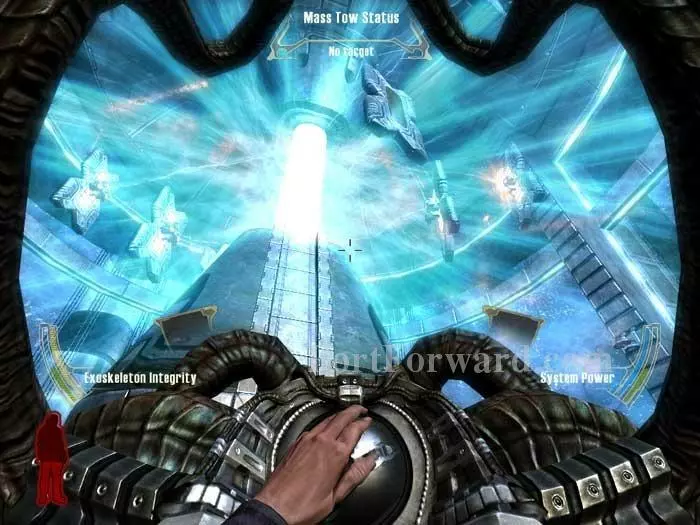
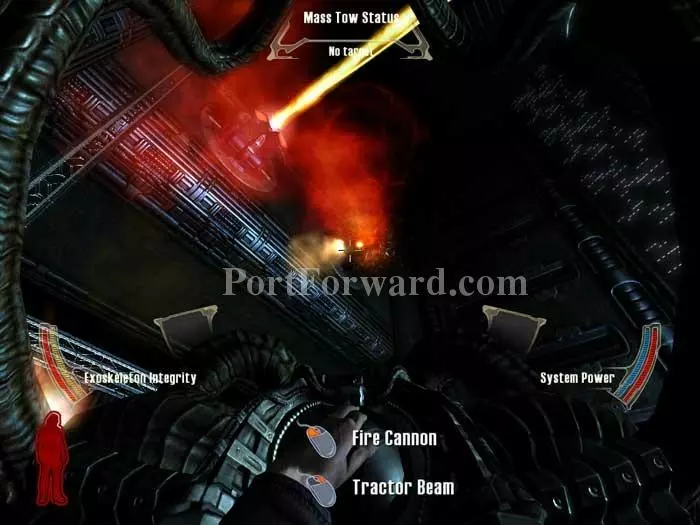
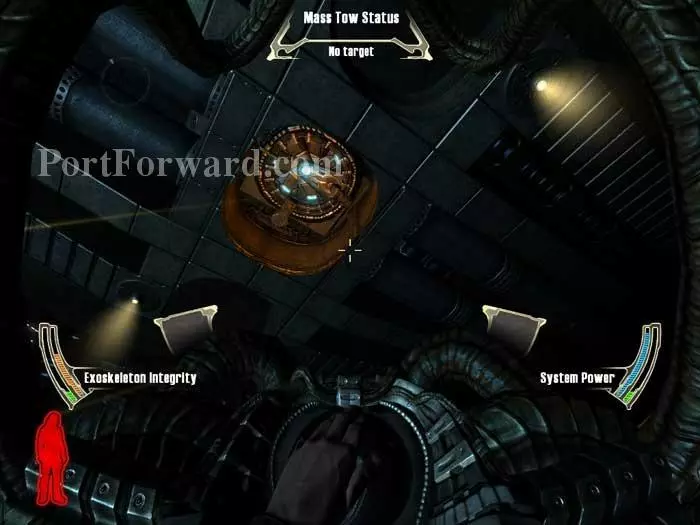
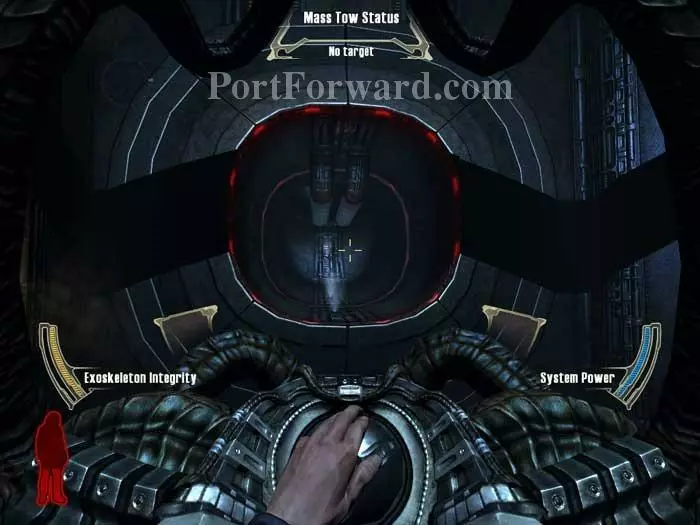
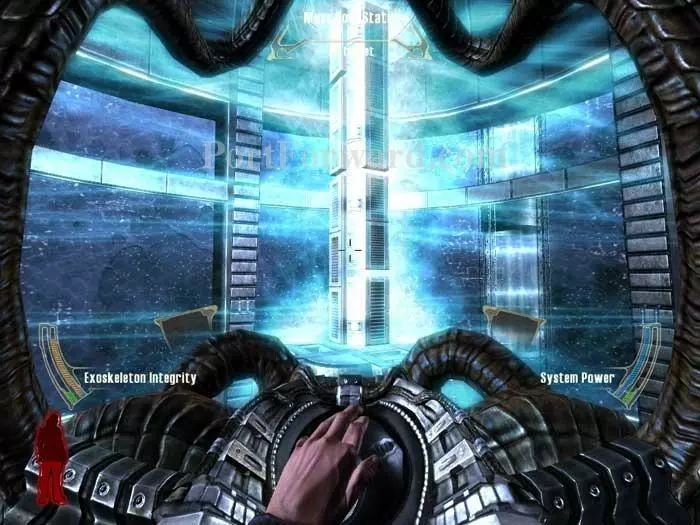
Emerge to find yourself at the Citadel's main power core. Oh yes, you're in the driver's seat now. The epic music that plays is very effective.
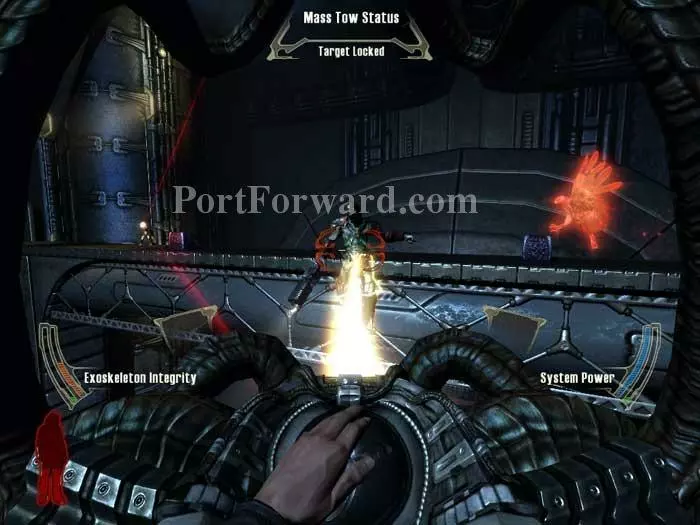
The core and its rotating supports will be firing continuously at you, so the first order of business is to find a landing pad such as the one seen on the right.
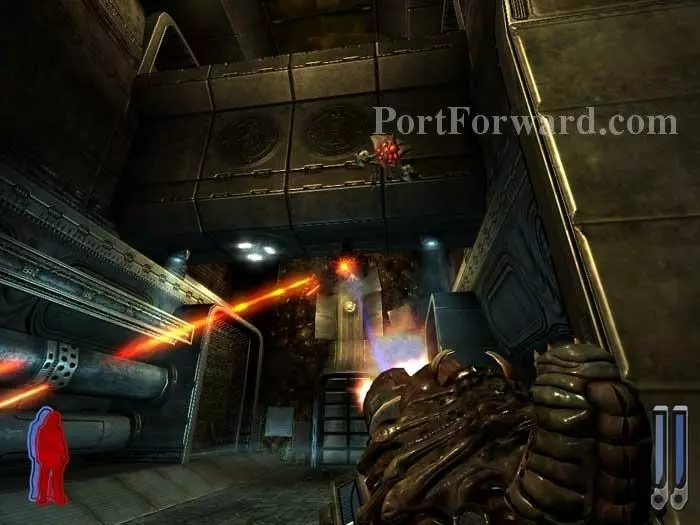
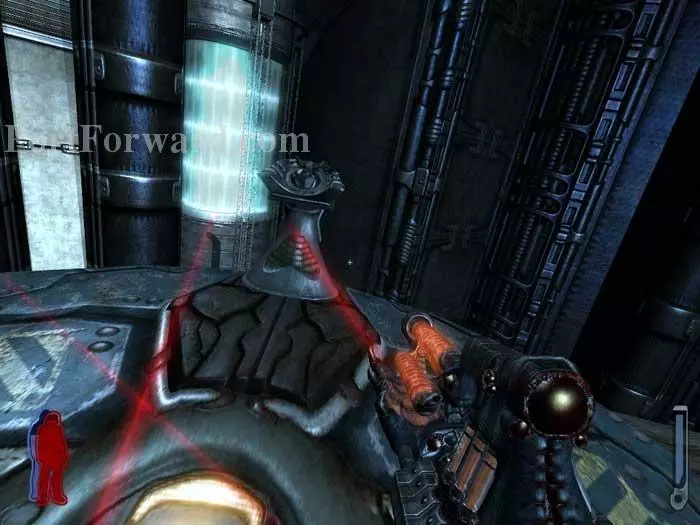
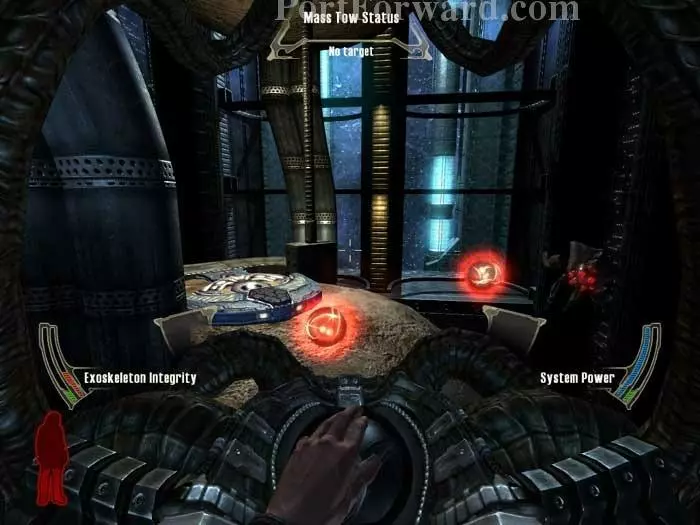
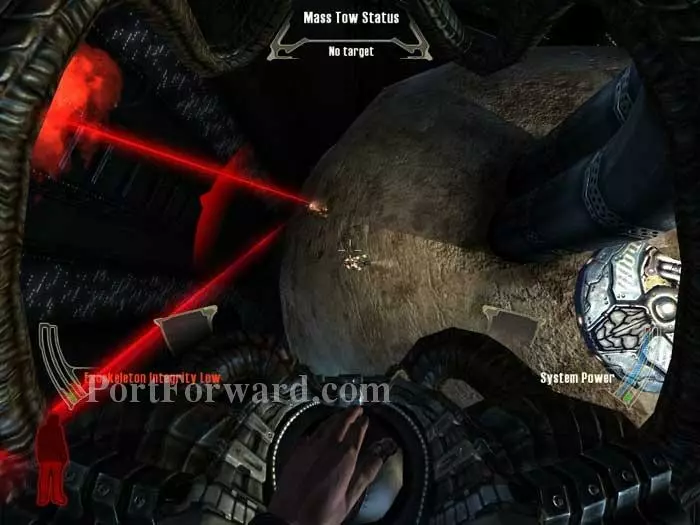
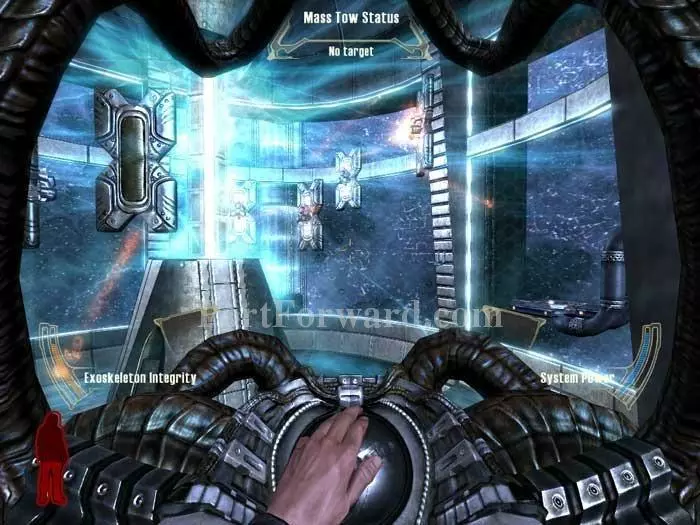
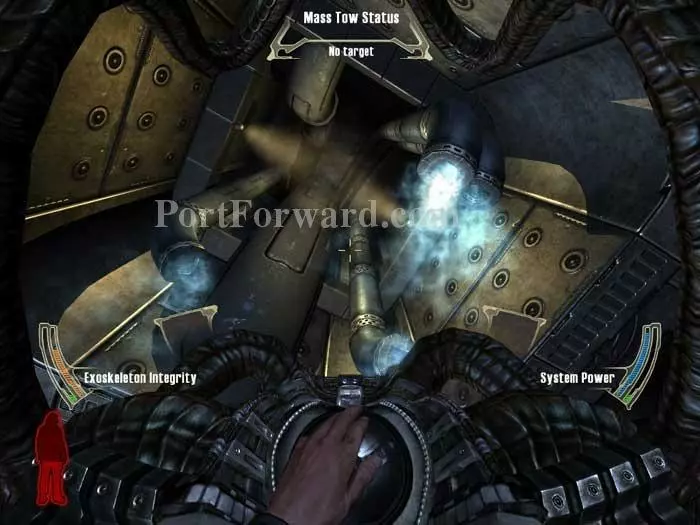
Your next task is to destroy these rotating supports, but firing at their backside like this does no good.
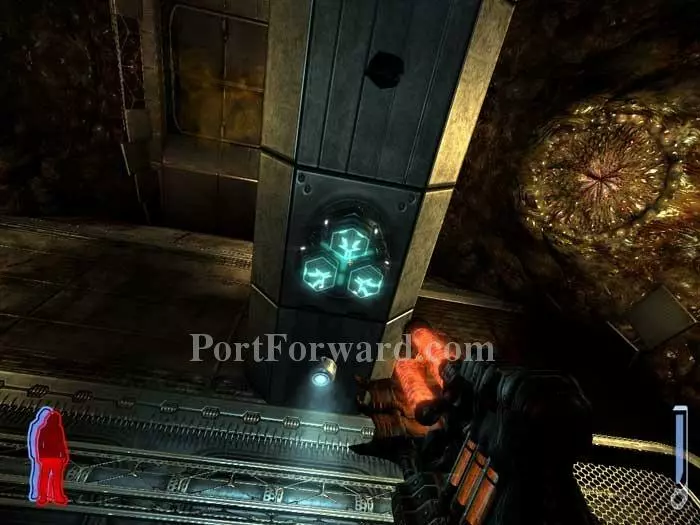
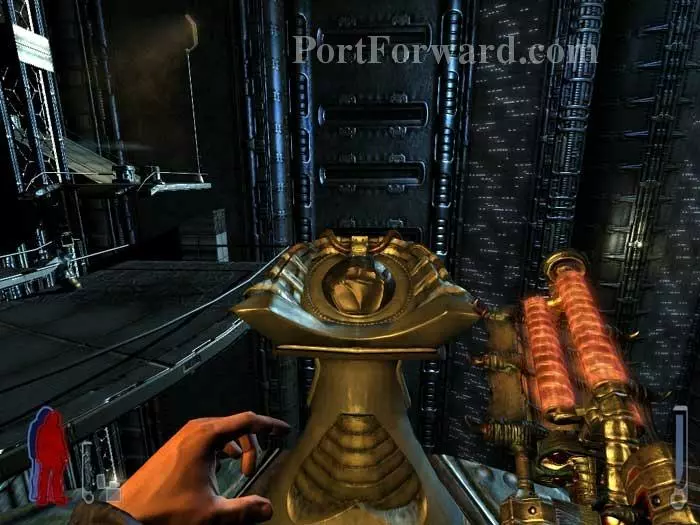
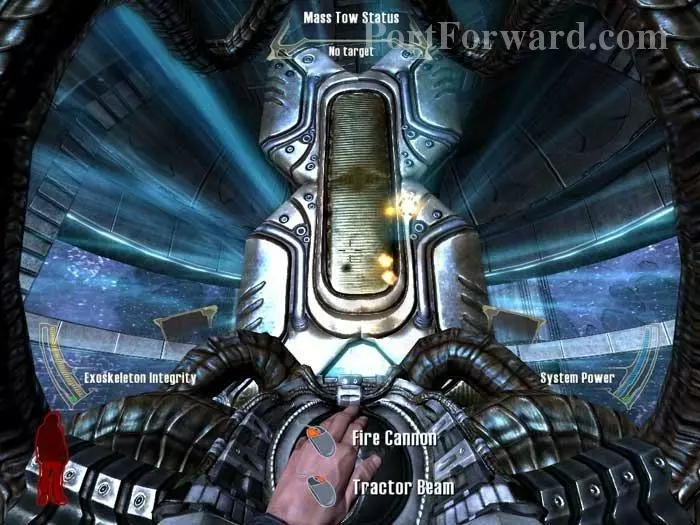
Instead, you need to hit the gravity-switch like device on the support's front. This will send the device tumbling to its destruction.
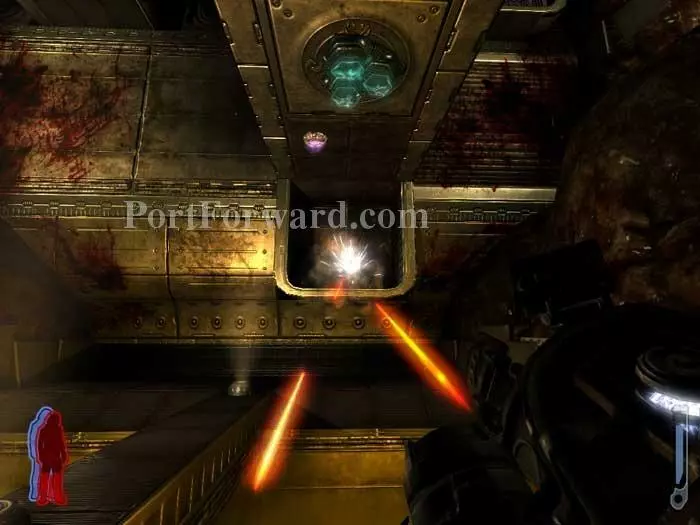
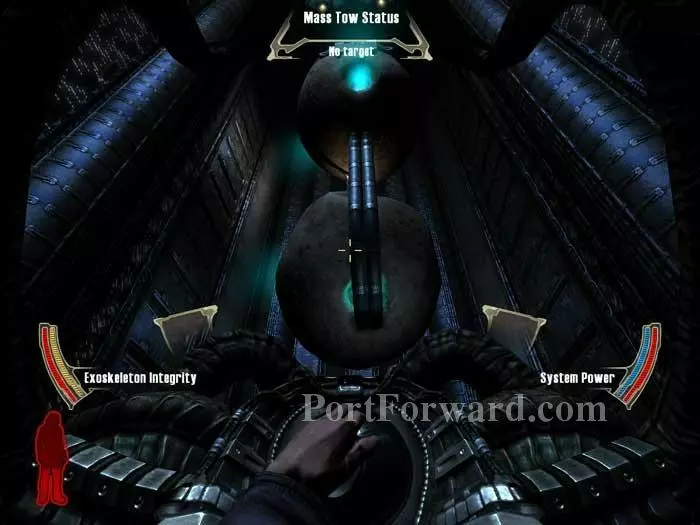
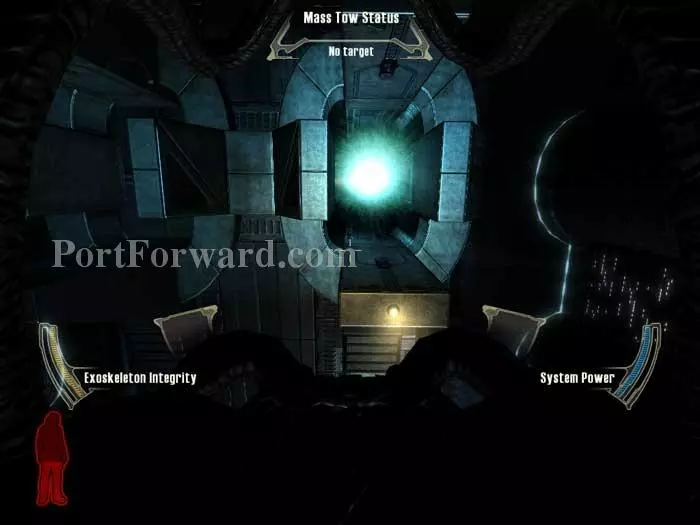
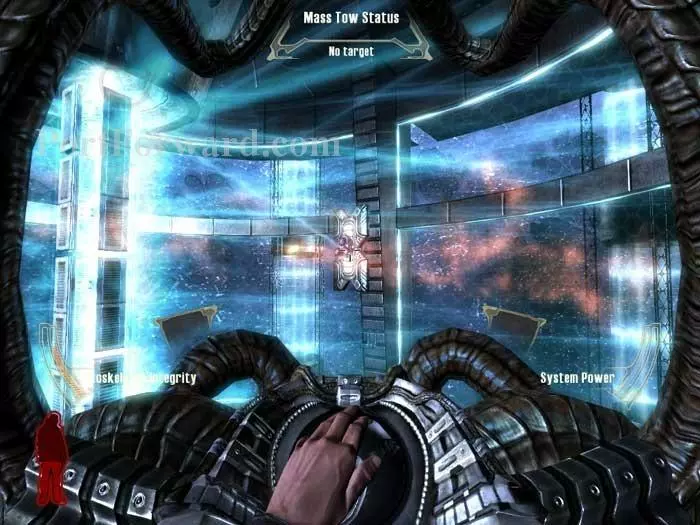
Once all the supports are gone, you'll need to destroy the four rings inside the remaining pillar.

Once the rings are gone, the core collapses. Mother seems irritated.
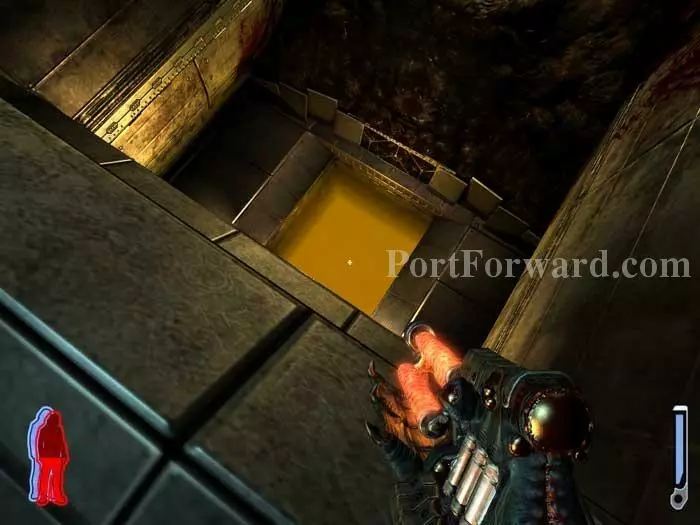
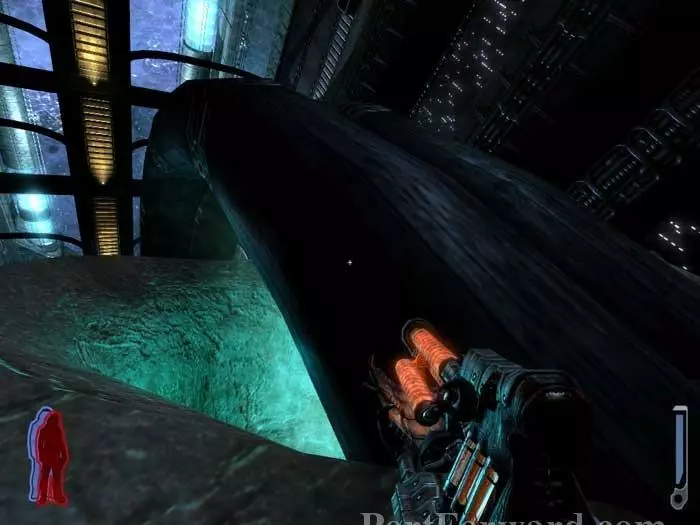
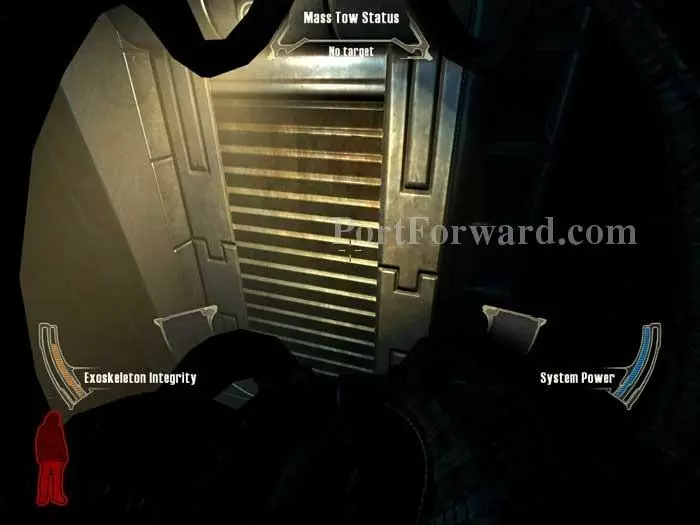
Fly up to find the exit.
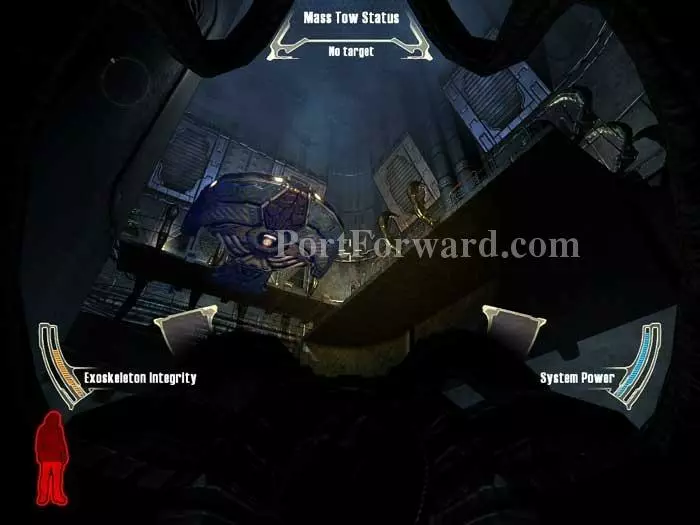
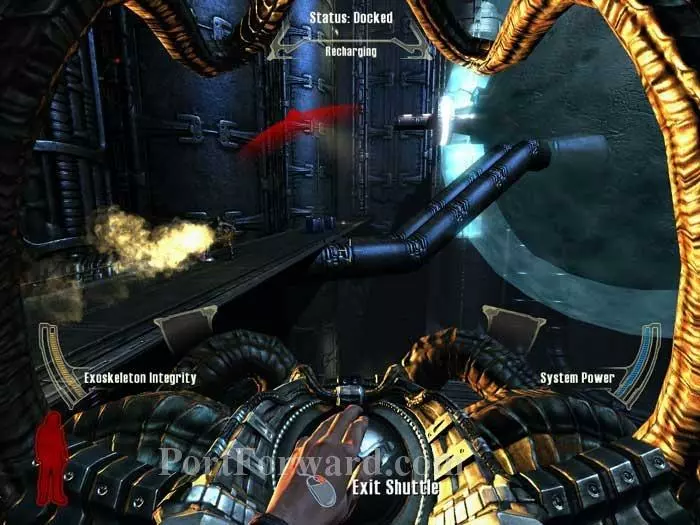
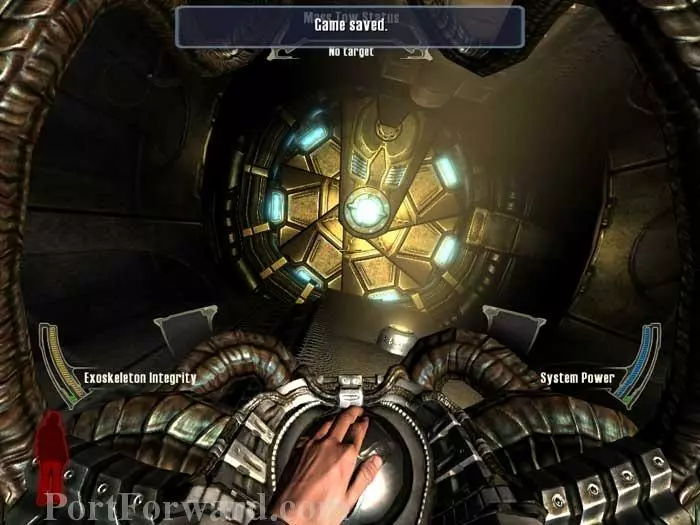
Follow the tunnel to this landing pad.
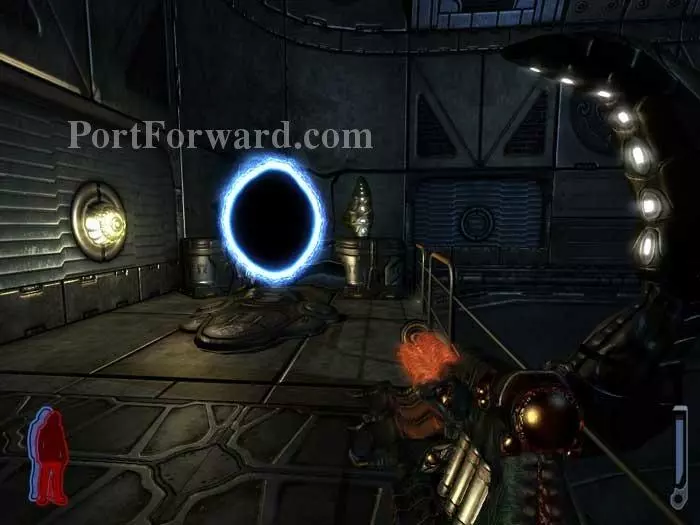
Exit your shuttle then step through the portal to finish the level.
More Prey Walkthroughs
This Prey walkthrough is divided into 22 total pages.