
This Prey walkthrough is divided into 22 total pages.
You can jump to nearby pages of the game using the links above.
The Complex
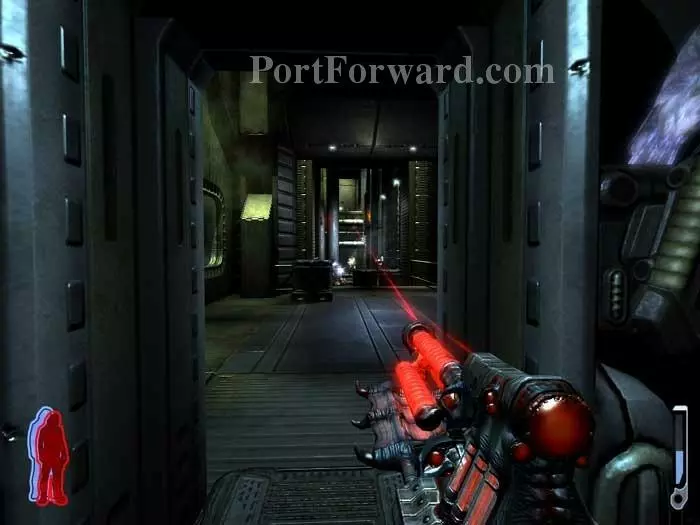
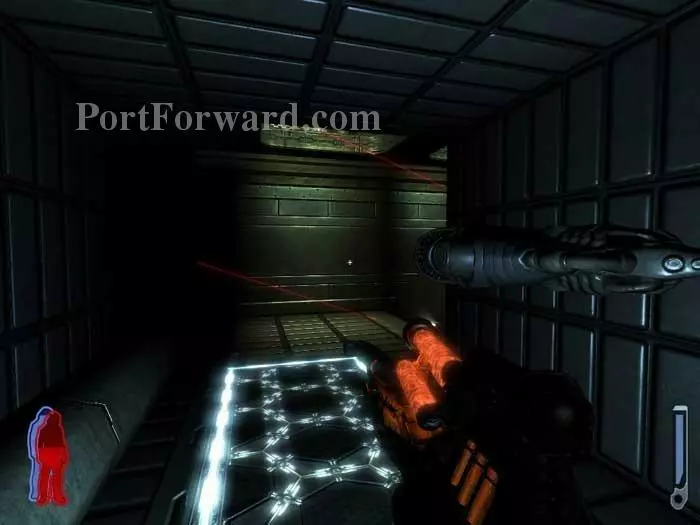
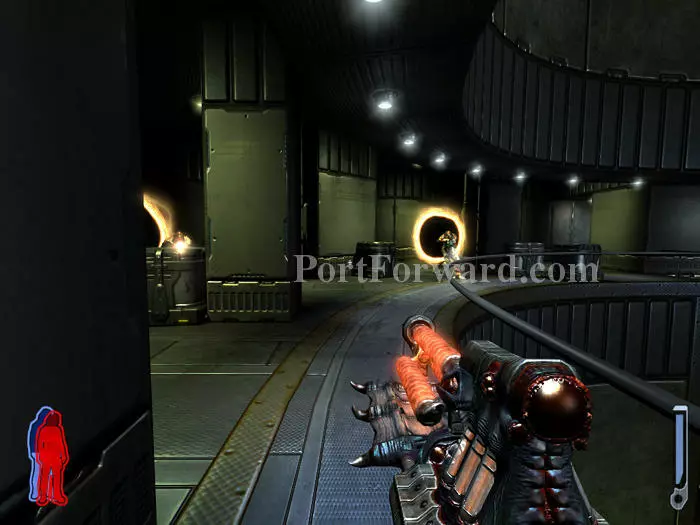
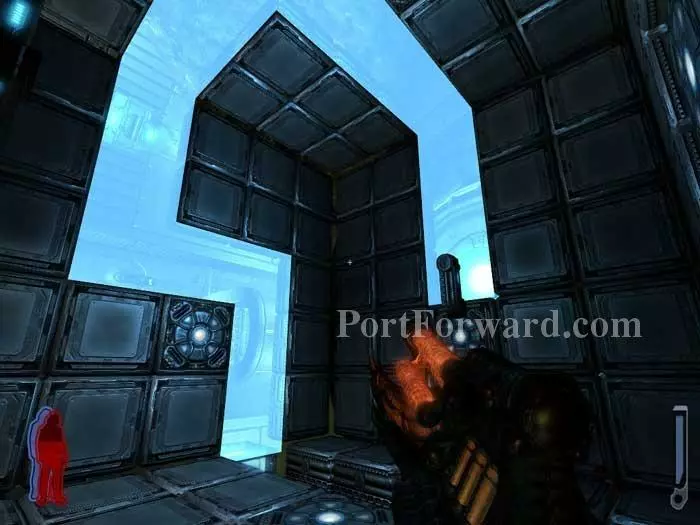
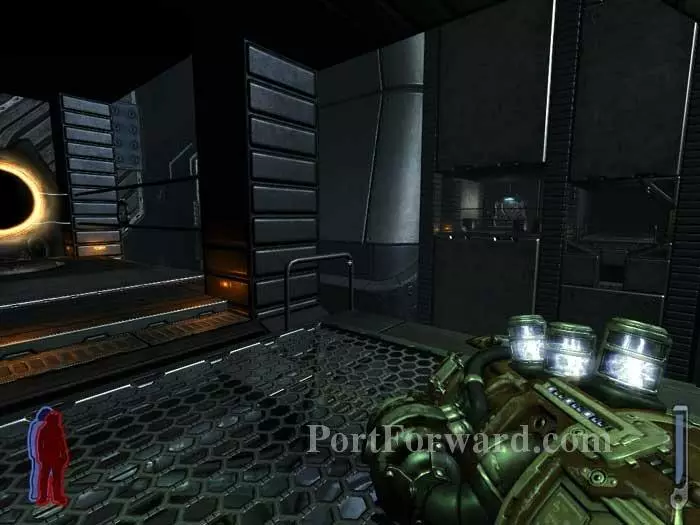
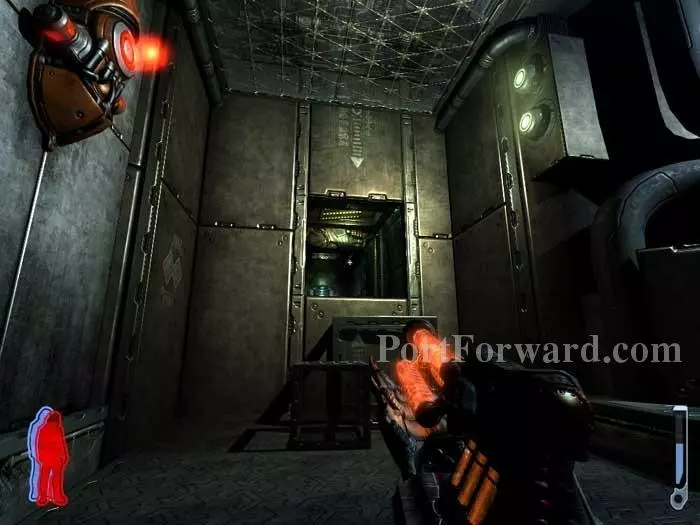
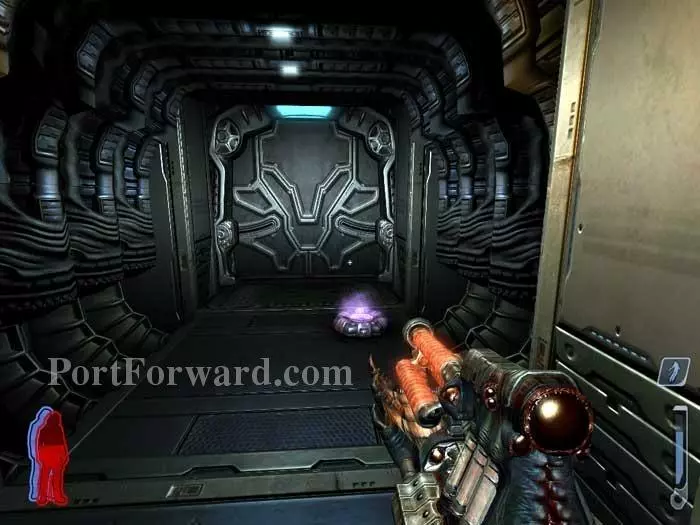
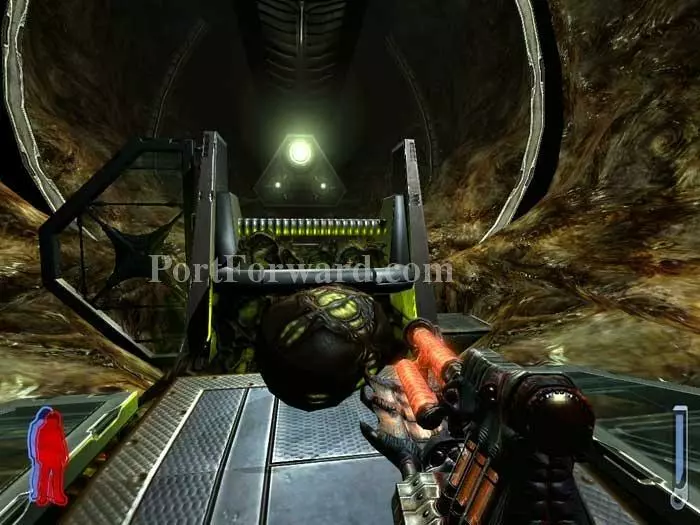
Start through the crawlspace. A fodder plus rifle and launcher ammo are to the right. Ready your rifle before using the dismembered hand to open this door on the left -- snipers are waiting.
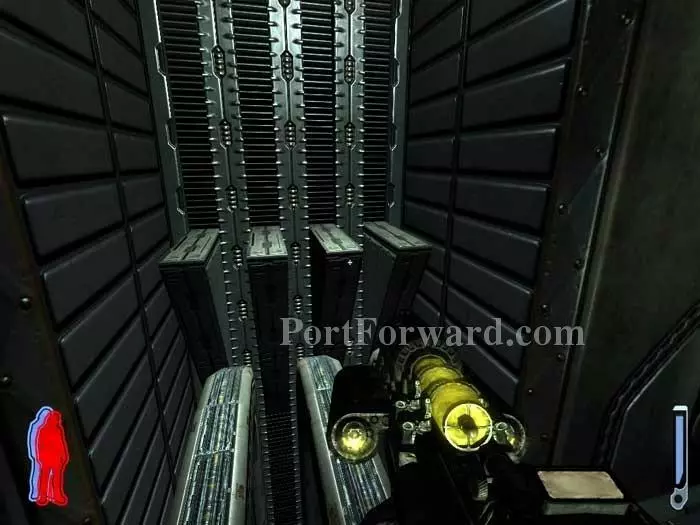
Note the alarm on the wall -- try to keep the hunters from activating this, or else a turret on the right comes to life. Drop through the opening in the floor then crawl beneath the catwalk.
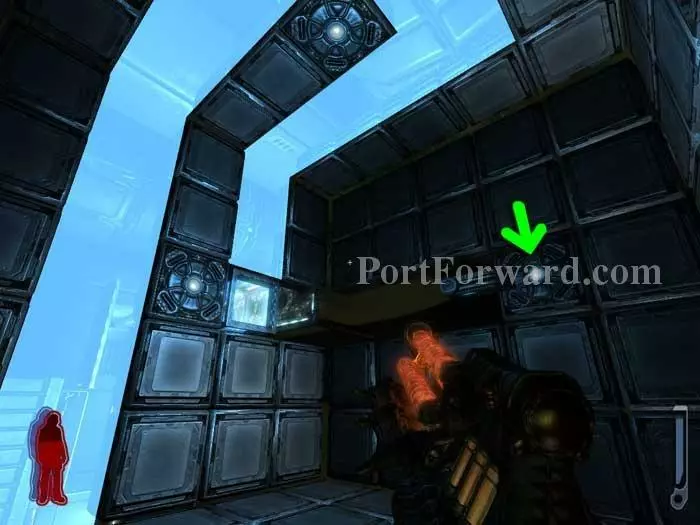
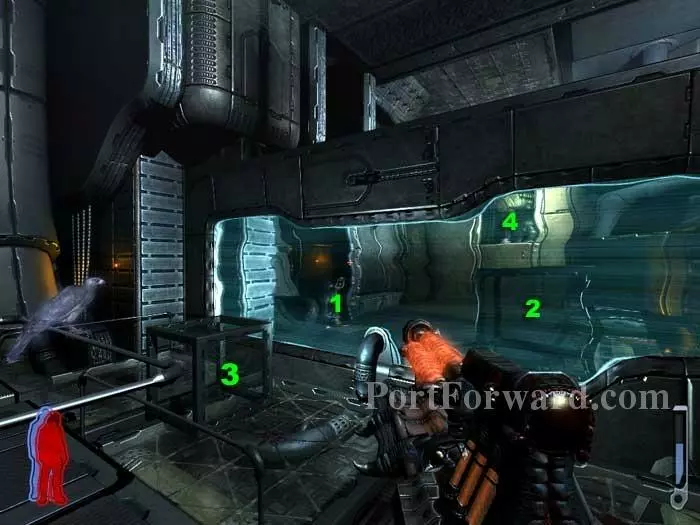
Turn right to find lightning ammo and a door.
Turn right to find lightning ammo and a door.
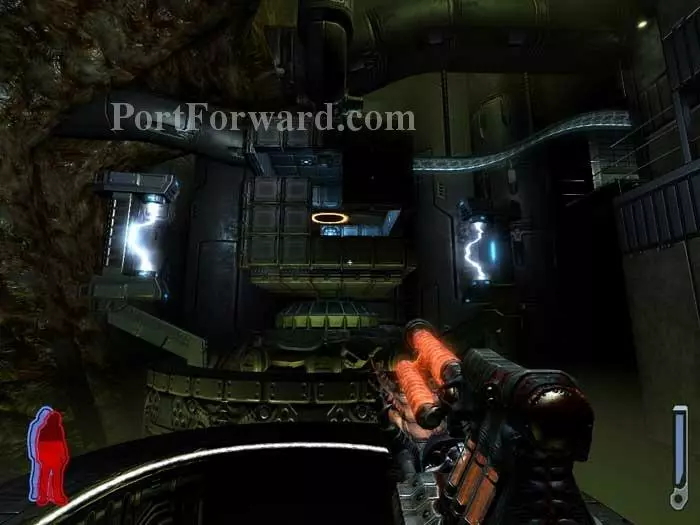
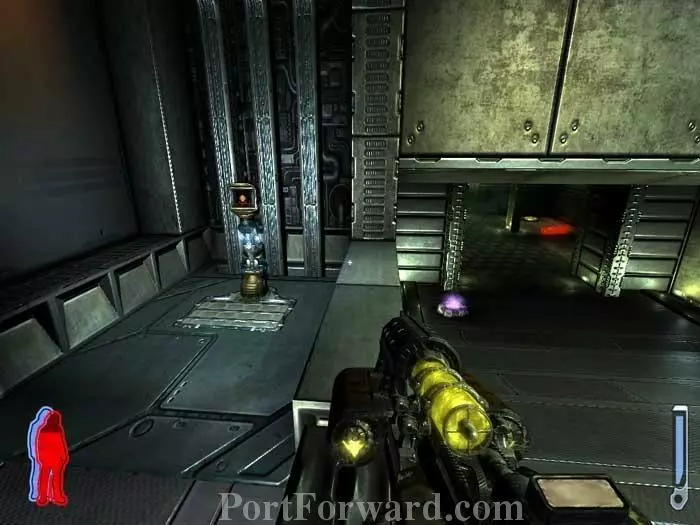
Health and ammo are to the right.

Climb the stairs to listen in on another awesome Art Bell segment. This time, a caller from Finland reports dreams of a man and his bird fighting aliens on a spaceship. Hmmm. Note the ammo and the door on the left.
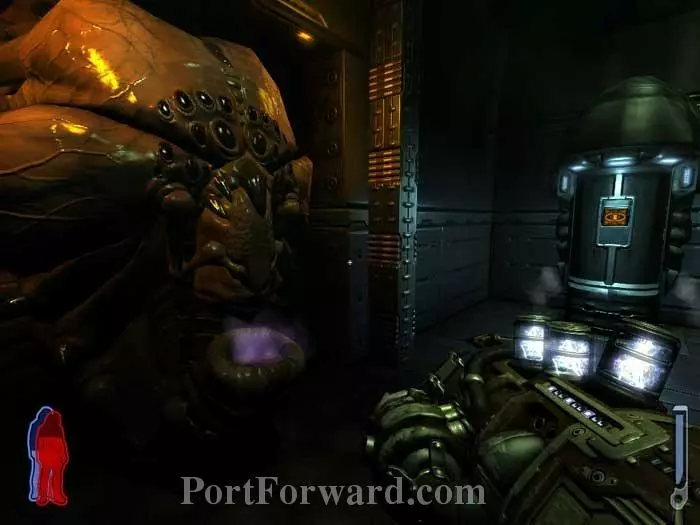
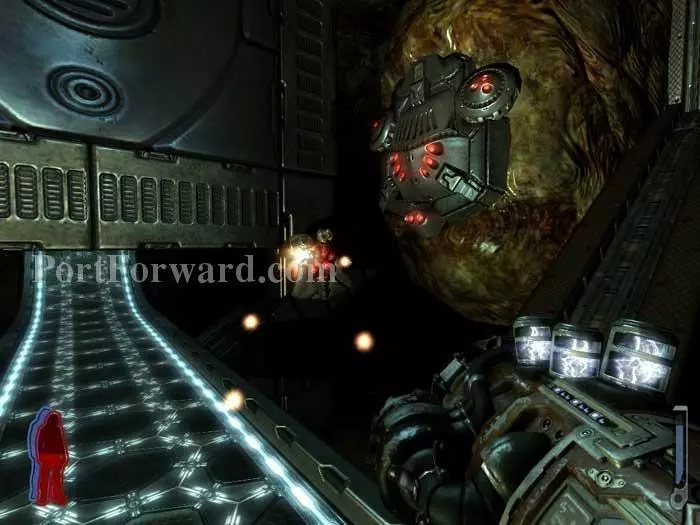
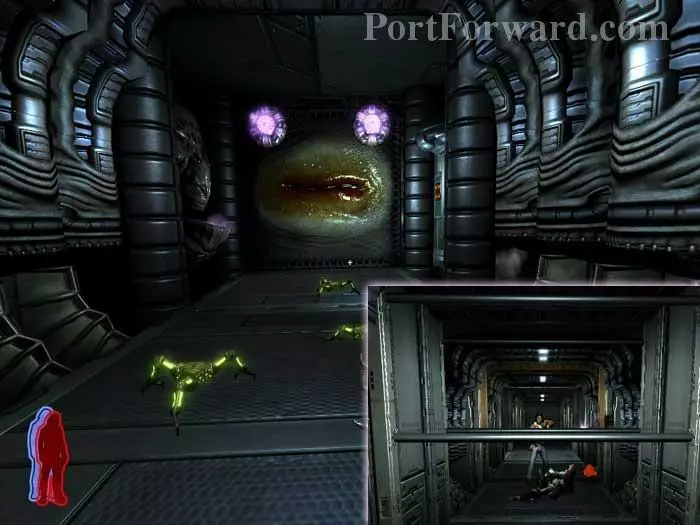
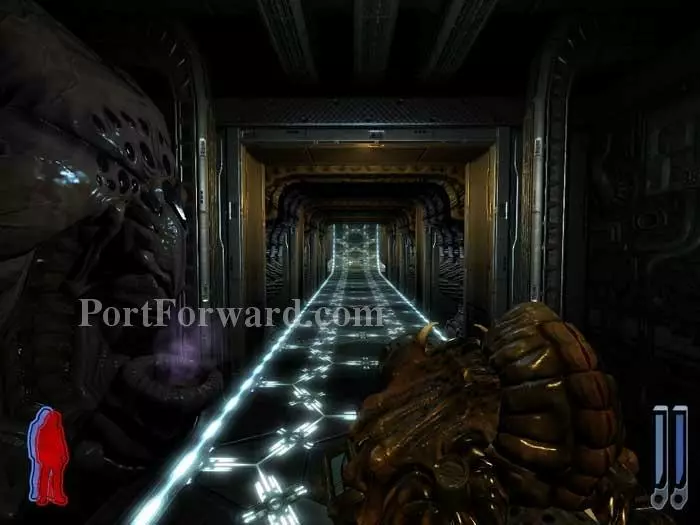
Approach the door and witness something...large.
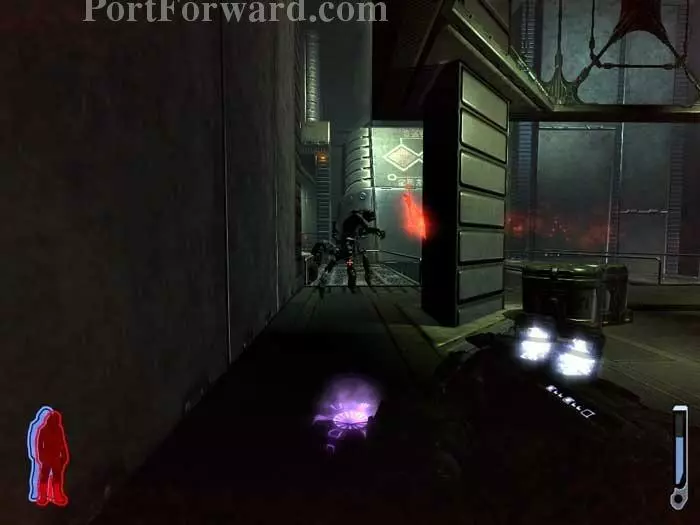
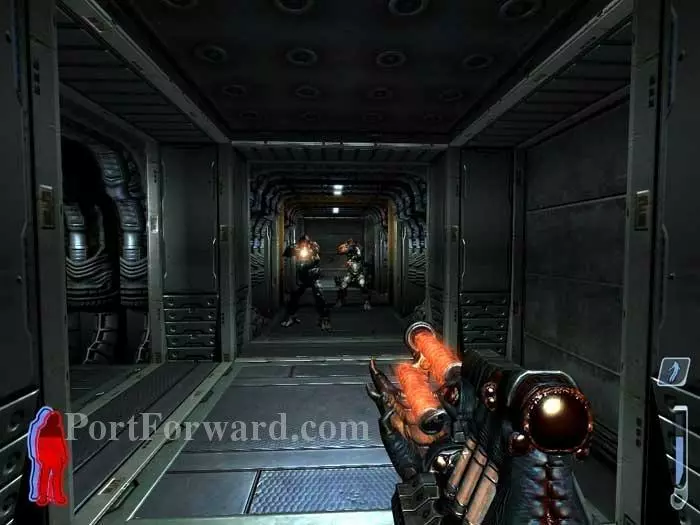
Backtrack to the previous room and battle a pair of hunters. Ascend the walkway on the left.
Defeat a hunter then Spirit Walk to find this ammo stash.
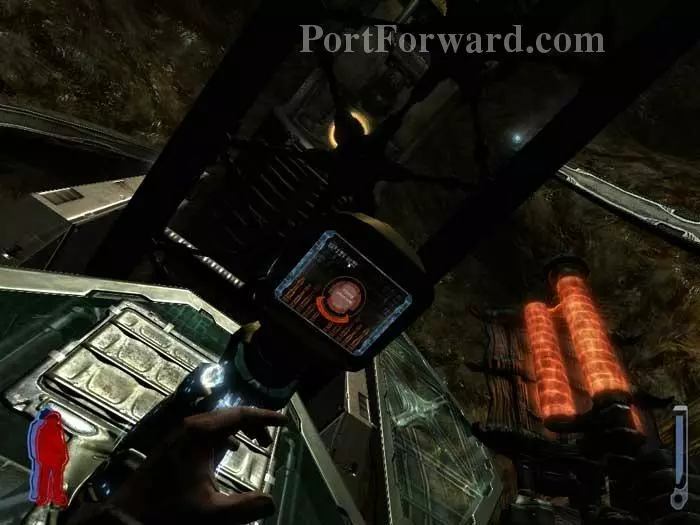
Return to your body then follow the walkway until you see these lasers.
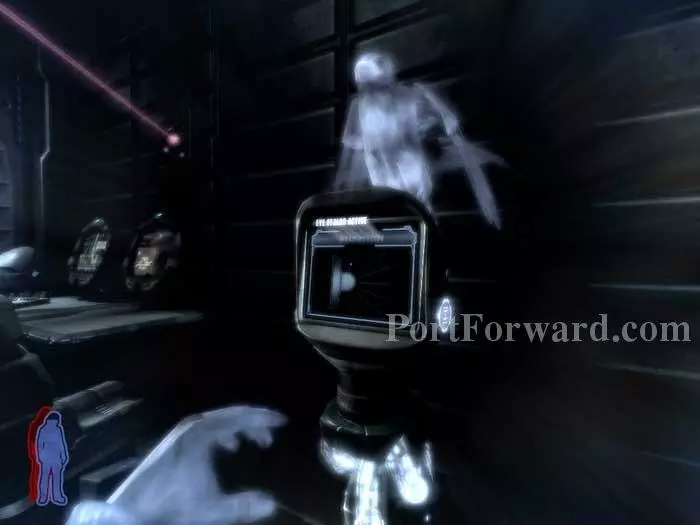
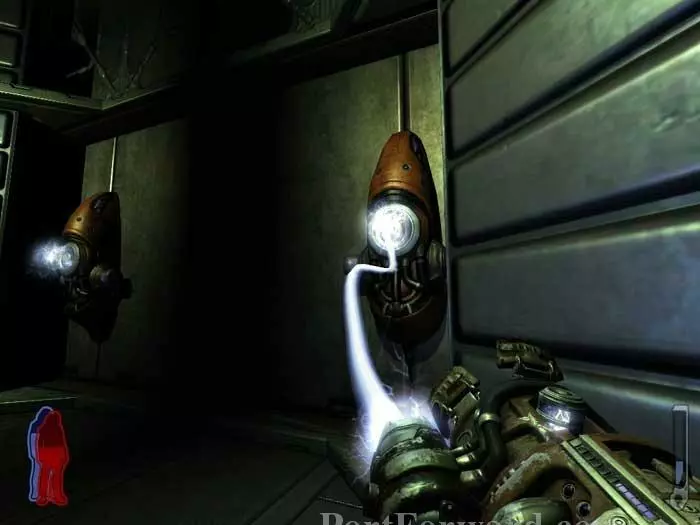
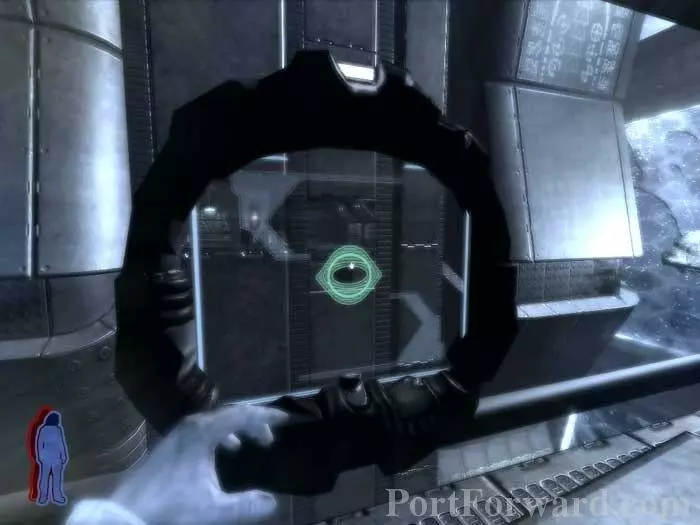
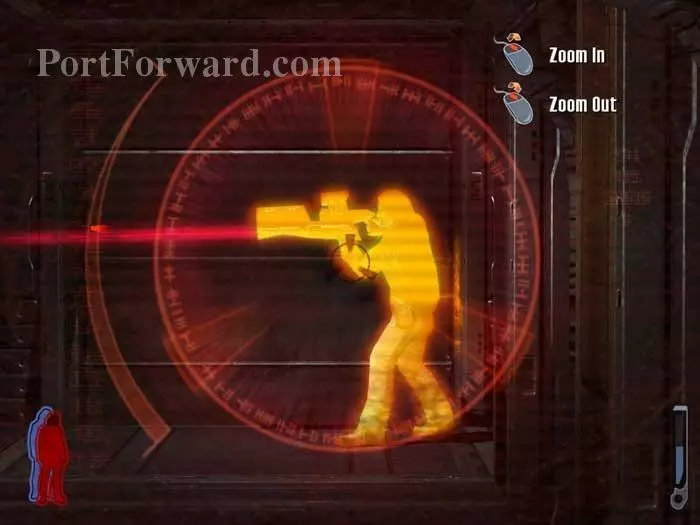
Spirit Walk to disable the lasers at this console.
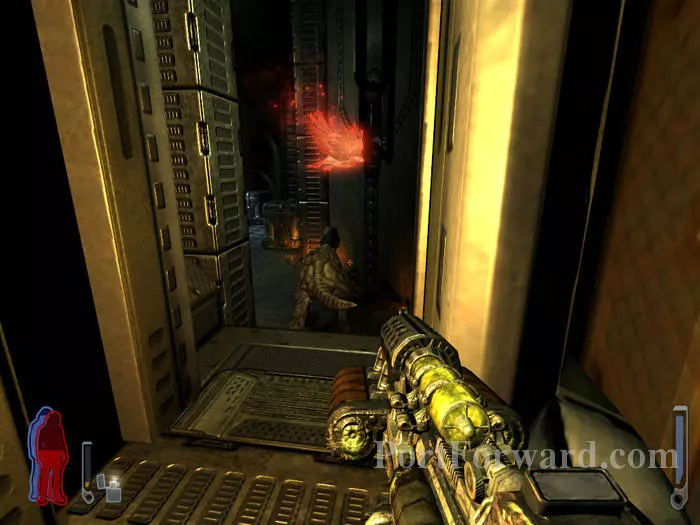
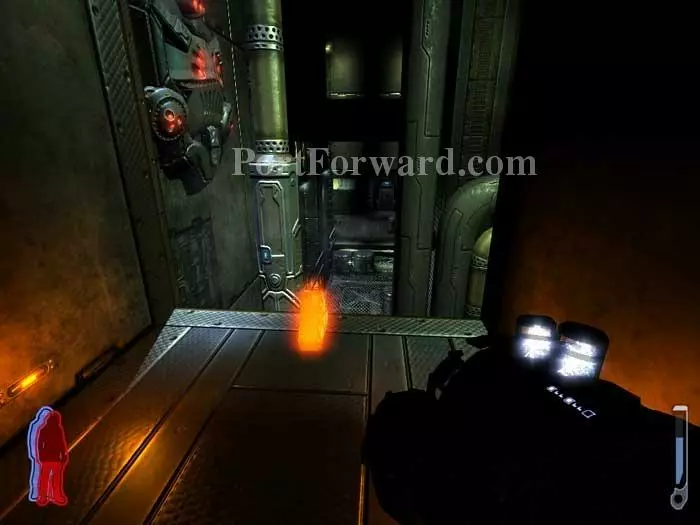
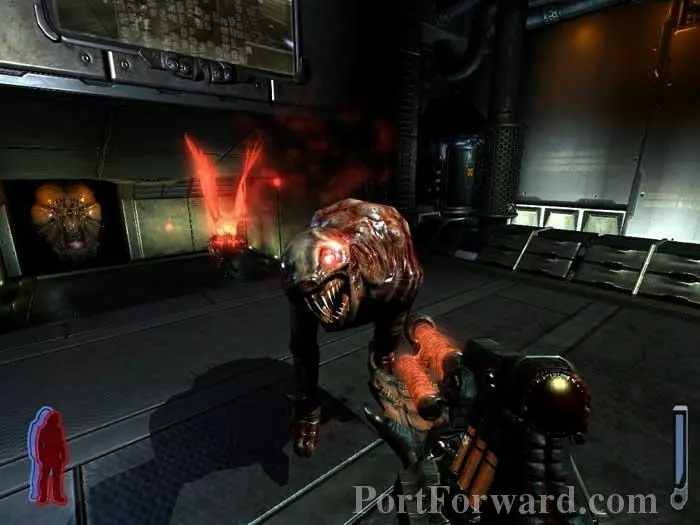
Ready your acid gun for this hound before opening the next door.
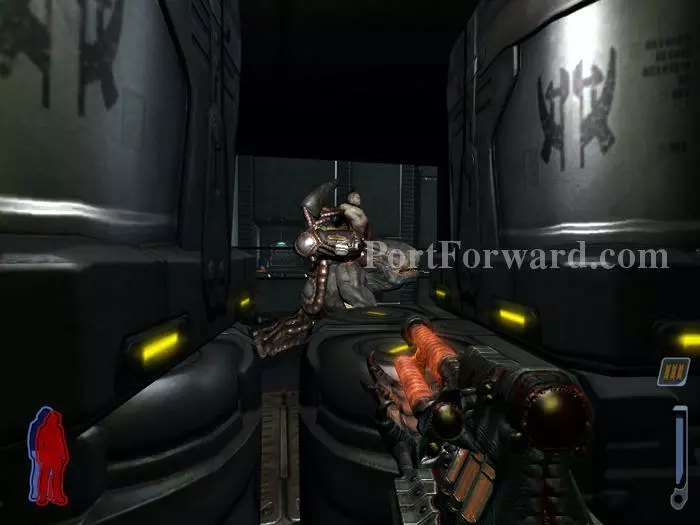
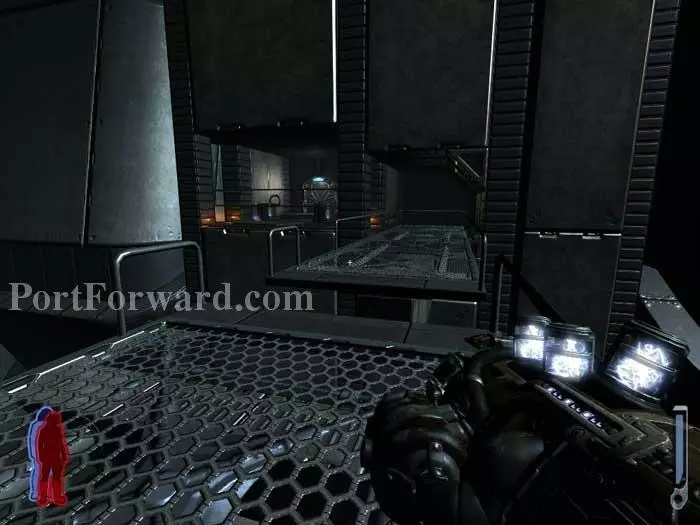
Hunters and another hound are ahead.
More hunters spawn in this wide-open area. Sniping is my preference here.
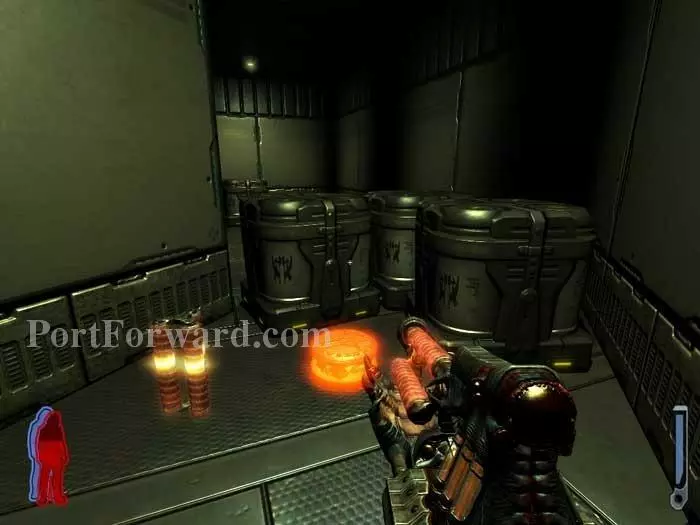
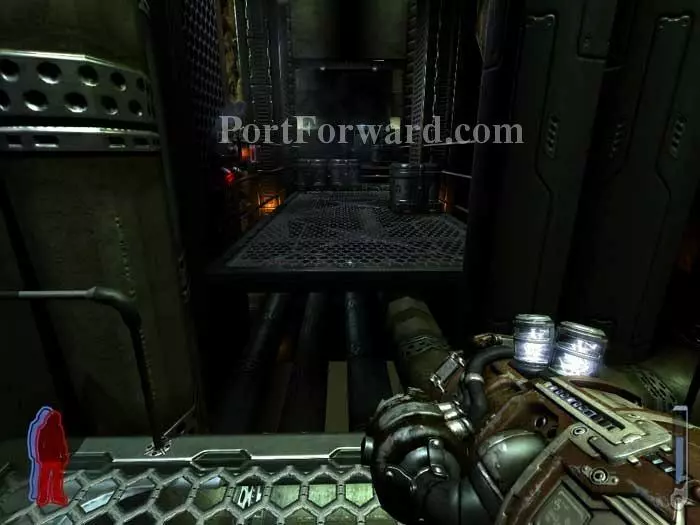
Rifle and launcher ammo are behind these crates.
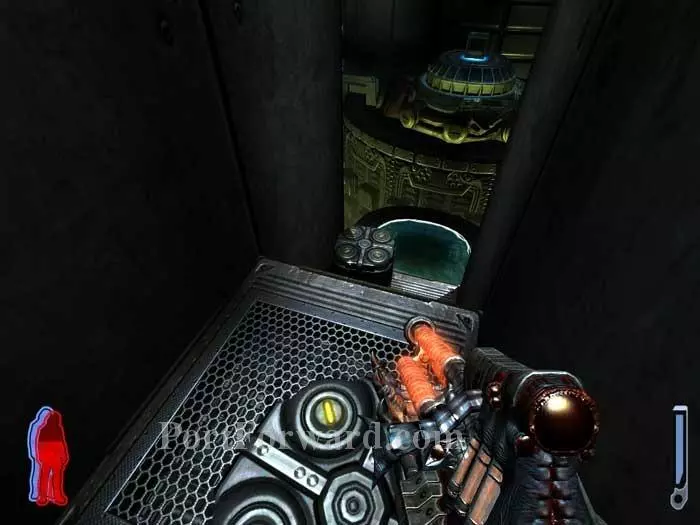
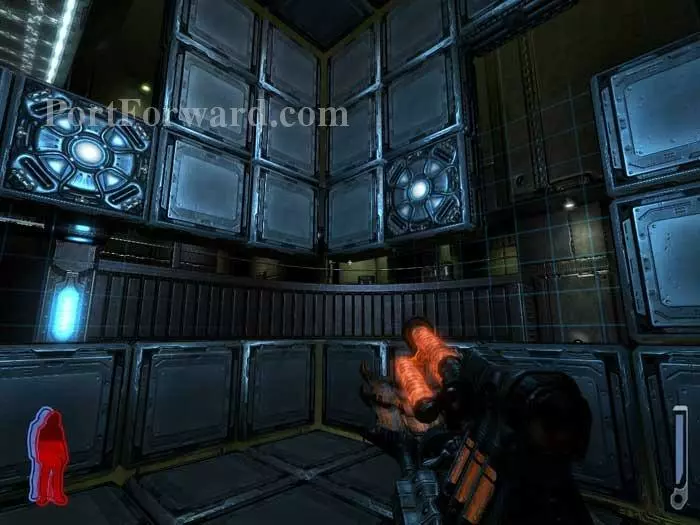
Drop to the crates and ledges all the way to the force field ahead.
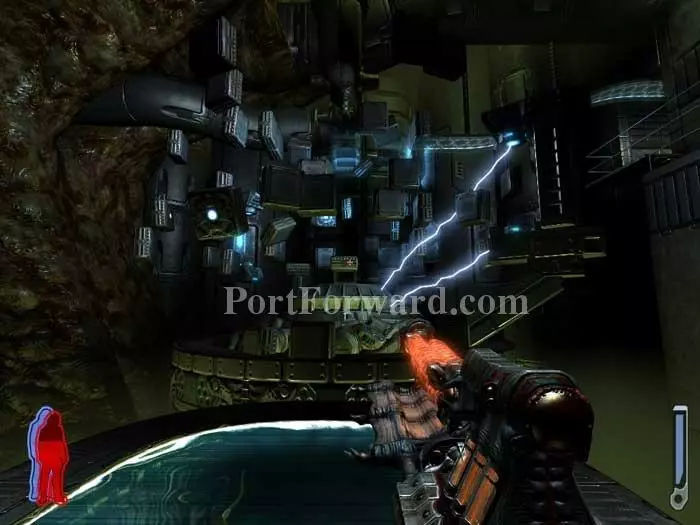
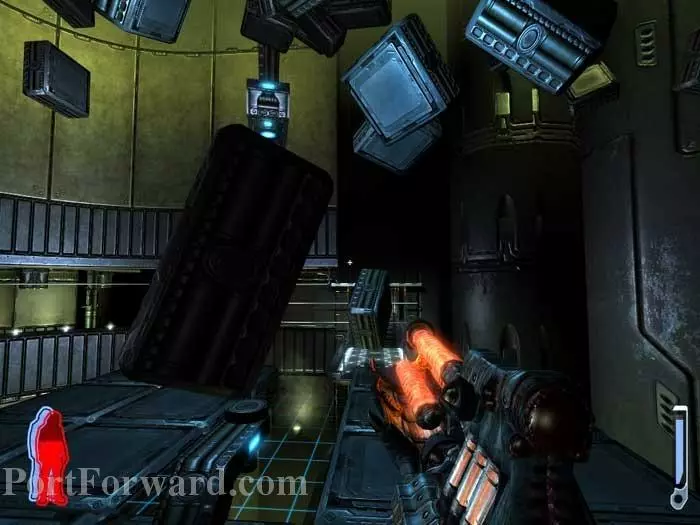
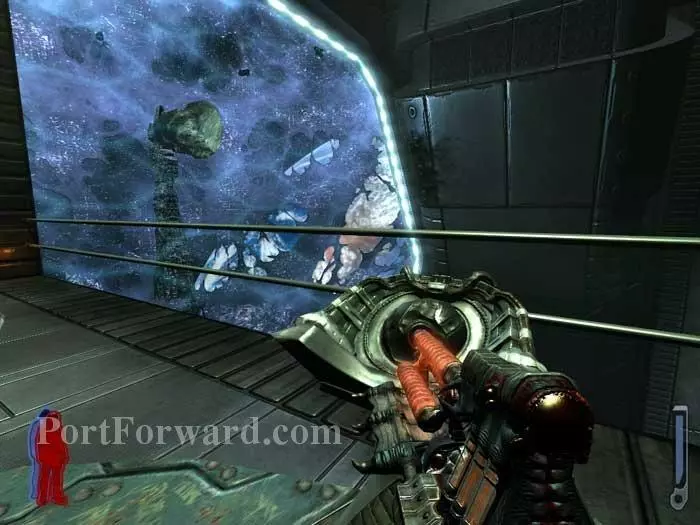
Pause to watch these swirling cubes.
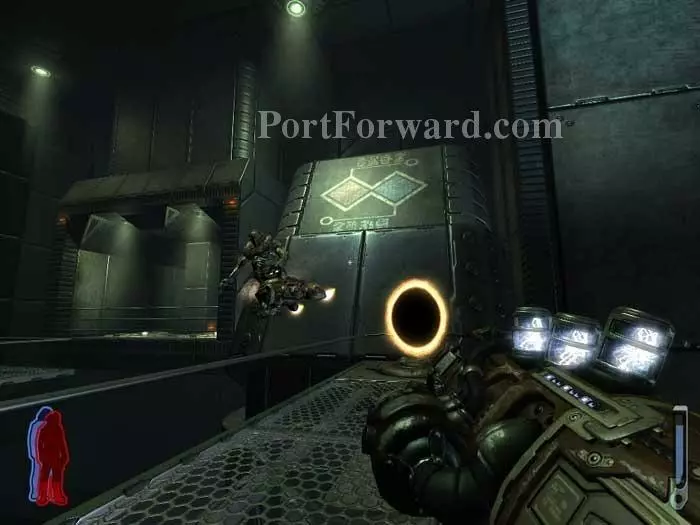
When the device comes to a stop, this giant cube has been constructed and the force field beneath you dissolves. Jump ahead to fall through the portal visible inside the cube.
Tommy asks, "OK -- Now what?"
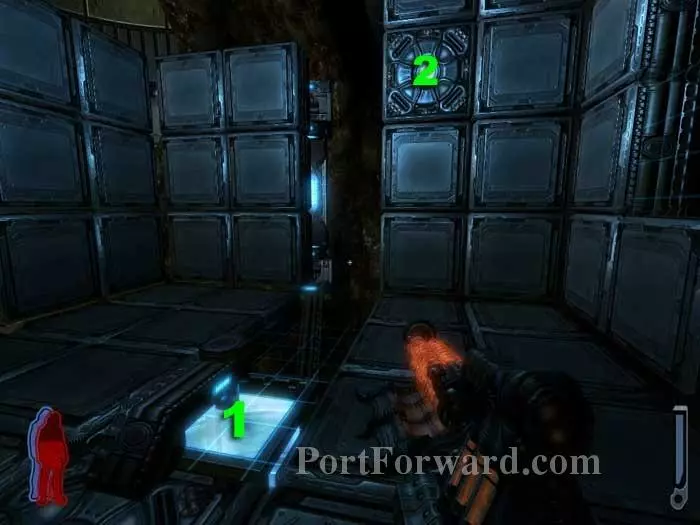
This puzzle took me a while to figure out, but it was pretty rewarding once the light bulb went off. Notice the lit box at (1). If you shoot the gravity switch at (2), gravity shifts and the box falls along the slot in the wall towards the switch.
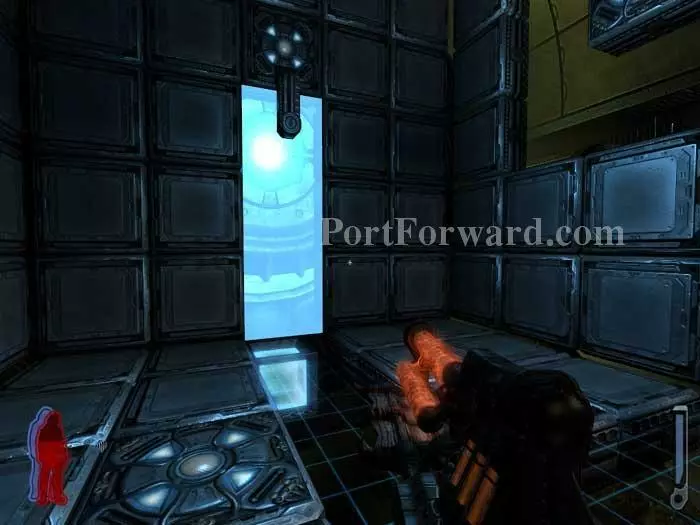
It will look like this, with a trailing light behind it. You can follow the slot in the floor to see where you want the box to fall next.
It will look like this, with a trailing light behind it. You can follow the slot in the floor to see where you want the box to fall next.
Here's how it looks when you're almost done. The objective is to bring the box to the other end of the slot (arrow).
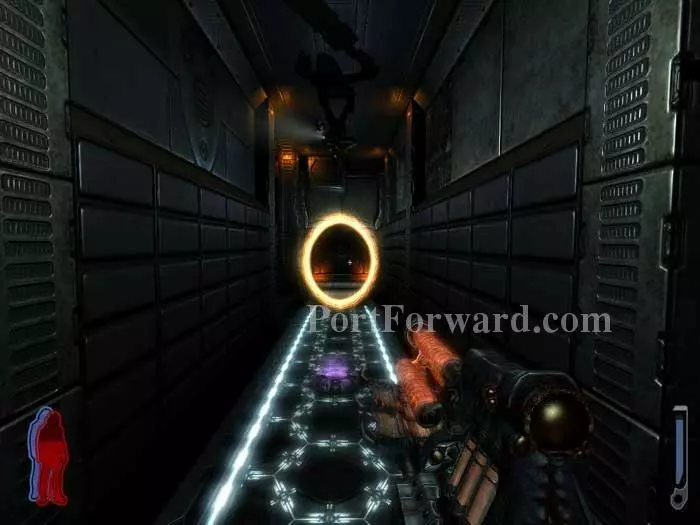
Once the blue box has reached the end of the slot, the cube disassembles.
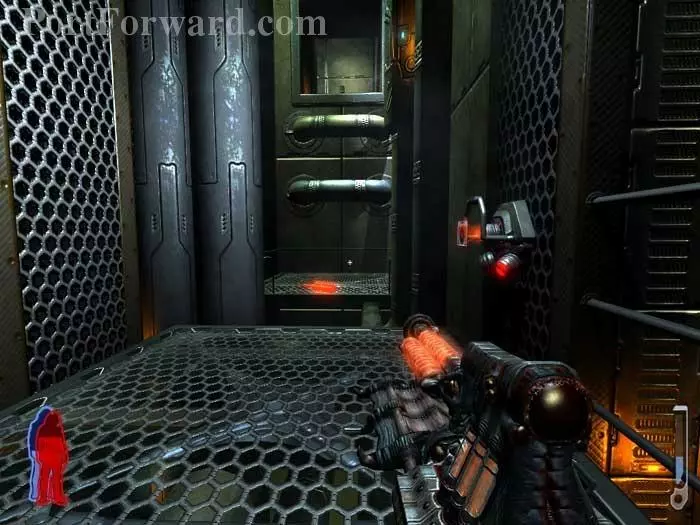
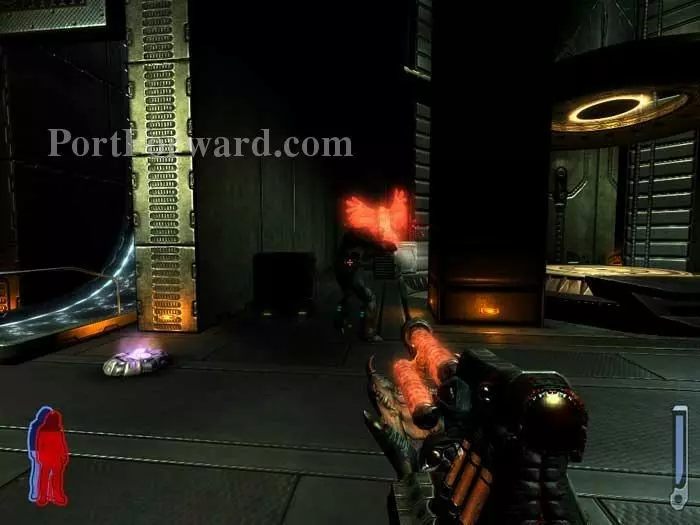
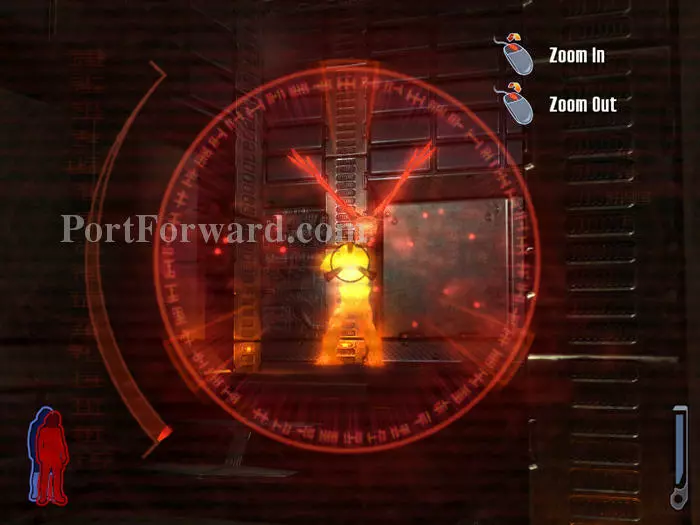
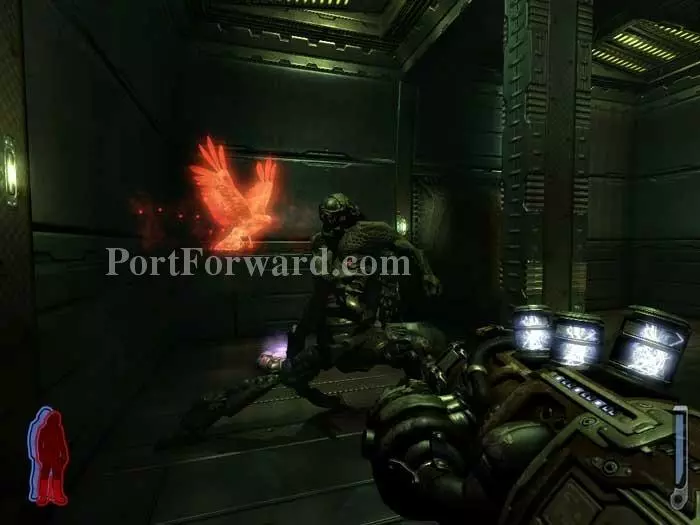
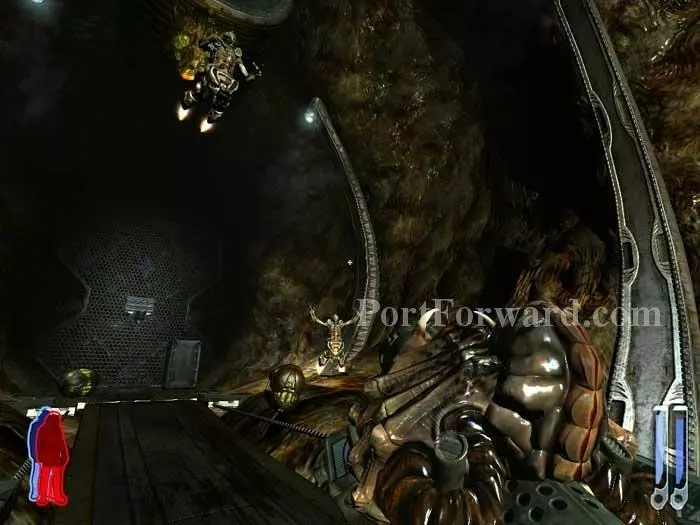
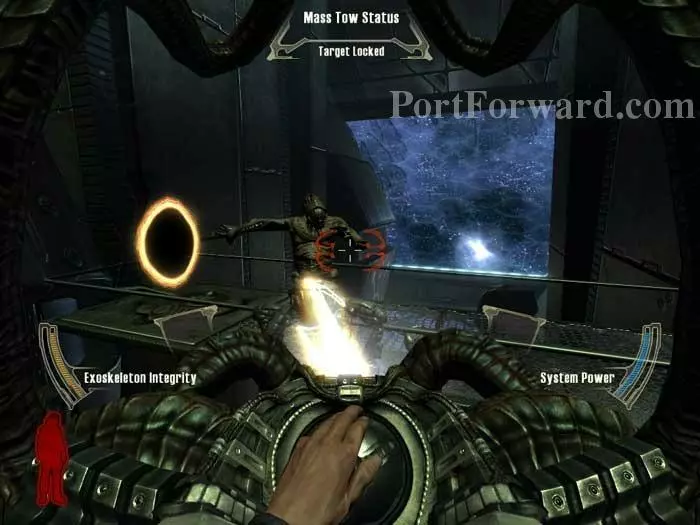
Follow the walkway and snipe this hunter. Ready your Leech Gun or other Big Gun of choice.
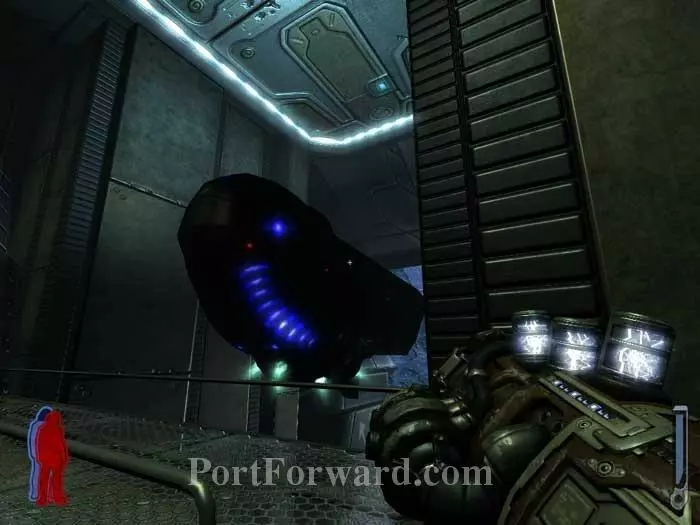
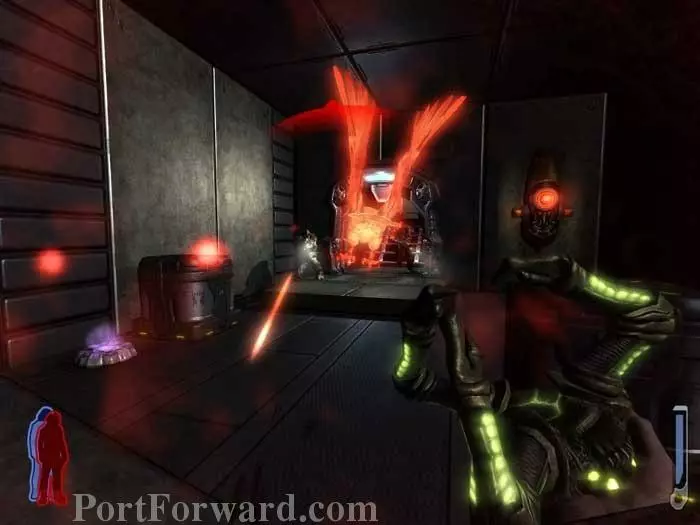
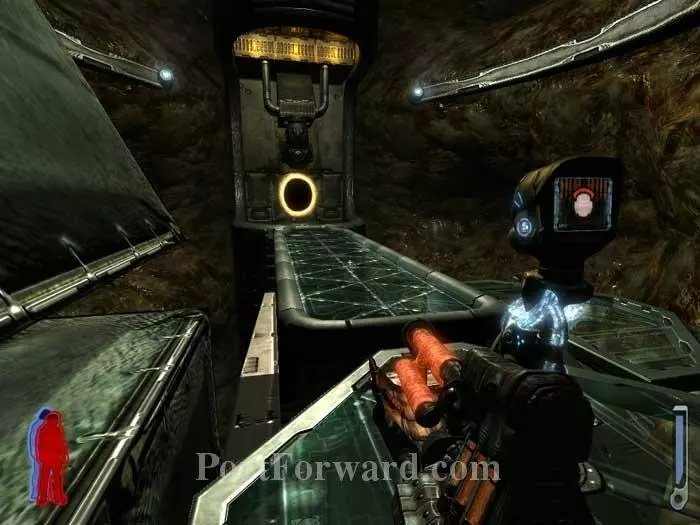
A solitary robot attacks.
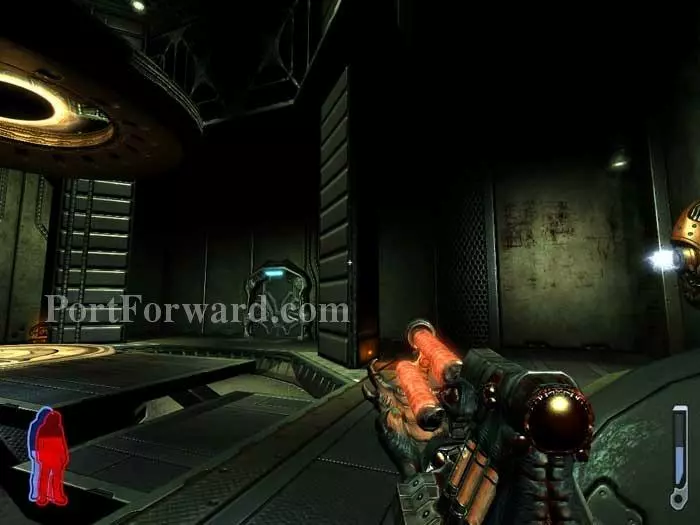
Follow the walkway to its end then grab this ammunition before dropping over the ledge.
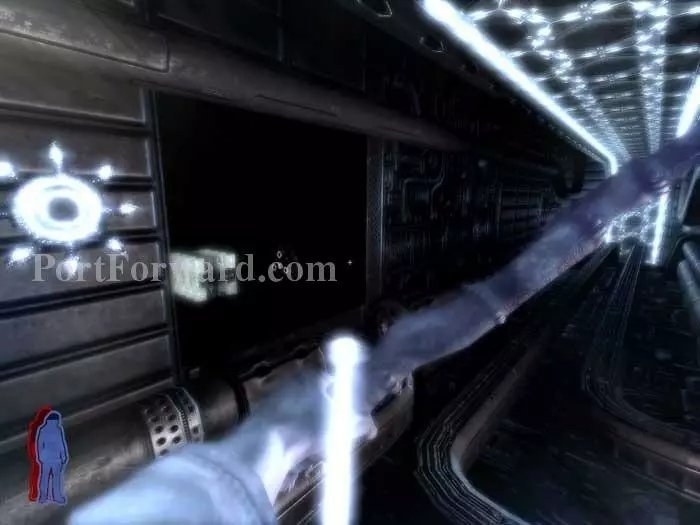
Find yourself back here. Crawl under the catwalk ahead.
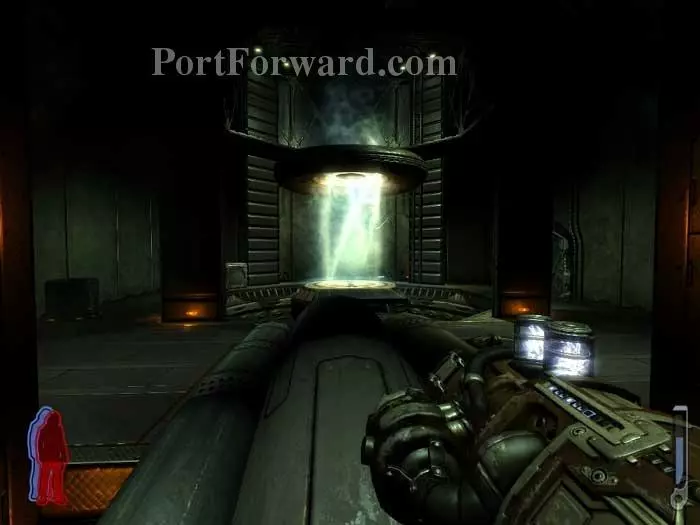
Heal at the station in the room to the right then enter the shaft of light ahead to rise into the portal above. Ready your Leech Gun.
Two harvesters are on the other side.
Spores and lightning stations are found here.
Keep an eye out for this large vessel rising through the ceiling hatch.
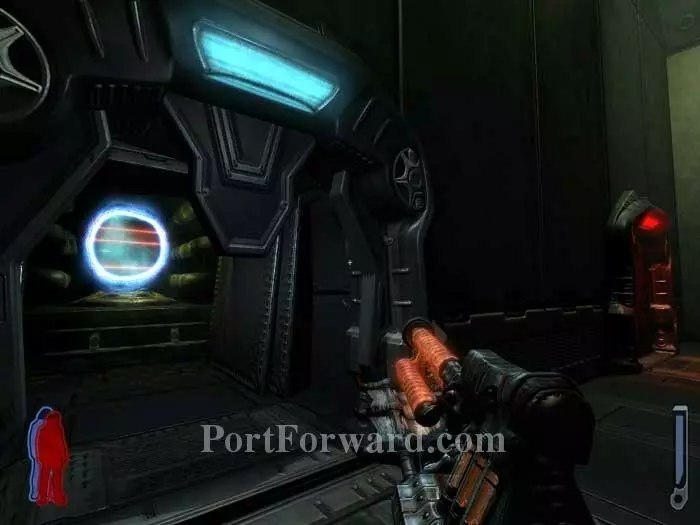
Zap another harvester, recharge your lightning, then step through the portal.
Stand on this ledge.
Spirit Walk to this console.
Use the console then quickly return to your body. The platform you are on briefly becomes a bridge. Hop across to the other side before the halves separate.
A crawler deals with these hunters nicely. Note the spore on the left and the plasma station on the right.
Through a pair of doors you'll come to this puzzle. Spirit Walk through the force field to the console (1). This will flip gravity, allowing you and the two blocks (2, 3) to make it to the exit (4).
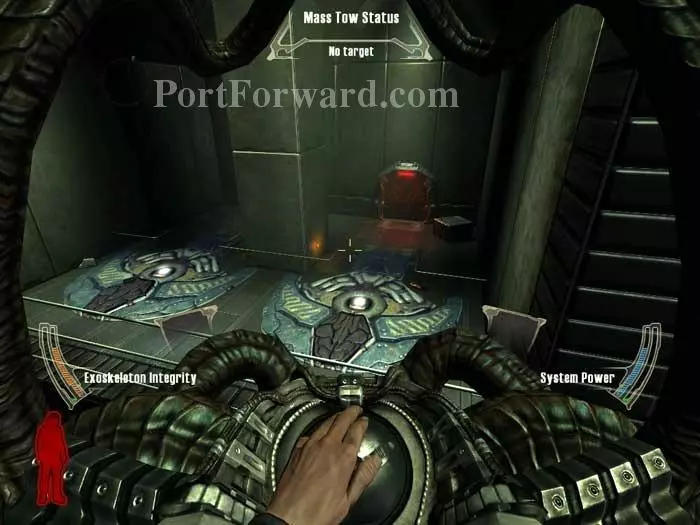
The console switches gravity for a limited time, and you may need to use it more than once. Here's an arrangement of blocks that works well. Step onto the blocks to reach the corridor ahead. (Note the plasma station on the left.) A health spore and an ammo locker are found inside.
Next up is a hall-of-mirrors puzzle. Hunters are in here, but you have to be careful not to shoot yourself!
This would be you. Don't shoot!
If you go left-right-left-left, you'll come to this mirror (inset). Crawl under the bar to find a secret room with health, ammo, and a talking...mouth. "Behold!"
If instead you take the first three lefts, you'll come to this exit.
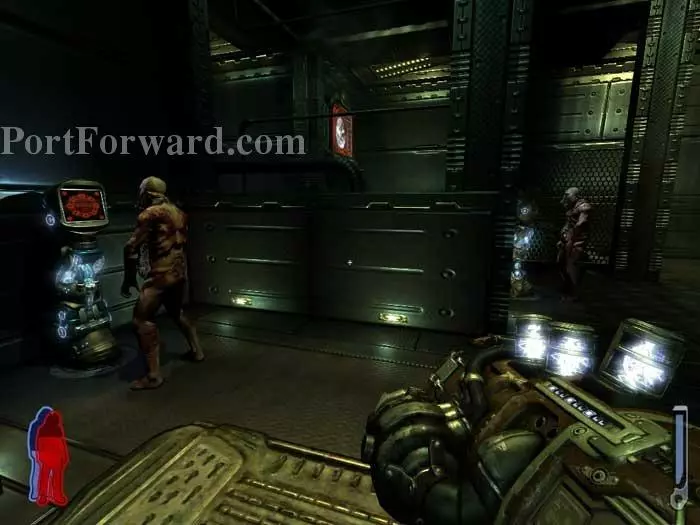
Two harvesters attack. A locker with rifle ammo is to the right.
Take out a pair of fodders, then another harvester attacks. The locker in the right corner holds more rifle ammo. Note the health station in the left corner.
Use the console on the left to flip gravity. Don't miss the spore ahead.
Step onto these escalator-like things.
Ready your big gun of choice then follow this walkway through a portal. Note the health station on the left.
Battle a pair of harvesters, then a second pair. The Auto Cannon's grenade launcher works really well for this fight.
Kick a pod to this membrane and then shoot it.
Drop below then activate this console to switch gravity.
Follow the bridge to the portal. (If you hadn't destroyed the membrane, this bridge wouldn't have fallen into place when you switched gravity.)
Call a shuttle.
Toying with these harvesters is really fun. The tractor beam holds them in place while you pummel them with primary fire.
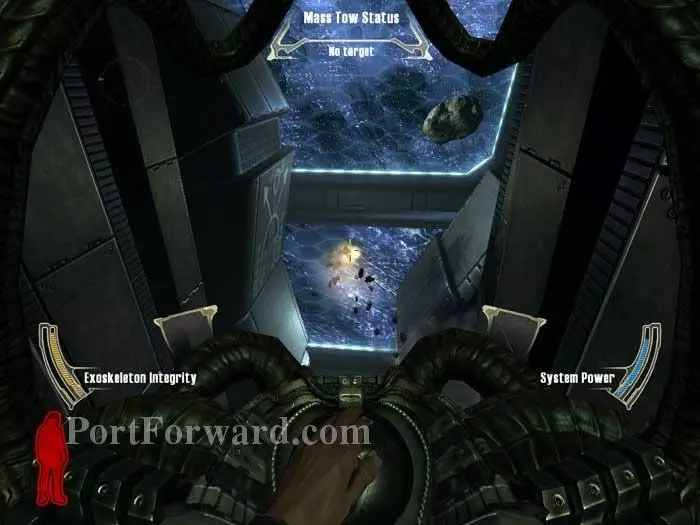
You can also play a vastly-updated version of asteroids if you like.
Defeat another shuttle then land on one of these pads.
Step through the portal to complete the level.
More Prey Walkthroughs
This Prey walkthrough is divided into 22 total pages.


