
This Prey walkthrough is divided into 22 total pages.
You can jump to nearby pages of the game using the links above.
Mother's Embrace
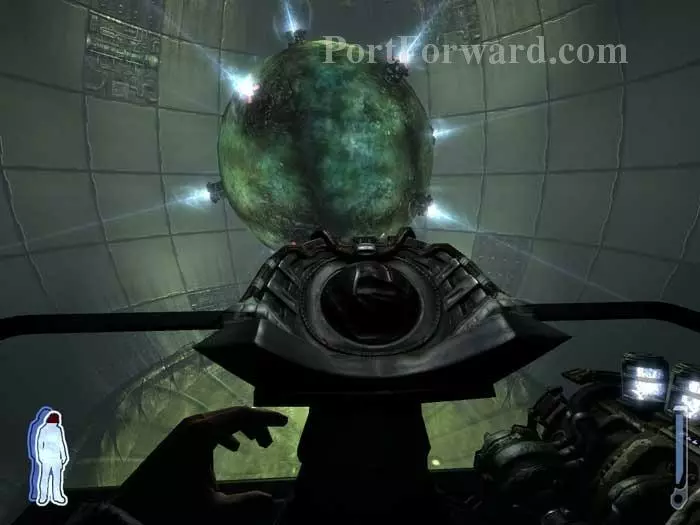
Heal at the station on the left then continue down the corridor to the right. Mother is inside the protective shell. Use the console to call up a vehicle.
This vehicle is sort of like a shuttle, but your movement keys cause the vehicle to roll inside along the walls of the outer shell. Secondary fire detaches you from the outer shell, sending you towards the inner shell.
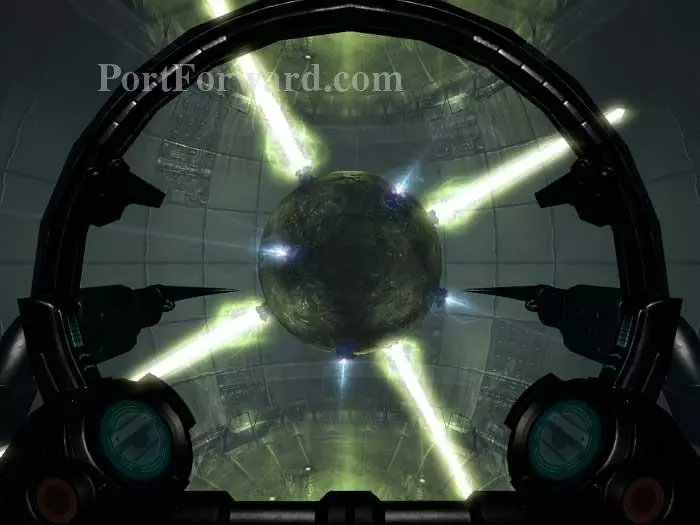
Primary fire lights a kind of spark plug. You're task is to light the remaining beams on the inner sphere.
I've just lit this one. These beams fire with a golden glow.
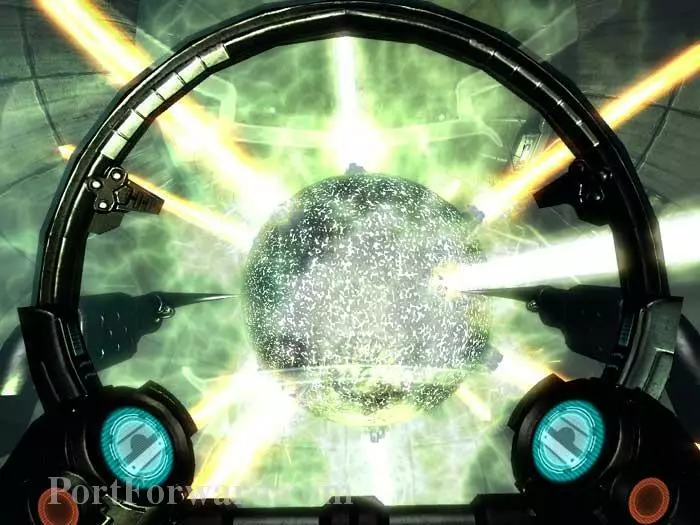
Once all of the beams are lit, the shell disintegrates.
Listen as Mom tells her tale.
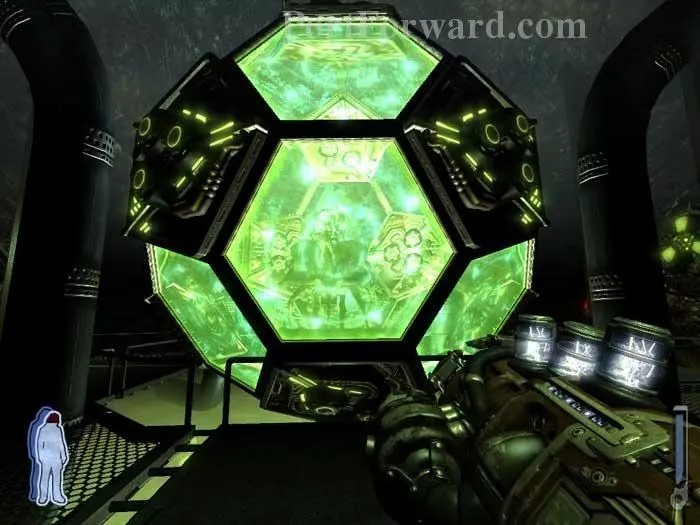
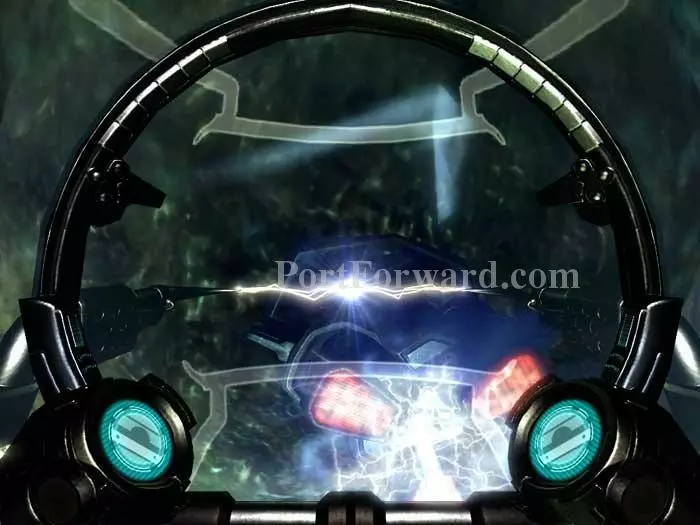
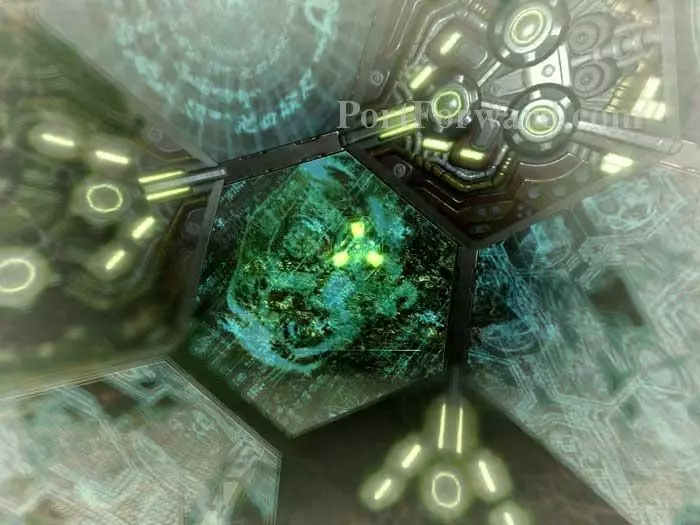
You now find yourself outside Mother's innermost shell. Don't knock yourself out trying to shoot stuff with your regular guns.
Instead, Spirit Walk and fire your bow at the transparent hexagons.
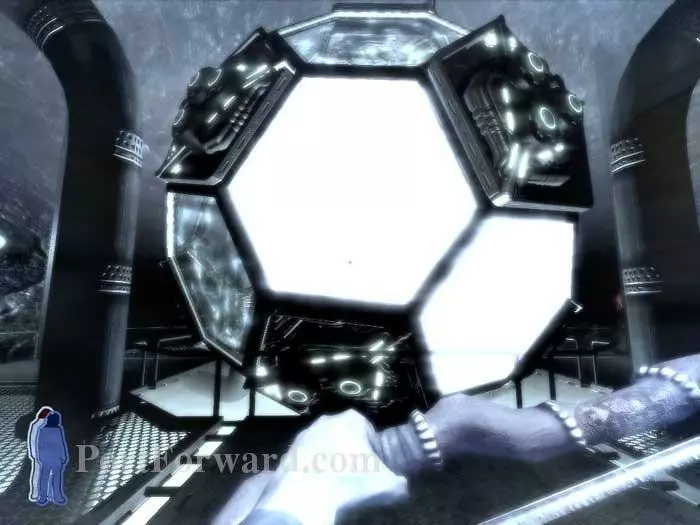
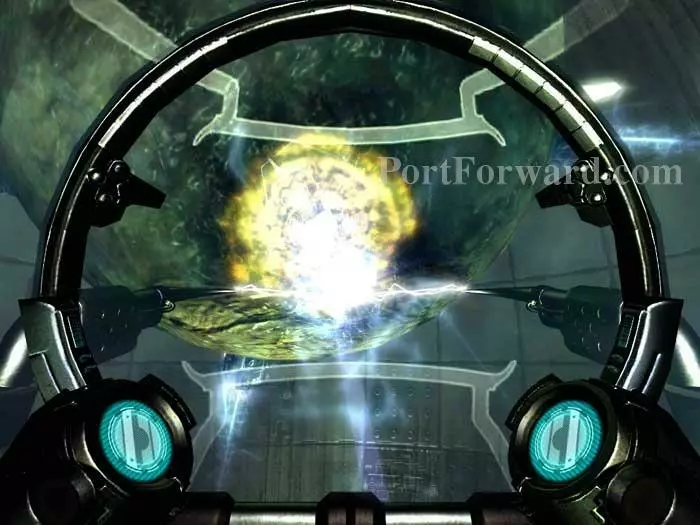
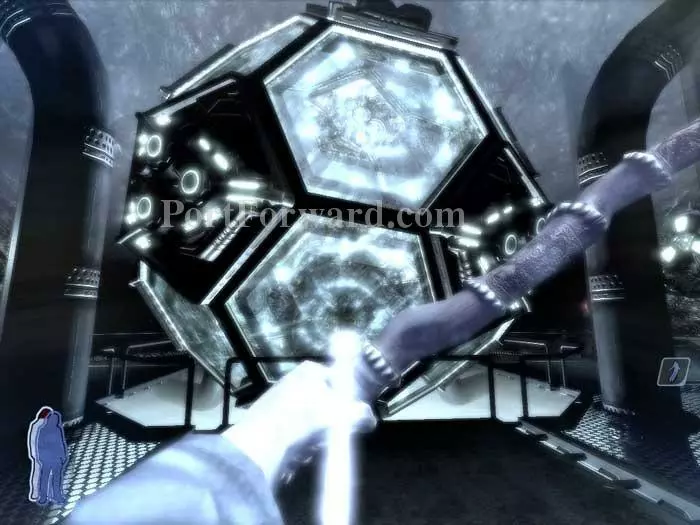
As you hit each hexagon, it turns white. Shoot all of the transparent hexagons so they all turn white.
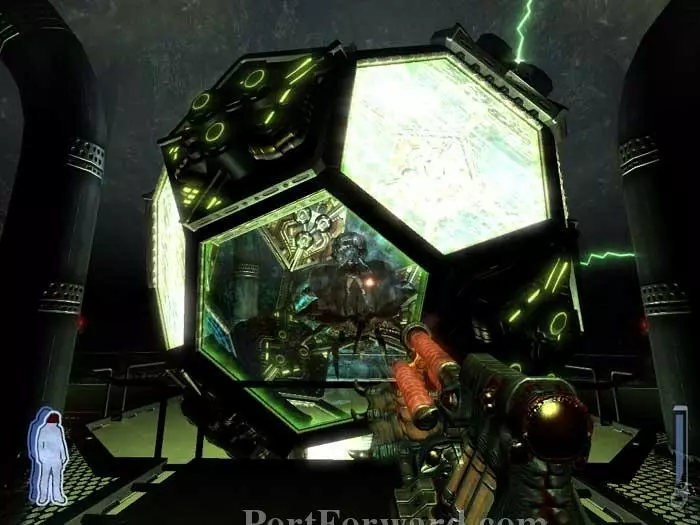
Once all the hexagons are white, return to your body and begin firing at the white hexagons with any regular weapon. Turn each hexagon from white to clear. Hunters spawn.
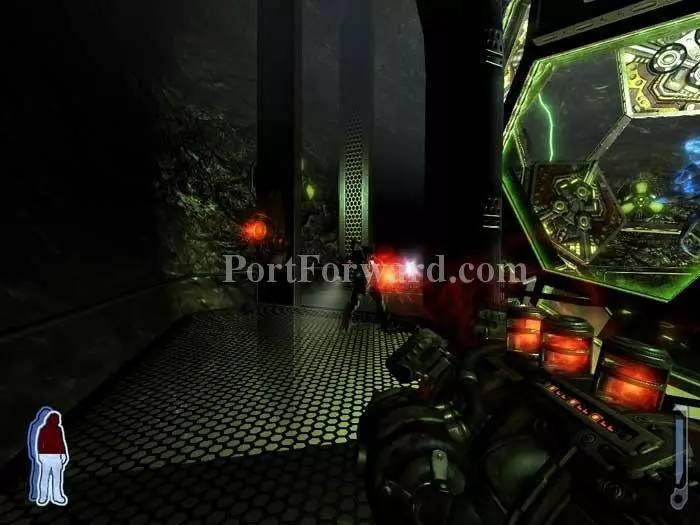
Switch to the Leech Gun so you can use the plasma stations.

Once all of the hexagons are clear, Talon swirls a white ring around Mother.
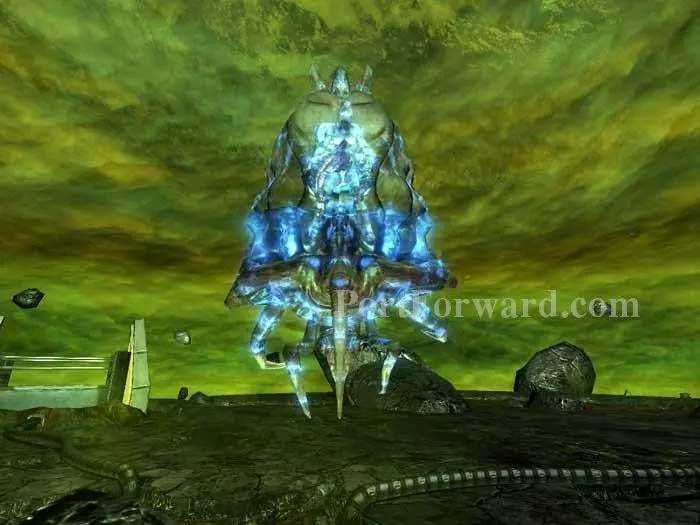
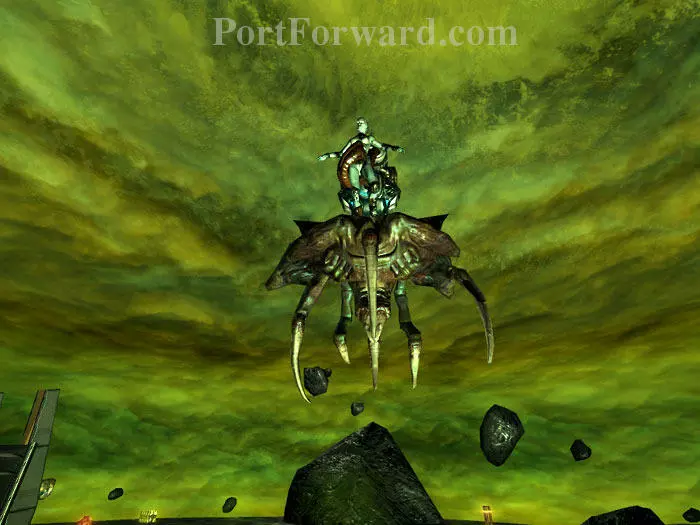
You and Mother are transported to this Xen-like area. Time to battle Mother.
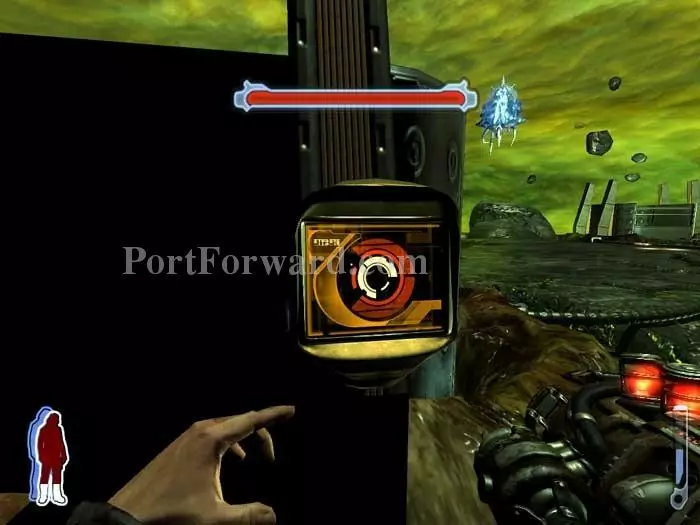
Don't bother firing at Mother just yet. Instead, activate one of the three consoles, taking cover behind their structure.
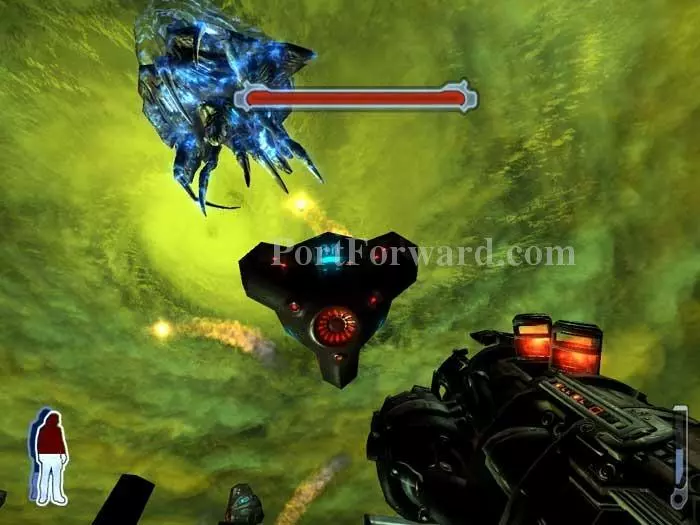
Each time you activate a console, one of these mines is launched. Destroy the device when Mother is near, and her shields drop.
The blue sheen around her is gone; now she is vulnerable.
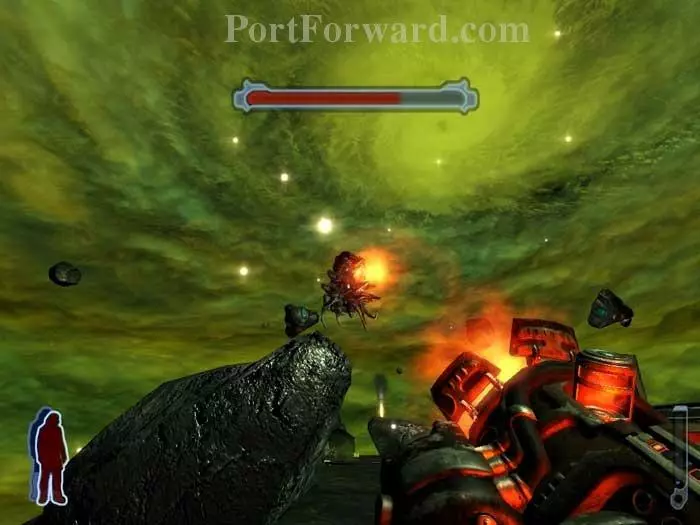
Once your Leech Gun is dry, switch to the Auto Cannon. Primary fire is fine for destroying the mine. Secondary fire lobs a powerful grenade at Mother once her shields are down. Ammunition spawns all around.
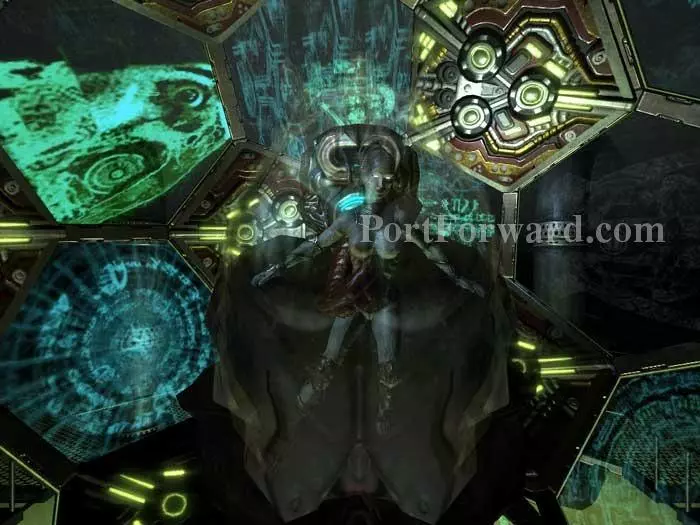
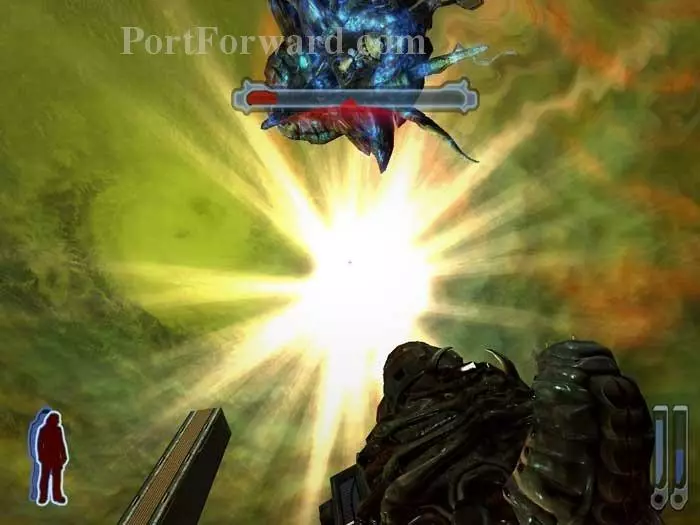
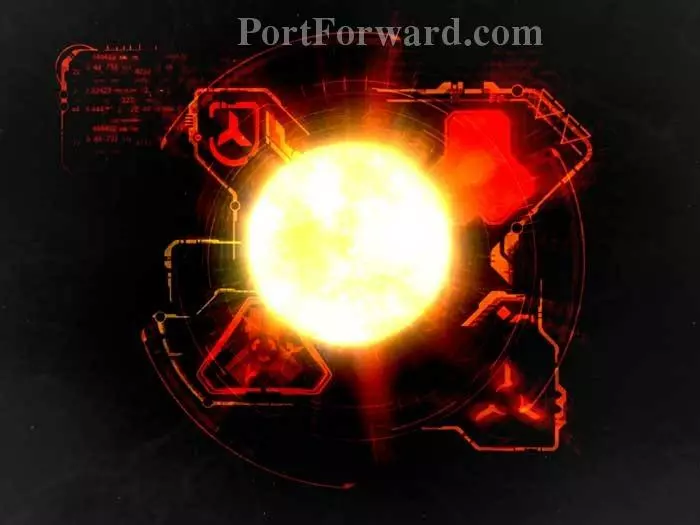
Soon, her health depleted, Mother implores you to join with the Sphere.
Seems as though you have little choice, as you soon find yourself on the inside looking out. All powerful, but with Enisi's wisdom to guide you.
Tommy does what he has to do...
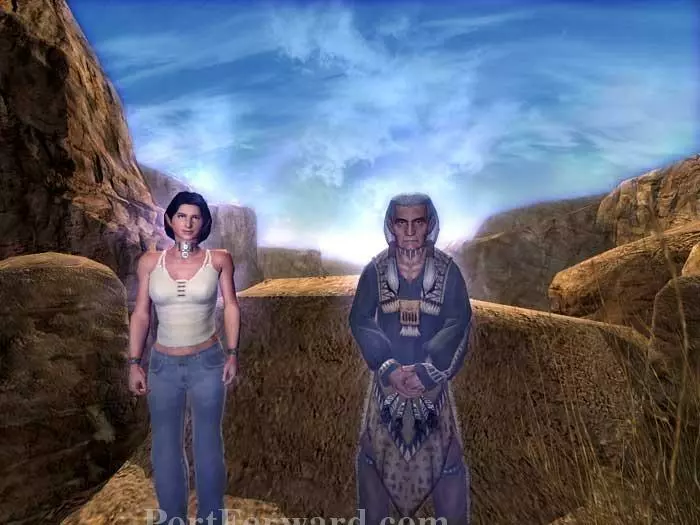
Tommy has a brief reunion with Jen and Enisi, but it is not yet his time.
Lastly, the end credits. Game Over.
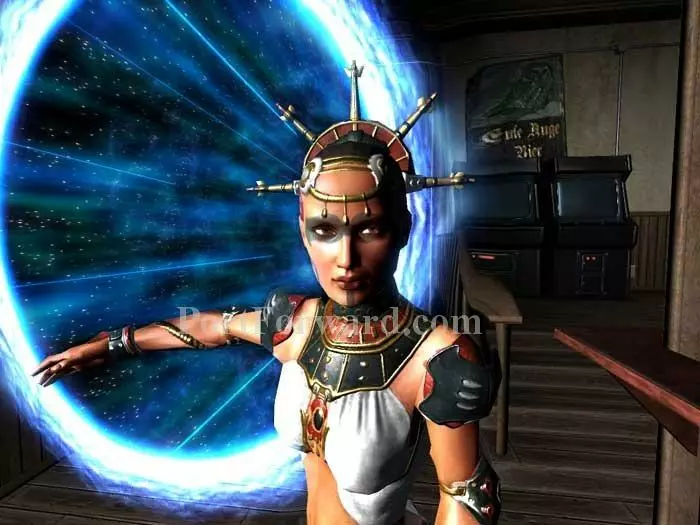
But wait! Finish watching the credits to catch a glimpse at Tommy's upcoming adventures. (Step near the bar to spawn this portal.) Game Over (for real this time!) I hope you enjoyed this game and I hope this walkthrough helped you out! Game on!
More Prey Walkthroughs
This Prey walkthrough is divided into 22 total pages.


