
This Puzzle Quest 2 walkthrough is divided into 5 total pages.
You can jump to nearby pages of the game using the links above.
Combat
Combat in Puzzle Quest 2 is fairly straight-forward but becomes more complex as you move on.
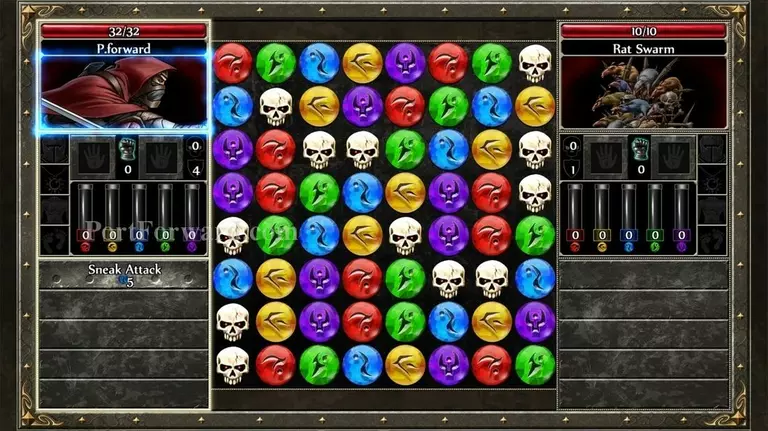
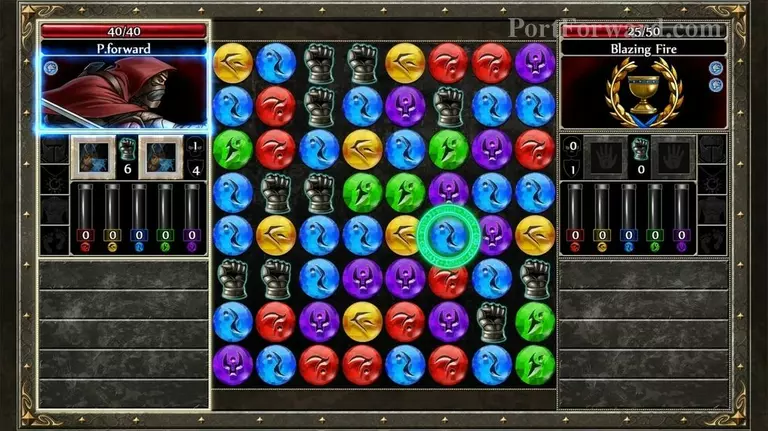
Every battle consists of a large board with a variety of different jewels on them.
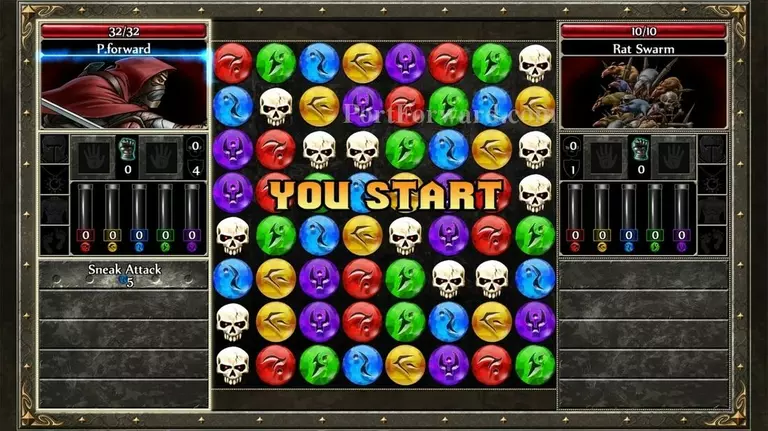
The game will also always roll to see whose "Cunning" status is higher and in this case, It was me and so, I get to do the first move.
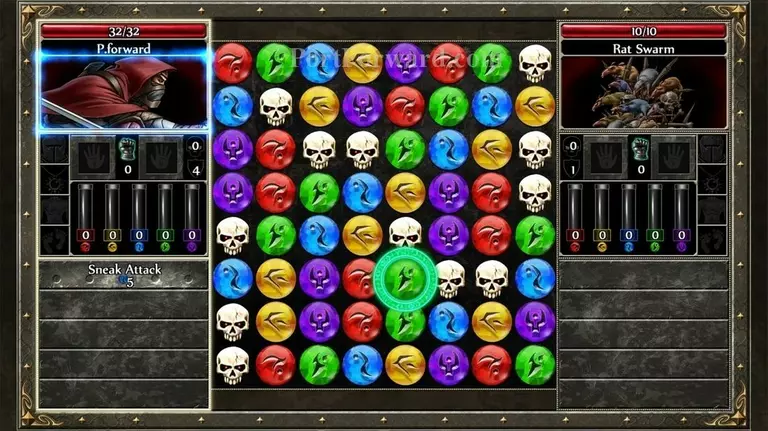
You click on jewels to select them and then click on a horizontal or vertical adjacent..
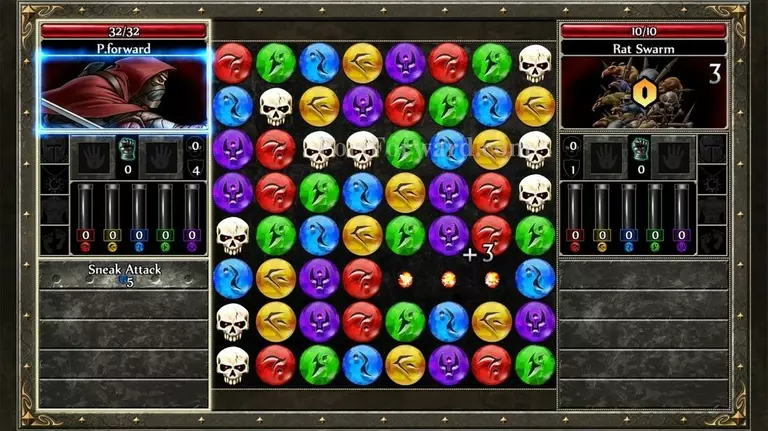
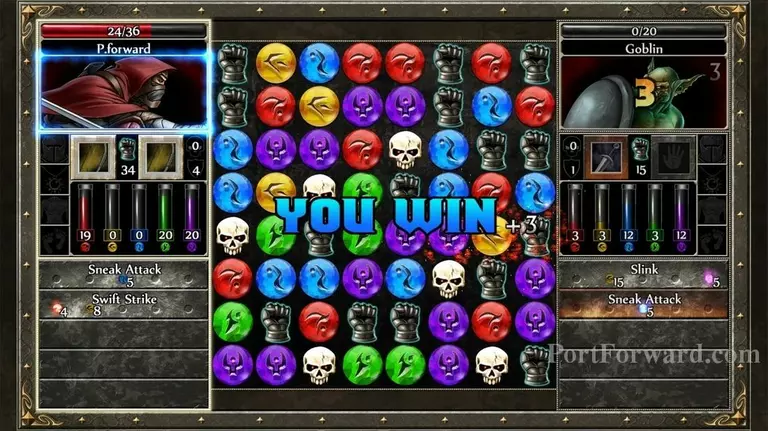
To combine them all together. You need at the very least 3 in order to do so. In this case, I moved 3 skulls together and made 3 damage points on my enemy.
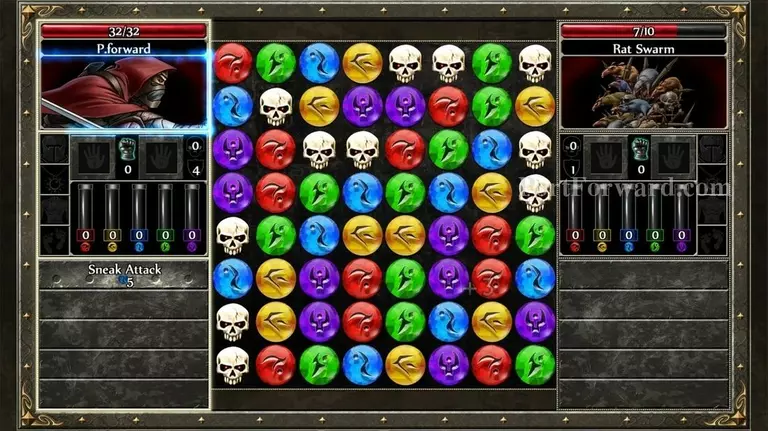
His total HP was deducted and once It reaches 0/10, I win.
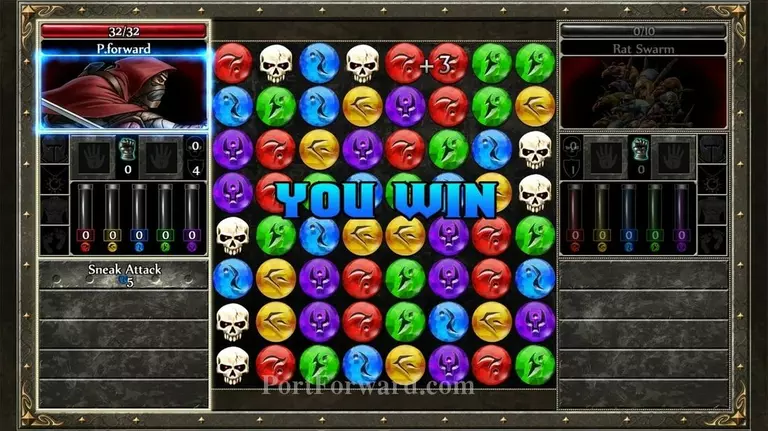
As it is a weak foe, it only took a few skulls merged to finish him off.
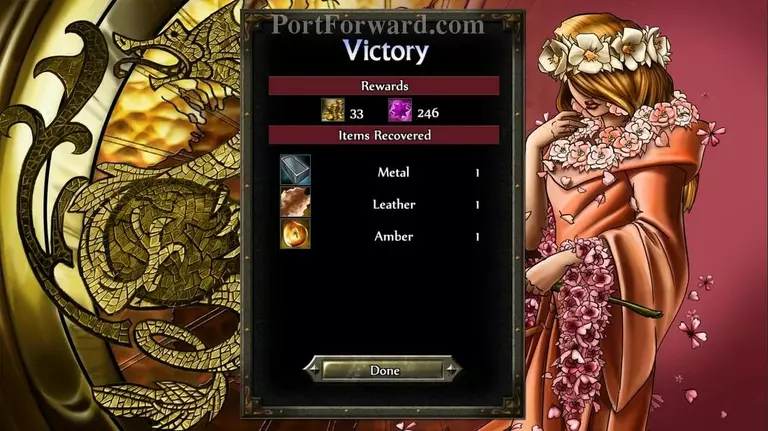
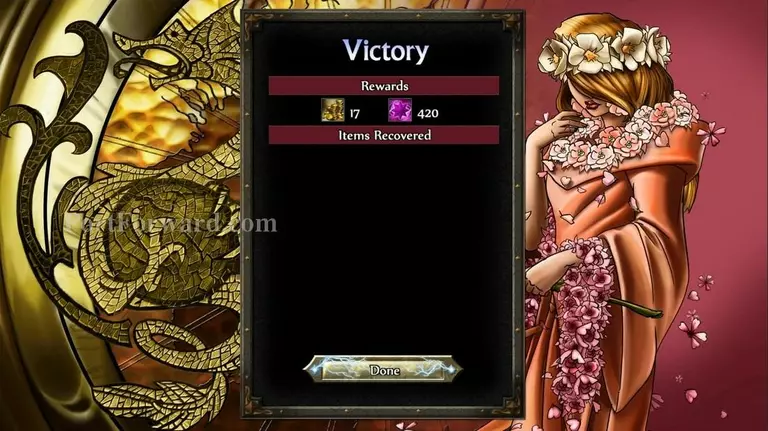
When done, you'll be taken to a reward scene.

Here, you will get a debrief on your gains from the battle. In this case, I got no gold, a bit of XP, a flap of leather and an emerald.
Such items can be sold for gold, but more on that later.
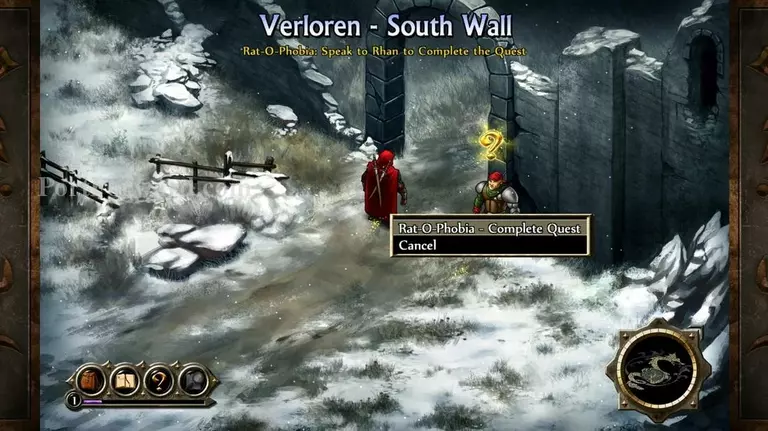
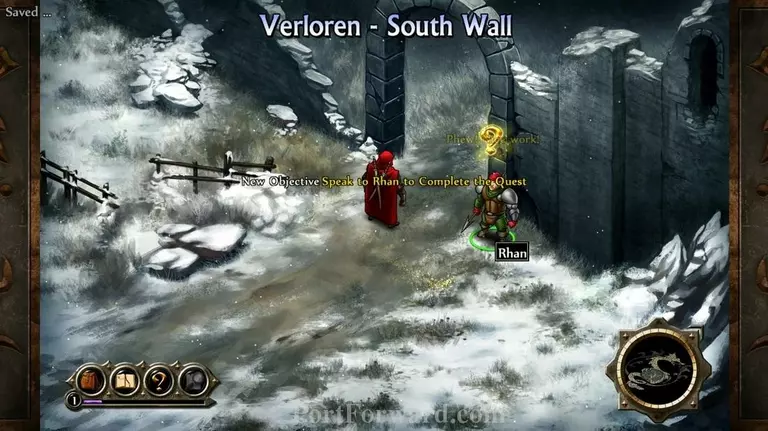
Click on the guard again to go back to him.
Dialog is plenty in this game. Either skip through it or read it all.
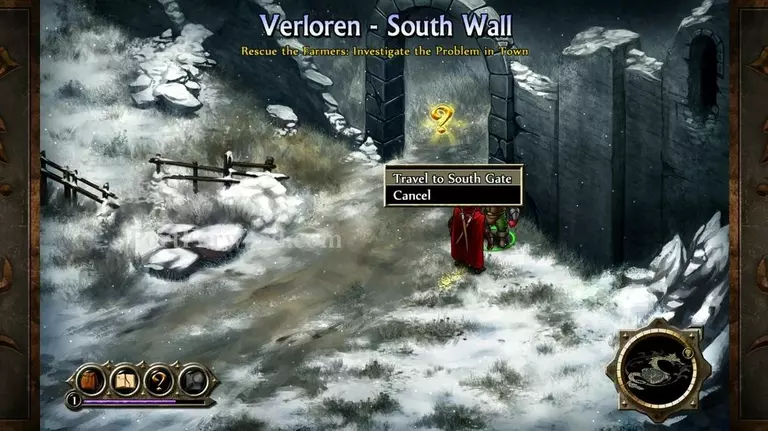
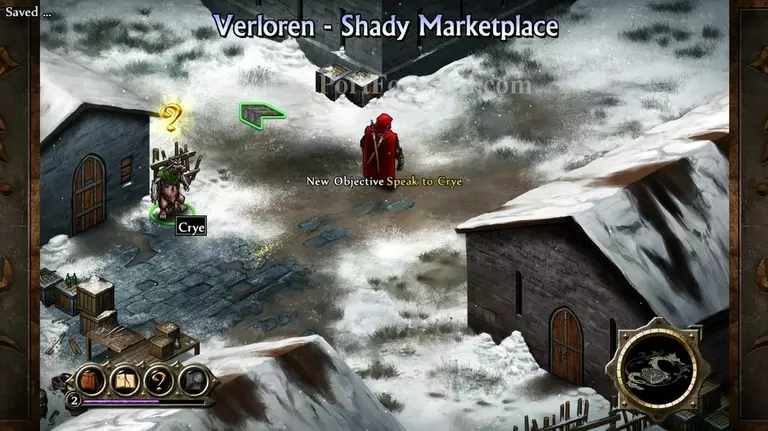
Now after finishing our first quest, we have to move onto the next area. To do this, click the arrow that appears and select "Travel to X"
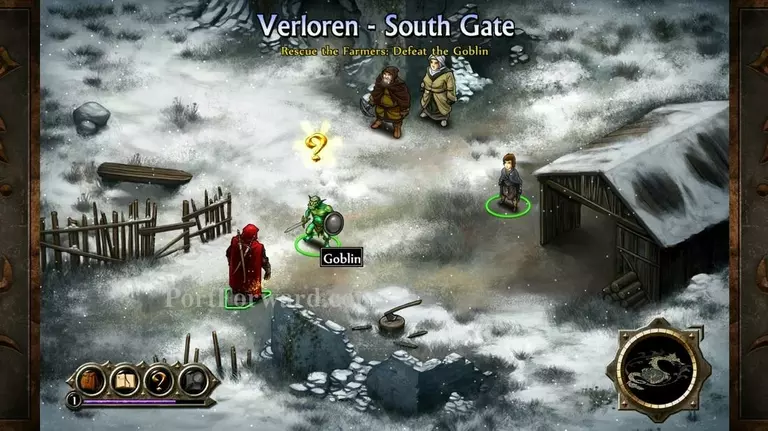
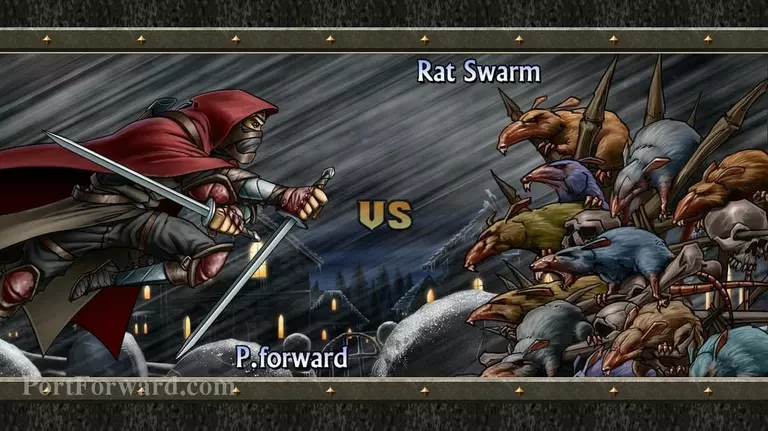
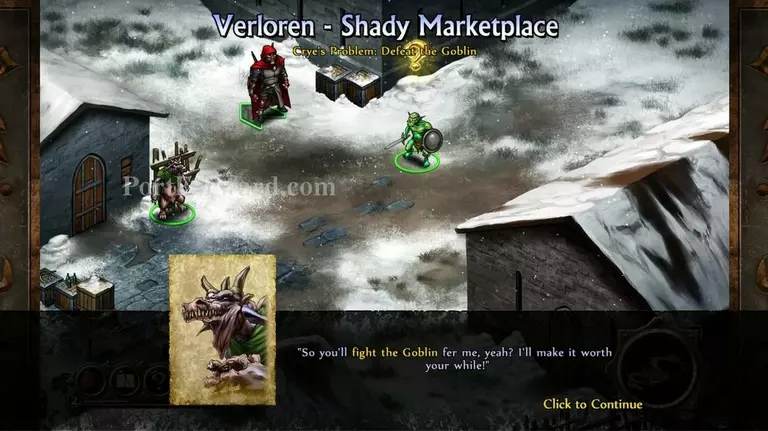
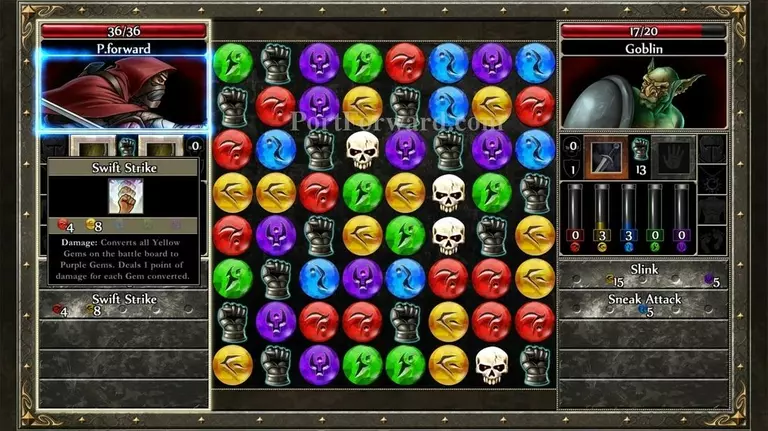
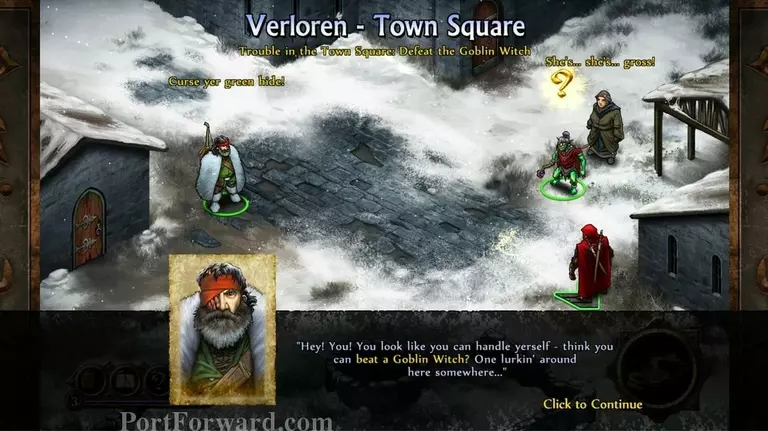
It will take you to a new area and here, a goblin is blocking our path to the villagers. Click on him to engage in more battle.
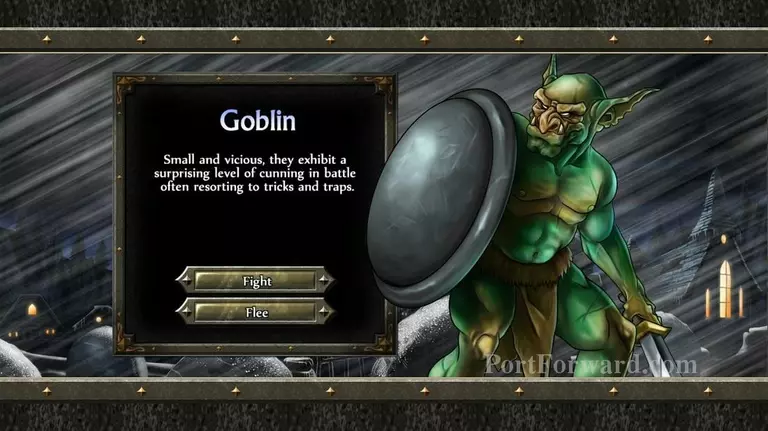
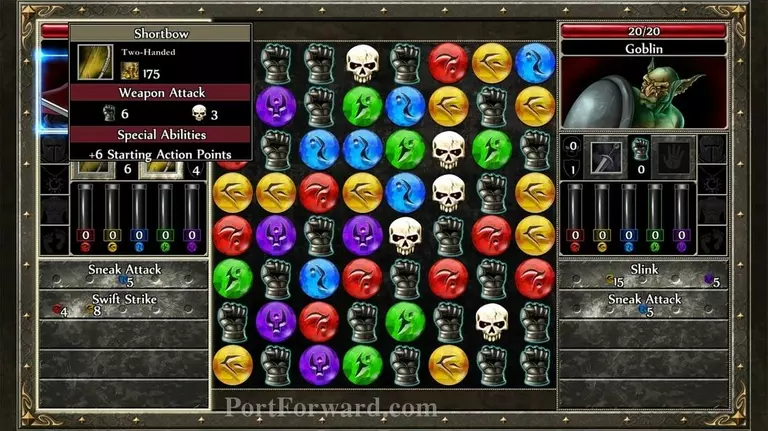
All enemies you encounter all have unique twists and properties to them. In this case, goblins are high in cunning, meaning they will often start first and be clever in moving gems.
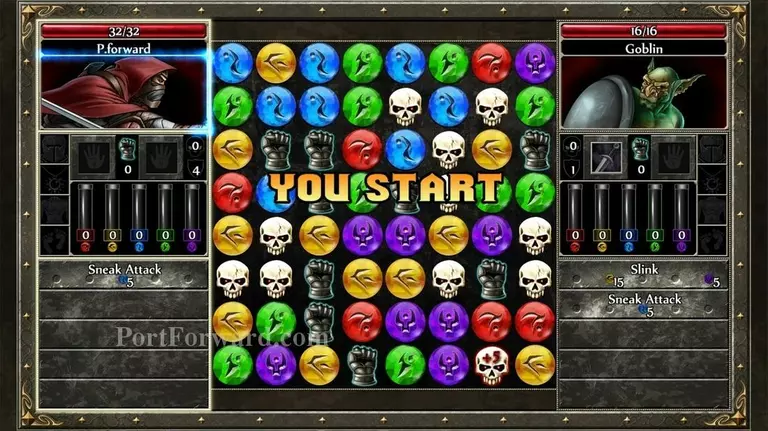
But as we are an assassin, our cunning is higher than his and we get to start first again.
A new sort of gems, namely fisted gauntlets will appear in this fight. Don't worry about them for now though cause we cannot use them.
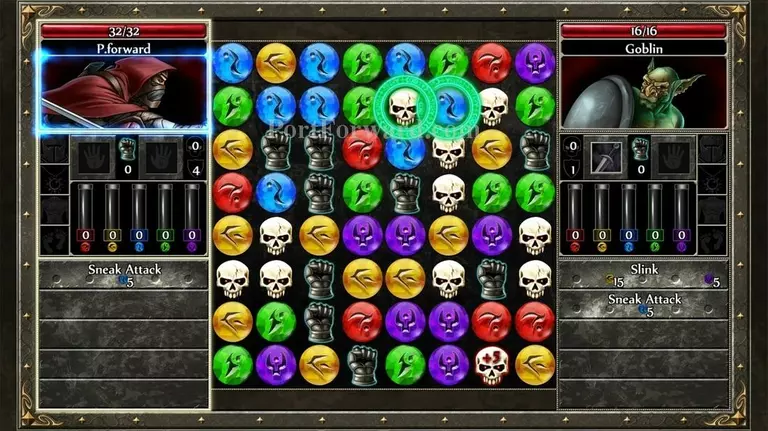
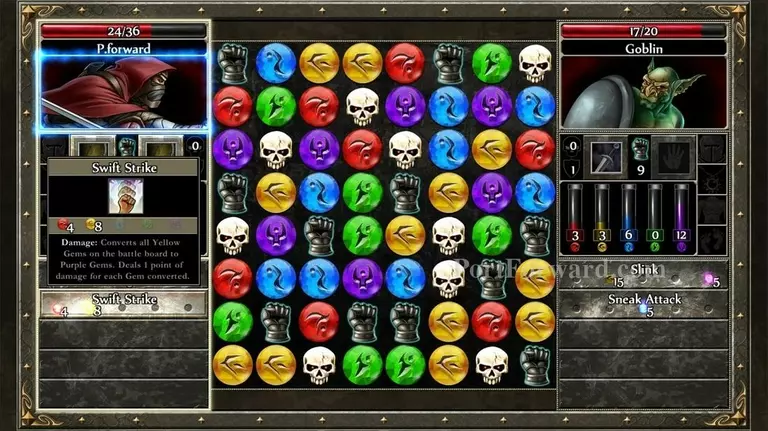
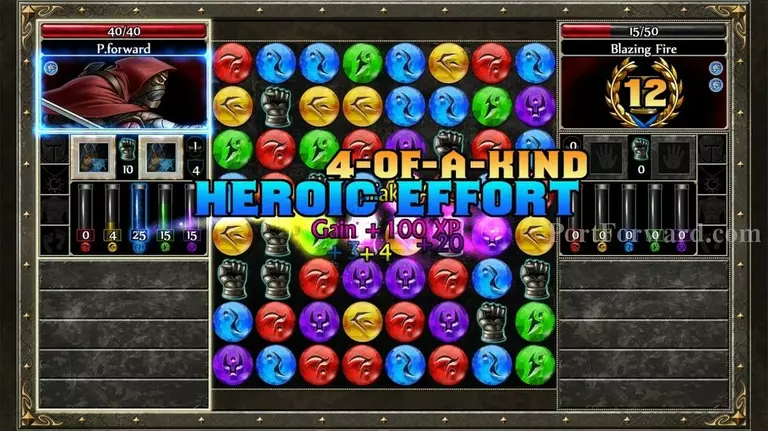
Always focus on matching up skulls whenever humanly possible. It's your bread and butter for total damage.
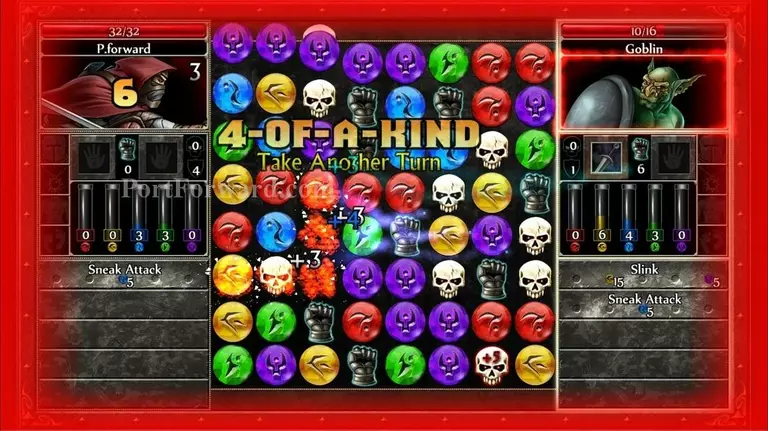
The only time you shouldn't pull skulls together immediately is when you have an opportunity to match up 4 gems in a row. This will grant you not only huge amounts of resources for casting spells but it will also grant you another turn.
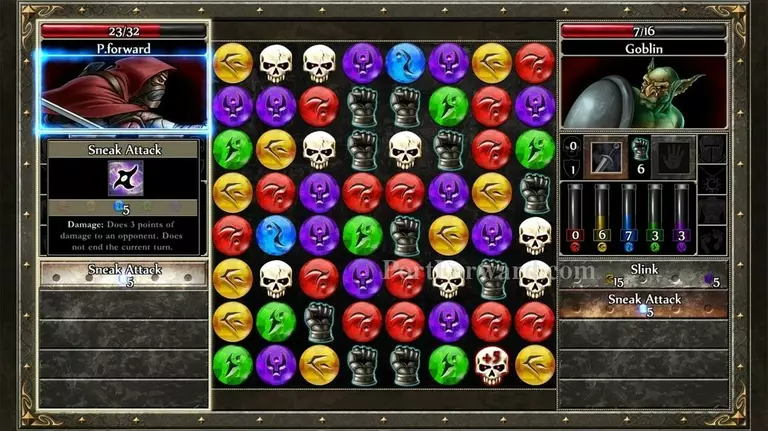
Resources are gathered when you match at least 3 gems up together. In this case, we got some blue gems together and such, we can execute a "Sneak Attack".
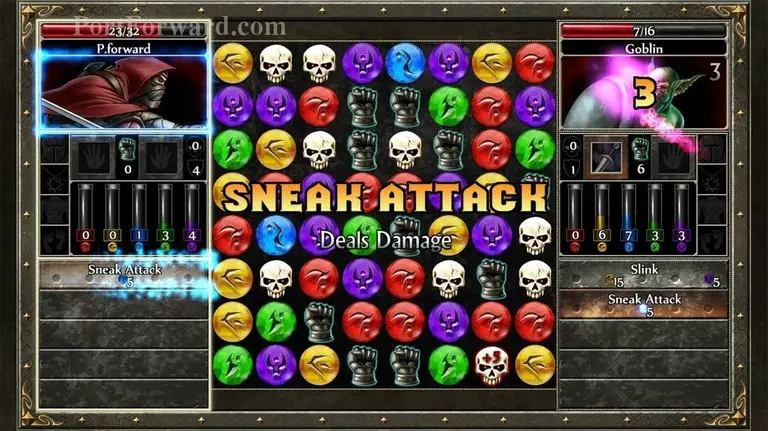
It's an attack that will deal damage directly onto the enemy without costing us our turn. A highly valuable skill in long-lasting battles as you can stockpile the blue resource and use them up all at once in one go.

Eventually with some practice, you should be able to defeat goblins with no problem.

In this case, we got more XP, some gold and items for our victory.
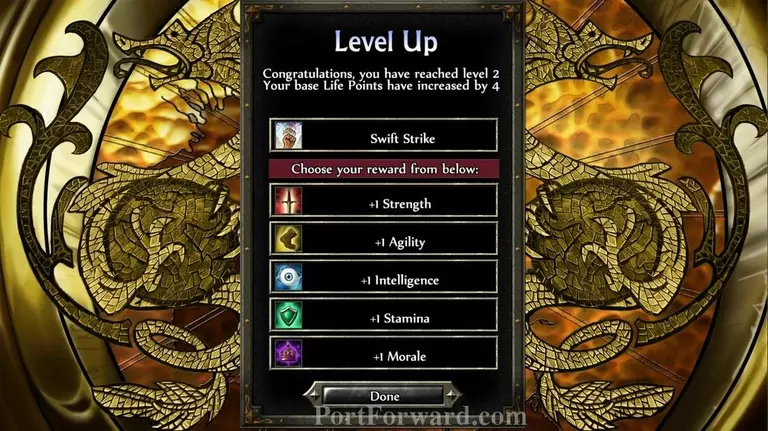
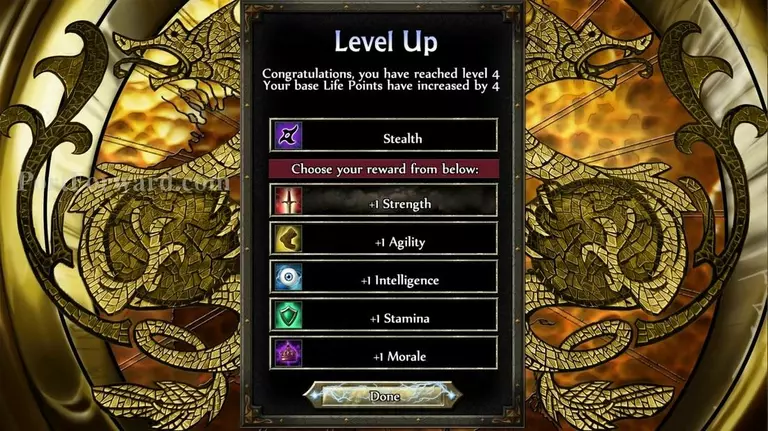
Following our victory, we leveled up. Leveling up means unlocking new skills and the opportunity to grow in strength amongst a variety of different specializations. As we are one to cause brute harm..
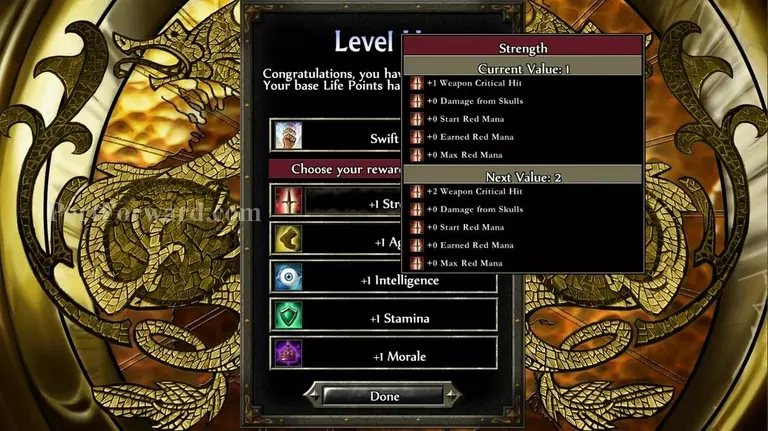
Strength is most valuable to us followed by Agility and then Morale.
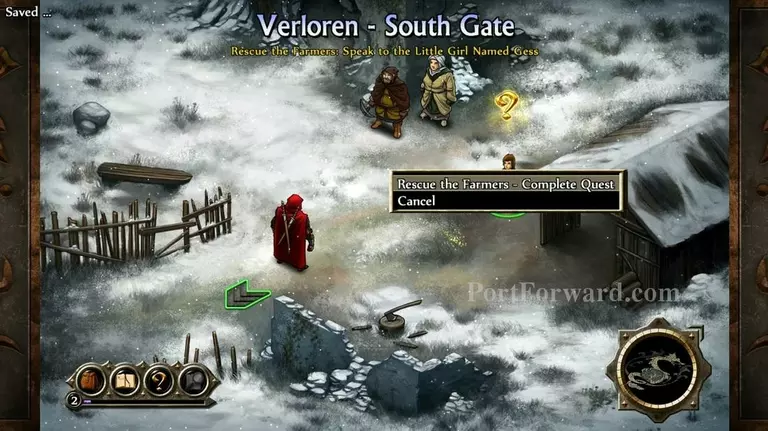
When done, click on the villager and select "Rescue".
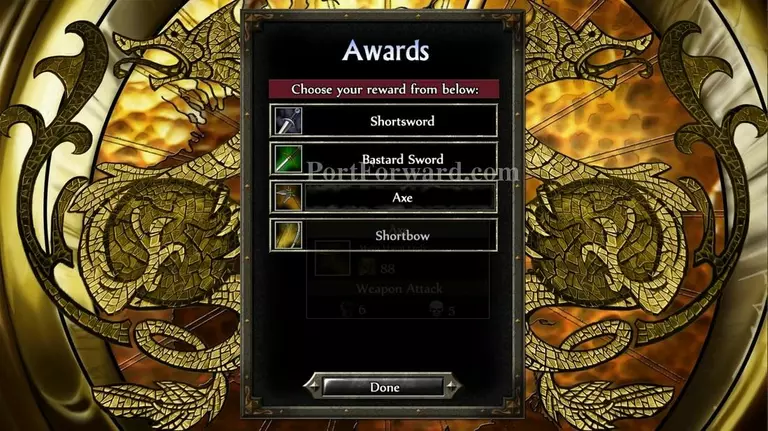
Here, you saved the villagers and they have decided to give you a reward. A weapon of your choosing.
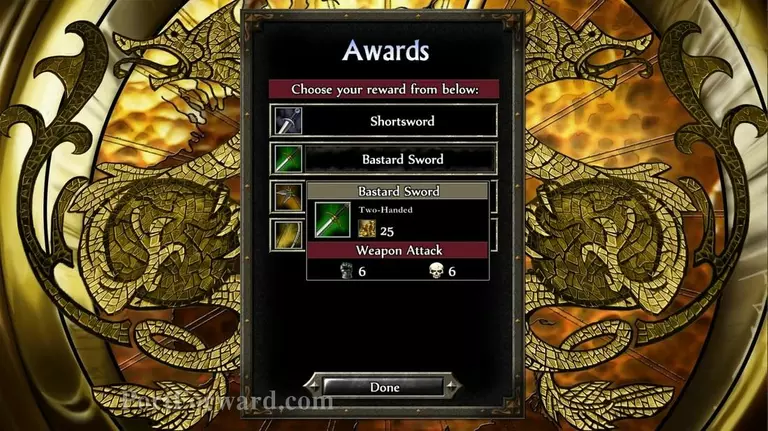
I would recommend taking the Bastard Sword, as It is heavy in delvering damage.
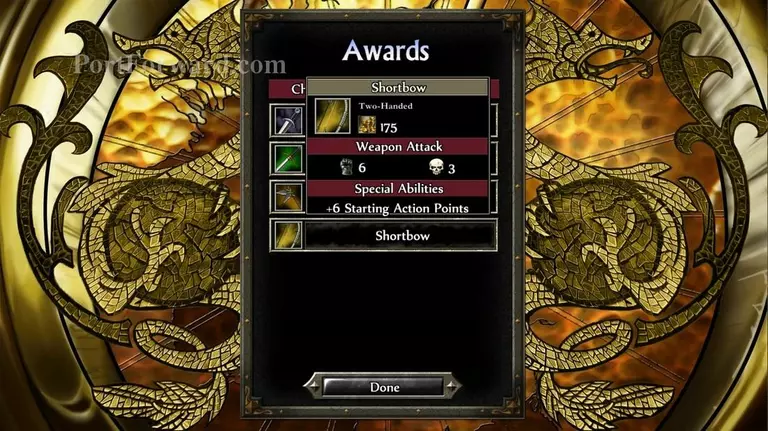
I, however, ended up taking a rather shoddy shortbow to sell it for more gold later.
When done..
Travel onwards.
Fight the goblin just as before.
This will be your first opportunity to be able to use a weapon. They require "Action Points" but as my bow has a special attribute, granting me +6 action points at the start of the round, I can either play my turn on the table or attack immediately for 3 damage.
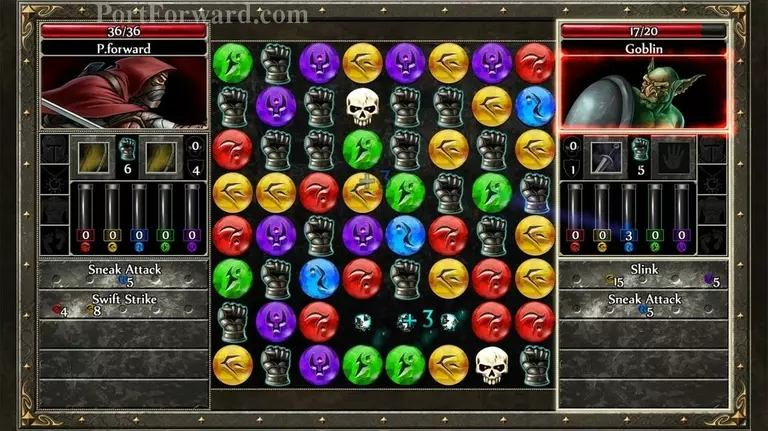
The gauntlets on the board mixed amongst the jewels are the said action points. You will have to either match them up, get action points and then attack with your weapon, match skulls up together or use your skills after gathering enough resources.
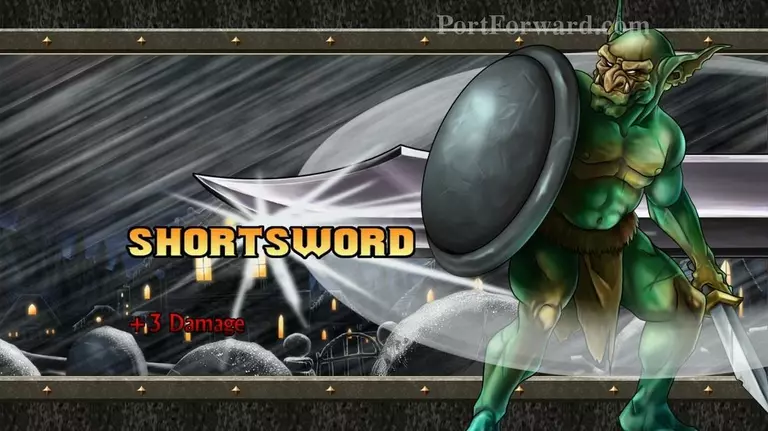
As you grow stronger, so will your opponents. In this case, the goblin had a shortsword.. And he used it, causing us damage.
As we also leveled up earlier, we unlocked a new skill "Swift Strike". It is one of the most fiercest skills available in the entire game as It takes every single yellow gem on the board and turns it to damage towards your enemy.
It will shine up whenever you can use it after gathering resources and when It does, simply click to spend your turn casting it.
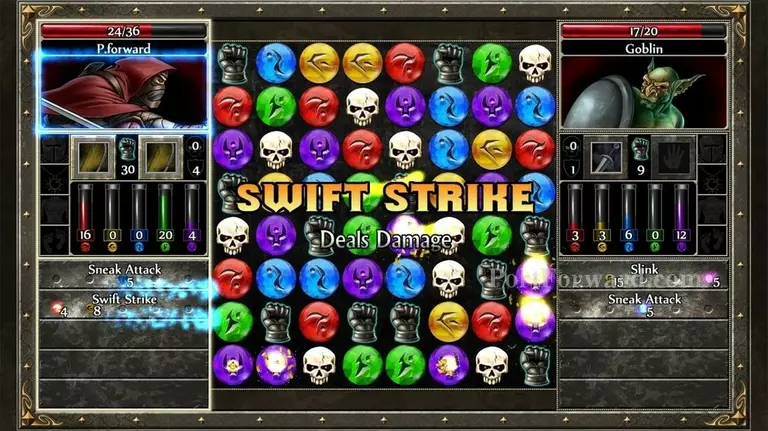
As the yellow orbs get used, they get transformed into purple ores. This means that not only do we wipe off any chance of our enemies getting more yellow orbs..
But It can also score us additional resources as the board automatically matches up 3 or more in a row and delivers the payoff to us.
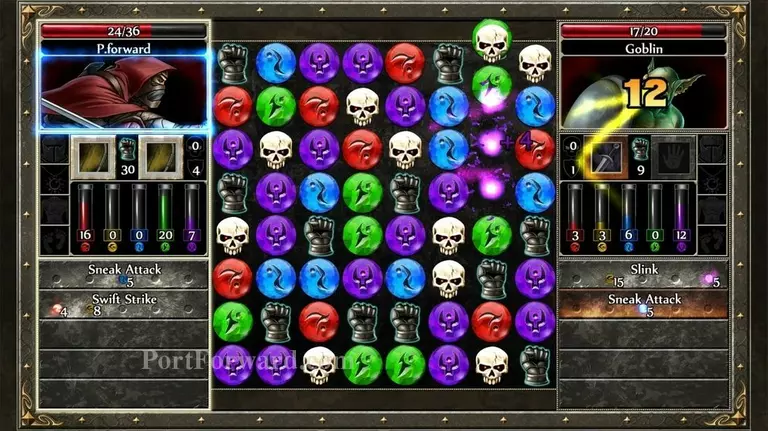
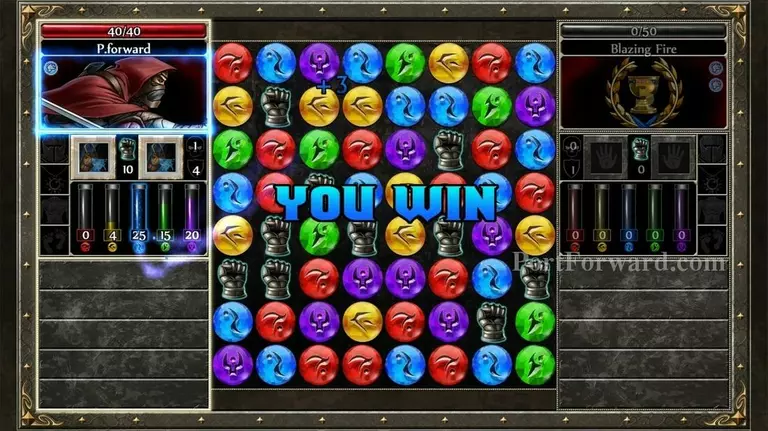
And victory is ours.

Now with our opponent utterly maimed, It's just a matter of getting one set of skuills (or attacking with your weapon)..
As you may also note, the rewards will get increasingly bigger.
And you will need it too. Not only to continue leveling but also to afford various things.
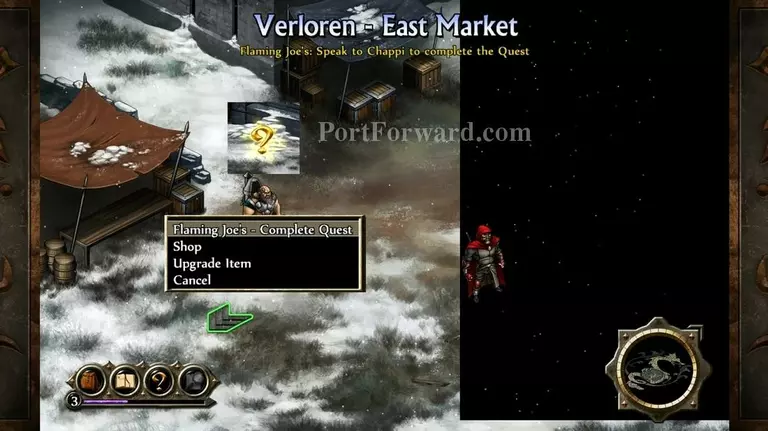
Shop to your desires with various NPC's when the option appears beneath them.
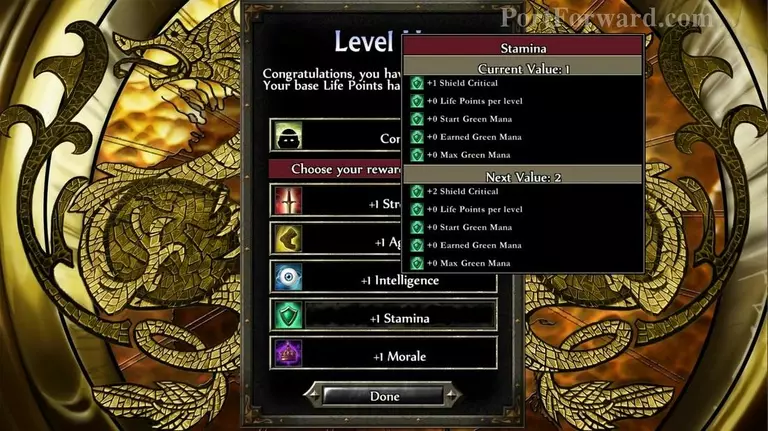
Feel free to mix up your character build as you please. Stamina can be an interesting thing to have as It allows you to spawn with existing resources.
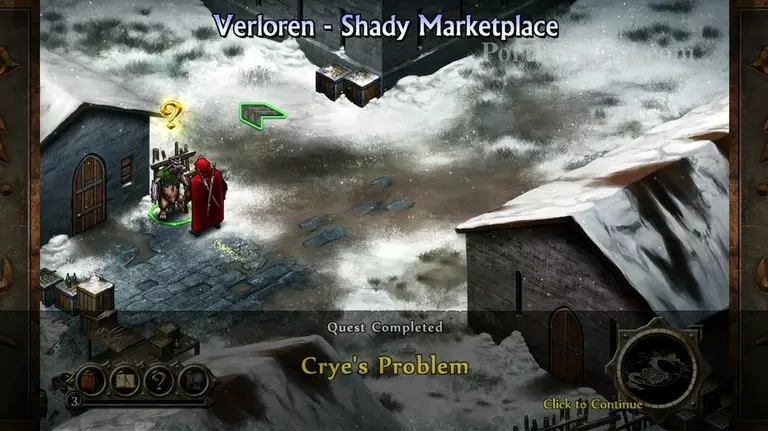
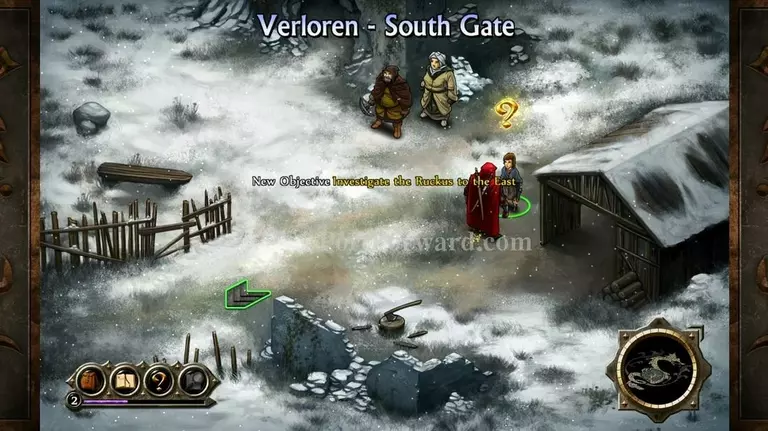
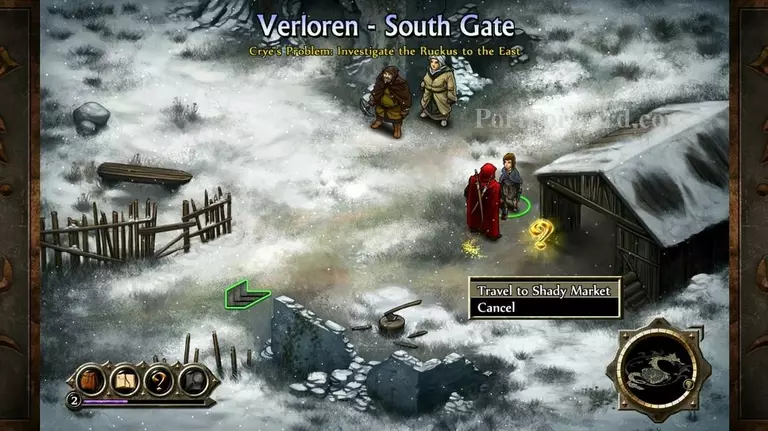
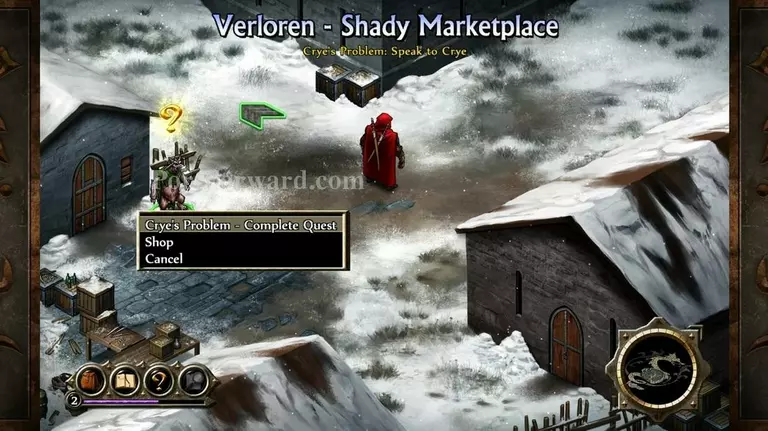
Finishing one quest at one NPC will almost always end up with them giving you another one. Sometimes, however, you may need to go looking for one or simply explore the world.
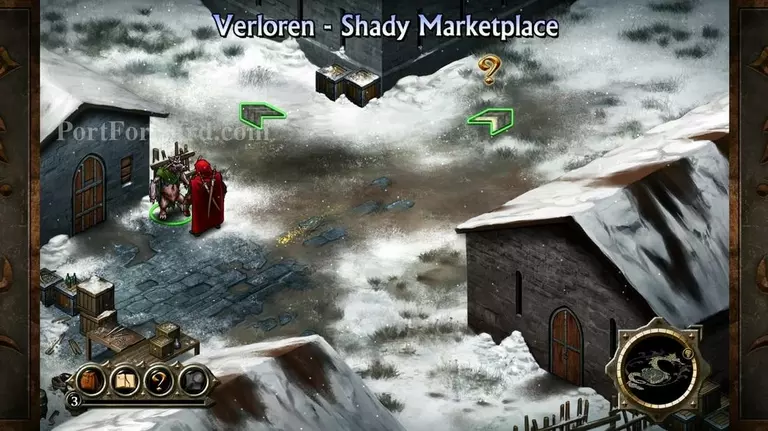
Here, for example, we can go back where we came from or head towards the gates which the quest prompts us with the golden ? marker.
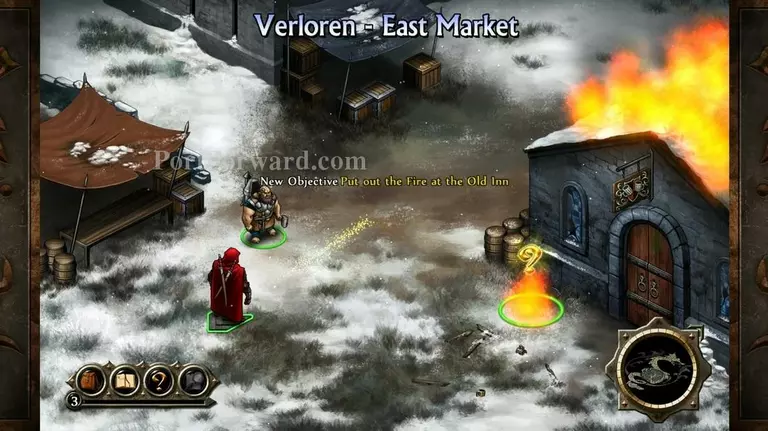
There may occur special quests, however, that require you to do specialized actions. In this case, we have to deal with a huge fire.
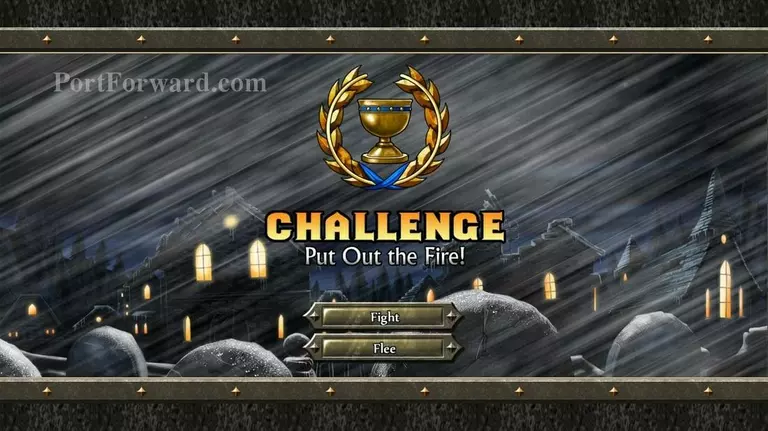
These are known as "Challenges".
The goal in this case, is to combine as many blue gems as possible in a short timespawn in order to quench the fire as they represent water. The red gems represent fire and should be avoided at all costs.
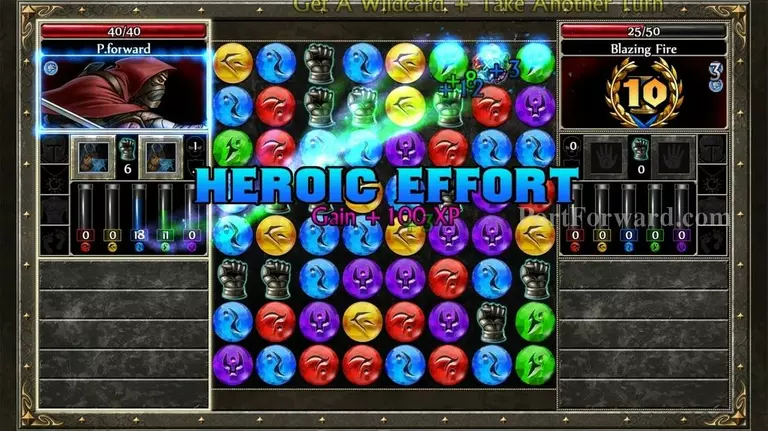
Do a good enough job with these challenges and you will get huge XP bonuses.
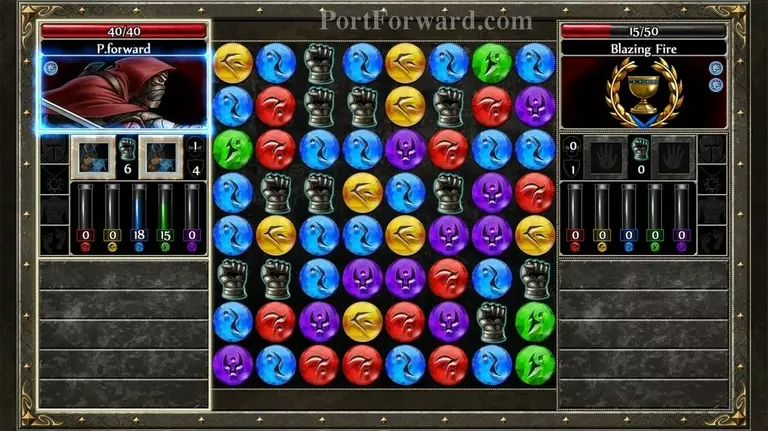
The challenges modes also often give you special weapons to use. In this case, we got a bucket full of water that require AP to use. However, as It does not have a possibility of rewarding us with XP, we will avoid it and stick to manipulating the board.
And rightfully so, we get repeatedly showered in XP.
Most challenges are fairly easy but some can be painfully hard. Some will also not allow you to re-try them so proceed with your best judgement.
Challenges rarely give much gold, but the XP is the real thing of value here.
They will also sometimes unlock various bonuses. In this case, the fire we put out was over a blacksmith. Now this blacksmith will not only sell and trade goods with us but also upgrade pre-existing items we have for a small fee.

He was also generous enough to give us a reward. Now, here is also a hard decision to make.

The cloth robes here gives us the most armor bonus without taking weapon slots..
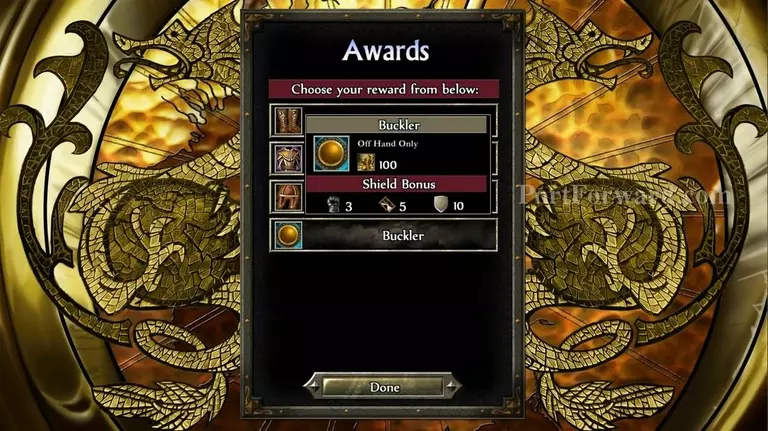
But there's also a buckler we can equip in our off-hand for a massive defense boost.

There's also a cloth cap that's worth 30 gold..
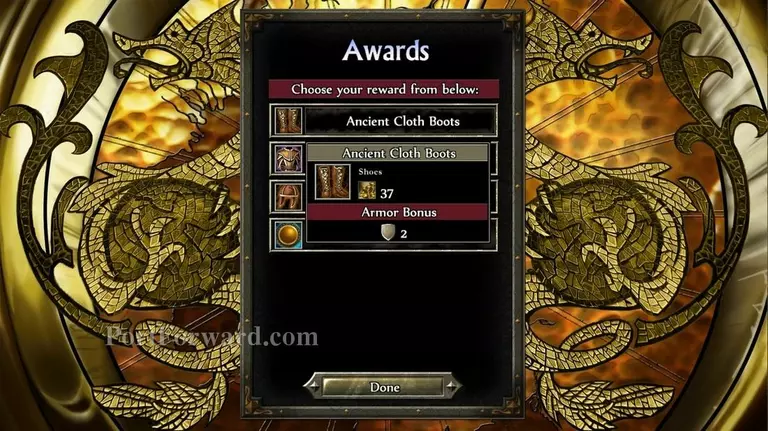
But also a pair of boots. As we have already gotten a weapon, a two handed one at that, the buckler is no use of us. And chest items are very common in these kinds of games, both as drops and rewards so the only option is between the cap and boots.
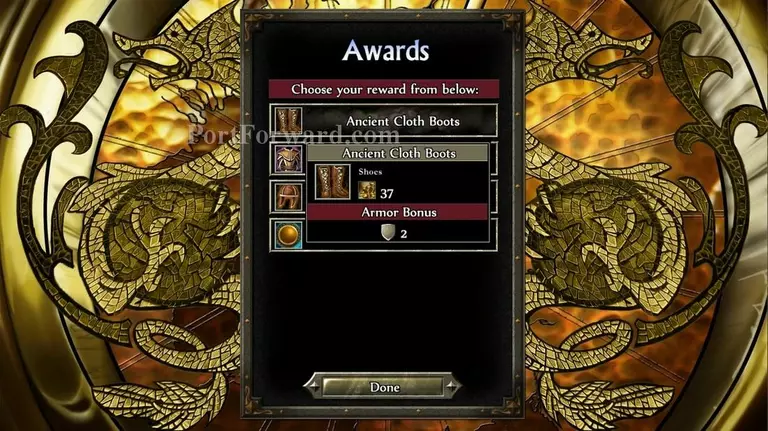
Paying attention to the subtle 7 more gold in value onto the boots rather than the cap, we can also deduct that boots are somewhat more rare than caps. And thus, we'll be taking the boots.
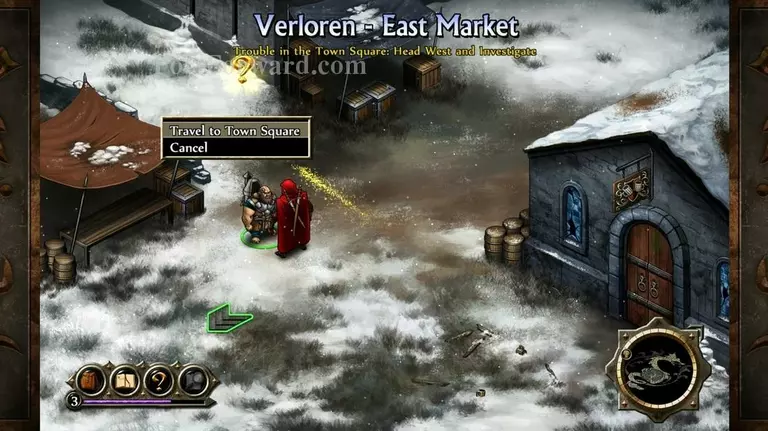
When done, travel onwards.
Certain quests may also require you to search an area. This, however, is fairly early on and thus, the objective is rather obvious.
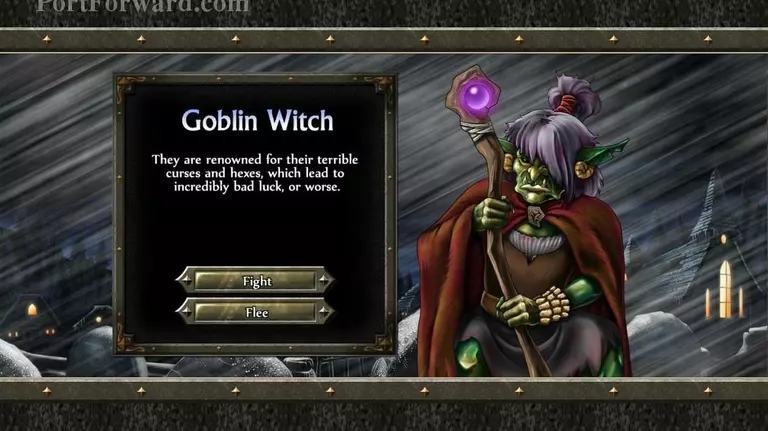
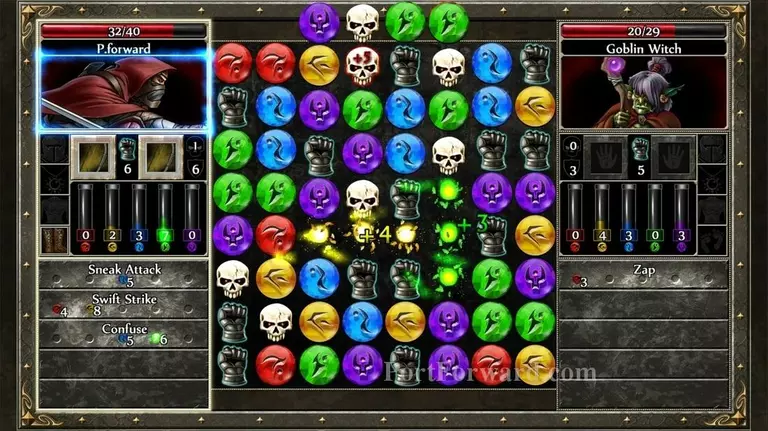
It does however, introduce us to the first enemy spellcaster in the game.

The further on you go into the game, the more brutally hazardous these spellcasters will become as they pack loads of destructive magic.

They are also fairly intelligent, making them fearsome board players with ruthless but efficient resource harvesting.
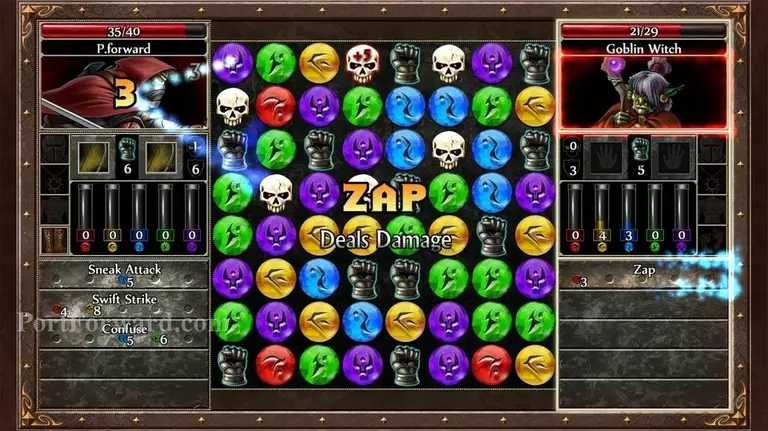
In this case, the enemy spellcaster only has one spell. Namely, Zap. Which is like our sneak attack but much more cost efficient.
Grabbing 4 in a row opportunities are all the more important with these opponents as they score the most resources.
And the extra turns sure don't hurt to have either.
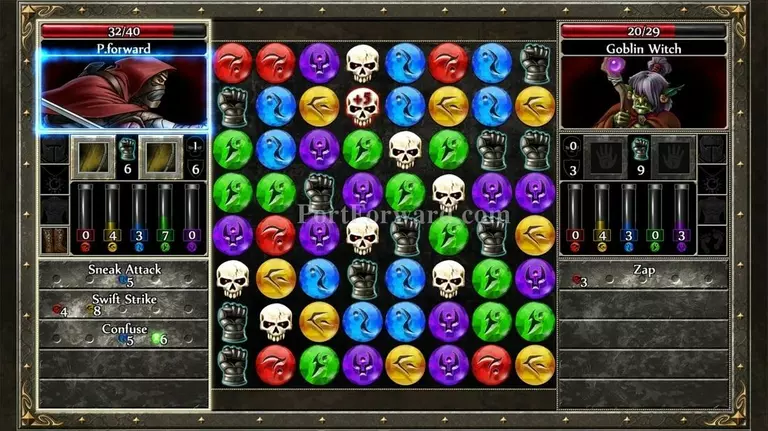
Super-charged skulls will also now start to make an entrance. They are powered-up versions of normal skulls that do absolutely devastating damage when combined..
While also exploding everything around them on the board.
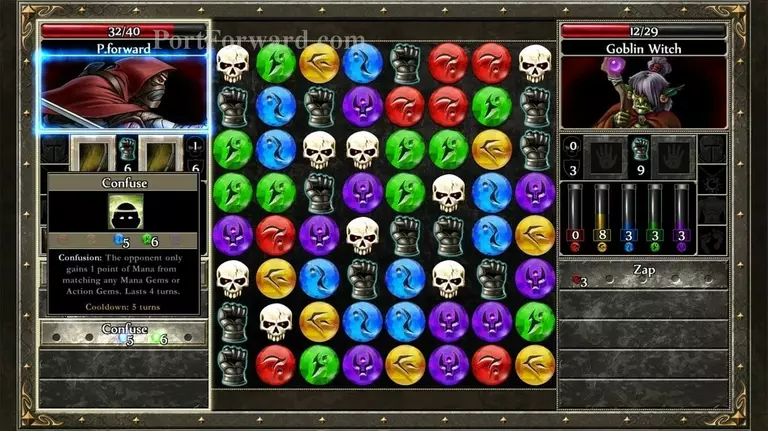
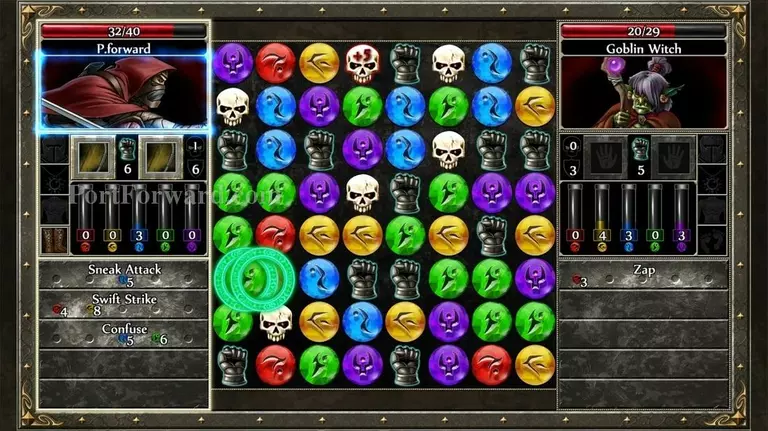
Confuse is a particularly useful ability to have for spellcasters as It utterly devastates their ability to gain resources.
Using this spell when they have an opportunity to harvest a couple of 4-in-a-rows can be a shrewd tactical choice, as removing large amounts of gem will likely introduce skulls for you to use against them.
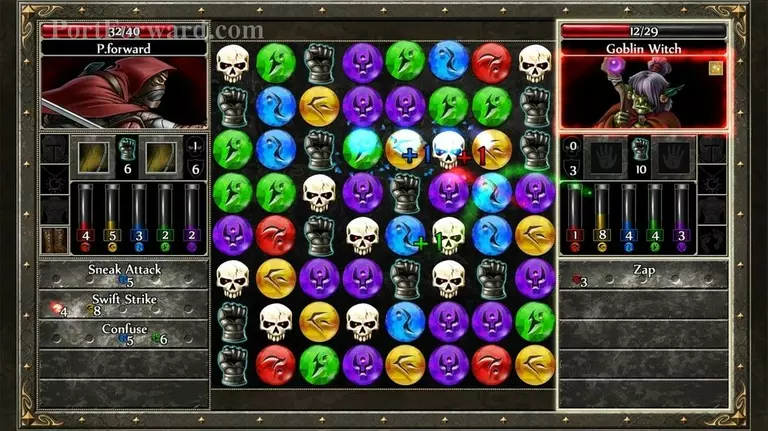
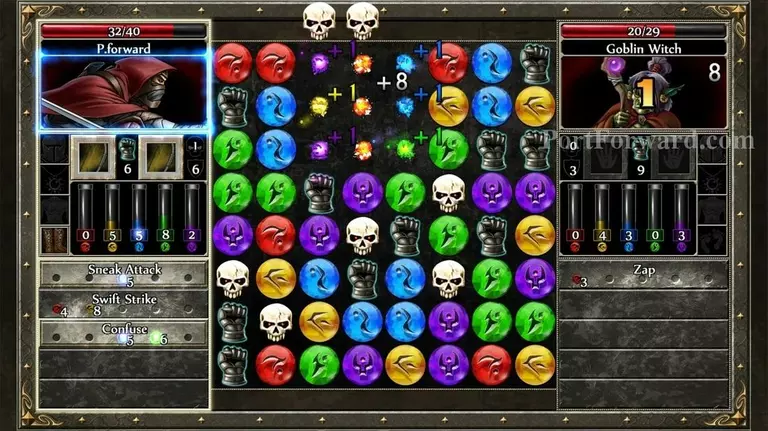
Here, the spellcaster got over 9 gems in one move.. But only got 3 resources for it.
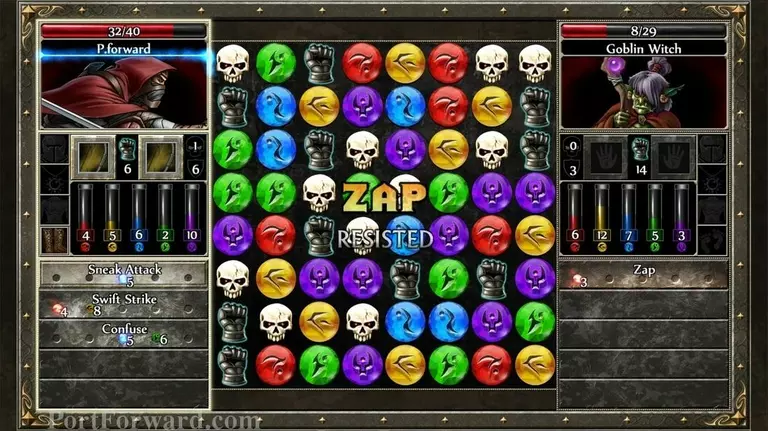
Spellcasters can be either very harmless as spells can be resisted (even yours) or devastatingly difficult when they get lucky.
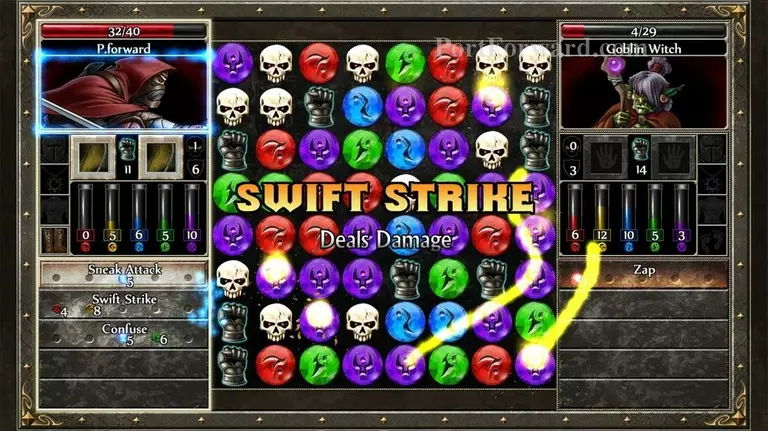
They are however also, often quite fragile. And in this case, one solid swift strike was enough..
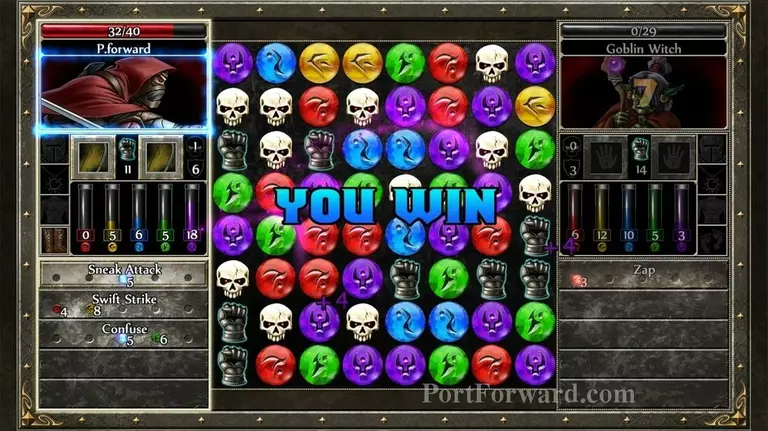
To finish the witch off.

When done, go to the nearest NPC.
Not going to the destined NPC with certain quests will not allow you to level up, so do so whenever possible.
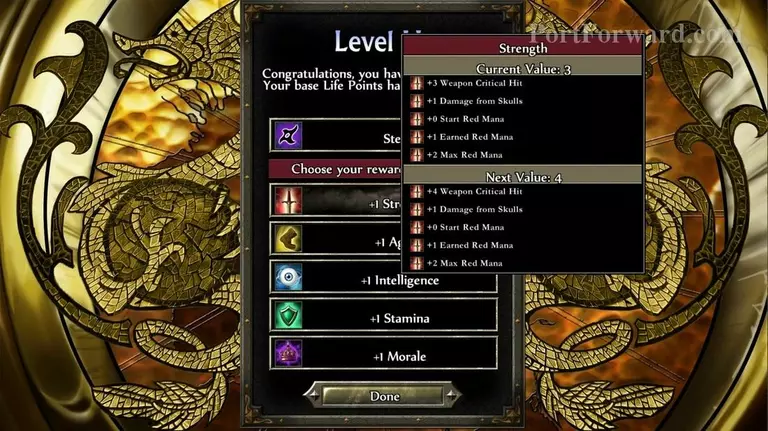
Stats have certain "Stages" you will have to reach for bonuses to appear. Here for example, I needed a total of 2-3 strength in order to have skulls do more damage to opponents in battles.
More Puzzle Quest 2 Walkthroughs
This Puzzle Quest 2 walkthrough is divided into 5 total pages.


