
This Saints Row IV walkthrough is divided into 47 total pages.
You can jump to nearby pages of the game using the links above.
20 - Keymaster
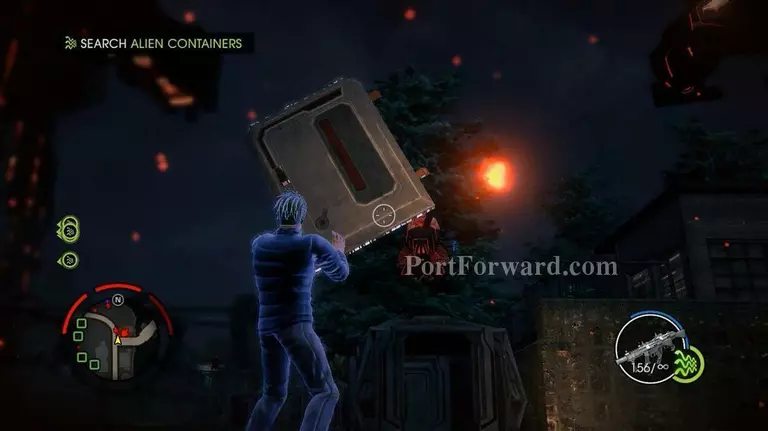
COLLECT PARTS FOR THE KEY > Meet with Gat in the simulation, then make your way to the military base. Use Telekinesis to rip off the container locker. Keep looking until you find the CPU.
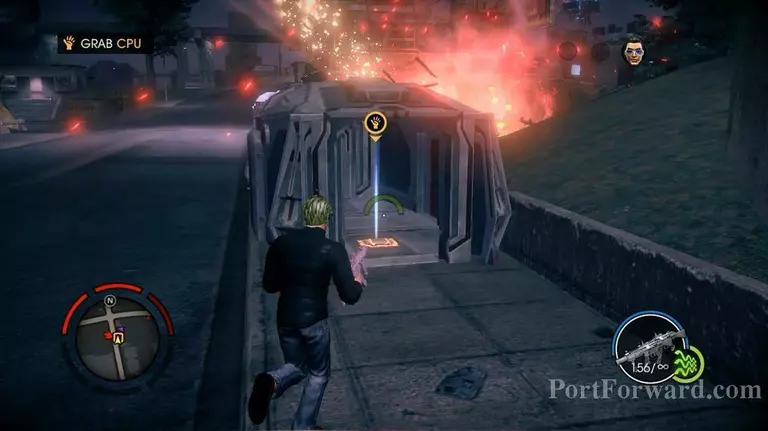
After you've found one, grab the CPU then move out to the next location.
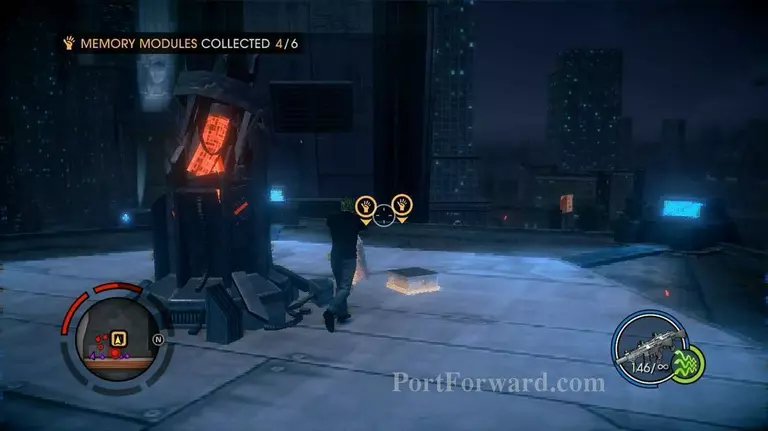
There are three generators to destroy. Each generator contains two memory modules. You have to collect six of them.
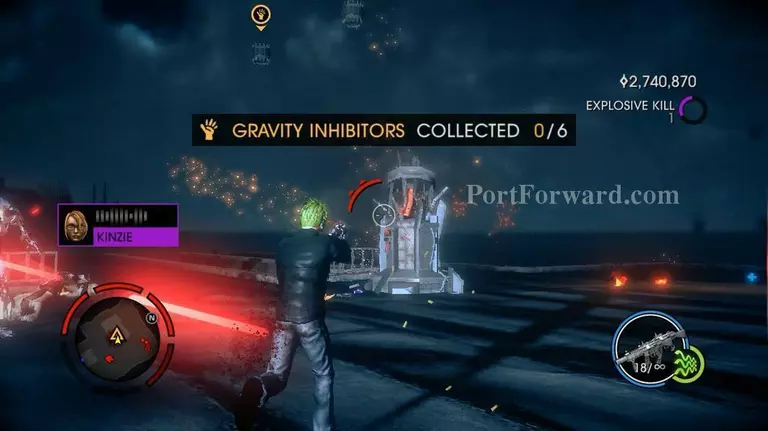
Go to the docks quickly, you need to collect six more gravity inhibitors.
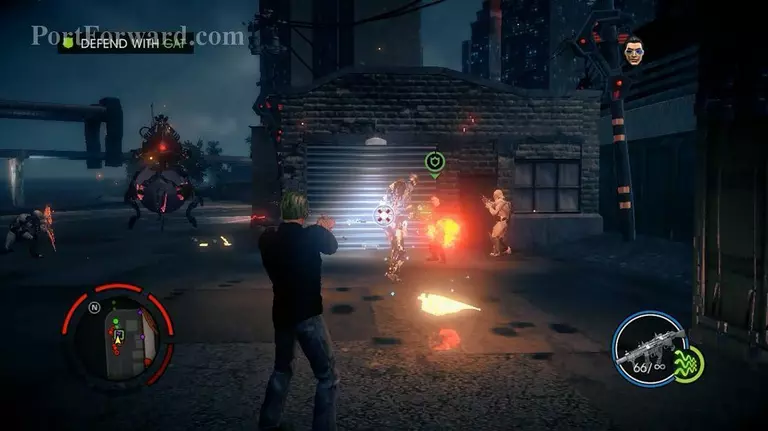
Gat's helicopter will start going down. Follow Gat until he had landed safely. At this moment, you'll be attacked by the aliens. Clear the area, take out Marauder the usual way - Freeze Blast, then shoot at the back of it's head.

When Shaundi arrives, get into the helicopter to end the first stage.
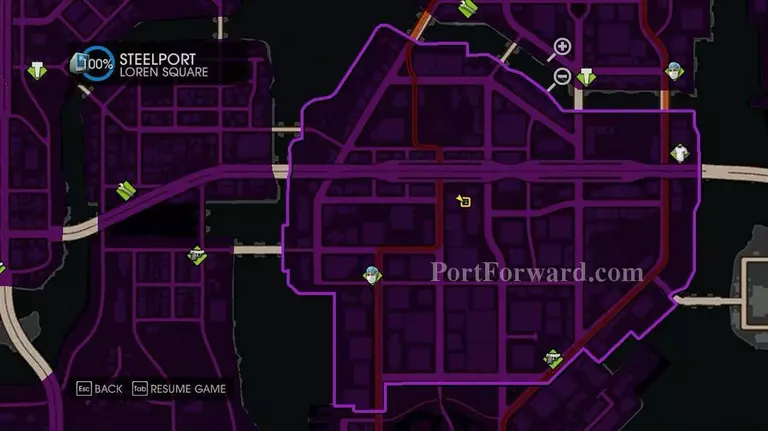
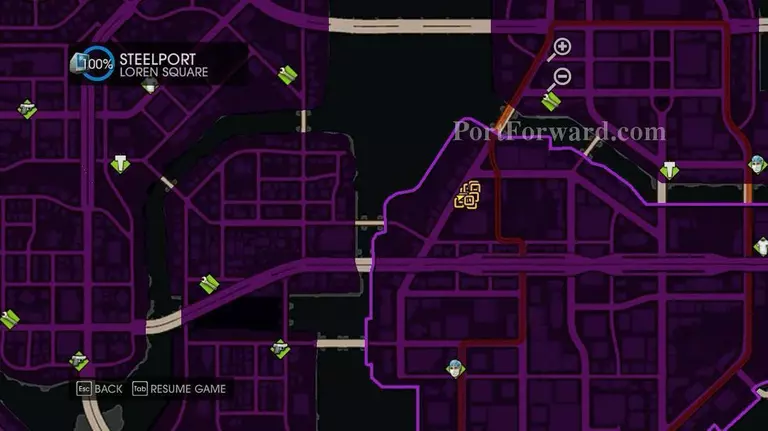
FINISH THE KEY > Head over to Espina to meet the CID. You need to get three power sources for the key you're building. Go to the first area, keep looking around until you find something that looks like a flashpoint. [**I've pinpoint the exact location in the map above.]
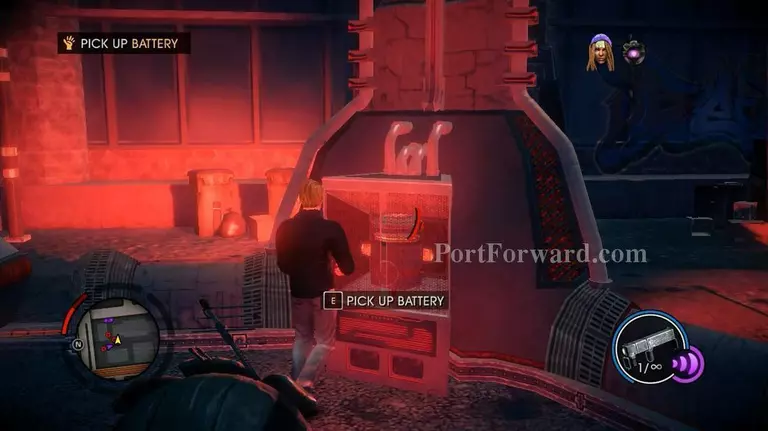
Kill the Murderbots, then take the battery. It's time to move to the next area. You need to hurry as enemies keep following and attacking you.

At this second location, you need to clear out the area. Take out the shield generator, before you can take the battery.
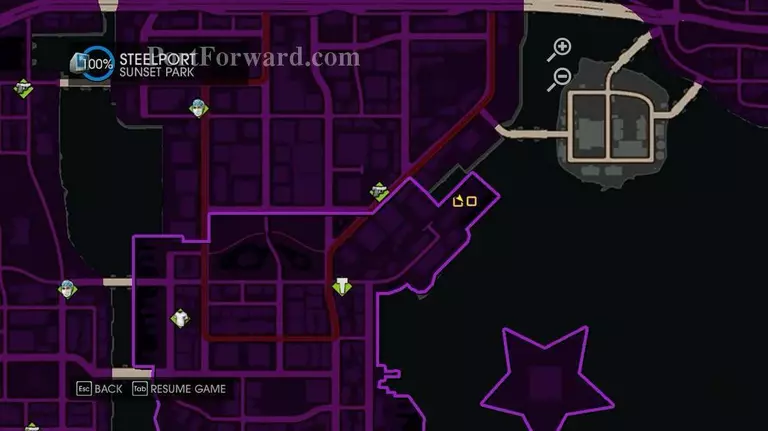
The third location with two shield generators. It turned out, that the energy source had blown up. Now find another new location.
Follow the star marker. The very last point.
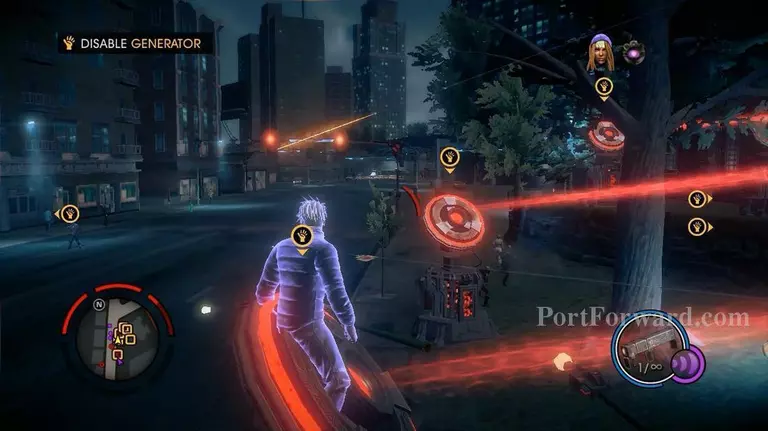
Disable all the generators. Some of them can be destroyed directly using your preferred weapons..
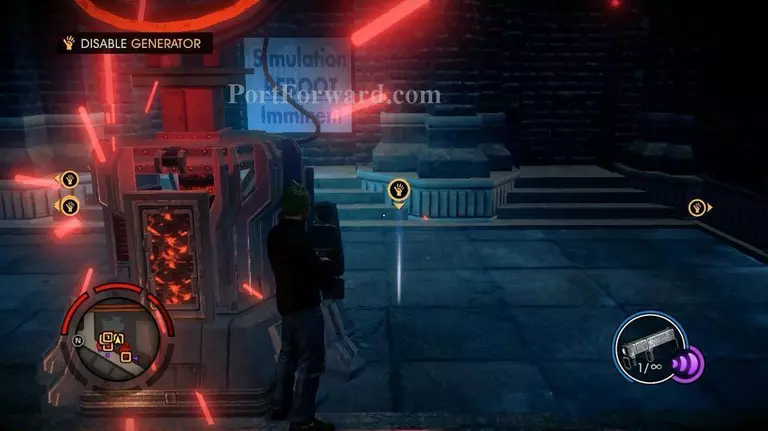
but some more required you to approach them and hold the E button.
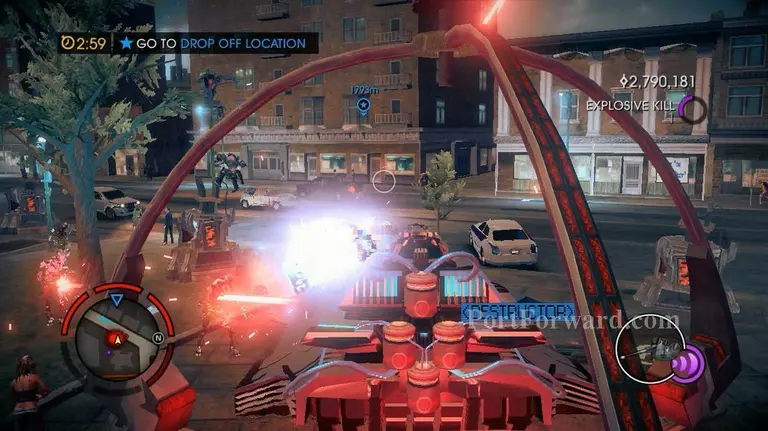
The energy source in hidden inside the tank. Get in the tank then bring it to drop off location. You only have 3 minutes before the time's up..
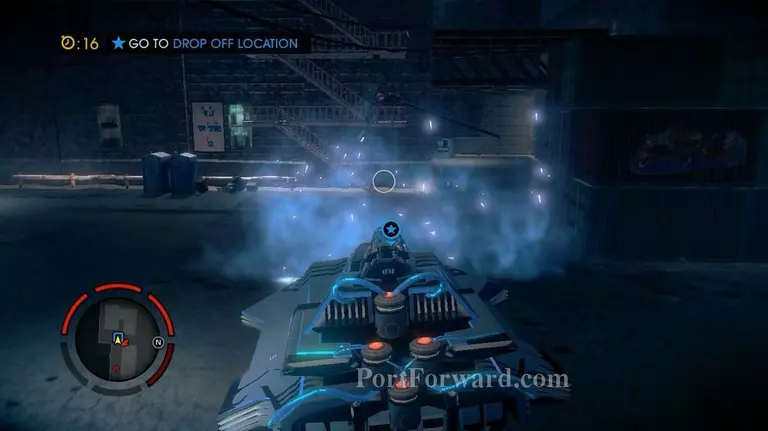
If you can't get there in time, the tank will explode. Make sure to use the laser and rockets to clear the streets.
More Saints Row IV Walkthroughs
This Saints Row IV walkthrough is divided into 47 total pages.


