
This Saints Row IV walkthrough is divided into 47 total pages.
You can jump to nearby pages of the game using the links above.
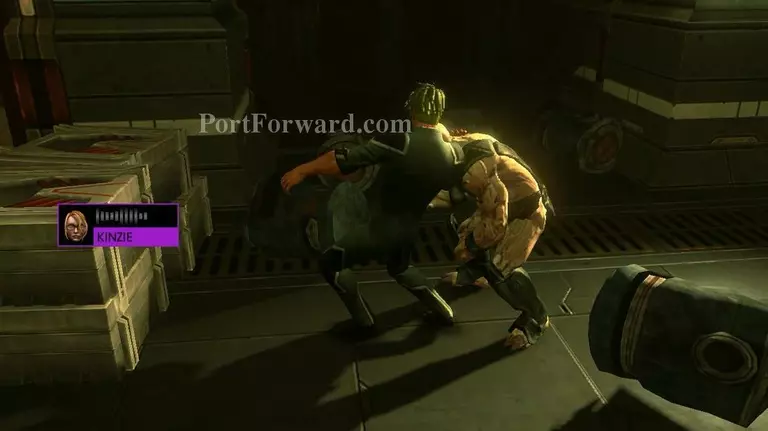
21 - Punch The Shark
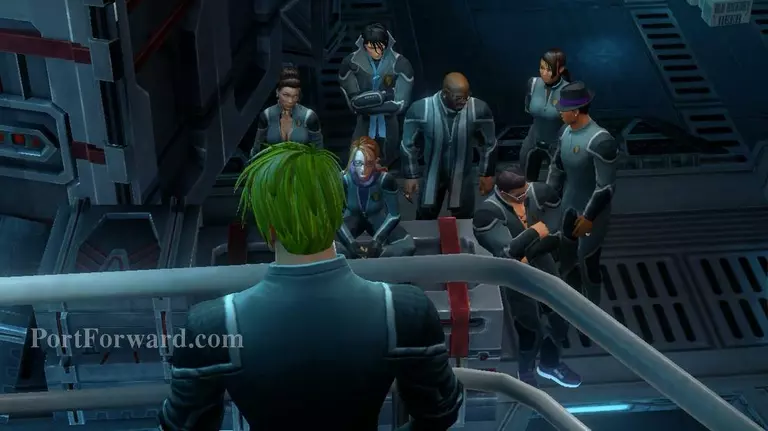
GRAND FINALE > [**Make sure you are fully loaded/upgrade, as there is no turning back] Talk to Kinzie on the Ship to start the mission.

Choose your team. It doesn't matter which team you choose as the first team will help you transport the key, the second one destroy the simulation, and the third get to Zinyak.

Once you're on the back of the truck, use the rocket launcher to destroy your tail..
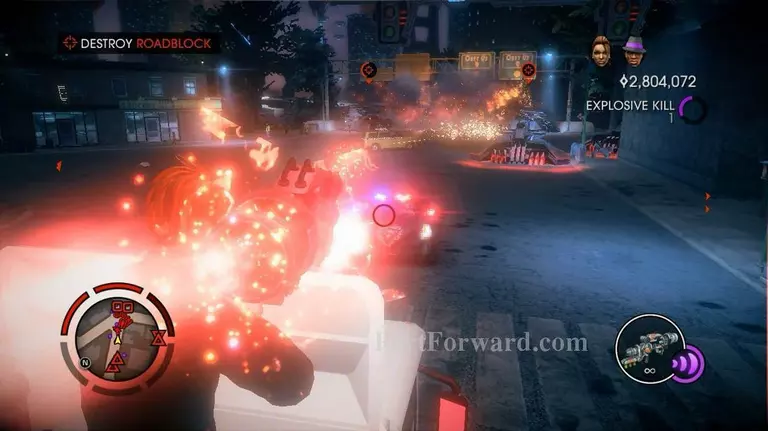
and clear the roadblock. Soon, the truck will be halted.
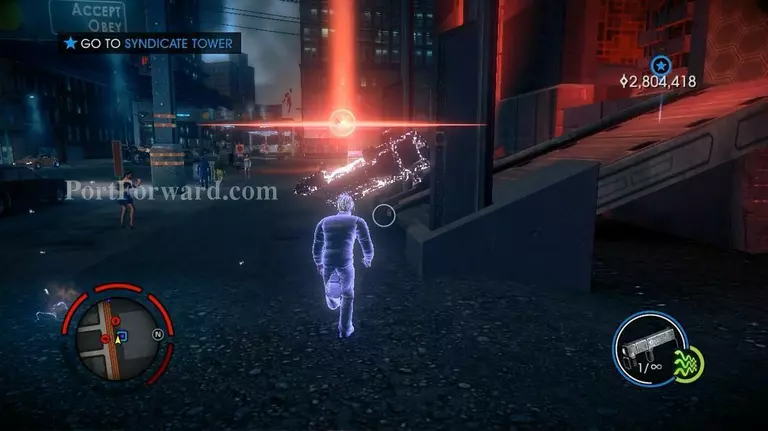
Use Telekinesis to pick up the key. Bring it to Syndicate Tower.
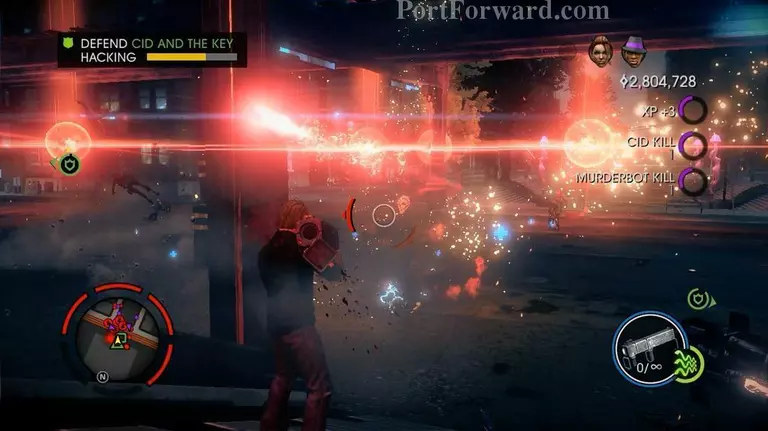
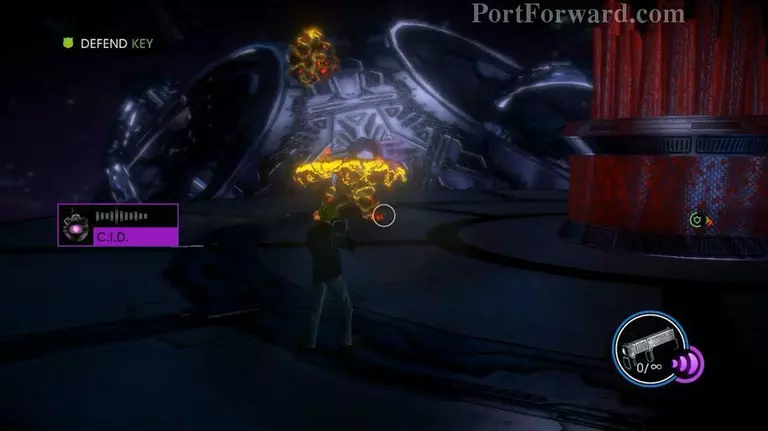
Defend both key and the CID as he tries to hack the shield.
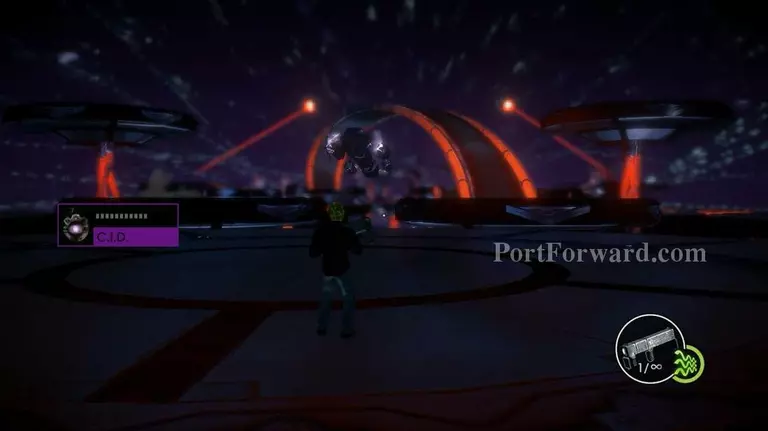
When the door is open, get the key and run inside into the portal.
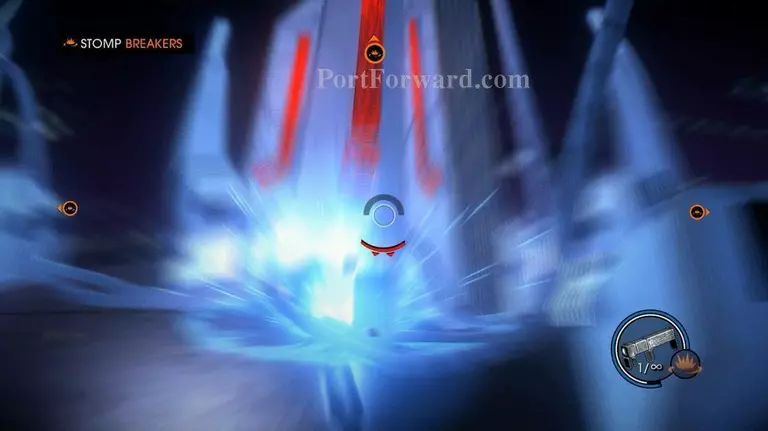
Activate three breakers with the Super Stomp to power them up. This enable the key to moves forward.
Follow the key, eliminating the aliens on the platforms.

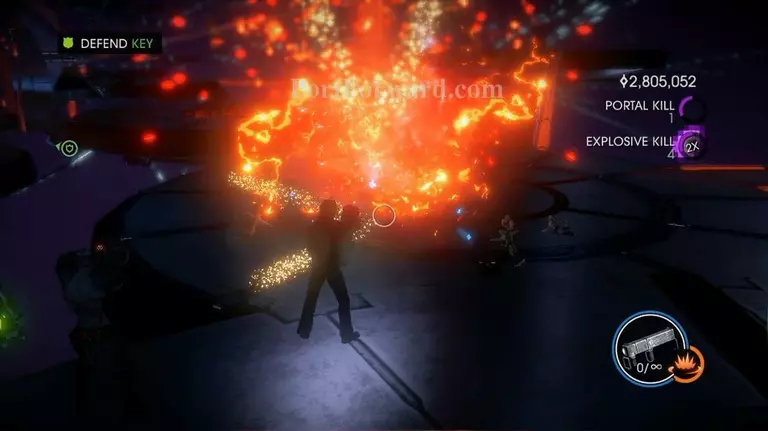
In a moment, the key will be locked within a shield. Disable supression devices which supply the shield with power. Continue defending the key and eliminating aliens.
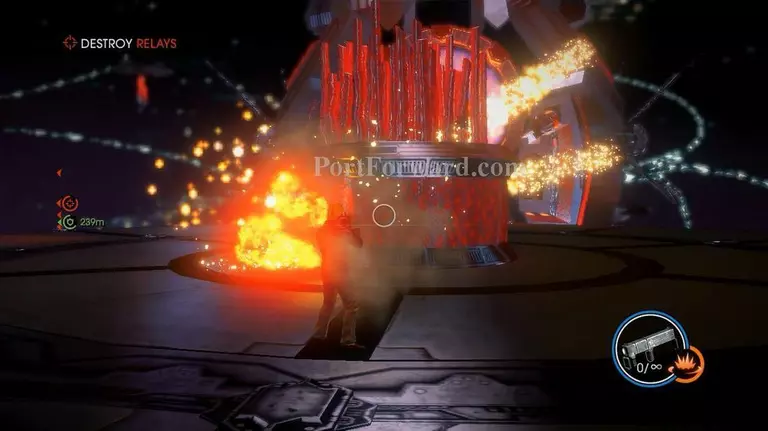
Destroy three relays.
Beware of the Wardens, though you may as well ignore and run from them.

Defend the key until it makes it's way down the track.
GRAND FINALE PART TWO > Once the second team have been selected, enter the simulation again.
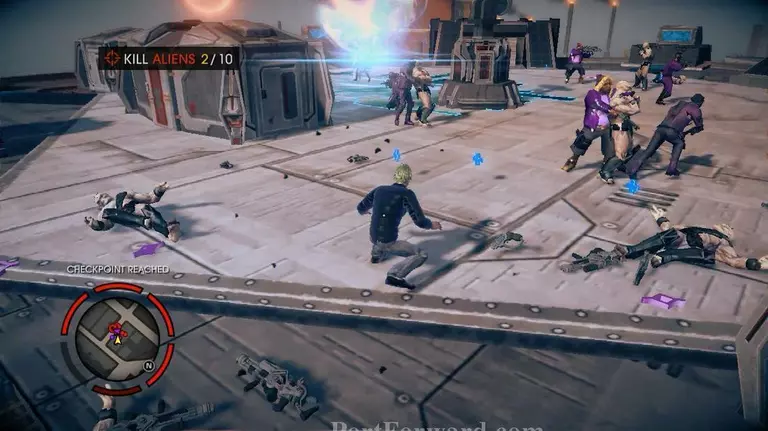
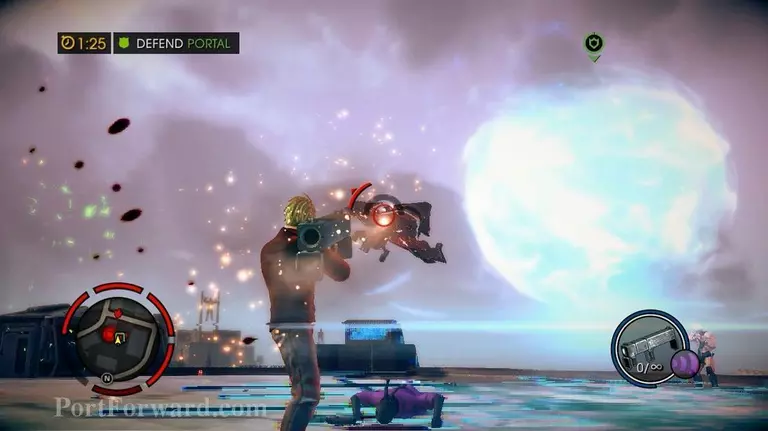
Go to a portal location. Get up onto the floating platform, then kill 10 aliens. Defend the portal for a minute.
Proceed to the next portal and the last one.
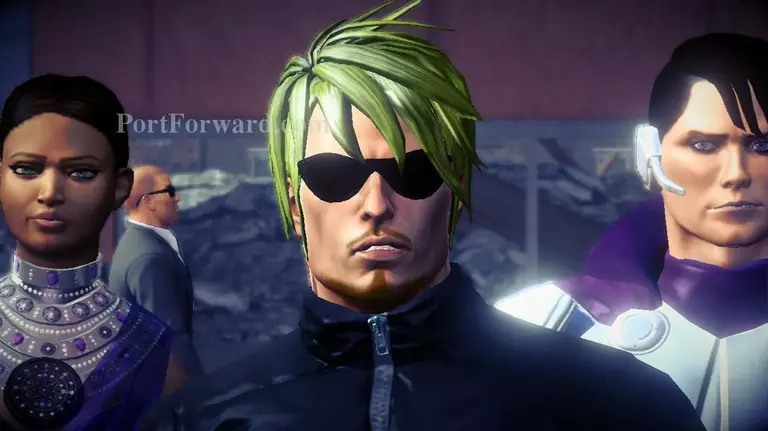
Jump on the roof of a nearby building, and watch as Paul shows back up.
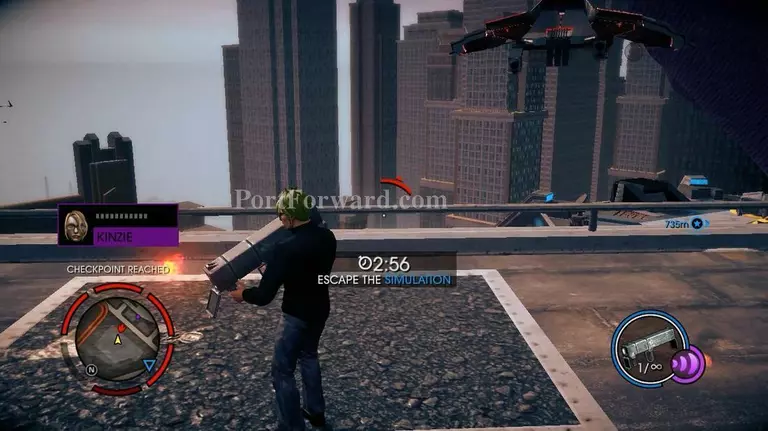
Escape the simulation since the entire simulation is falling apart.
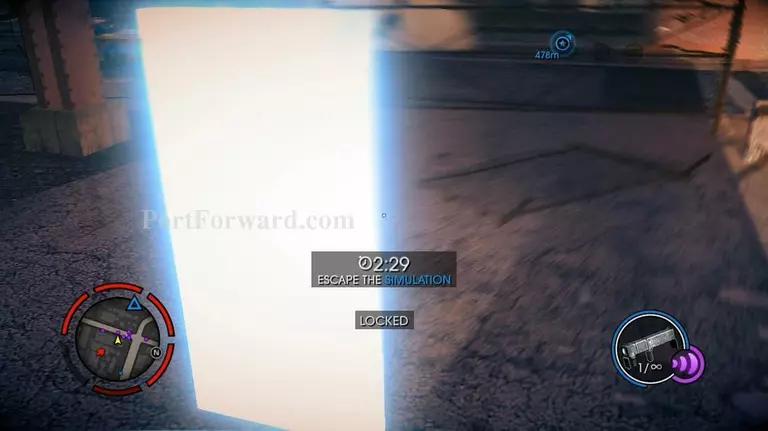
Get to the first gateway as fast as you can. Unfortunately it is locked.
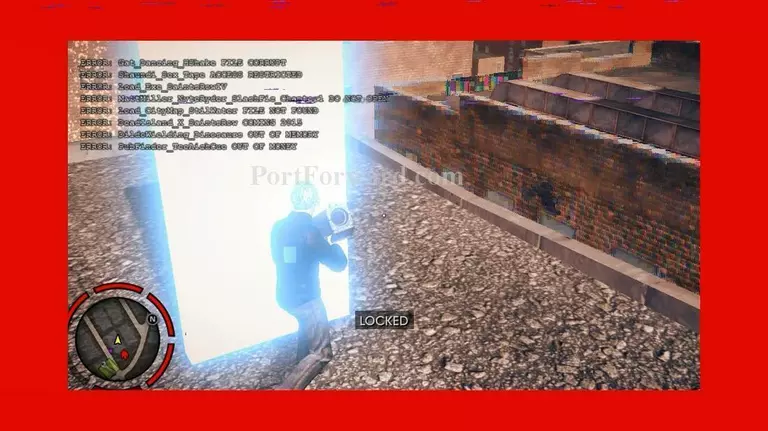
Run to the second, then the third one. Wait until Kinzie hack the system to open the gateway for you.
GRAND FINALE PART THREE > You and your last team will be transferred to the alien spaceship.

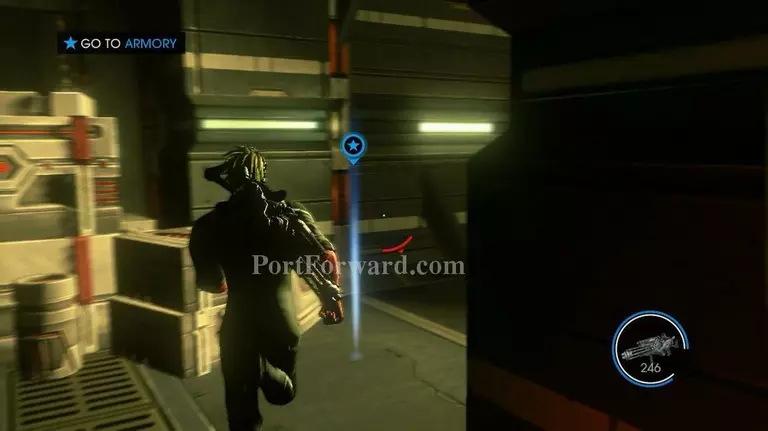
Go forward to find the armory, clearing the path as you go.
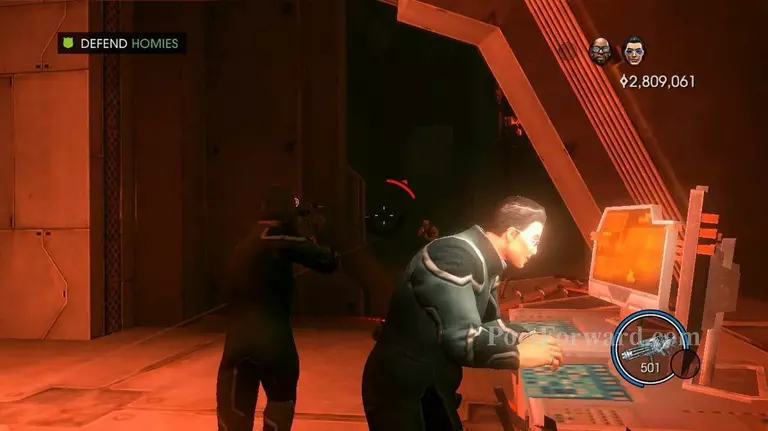
The armory door will be locked. One of your homies will try to hack the system, defend them in the meantime.
When the door finally opens, go inside..
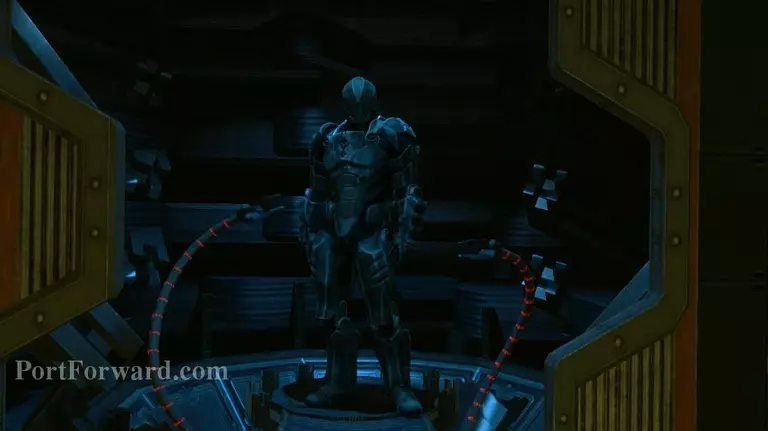
then put on the Power Armor.

All your weapons are inaccessible while in the Power Armor, though you can manage and equip your powers by default F1-F4.
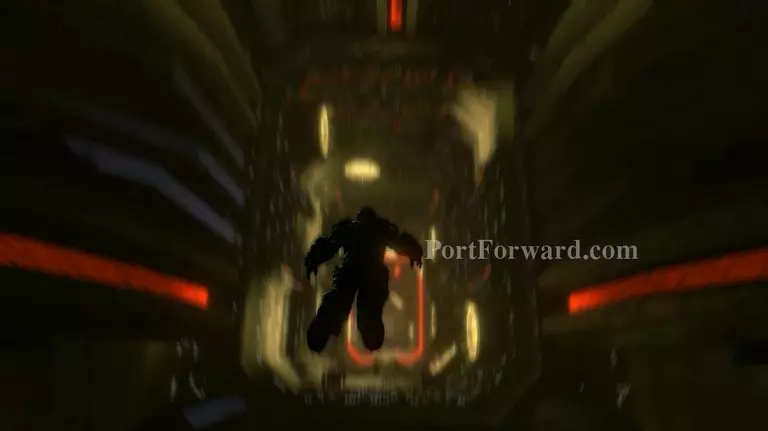
Now, jump out through the open door. You'll start falling down a long hallway. Don't touch the walls or the laser output couplers. Dodge using the WASD keys.
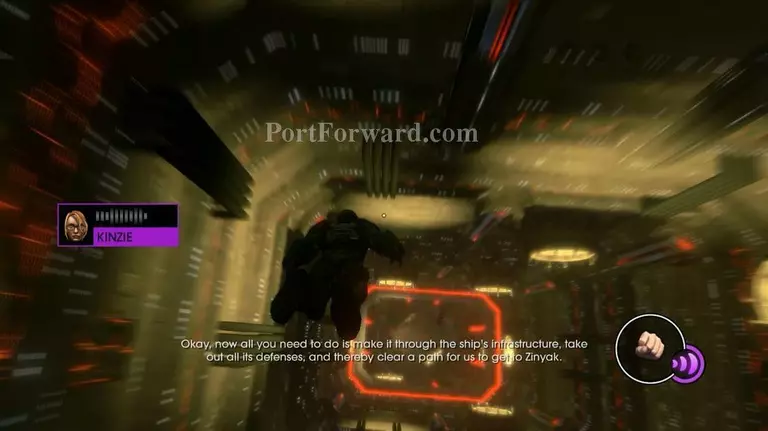
There's a technique to do the jump or you'll be instantly dead. Step 1: Rotate your body to the left. Move to the right a bit by pressing D button 4 times.
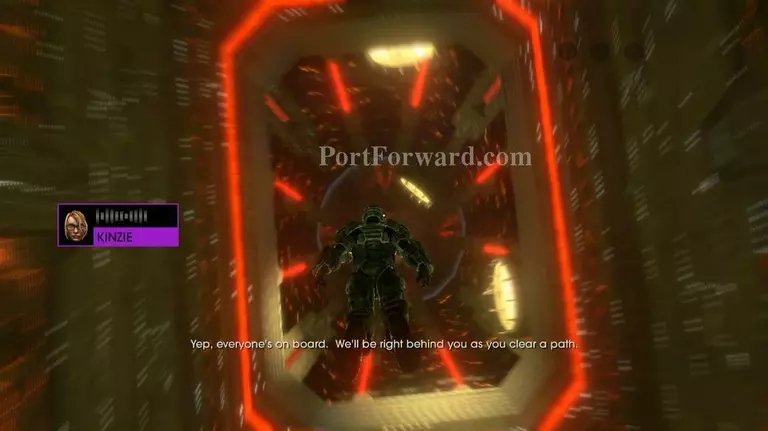
Step 2: Turn back to your origin position when you're approaching the red line. Press D button twice to avoid the laser output couplers.
Step 3: Now you're entering the second phase. Move to left once and up twice.
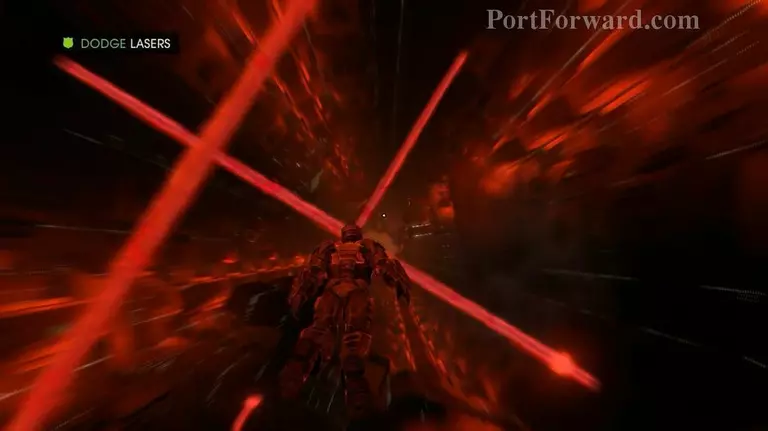
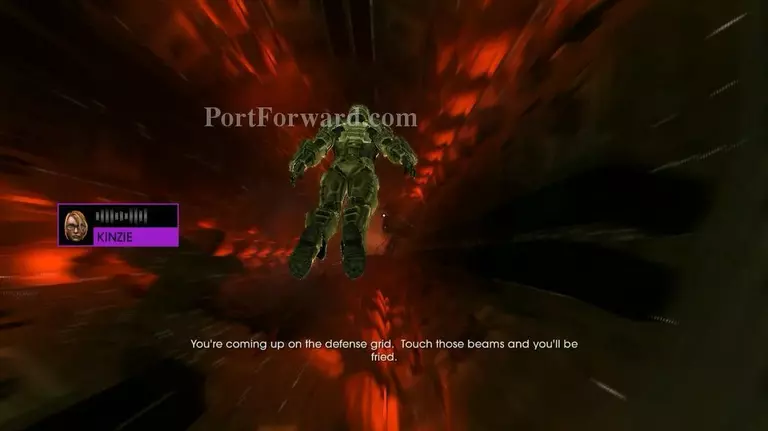
Step 4: Left twice, up once. After this point, it wasn't too hard. Try to avoid the laser output couplers and the laser beams as well.
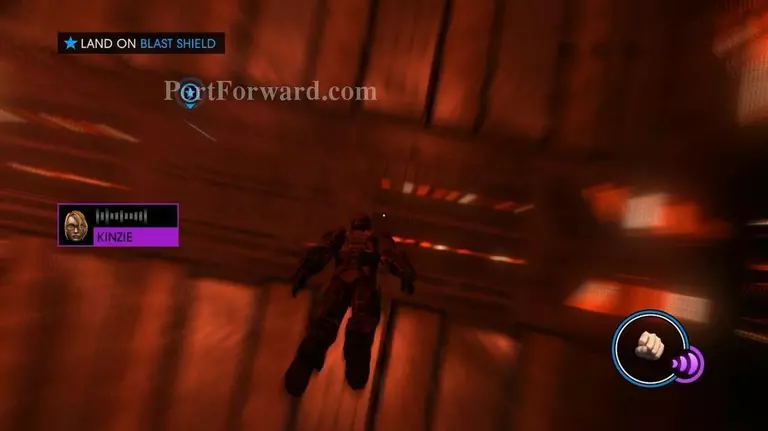
Land on the Blast Shield to reach the checkpoint.
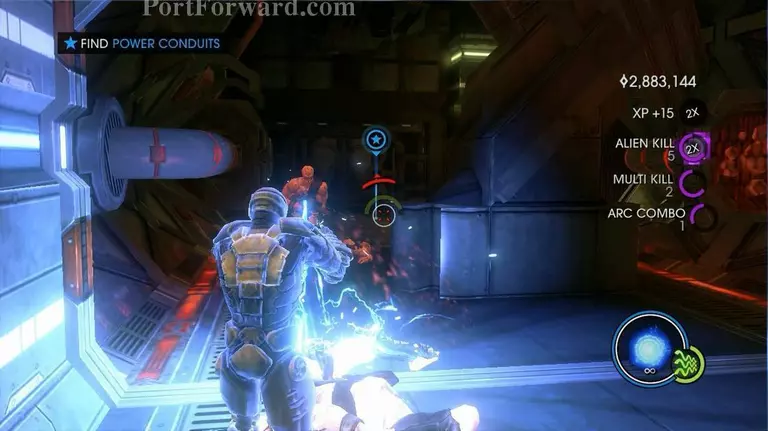
Once down, run to the door to get to the power conduits.
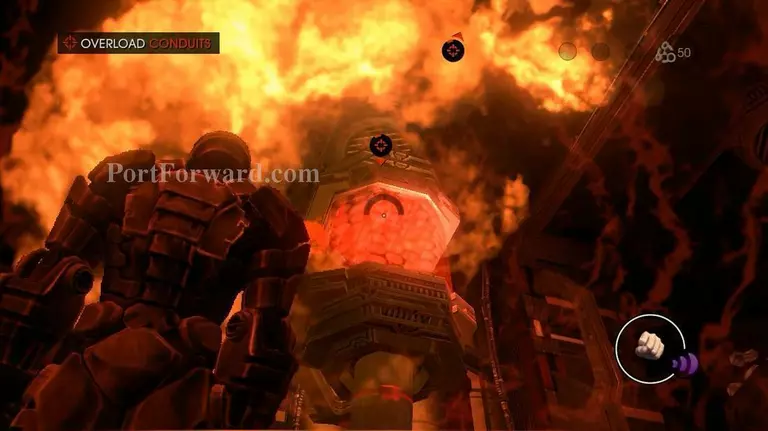
Shoot them until they blow. Go back to the main room when you're done.
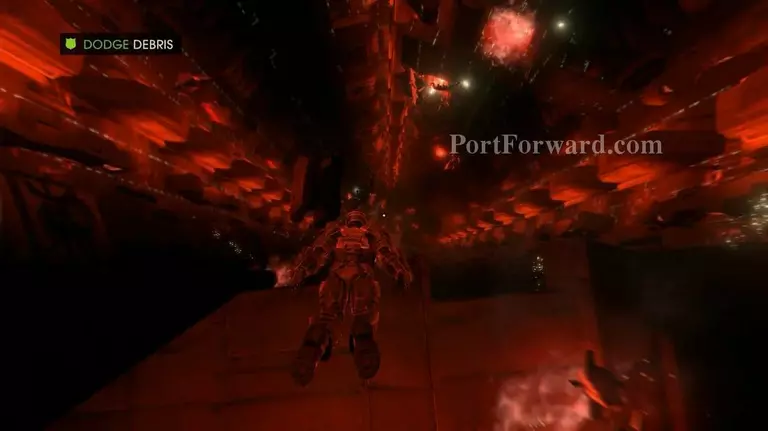
Jump out again and keep falling.
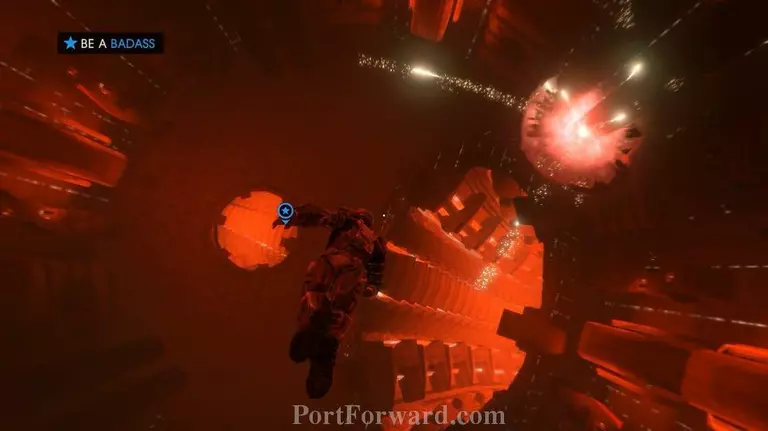
Dodge the debris. Turn left to fly into the tunnel leading straight to Zinyak.
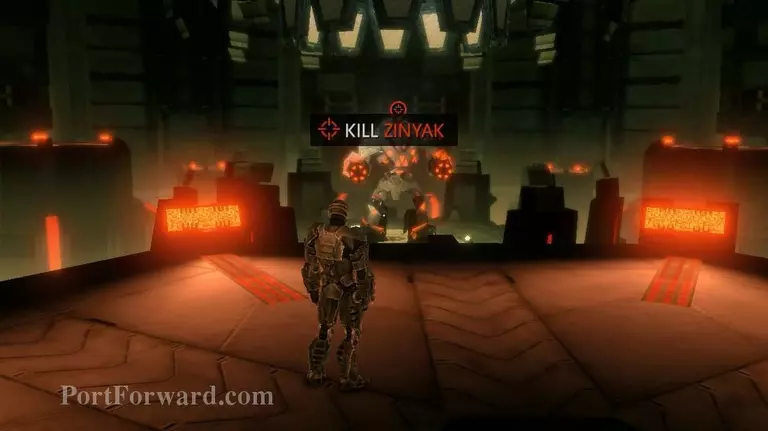
GRAND FINALE PART FOUR > Get ready for the final battle. Jump between platforms to dodge Zinyak's bullets and keep shooting your own.
You can hide at the very bottom of the room, where you'll be safe and protected against missiles. You'll have enough time to fully recover your health/power.
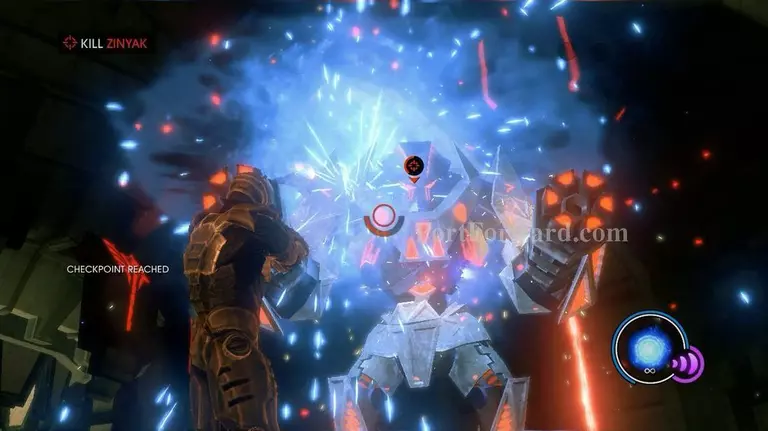
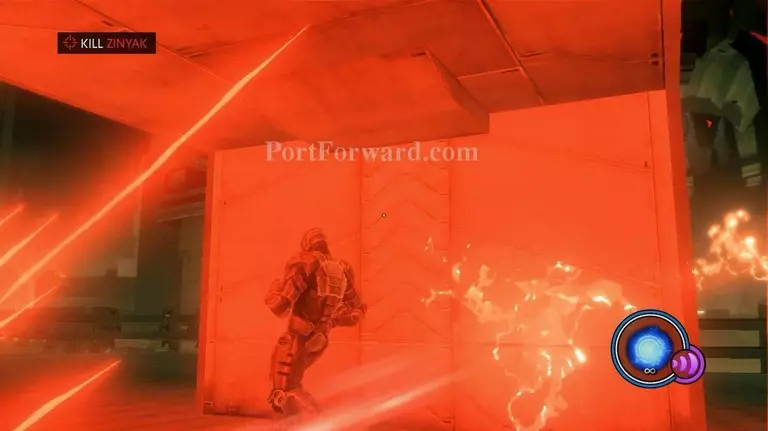
Once Zinyak's health drops to half, he will activate a shield around himself.
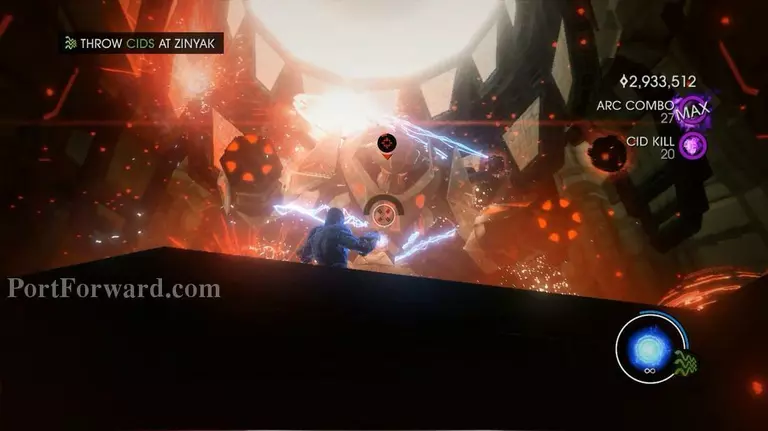
Dozens of CIDs will swarm into the room. Catch them with Telekinesis and throw them back at Zinyak.
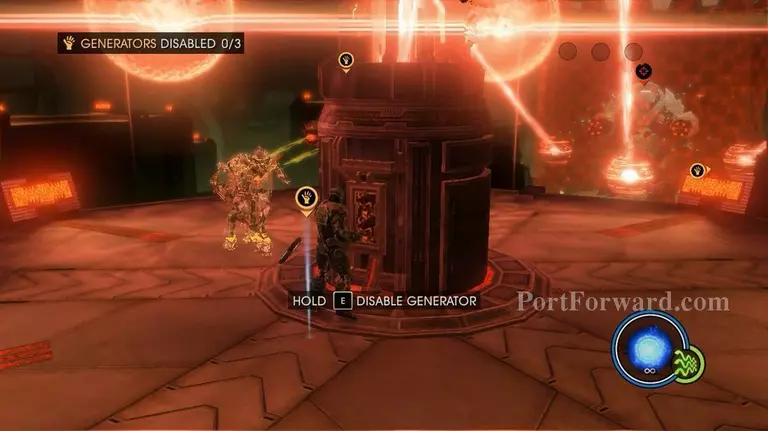
Once his health drops low enough, generators sustaining his shield appear. You may wait in a safe spot for a moment as your crew will back you up. Use the opportunity to disabled the generators as fast as you can.
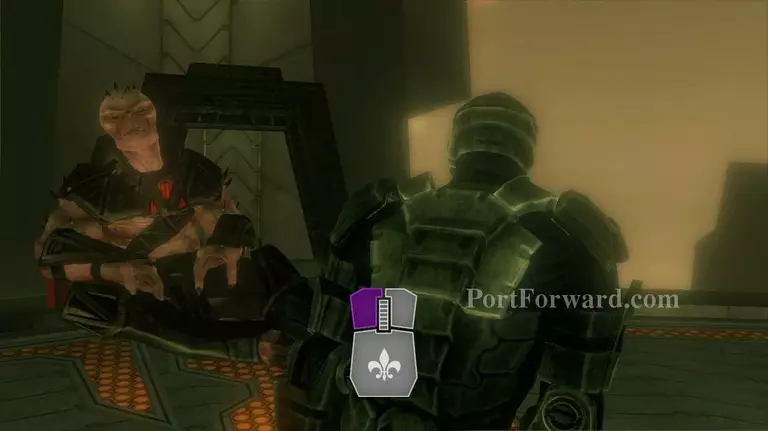
When all three generators are down, Zinyak's shield will drop. Follow the on-screen prompts to finish him off.
Congratulations! You've just completed the main campaign of Saints Row IV!

Don't stop the thrill. Now it's time for free play or you can complete the unfinished side quests/challenges.
More Saints Row IV Walkthroughs
This Saints Row IV walkthrough is divided into 47 total pages.


