
This Section 8 walkthrough is divided into 8 total pages.
You can jump to nearby pages of the game using the links above.
Liberation
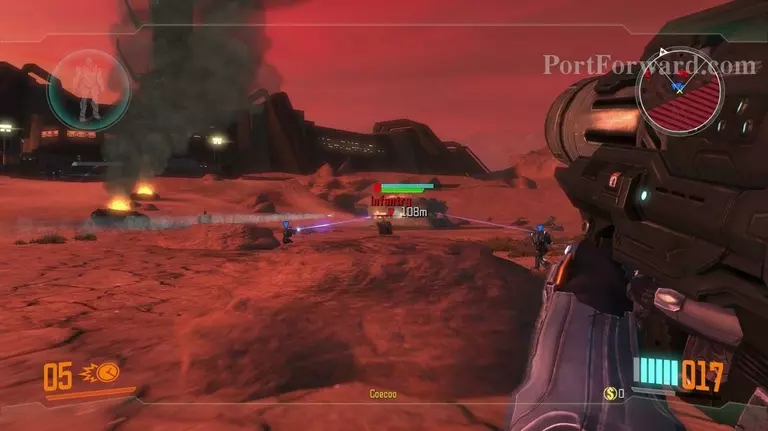
Once dropped, immediately start firing at enemies in the nearby bunkers. Using your rocketlauncher is recommended to strip their shields.
Once up the ramp, clear out the main bunker.
Capture the control point..
And move on up ahead to the depo while waiting tor the dialog to end.

Once the kill zone disappears, enemies will flood your location, mostly grunts. Fire away.
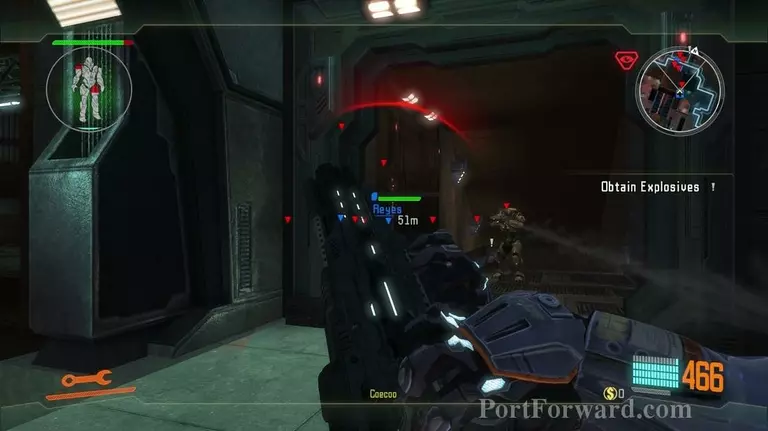
You may have difficulties managing your ammo or even staying alive at this point. Don't forget there's a depo just behind you.
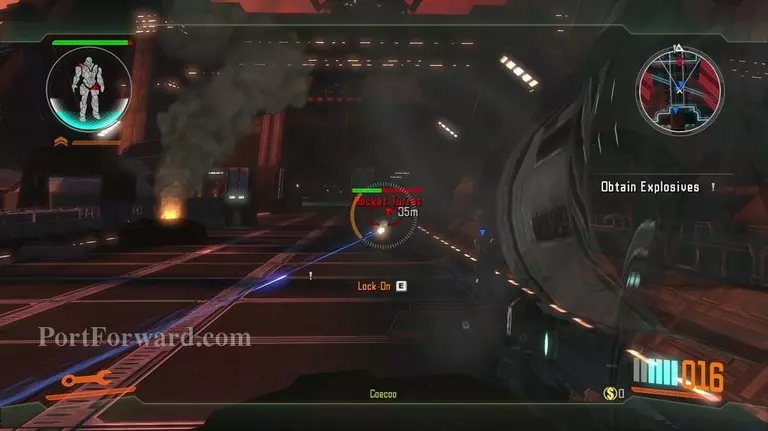
After taking out the considerable amount of enemy grunts, you'll have turrets up ahead. Pull out your rocketlauncher and demolish them.
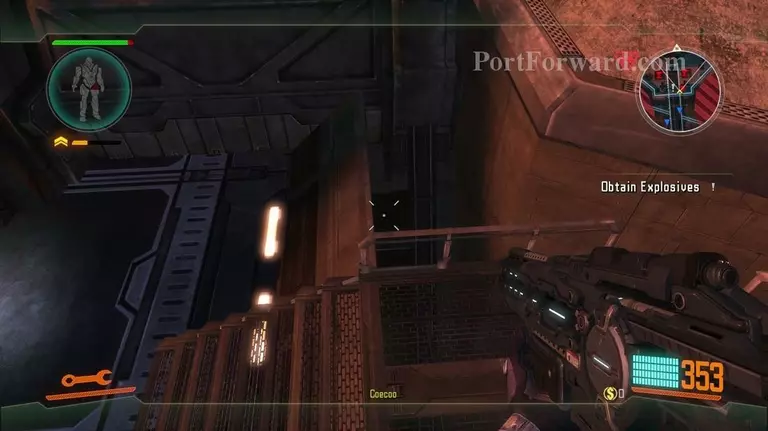
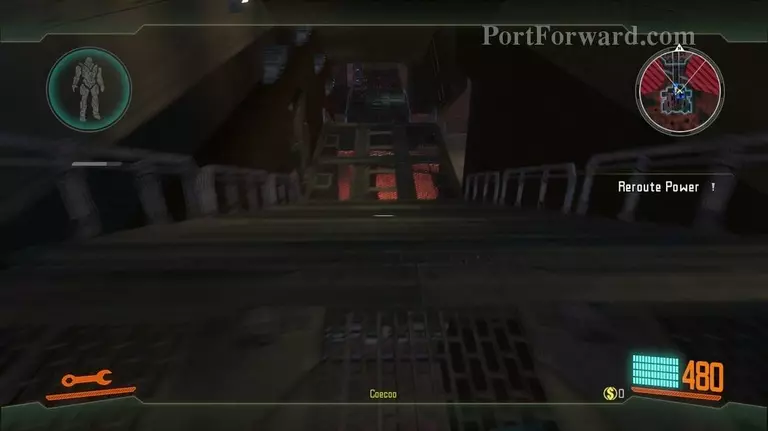
When running into the gate, I recommend jumping down at the small hole where the walkway ends. You will land at the below platform which leads up to the rear of the enemy..
Along with giving you direct access to the objective.
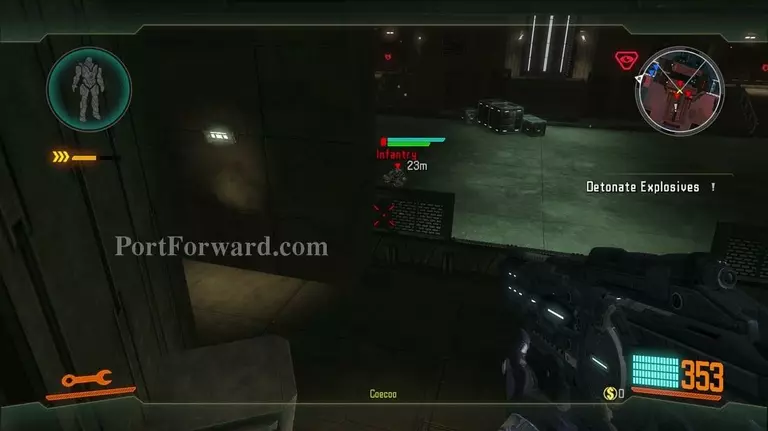
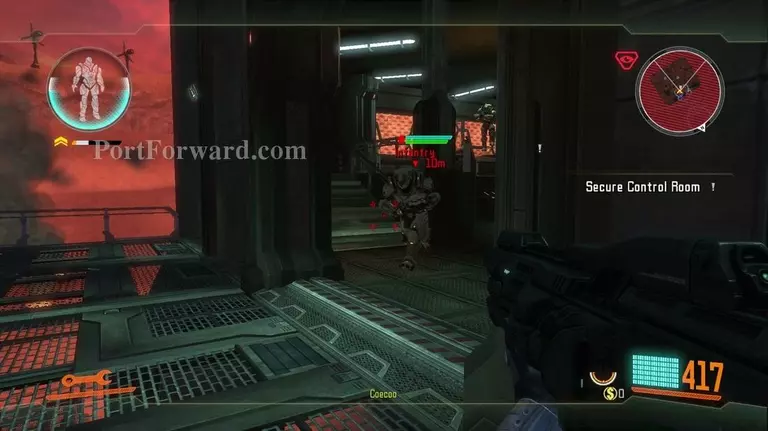
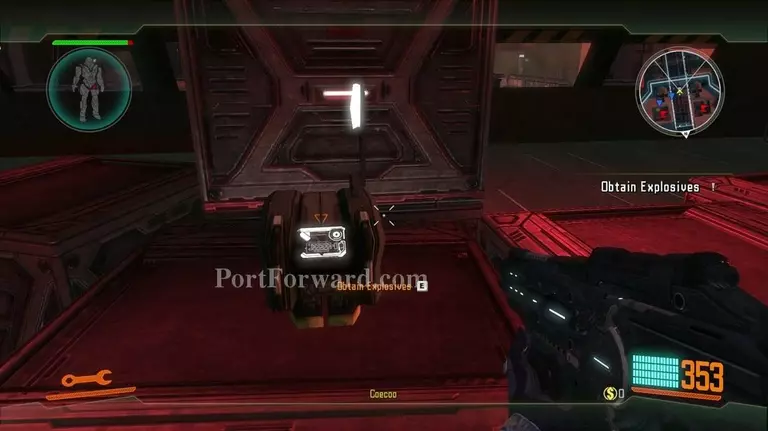
Once you got it, you can start cleaning out the building complex of any enemies. It will need to be clear for your allies to move up later.
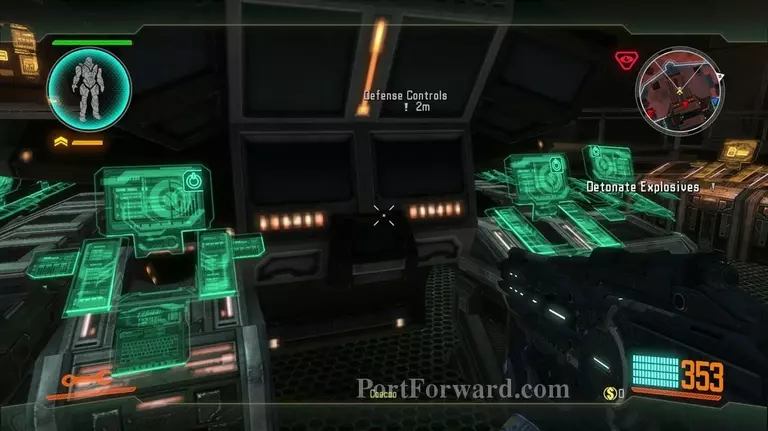
When done, locate the Defense Controls and plant the explosives you aquired earlier.
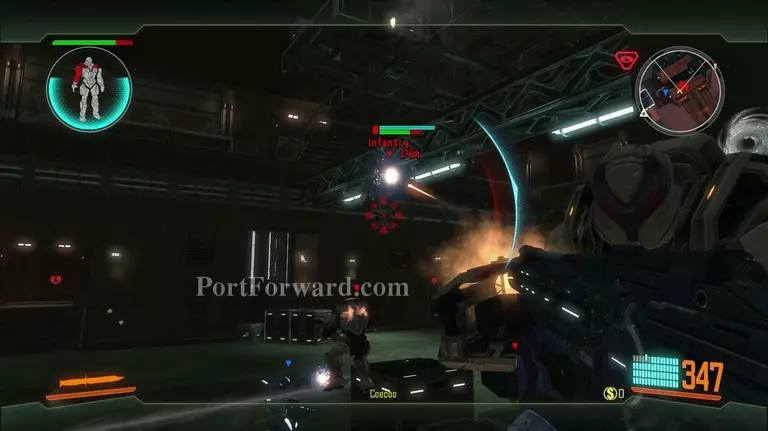
Once it explodes, you'll have even more grunts rushing your location. I recommend finding a good camping spot and some patience.
Due to the longeivty of some of these battles, I also recommend you always keep a repair tool in handy for self-healing.
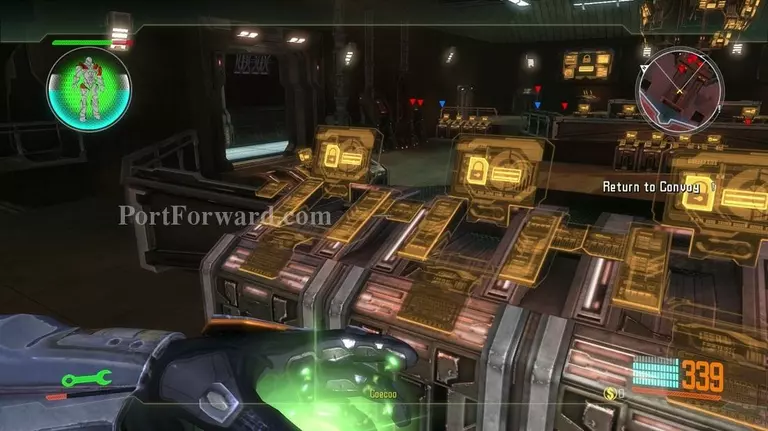
Eventually, your friendly NPC's will arrive. Take out the rest and backtrack to where you started the level.
It may be a little of a run. Don't forget your (SHIFT) sprint function.
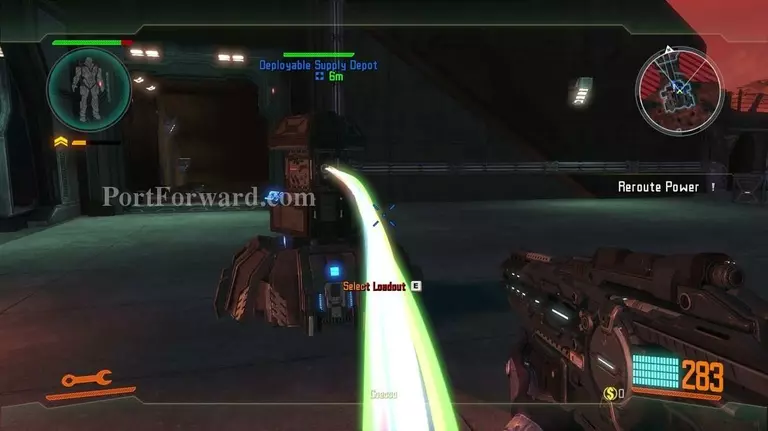
Fly over the barricade, restock at the deo and go to the next objective once the dialog is done.
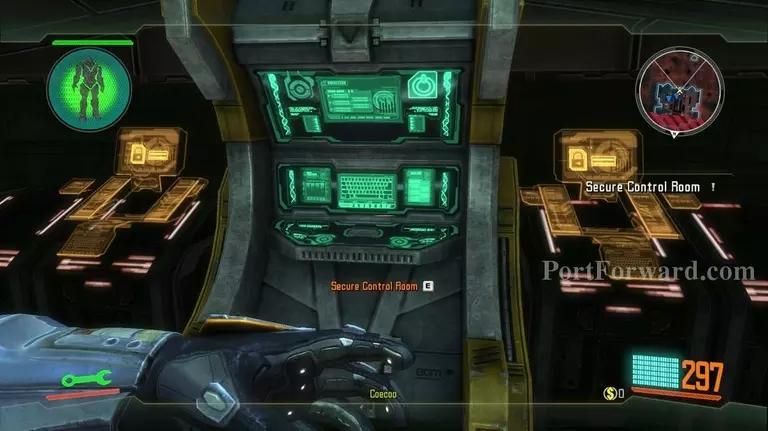
To reach the control point, run down the nearby stairs and take a left.
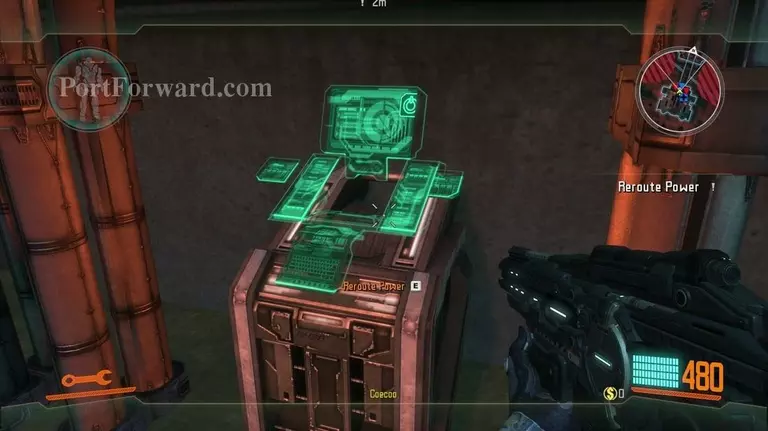
It will be another erminals you'll need to access.
More enemies will come once you activate it followed by some dialog.
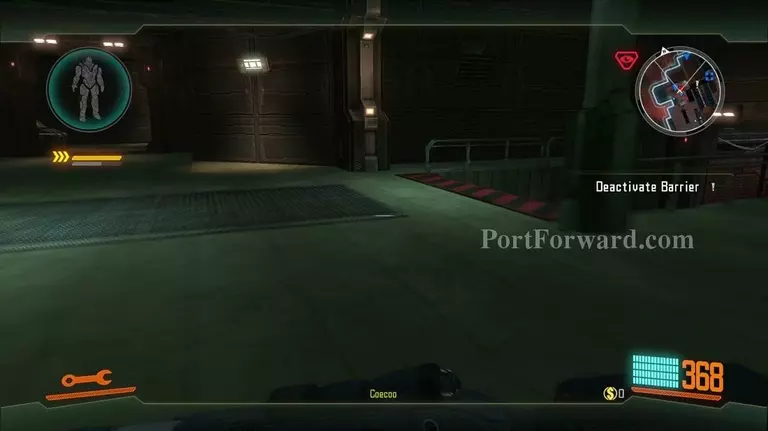
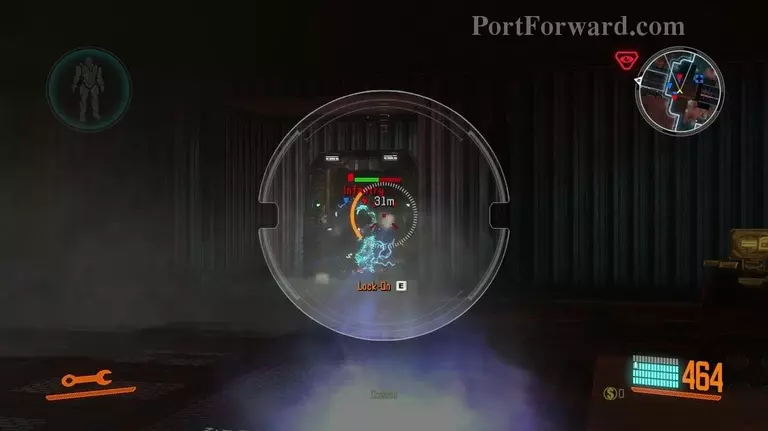
The next point will be a bit harder to find. It's inside the large building that has a set of stairs down to it.
Once activated, the barricade should go down and your friendly convoy should roll in right afterwards.
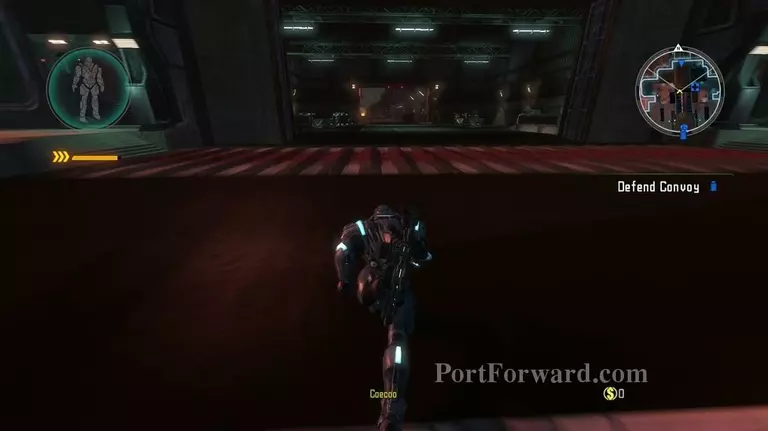
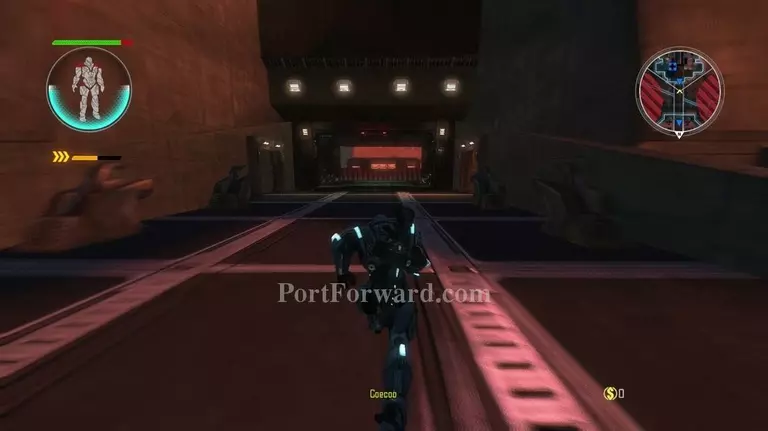
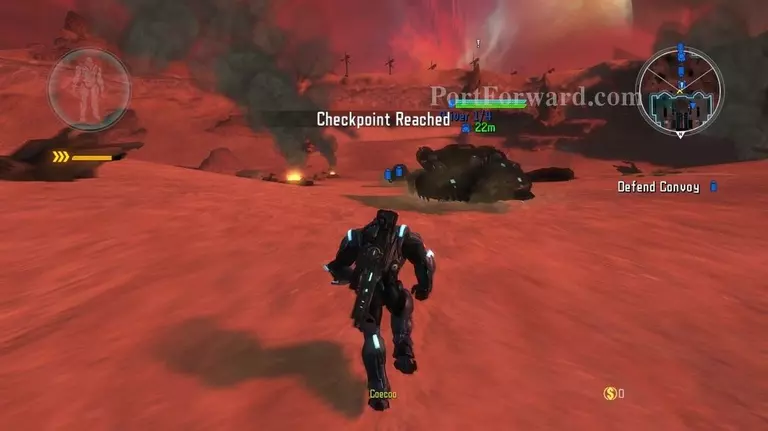
Run up ahead..
And start re-cleaning every building & bridge of bad guys ahead of the convoy. If some of the vehicles blow up, you fail the mission.
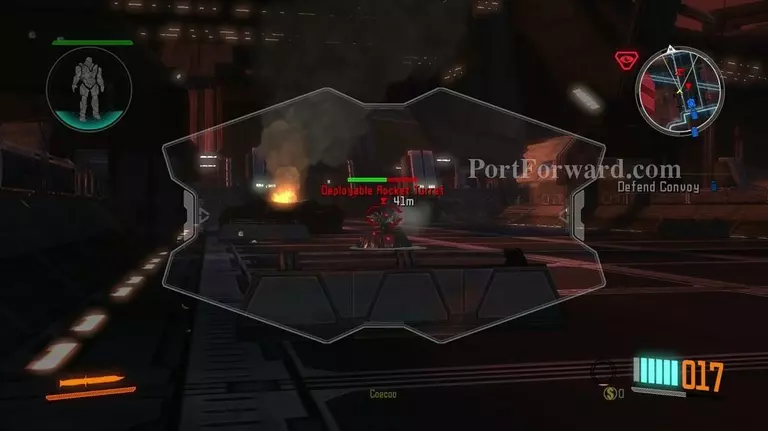
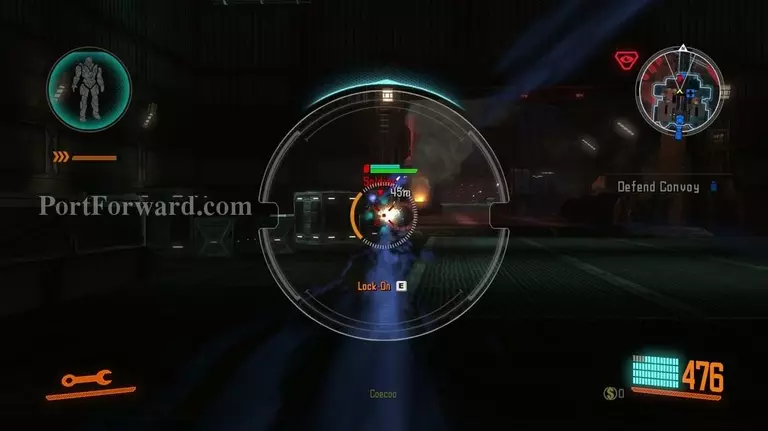
The enemy will drop both grunts and turrets from the sky. Make sure to take down the rocket ones as soon as they spawn orelse they will devastate the convoy.
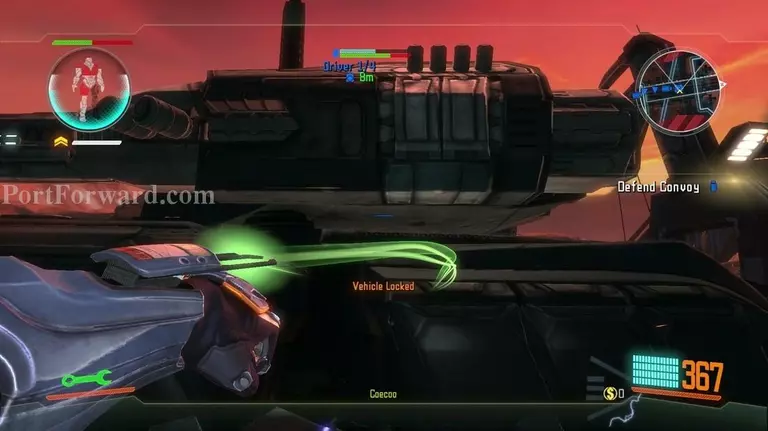
If your convoy gets damaged, you can always heal it. Although this costs you valuable time as it is always on the move while being under attack.

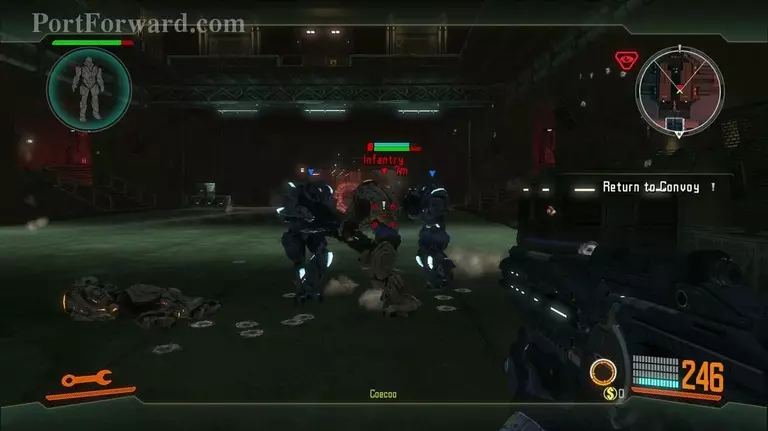
There will also come a whole bunch of heavy mechas, effectively blocking your entire convoy. There's no real easy way of dealing with this situation. If you run up, they will melee & shred you to bits. And you can't keep an adequate distance to take them out since your convoy tank will be blocking the view. Find the right angle and bring down hell on them without damaging your friendlies too much.
Some more turrets up ahead and once the convoy is far enough ahead, the mission will be completed.
More Section 8 Walkthroughs
This Section 8 walkthrough is divided into 8 total pages.


