This Starcraft 2: Heart of the Swarm walkthrough is divided into 27 total pages.
You can jump to nearby pages of the game using the links above.
Kaldir 1: Harvest of Screams
![Starcraft 2: Heart of the Swarm Walkthrough - Starcraft 2-Heart-of-the-Swarm 106](starcraft-2-heart-of-the-swarm-106-small.webp)
In this mission, you start off with a few zerglings. Start going forward but make sure you don't lose anything.
![Starcraft 2: Heart of the Swarm Walkthrough - Starcraft 2-Heart-of-the-Swarm 107](starcraft-2-heart-of-the-swarm-107-small.webp)
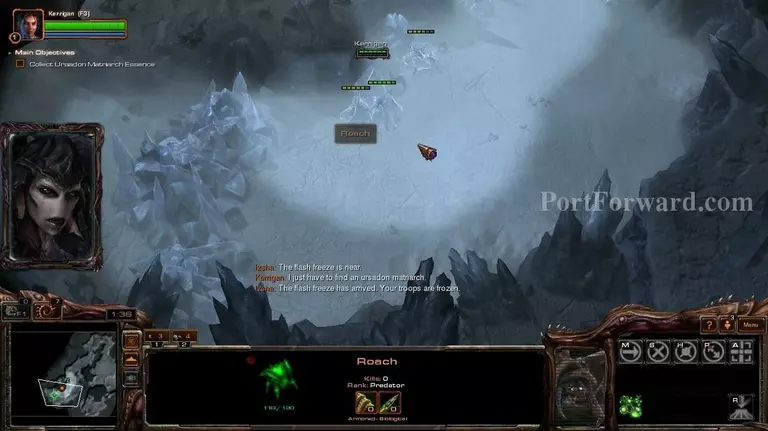
You will find frozen roaches along the way, make sure to get them.
![Starcraft 2: Heart of the Swarm Walkthrough - Starcraft 2-Heart-of-the-Swarm 108](starcraft-2-heart-of-the-swarm-108-small.webp)
And make sure you don't lose any.
![Starcraft 2: Heart of the Swarm Walkthrough - Starcraft 2-Heart-of-the-Swarm 109](starcraft-2-heart-of-the-swarm-109-small.webp)
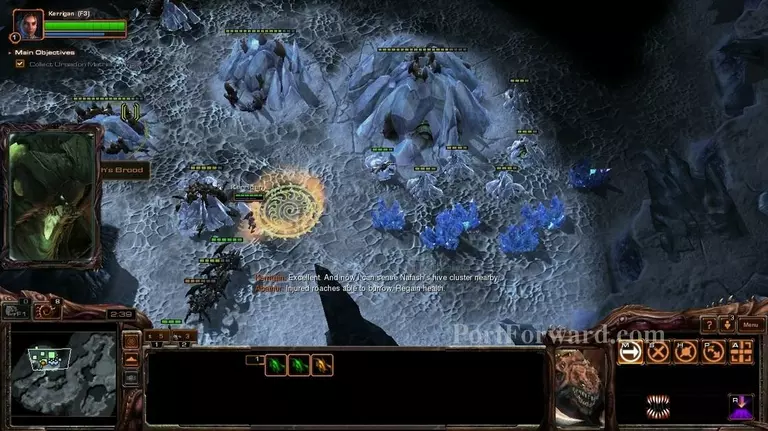
After going forward a bit you will..
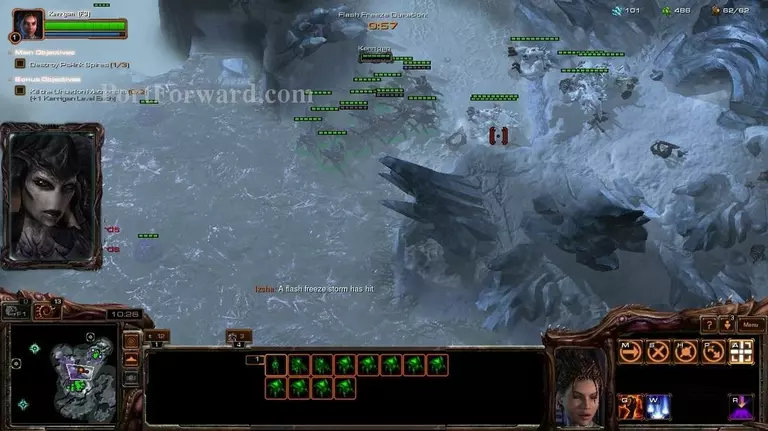
![Starcraft 2: Heart of the Swarm Walkthrough - Starcraft 2-Heart-of-the-Swarm 110](starcraft-2-heart-of-the-swarm-110-small.webp)
...be frozen solid.
![Starcraft 2: Heart of the Swarm Walkthrough - Starcraft 2-Heart-of-the-Swarm 111](starcraft-2-heart-of-the-swarm-111-small.webp)
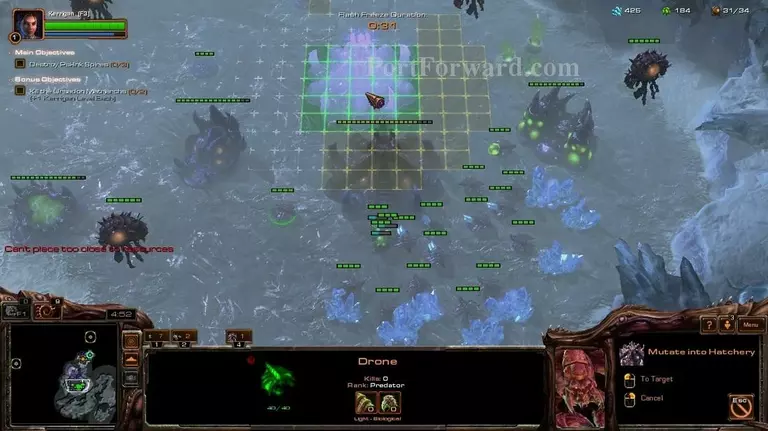
You have to destroy the target to gain immunity to the flash freezes.
![Starcraft 2: Heart of the Swarm Walkthrough - Starcraft 2-Heart-of-the-Swarm 112](starcraft-2-heart-of-the-swarm-112-small.webp)
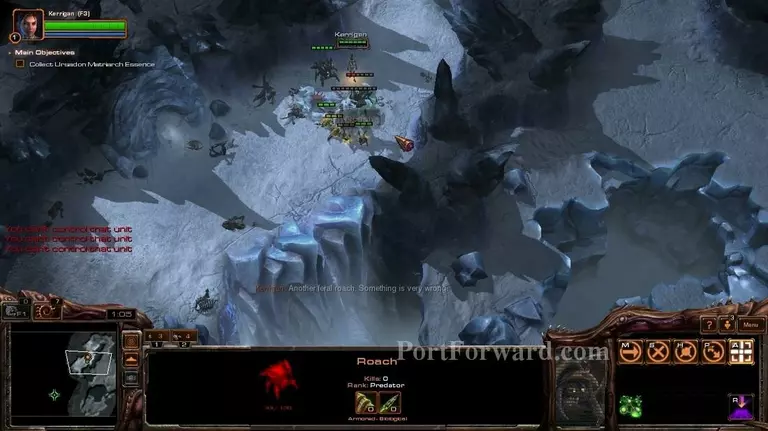
After a bit, you will be unfrozen and you will get 2 roaches.
![Starcraft 2: Heart of the Swarm Walkthrough - Starcraft 2-Heart-of-the-Swarm 113](starcraft-2-heart-of-the-swarm-113-small.webp)
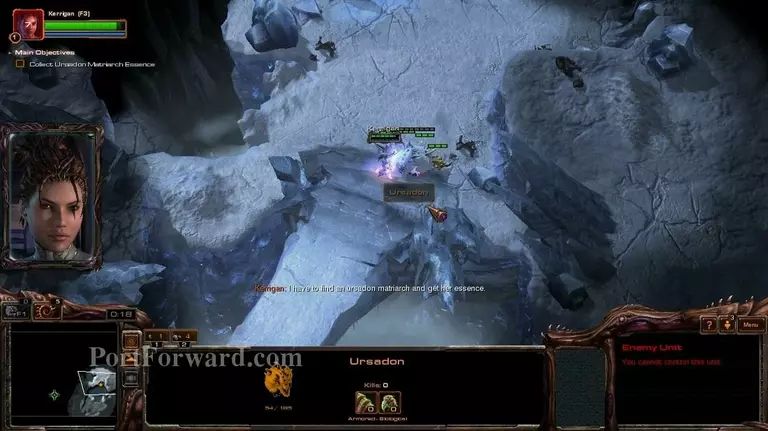
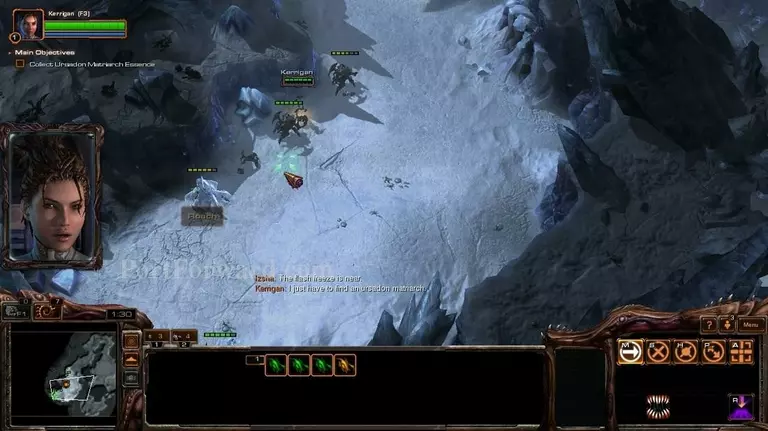
Kill the matriarch but try to not lose anything to her.
![Starcraft 2: Heart of the Swarm Walkthrough - Starcraft 2-Heart-of-the-Swarm 114](starcraft-2-heart-of-the-swarm-114-small.webp)
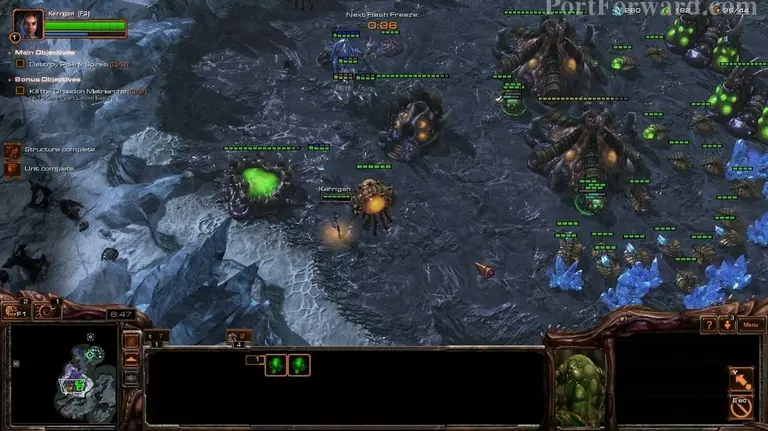
Going forward, you will find a zerg base. Step into the circle to gain control.
![Starcraft 2: Heart of the Swarm Walkthrough - Starcraft 2-Heart-of-the-Swarm 115](starcraft-2-heart-of-the-swarm-115-small.webp)
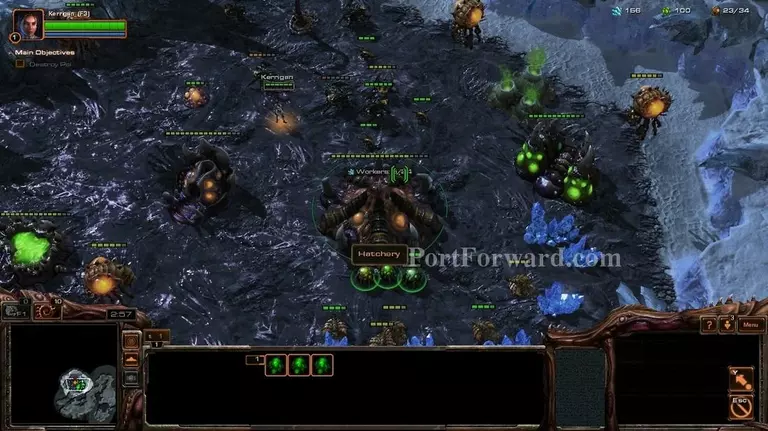
After that, make more zerglings (use 1 or 2 larvae for them) if you lost any during the opening sequence or make as many drones as you can.
![Starcraft 2: Heart of the Swarm Walkthrough - Starcraft 2-Heart-of-the-Swarm 116](starcraft-2-heart-of-the-swarm-116-small.webp)
Tip: You can burrow your roaches to allow them to regenerate health faster.
![Starcraft 2: Heart of the Swarm Walkthrough - Starcraft 2-Heart-of-the-Swarm 117](starcraft-2-heart-of-the-swarm-117-small.webp)
Just make sure to make drones for now, that is your first priority.
![Starcraft 2: Heart of the Swarm Walkthrough - Starcraft 2-Heart-of-the-Swarm 118](starcraft-2-heart-of-the-swarm-118-small.webp)
After a bit, some zealots will attack you. Go back and don't let them kill anything.
![Starcraft 2: Heart of the Swarm Walkthrough - Starcraft 2-Heart-of-the-Swarm 119](starcraft-2-heart-of-the-swarm-119-small.webp)
Just before reaching the spine crawler, they will freeze.
![Starcraft 2: Heart of the Swarm Walkthrough - Starcraft 2-Heart-of-the-Swarm 120](starcraft-2-heart-of-the-swarm-120-small.webp)
Ignore them, because the spine crawler will be able to take care of them.
![Starcraft 2: Heart of the Swarm Walkthrough - Starcraft 2-Heart-of-the-Swarm 121](starcraft-2-heart-of-the-swarm-121-small.webp)
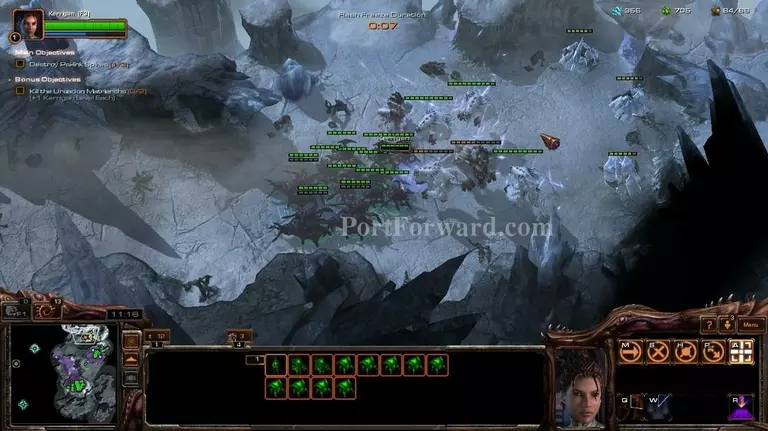
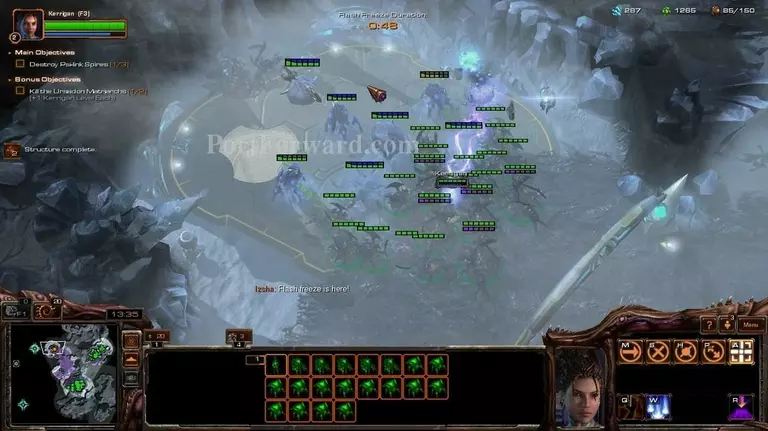
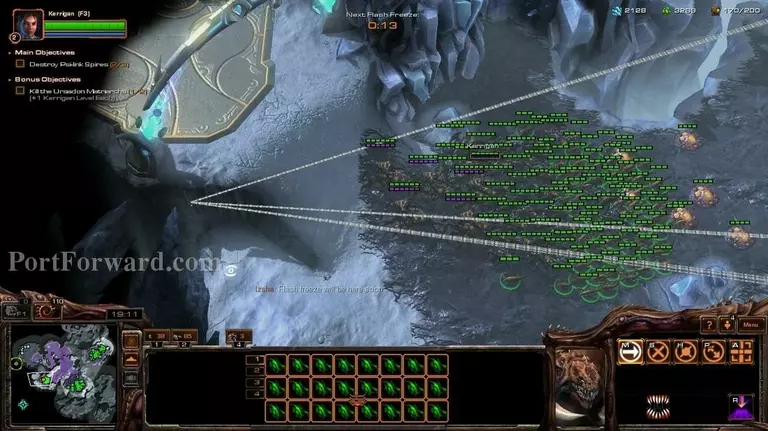
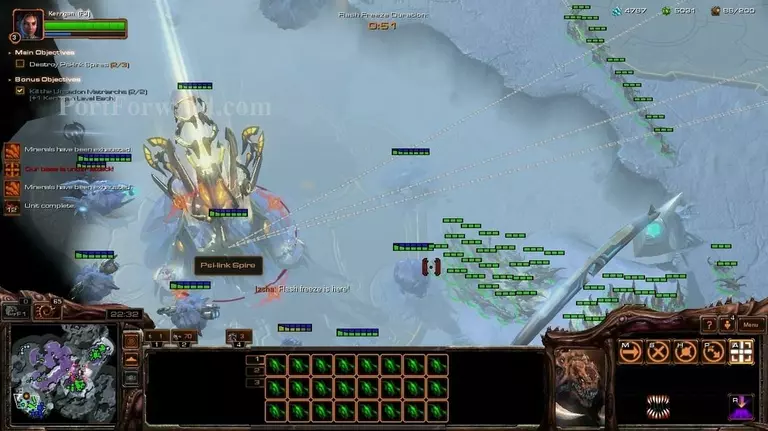
Go north to the protoss base and wreak havoc to the pylons and the units.
![Starcraft 2: Heart of the Swarm Walkthrough - Starcraft 2-Heart-of-the-Swarm 122](starcraft-2-heart-of-the-swarm-122-small.webp)
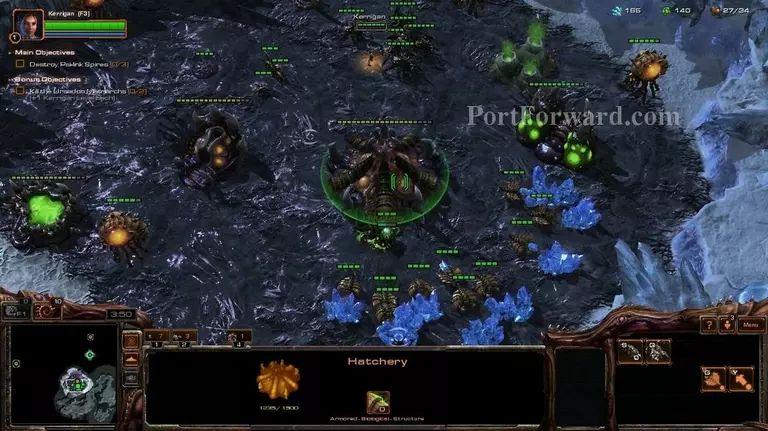
Make another hatchery and more drones while you're at it.
![Starcraft 2: Heart of the Swarm Walkthrough - Starcraft 2-Heart-of-the-Swarm 123](starcraft-2-heart-of-the-swarm-123-small.webp)
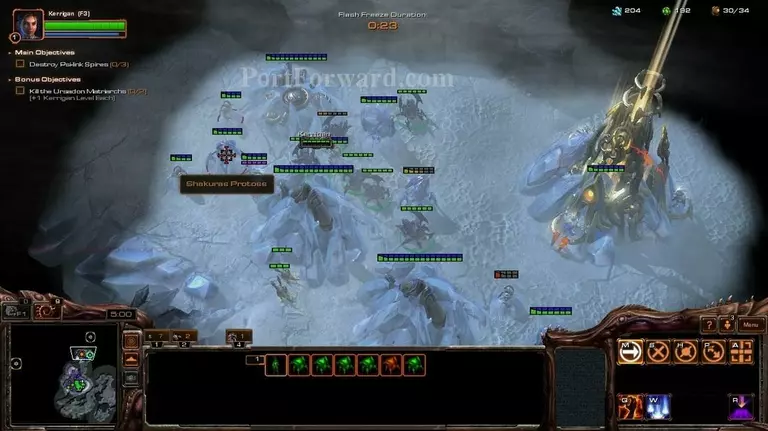
Make sure to target the units and pylons only, don't destroy the bigger buildings.
![Starcraft 2: Heart of the Swarm Walkthrough - Starcraft 2-Heart-of-the-Swarm 124](starcraft-2-heart-of-the-swarm-124-small.webp)
After you're done with that, destroy the buildings in the order.
![Starcraft 2: Heart of the Swarm Walkthrough - Starcraft 2-Heart-of-the-Swarm 125](starcraft-2-heart-of-the-swarm-125-small.webp)
Make sure you don't get intercepted while looking at your base though, like i did. You will lose to the incoming attack if you're not paying attention.
![Starcraft 2: Heart of the Swarm Walkthrough - Starcraft 2-Heart-of-the-Swarm 126](starcraft-2-heart-of-the-swarm-126-small.webp)
If you didn't pay attention, you will have to make more roaches and go back, otherwise destroy the enemy forces and make drones.
![Starcraft 2: Heart of the Swarm Walkthrough - Starcraft 2-Heart-of-the-Swarm 127](starcraft-2-heart-of-the-swarm-127-small.webp)
Kite them around until your roaches are done.
![Starcraft 2: Heart of the Swarm Walkthrough - Starcraft 2-Heart-of-the-Swarm 128](starcraft-2-heart-of-the-swarm-128-small.webp)
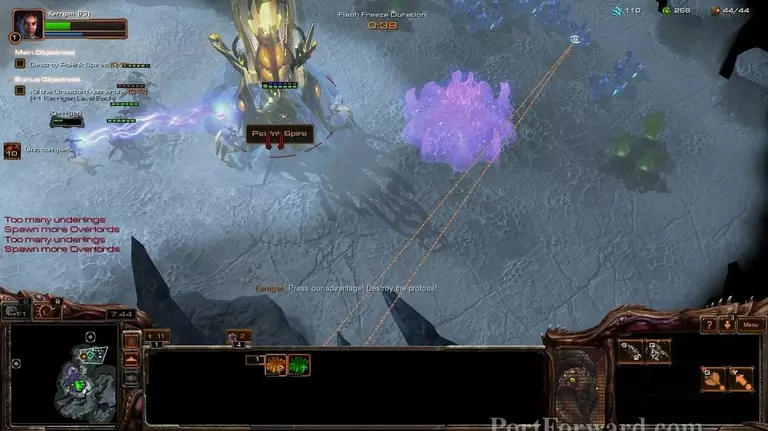
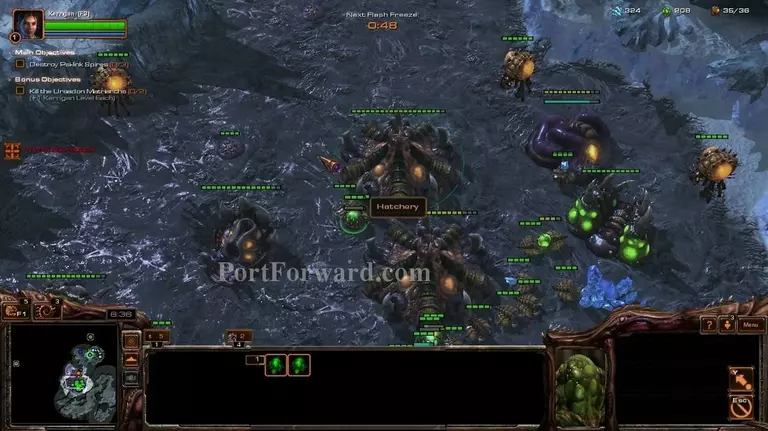
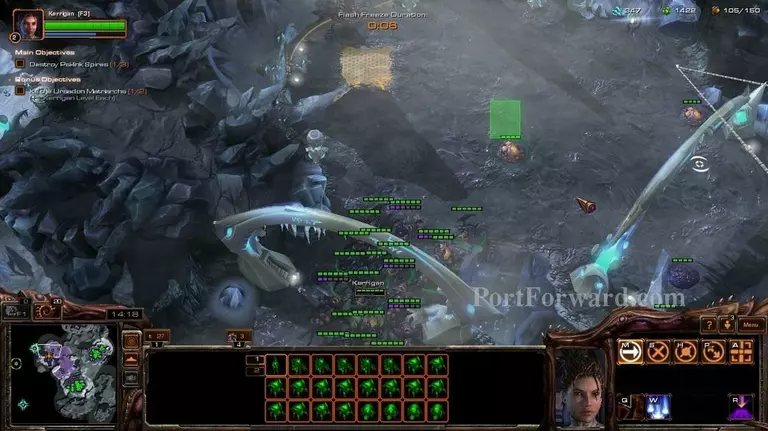
After destroying the enemy forces, continue the buildings to the north and make a hatchery there, close to the minerals.
![Starcraft 2: Heart of the Swarm Walkthrough - Starcraft 2-Heart-of-the-Swarm 129](starcraft-2-heart-of-the-swarm-129-small.webp)
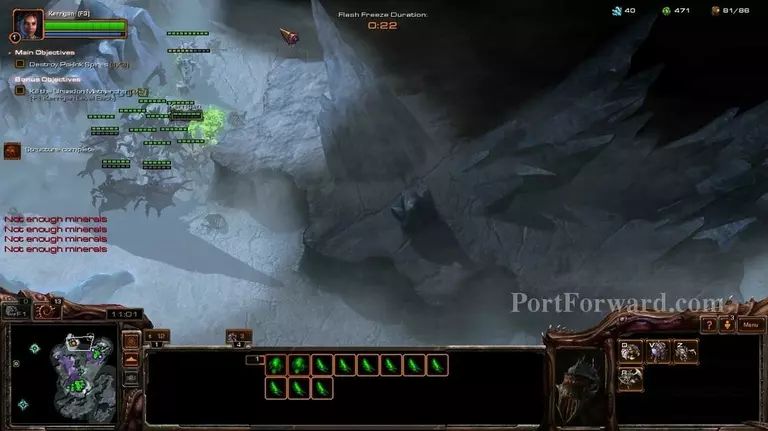
If you're destroying the tower before a flash freeze, enemy units will start teleporting to you, so make sure you're either paying attention or destroying it during a flash freeze.
![Starcraft 2: Heart of the Swarm Walkthrough - Starcraft 2-Heart-of-the-Swarm 130](starcraft-2-heart-of-the-swarm-130-small.webp)
Make 2 evolution chambers to start on the upgrades.
![Starcraft 2: Heart of the Swarm Walkthrough - Starcraft 2-Heart-of-the-Swarm 131](starcraft-2-heart-of-the-swarm-131-small.webp)
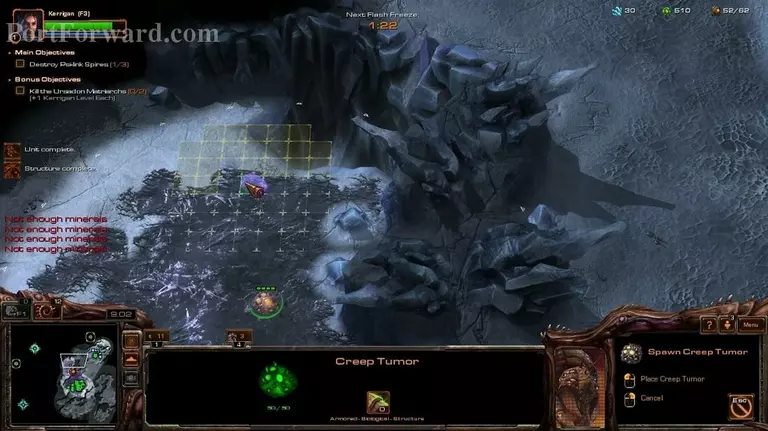
Also, remember to spread the creep, as it is quite important and useful.
![Starcraft 2: Heart of the Swarm Walkthrough - Starcraft 2-Heart-of-the-Swarm 132](starcraft-2-heart-of-the-swarm-132-small.webp)
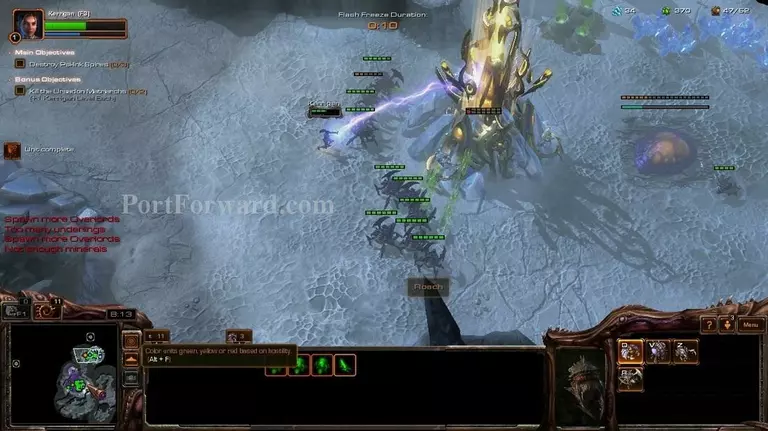
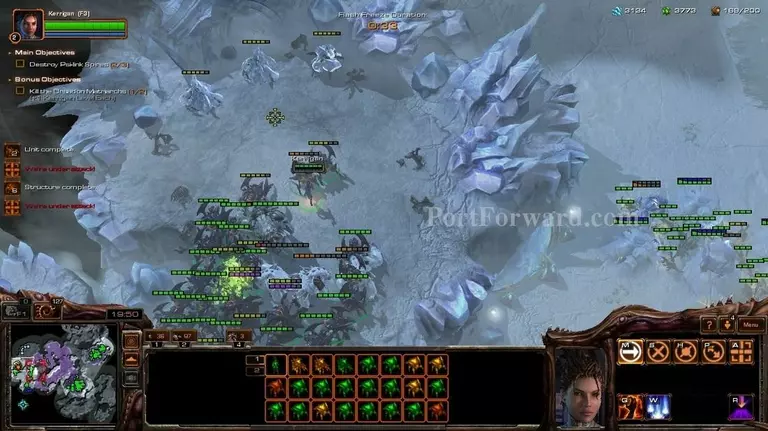
After every flash freeze, you will be attack by a group of protoss.
![Starcraft 2: Heart of the Swarm Walkthrough - Starcraft 2-Heart-of-the-Swarm 133](starcraft-2-heart-of-the-swarm-133-small.webp)
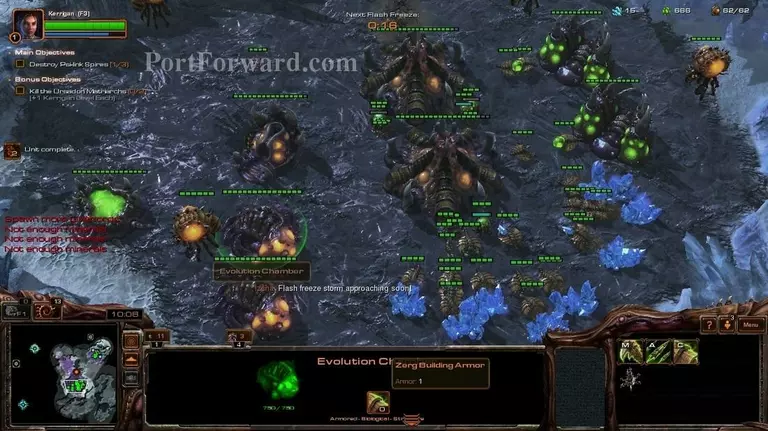
Remember to get your upgrades when the evo chambers are done.
![Starcraft 2: Heart of the Swarm Walkthrough - Starcraft 2-Heart-of-the-Swarm 134](starcraft-2-heart-of-the-swarm-134-small.webp)
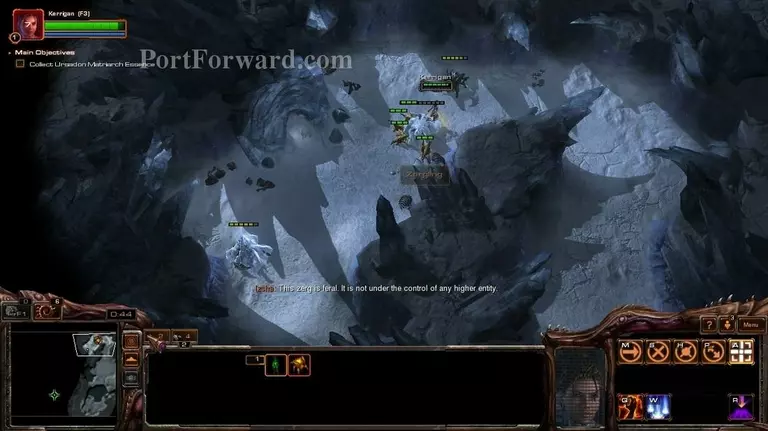
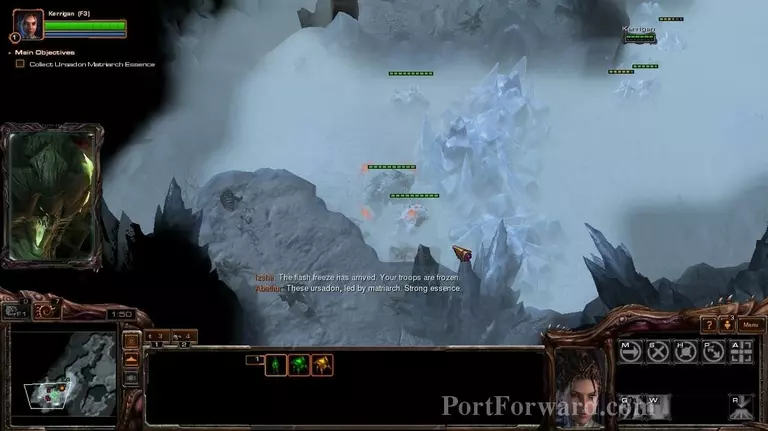
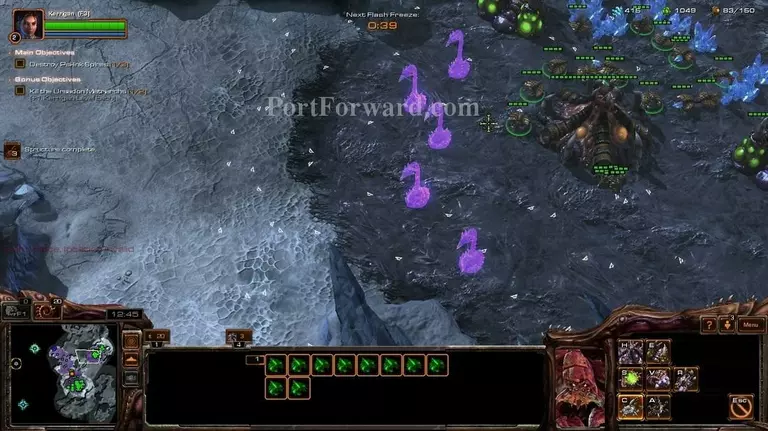
During the third flash freeze, you will be attacked by Ursadons, so make sure your army is there.
![Starcraft 2: Heart of the Swarm Walkthrough - Starcraft 2-Heart-of-the-Swarm 135](starcraft-2-heart-of-the-swarm-135-small.webp)
After you're done with them, go north to the optional objective and complete it.
![Starcraft 2: Heart of the Swarm Walkthrough - Starcraft 2-Heart-of-the-Swarm 136](starcraft-2-heart-of-the-swarm-136-small.webp)
There are 3 roaches behind the matriarch, make sure you get them.
![Starcraft 2: Heart of the Swarm Walkthrough - Starcraft 2-Heart-of-the-Swarm 137](starcraft-2-heart-of-the-swarm-137-small.webp)
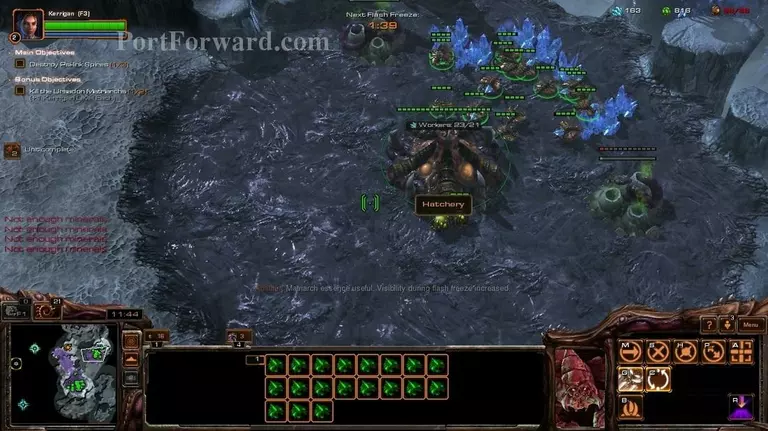
Don't forget extractors or making 2 drones per mineral patch and 3 per extractor.
![Starcraft 2: Heart of the Swarm Walkthrough - Starcraft 2-Heart-of-the-Swarm 138](starcraft-2-heart-of-the-swarm-138-small.webp)
Also, when going back to your base from the optional objective, you might get intercepted. Make sure you're paying attention.
![Starcraft 2: Heart of the Swarm Walkthrough - Starcraft 2-Heart-of-the-Swarm 139](starcraft-2-heart-of-the-swarm-139-small.webp)
If you accidentally made too many drones, make a bunch of spine crawler at both of your bases.
![Starcraft 2: Heart of the Swarm Walkthrough - Starcraft 2-Heart-of-the-Swarm 140](starcraft-2-heart-of-the-swarm-140-small.webp)
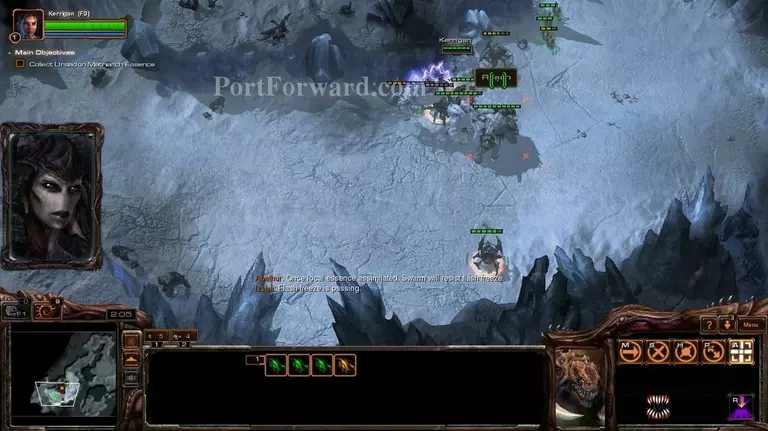
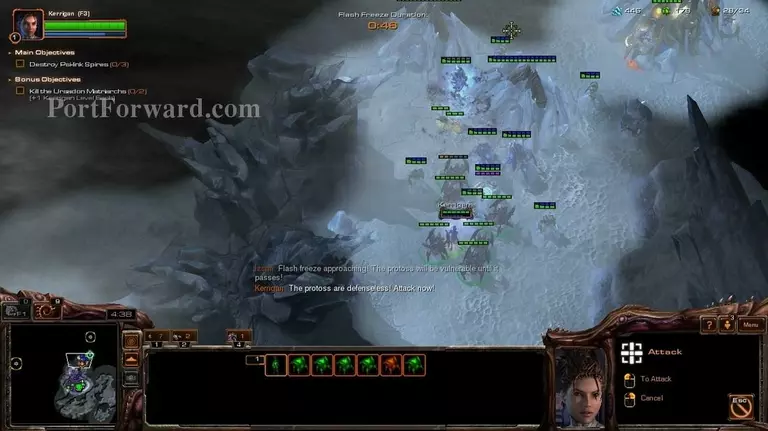
On the next few flash freezes, you're going to become as agressive as you can.
![Starcraft 2: Heart of the Swarm Walkthrough - Starcraft 2-Heart-of-the-Swarm 141](starcraft-2-heart-of-the-swarm-141-small.webp)
Attack the protoss bases and outposts on every flash freeze you can.
![Starcraft 2: Heart of the Swarm Walkthrough - Starcraft 2-Heart-of-the-Swarm 142](starcraft-2-heart-of-the-swarm-142-small.webp)
And of course, don't forget the creep spread.
![Starcraft 2: Heart of the Swarm Walkthrough - Starcraft 2-Heart-of-the-Swarm 143](starcraft-2-heart-of-the-swarm-143-small.webp)
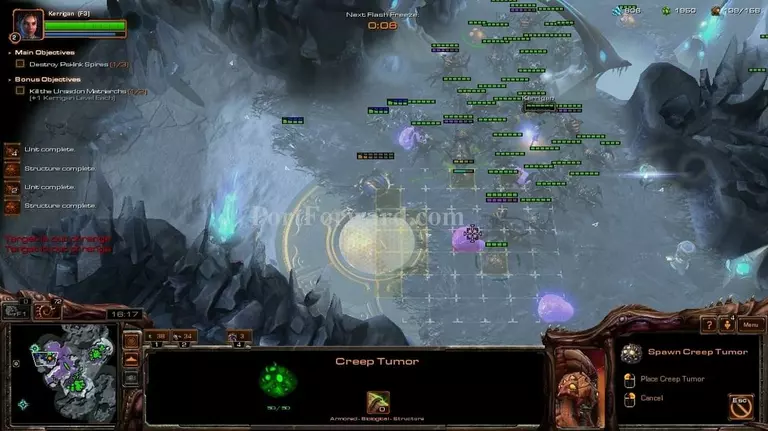
Make as many creep tumors as you can.
![Starcraft 2: Heart of the Swarm Walkthrough - Starcraft 2-Heart-of-the-Swarm 144](starcraft-2-heart-of-the-swarm-144-small.webp)
But be careful, you will get attacked by the protoss after the flash freezes. That's when the spine crawlers become really useful.
![Starcraft 2: Heart of the Swarm Walkthrough - Starcraft 2-Heart-of-the-Swarm 145](starcraft-2-heart-of-the-swarm-145-small.webp)
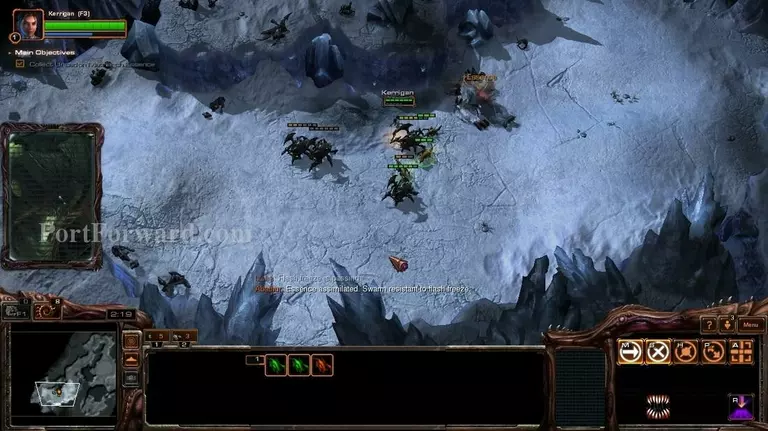
Target the archons first, and never use zerglings against them.
![Starcraft 2: Heart of the Swarm Walkthrough - Starcraft 2-Heart-of-the-Swarm 146](starcraft-2-heart-of-the-swarm-146-small.webp)
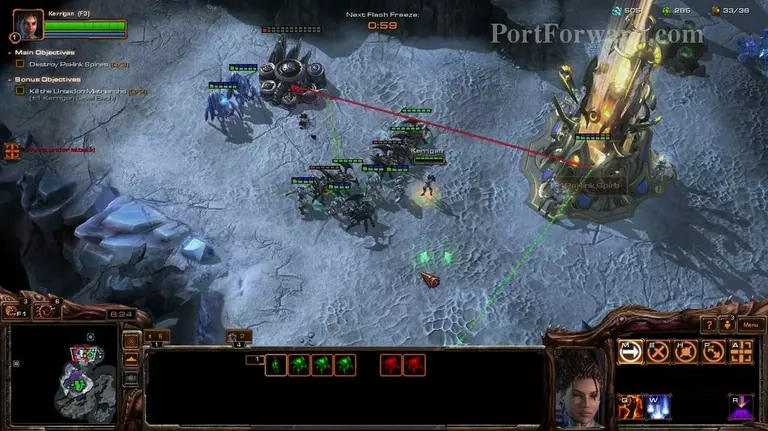
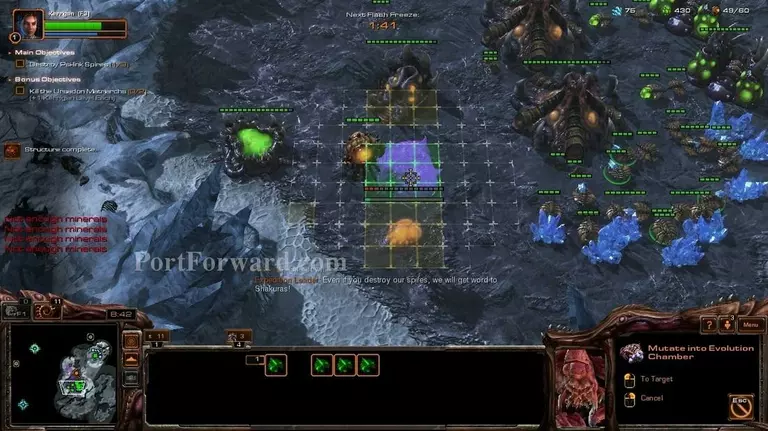
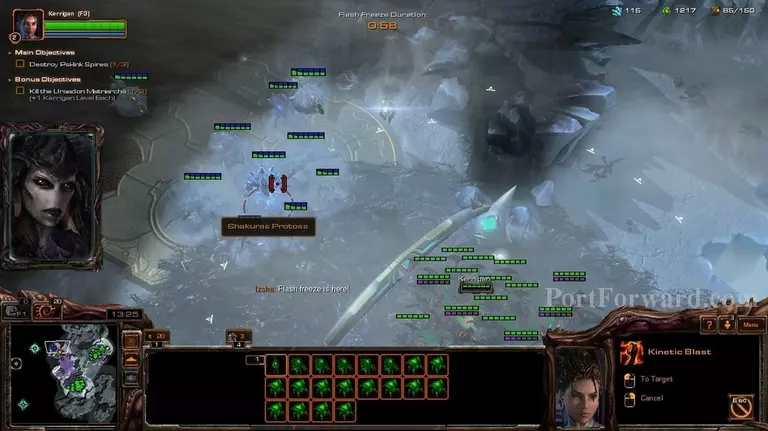
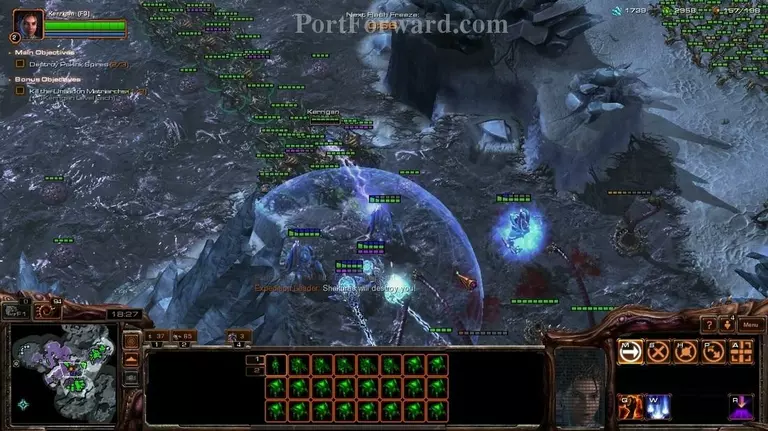
On the next flash freeze, you are going to attack with eveyrthing at the main protoss base.
![Starcraft 2: Heart of the Swarm Walkthrough - Starcraft 2-Heart-of-the-Swarm 147](starcraft-2-heart-of-the-swarm-147-small.webp)
Also, remember to do the optional objective with your roaches and Kerrigan...
![Starcraft 2: Heart of the Swarm Walkthrough - Starcraft 2-Heart-of-the-Swarm 148](starcraft-2-heart-of-the-swarm-148-small.webp)
...while the zerglings are destroying the base.
![Starcraft 2: Heart of the Swarm Walkthrough - Starcraft 2-Heart-of-the-Swarm 149](starcraft-2-heart-of-the-swarm-149-small.webp)
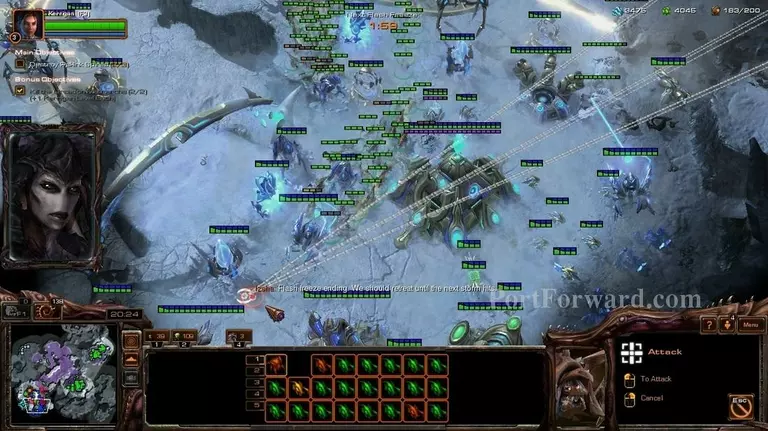
Don't get cocky and continue the attack after the flash freeze has ended though. You will lose most of your army.
![Starcraft 2: Heart of the Swarm Walkthrough - Starcraft 2-Heart-of-the-Swarm 150](starcraft-2-heart-of-the-swarm-150-small.webp)
Just wait for the next flash freeze to finish off the protoss.
![Starcraft 2: Heart of the Swarm Walkthrough - Starcraft 2-Heart-of-the-Swarm 151](starcraft-2-heart-of-the-swarm-151-small.webp)
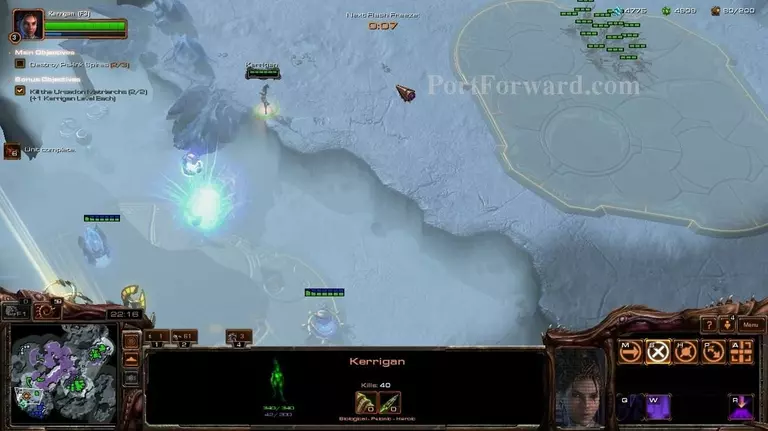
Attack the tower and...
![Starcraft 2: Heart of the Swarm Walkthrough - Starcraft 2-Heart-of-the-Swarm 152](starcraft-2-heart-of-the-swarm-152-small.webp)
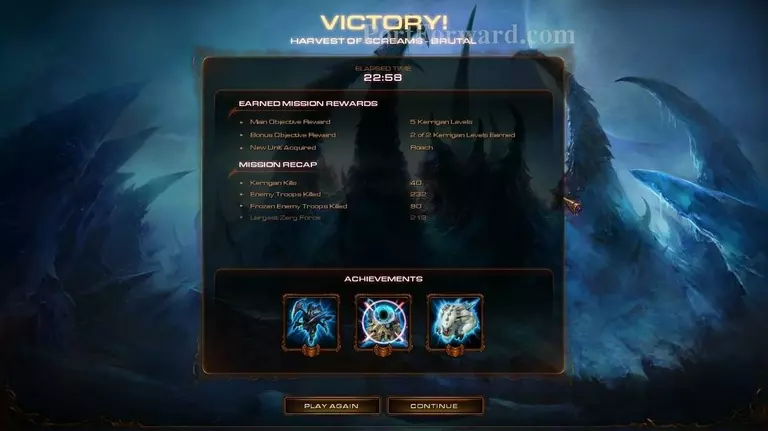
...that is done with this mission.
More Starcraft 2: Heart of the Swarm Walkthroughs
This Starcraft 2: Heart of the Swarm walkthrough is divided into 27 total pages.