This Starcraft 2: Heart of the Swarm walkthrough is divided into 27 total pages.
You can jump to nearby pages of the game using the links above.
Umoja 3: Rendezvous
![Starcraft 2: Heart of the Swarm Walkthrough - Starcraft 2-Heart-of-the-Swarm 76](starcraft-2-heart-of-the-swarm-76-small.webp)
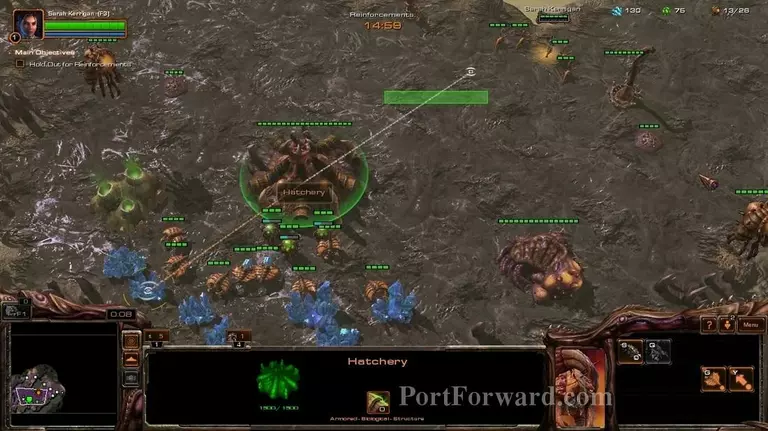
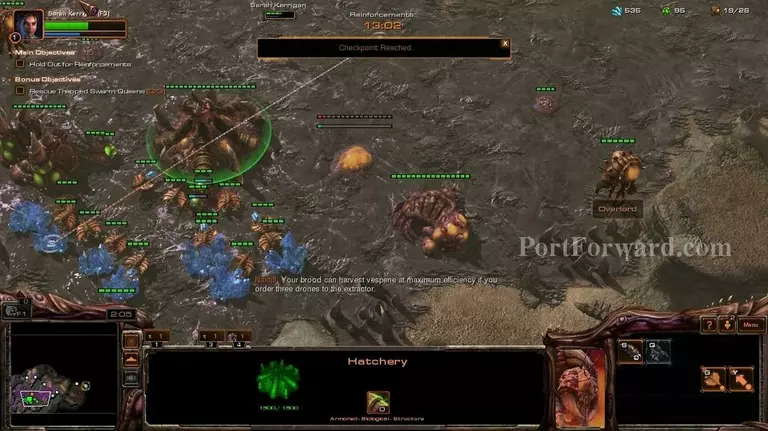
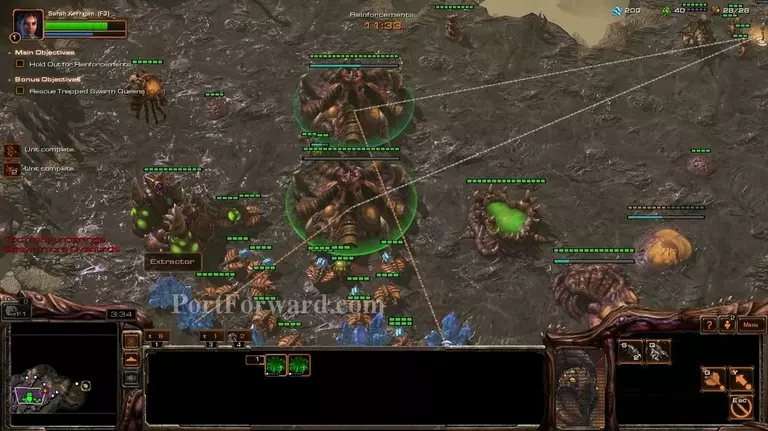
Next mission you get to establish your base.
![Starcraft 2: Heart of the Swarm Walkthrough - Starcraft 2-Heart-of-the-Swarm 77](starcraft-2-heart-of-the-swarm-77-small.webp)
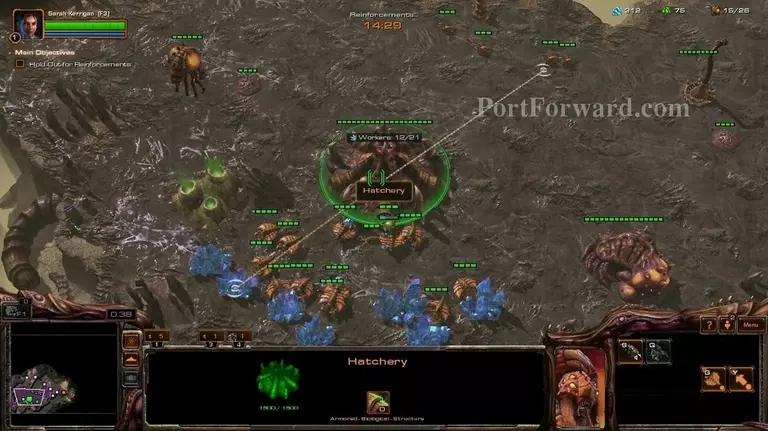
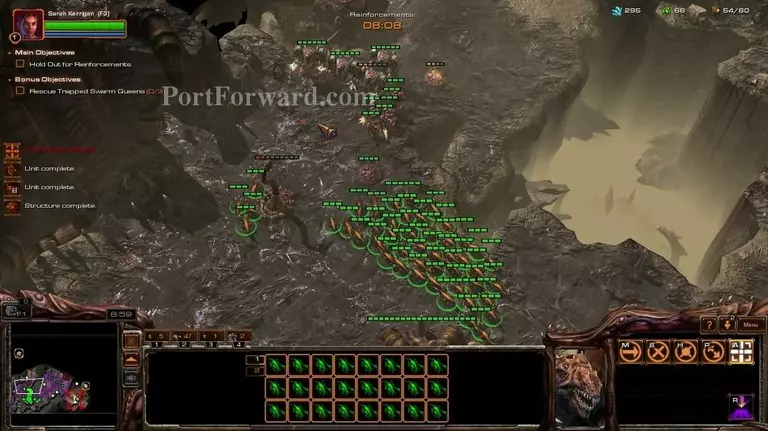
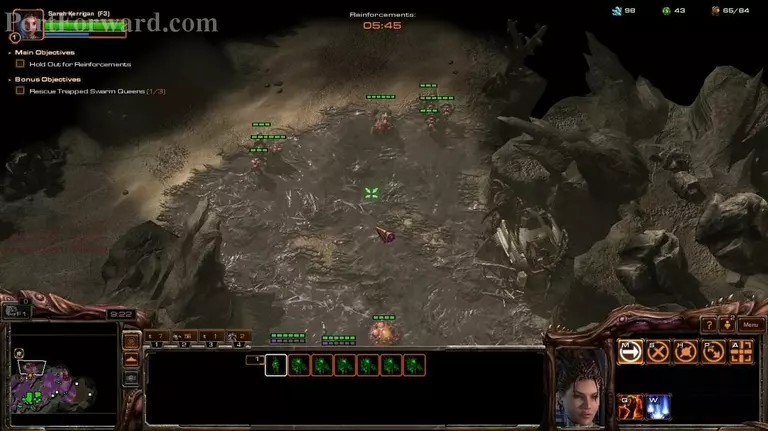
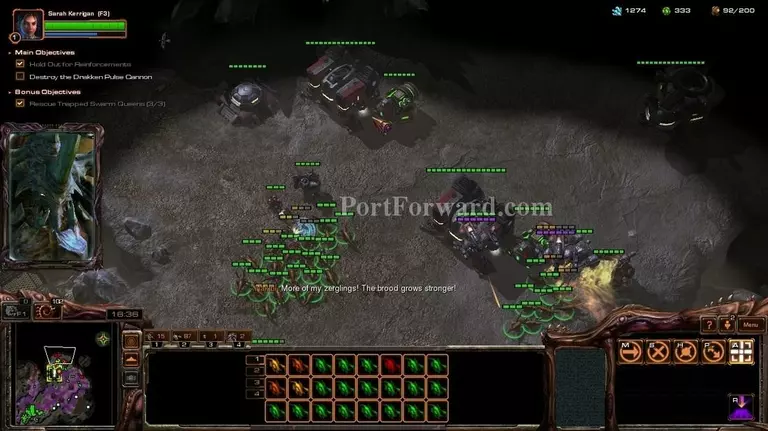
Start by making drones. The goal of the mission is to wait for the timer to run out and you will get lots of reinforcements.
![Starcraft 2: Heart of the Swarm Walkthrough - Starcraft 2-Heart-of-the-Swarm 78](starcraft-2-heart-of-the-swarm-78-small.webp)
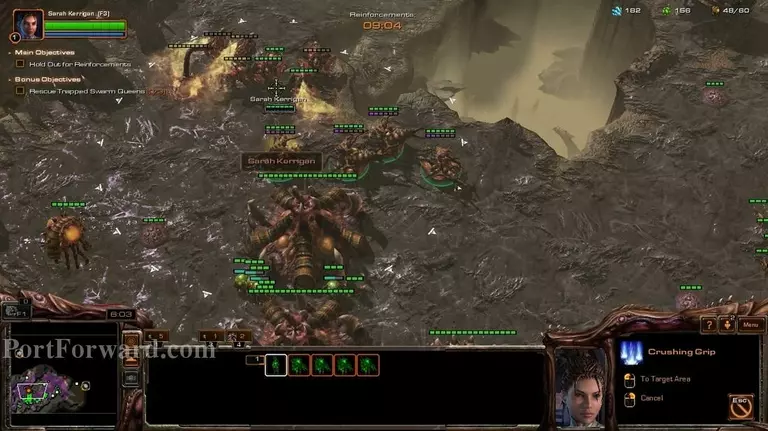
The enemies will attack you quite often. Use the spine crawler and crushing grip to defeat them.
![Starcraft 2: Heart of the Swarm Walkthrough - Starcraft 2-Heart-of-the-Swarm 79](starcraft-2-heart-of-the-swarm-79-small.webp)
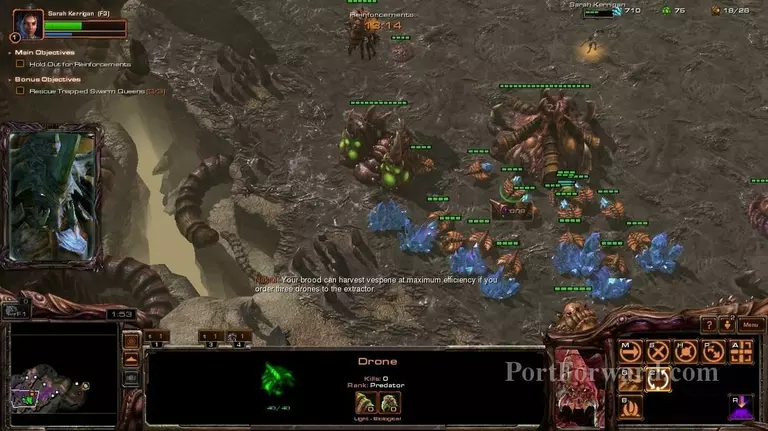
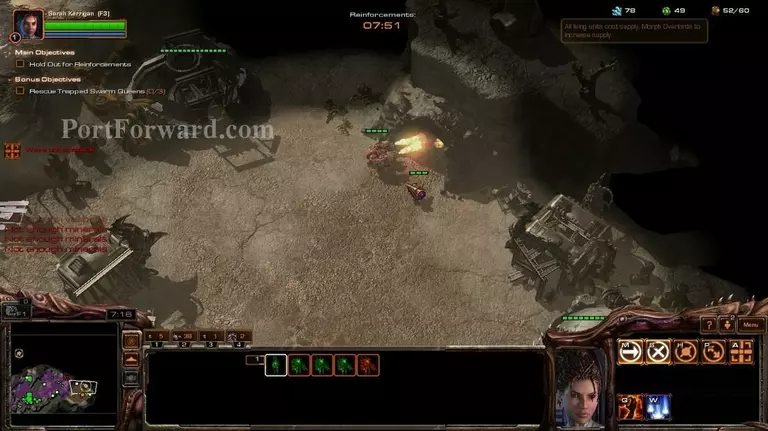
Make an extractor and make sure to have 2 drones per mineral patch and 3 drones per extractor.
![Starcraft 2: Heart of the Swarm Walkthrough - Starcraft 2-Heart-of-the-Swarm 80](starcraft-2-heart-of-the-swarm-80-small.webp)
Also, make a spawning pool...
![Starcraft 2: Heart of the Swarm Walkthrough - Starcraft 2-Heart-of-the-Swarm 81](starcraft-2-heart-of-the-swarm-81-small.webp)
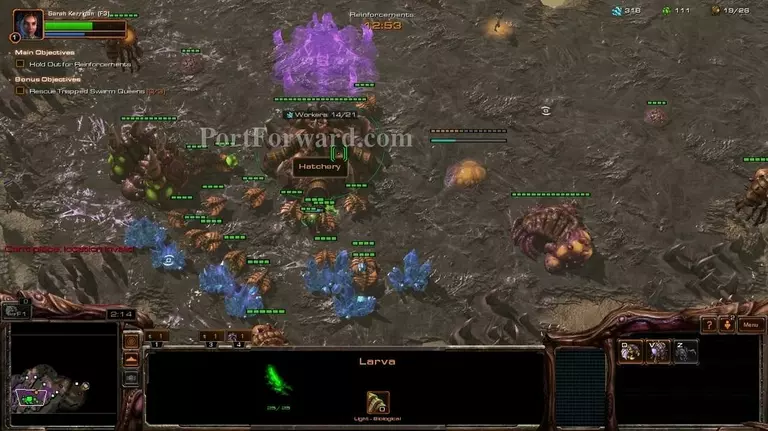
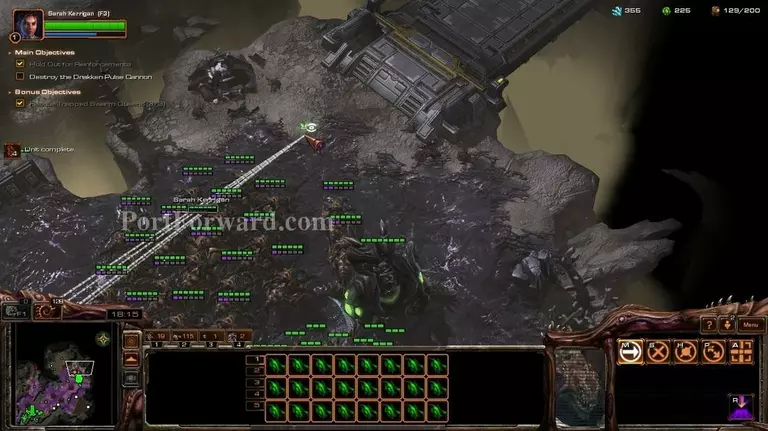
...and a hatchery when you can.
![Starcraft 2: Heart of the Swarm Walkthrough - Starcraft 2-Heart-of-the-Swarm 82](starcraft-2-heart-of-the-swarm-82-small.webp)
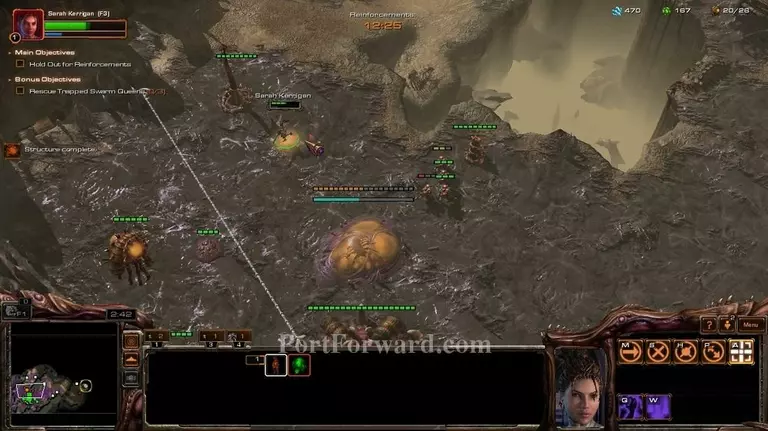
If your first spine crawler dies, use the one on the left to destroy your enemies.
![Starcraft 2: Heart of the Swarm Walkthrough - Starcraft 2-Heart-of-the-Swarm 83](starcraft-2-heart-of-the-swarm-83-small.webp)
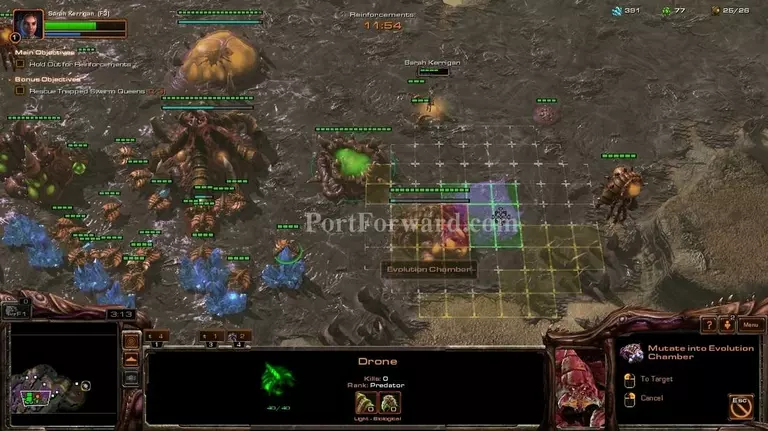
Make a second evolution chamber and start on upgrades after you have enough drones.
![Starcraft 2: Heart of the Swarm Walkthrough - Starcraft 2-Heart-of-the-Swarm 84](starcraft-2-heart-of-the-swarm-84-small.webp)
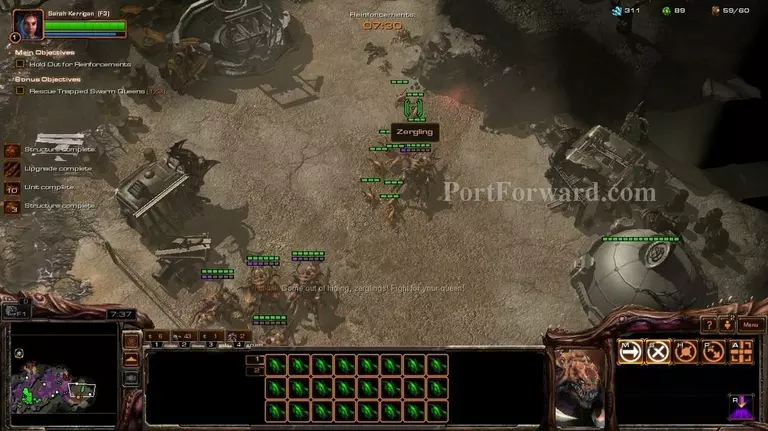
You should also start making queens and zerglings now. Your priorities are: Upgrades > Queens > Zerglings.
![Starcraft 2: Heart of the Swarm Walkthrough - Starcraft 2-Heart-of-the-Swarm 85](starcraft-2-heart-of-the-swarm-85-small.webp)
Abuse the spine crawler and crushing grip as much as you can.
![Starcraft 2: Heart of the Swarm Walkthrough - Starcraft 2-Heart-of-the-Swarm 86](starcraft-2-heart-of-the-swarm-86-small.webp)
Also, be sure to use the swarm queens to make creep tumors, as the creep helps you quite a bit.
![Starcraft 2: Heart of the Swarm Walkthrough - Starcraft 2-Heart-of-the-Swarm 87](starcraft-2-heart-of-the-swarm-87-small.webp)
Never use zerglings against helbats and firebats, only queens and kerrigan.
![Starcraft 2: Heart of the Swarm Walkthrough - Starcraft 2-Heart-of-the-Swarm 88](starcraft-2-heart-of-the-swarm-88-small.webp)
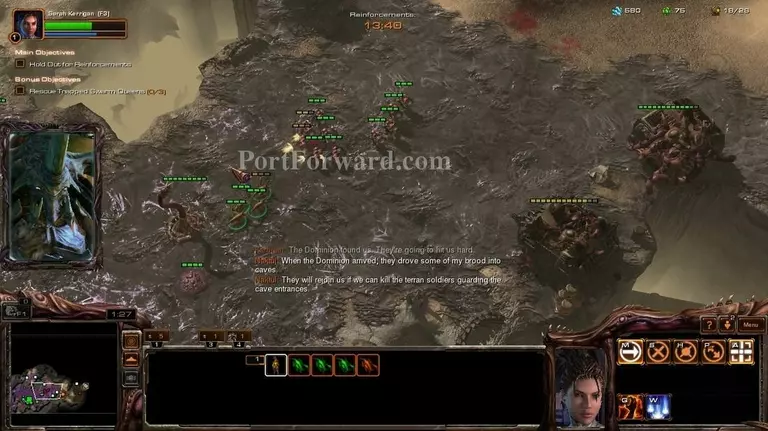
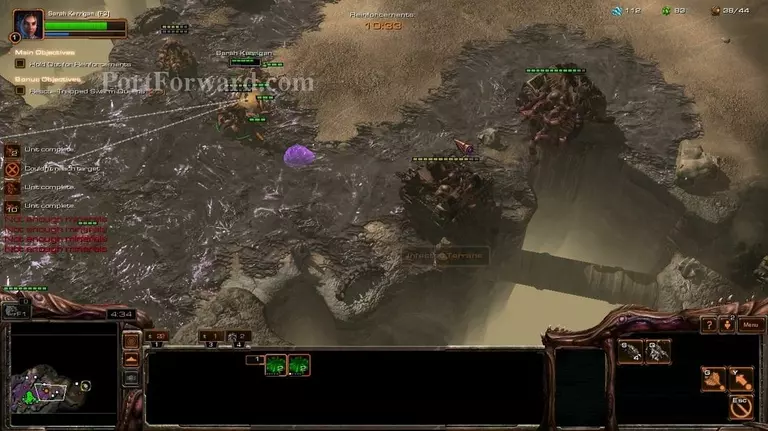
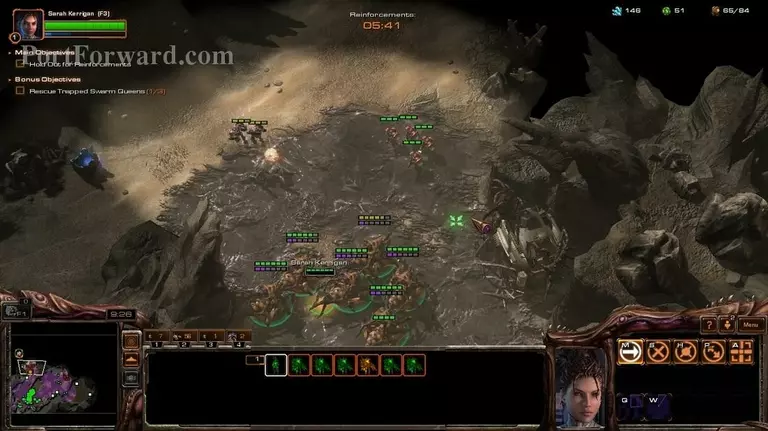
After you have a sizable force, attack the optional objective to the right.
![Starcraft 2: Heart of the Swarm Walkthrough - Starcraft 2-Heart-of-the-Swarm 89](starcraft-2-heart-of-the-swarm-89-small.webp)
Be sure to defend with the zerglings you have while doing so.
![Starcraft 2: Heart of the Swarm Walkthrough - Starcraft 2-Heart-of-the-Swarm 90](starcraft-2-heart-of-the-swarm-90-small.webp)
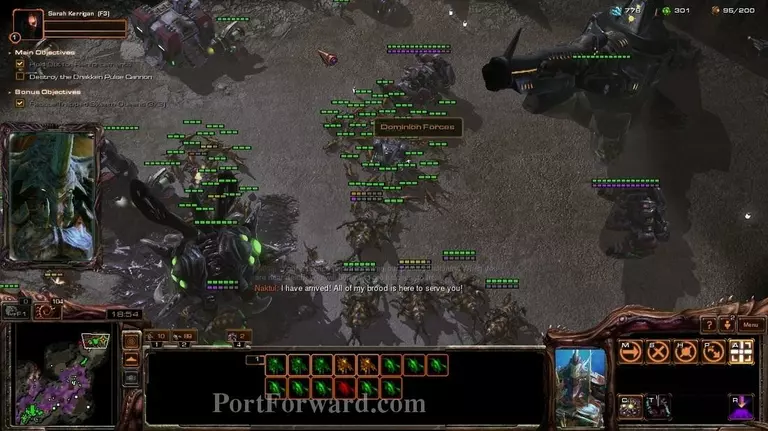
When you destroy the enemies around the caves...
![Starcraft 2: Heart of the Swarm Walkthrough - Starcraft 2-Heart-of-the-Swarm 91](starcraft-2-heart-of-the-swarm-91-small.webp)
...you will get reinforcements.
![Starcraft 2: Heart of the Swarm Walkthrough - Starcraft 2-Heart-of-the-Swarm 92](starcraft-2-heart-of-the-swarm-92-small.webp)
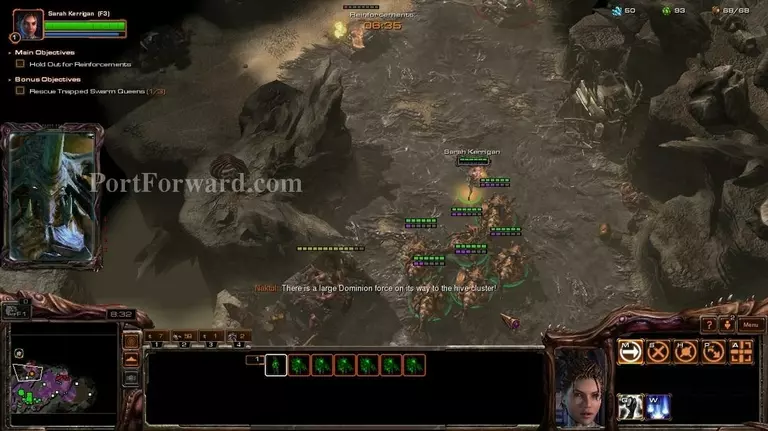
With your queens and kerrigan, start moving out to the next optional objective.
![Starcraft 2: Heart of the Swarm Walkthrough - Starcraft 2-Heart-of-the-Swarm 93](starcraft-2-heart-of-the-swarm-93-small.webp)
Use Kinetic Blast on the bunkers and wait for them to burn down.
![Starcraft 2: Heart of the Swarm Walkthrough - Starcraft 2-Heart-of-the-Swarm 94](starcraft-2-heart-of-the-swarm-94-small.webp)
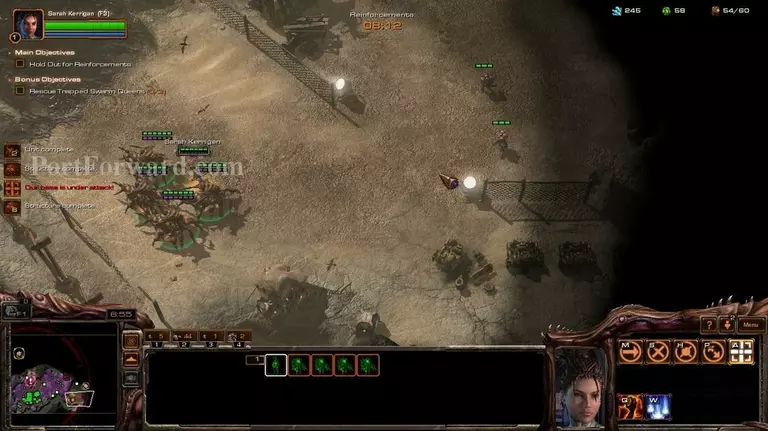
After that, start pushing with the queens and kerrigan and remember to make creep tumors.
![Starcraft 2: Heart of the Swarm Walkthrough - Starcraft 2-Heart-of-the-Swarm 95](starcraft-2-heart-of-the-swarm-95-small.webp)
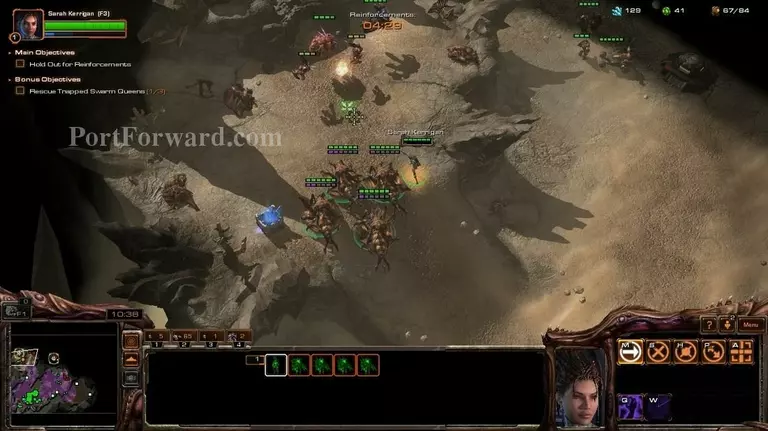
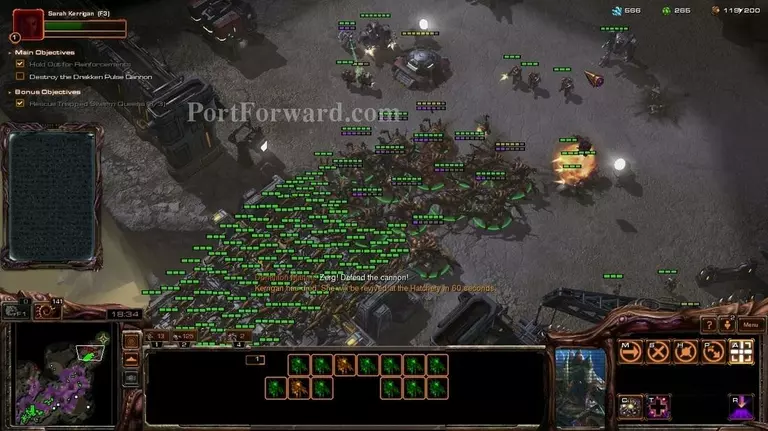
Destroy the terran forces around the cave.
![Starcraft 2: Heart of the Swarm Walkthrough - Starcraft 2-Heart-of-the-Swarm 96](starcraft-2-heart-of-the-swarm-96-small.webp)
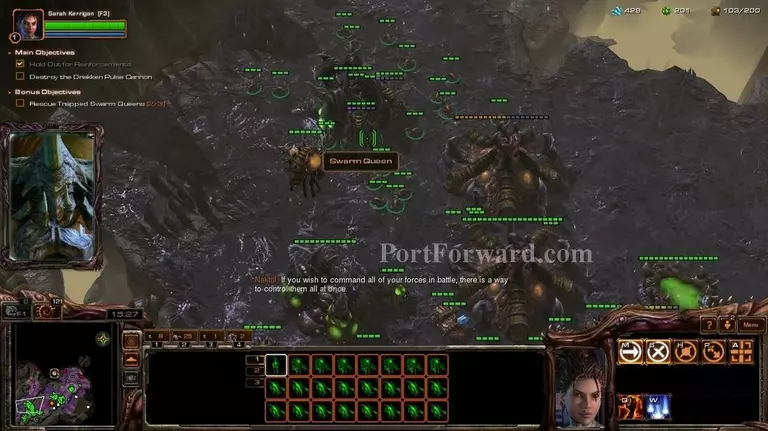
After the timer runs out, you will get a sizable force.
![Starcraft 2: Heart of the Swarm Walkthrough - Starcraft 2-Heart-of-the-Swarm 97](starcraft-2-heart-of-the-swarm-97-small.webp)
Nydus worms will start coming up from everywhere. Attack the terran base to the north.
![Starcraft 2: Heart of the Swarm Walkthrough - Starcraft 2-Heart-of-the-Swarm 98](starcraft-2-heart-of-the-swarm-98-small.webp)
After you're done with that base, go to the bridge.
![Starcraft 2: Heart of the Swarm Walkthrough - Starcraft 2-Heart-of-the-Swarm 99](starcraft-2-heart-of-the-swarm-99-small.webp)
Attack the enemy base with what you have.
![Starcraft 2: Heart of the Swarm Walkthrough - Starcraft 2-Heart-of-the-Swarm 100](starcraft-2-heart-of-the-swarm-100-small.webp)
You can go for the cannon if you want to finish the mission faster.
![Starcraft 2: Heart of the Swarm Walkthrough - Starcraft 2-Heart-of-the-Swarm 101](starcraft-2-heart-of-the-swarm-101-small.webp)
After destroying the cannon, you will finish the mission.
More Starcraft 2: Heart of the Swarm Walkthroughs
This Starcraft 2: Heart of the Swarm walkthrough is divided into 27 total pages.