
This Starcraft walkthrough is divided into 32 total pages.
You can jump to nearby pages of the game using the links above.
Zerg - 3: The New Dominion
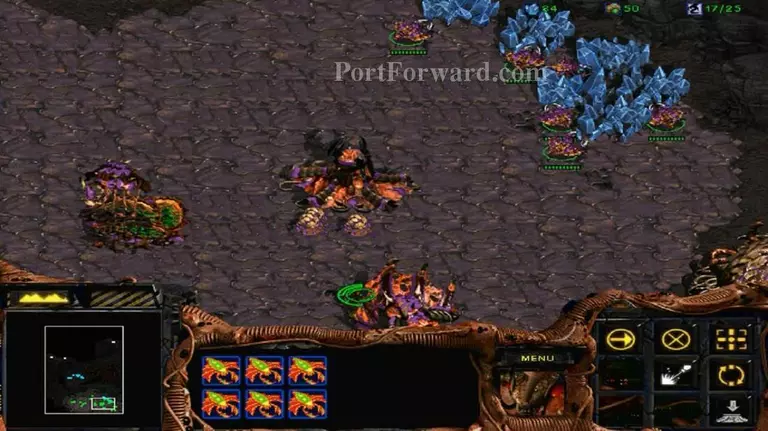
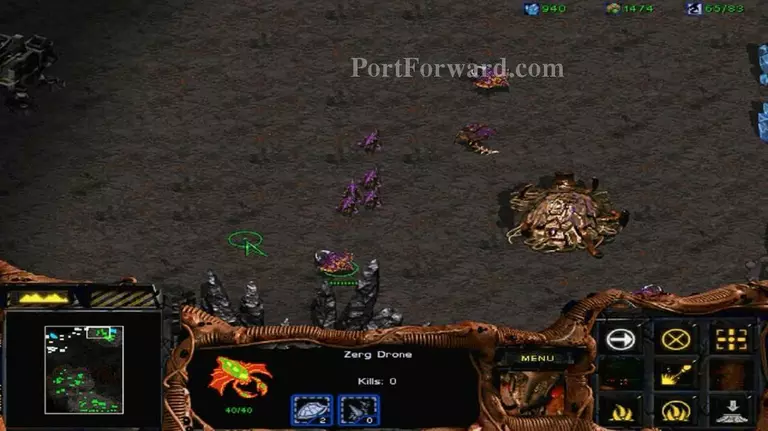
First thing to do, gather resources and scout the map. Identify location of enemy base.
When your defenses at initial base is reliable, then, proceed here. Always ensure your base is fully protected. You don't want to waste resources to rebuild.

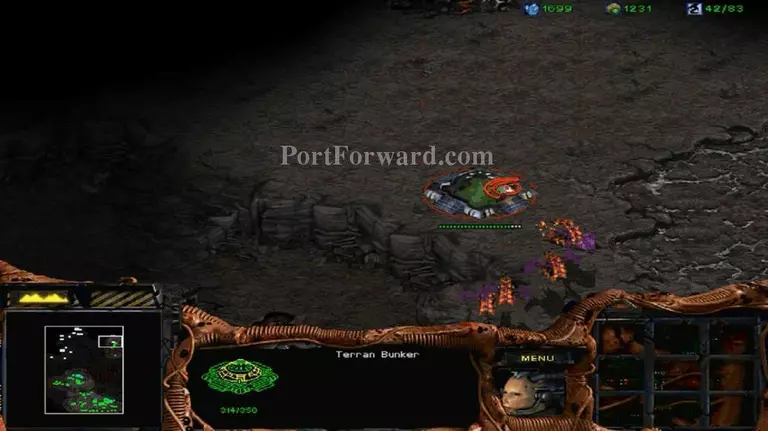
Siege Tank from Terran can kill Zerglings in just few secs. So, you should have air support to kill them. Also, upgrade the armor and Zerglings movement speed.
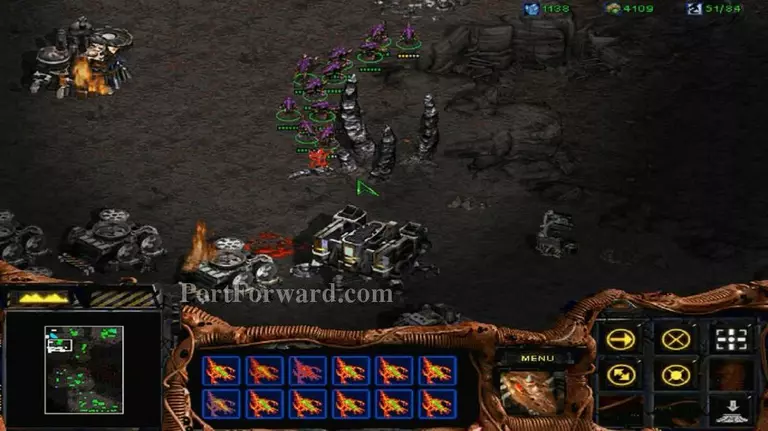
If enemy too packed at the left side, use distraction strategy. Attack from the right side.
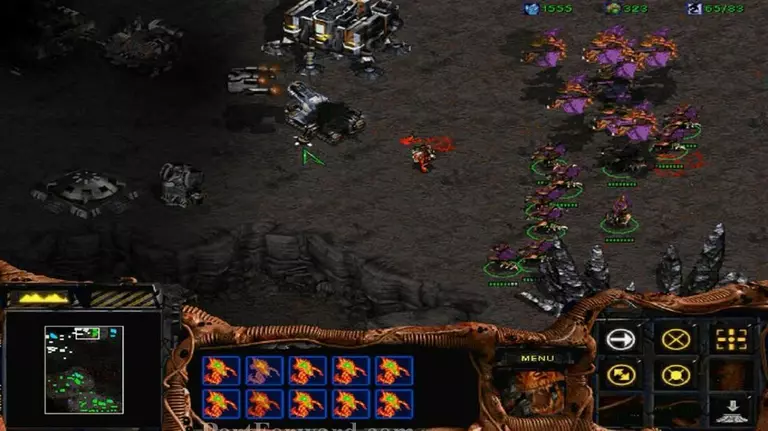
Use this chance to destroy the Barrack and Factory.
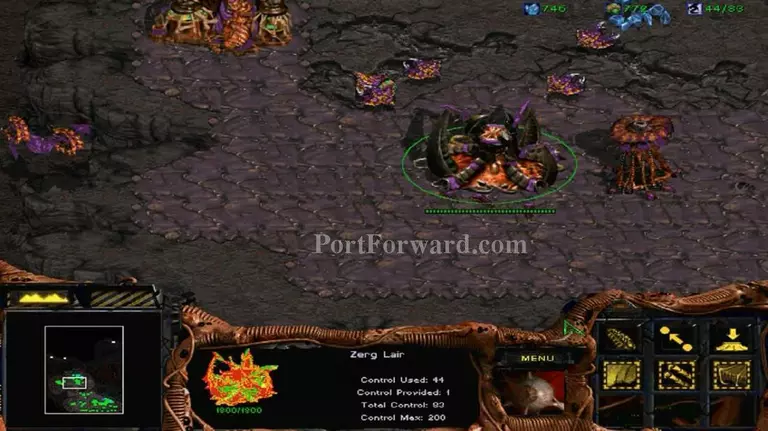
You can set up base here if you wants. Faster unit production and better defense.
Keep sending Zerglings to enemy base until they give up. Mission ends after all buildings destroyed. [END]
More Starcraft Walkthroughs
This Starcraft walkthrough is divided into 32 total pages.


