
This Starcraft walkthrough is divided into 32 total pages.
You can jump to nearby pages of the game using the links above.
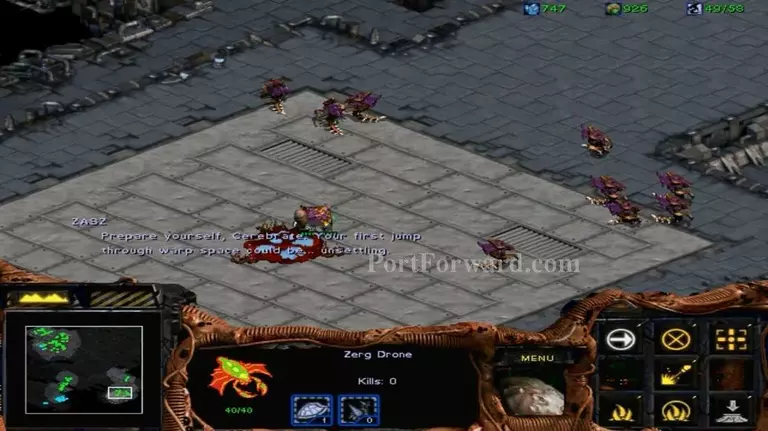
Zerg - 2: Egression
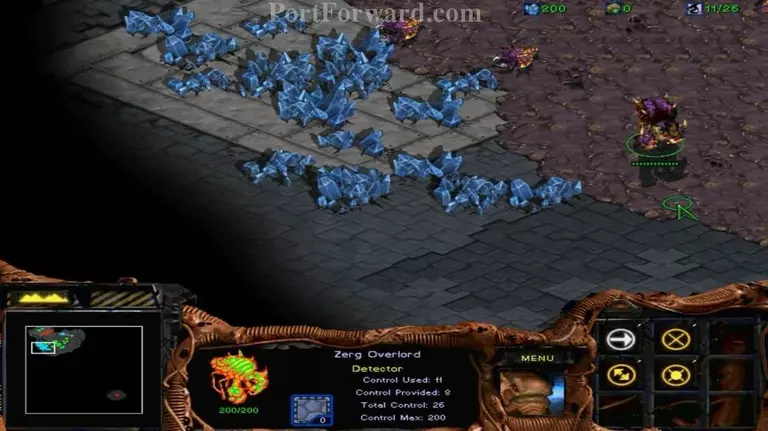
Once the game starts, gather resources and upgrade the Hatchery to Hive to view the new units and upgrades.
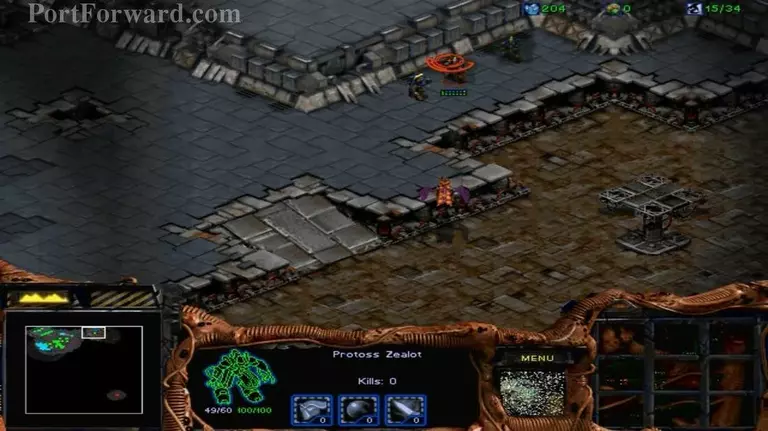
You can scout the map using the Mutalisk: Notice that Protoss armor quite strong against any Zerg units: Nevertheless, this mission

Do research (upgrade) and attack enemy in big groups: This is why Zerg hive can train more than one at a time:
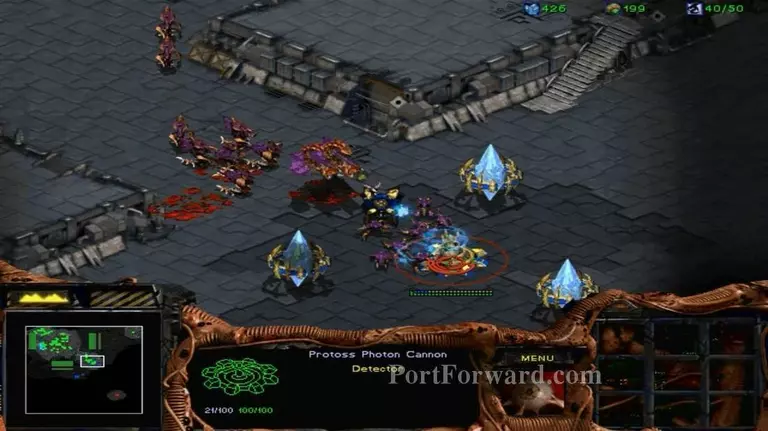
Attack the middle base: Focus on offensive tower.
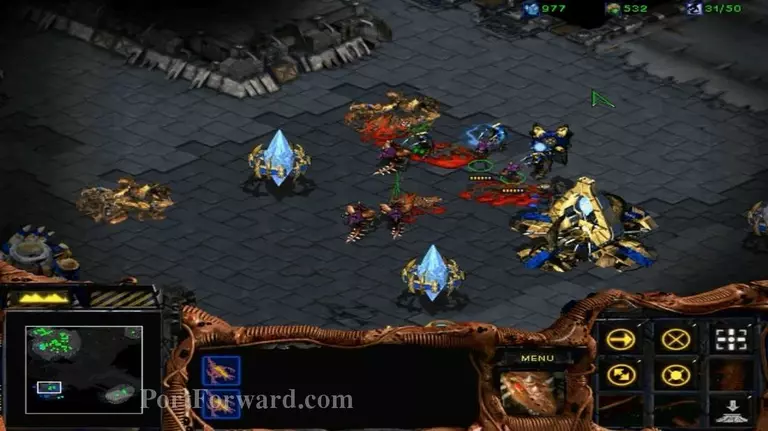
Make sure that the area completely secured to avoid ambush during transferring Crystalis.
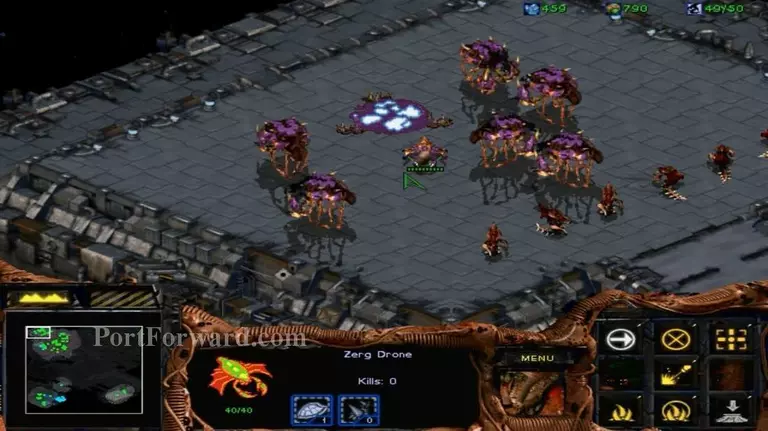
Take the Crystalis with a Zerg Drone and bring it to another location.
Mission ends when it sucessfully reached this place. [END]
More Starcraft Walkthroughs
This Starcraft walkthrough is divided into 32 total pages.


