
This Starcraft walkthrough is divided into 32 total pages.
You can jump to nearby pages of the game using the links above.
Zerg - 5: The Amerigo
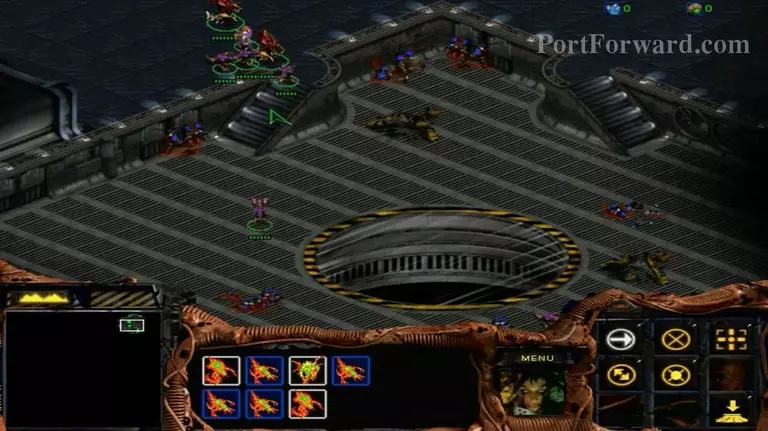
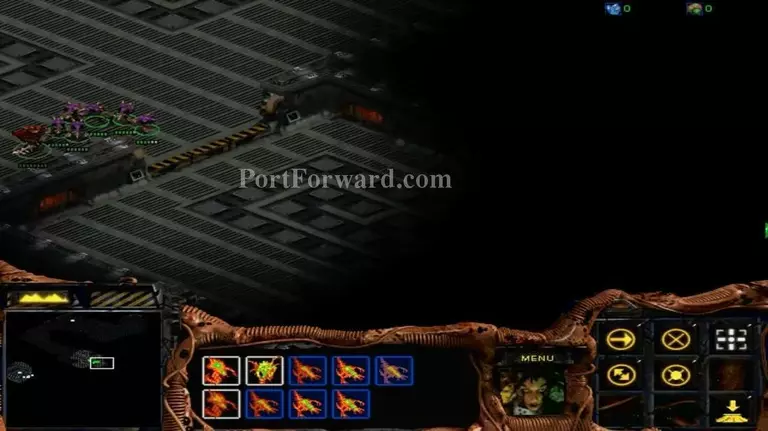
Command your units to move.
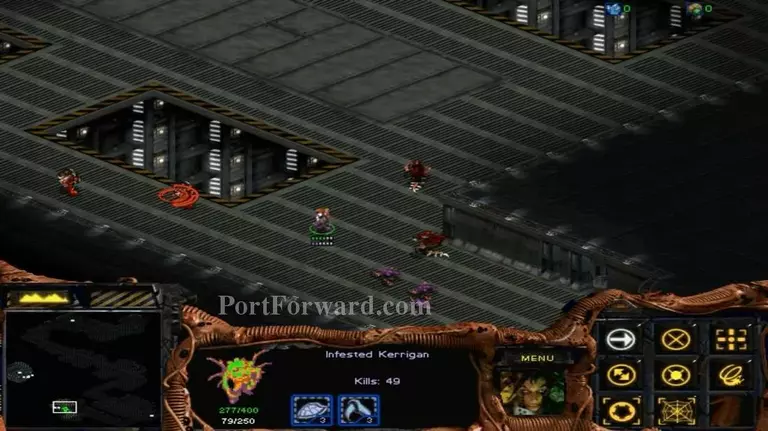
Use Kerrigan ghost ability to kill enemies until her mana empty.
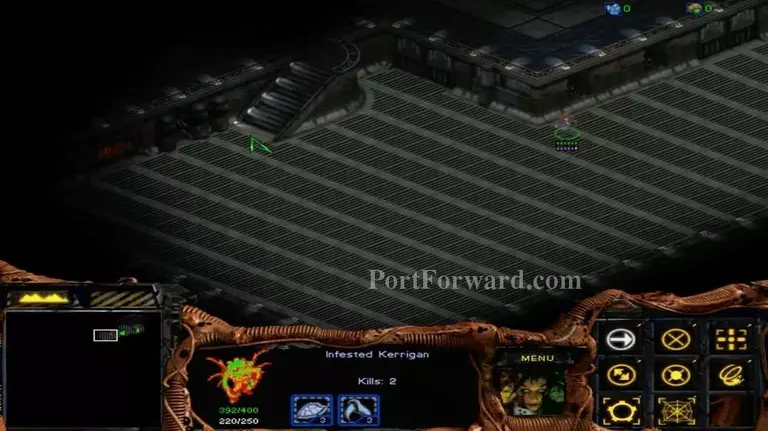
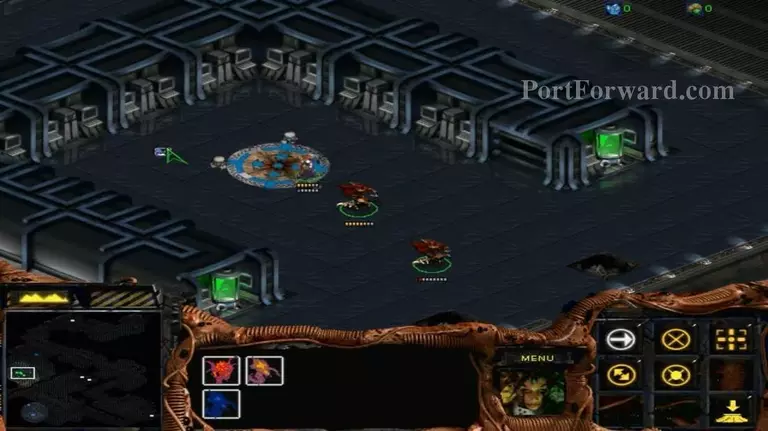
Step on the first switch wll show the location.
Keep going. These should be eliminate first.
When Kerrigan run out of mana. Then, bring others to join. Don't use consume. Each of them are useful later.
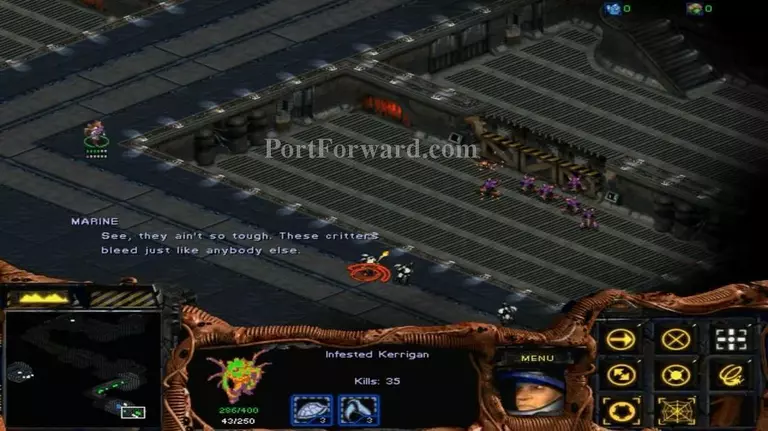
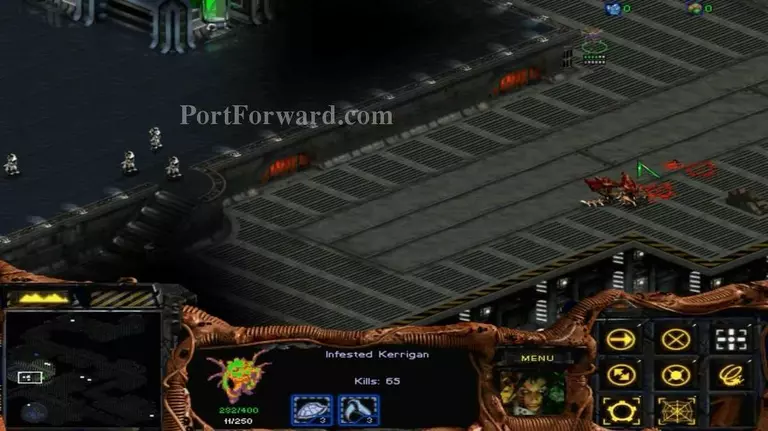
Kill those Marines fast. You can save that trapped Zerglings.
Switch to unlock the door.
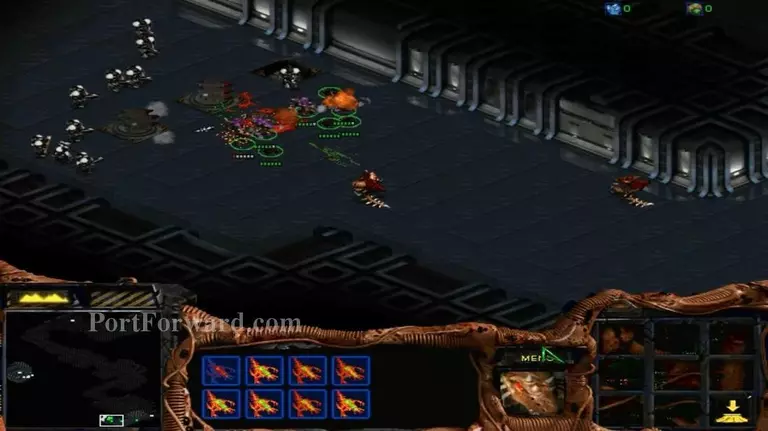
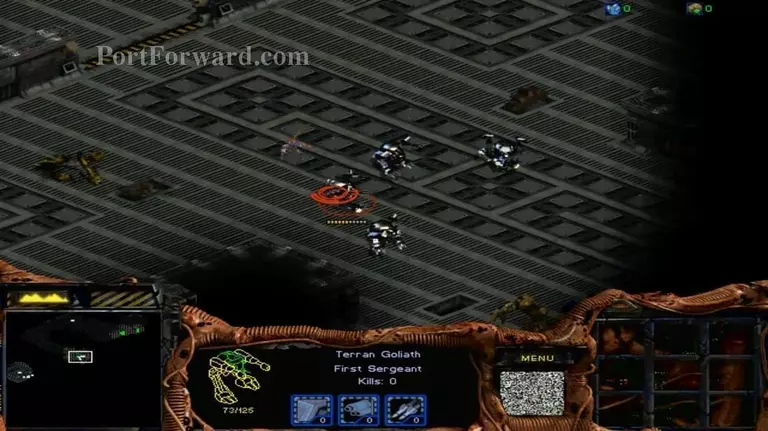
Is there any other way? Just destroy the cannons and the rest can be killed by Kerrigan alone.
Keep going...
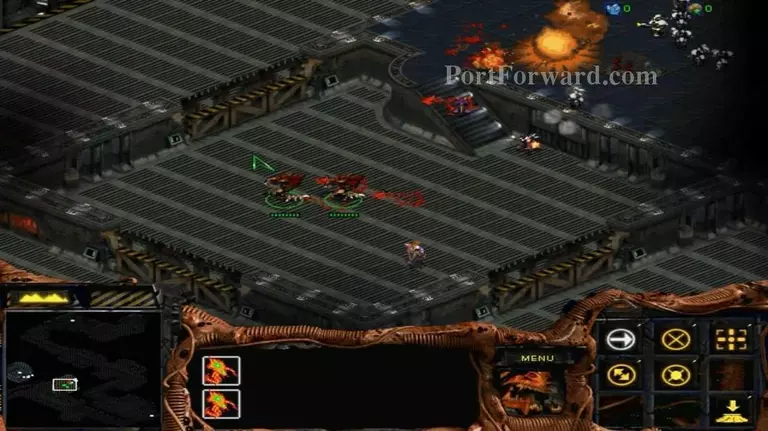
That's why you should spare your other units. Destroy the cannon first then you can kill others. The Hydralisks are quite reliable.
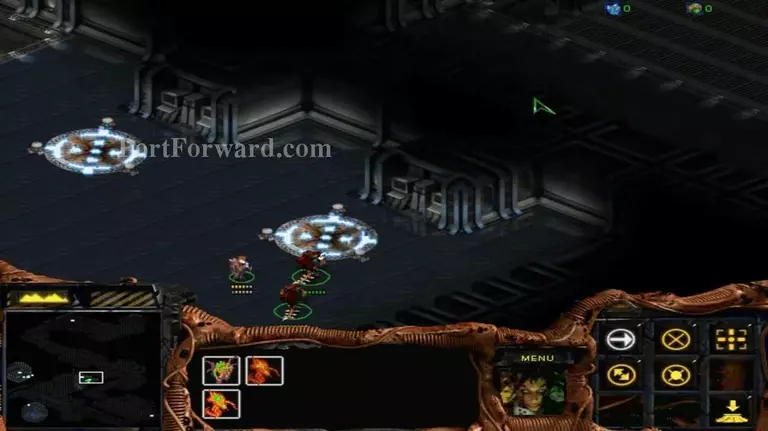
Activate the left and then right.

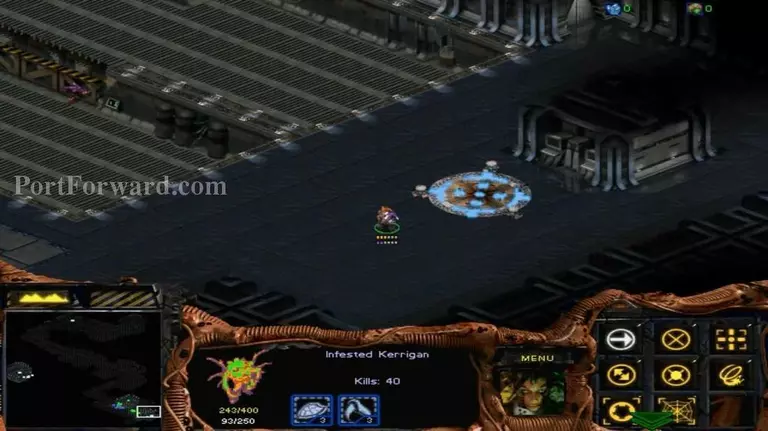
Go to this teleporter.
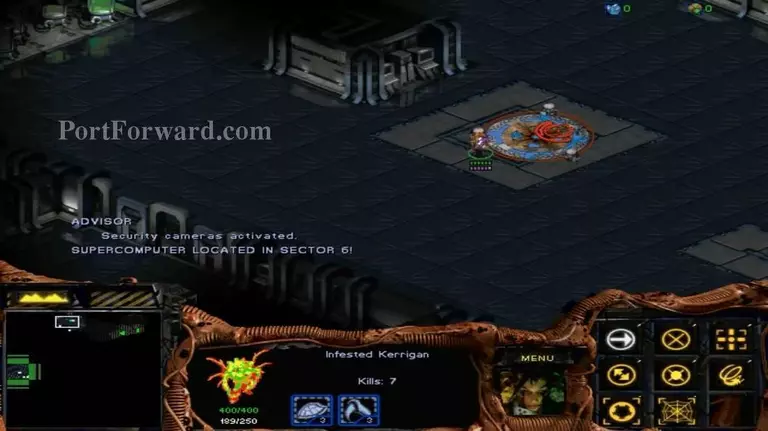
Keep going until you reach the super computer switch.
Step on it to complete this mission. [END]
More Starcraft Walkthroughs
This Starcraft walkthrough is divided into 32 total pages.


