
This Starcraft walkthrough is divided into 32 total pages.
14 - Zerg - 2: Egression
18 - Zerg - 6: The Dark Templar
You can jump to nearby pages of the game using the links above.
Zerg - 6: The Dark Templar

Use the Mutalisks to scout fogged area.
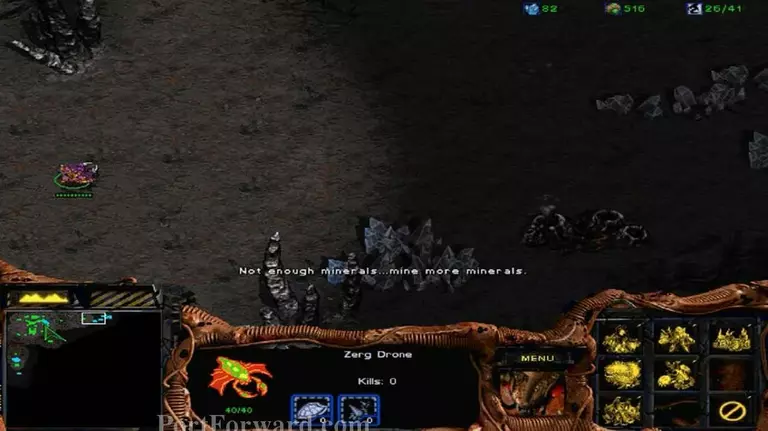
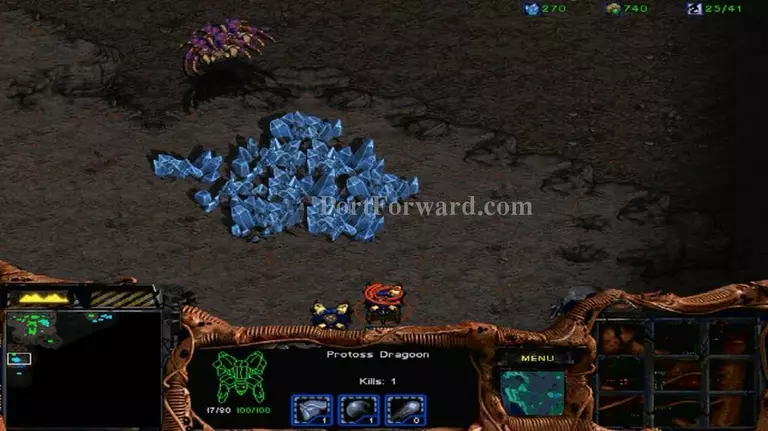
There are two mining spots nearby. So you should set up your base to that location early game.
Now, Mutalisk can mutate to Zerg Guardian. High damage to ground units only. This is your main strategy against Protoss.
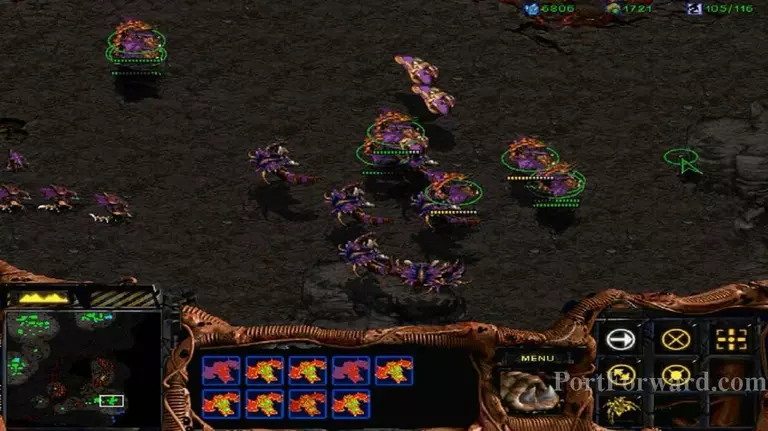
Use Guardian for long range attack. If enemy anti-air units come, move back your Guardian and let Hydralisks or Zerglings handle that.
If a Mutalisk low health, mutate it to Guardian. It'll fully restore the health.
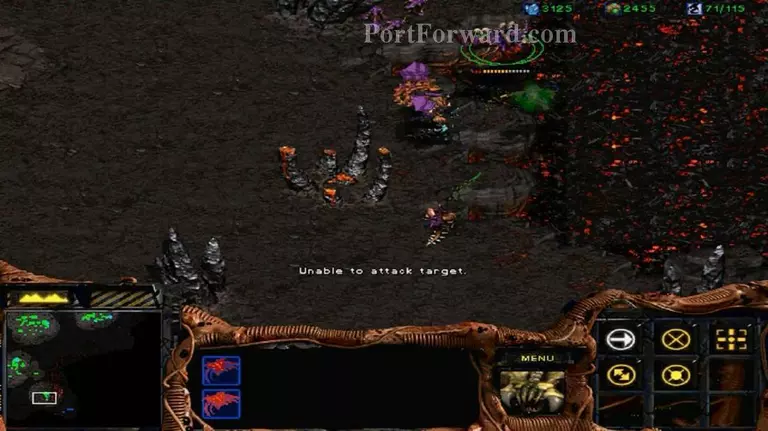
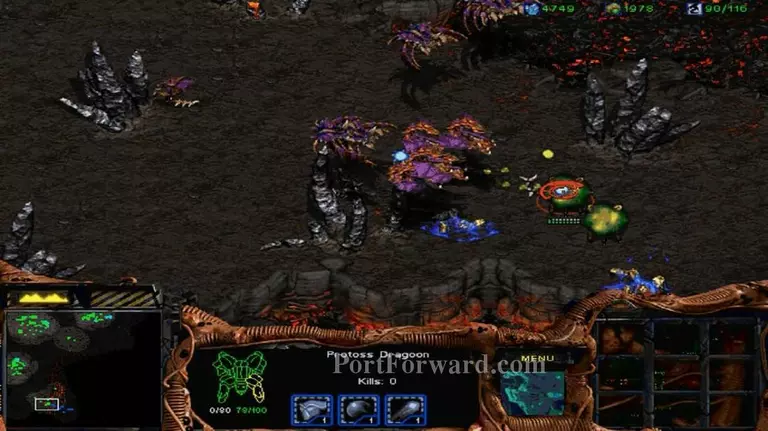
The final attack! Gather all your units and attack the enemy base.
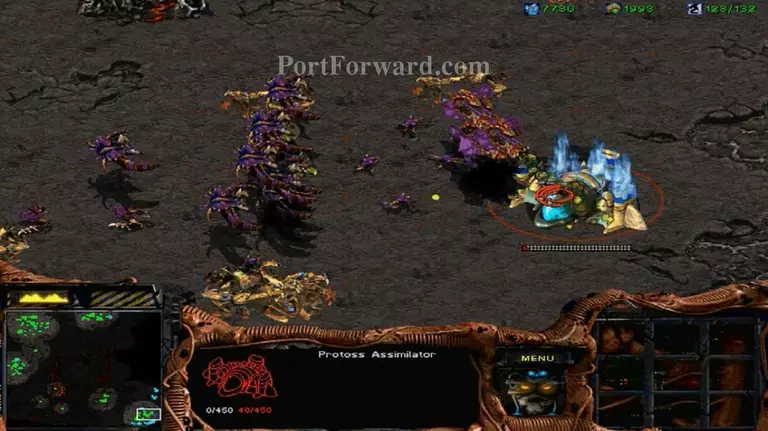
Destroy all enemy buildings. [END]
More Starcraft Walkthroughs
This Starcraft walkthrough is divided into 32 total pages.
14 - Zerg - 2: Egression
18 - Zerg - 6: The Dark Templar


