
This The Darkness II walkthrough is divided into 8 total pages.
You can jump to nearby pages of the game using the links above.
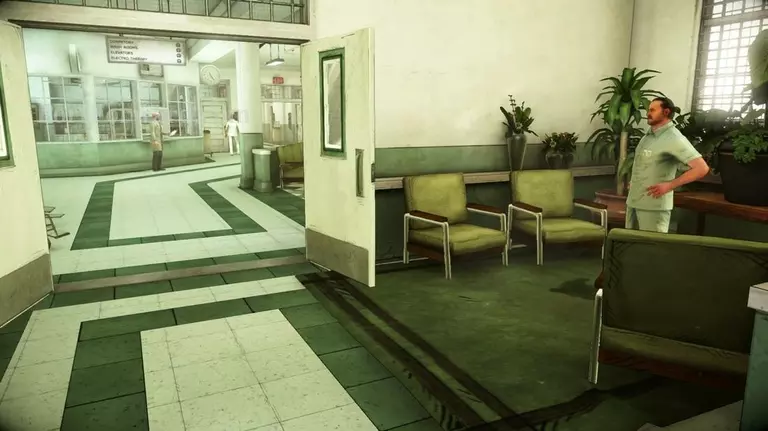
Festive Feuding
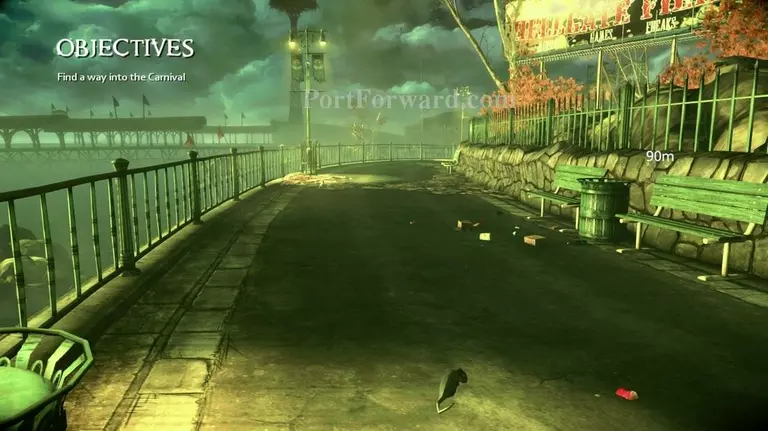
You'll arrive at a road leading to a large carnival. Follow it onto a beach.
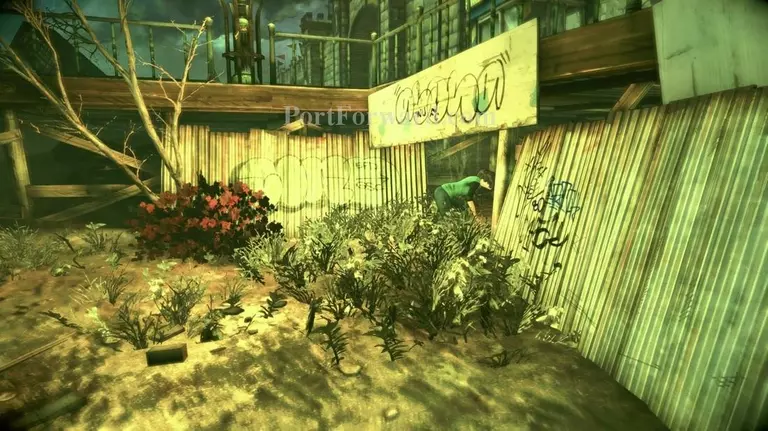
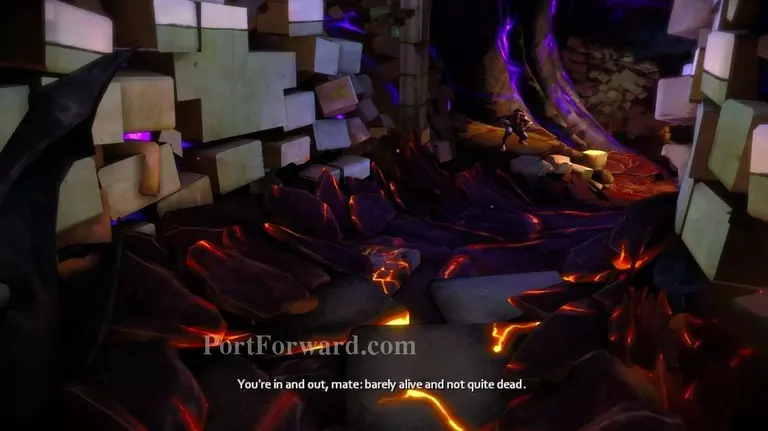
You'll eventually start hallucinating again. Crawl into the underspace and head into the establishment.
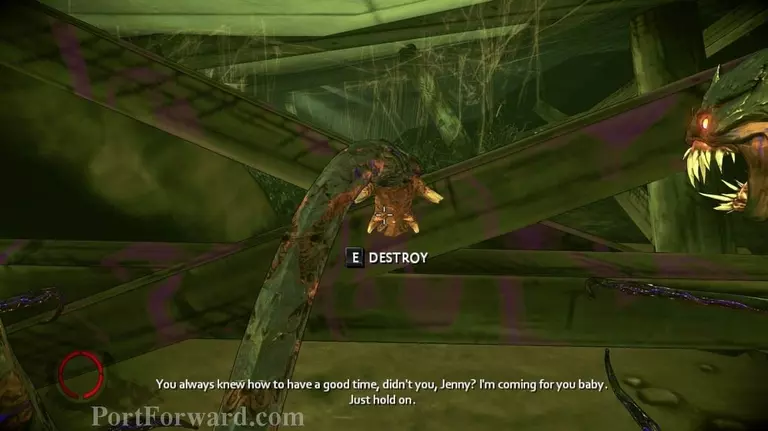
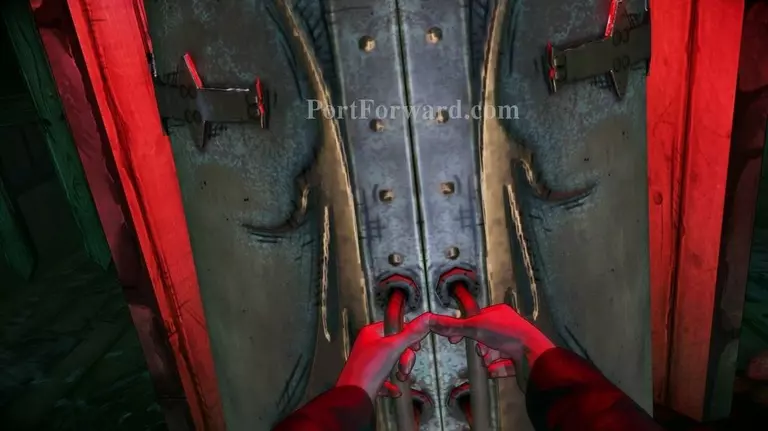
Destroy the planks when prompted by grabbing hold of them repeatedly.
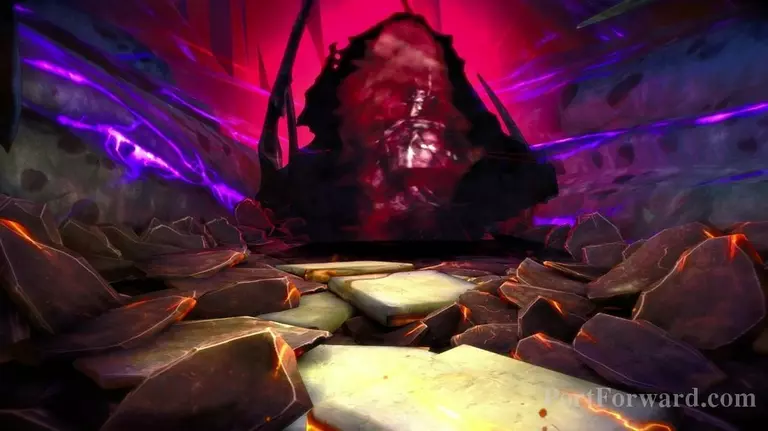
Altar ahead. Use as needed.
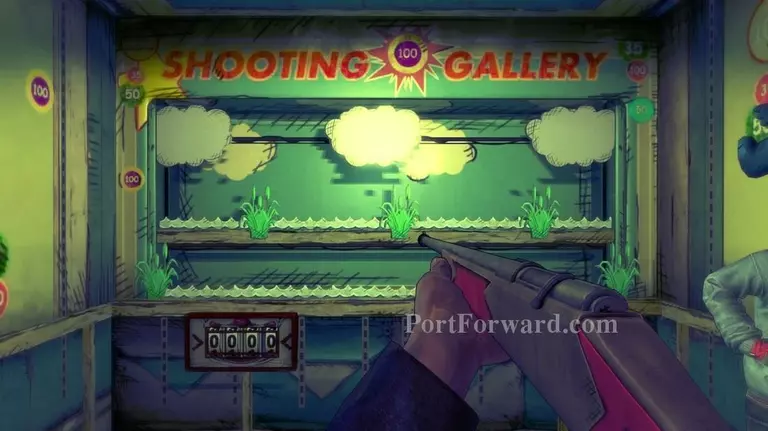
After proceeding further into the circus, you'll be thrown into a fantasy sequence involving a shooting gallery.
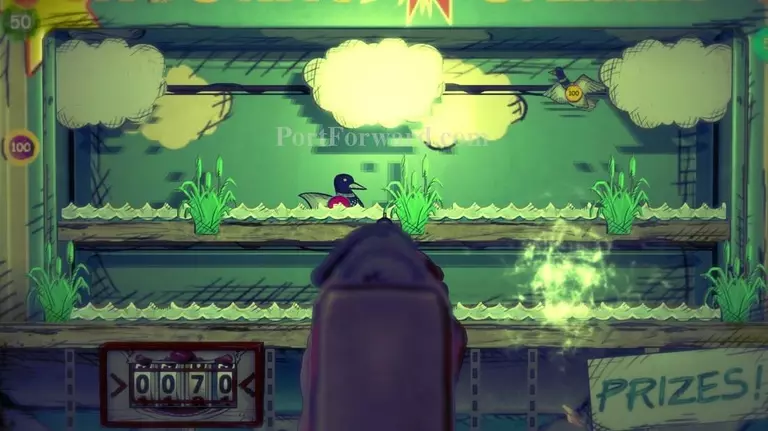
The first game will involve shooting ducks. Shoot everything that moves.
Even if you score 100/100, the performance will not be enough for the "big prize" and you'll be thrown out of the sequence.
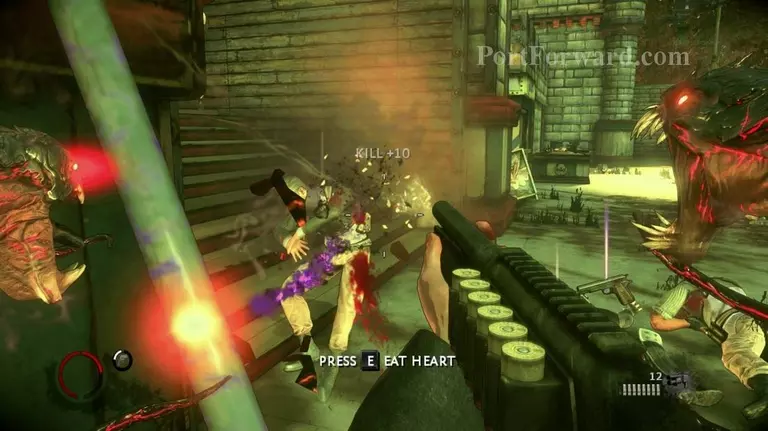
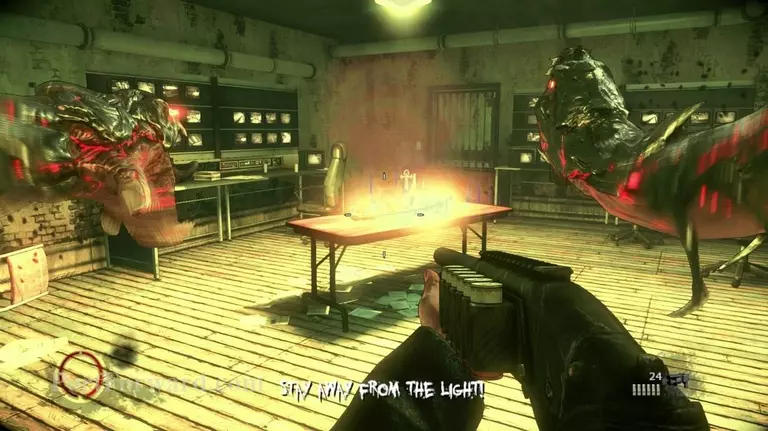
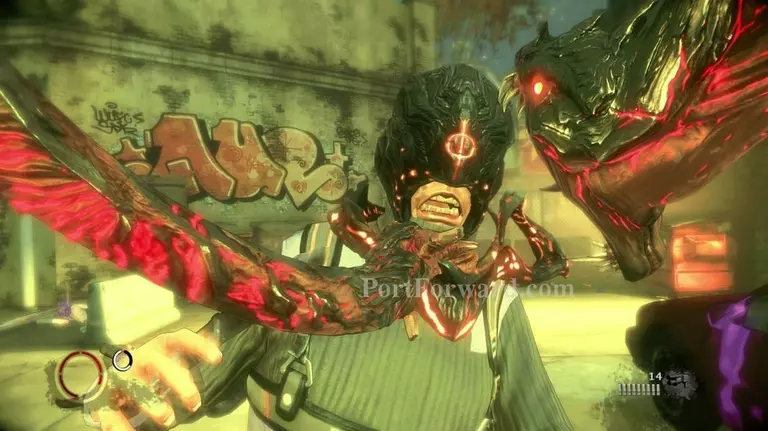
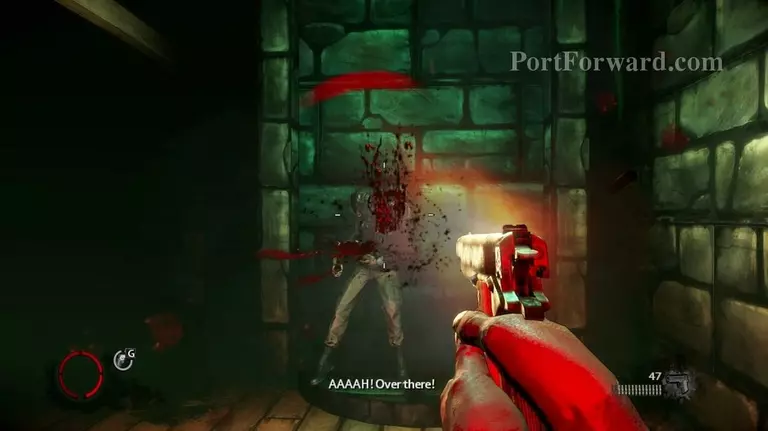
Once back into the real world, darkness enemies will start to swarm you. Take them out.
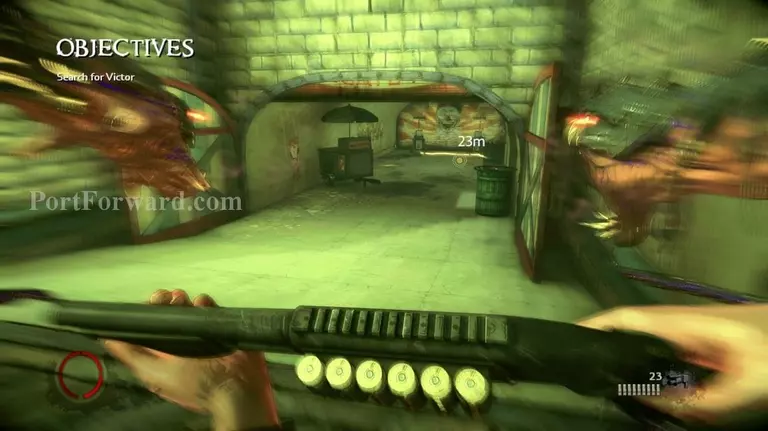
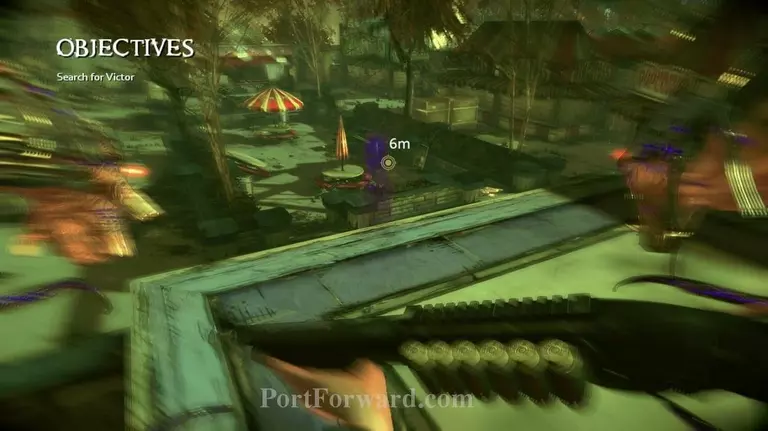
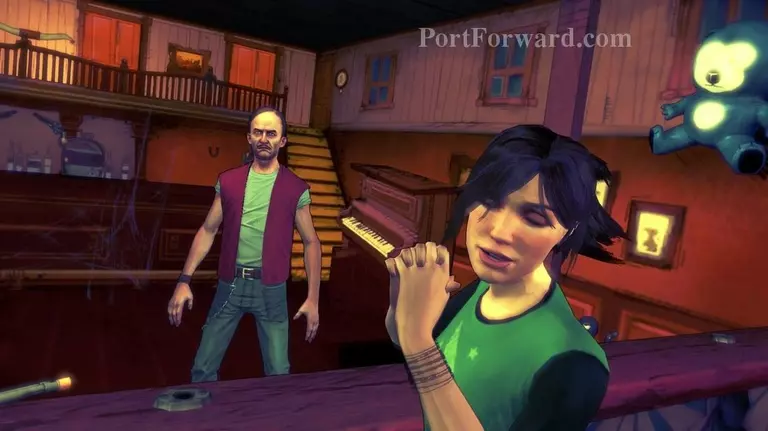
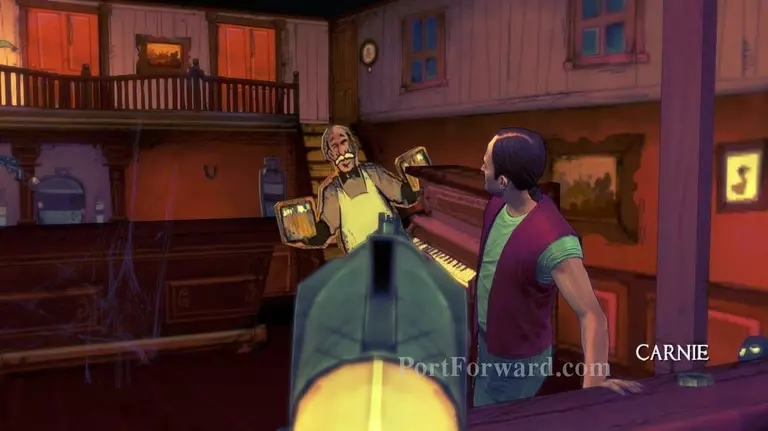
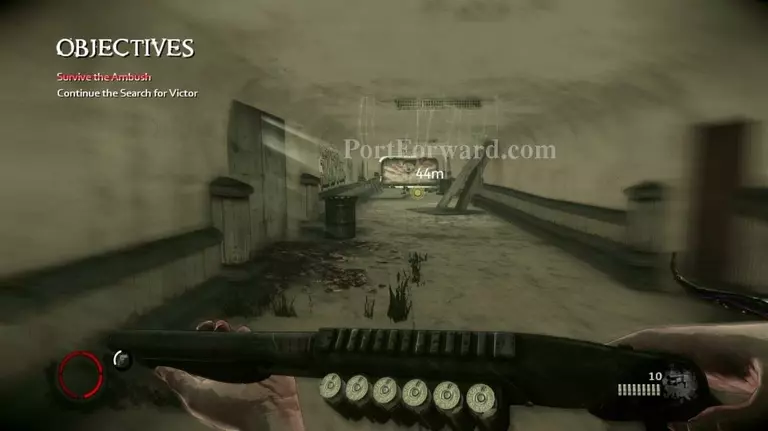
Head towards your HUD marker in search for Victor.

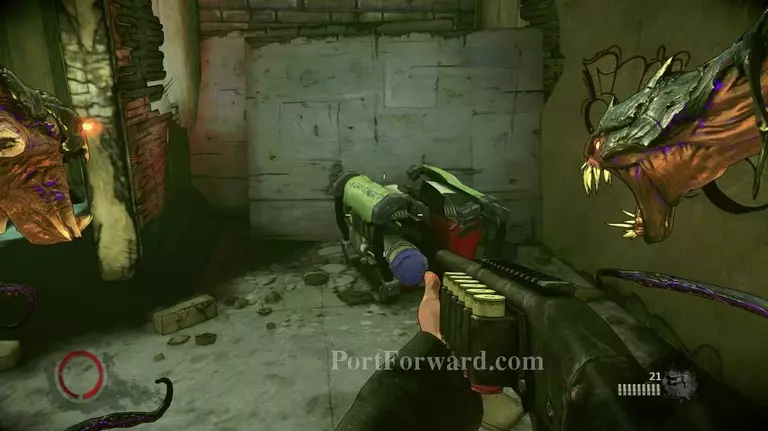
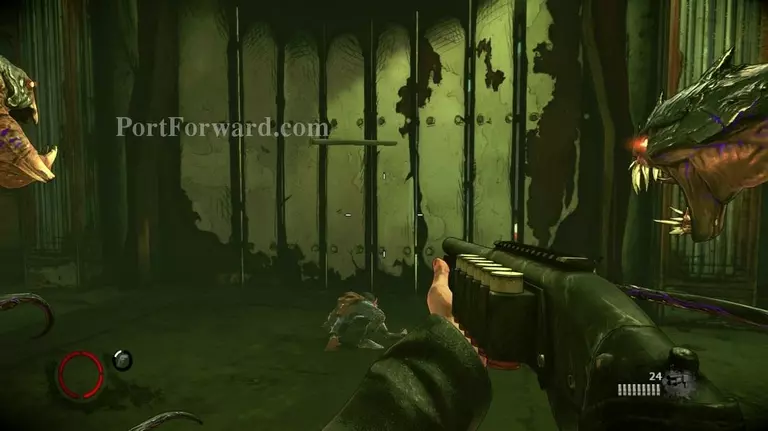
Destroy the sequences of planks by latching on and spamming E.
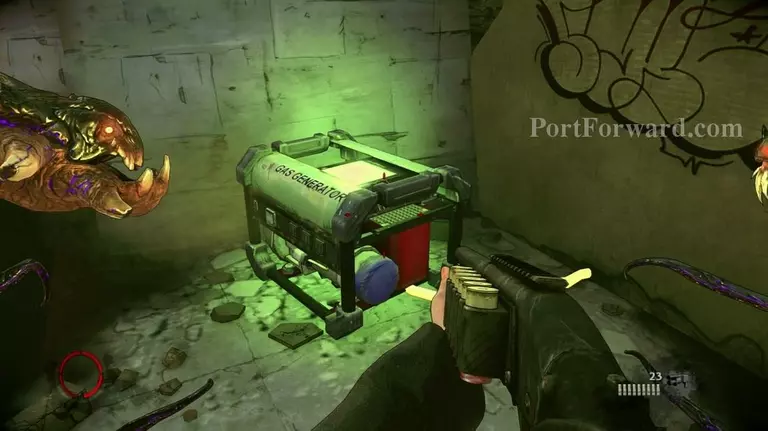
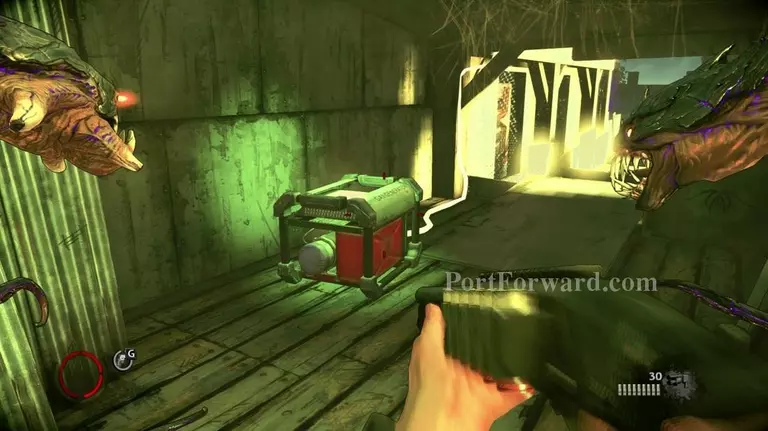
Once behind the planks, destroy the generator and head back outside.
Do the same for the other side and destroy the other generator.
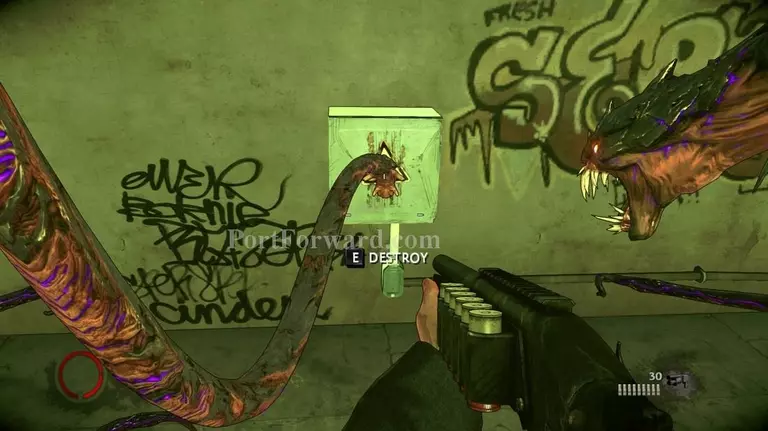
Then tear down the electrical box and the gate should open.

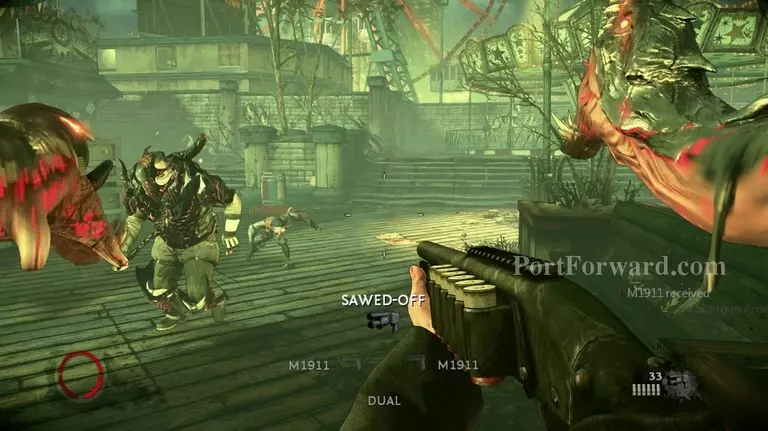
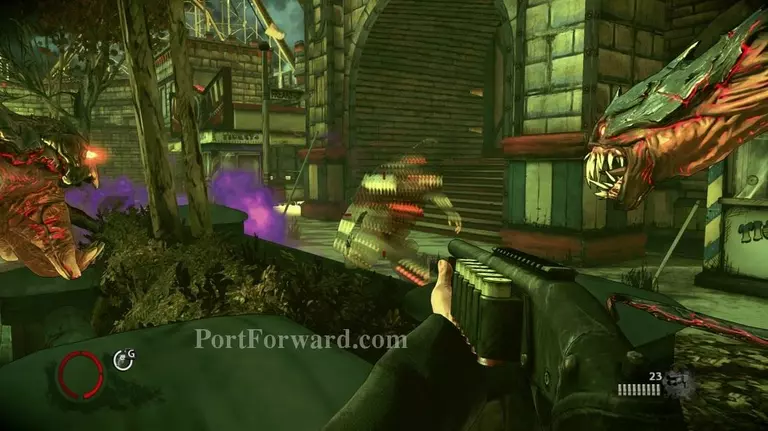
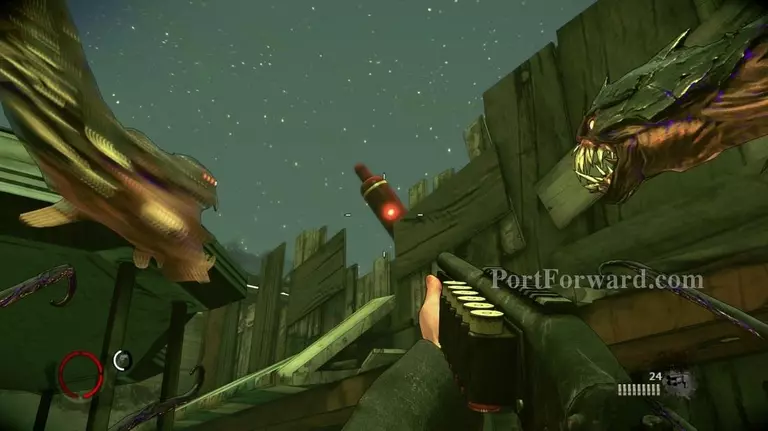
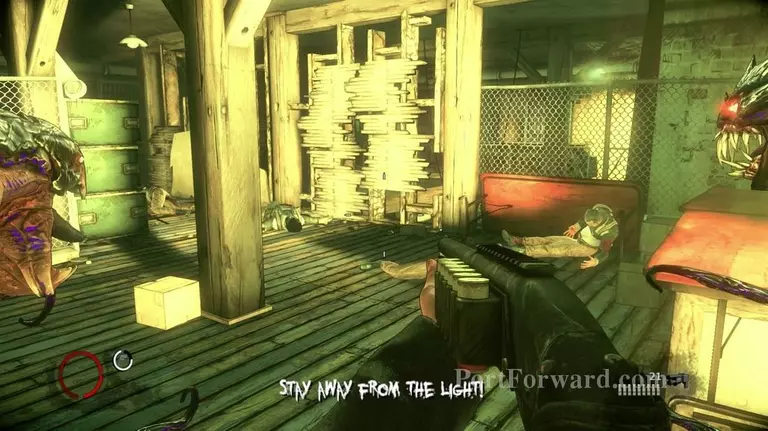
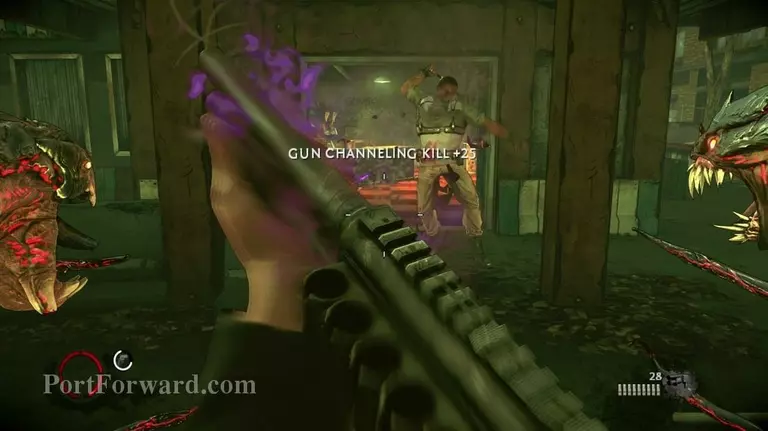
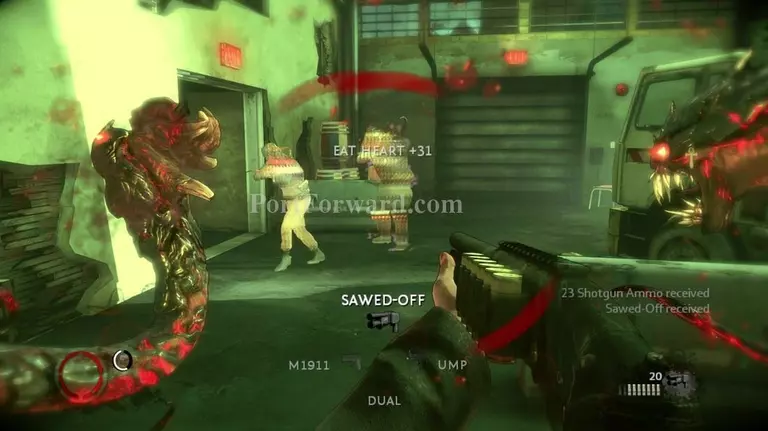
Prepare for a large amount of enemies by hitman executing the closest one and barging up on both ammo and weapons.
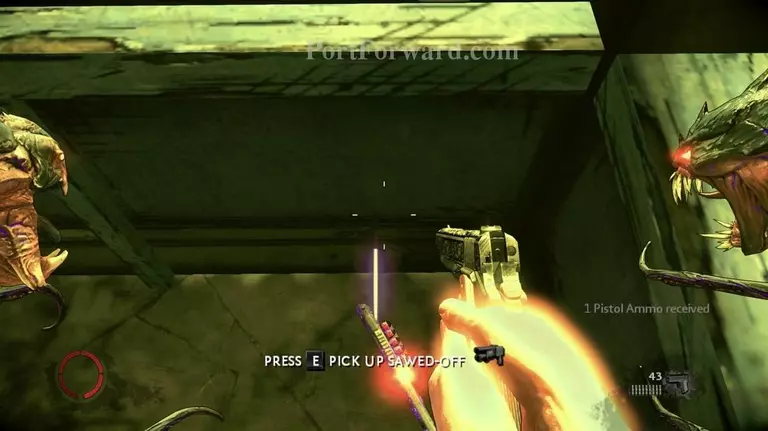
There will be whippers so don't forget to pick up your guns once you lose them.
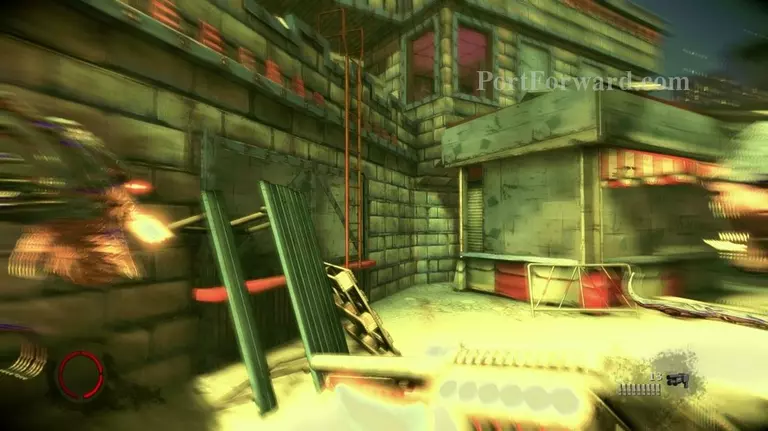
Climb up the nearby ladder and get on the roof.
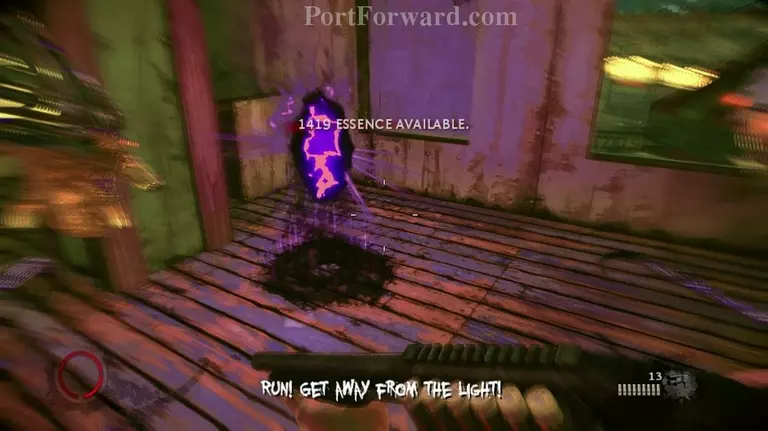
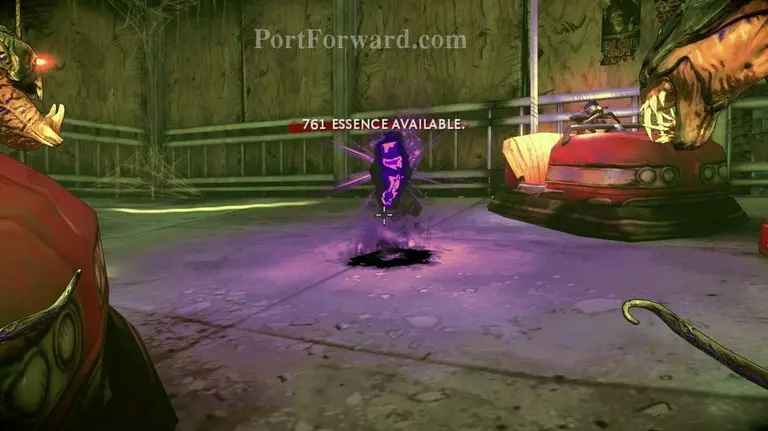
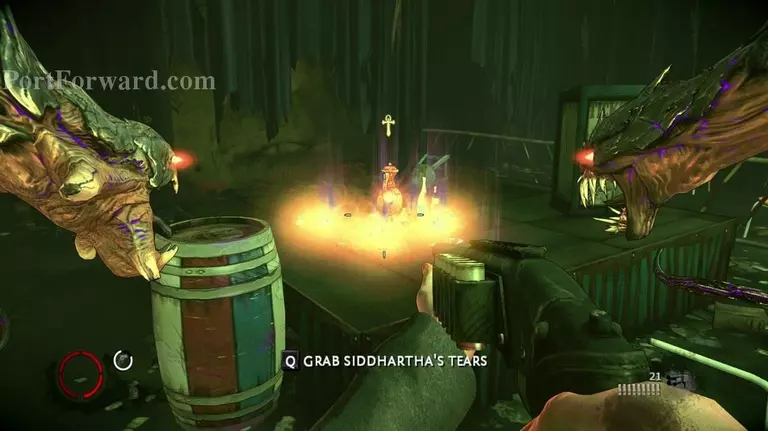
You should have enough essence at this point. Use the altar.
Once on the top of the roof, jump down.
You'll be thrown into the second part of the shooting fantasy sequence.
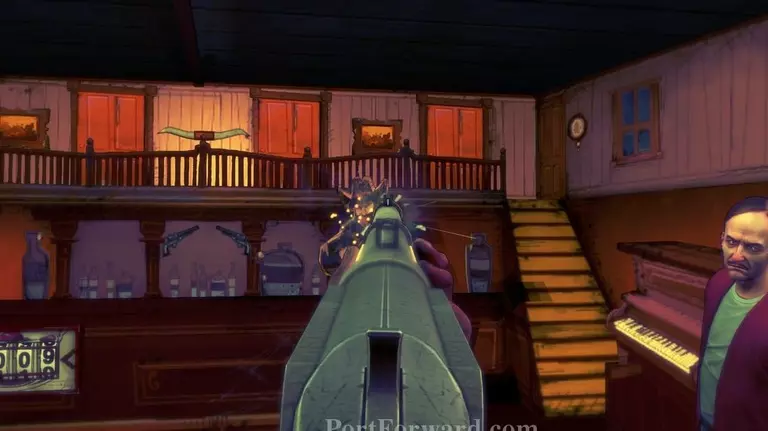
It will feature a classic western bar with targets that suddenly pop up from a variety of directions.
Although also unlike the duck sequence, it will have targets that are "Friendly", AKA sheriffs and bartenders holding beer. Shoot them and your score will be greatly deducted.
After the fantasy sequence, more darkness enemies will spawn in and rush you.
Work yourself through the carnival and into the alley.
Once in the tunnel, run towards the exit for the next part of the level.
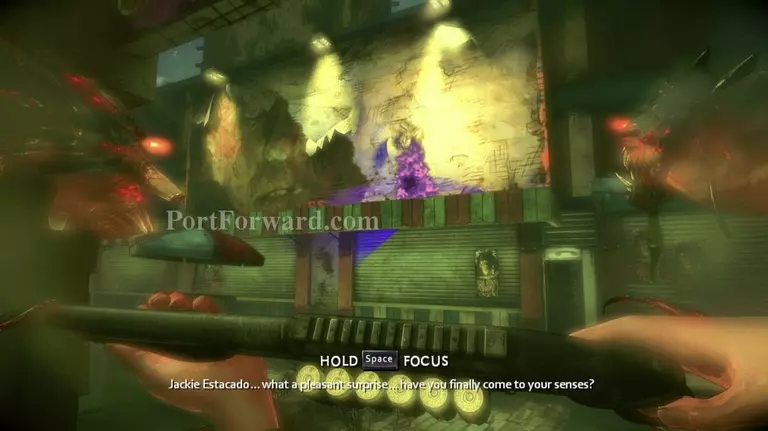
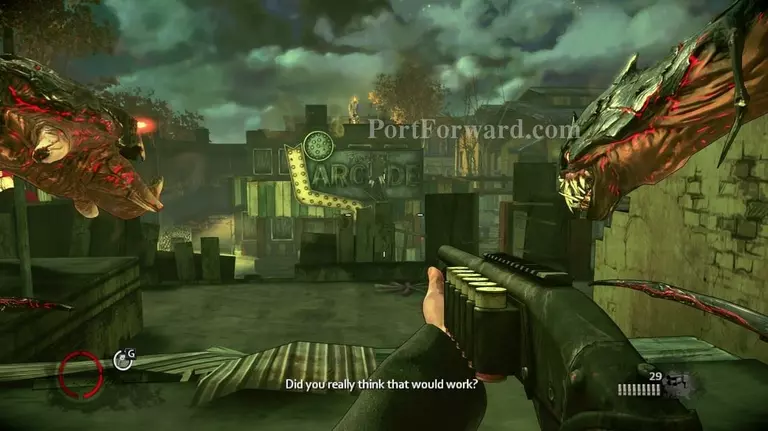
After a short apperance by a future boss, enemies will yet again swarm your location.
You'll be close to catching the boss before the carnival gate suddenly closes down infront of you.
The next objective after cleaning out the nearby enemies will be to find a way through it.
Your companion will (as usual) somehow locate a couple of nearby propane tanks for you to throw at the gate.
Unfortunately, it will not be enough.
You'll be given the task to get onto the next roof for more explosives. Accomplish this by taking the back-door and working yourself through the building up.
There will be a nearby relic in the surveillance room. Grab it and continue up.
The layout can become pretty confusing at this point amongst all the rubbish. Press (Backspace) to find the next door and follow the wire to destroy the nearby electrical generator.
Once on the roof, you'll need to destroy another generator to head out.
Unfortunately, there will be no more explosives at the other roof-top and instead, more enemies will swarm you.

Some of them will be on the other building, far away and chances are that you'll have unsuitable weapons for that range. Grab a nearby pipe and Impale them by throwing instead.
Once you believe that most of the guys on the roof are dead, head down back onto the streets and clear the rest.
After clearing enoufh foes, follow your companion to a nearby garage, housing a large truck.
Dont forget the nearby relic next to the truck.
Kill a sufficient amount of foes..
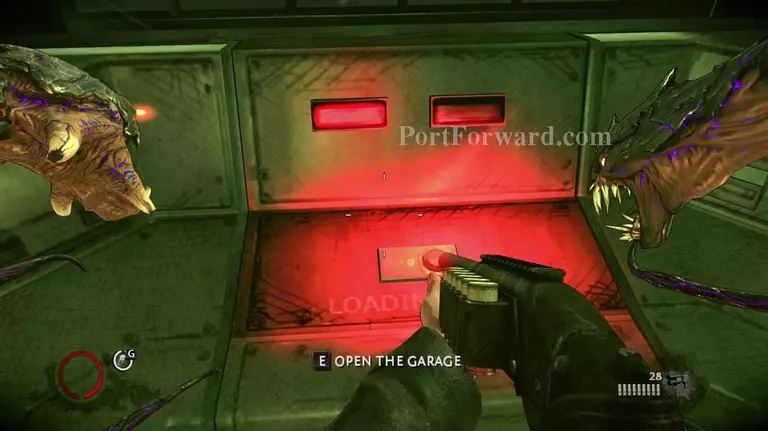
Open the garage for the truck..
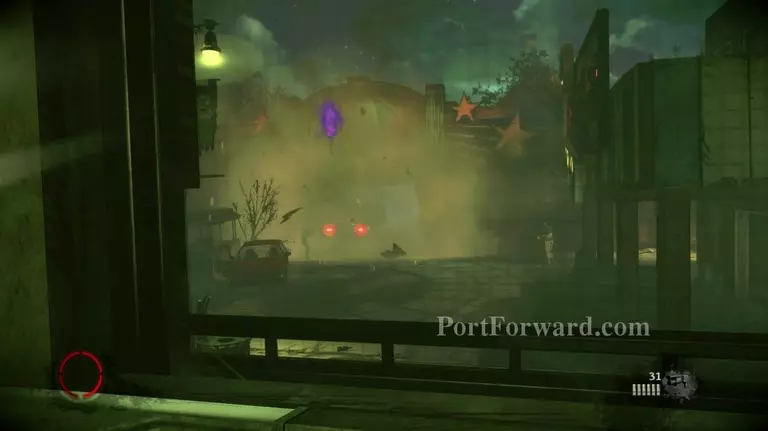
And your companion will drive the truck through the gate.
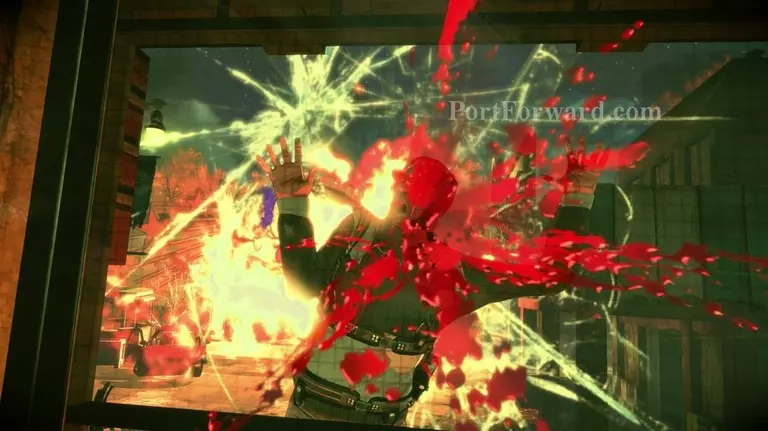
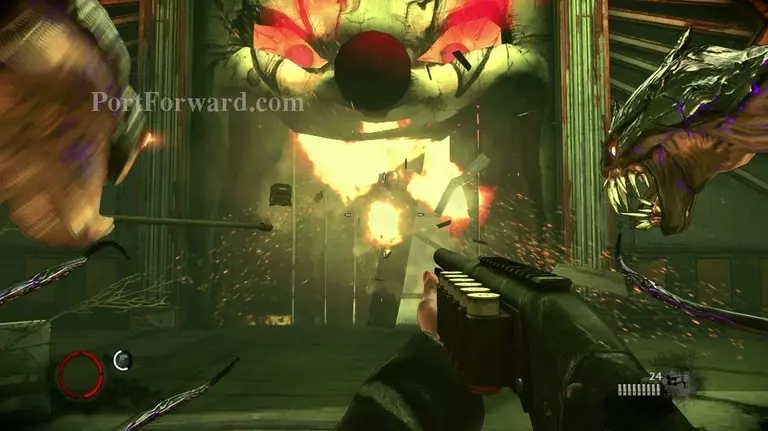
With an explosive effect.
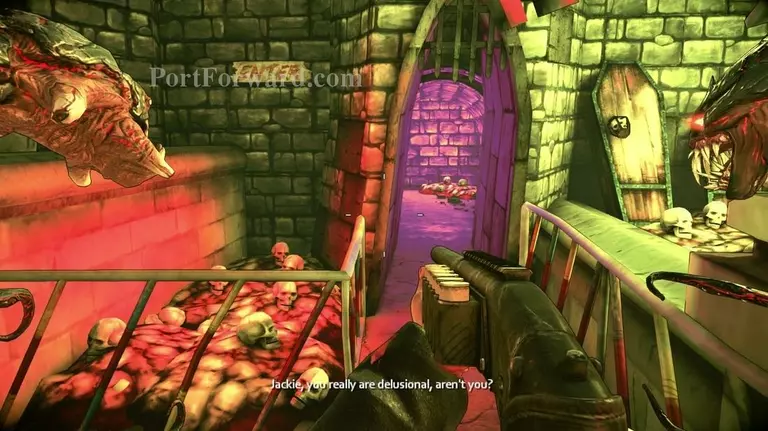
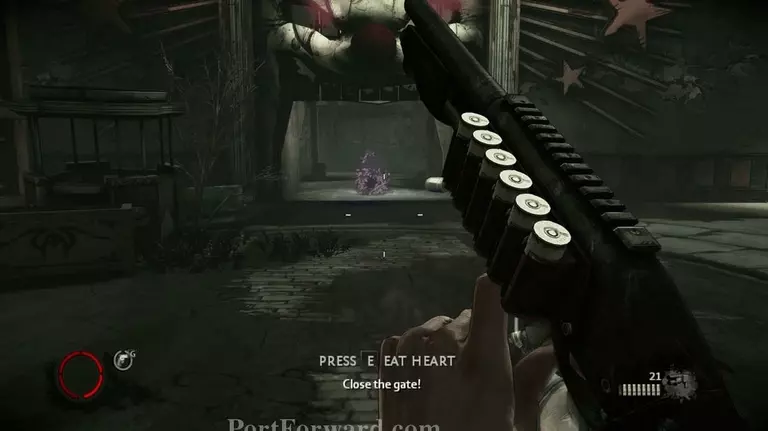
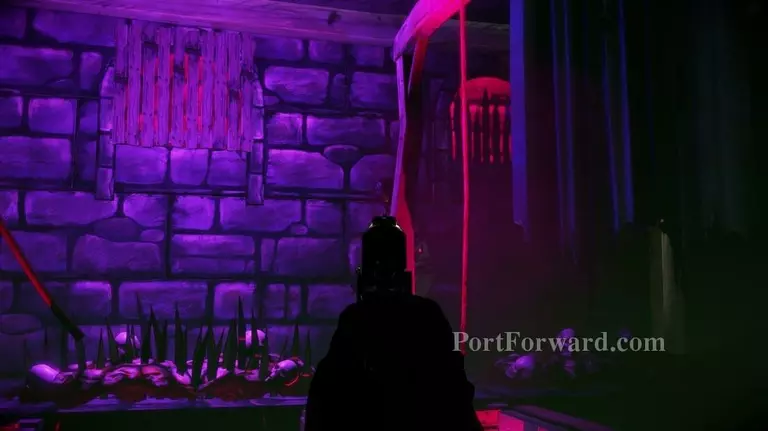
Head into the haunted house after the gate has been destroyed.
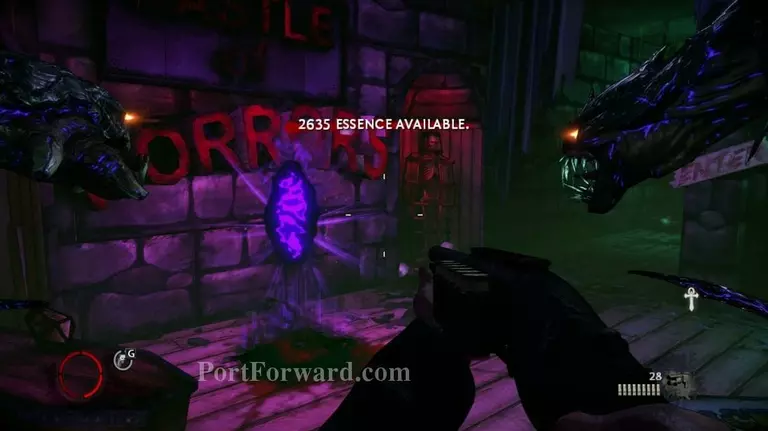
Access the nearby Altar.
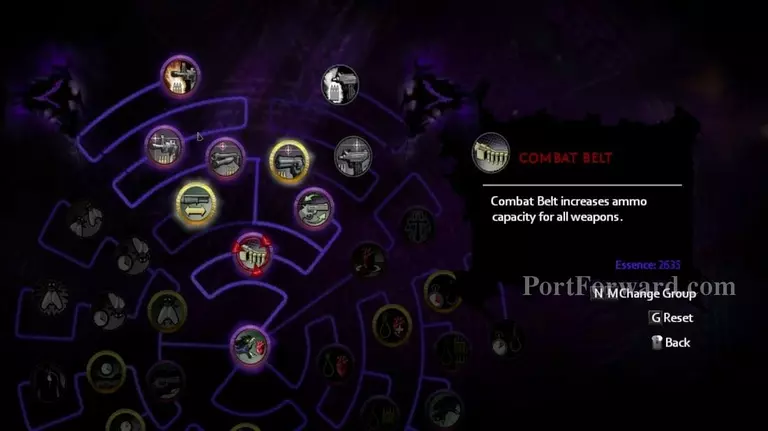
And get the "Combat Belt" upgrade. It will heavily be needed for the upcoming levels.
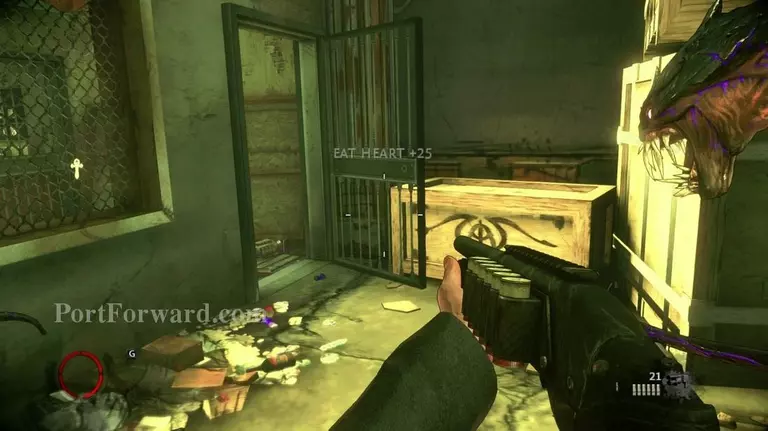
Pick up the nearby Relic if you don't have enough Essence.
Jump into the next fantasy sequence and be prepared to shoot some of the "Attractions".
The first will come out of the wall and after that, it'll be after every second scare or so. They are no larger threat.
Some may be hard to spot through all the smoke and colored lightning, but just look for the silhouettes and you'll be fine.
There will be an Iron Maiden ahead. I would recommend you not to open it but it's a part of the script.
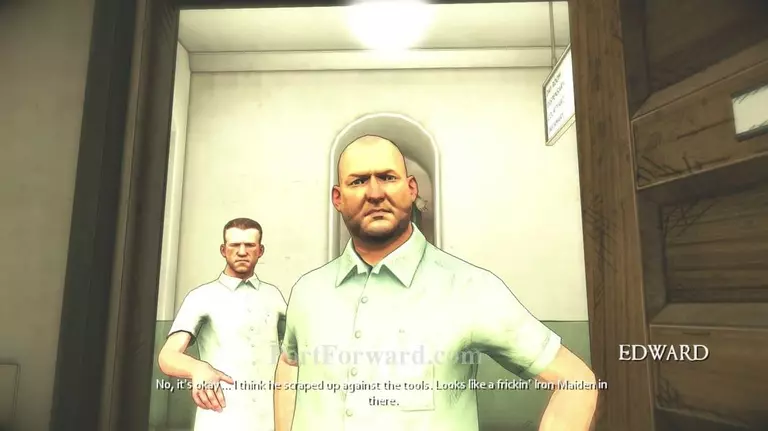
After the cutscene, you'll be sent back into the imaginary asylum where you will wake up in a tool-shred.
After being denied access to the office, head back to your cell.
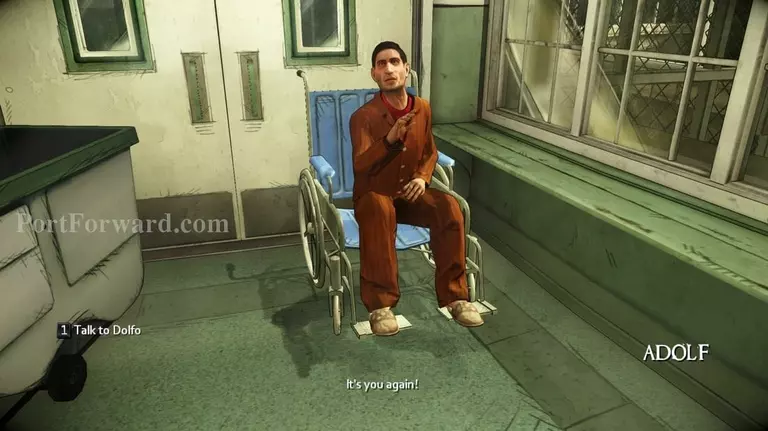
And talk to Adolf "Dolfo". He'll be in a wheelchair just outside your cell in the corner.
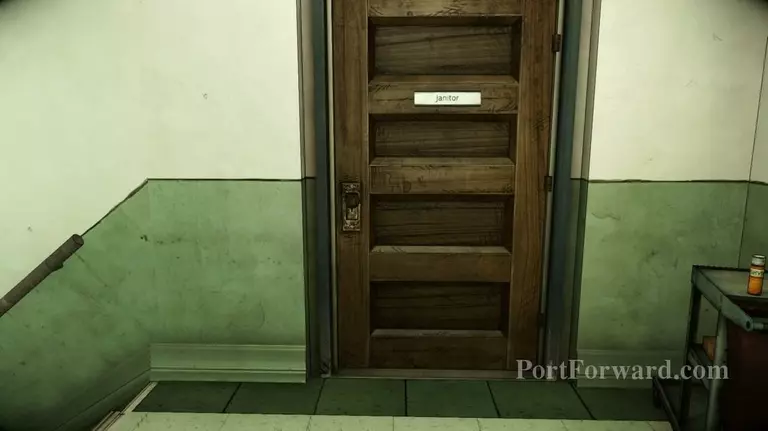
Go back to the Janitor's closet and try opening the door.
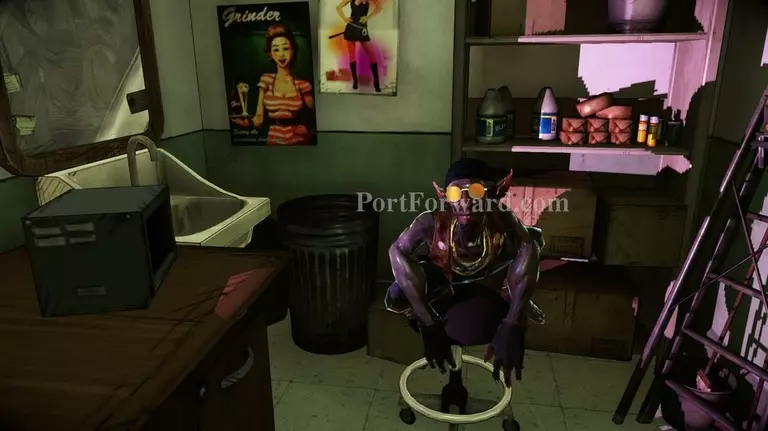
After being reunited with your companion, let him transport you into the darkness's dimension.
Head up the ruined asylum path.
Get into the portal once it appears and into the next level.
More The Darkness II Walkthroughs
This The Darkness II walkthrough is divided into 8 total pages.


